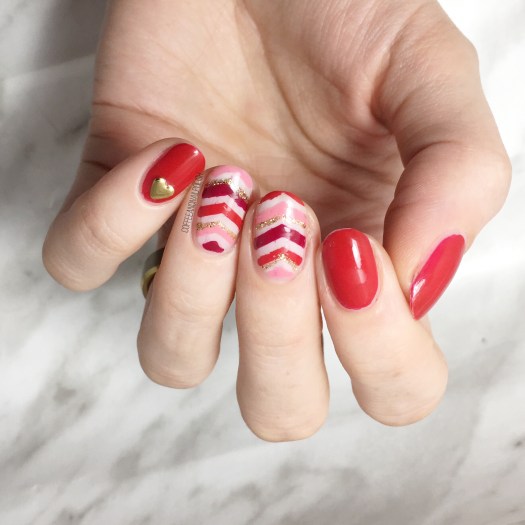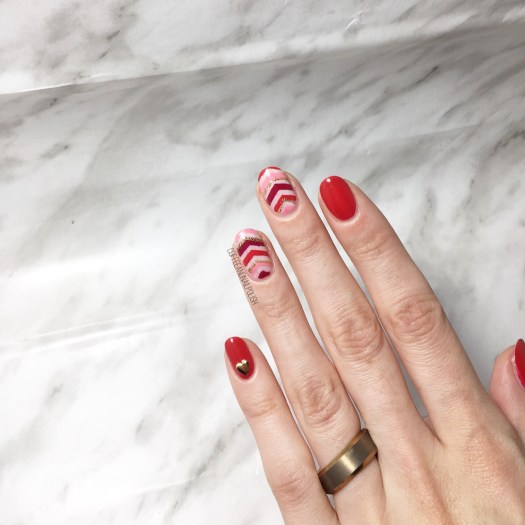
There has been a lot of pink & red happening on the blog in preparation for Valentine’s Day, so I thought it would be fun to break it up with something a little different! So today’s Swatch Sunday is all about this beautiful multichrome from Ardene called Twilight Zone that’s been in my stash for a good 2-3 years now. I’m not sure if it’s still available in store, although I do know they come out with different (similar) duochrome & multichrome shades every so often, so I would recommend popping into a store near you to see what hidden beauty you might find!
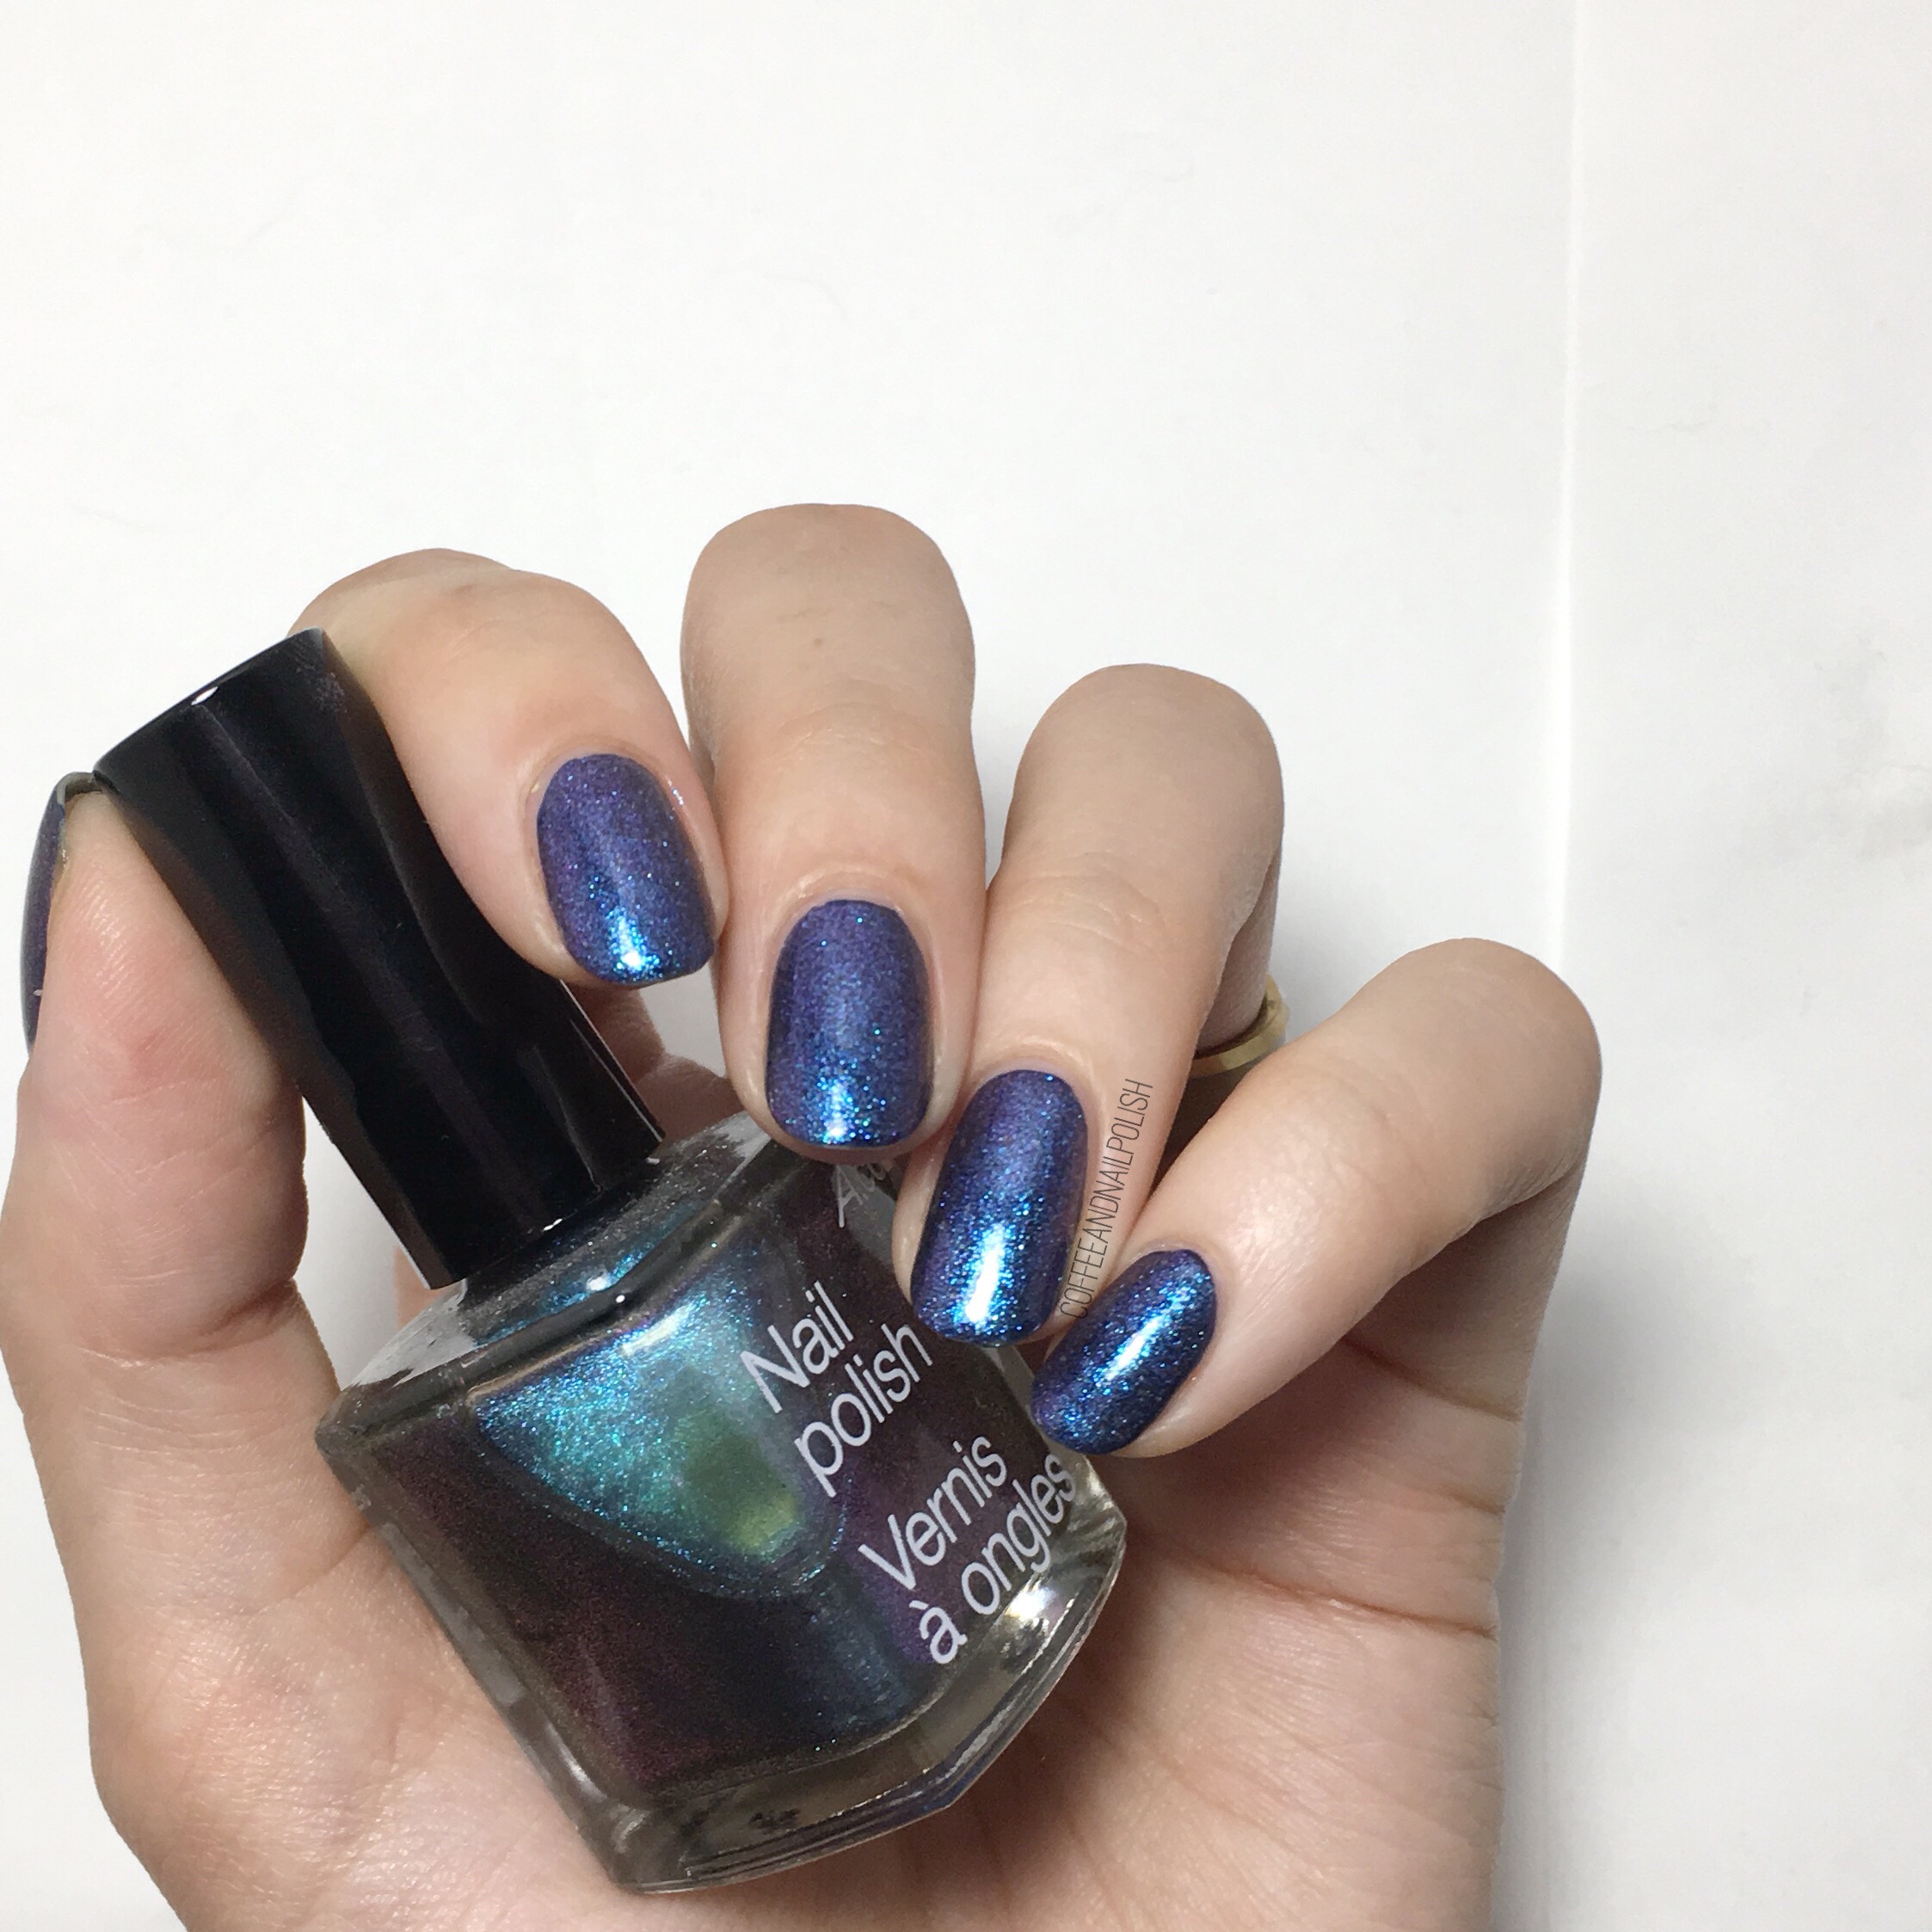
For this swatch, I applied two coats of Twilight Zone over a dark base of Essie Under the Twlight because the polish itself is fairly sheer & would require more coats than I have patience for.

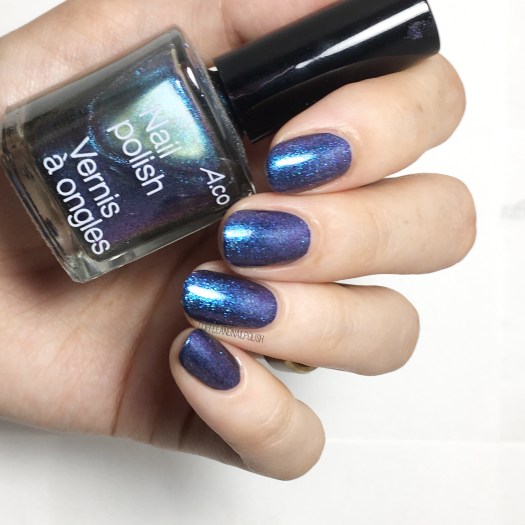
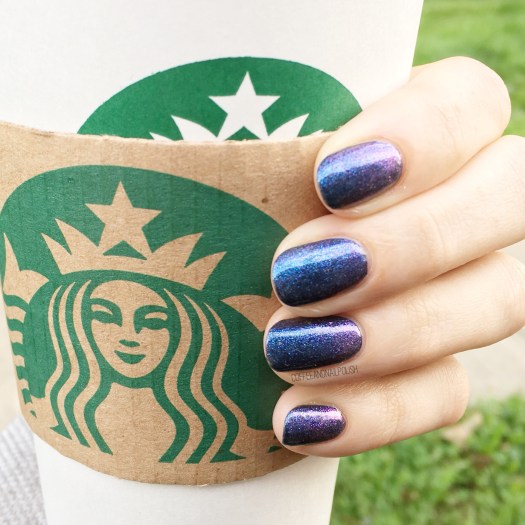
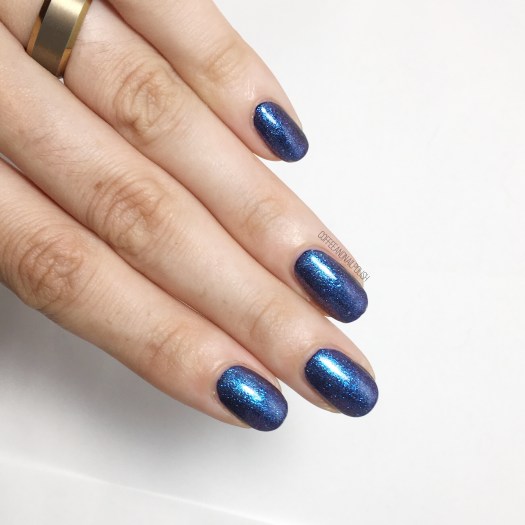
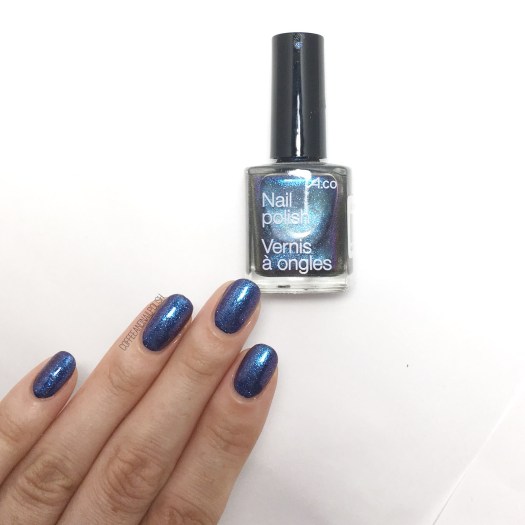
As you can see from the bottle, the base of the polish is a sheer-ish green blue with iridescent blue shimmers. You could definitely try & build it up to opacity, but I’m not sure how many coats that would be. If I had to guess, I’d say you’d be looking at least 4. & besides, I really find these shades work best with undies–it makes the change that much more apparent. You can see above that it flashes between blue & pink/purple depending on how you move your hand.
Ugh, it’s just so pretty! Why do I always forget how much I love shifty shades until I’m wearing them again? I’ve been reorganizing the nail room because I got some new storage, & gushing over my old school shades so much, like this beauty & my Claire’s Villain shade dupes from 2010. I keep trying to figure out how to best share my stash on the blog, but with 1000+ nail polishes I’m not sure the best way to document them. Any suggestions on the best way/app to organize what I have & be able to share?


Like I said, I don’t believe that Ardene Twilight Zone is still available for sale in store (unless you check out a Outlet perhaps) but I know that they’re always coming out with new & interesting shades so I would definitely recommend checking out what they have. I’ve bought some pretty fun polishes there over the years that are still favourites of mine.
What do you think of this shade? Have you ever bought an amazing polish in a surprisingly place? Let me know your thoughts on the comments below.