Mermaid Gradient Nails

Good morning lovelies & happy Thursday!

How is it almost the weekend again? I’m not complaining, it’s just crazy how this weekend is speeding by. & it’s Victoria Day weekend here in Canada, which has always felt like the kick off to Summer to me! Of course it’s going to be a rainy mess all weekend here in Halifax, but you can’t win them all.

Today I’m sharing some very fun, very Summer-y nails. I’ve been saying forever that I needed to order some new mermaid nail vinyls, so when I placed my Mother’s Day order at Beyond The Nail, I made sure to include some mermaid nail guides in there!

For this manicure, the polishes I used were:

  • Base Coat: Sally Hansen Nailgrowth Miracle
  • Top Coat: Essie Gel Setter + Sally Hansen Miracle Gel Shiny Top Coat
  • Beyond the Nail Blazing Blush
  • Beyond the Nail Honeymoon
  • Beyond the Nail Auburgine
  • Beyond the Nail Mermaid Scale Nail Guides
  • Latex free make up sponge (I buy mine from Dollarama)

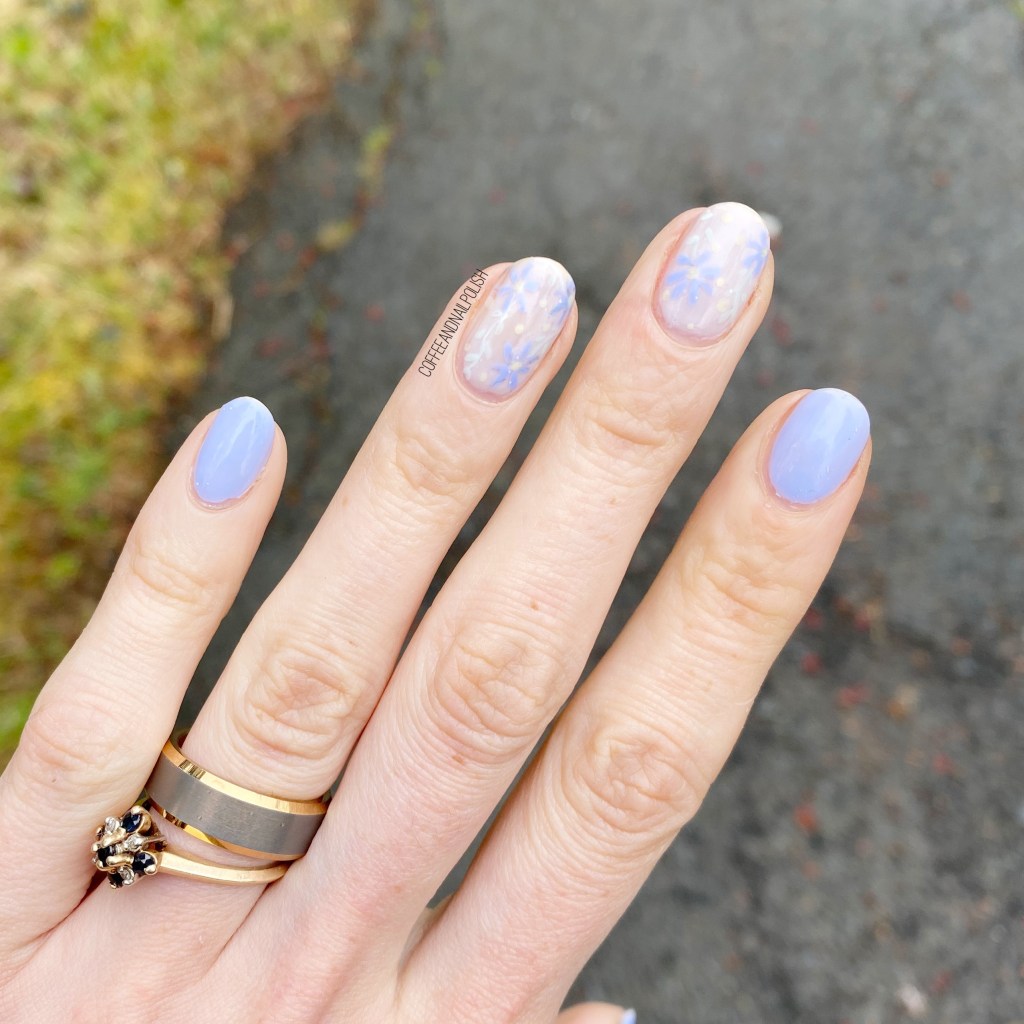
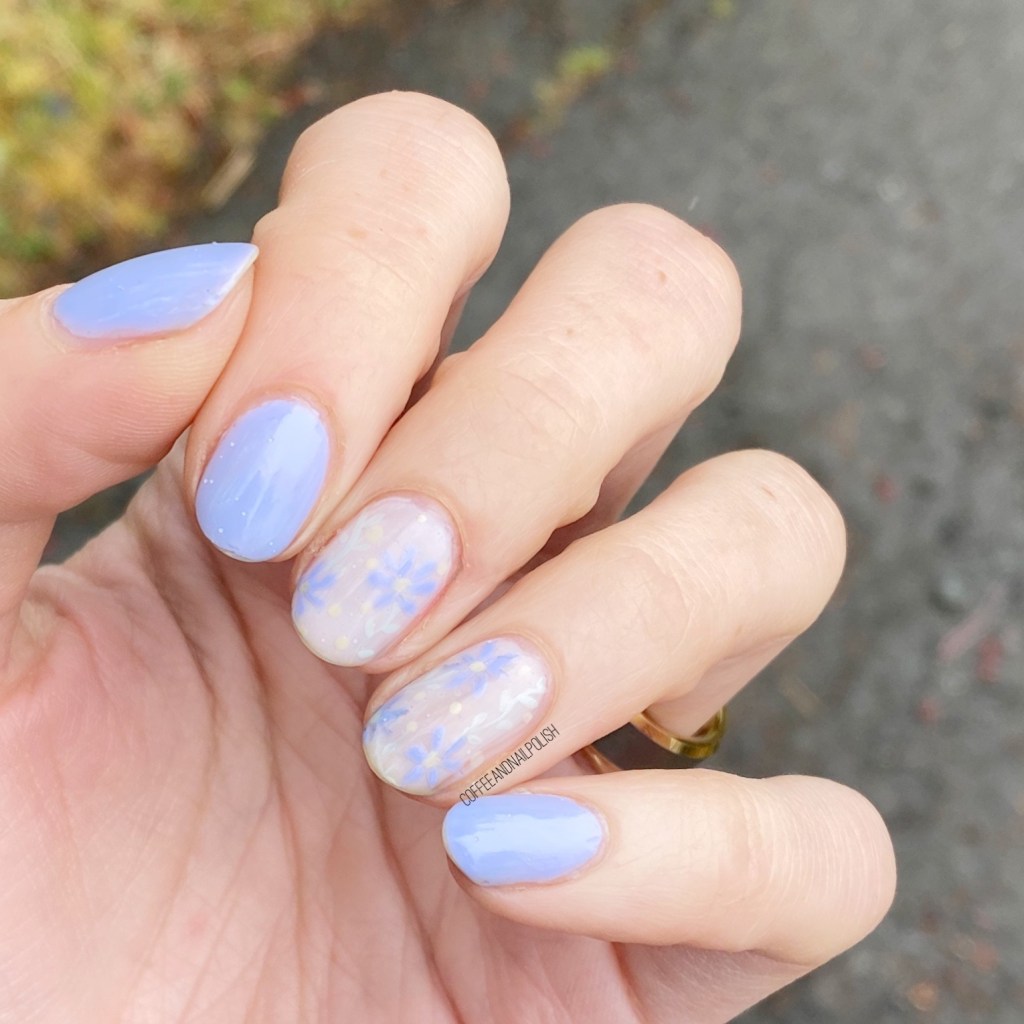
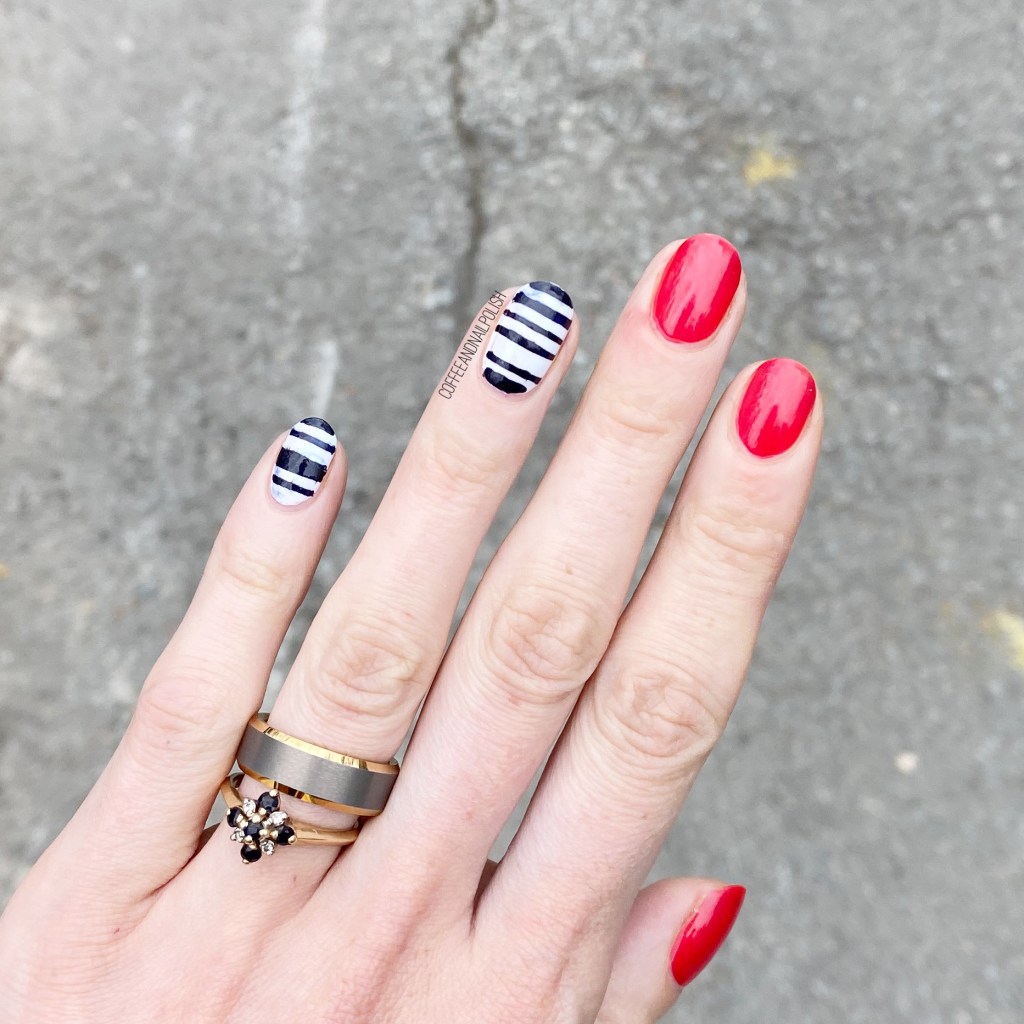
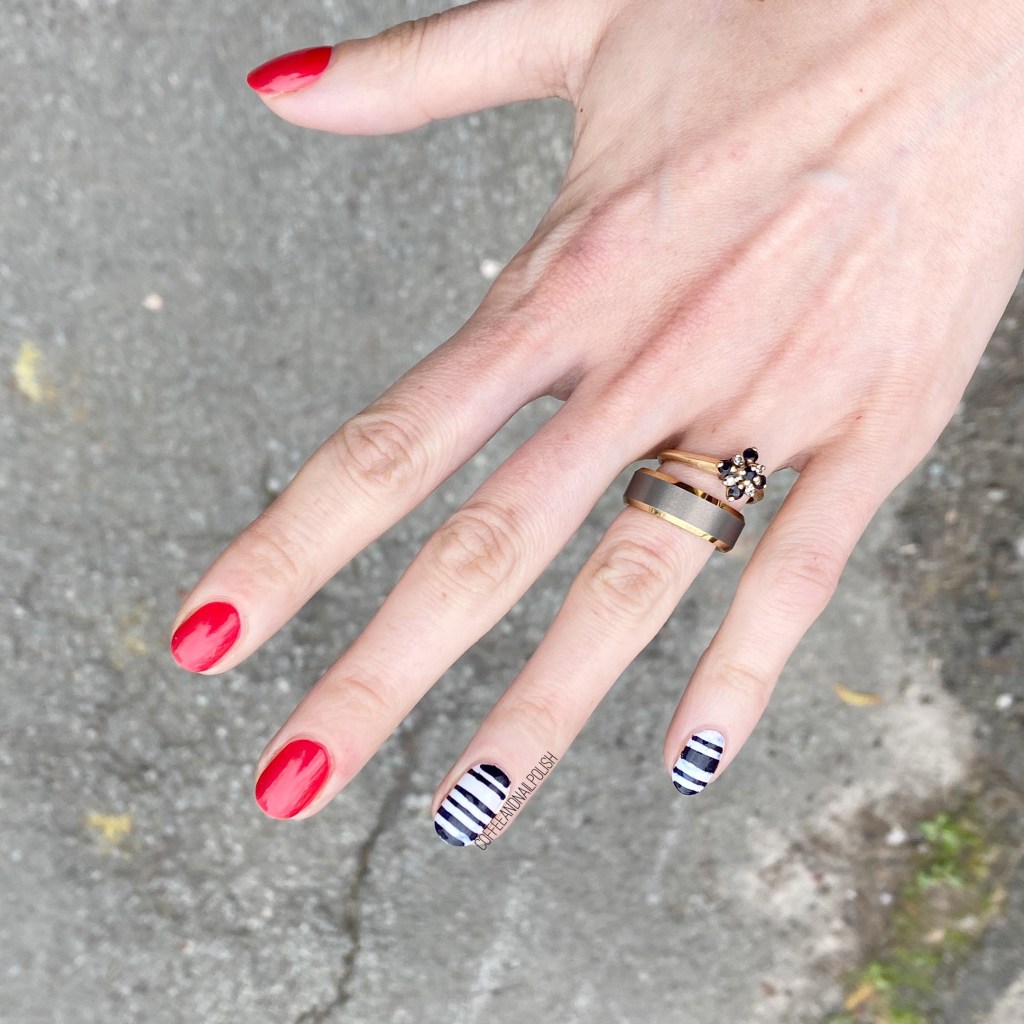
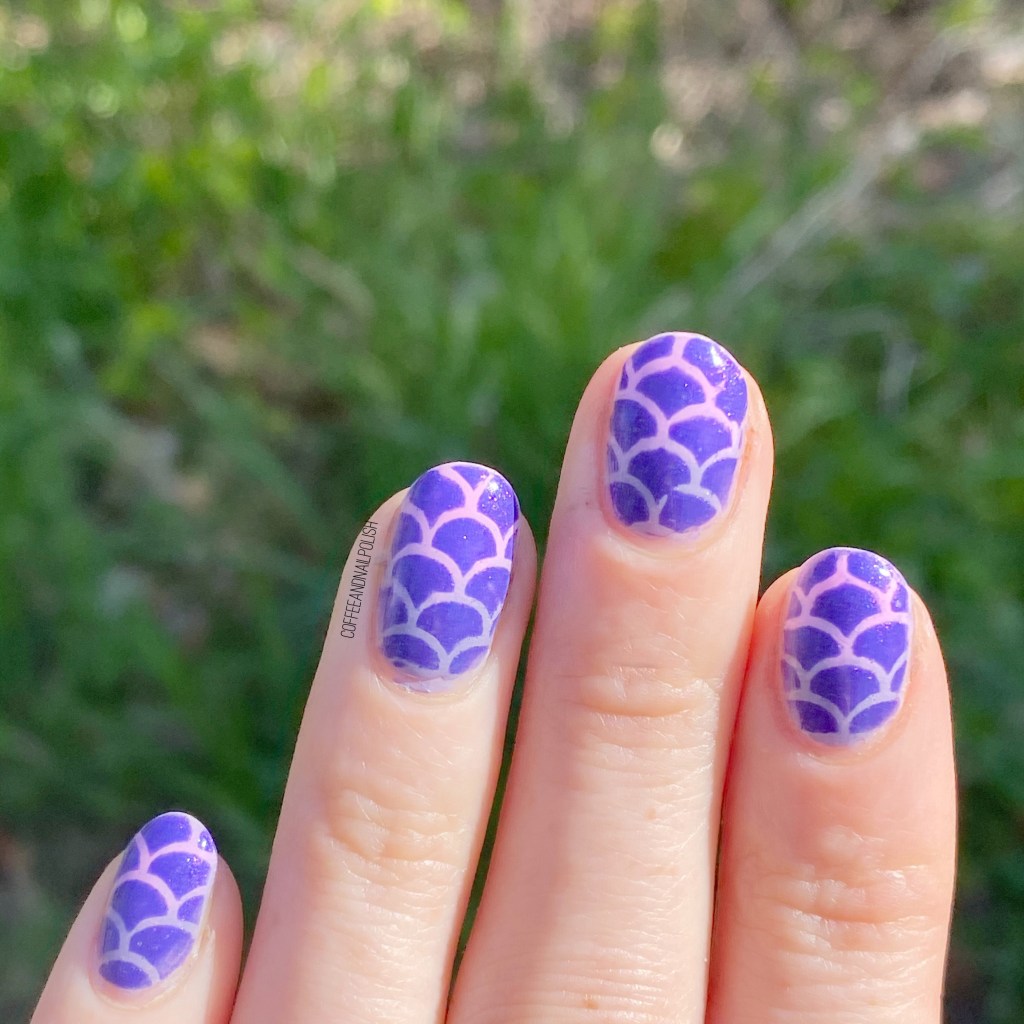
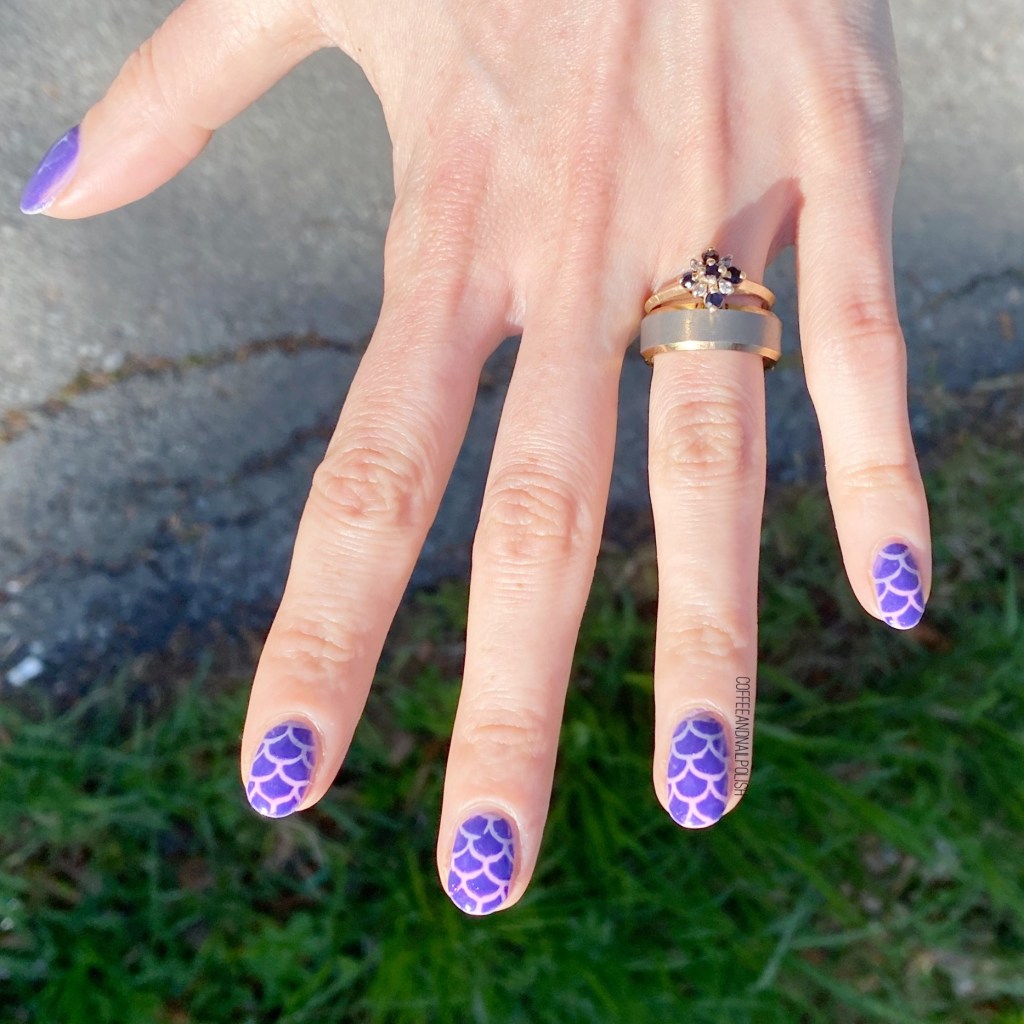
Okay, so I know I call pretty much every manicure I do my favourite, but seriously just look at this design. I’m obsessed!

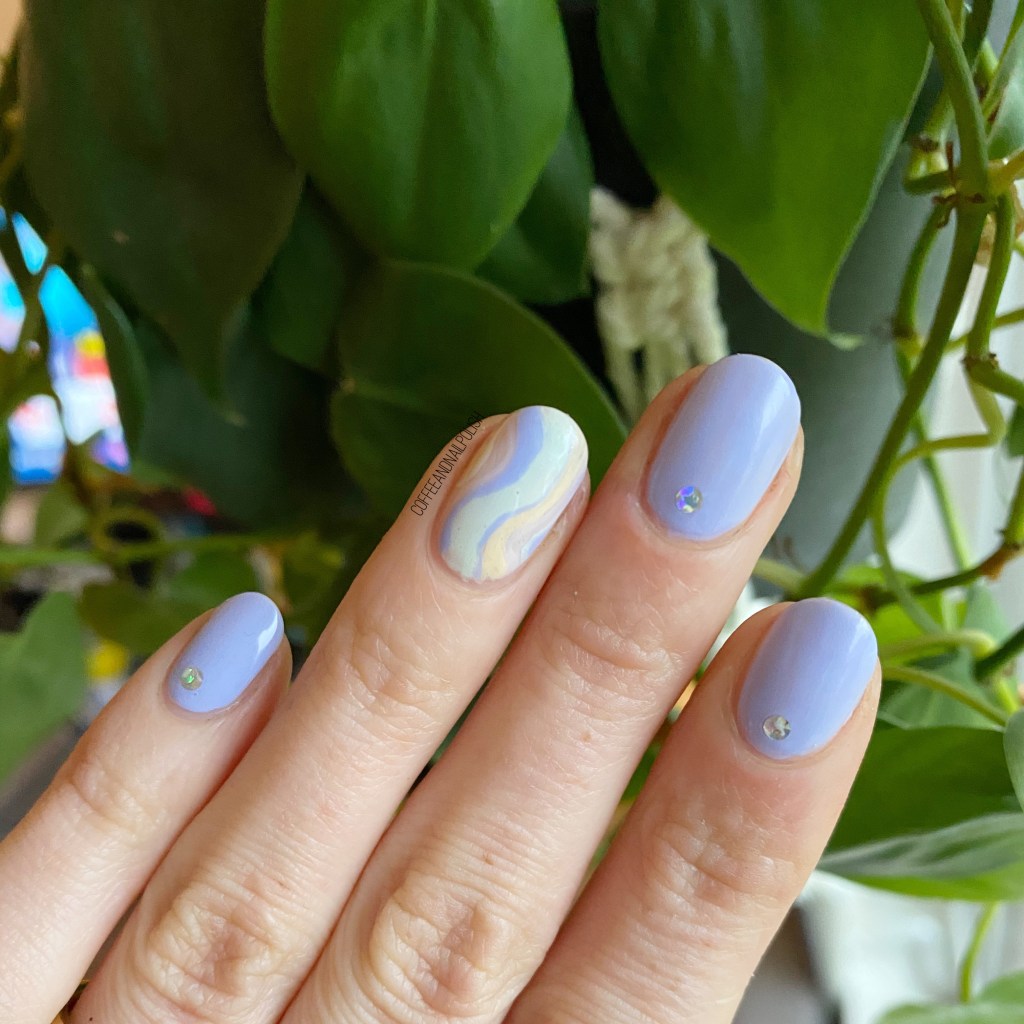
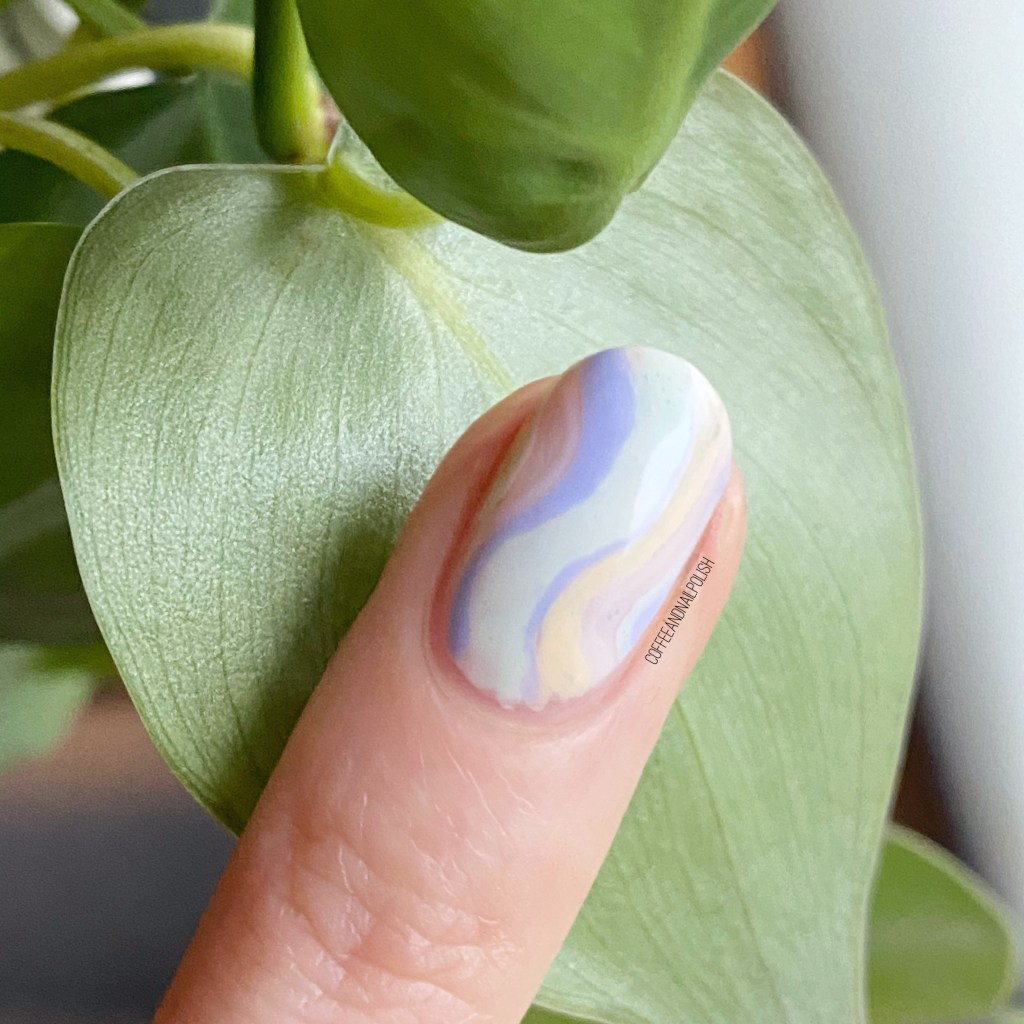
I decided to go all out with a gradient (another look I haven’t done in a while) for my scale base, then added my Aubergine over top. & I am so freaking in love with how these three polishes look together. Seriously— I wore this design for three whole days, before I snapped my middle finger nail clean off. Plus the combo totally matches my current hair colour combo.

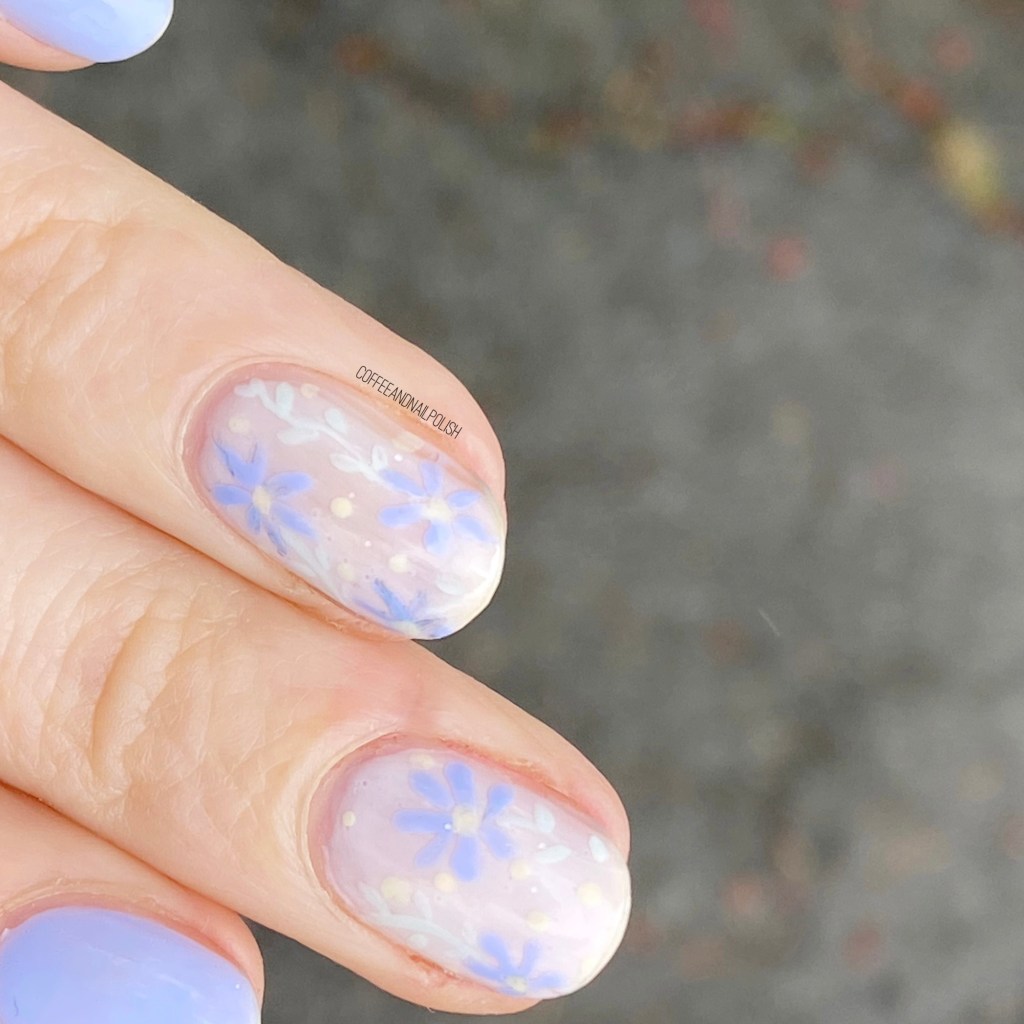
I can’t even begin to explain my love for this look. I also really like the mermaid scale guides because they were super easy to use, & they’re quite large so I managed to split them so I could use one guide per 2 nails. That makes me so happy!

What do you think about these bright & colourful mermaid nails? Does this design scream Summer to you? Have you done mermaid nails in a while? Let me know down in the comments below!

Dainty Spring Floral with the Sally Hansen Rainbow Lights Collection

{contains PR/Gifted Items}

Morning lovelies & happy… Tuesday? I think it’s Tuesday anyways. I feel like May is actually going by at Turbo speed, which is nice when you’re whole city is in lockdown, but hopefully the Summer isn’t gone in a flash as well.

Today I’m excited because I have a super pretty design to share using the Sally Hansen Miracle Gel Rainbow Lights collection I share for Swatch Sunday last week. Looking at those colours, all I could think was floral 🌸, so that’s what I went with!

For this manicure, the polishes I used were:

  • Base Coat: Sally Hansen Nailgrowth Miracle
  • Top Coat: Sally Hansen Miracle Gel Shiny Top Coat
  • Sally Hansen Miracle Gel Crying Out Cloud
  • Sally Hansen Miracle Gel Tutu The Ballet
  • Sally Hansen Miracle Gel Sweet Pea
  • Sally Hansen Miracle Gel Sun-shower
  • NailStuff.ca 7mm detail brush

First off, please excuse the raindrops — I took my picture when it was just beginning to rain.

Second, how cute is this floral? The colours are so perfect for a floral design & I love the dainty subtle muted shades all together. This is a very Spring-y design, & I really like it. It also is giving me late 90s vibes — maybe I’ve just been watching too much Buffy the Vampire Slayer.

Also I totally didn’t realize until I was done that I used Crying Out Cloud as my base shade, but I did say it was favourite!

What do you think about this dainty floral look? Do you like this combination of colours? Let me know all your thoughts down in the comments, & if you’ve picked up any of the Rainbow Lights shades yourself.

Red, Navy & White

Hello lovelies & happy Thursday! Can’t believe this week is going by so quickly. But also, I have the next two days off work so I have big BIG plans. Cupboard organizing plans. It’s very exciting.

But first, how about some nail art? That’s what you’re all here for, right?

I finally decided to pull out my nail vinyls, because it’s been a while, haha. I was feeling coral/red with some stripe-y accent nails, so that’s exactly what I did. Actually I was inspired by this look after some Pinterest-ing, & thought it was be an excellent nail art combo.

For this manicure, the polishes I used were:

  • Base Coat: Sally Hansen Nailgrowth Miracle
  • Top Coat: Essie Gel Setter
  • Illamasqua Aorta
  • Sally Hansen Miracle Gel Get Mod!
  • Essie After School Boy Blazer
  • SnailVinyls straight nail vinyls (multiple thickness)

Such a classic combo, & I really like it. I feel like I’ve been neglecting my vinyls so much so it was nice to pull them out again. Plus I could never even attempt to freehand lines this straight. I also really like how simple this colour combo is, but that the red gives you that bright pop of colour. It’s definitely a fun combination. I might not wear a head to toe coral suit with striped shirt, but I can definitely achieve a similar look in my nails!

What do you think about this look? Wojld you wear a combination like this? Let me know in the comments below. & speaking of nail vinyls — I just stocked up on some mermaid vinyls from Beyond the Nail, so stay tuned for some fun mermaid nails to come!

Pastel Rainbow Accent Nail (with Sally Hansen Rainbow Lights)

{Features Gifted Product}

Hello lovelies & happy Tuesday!

Today I have done pretty rainbow nail art to share with you, inspired by the new Sally Hansen Rainbow Lights collection! I’m really, really loving this new collection, & the pastel shades, so I was inspired to create this swirly rainbow accent nail. This is also super easy nail art that I feel anyone with a mail art brush could create this look!

For this manicure, the polishes I used were:

  • Base Coat: Sally Hansen Nailgrowth Miracle
  • Top Coat: Sally Hansen Miracle Gel Shiny Top Coat
  • Sally Hansen Miracle Gel Crying Out Cloud
  • Sally Hansen Miracle Gel Tutu The Ballet
  • Sally Hansen Miracle Gel Sweet Pea
  • Sally Hansen Miracle Gel Sun-shower
  • OPI I Snow You Love Me
  • NailStuff.ca 16mm Striper Brush

Look how cute that accent nail is? Like I said in my Swatch Sunday post, I really love the pastel rainbow shades. & I really love how all these shades compliment each other so well! I also wanted to add a few rhinestones to my nails, but since I was wearing this to work & didn’t want rhinestones popping off in people’s coffees, I decided to pull out my bottle of OPI I Snow You Love Me! This polish has always been a favourite because of the tiny round holographic glitters. A great rhinestone alternative.

What do you think about this pastel rainbow accent nail? Would you create easy nail art like this? Let me know all your thoughts in the comments below!

Neon Saran Wrap Splatter

Hello lovelies!

It’s Thursday—almost the weekend. Unless of course your entire province is in lockdown & time no longer has any meaning. But that just means more time to paint my nails, right?

Today’s look is a throwback to one of my favourite styles — the Saran Wrap splatter. It’s no secret how much I LOVE this style, & since our days are feeling a bit more Spring-like, I needed some neon!

For this manicure, the polishes I used were:

  • Base Coat: Sally Hansen Nailgrowth Miracle
  • Top Coat: Essie Gel Setter
  • Sally Hansen Miracle Gel Pretty Peony
  • Sally Hansen Miracle Gel Violet Voltage
  • Sally Hansen Miracle Gel Miami Nice
  • Sally Hansen Miracle GelElectri-Lime
  • Sally Hansen Miracle Gel Fuchsia Fever
  • Crinkled up plastic wrap

Oh man, I know this neon collection is 2 years old, but holy it is one of my all time favourite Sally Hansen collections. It’s just so bright & beautiful & I adore it. I never get tired of creating looks with it, & I’m actually shocked I hadn’t done a splatter look with it yet. Definitely an oversight. Also I like how this splatter reminds me of tie dye — I know the tie dye nail hype kind of died down a bit (no pun intended), but I still love all things tie dye. In fact, I’ve very recently found TWO tie dye shirts in the kids section at the thrift store that fit me, & I’ve been wearing them non-stop.

What do you think about this neon saran wrap splatter design? Are you feeling these neons? Do you own this neon collection from Sally Hansen, & if not, which neon nail polish collection is your favourite? Let me know in the comments below!