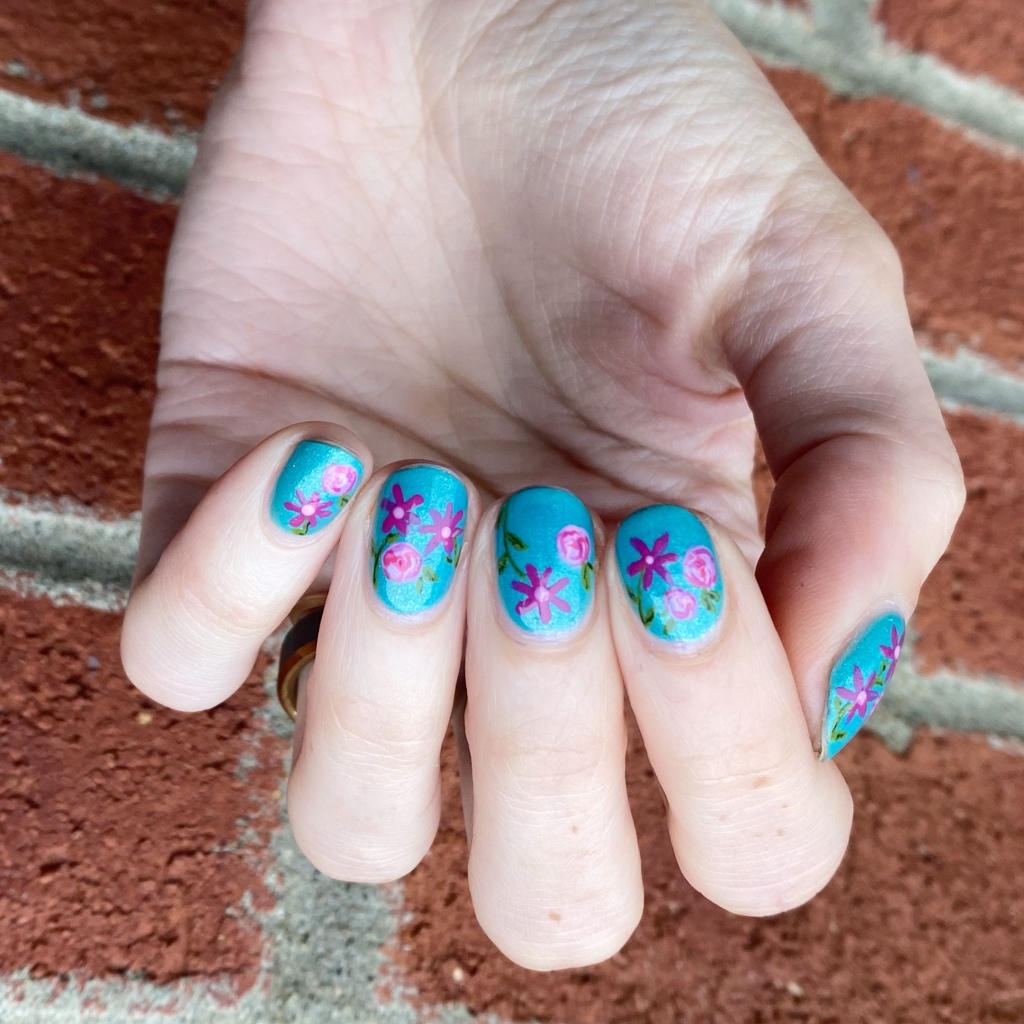
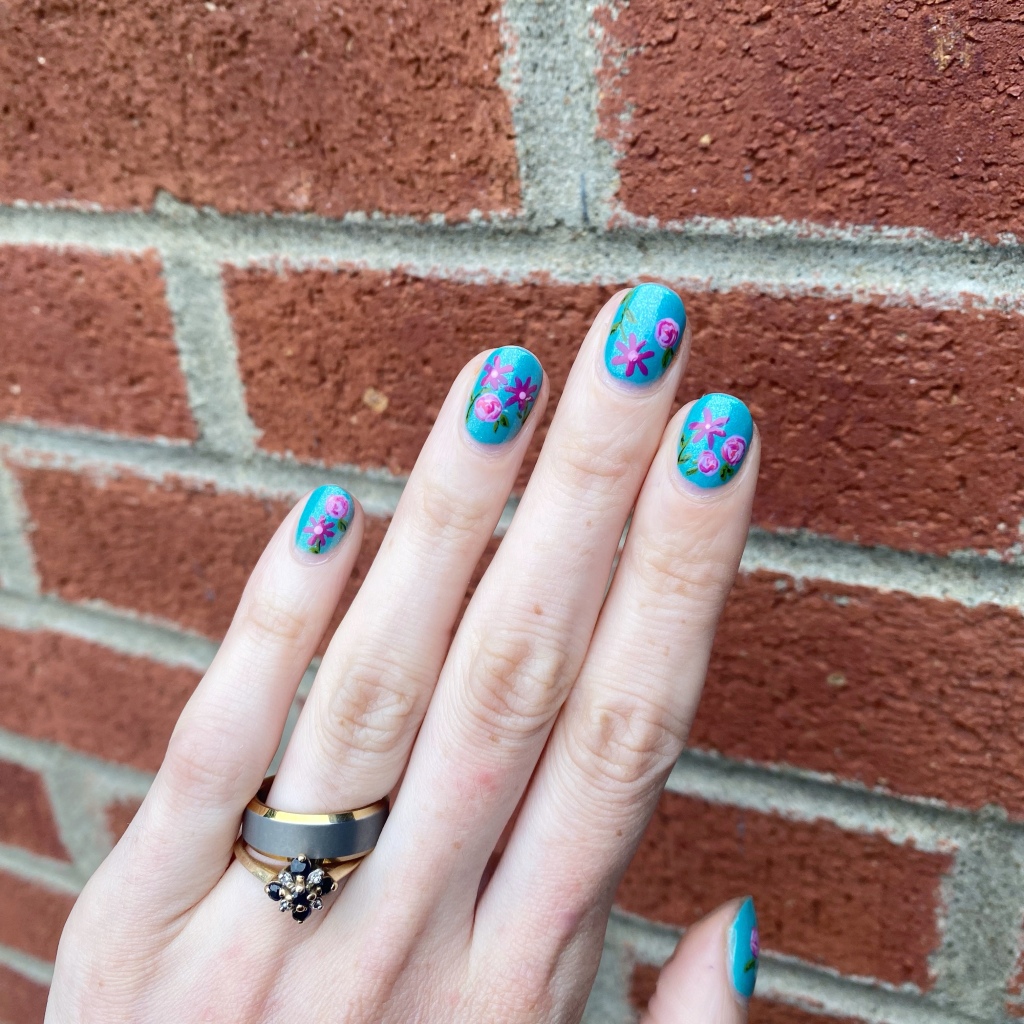
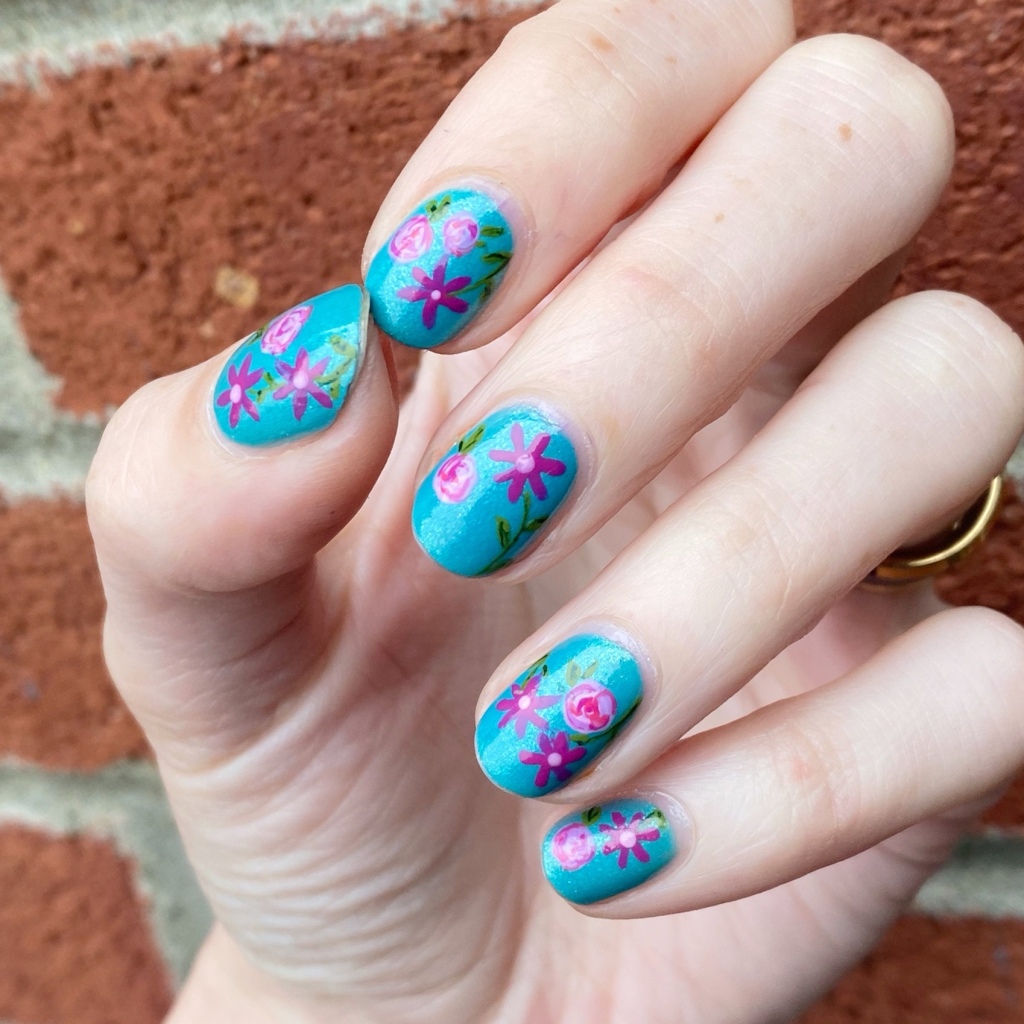
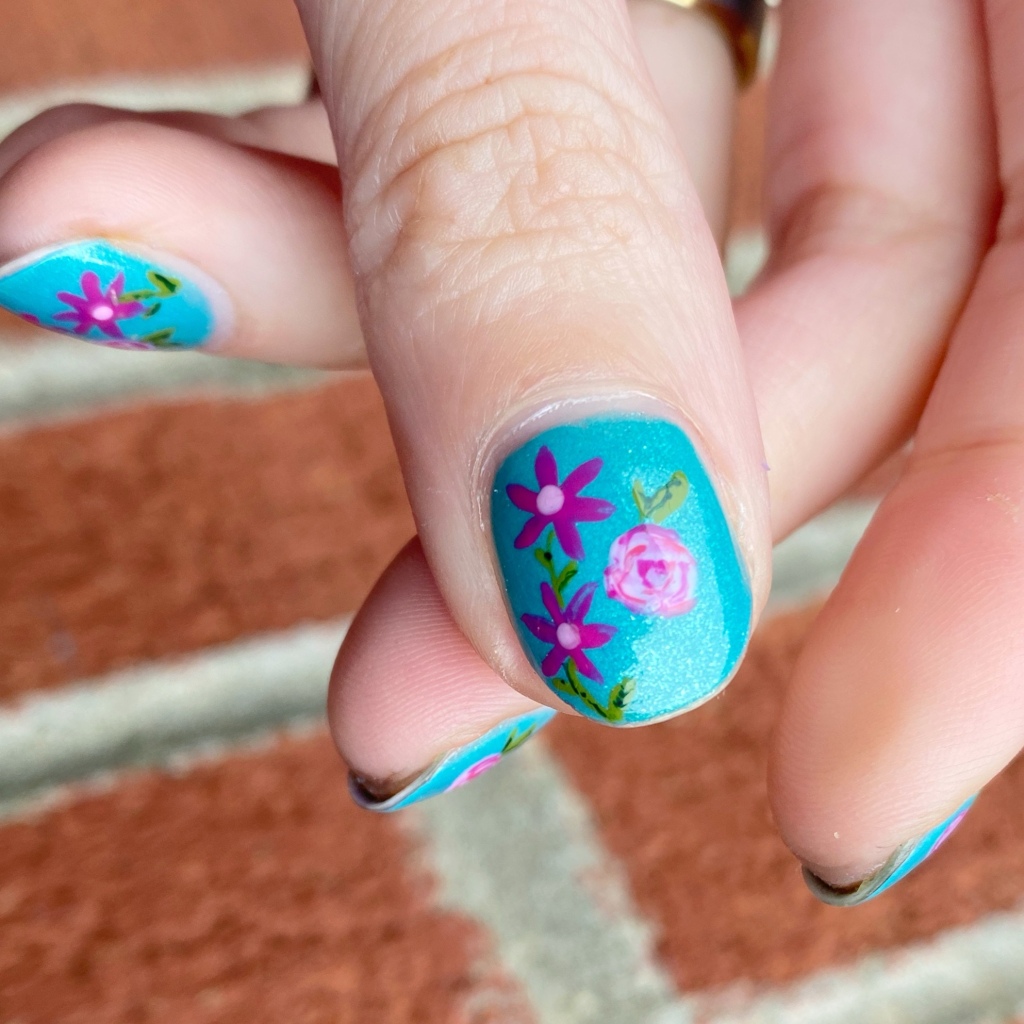
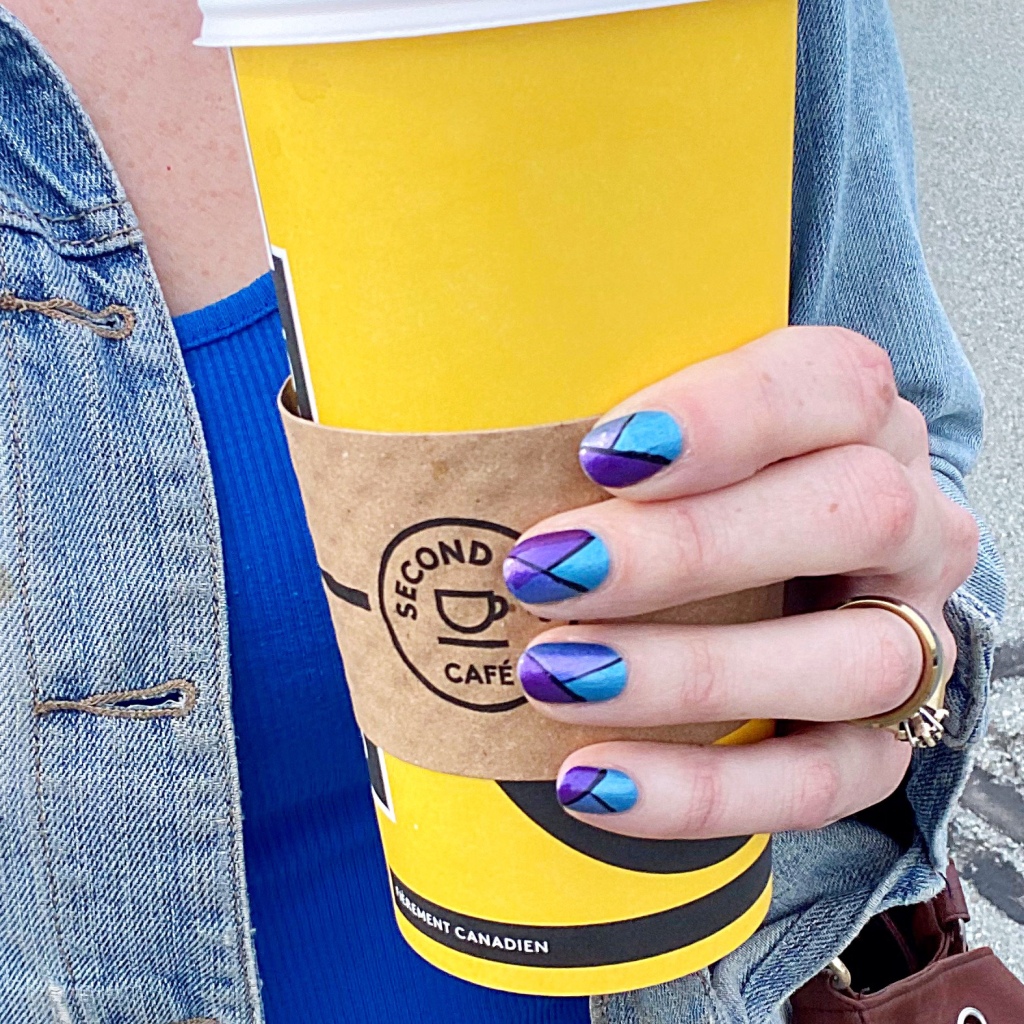
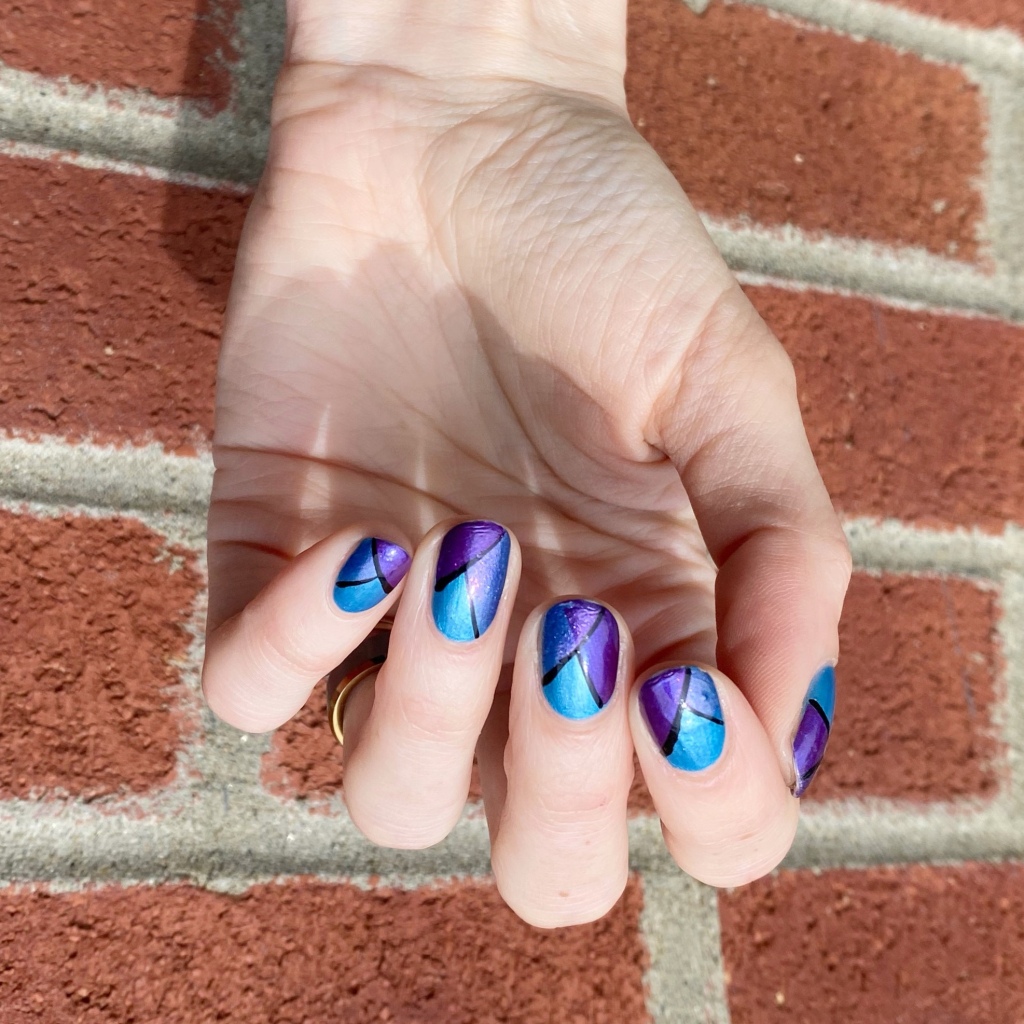
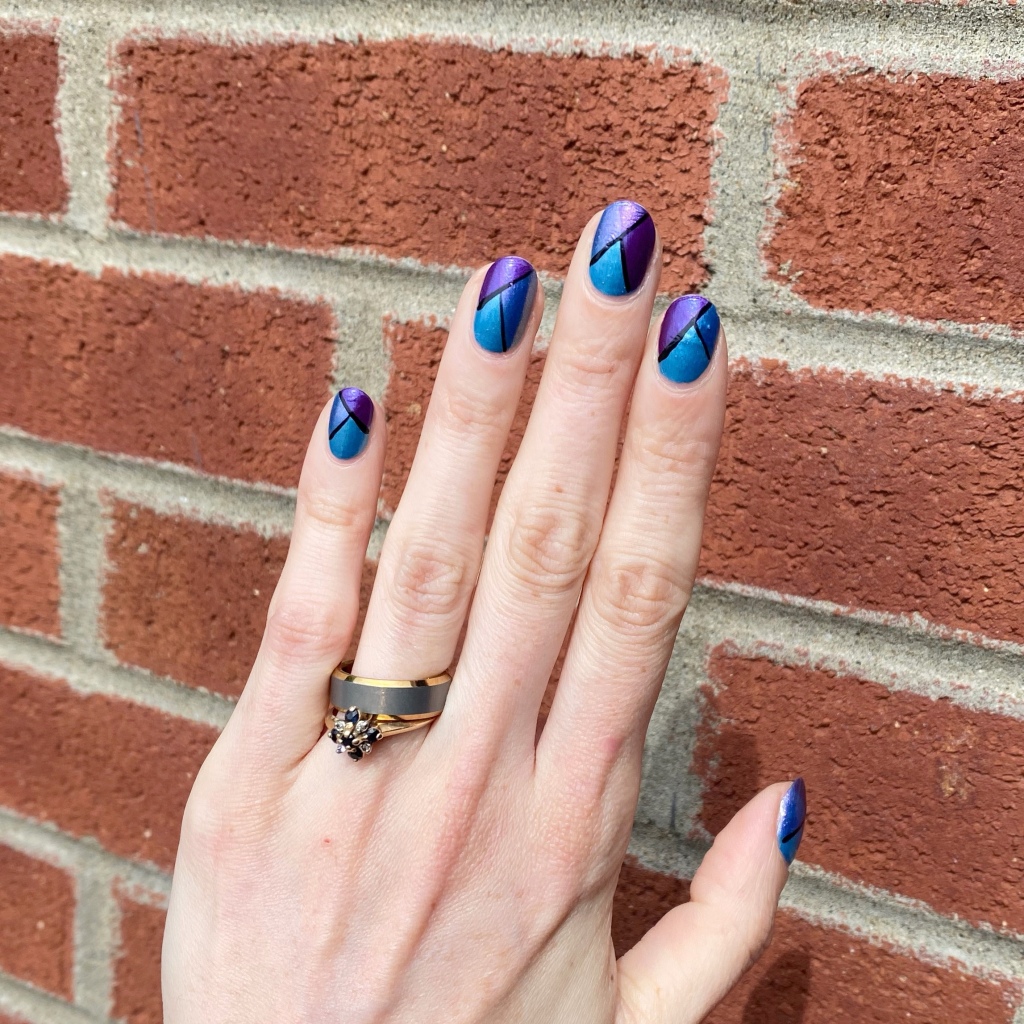
Good morning lovelies & happy Friday! I hope everyone had a wonderful week! It’s almost the weekend, which is looking to be wet & rainy. Not so much fun for summer. But I have a fun, bright Summery look to share with you!
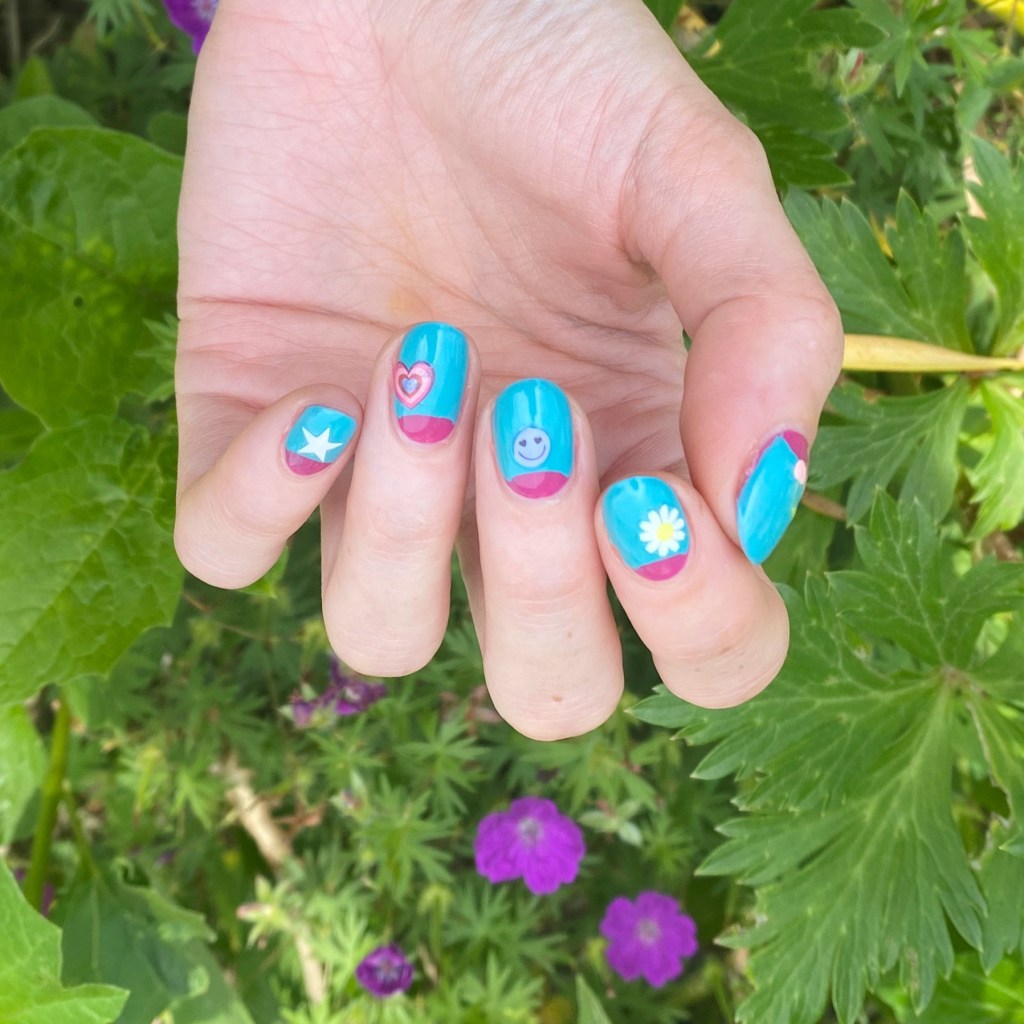

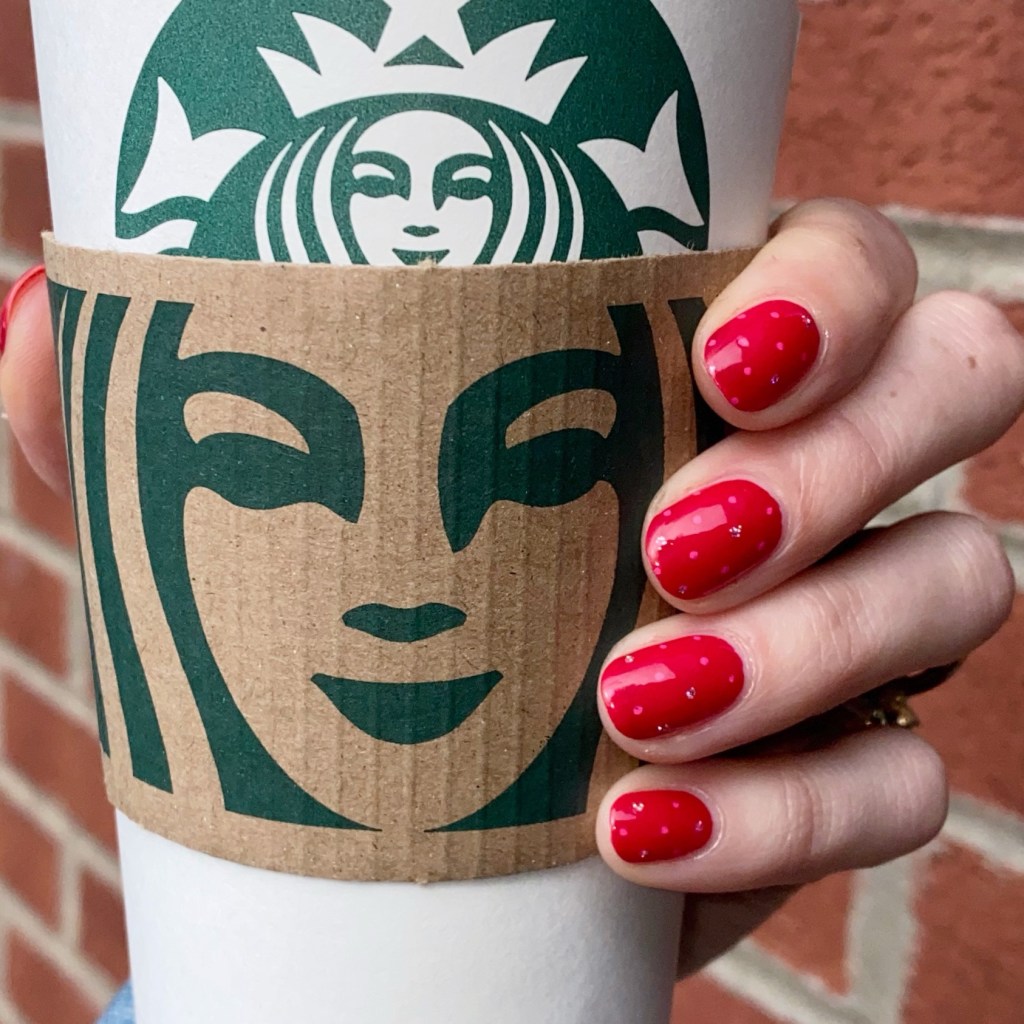
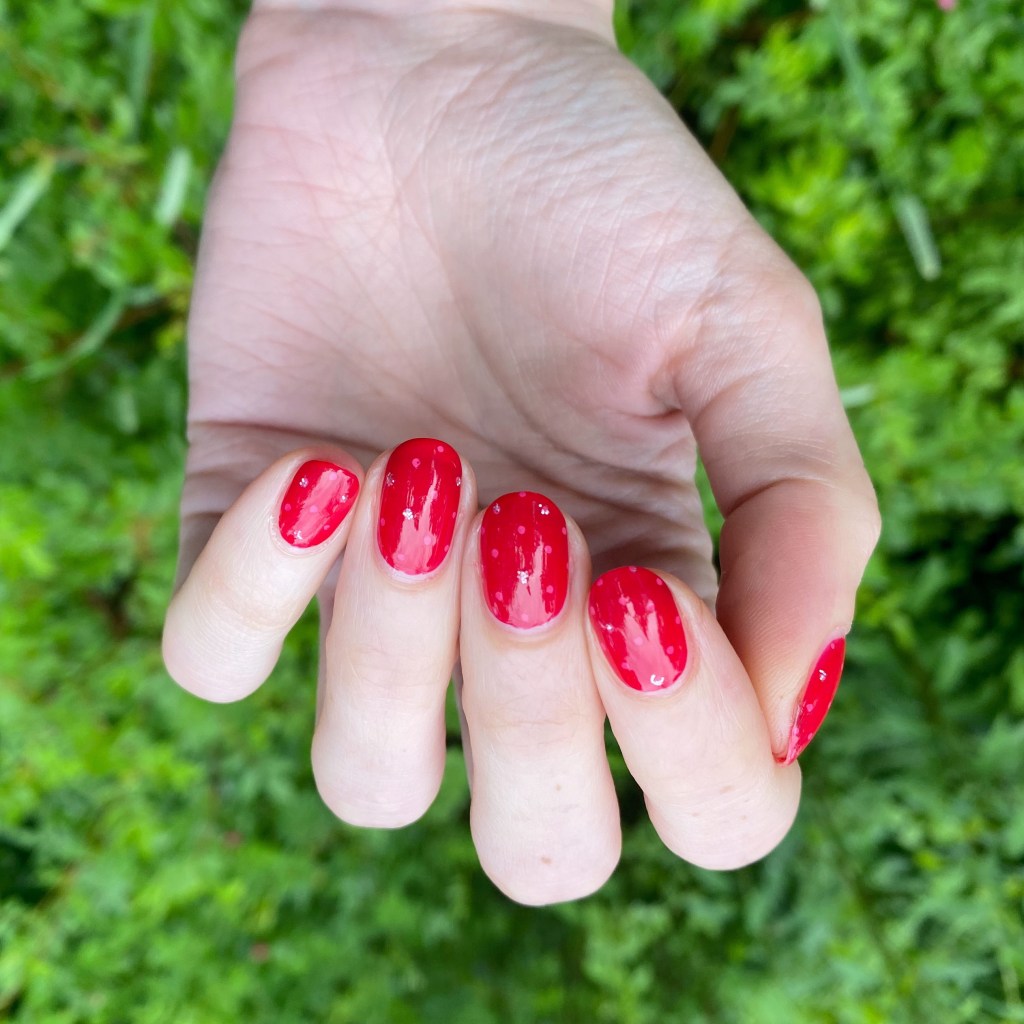
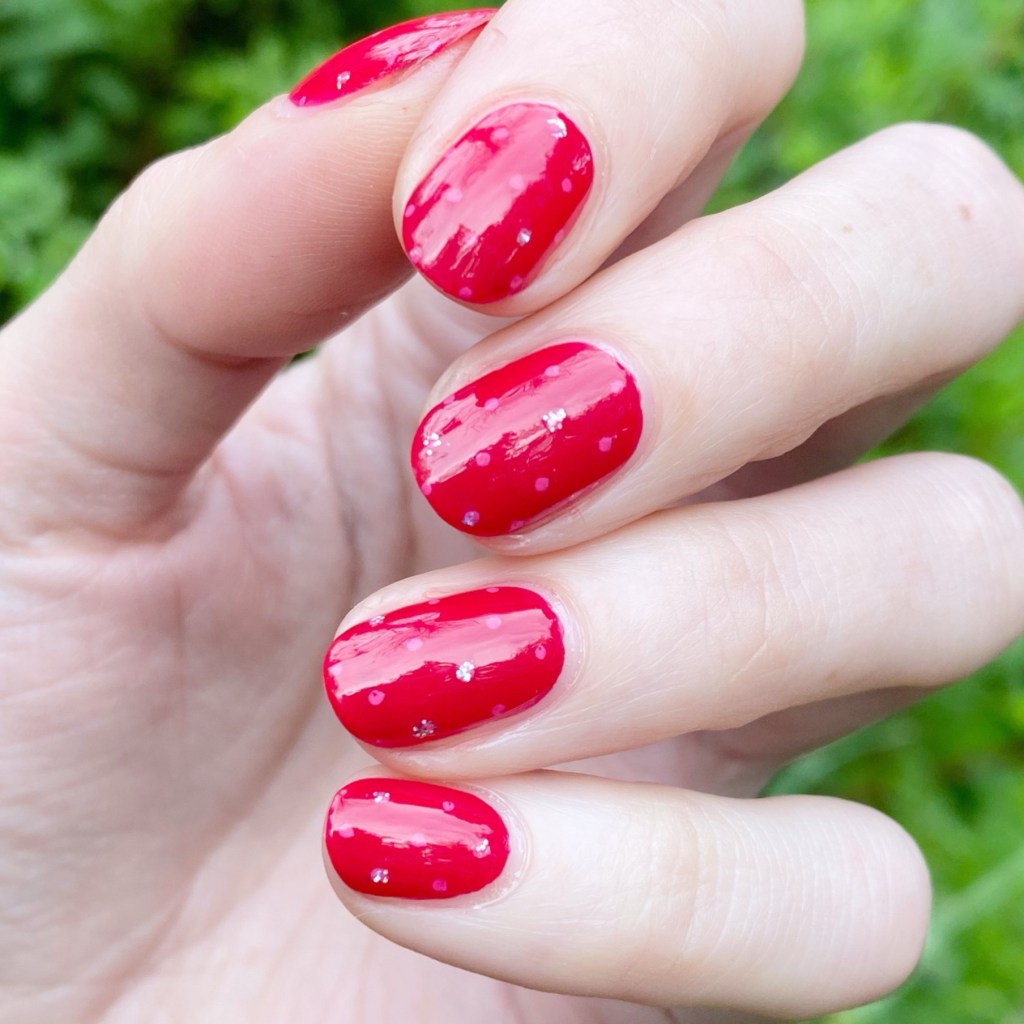
The polishes I used for this manicure are:
- Base Coat: Essie Here to Stay
- Top Coat: Essie Gel Setter
- Essie Swoon in the Lagoon
- Essie In The Cab-ana
- Assorted nail art stickers (including some from Olive & June)


Okay, I’ll be honest — I’m not a 100% sure how I feel about this look. I love my half moons, because I always love a good half moon design, but I’m not sure how I feel about the addition of my little nail art stickers. I’m not sure if they mesh together, or clash, but I really wanted to do something different.

What do you think about this sticker half moon design? I’m really trying to come up with newer nail art designs, but after 10 years of this blog, I’m getting a bit stuck on what to do. Maybe I should break out my stamping plates again, & see what fun patterned nails I can come up with!
Happy Friday! Enjoy your weekend!
🖤