Holo Half Moons

I’ve been a very bad blogger. You’d think being on leave I’d have all the time for keeping up with this blog, but it turns out preparing for a new baby is very time consuming! We’ve got two weeks to go now, and everything together, so I’m going to try and get on some blogging while I can! After baby comes—hopefully I’ll still be able to keep up after things slow down some. 

And now onto some nails! (Because that’s why we’re all here after all.) 

It’s been a little while since I wore my beloved half moons, and I thought hey! Why not some holo half moons–because obviously holo makes everything better. As I’ve written before, I love half moon manicures because they’re so easy and so versatile–just so many colour combinations, and so easy to do. I used actual nail tip guides from Kiss for this particular design, but it’s just as easy to use paper hole reinforcers to accomplish the same look. (I usually buy mine from the Dollar Store and they last forever!) 


Polishes used for this mani are: 

  • Layla Cosmetics Hologram Effect Retro Pink
  • Layla Cosmetics Hologram Effect Ocean Rush 
  • Kiss Products nail guides 
  • Essie Gel Setter top coat. 

So what do you think of this design? What is your favourite nail art design you always go back to? For me it’s obviously a toss up between regular half moons and chevron moons! Both are so easy and always look fancy on the nail! 

Red Cup inspired red nails. 

So here is what I topped Claire’s Red Carpet with from yesterday’s post! I’m sure you’ve come across one of the adorable cups from Starbucks red cup collection. As my husband and I are both avid Starbucks drinkers (incase you’ve never noticed before) I just had to recreate one of the designs on my nails. So I went with my favourite–the Christmas lights! 

The polishes used for this mani are:

  • Claire’s Red Carpet 
  • Sally Hansen I Love Nail Art pen in black. 
  • OPI I Cannoli Wear OPI
  • Essie Gel Setter. 
  • Small sized dotting tool. 


What do you think of this mani? My light bulbs turned out slightly wonky, but I feel like it channels the inspiration well enough! Plus there is nothing that says Christmas is coming (for the coffee addict at least) than when Starbucks brings out their red cups… and Gingerbread latte of course! 

31DC2016 Day 1-5

Happy Labour Day loves! 

 I decided for the month of September to take on the   31 Day Nail Art Challenge created by Chalkboard Nails. You might remember I made a stab at this challenge early in this blogs life, but never finished. So I decided that it was about time I gave it another go! Instead of blogging my manicures lately, I decided to break it down to groups of four manis to make it easier to post. You can however always check out my daily nail art posts on my Instagram

Day 1: Red Nails 


Products used for this mani: 

  • China Glaze Seduce Me
  • Fingers Paints Surreal Sunset 
  • My Nails Did nail vinyls 
  • Essie Gel Setter 

Day 2: Orange Nails


Products used for this mani:

  • Essie Haute As Hello
  • Essie Sunshine State of Mind
  • Essie Gel Setter 

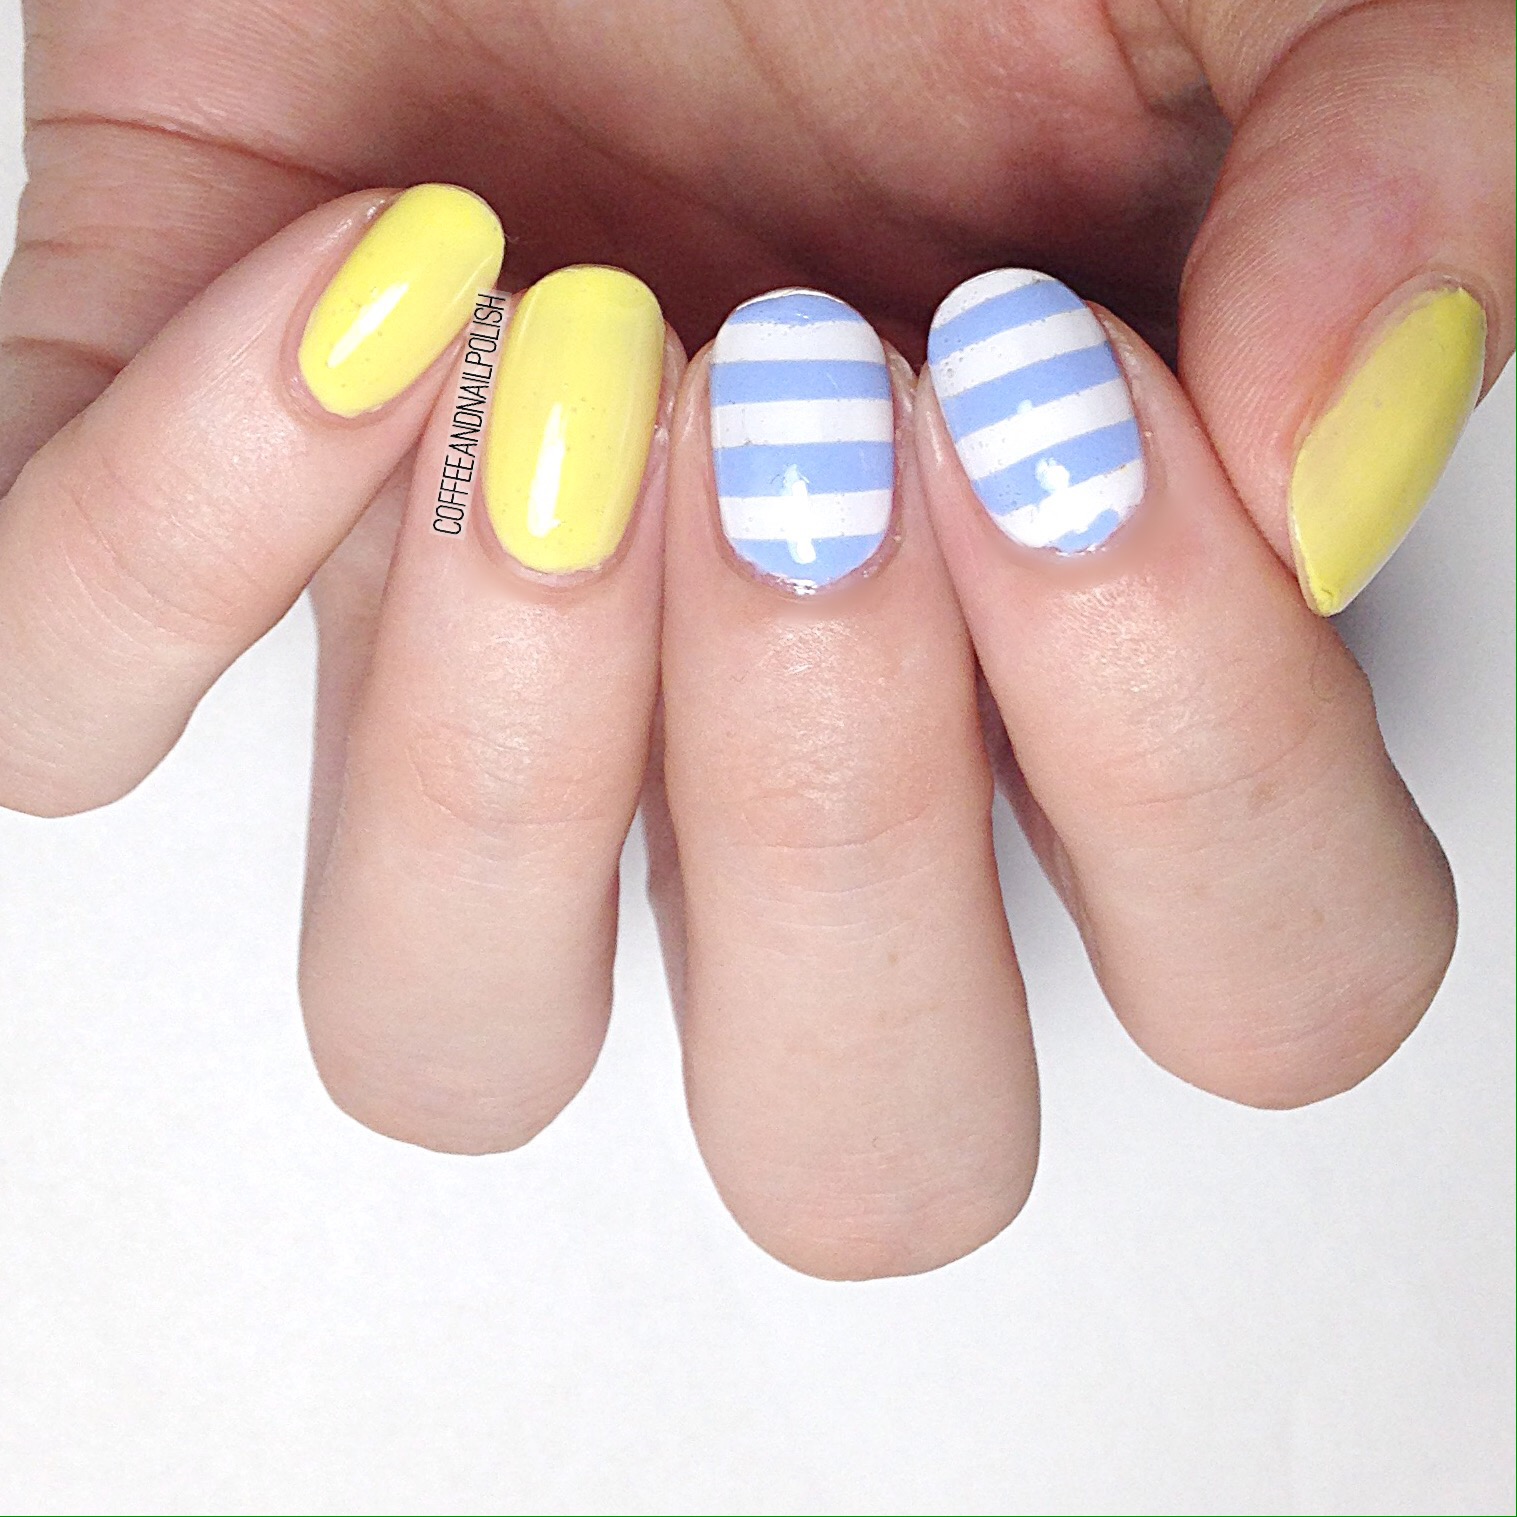
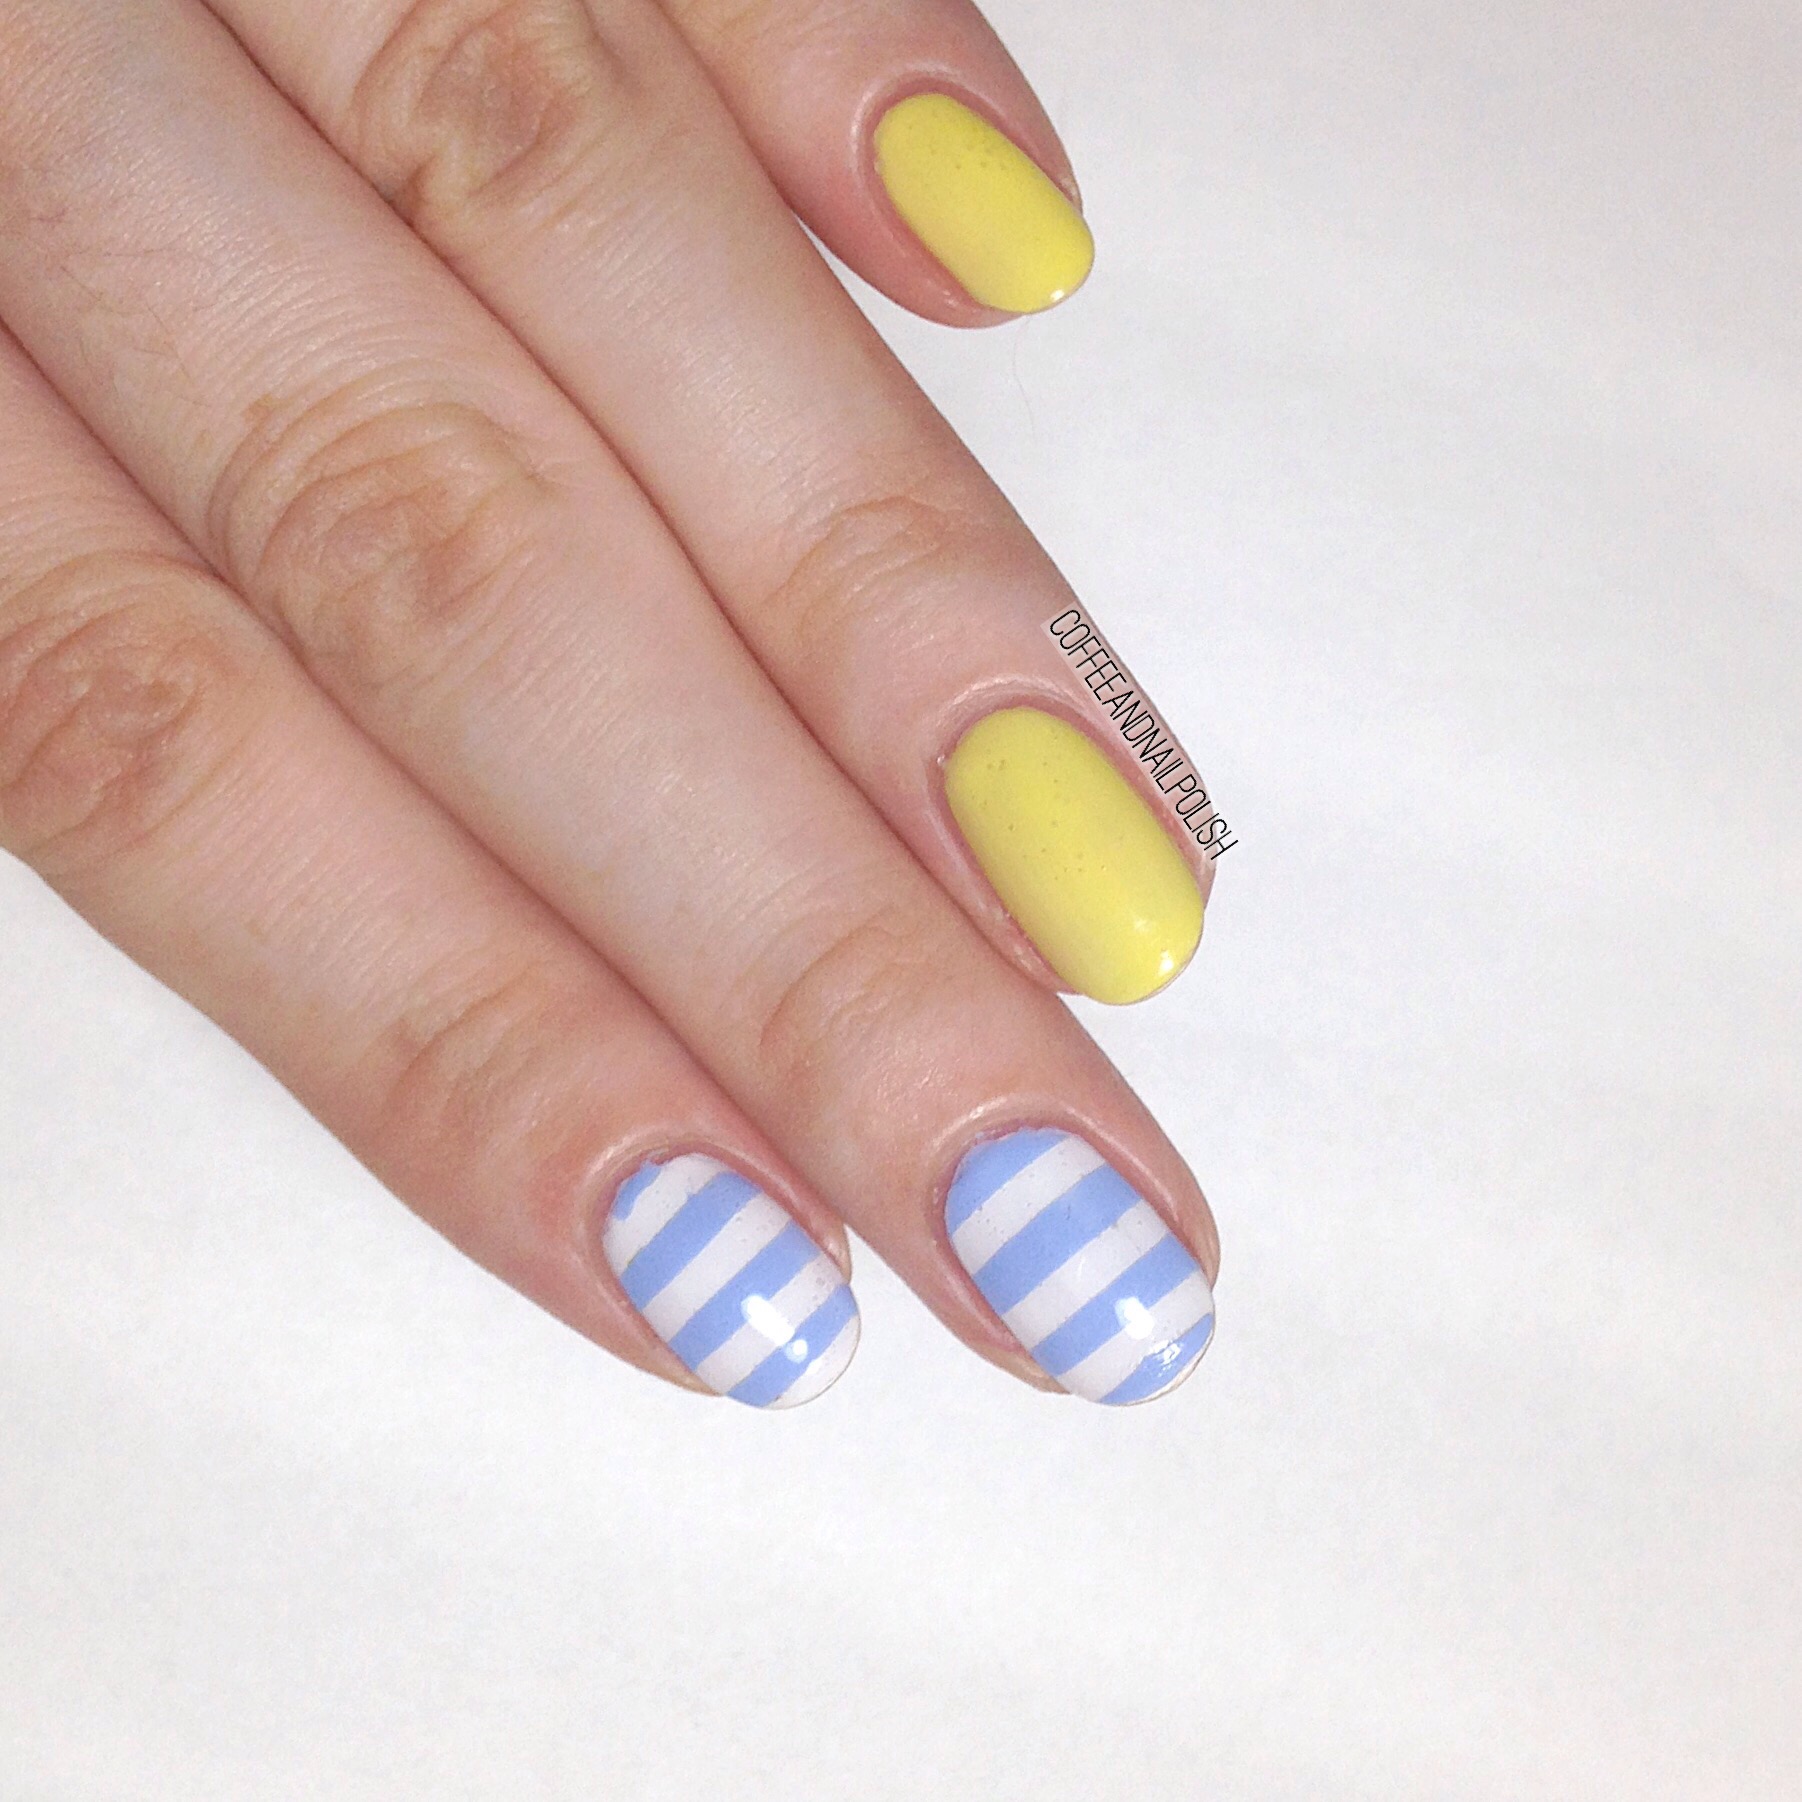
Day 3: Yellow Nails 


Products used for this mani:

  • Cosmetics Arts unnamed grey 
  • China Glaze Metro Pollen-ton
  • China Glaze Sun Upon My Skin
  • OPI Good Greif 
  • Essie Gel Setter 
  • Bundle Monster dotting large and smaller dotting tool. 

Day 4: Green Nails 


Inspired by @ameliasaccount and @polishpeach

Products used for this mani: 

  • ORLY Decades of Dysfunction 
  • Sally Hansen I ♥️ Nail Art pen  in green. 
  • Sally Hansen Xtreme Wear in Kiwi Bikini. 
  • OPI Who You Callin’ Bossy?!
  • Essie Gel Setter. 
  • Small nail art brush from Bundle Monster. 

Day 5: Blue Nails 


The products I used for this mani:

  • Zoya Blu 
  • Revlon Plunge Pool 
  • Essie Gel Setter 
  • Born Pretty Store Clear Jelly Stamper 
  • Born Pretty stamping plate  
  • Born Pretty liquid nail tape. 

So what do you think of my manis so far for the 31 Day challenge? Are you currently participating? I’m definitely enjoying the challenge of coming up with new and different designs! 

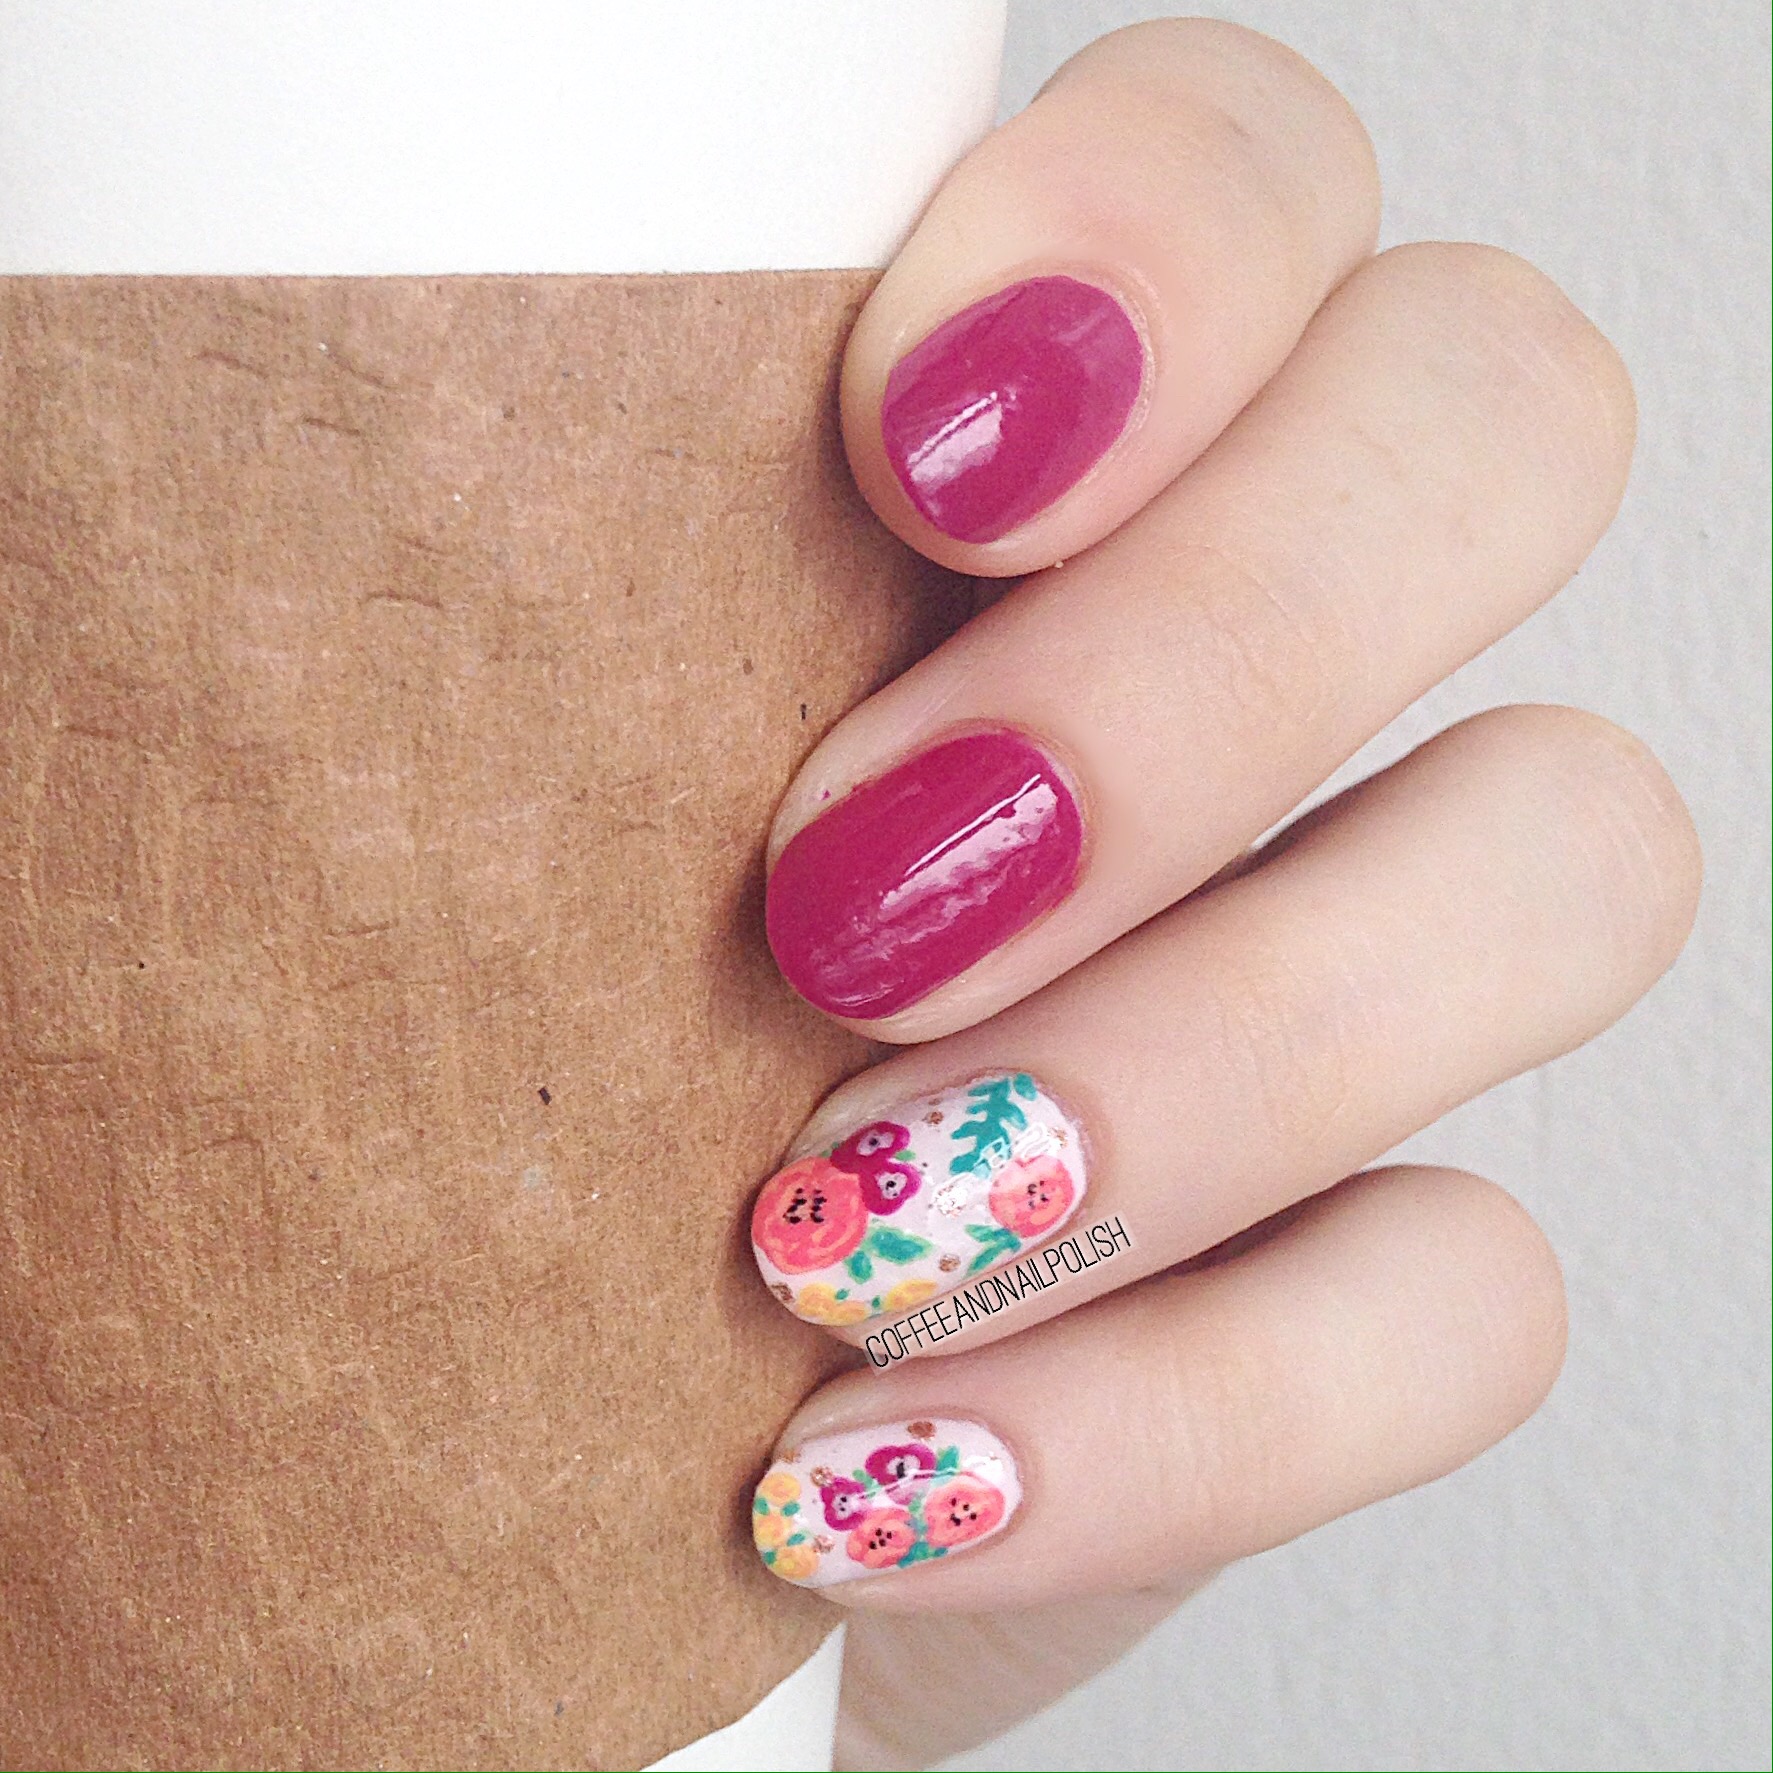
Romantic Roses. 

Floral was one of the first nail art designs I taught myself to do, so it will always be one of my favourites. There are just so many different ways you can do it! 

Since it’s still definitely Summer outside (even though my heart is craving Fall) I thought I would do some girlie pink roses.

The polishes I used for this mani were:

  • Base coat: Quo by Orly Nail Nutrition. 
  • OPI Kiss Me- or Elf! 
  • Orly Decades of Dysfunction 
  • China Glaze Glow With the Flow
  • Quo by Orly Happy and Healthy
  • Quo by Orly The Antedote
  • Quo by Orly Striper in White 
  • Essie Jiggle Hi, Jiggle Lo
  • Essie Gel Setter 

For the mani, I also used:

  • Small nail art brush from Born Pretty Store 
  • Dotting tool from Amazon 


What was the first nail art you ever taught yourself to do? Is it still a favourite? Let me know in the comments below! 💗

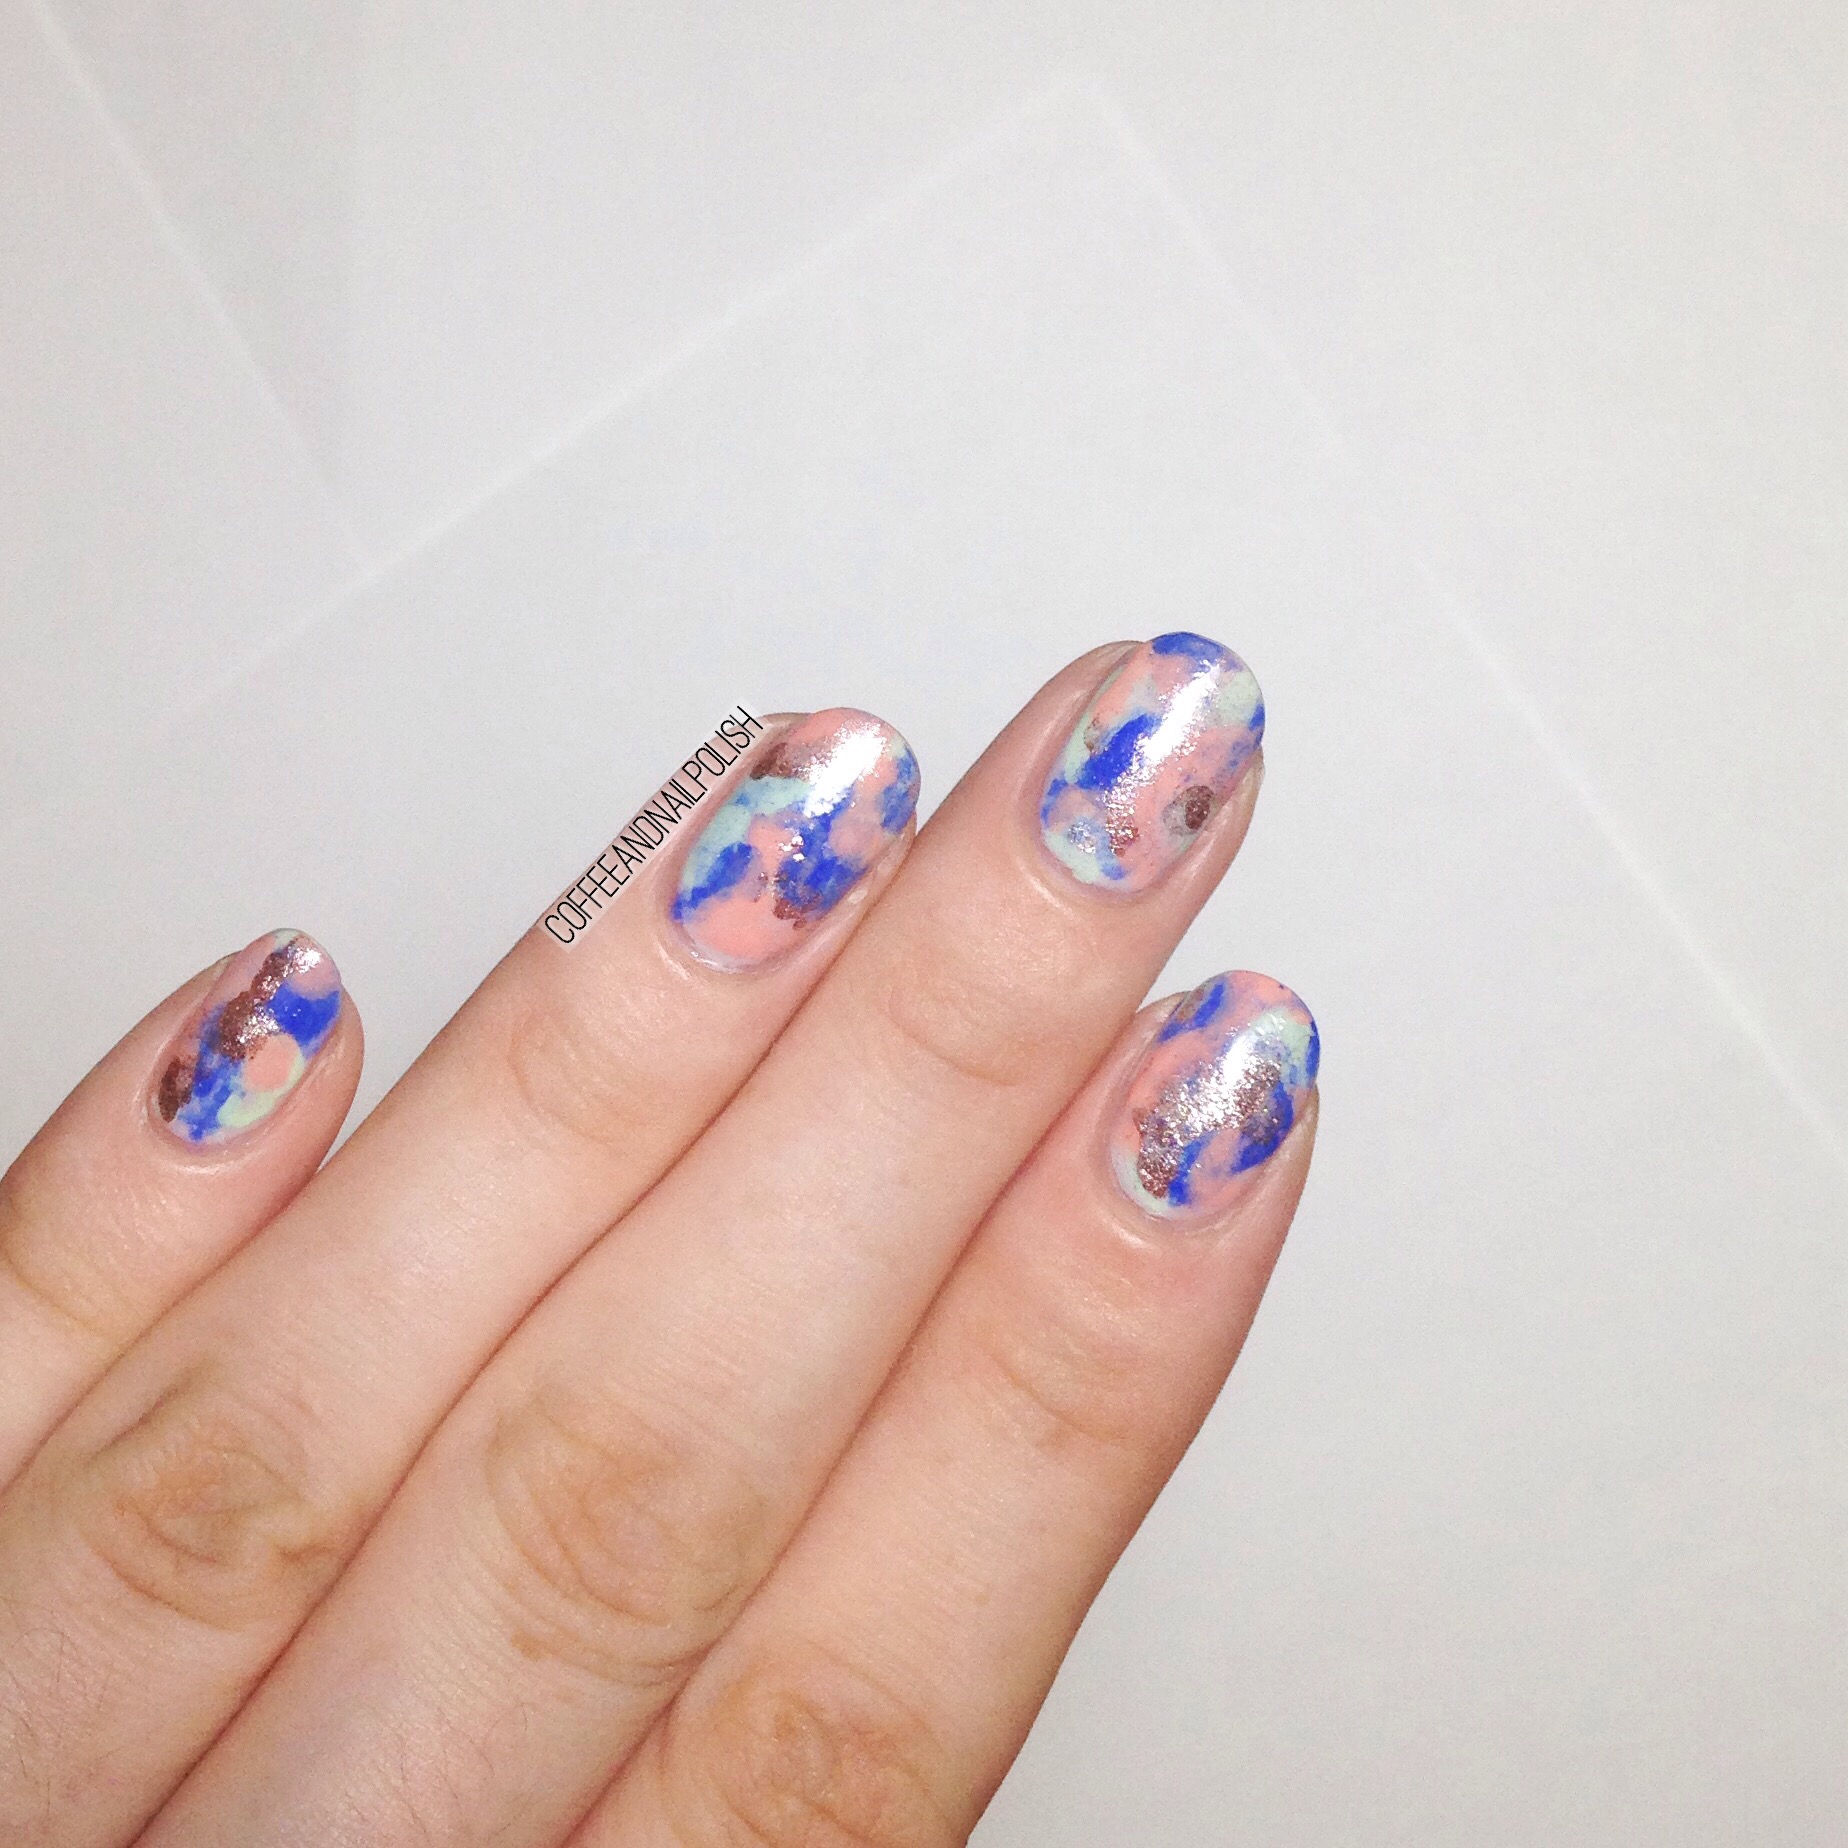
Dry Brush featuring Quo by Orly Breathable polishes. 

Good morning lovelies! It’s been a while. 

If you follow my Instagram, you maybe have seen a big announcement I made recently. Which is why I’ve been slacking on posting–turns out pregnancy is kind of exhausting. I’m feeling much better though so here’s hoping I can start blogging again (I’ve really missed blogging.)

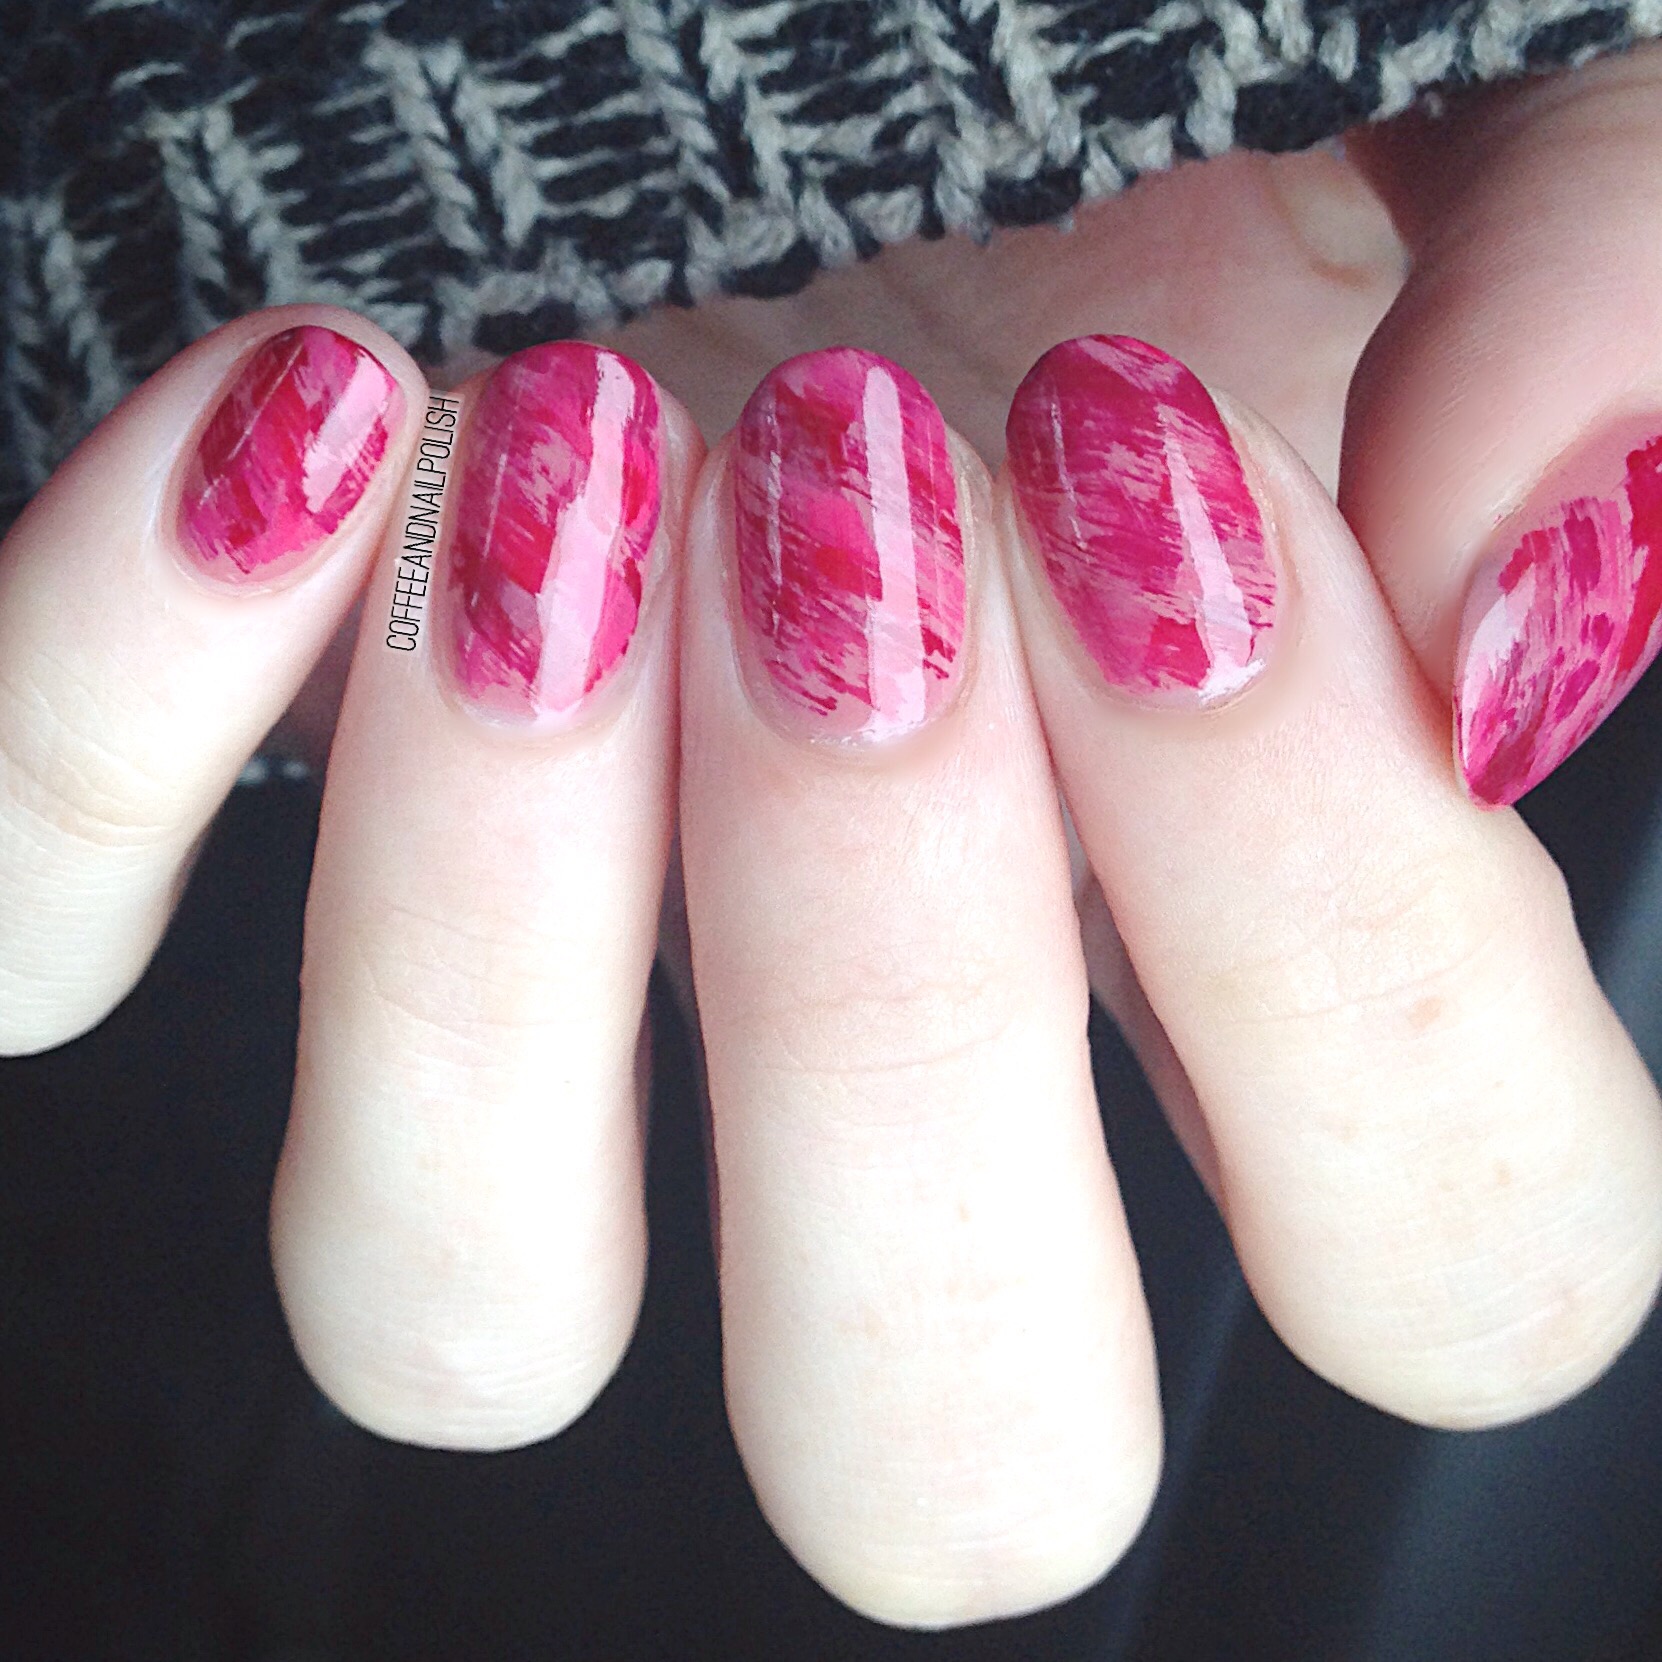
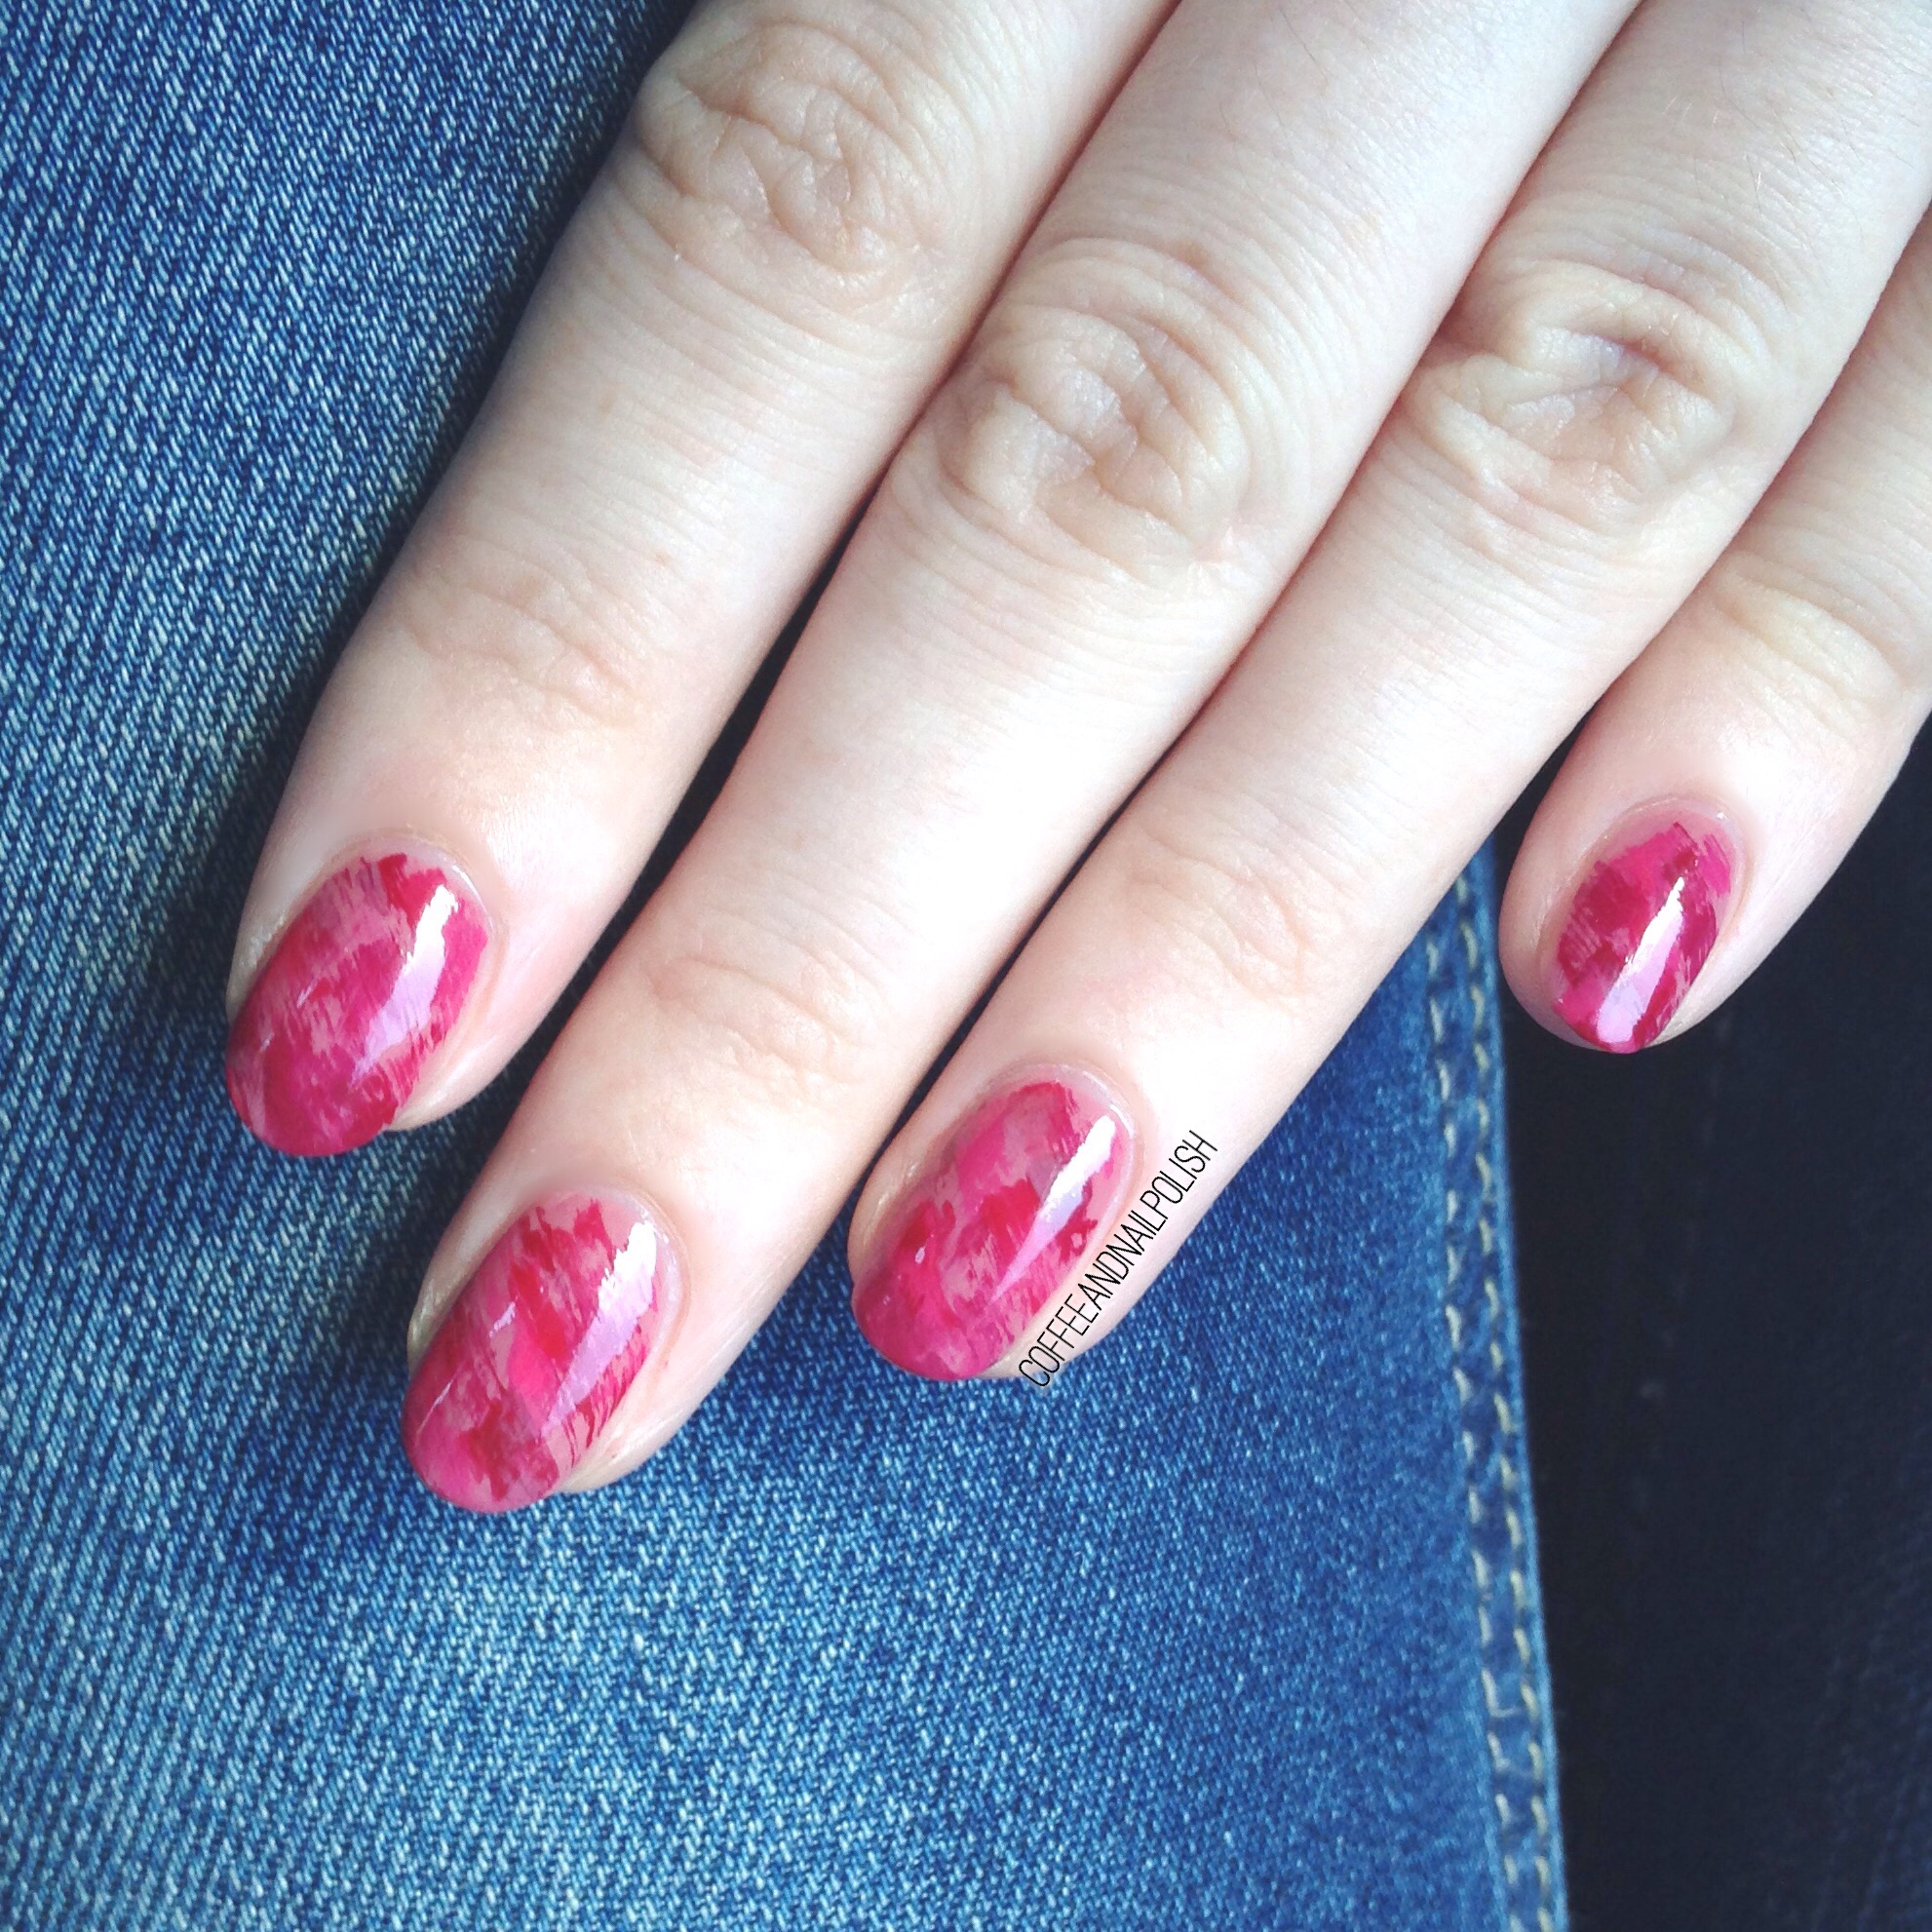
I was recently sent some of the new Quo by Orly Breathable polishes for review. I’ve been testing out each colour and I’m super impressed with the results, so I thought it would be fun to use all 5 polishes sent to me for some nail art! 


For this mani, the polishes I used were: 

  • Nourishing Nude
  • Nail Superfood
  •  The Antidote
  • Just Breathe
  • Happy and Healthy

The great thing about this line is it requires no base coat or top coat. Just put it on, let dry, and enjoy! For this design, I started with a base of Nourishing Nude, then brushed on strokes of the other colours. Then I topped the dry brush with another coat of Nourishing Nude (which is pretty sheer). It gave everything that kind of faded effect, and sealed in the design. 
So what do you think of these Quo by Orly Breathable polishes? Have you tried any of them yet? I have to say I’m really impressed with this line so far, especially because they are all super shiney without any need for top coat! I will definitely be picking up more from the collection.