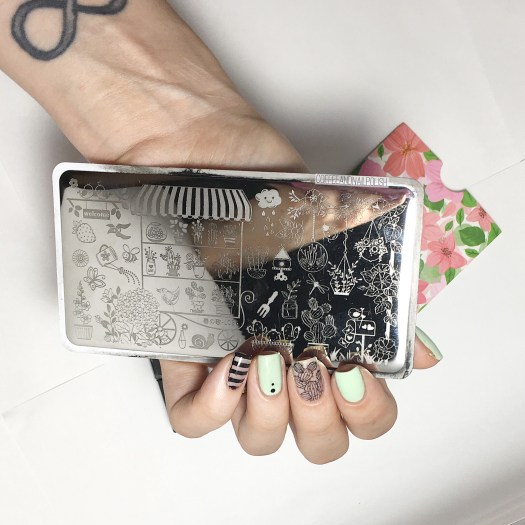
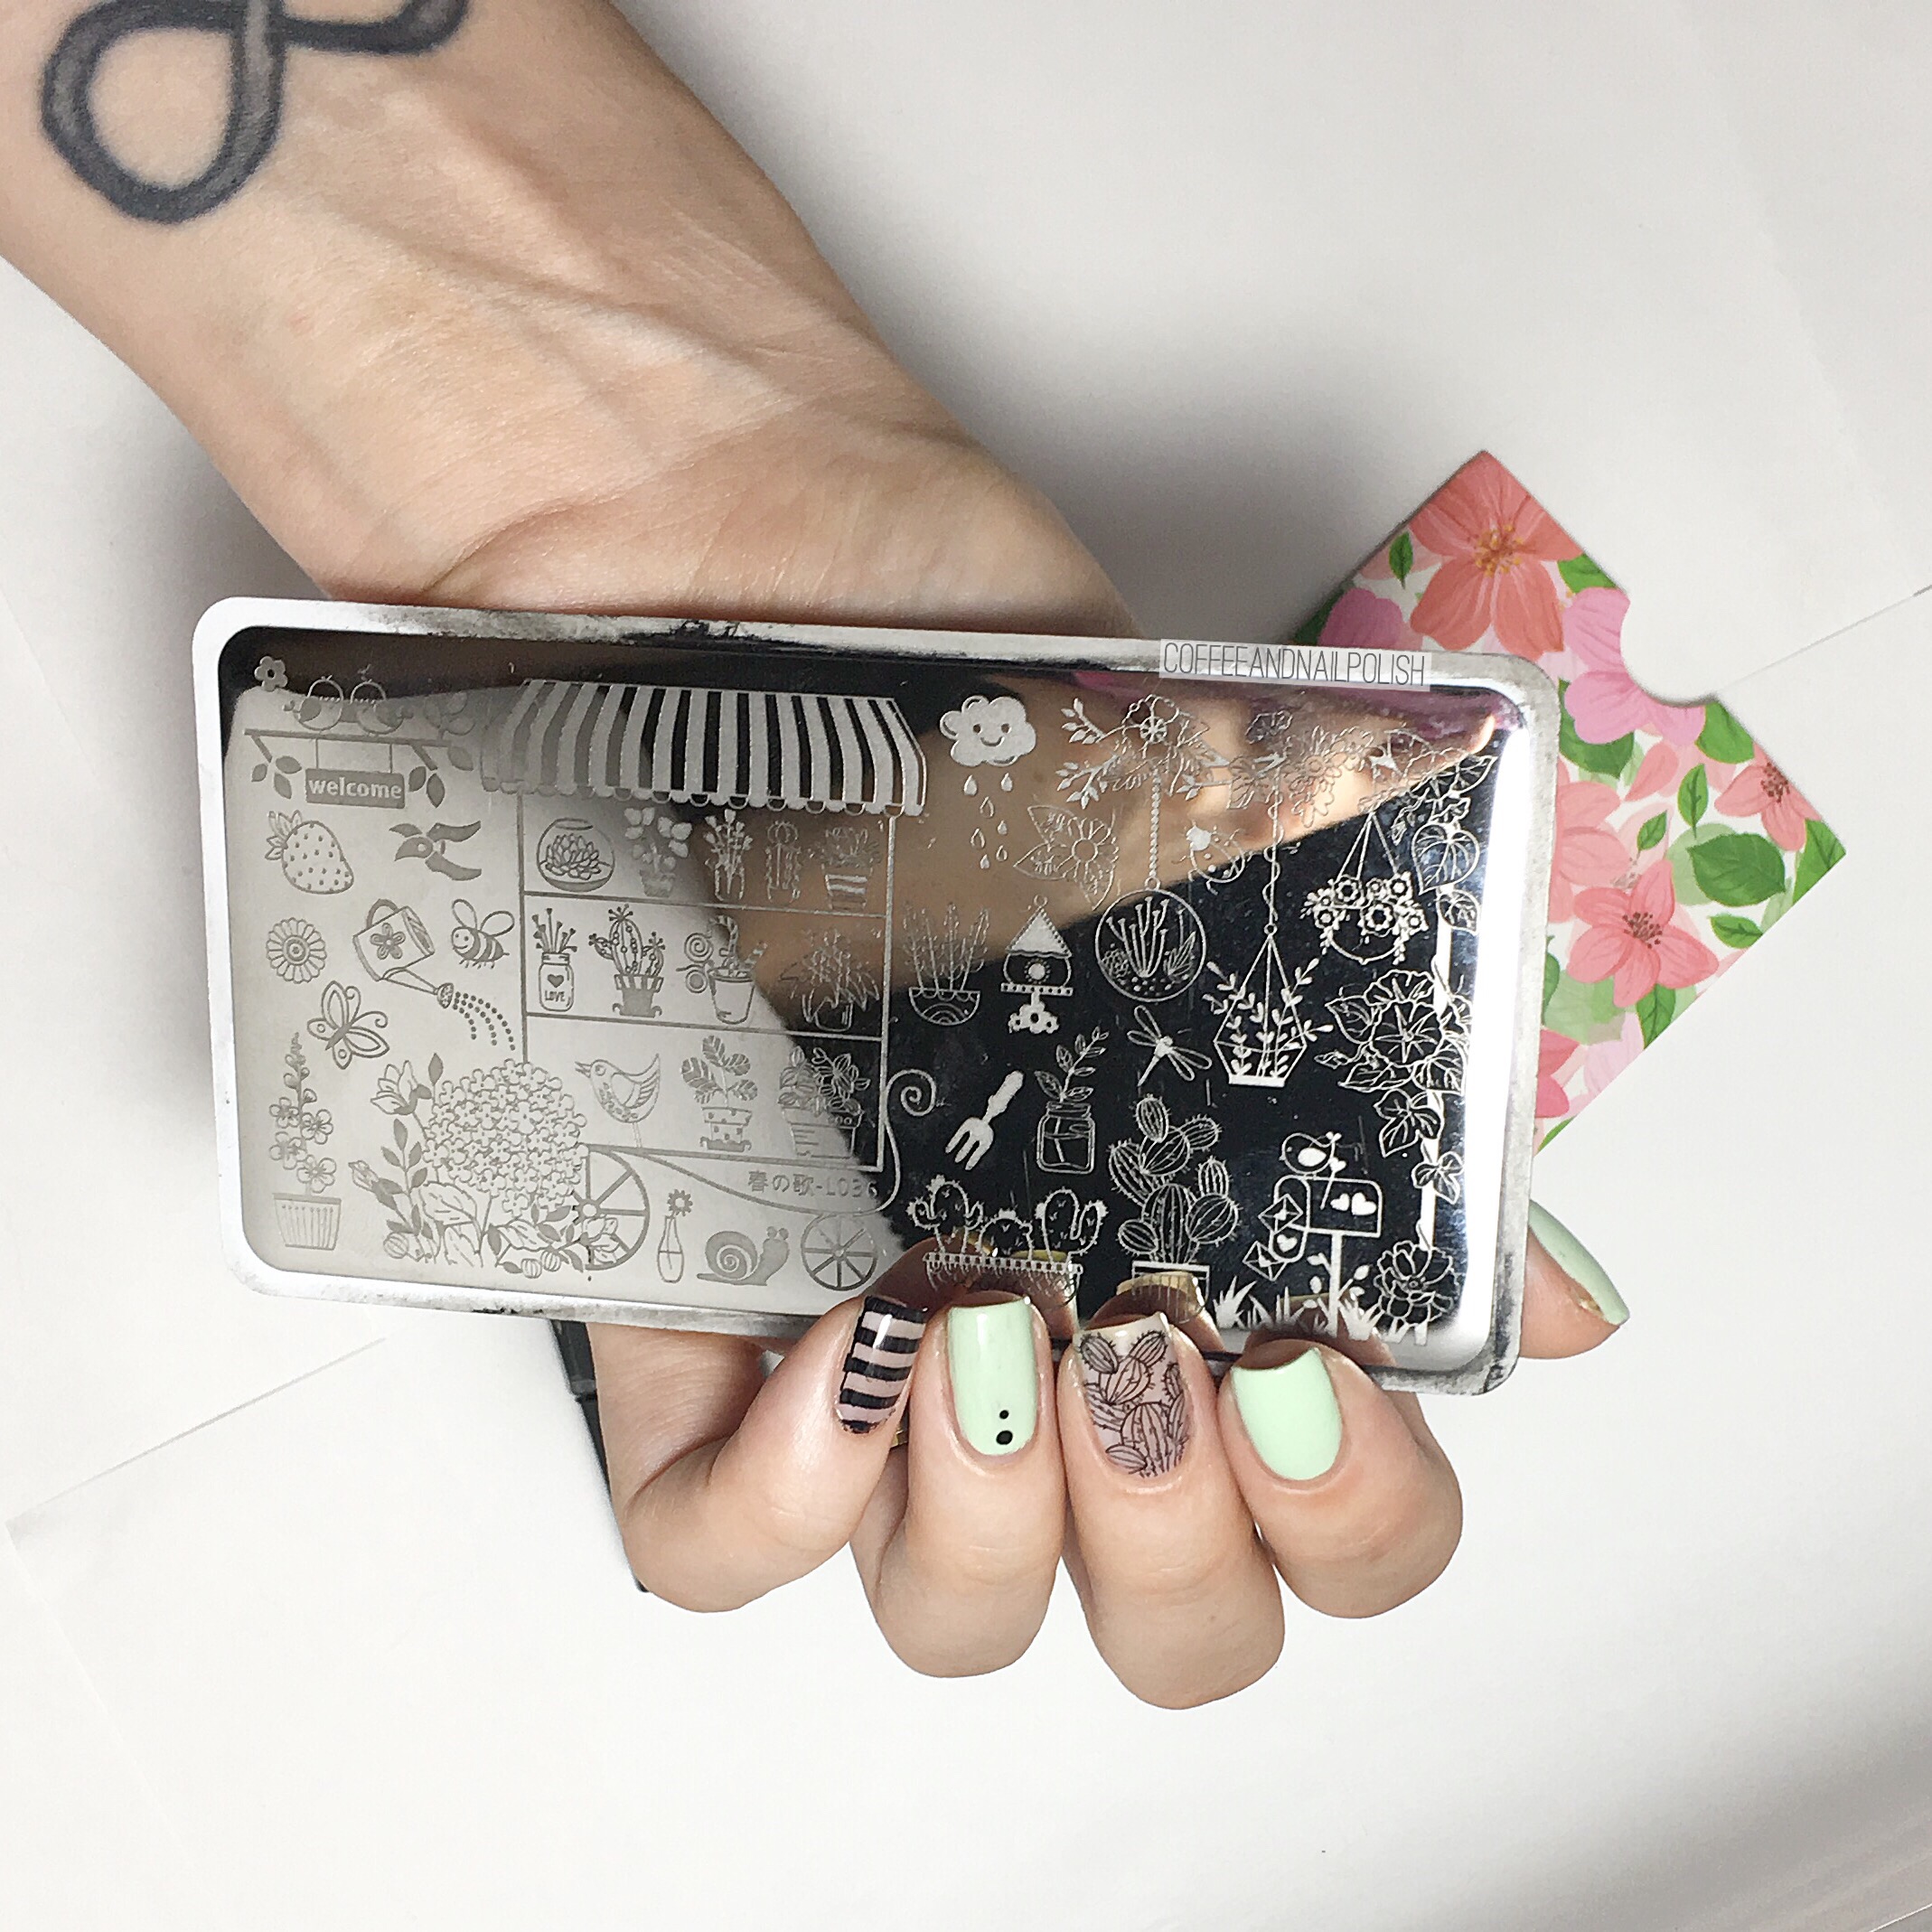
 Good morning! I was recently sent some awesome items from Born Pretty Store for review & I can’t wait to show off what I received. Today I’m reviewing this Potted Plant Harunouta Stamping plate L036 (item #38420) featuring my current garden obsession–cacti! 🌵
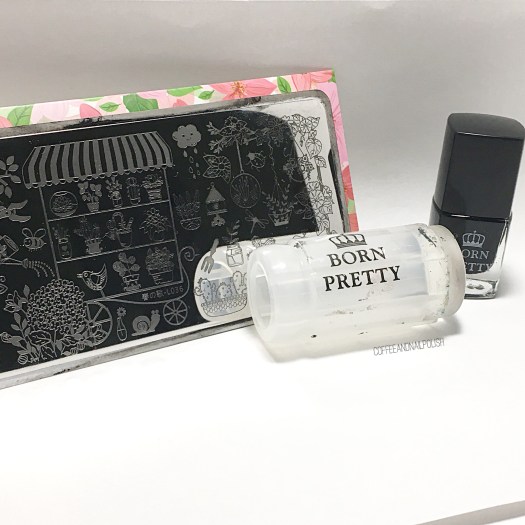
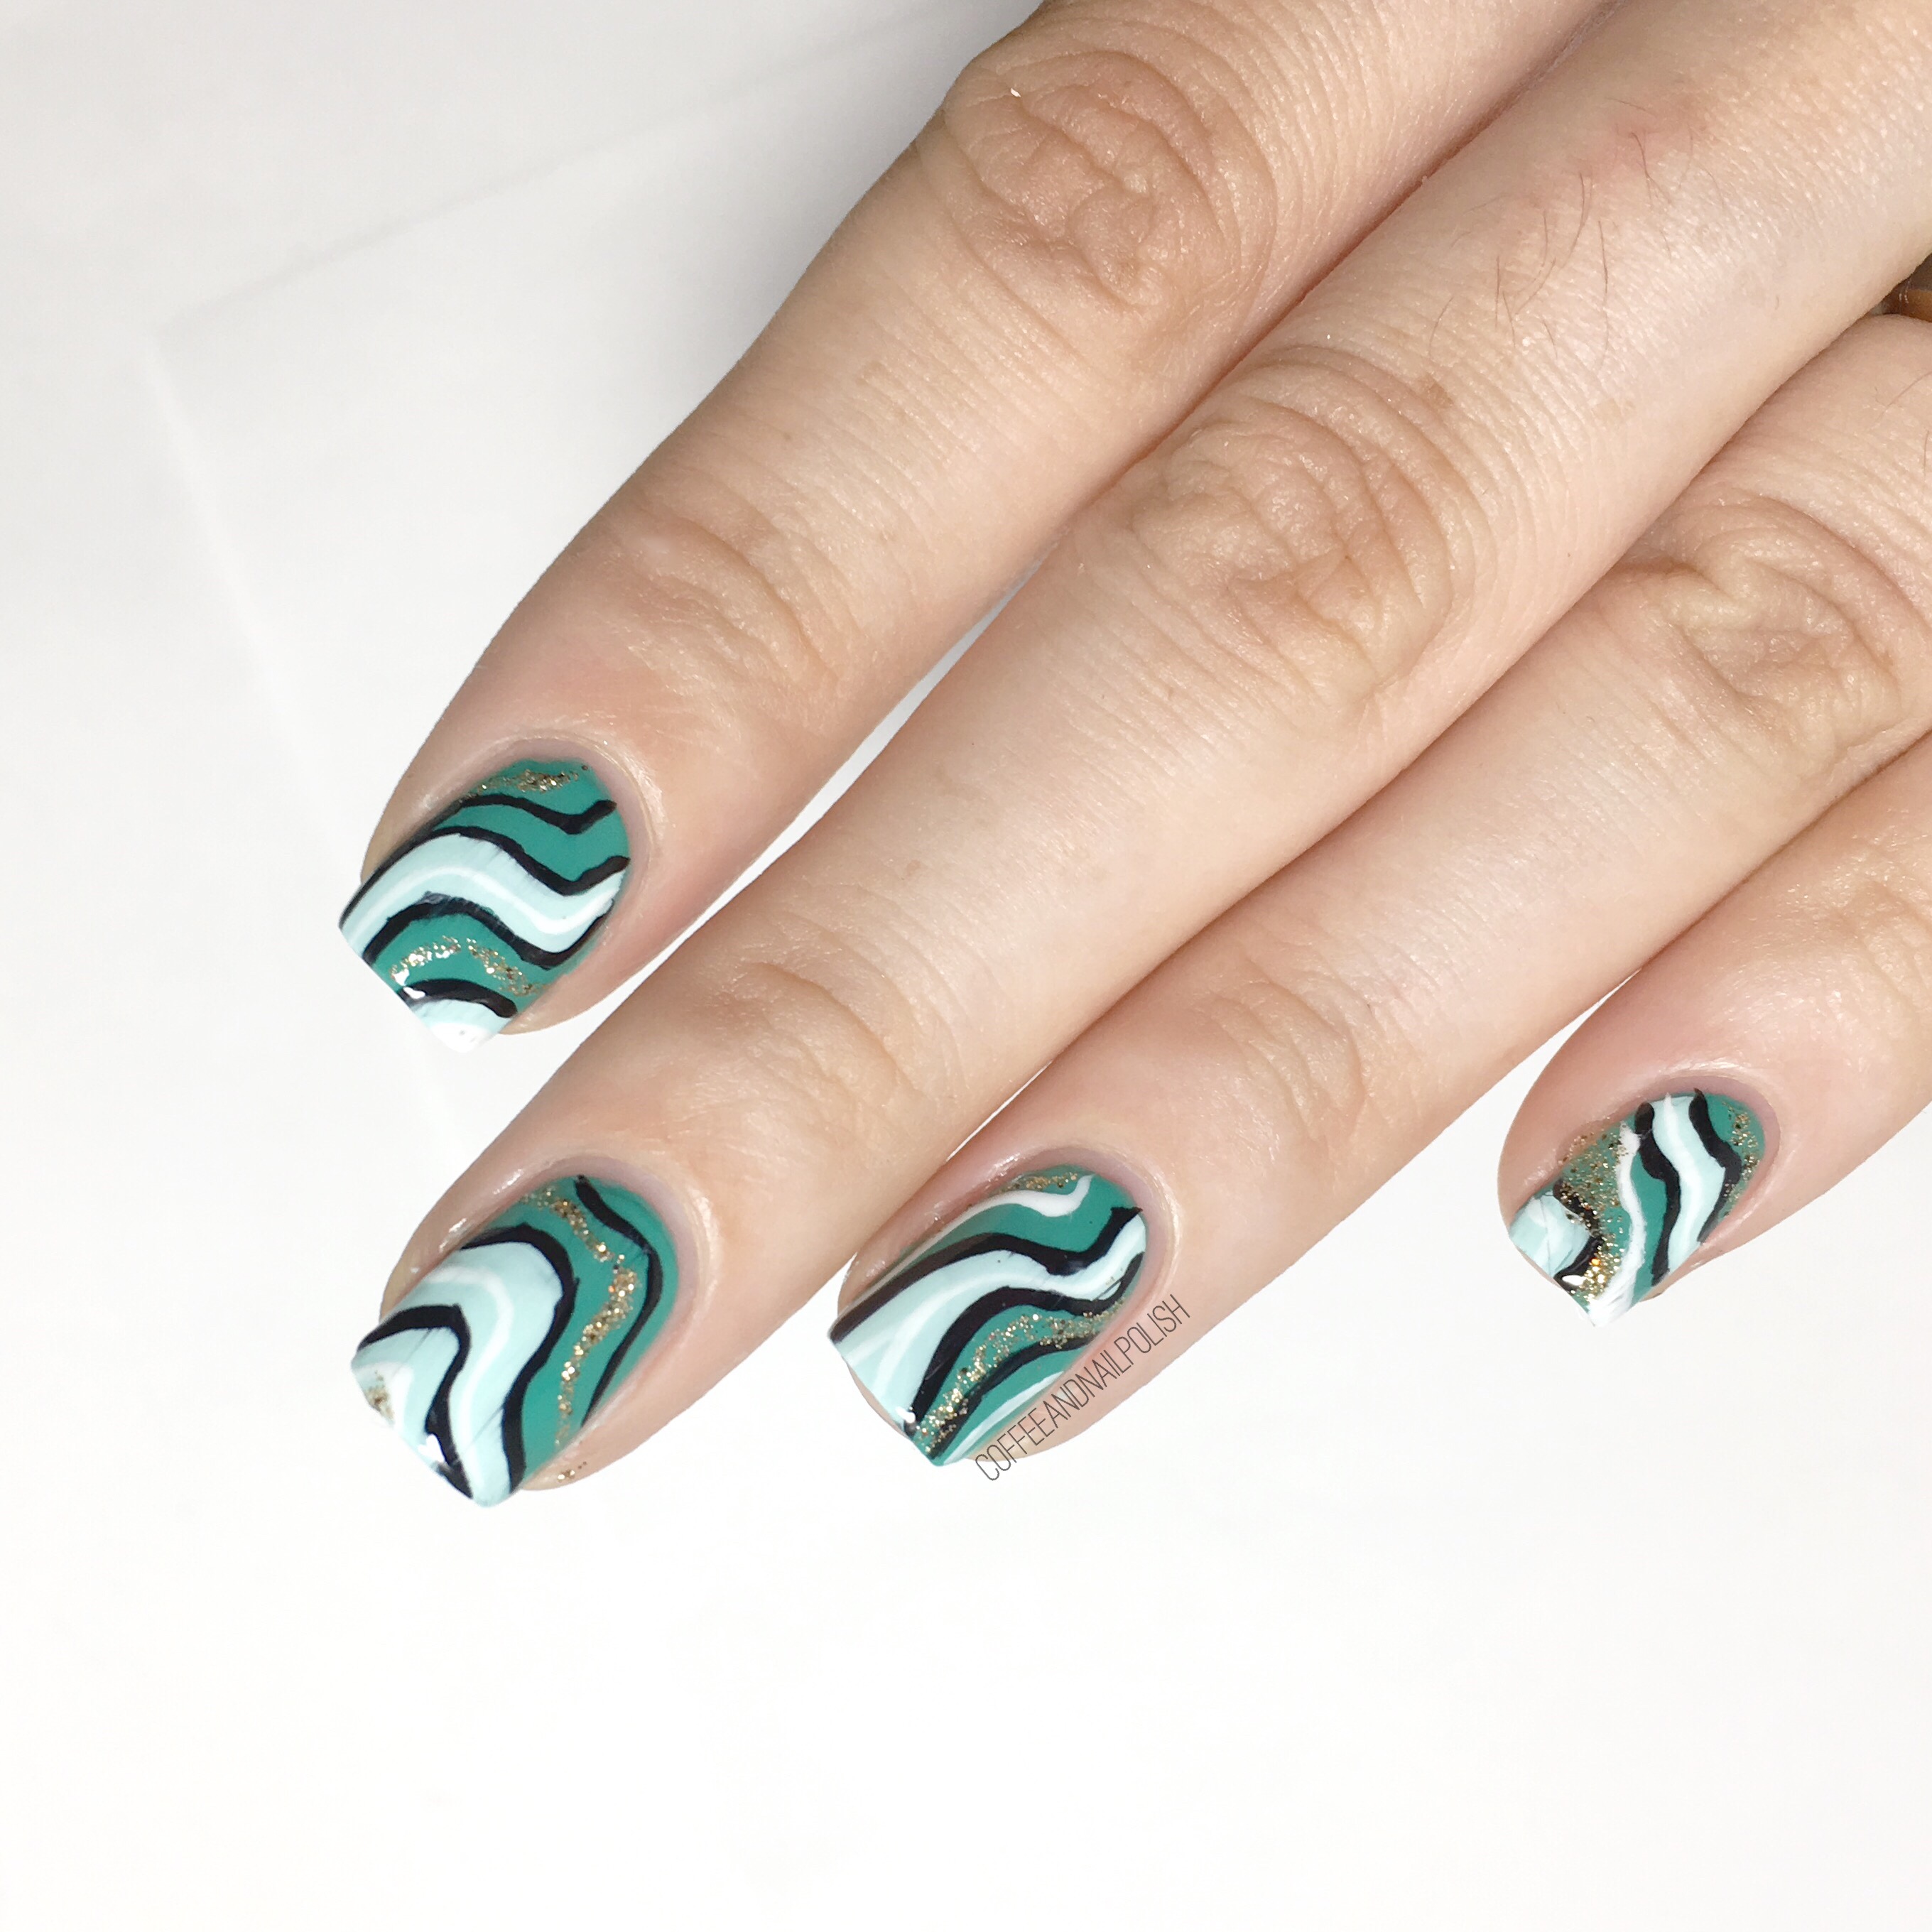
As soon as I saw this plate, I knew I needed it! I’ve been trying to get into stamping more, even though I find it a tad challenging. This cute plate comes in it’s own little envelope, sealed with blue plastic to protect it from scratches. For this manicure, I was inspired by some outfits I recently bought for my son, & thought this plate would be perfect to recreate the look!
For this manicure I used:
- Base Coat: L’Oréal All in One
- Top Coat: Essie Speed Setter
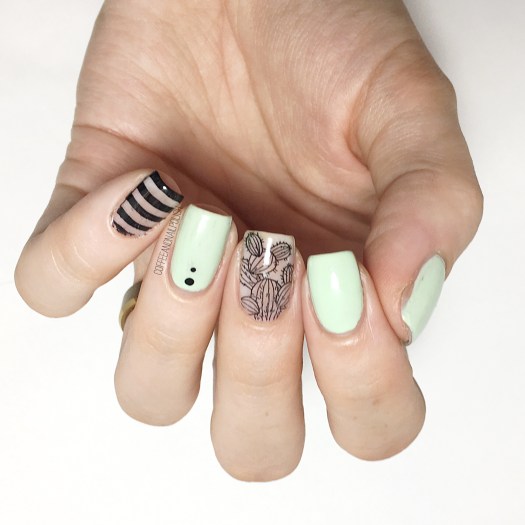
- OPI That’s Hula-rious
- OPI Care to Danse
- Born Pretty Store Black Stamping polish (from this set)
- Harunouta Potted Garden stamping plate L036 —item #38420
- Born Pretty Clear Jelly Stamper

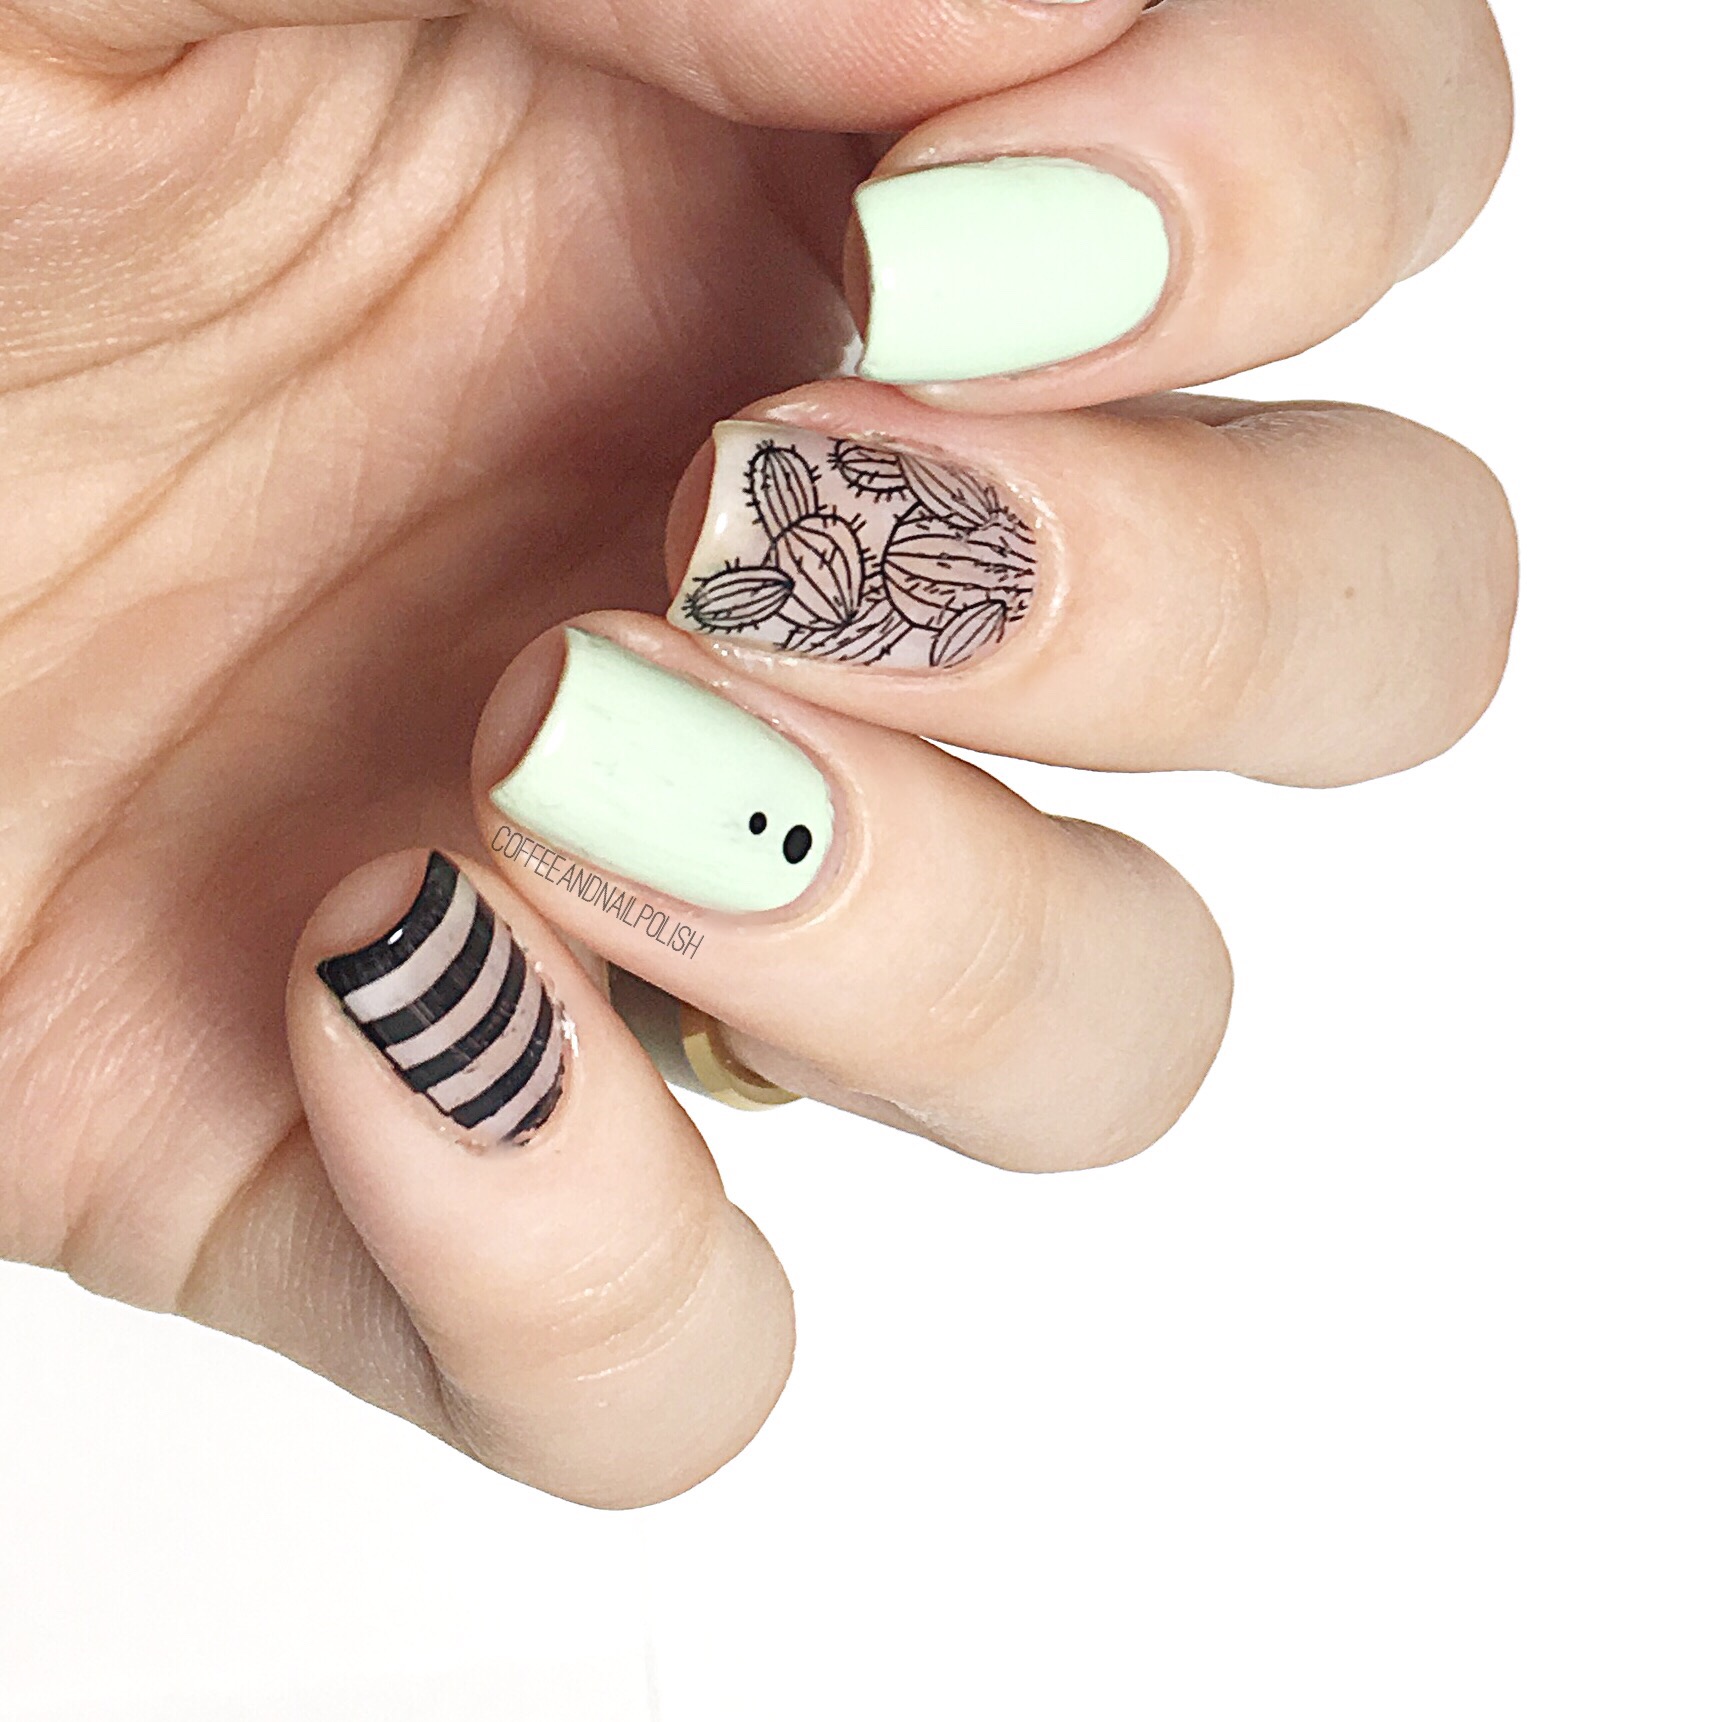
For stamping, I used the Born Pretty Store brand stamping polish which I received as part of another set for review. I am still relatively new to this stamping thing, so it took me a little bit to get the hang of stamping. My advice–do not try to do this at midnight when you’re sleep deprived. I tried a couple different looks–including filling in the design. I also tried a couple different stampers in my collection but decided on my clear Jelly stamper (also from Born Pretty.) It took me a couple tries to figure out how to pick up the images perfectly, but as you can see when it finally worked for me, the images were perfect.

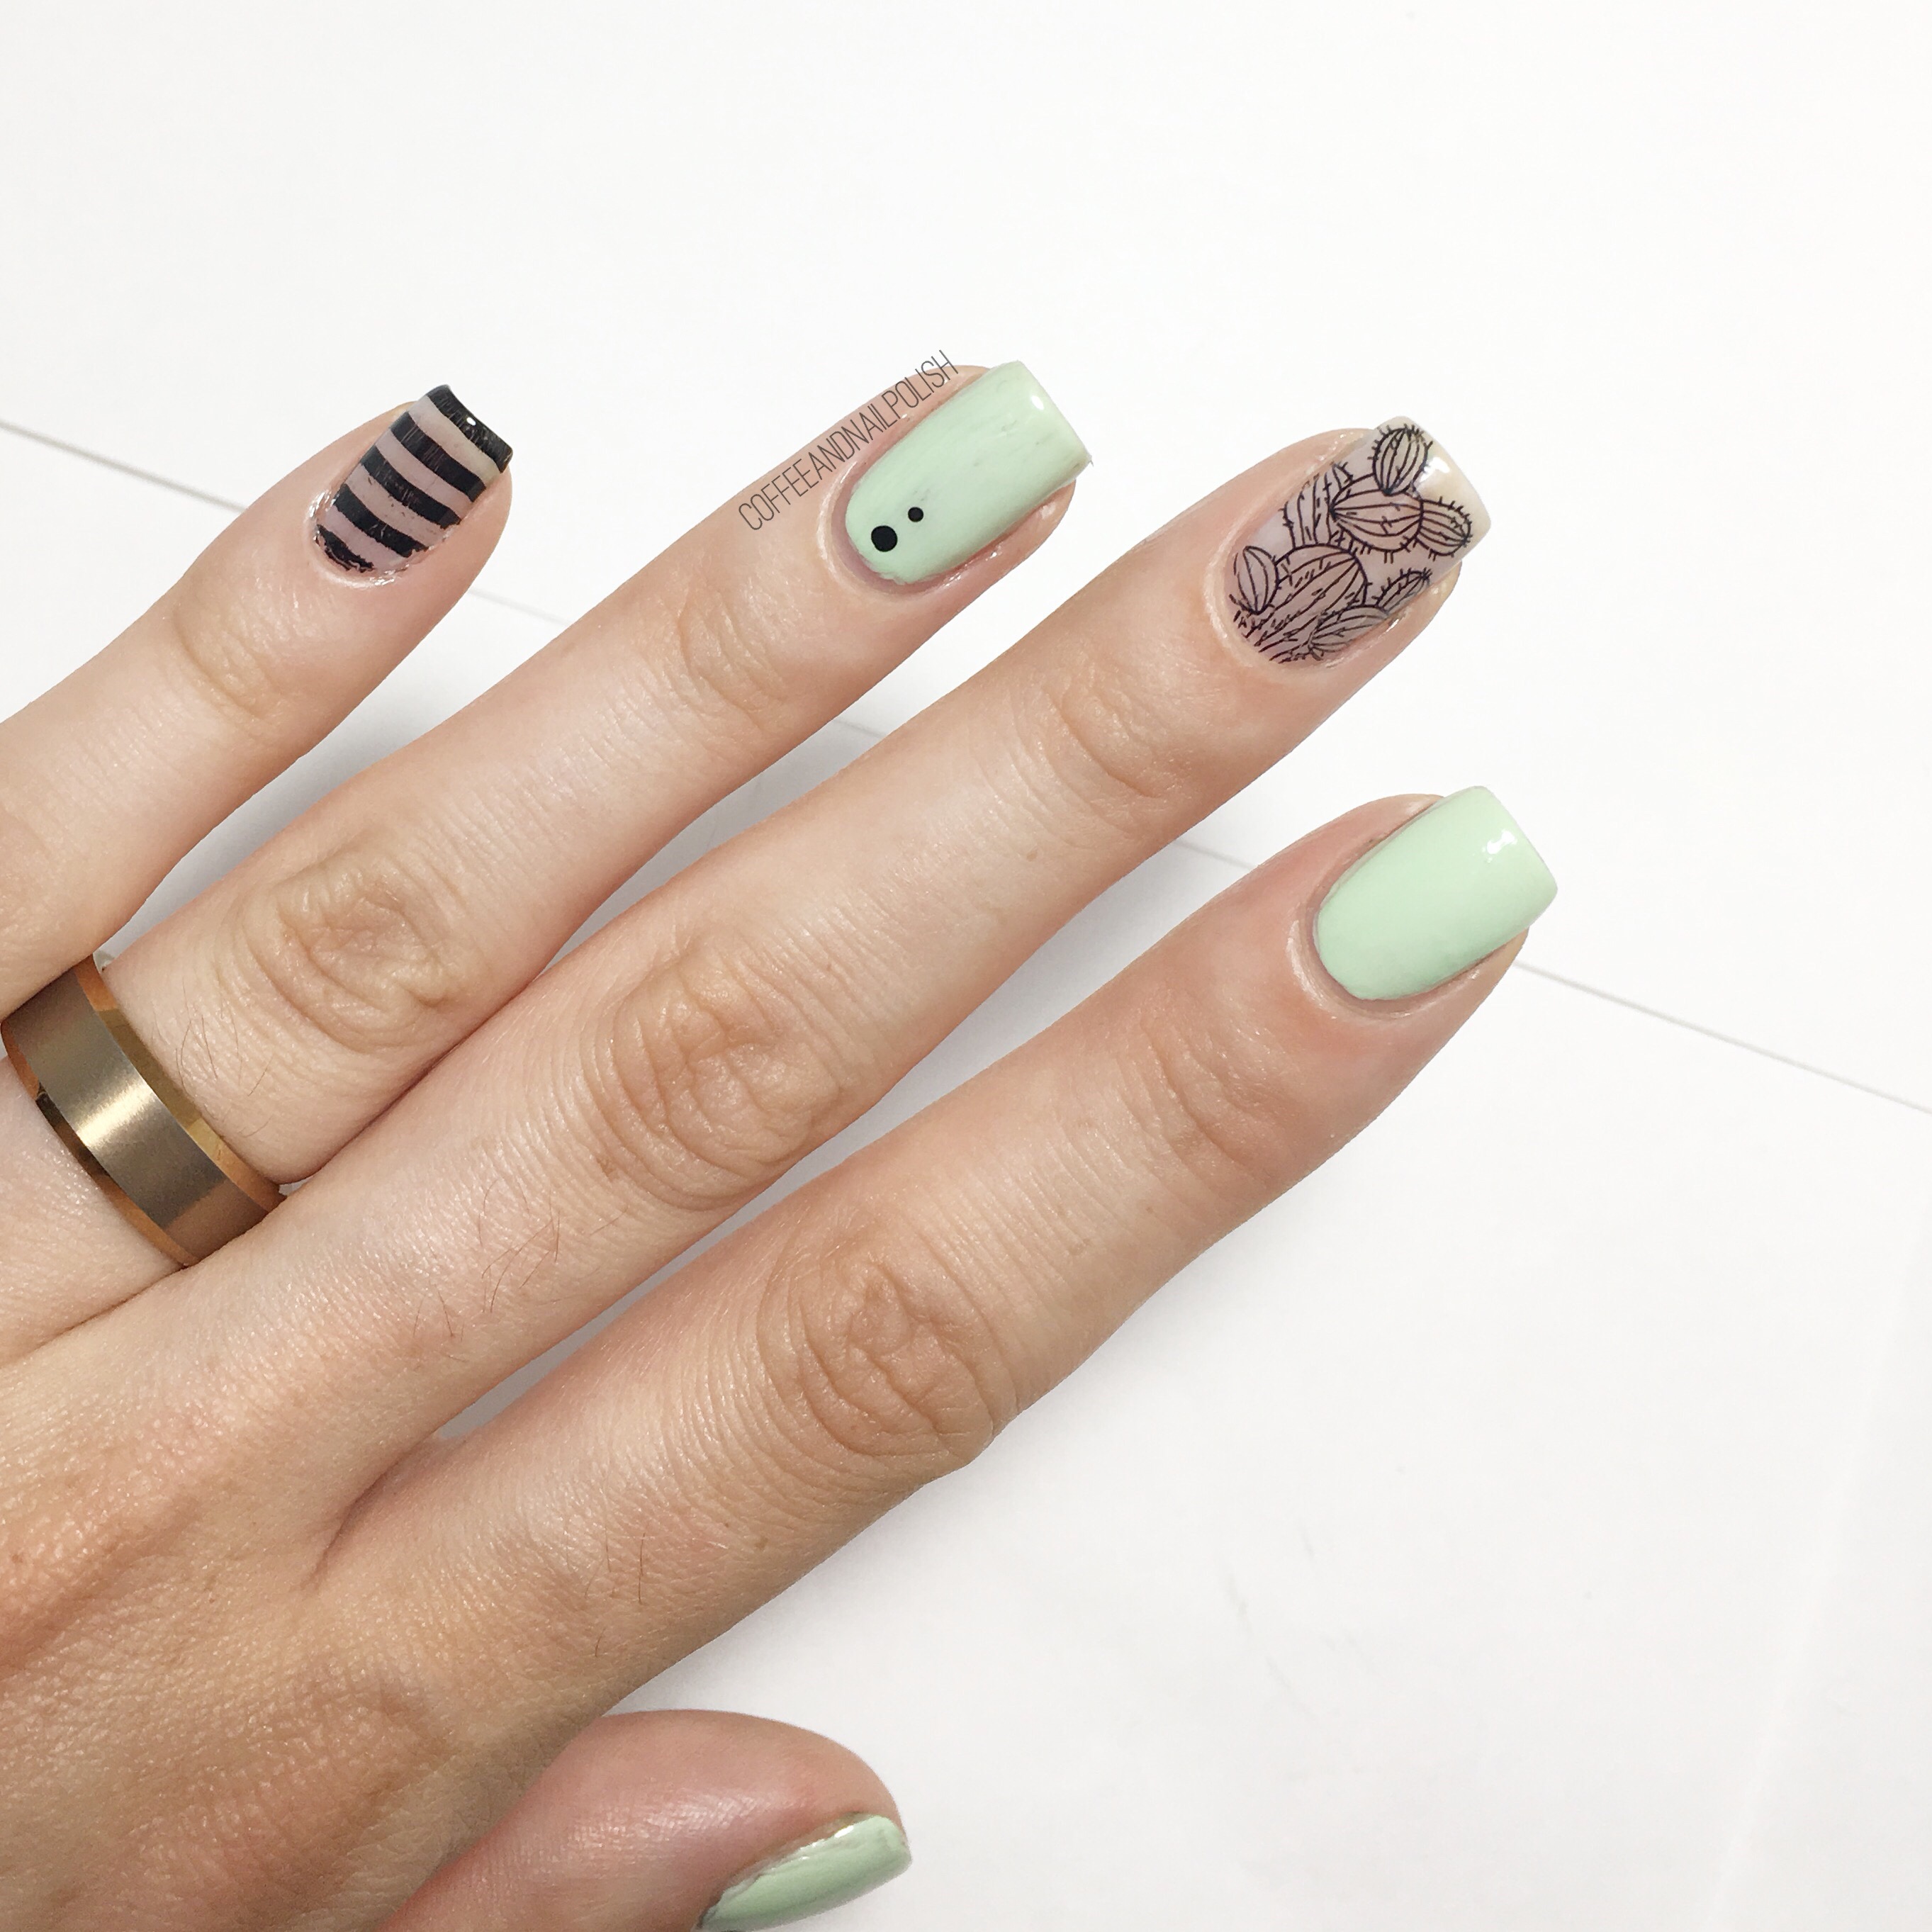
For this particular design, I stamped both the cactus pattern on my middle finger & the stripes on my pinky. The black stamping polish was definitely the best for picking up the images (I tested with some of my other blacks & couldn’t pick anything up). You definitely have to move quick though–if you wait too long, you won’t pick up anything! But even with all the work, the end result is gorgeous. & I couldn’t stop staring at my nails.

All in all, I love this stamping plate. For me the cactus is what caught my eye (because cactus! 🌵) but their are so many cute designs to choose from depending on the occasion. I can definitely see myself using this plate for a while slew of occasions! You can definitely expect to the cute images from this plate pop up again!

If you’re interested in ordering this plate (or something else) from Born Pretty Store feel free to use my discount code COFFK31 to save 10% off any regular price items! I’ve been ordering from them for years, & I love the wide variety of products you can find for all your nail polish addict needs!
Stay tuned. I have a few more items coming out to share!

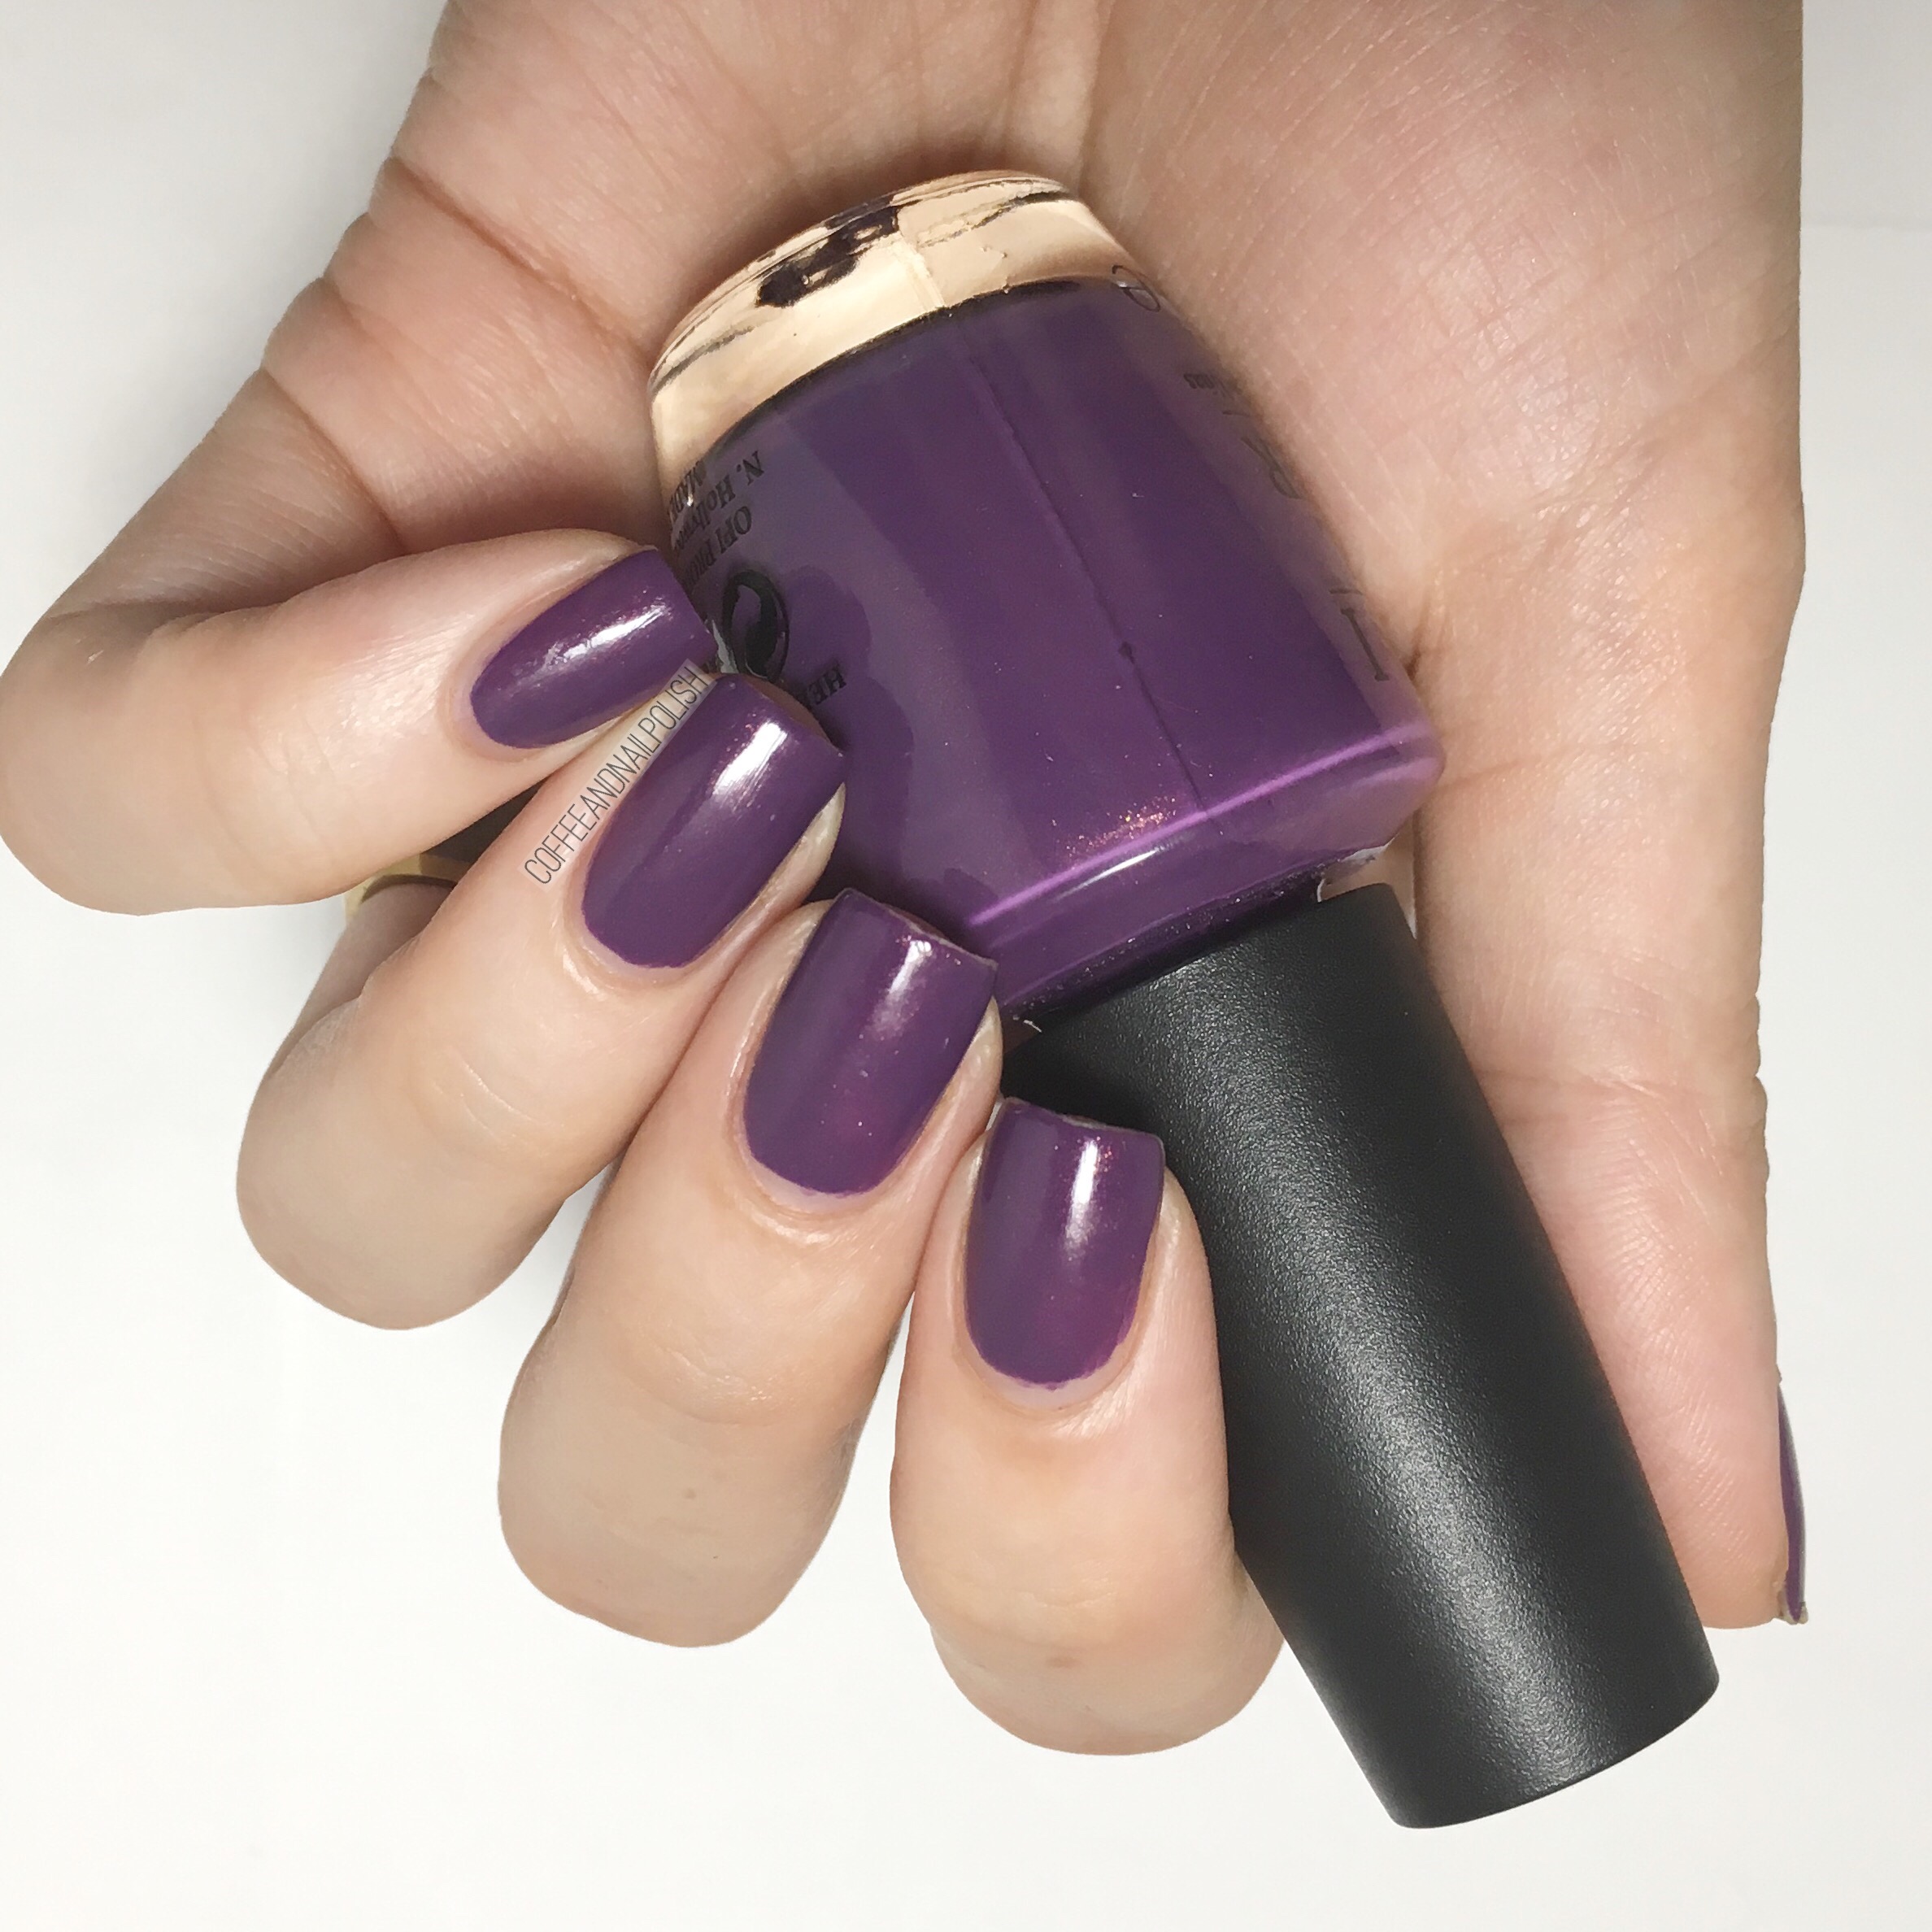
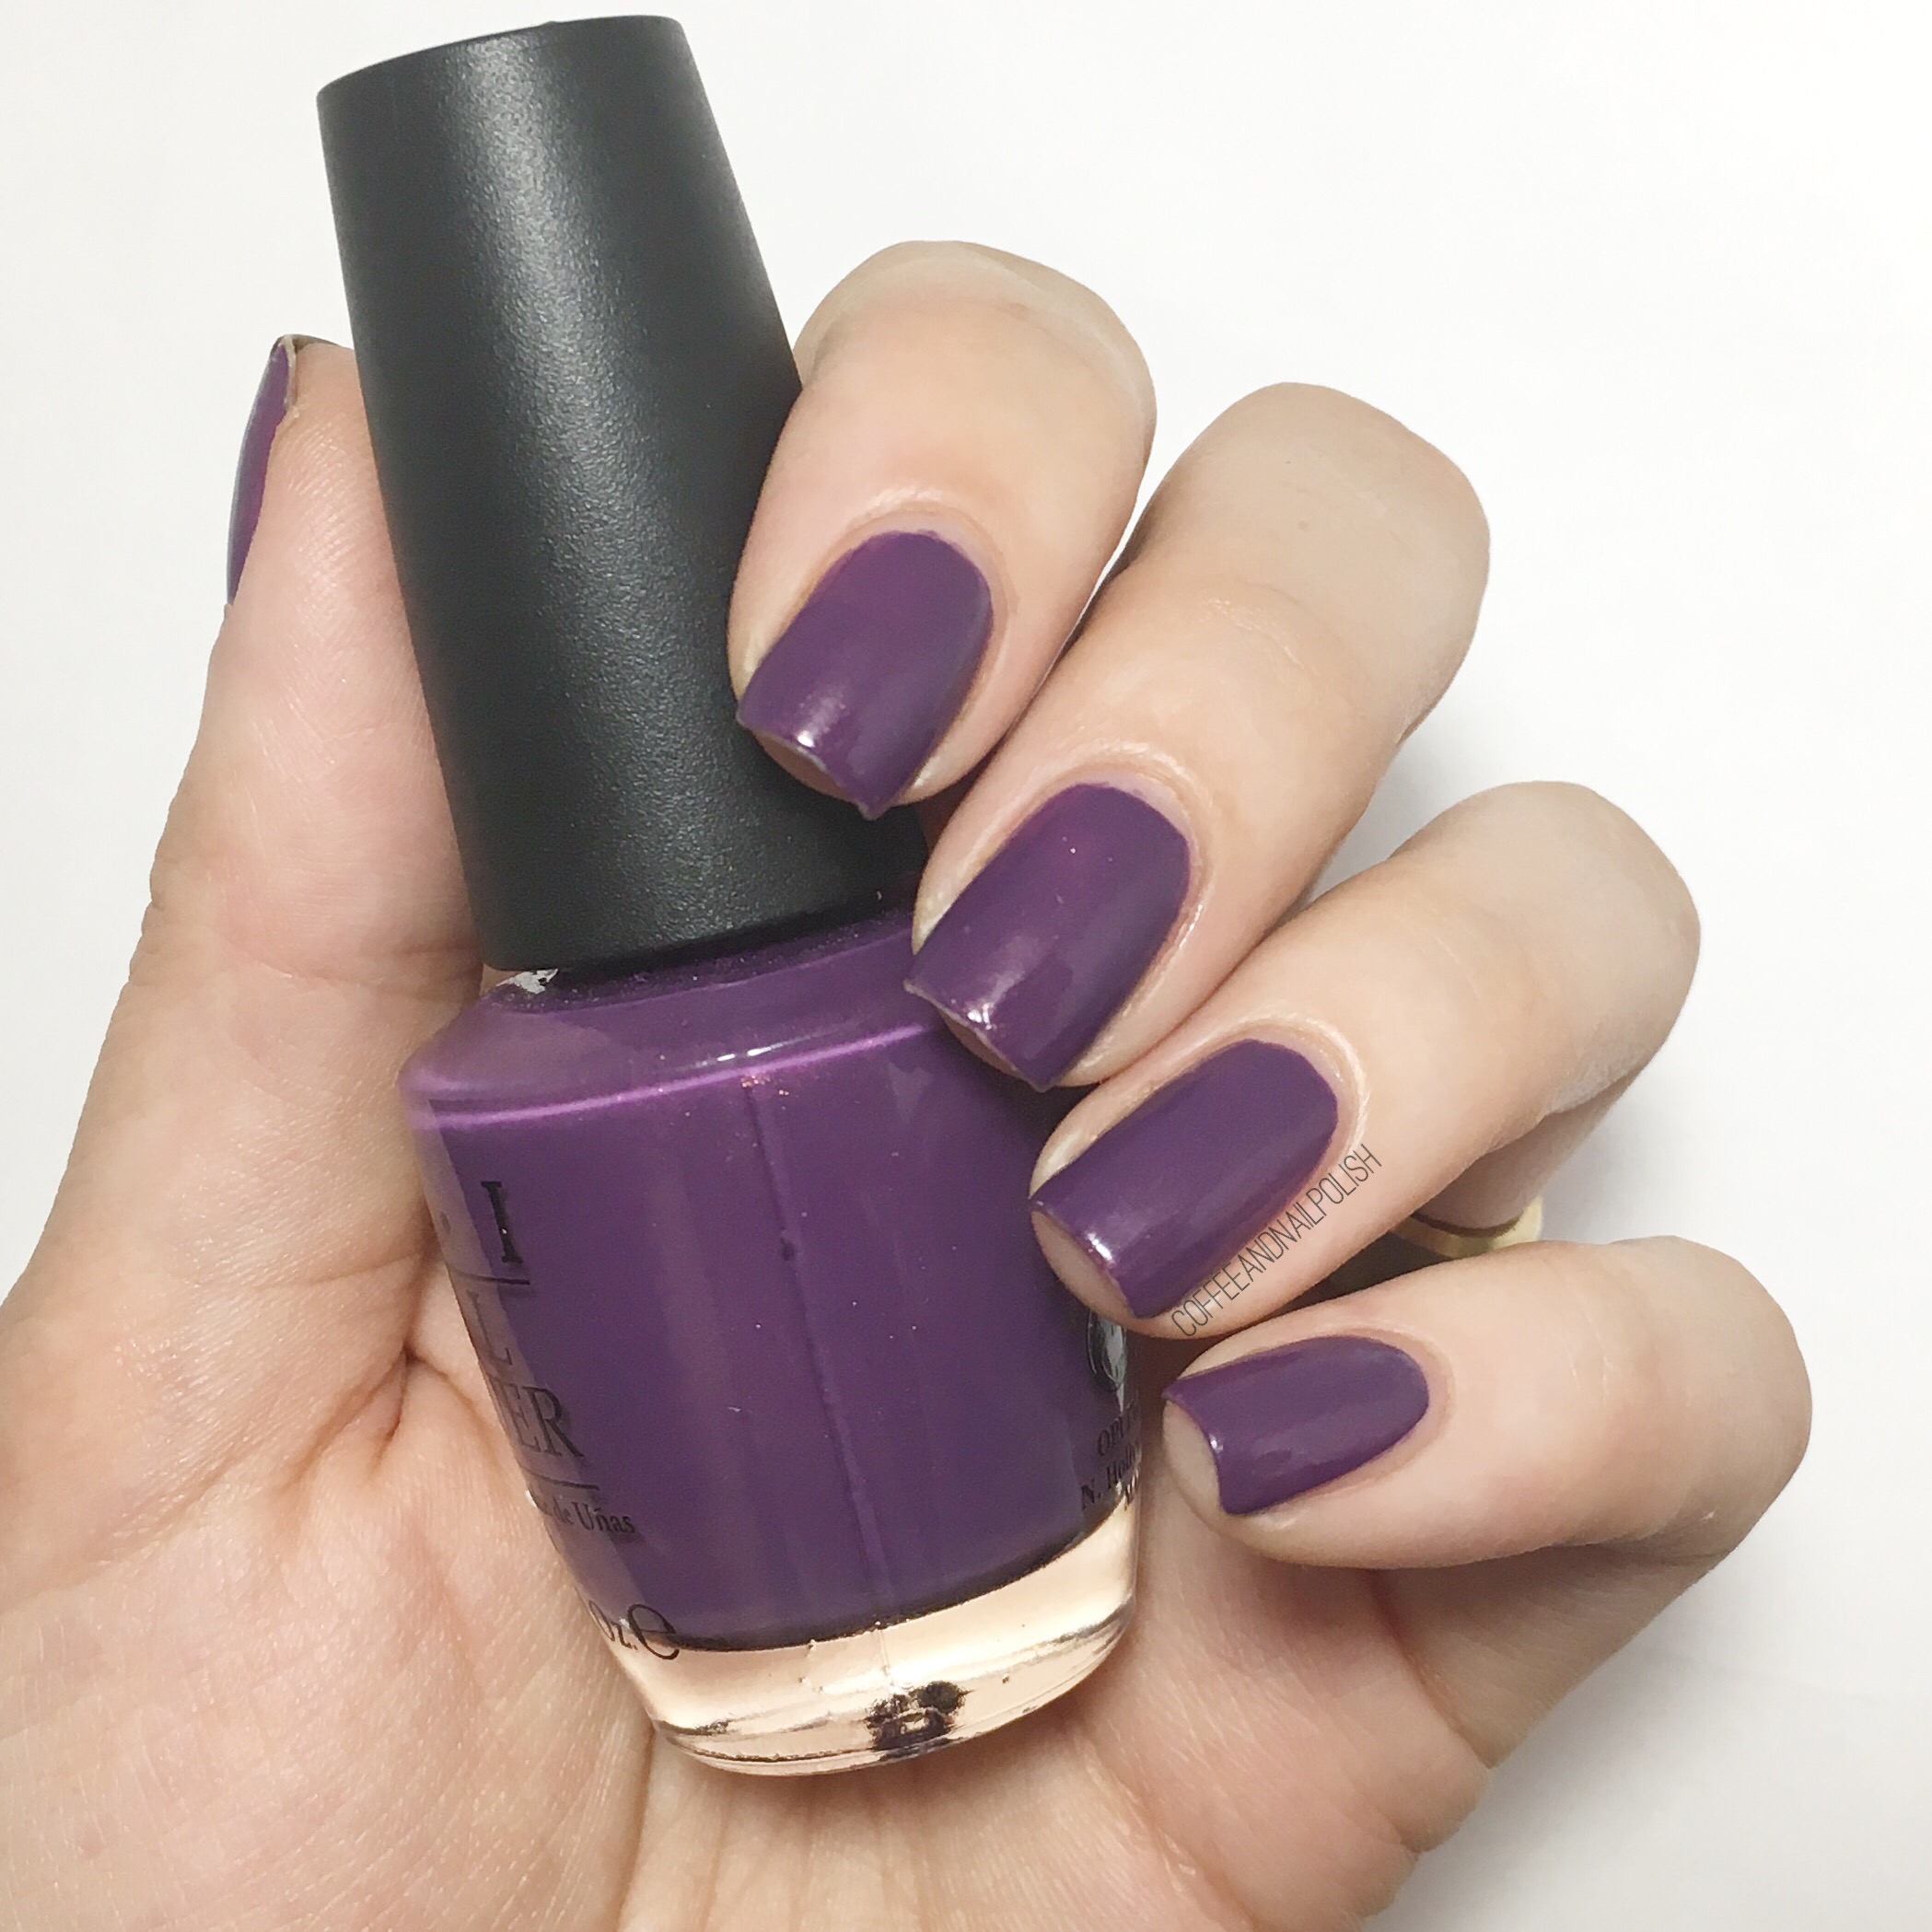
 Happy Sunday! Today I have some shots of one of my favourite OPI shades–Dutch Ya Just Love OPI? which was originally released as part of the OPI Spring 2012 Holland Collection. This shade was on my “gimme” list a long time, & I finally scored it at Winners last year which was super exciting! I love the fact you can find so many hidden polish gems, especially those shades which are harder to find.


