Can you believe another month is over? This year actually is just speeding by. Now that September (& pumpkin spice) is officially here, how about a round up of my favourite manicures from the last month?
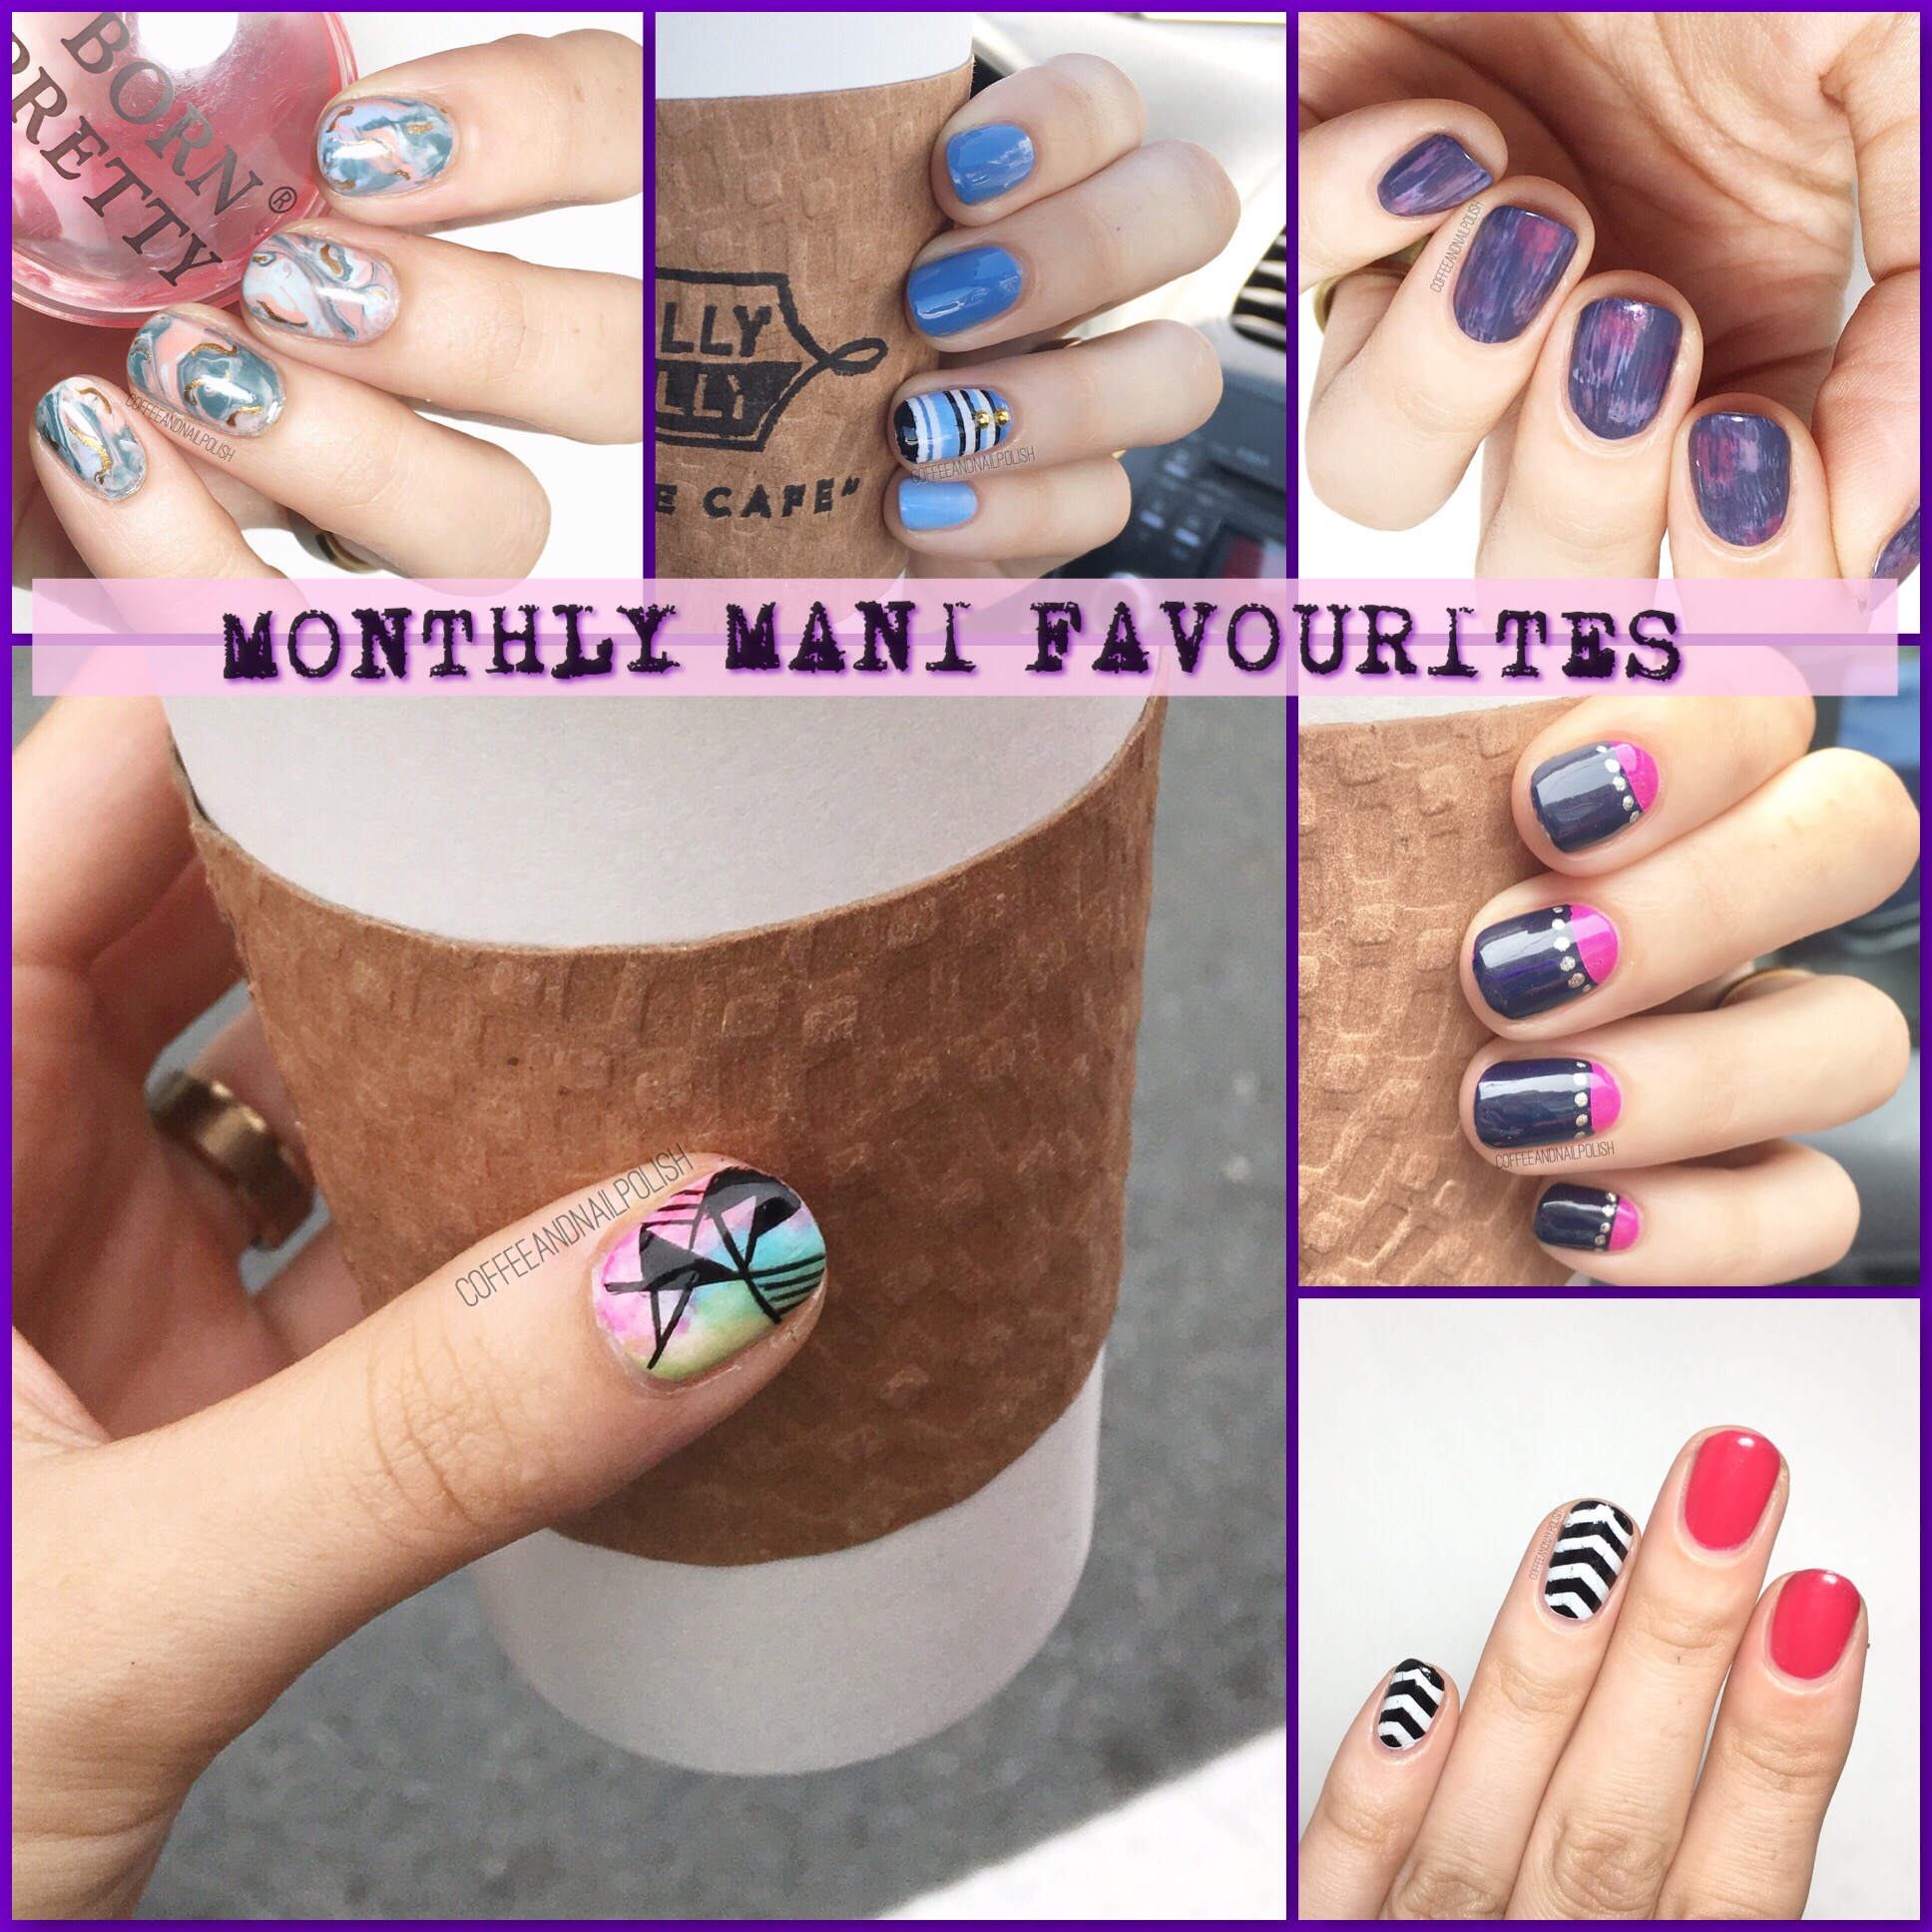
- Easy Geode Marble Nails
- Blue Stripes (No blog post for these)
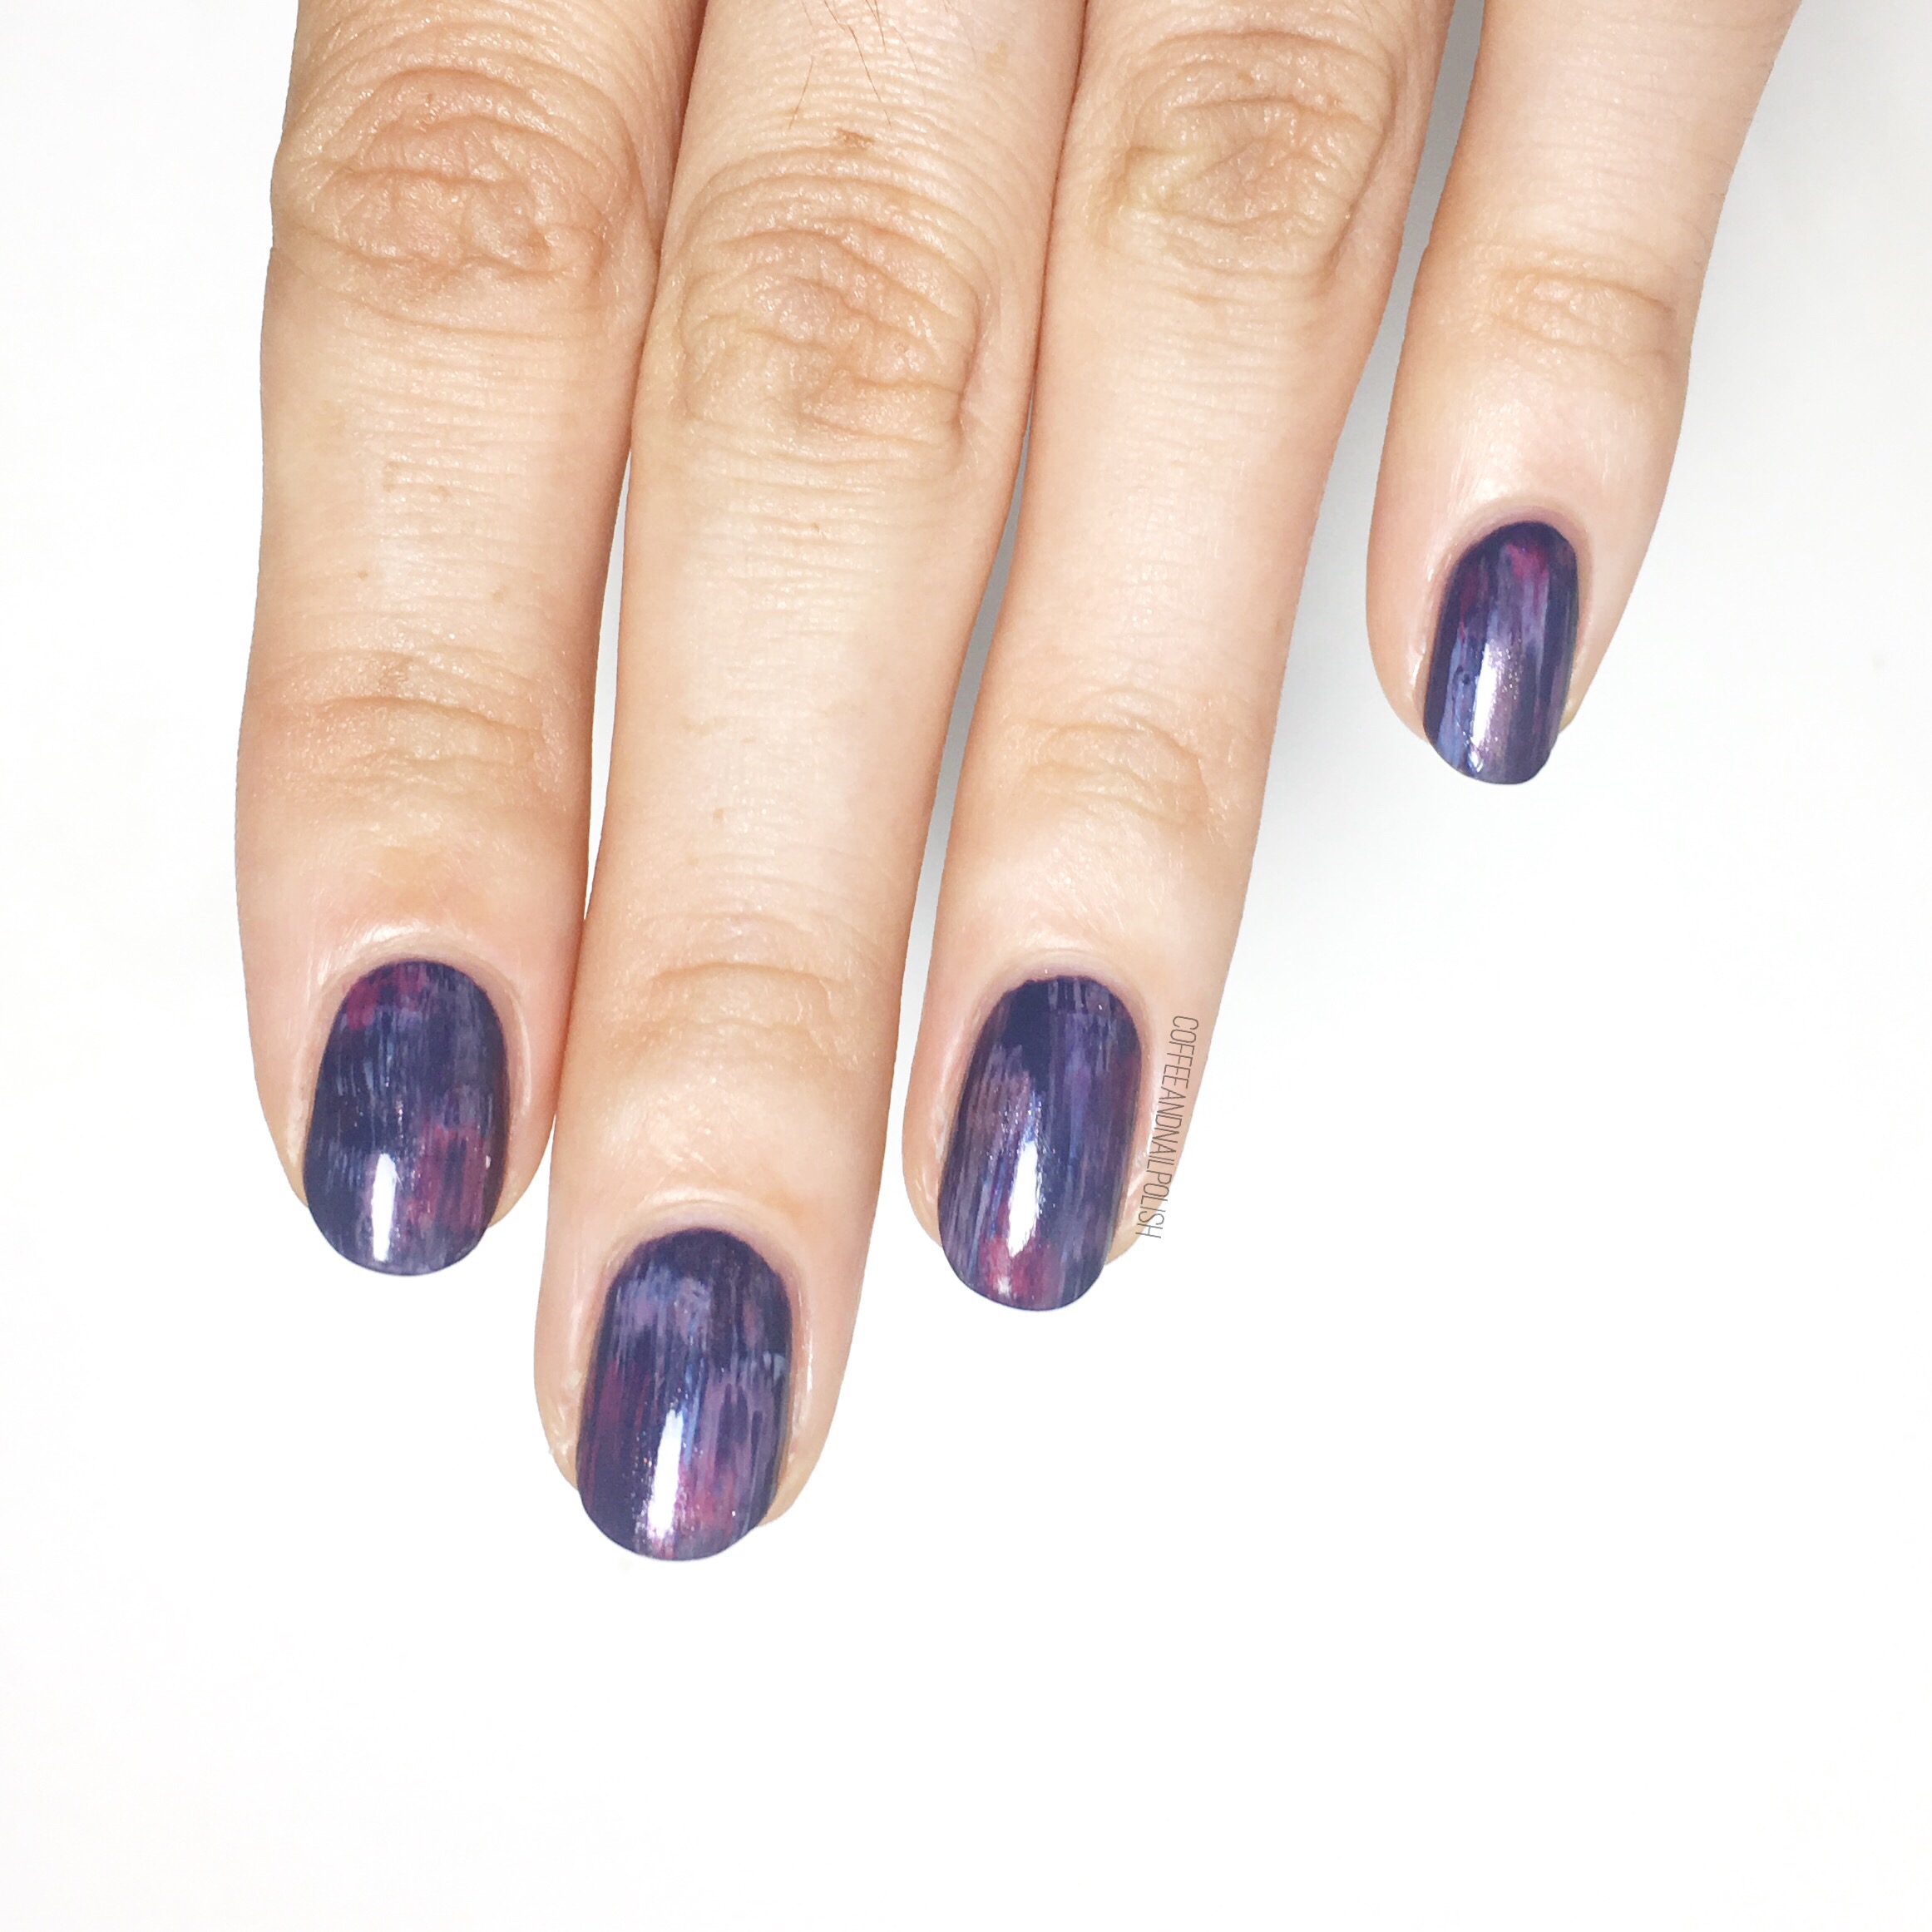
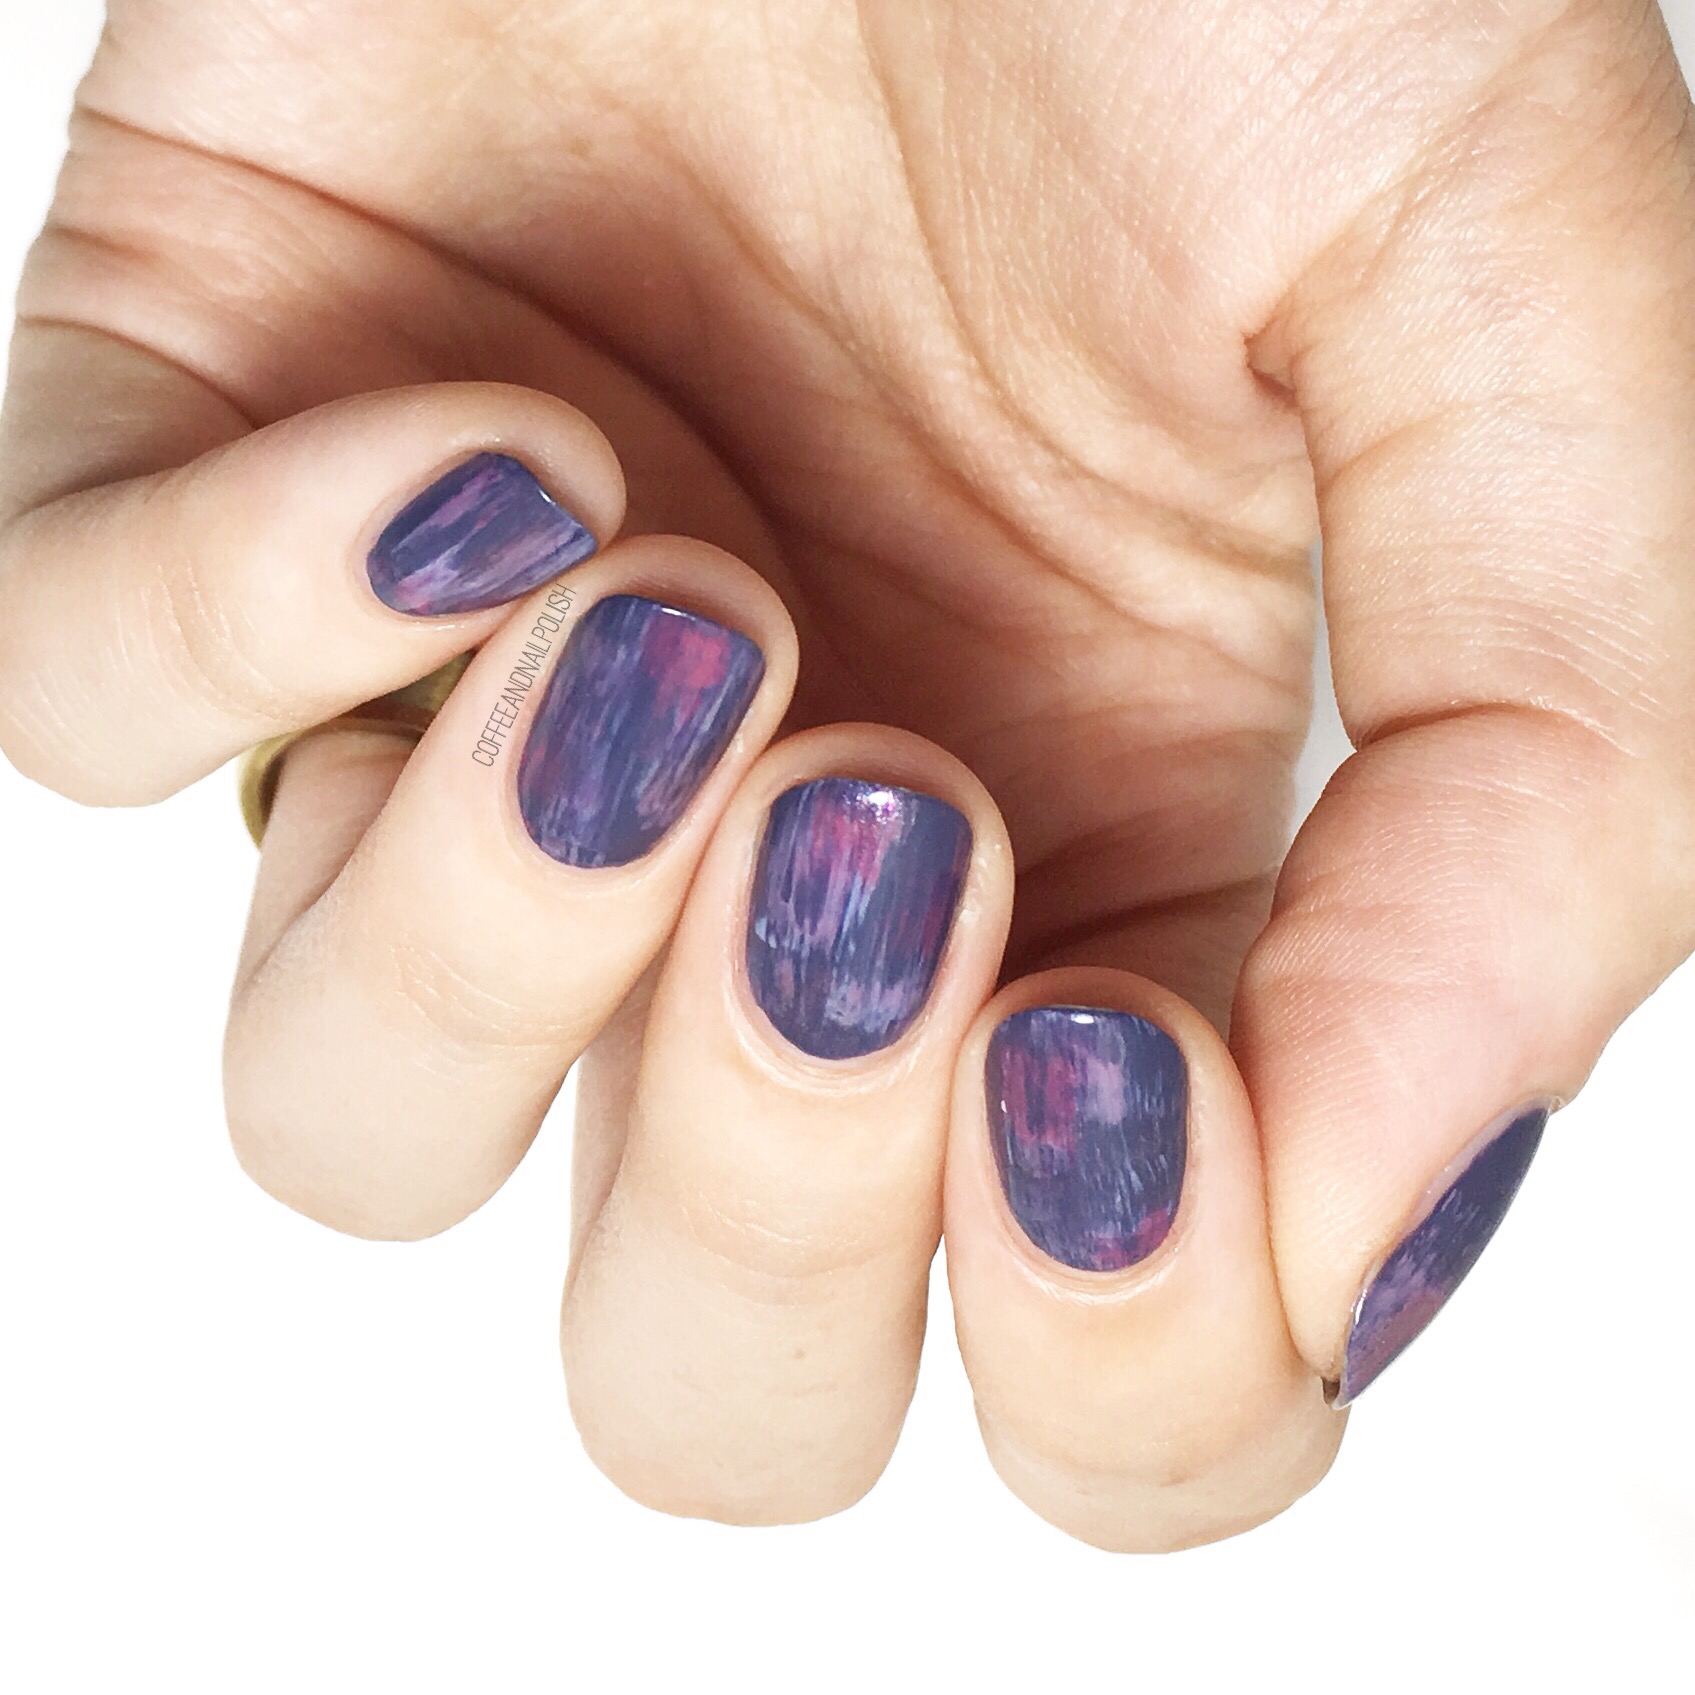
- Aurora Borealis Inspired Dry Brush
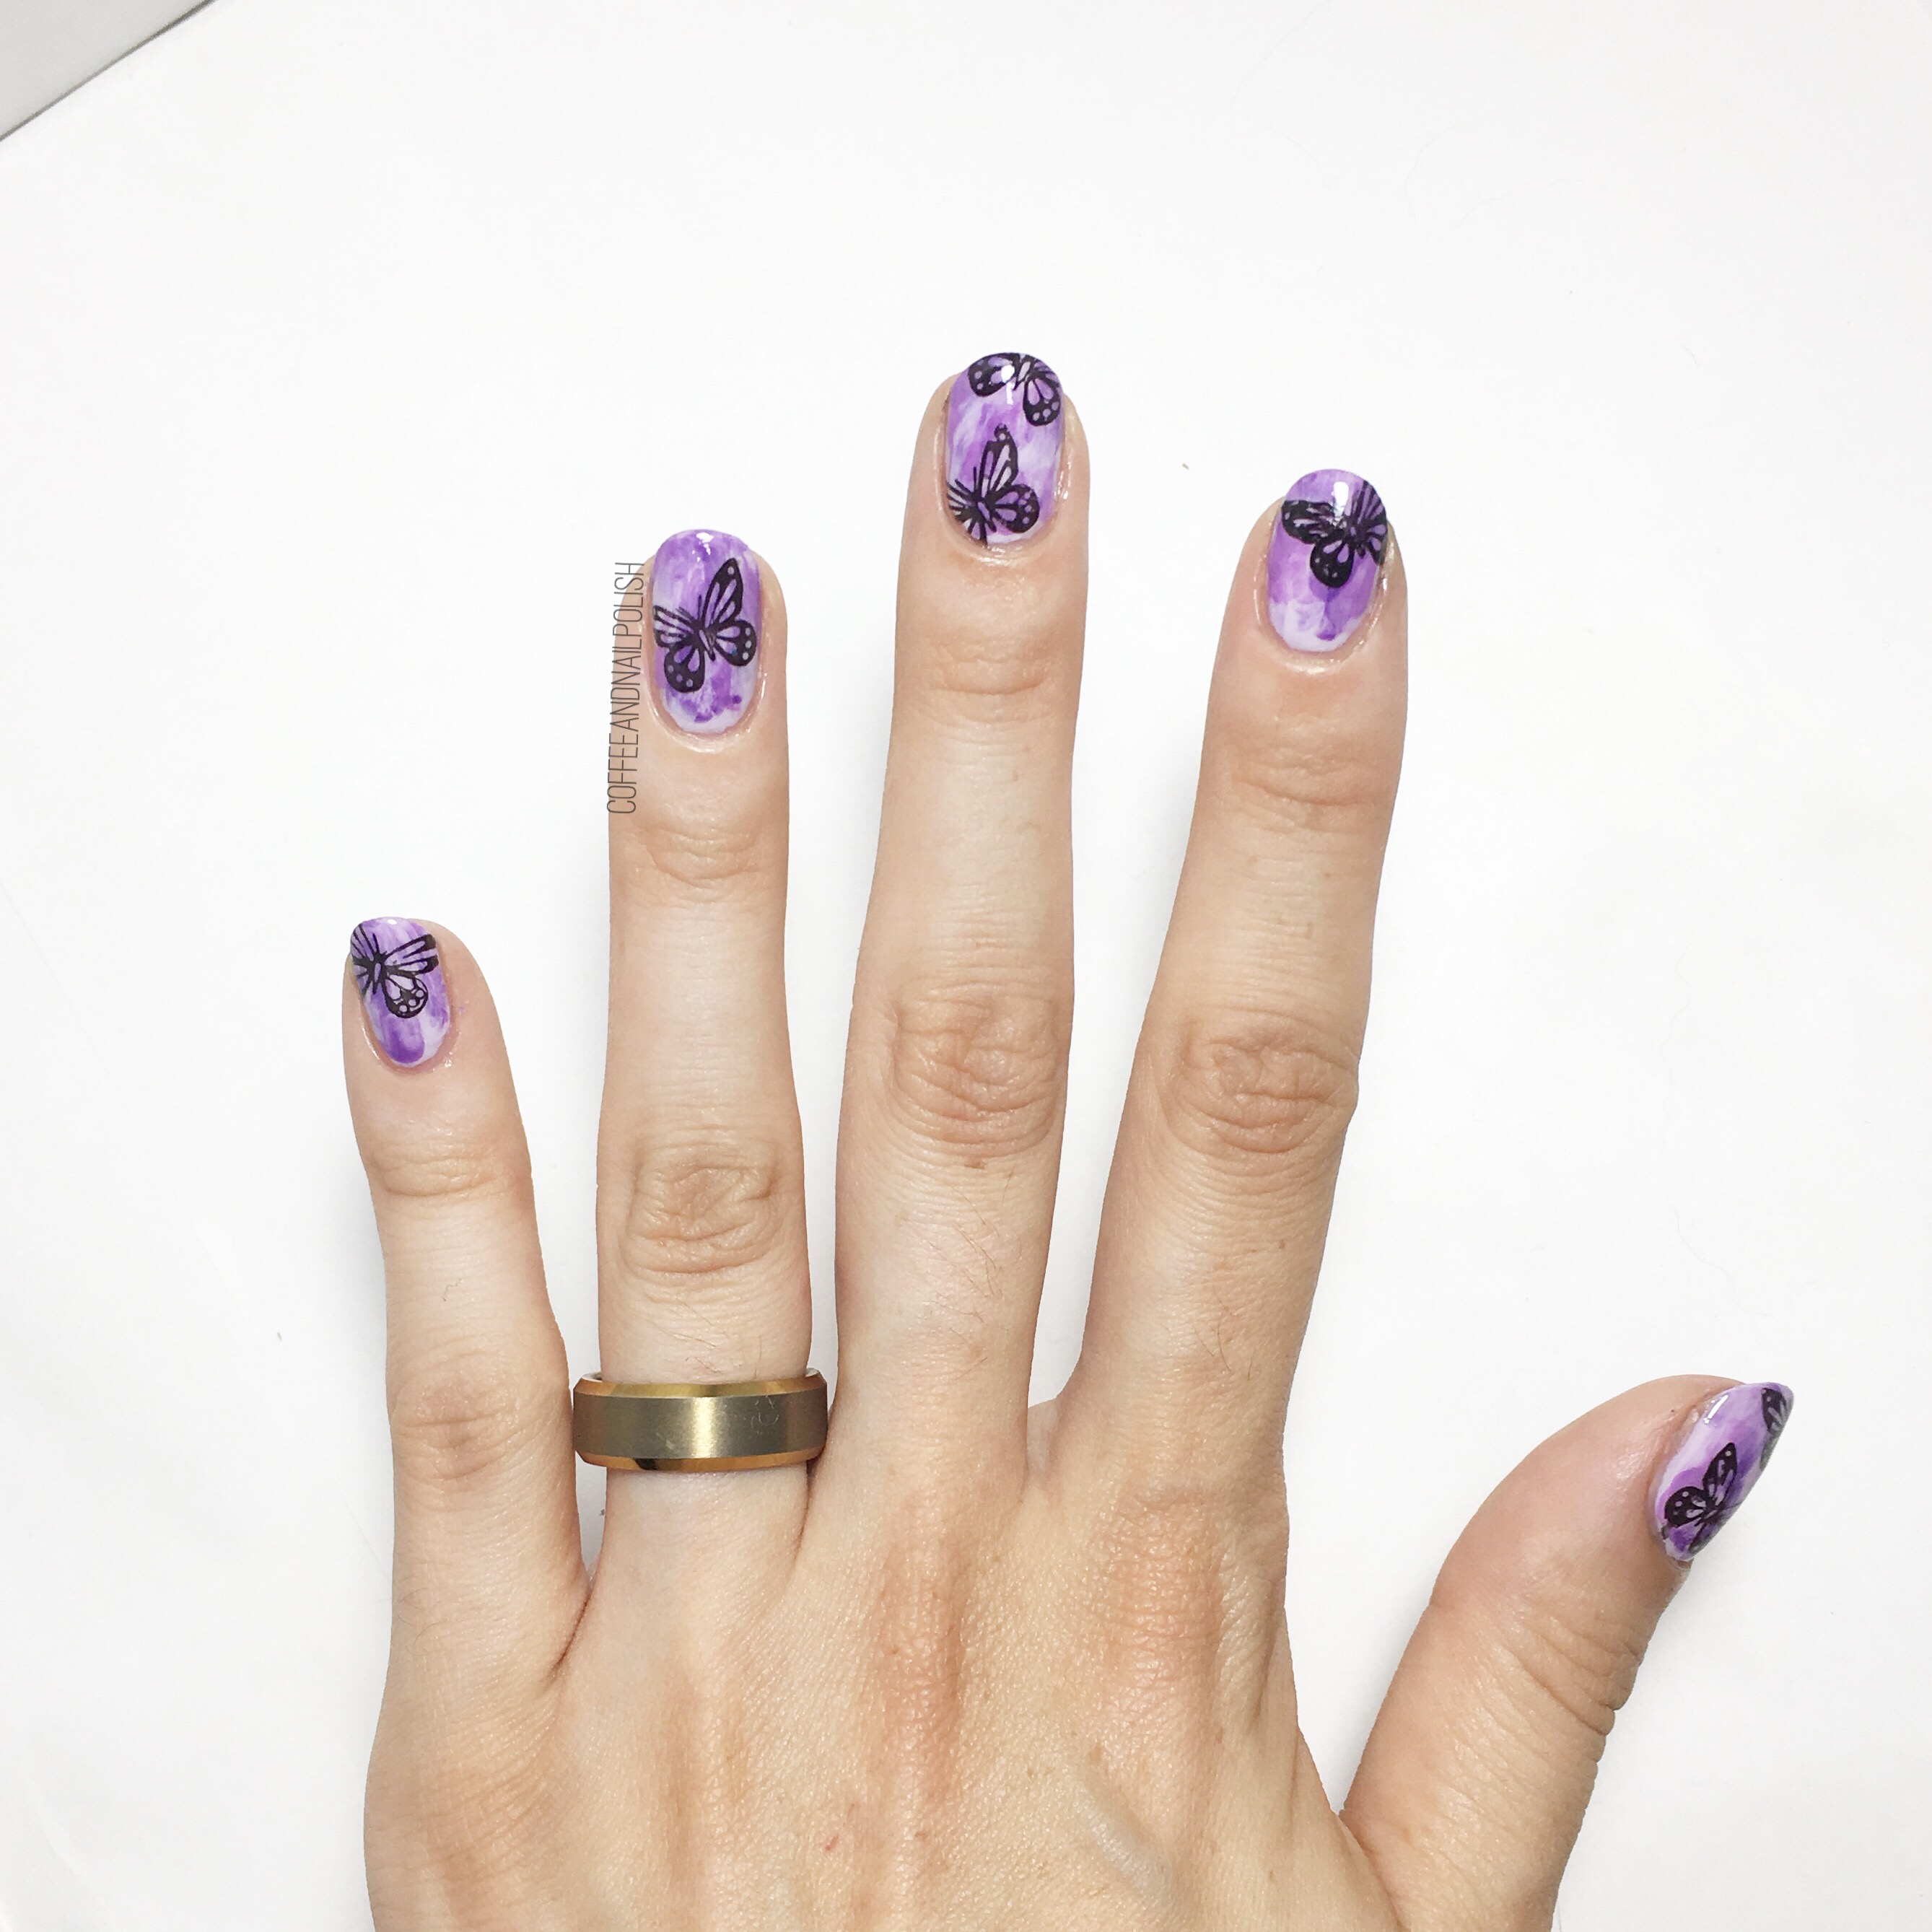
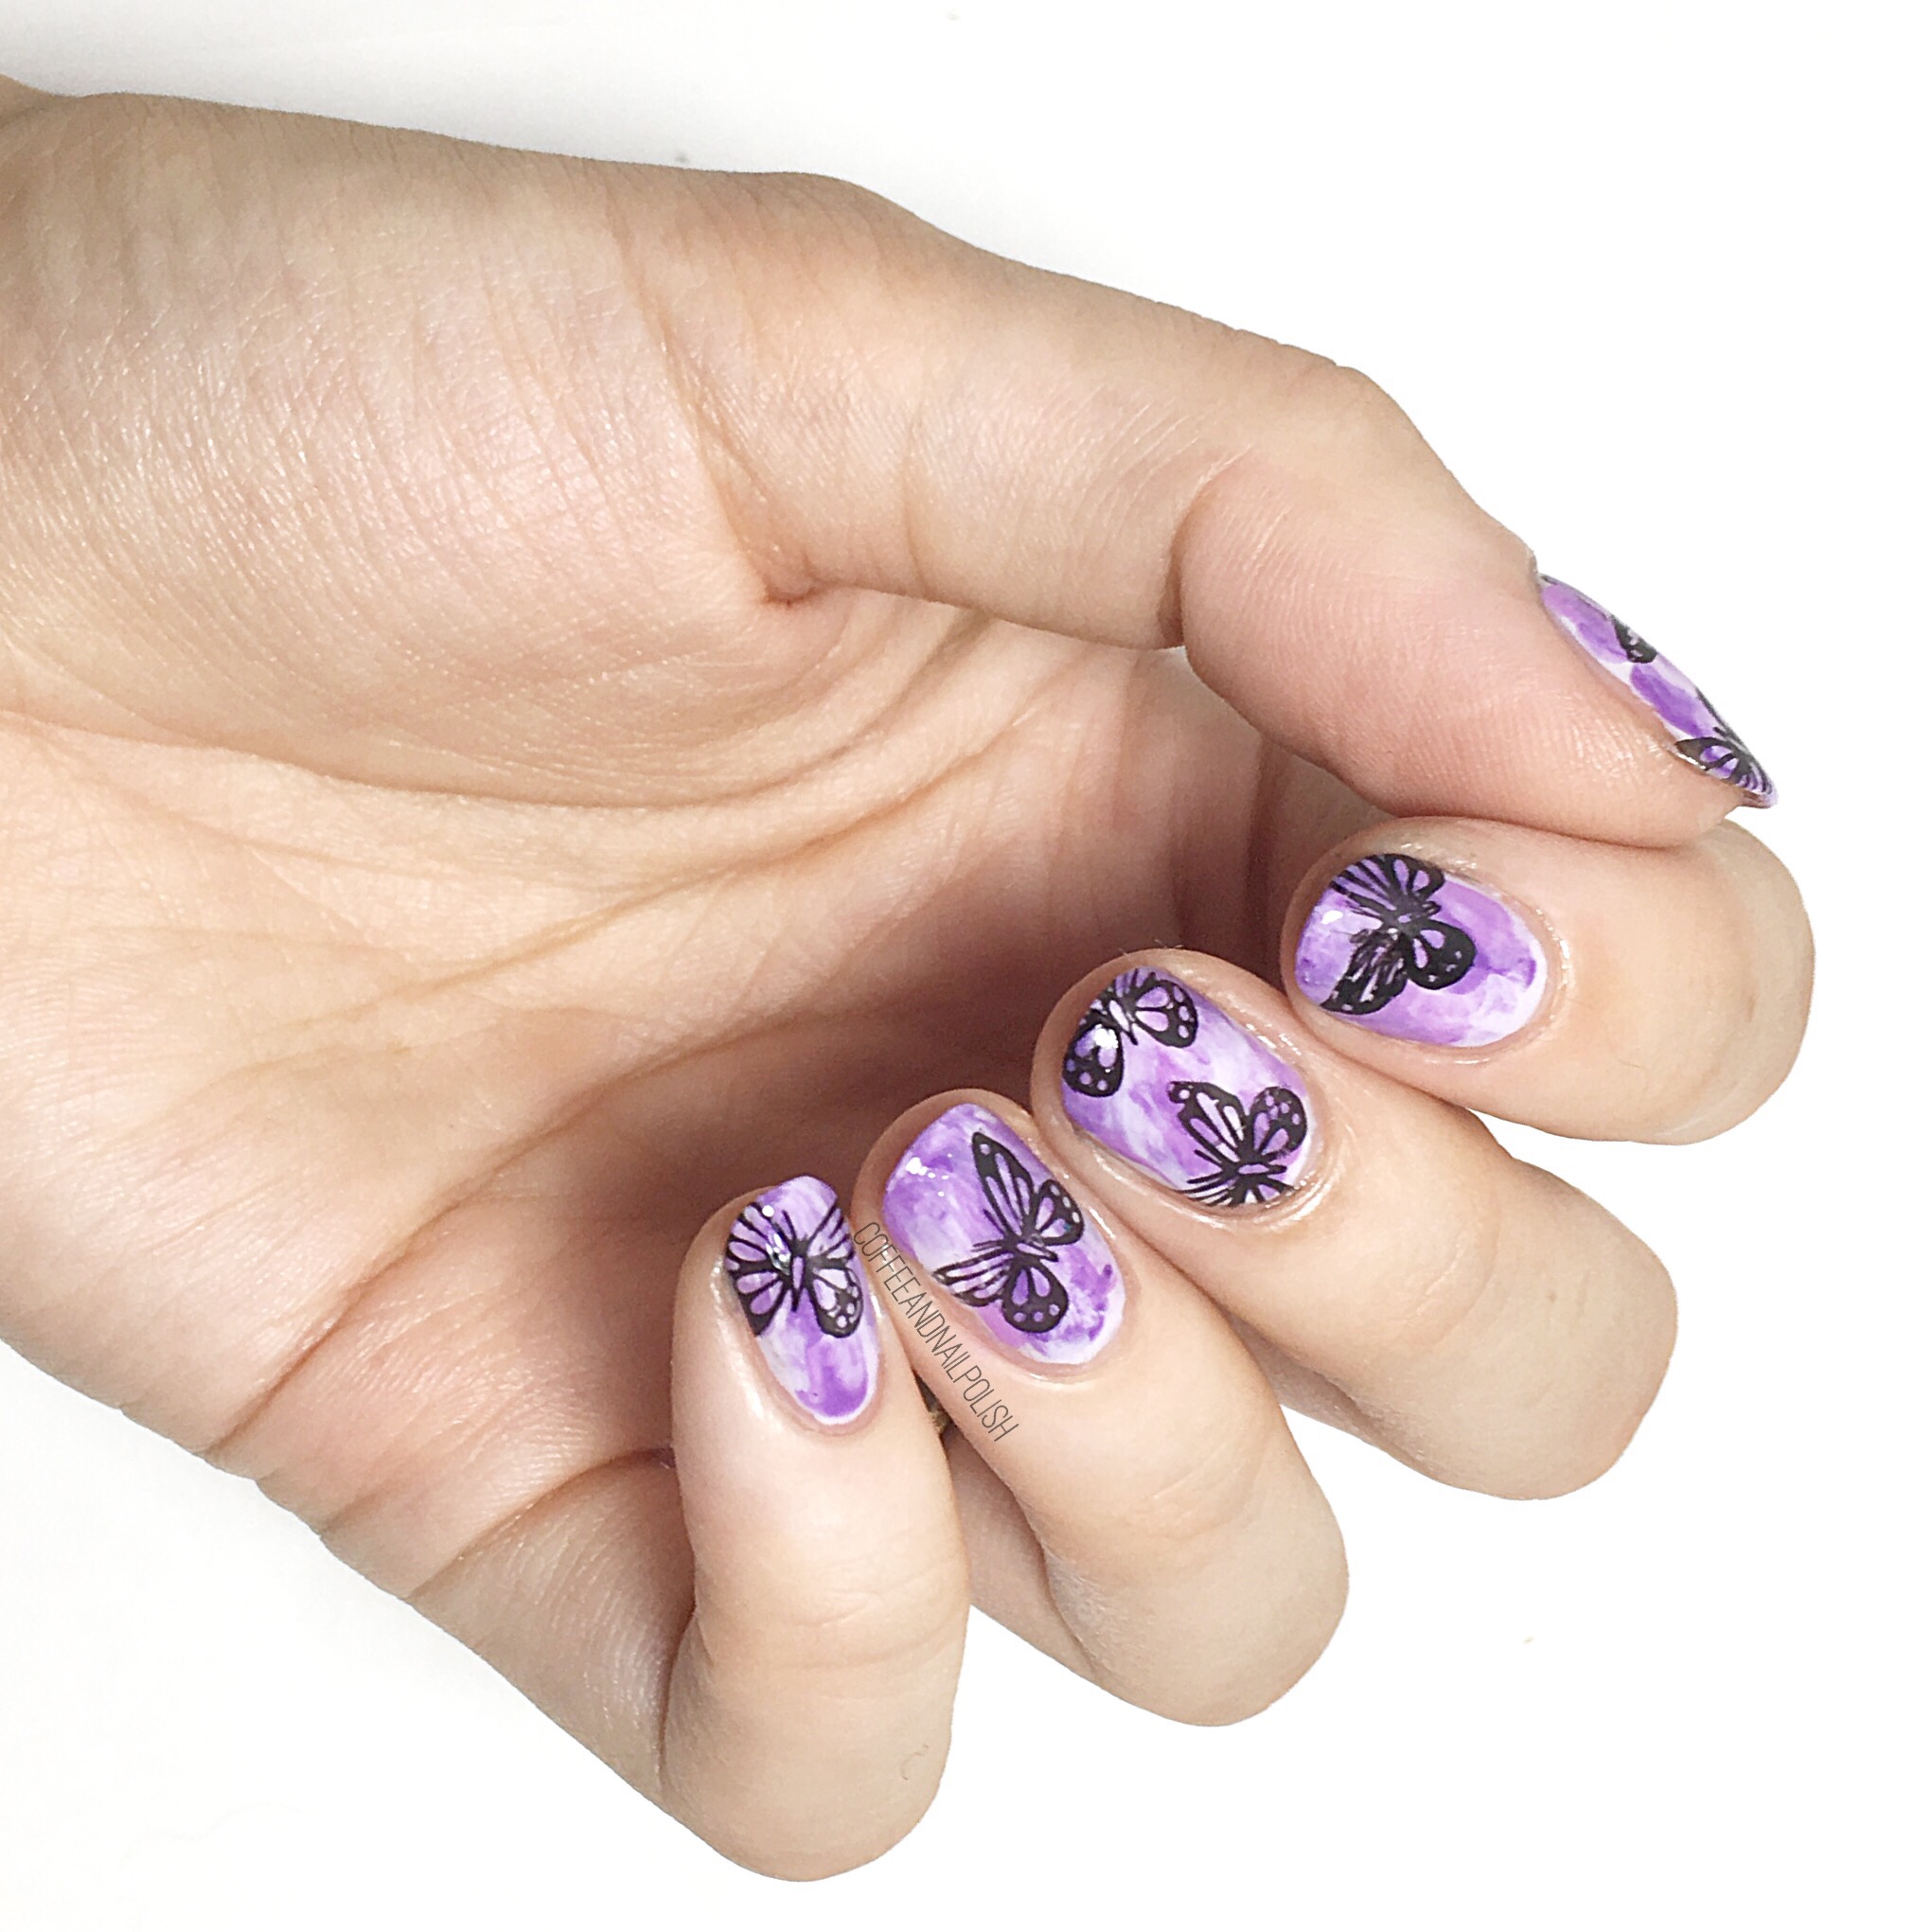
- Graphic Lines Over Watercolour
- Navy & Neon Half Moons
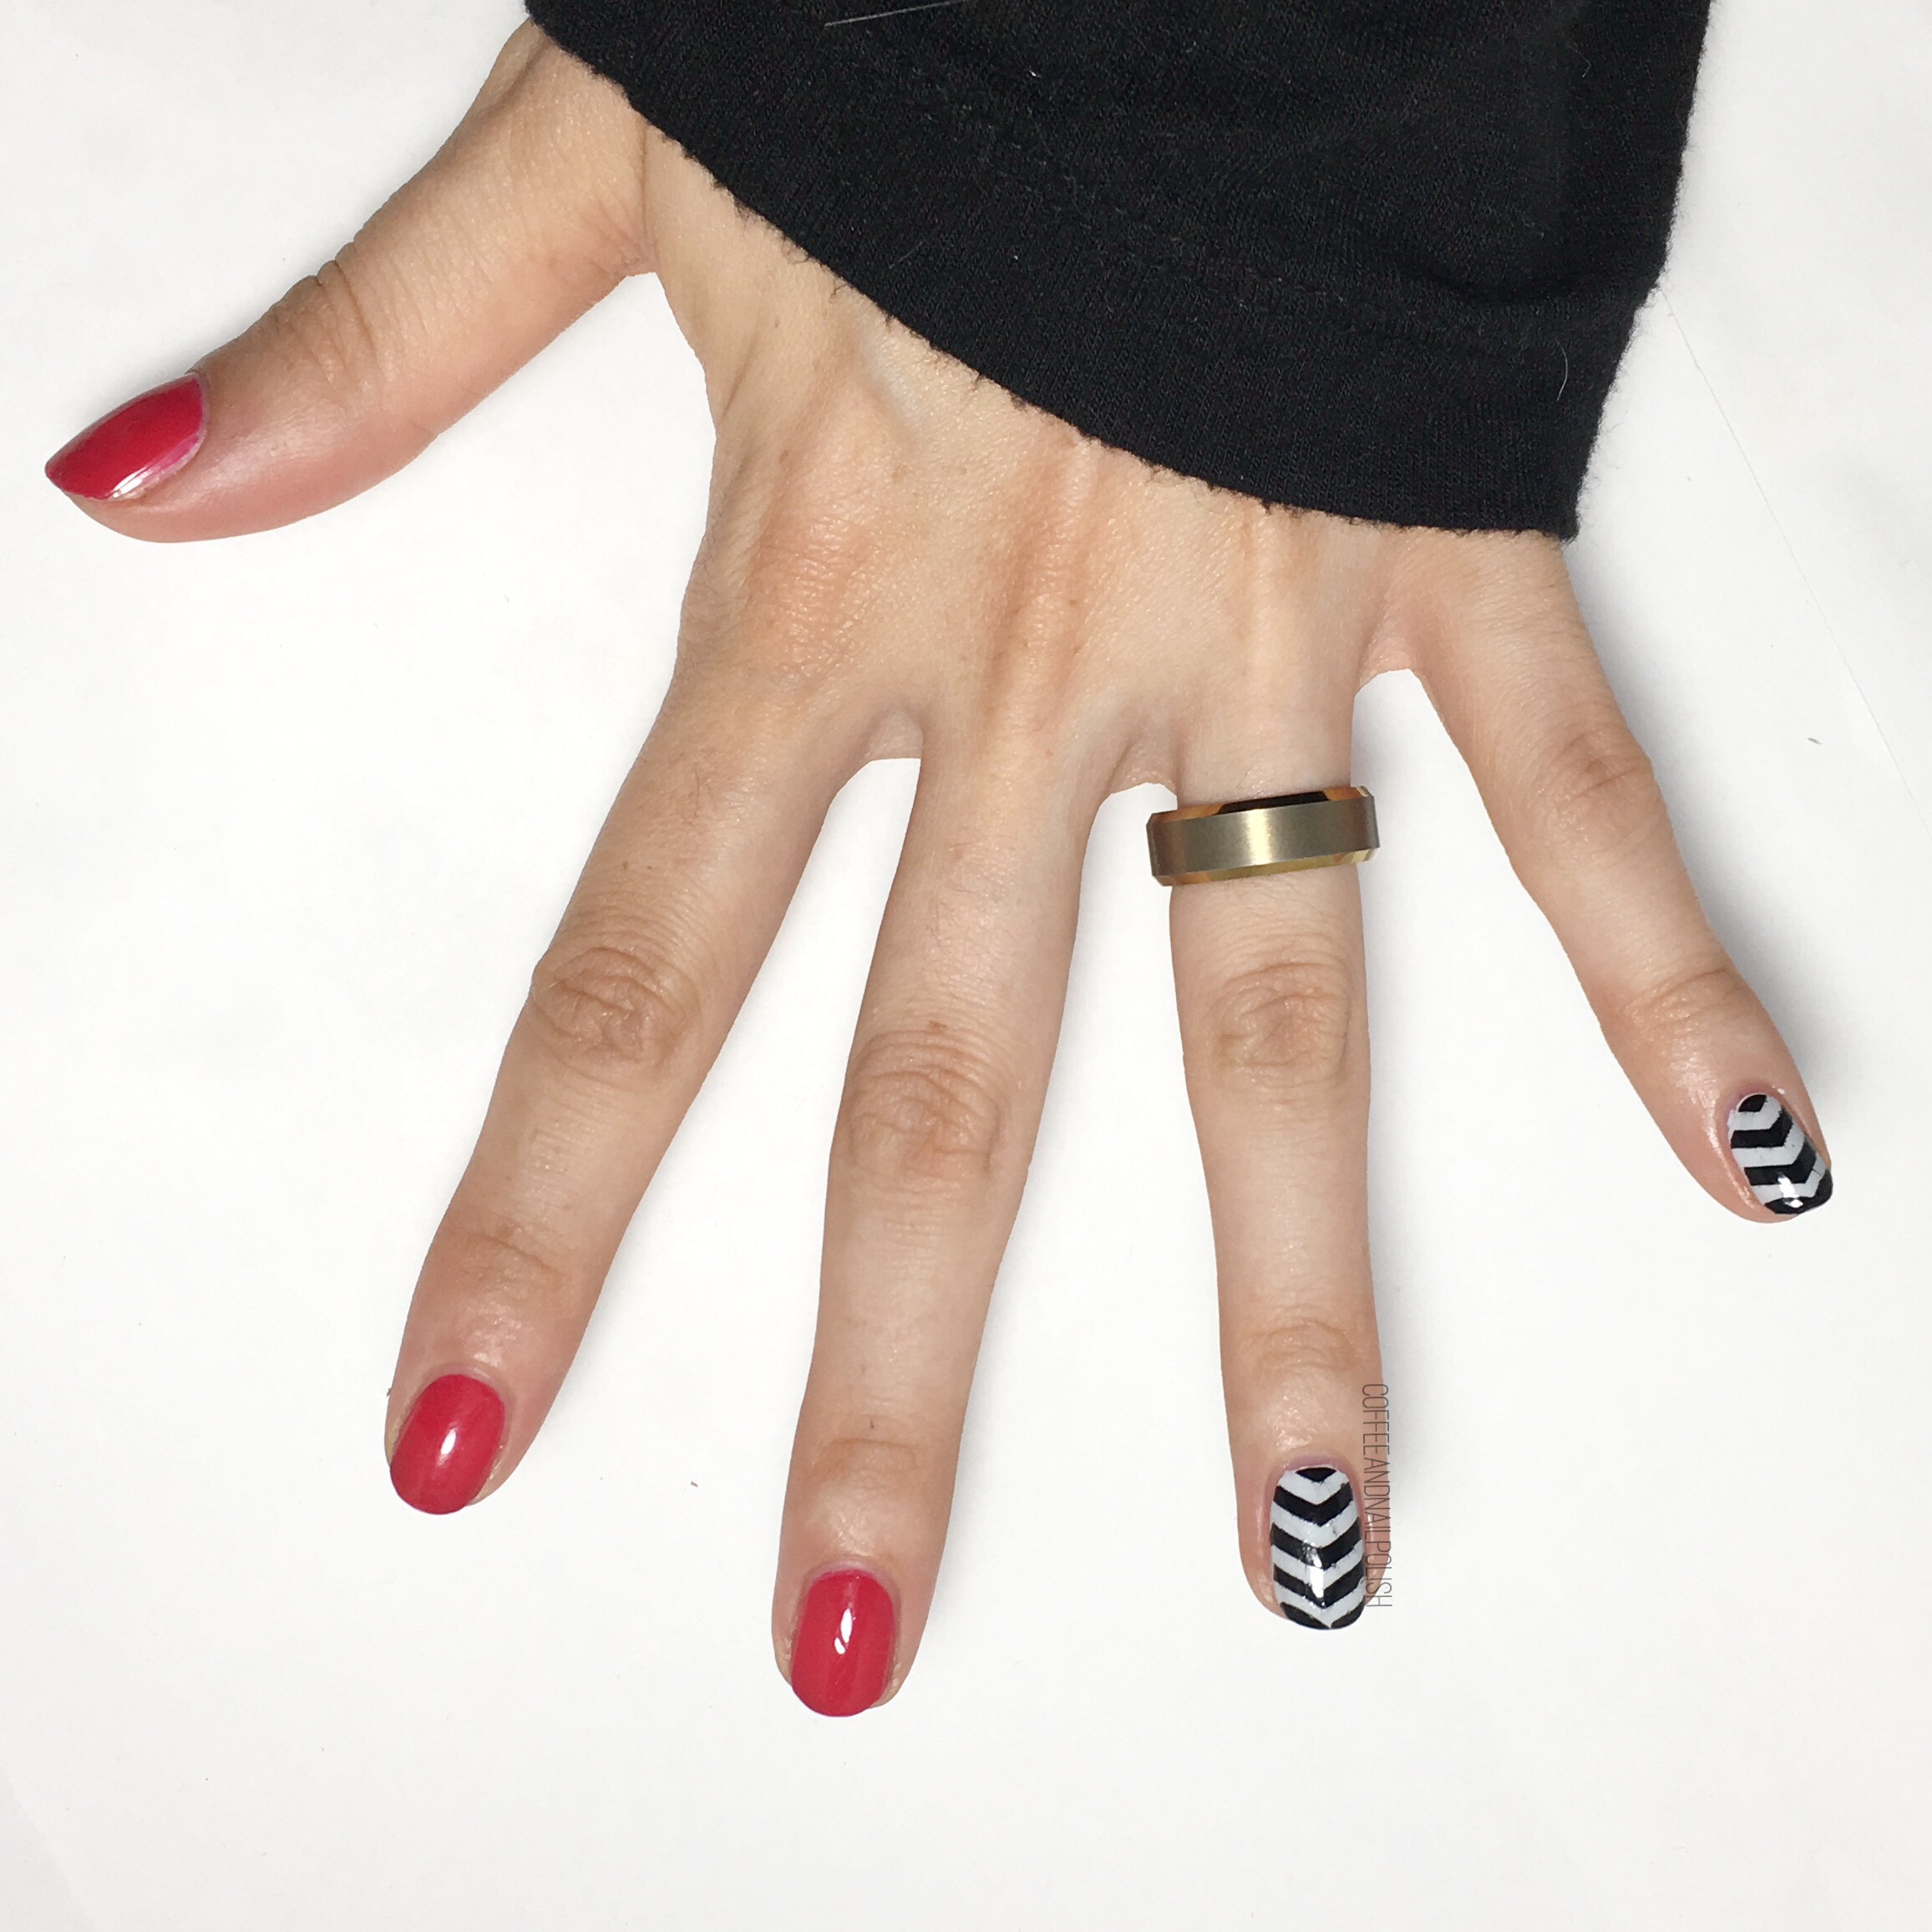
- Black & White Chevron Accent Nails
Did your favourite mani make the list? This has been a busy month for nail art, with lots of swatches shared & the beginnings of Fall nail art! Now I’m off the get the little guy dressed warm, because it really feels like Fall today, & we’re going to scoot down to possibly purchase a pumpkin spiced beverage from Starbucks. 🎃 Happy September Everyone!