Dainty Polka Dots

Happy Tuesday lovelies! Hope everyone’s week is off to a good start! I’ve had a busy, busy start to my week & a 13 hour day ahead of me, so I wanted to make sure I share some nails with everyone!

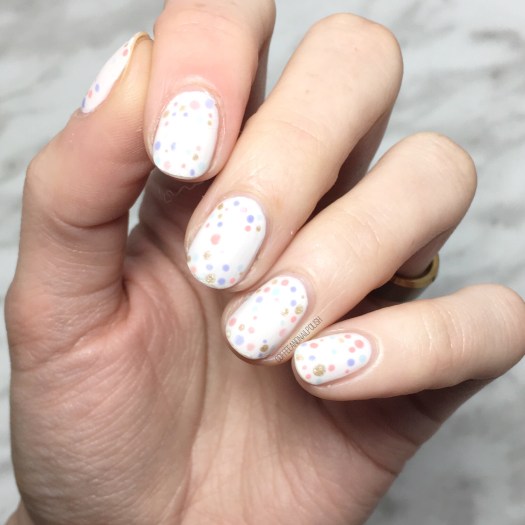
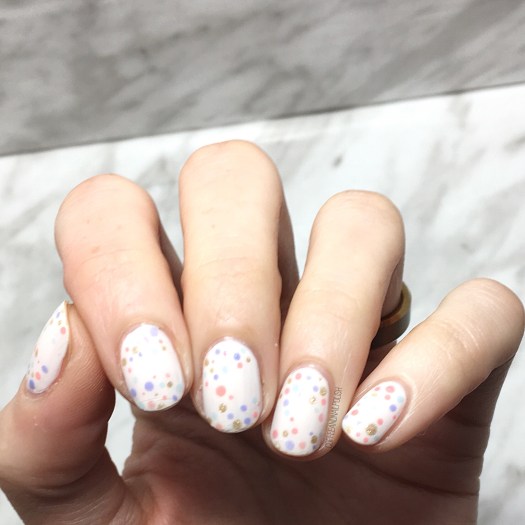
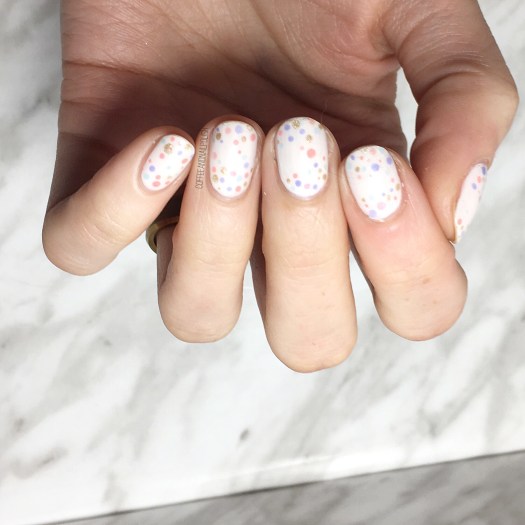
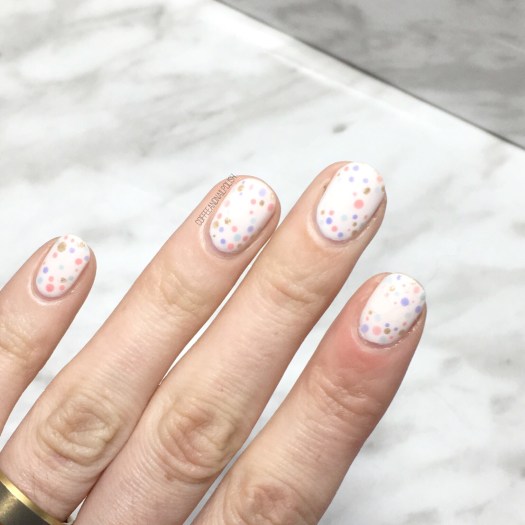
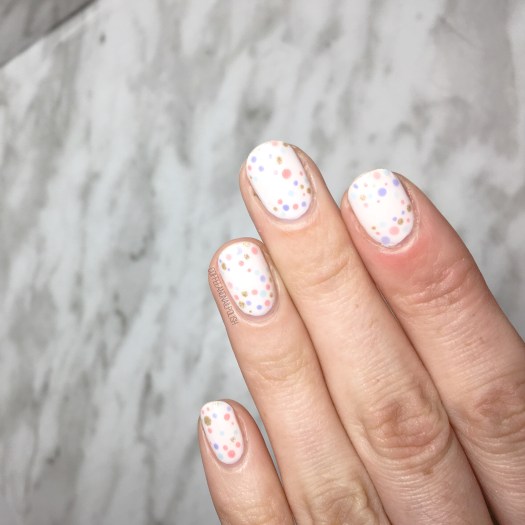
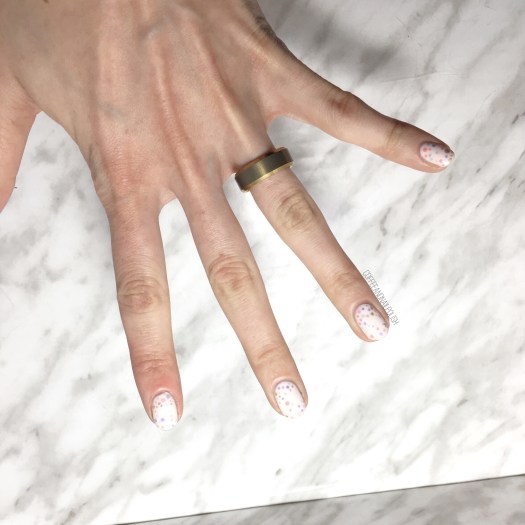
It feels like ages upon ages since I shared a pretty dotticure. I decided I wanted something super dainty, so I grabbed my smallest dotting tool & the Sally Hansen Miracle Gel Pastel Punk Collection to create my look.
For this manicure, the polishes I used were:

  • Base Coat: Sally Hansen Green Tea + Bamboo Strength
  • Top Coat: Sally Hansen Miracle Gel Top Coat
  • Sally Hansen Miracle Gel After Altar
  • Sally Hansen MG Just Maui’d
  • Sally Hansen MG Ocean Daze
  • Sally Hansen MG I Lava You
  • Sally Hansen MG Shell-ebration
  • Sally Hansen MG Golden Glow
  • Bundle Monster dotting tool

Seriously, how cute are these tiny little polka dots?! I really adore how these turned out. They almost look like a glitter cruelly, but with way easier removal! Also still very much obsessed with this collection from Sally Hansen Canada. I’ve been wearing it whenever possible–especially After Alter. You can never go wrong with a beautiful creamy almost white. 💅🏻
What do you think of these dainty polka dots? Is this a design you could see yourself wearing? Let me know down in the comments below!

Gold Lines & Pretty Pink Nails

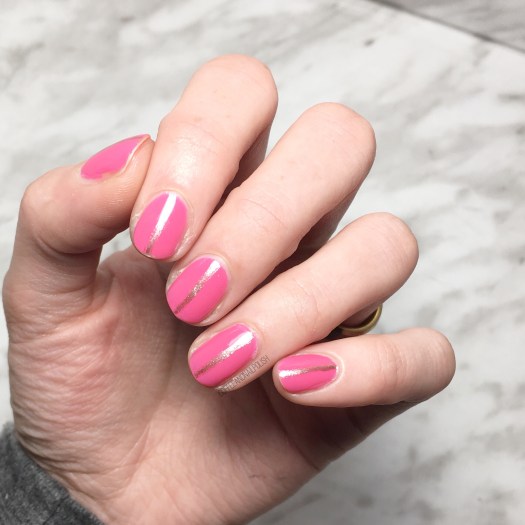
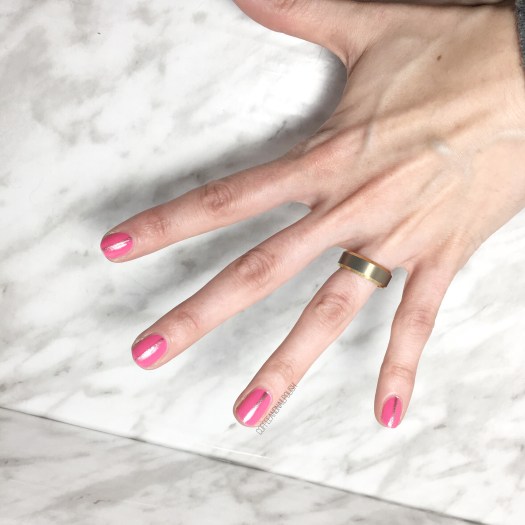
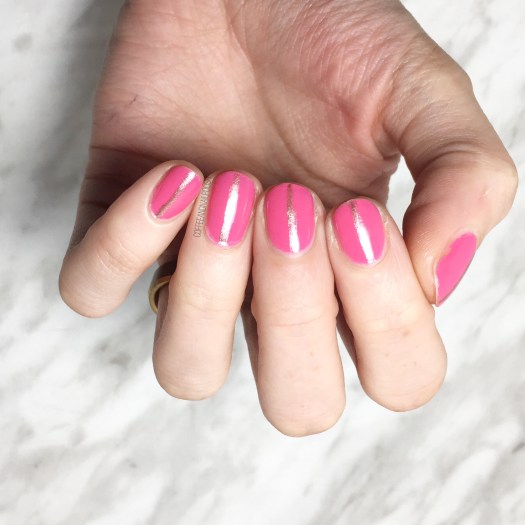
Happy Friday lovelies! I hope you’re all excited for the weekend as much as I am! Today I’m sharing a design I was actually wearing the last couple days. I’m in a bit of a nail art rut right now, so I decided to add something simple to my pretty pink nails.

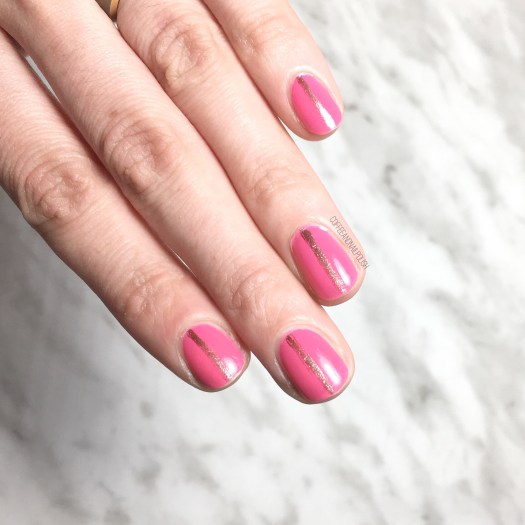
I’ve also been wearing my Quo by Orly shade polishes as my nails have been in super rough shape (hence why my nails have been trimmed down… again). I decided some gold lines might make my nubs look slightly longer, so I freehanded them over top. A simple design, but enough of a pop for me!

For this design, the polishes I used were:

  • Base Coat: Quo by ORLY Breathable Kiss Me I’m Kind
  • Top Coat: Essie Speed Setter
  • Quo by ORLY Breathable Pep in Your Step
  • Quo by ORLY Breathable Fairy Godmother
  • Bundle Monster small detail brush

This gorgeous pink from Quo by ORLY has to be one of my favourites from the Breathable line. In fact, I added it to my toes at the same time! I’ve raved in the past just how much I adore this polish line because it’s designed to help the health of your nails. & trust me–I need it! Between boxes of stock & hand sanitizer, I’ve been finding I’m having so much trouble keeping my nails healthy. I’m upping my moisturizer & oil routine, but even still I need a little extra help & this polish is a god send!

Plus thanks to all the cute colours in my stash, I can create lots of cute nail art looks too!

what are you wearing on your nails for the weekend? Let me know in the comments below!

Easy Pink Flower Print 🌸

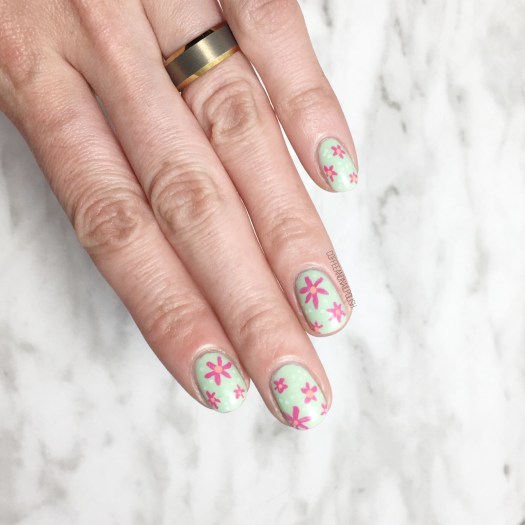
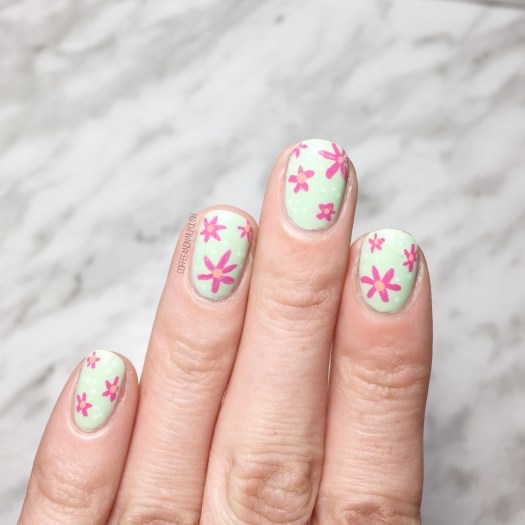
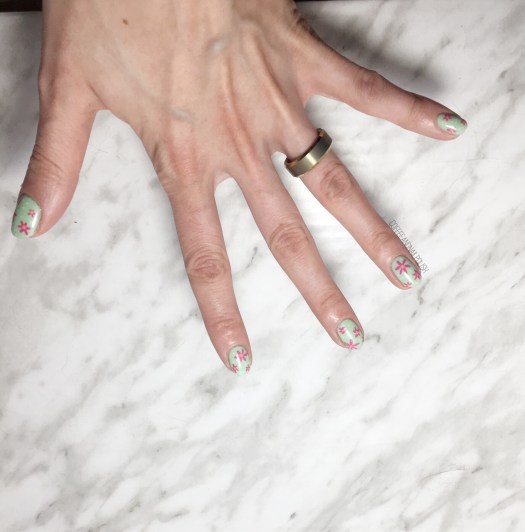
Happy Wednesday loves! & it’s a floral kind of Wednesday. I mean, every single day is a floral kind of day, but with the less than seasonable weather happening outside I figured some more floral print was needed.

This is also a super simple design that I think almost anyone could do on their nails, so it’s a great design for nail art beginners. For this design, I decided to pull out my trusty Sally Hansen nail art pens.

The polishes I used for this design are:

I don’t know if you’ve used the Sally Hansen I ♥️ Nail Art pens before, but they’re one of my favourite nail art tools. I’ve been using them for years & years & I keep buying them because they are great for creating easy designs, from floral to polka dots to delicate patterns. In fact, I recently lost of my green pen (the joys of a busy 1 year old who likes to hide things!) so I will be purchasing a whole bunch of new ones on pay day.

For this design, I made sure my base was nice & dry & then went in with my magenta pen & drew the flower petals. Afterwards, I went back & dotted the middle with my secondary colour (Flip Flop Fantasy) & added some white dots with my white pen. Bam! Instant flower pattern nails with minimal effort.

What do you think of this easy flower design? Let me know your thoughts in the comments below!
SWATCH SUNDAY — NailStuff.ca Blue Metallic Foil Flakies

Good Morning Lovelies!

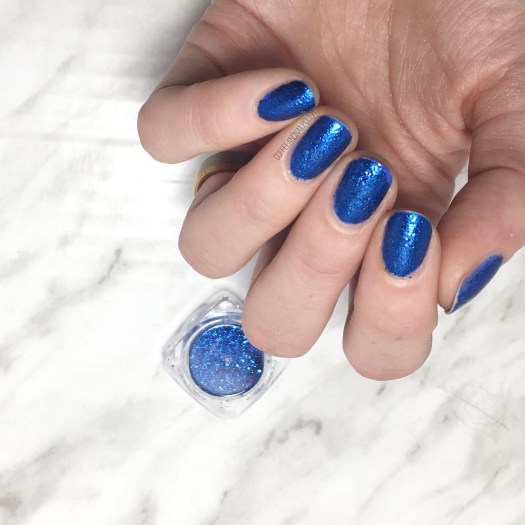
Today I’m sharing one of the beautiful new goodies I was recently gifted from NailStuff.ca! I showed off one of their new nail stud wheels earlier in the week, & now I have these metallic blue flakies swatched for you.

PR Sample. This product was gifted to me for review.

Application was super easy & simple! I love the fact that you can apply these without having to worry about using gel.

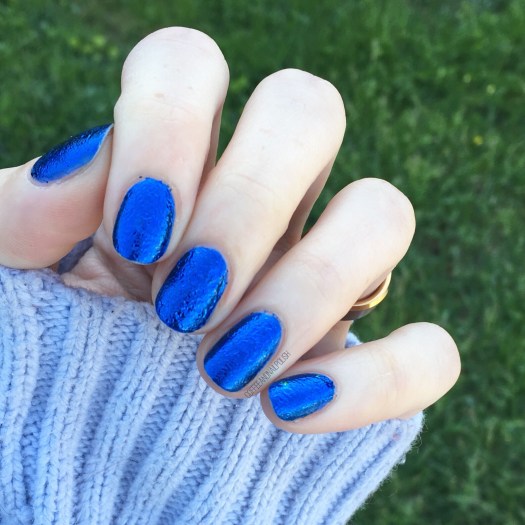
For this look, I started off by painting my nails in a complimentary shade (Sally Hansen original Pacific Blue). After a few moments applied a coat of Finger Paints Peel Off Base Coat over my blue, which is my preferred method of flakie application. Once my nails had dried somewhat, I dipped the applicator into the pot of flakies, pulled a small amount out, & brushed them down over the nail. After each nail was covered I sealed the look in with top coat.

It looks like sapphires on the nail & I’m in love with it. 💙💎

These flakies are so, so easy to apply & I love it. I stayed away from using nail powders for so long because I was concerned about making a huge mess, but surprisingly I never have any issues with these NailStuff’s product!

These flakies in particular are awesome because they almost clump together like magnets when picking them up out of the pot. You don’t have to worry about spilling all your flakies all over the couch (which my husband would not be impressed about!) Also I’m so glad how little product you need to use to achieve this look–one little swipe covered each nail so I still have a ton more for future designs!

Down below shows off this look in natural light. So happy for summer for beautiful green grass backgrounds!

What do you think of these gorgeous blue metallic nails? Want to achieve this look for yourself — you can shop all the nail flakies available by NailStuff.ca here including these blue ones & a whole slew of other colours as well.

Have a happy Sunday loves! 💎

Beachy Chevron Nails featuring New Summery Studs from NailStuff.ca

Good morning lovelies & happy Tuesday! Hope the weather where you are is nicer than here in Halifax. After a few days of sunshine, we’re back to cloudy grey overcast skies. But today’s nail design is all about bright colours, so hopefully that will cheer me up!

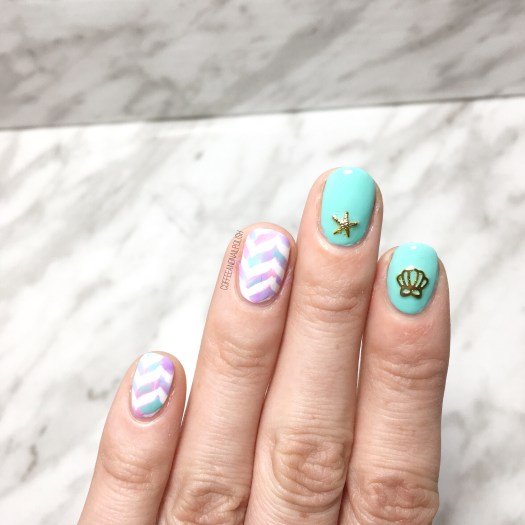
Today I’m sharing these drag marble chevron nails that for some reason remind me of the beach! I was recently gifted some amazing new goodies from NailStuff.ca & I knew immediately that I had to use some of the beautiful summery studs Victoria had sent! I love how flat & easy to work with these studs are. They sit easily on the nail & because I sealed them in with extra top coat there were no edges you don’t have to worry about catching them on anything & pulling them off prematurely.

For this manicure, the products I used were:

I’m really living the pastel shades form this 6 pack set from Claire’s. I picked it up on payday & used every shade with the exception of coral. Also I love how these studs from NailStuff just brings the whole look together & completes the Summery vibe. For my chevrons, I used the drag brush effect to blend the colours together. I used to do this technique a lot with nail vinyls, but it had been a while.

What do you think of this design? How adorable are these studs from NailStuff.ca? What kind of designs would you do with these Beachy studs? Let me know in the comments below!