GLAM NAILS CHALLENGE OCTOBER— Skull 💀

Hello lovelies & happy Monday! It’s a brand new week, & we’re officially half way through October. This month is just speeding by!

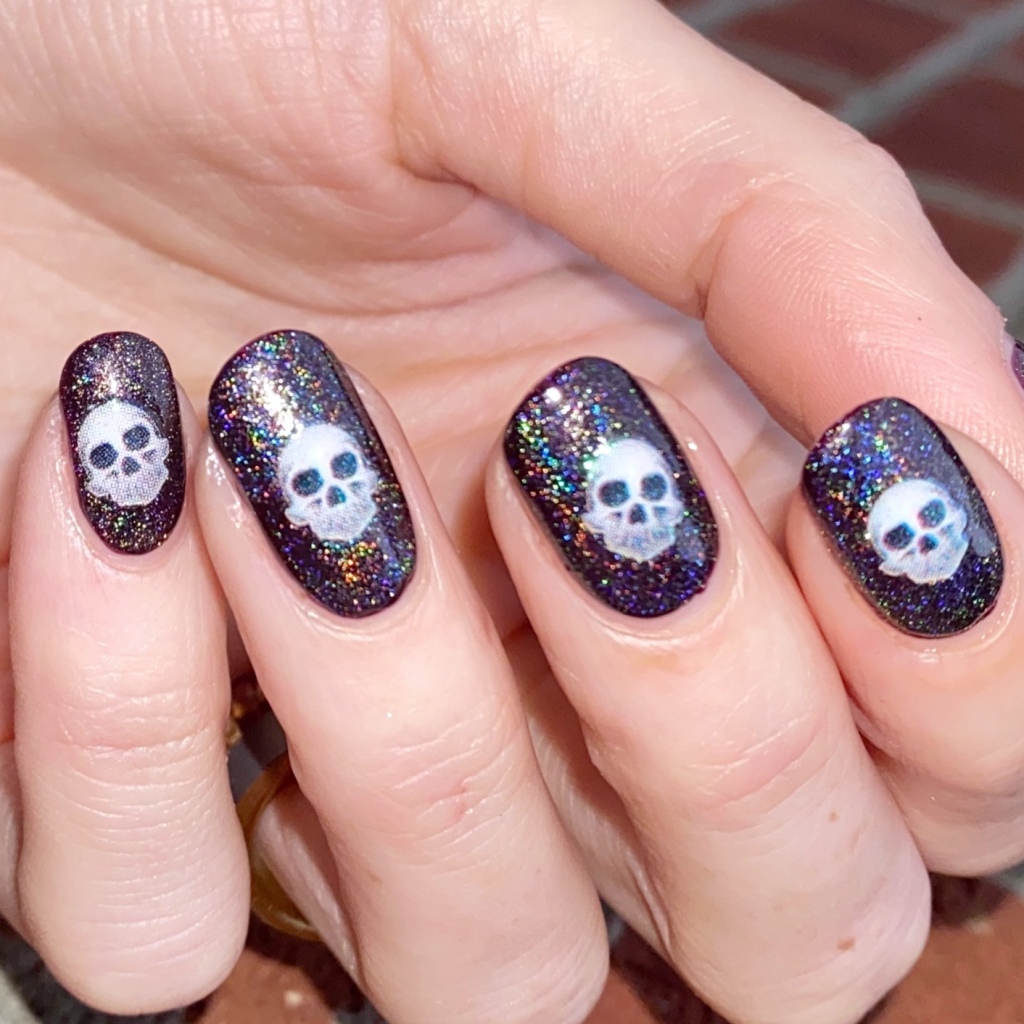
Today I’m excited to show off my next prompt for Glam Nails Challenge October — skull. For this look, I went super easy with the nail, but I still think this look turned out awesome!

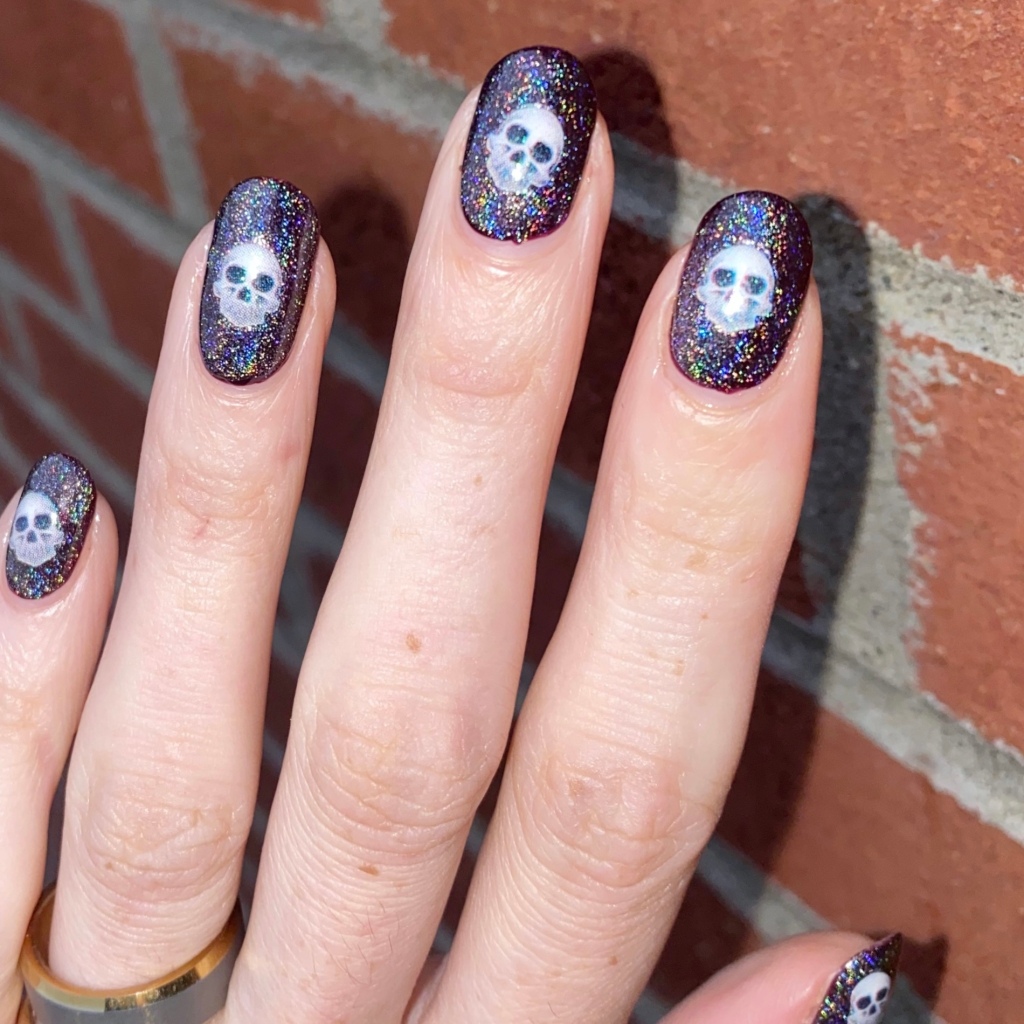
The polishes I used for this manicure are: 

  • Base Coat: Sally Hansen Miracle Gel Colour Grip Primer Base Coat 
  • Top Coat: Sally Hansen Insta-Dri Top Coat
  • OPI Black Cherry Chutney
  • Starrily Eclipse
  • Dollarama Halloween Nail Art Stickers

I know I’ve shared before how much I love nail art stickers, & these Halloween themed ones I found at Dollarama (Canadian dollar store chain) are my absolute favourite!

I love love love a good skull design anyways, but I think the simplicity of the skull over the dark holographic base is just perfection. Spooky, but also quite chic. & I got lots of compliments on these when I wore them to work (matching in my favourite H&M skeleton dress).
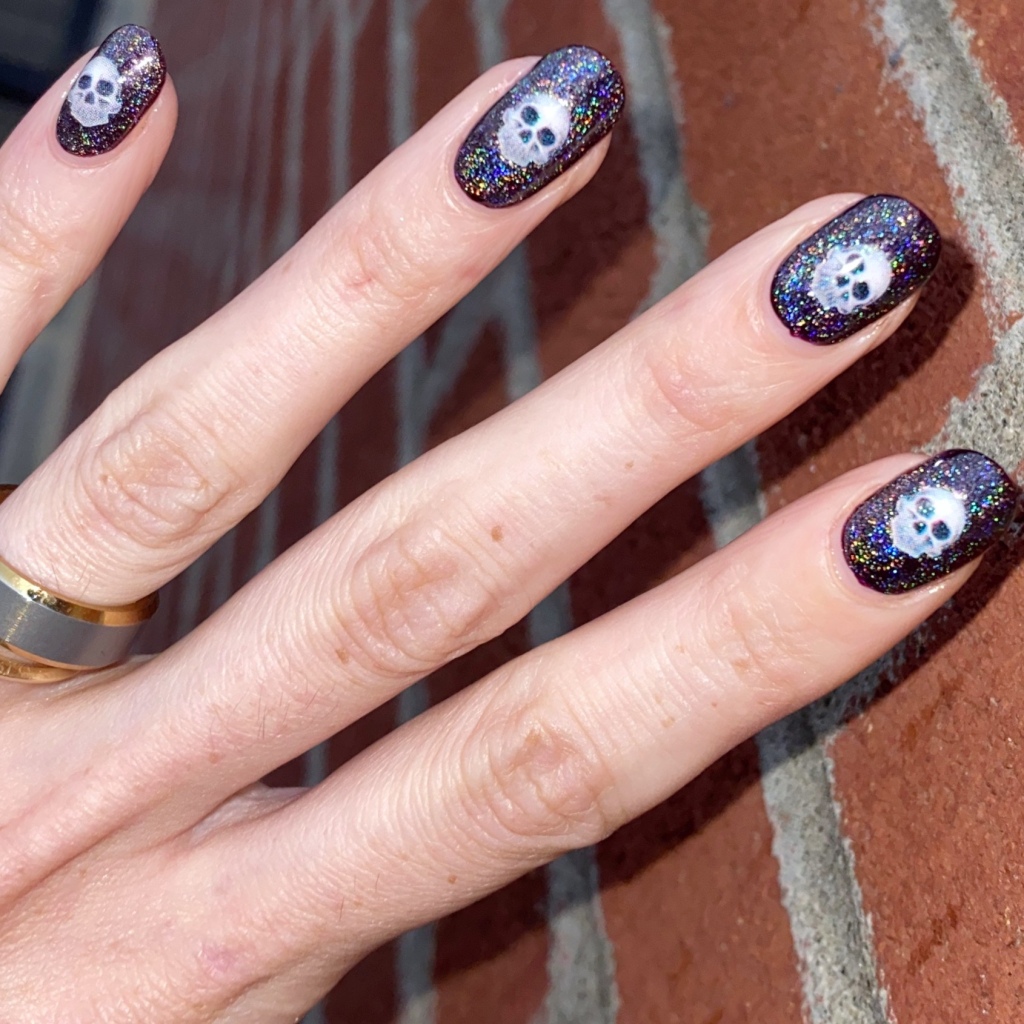
What do you think about my skull design for Glam Nails Challenge October? Which design has been your favourite so far? Let me know in the comments below!

Happy Monday 🖤

Easy Holo Ocean Themed Nails

Hello lovelies & happy Monday! It’s the beginning of a brand new week, & I’m sharing a super easy look with you.

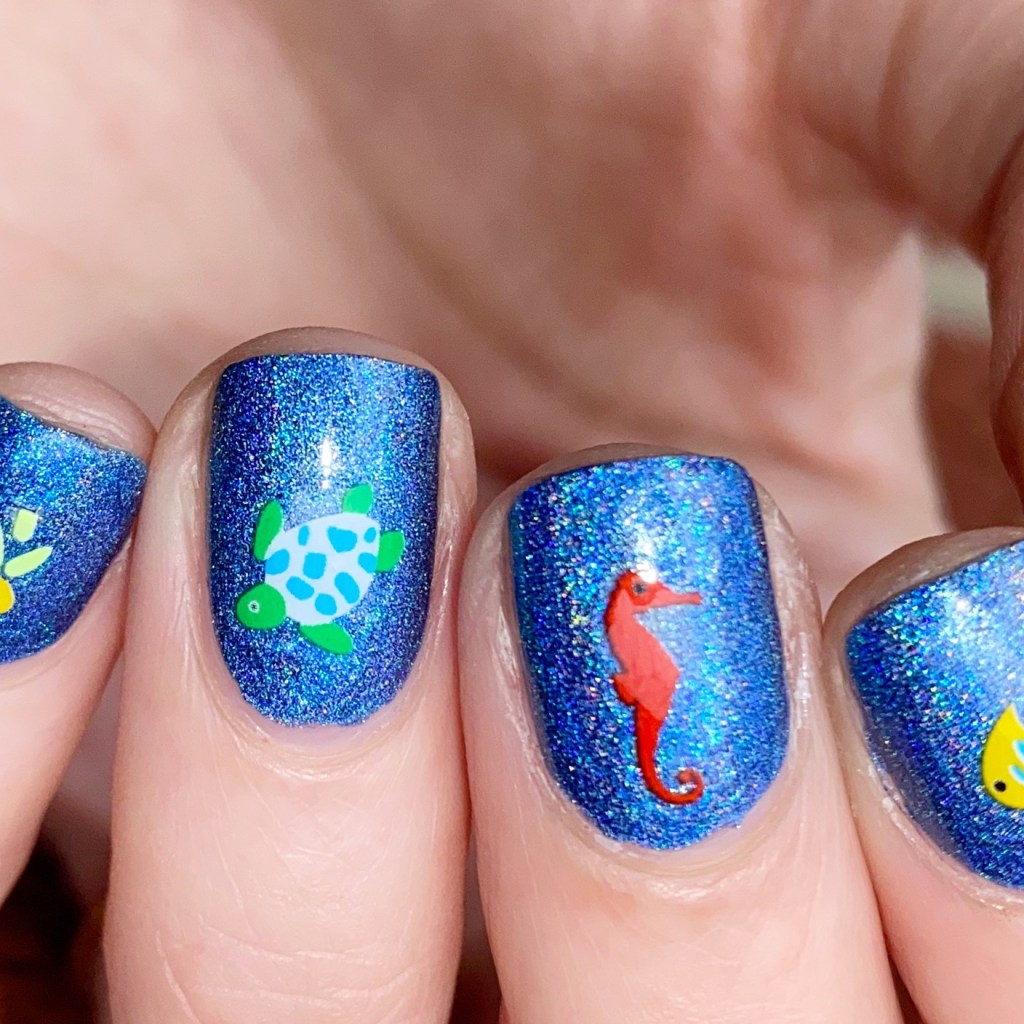
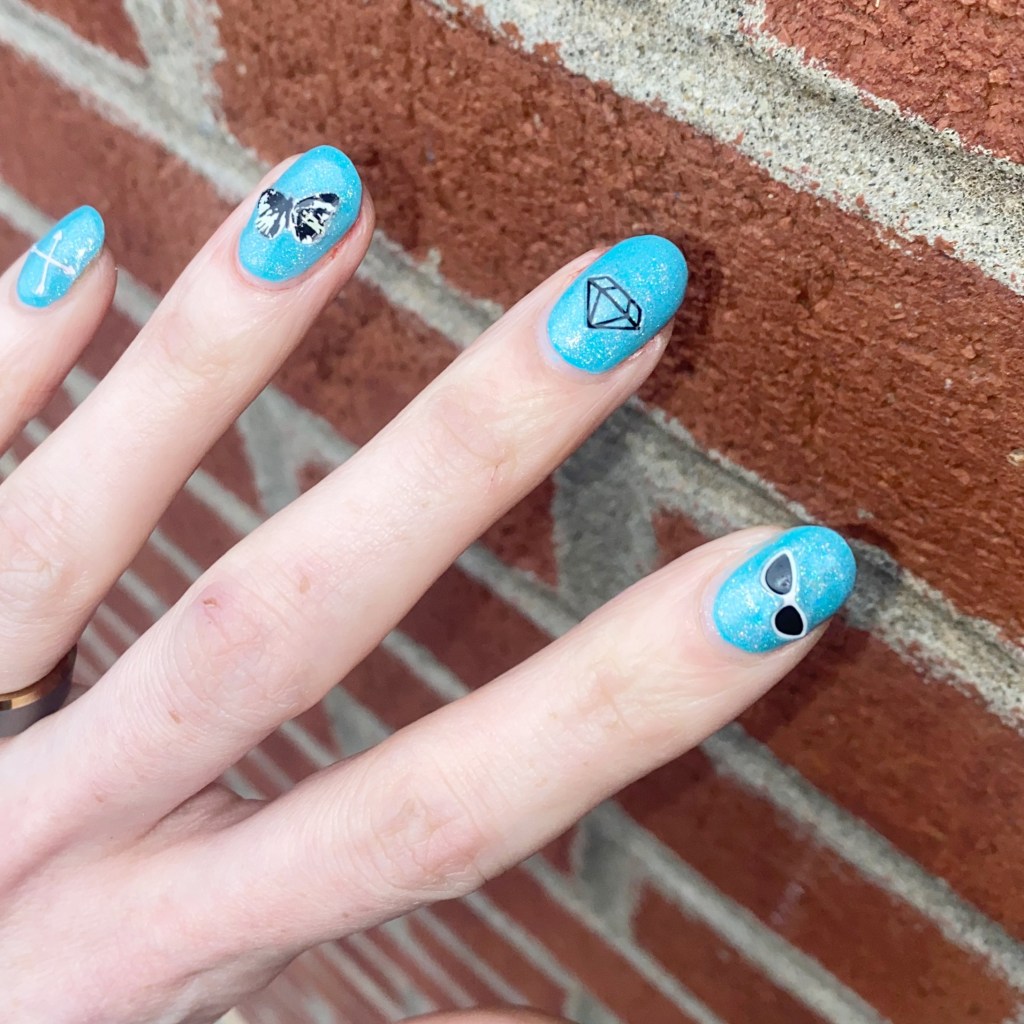
This was a super quick & easy look I did the end of last week, inspired by a request by my little girl. I had these cute ocean themed nail art stickers I picked up from Icing circa 2014-2015, though I thought they would be super cute paired with an ocean-y blue nail polish for some easy nail art.

The polishes I used for this manicure are: 

  • Base Coat: Londontown KUR Nail Hardener & Base Coat 
  • Top Coat: Seche Vive Fast Dry Top
  • Superchic Lacquer Throwing Shade
  • Icing Nail Art Stickers — can find similar styles on Etsy.

I’ve raved before about my love for nail art stickers for easy nail art, especially when time is an issue. You can use a whole bunch on the nail, or one on each nail for a simple look. I have quite the collection myself, so they’re fun to grab when I’m lacking time (or inspiration).

& there are some great brands out there to choose from.

What do you think about these simple holographic ocean nails? Are you a fan of simple nail art like this? Have you ever tried any nail art sticker brands that you absolutely love? Let me know your favourites down in the comments below!

Have a fantastic Monday!

Easy Pop Art Nail Art with Stickers

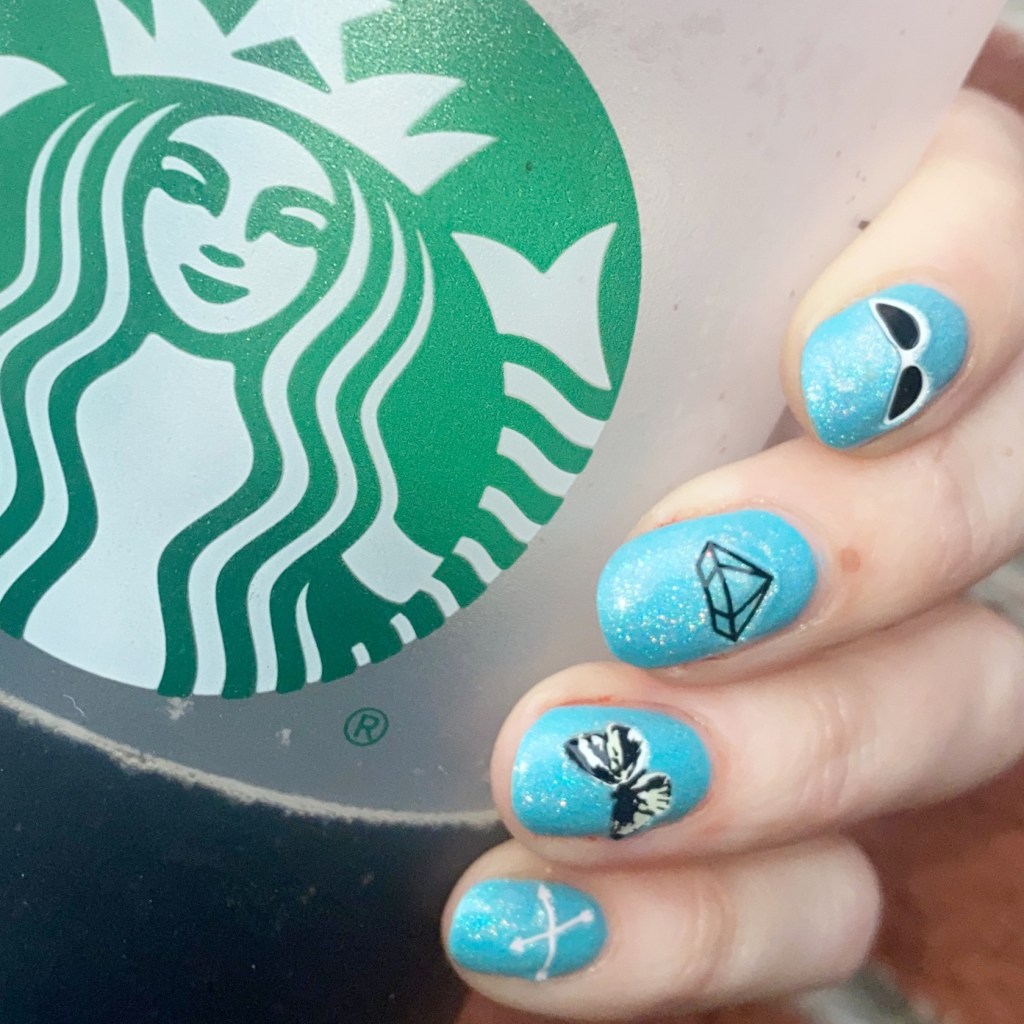
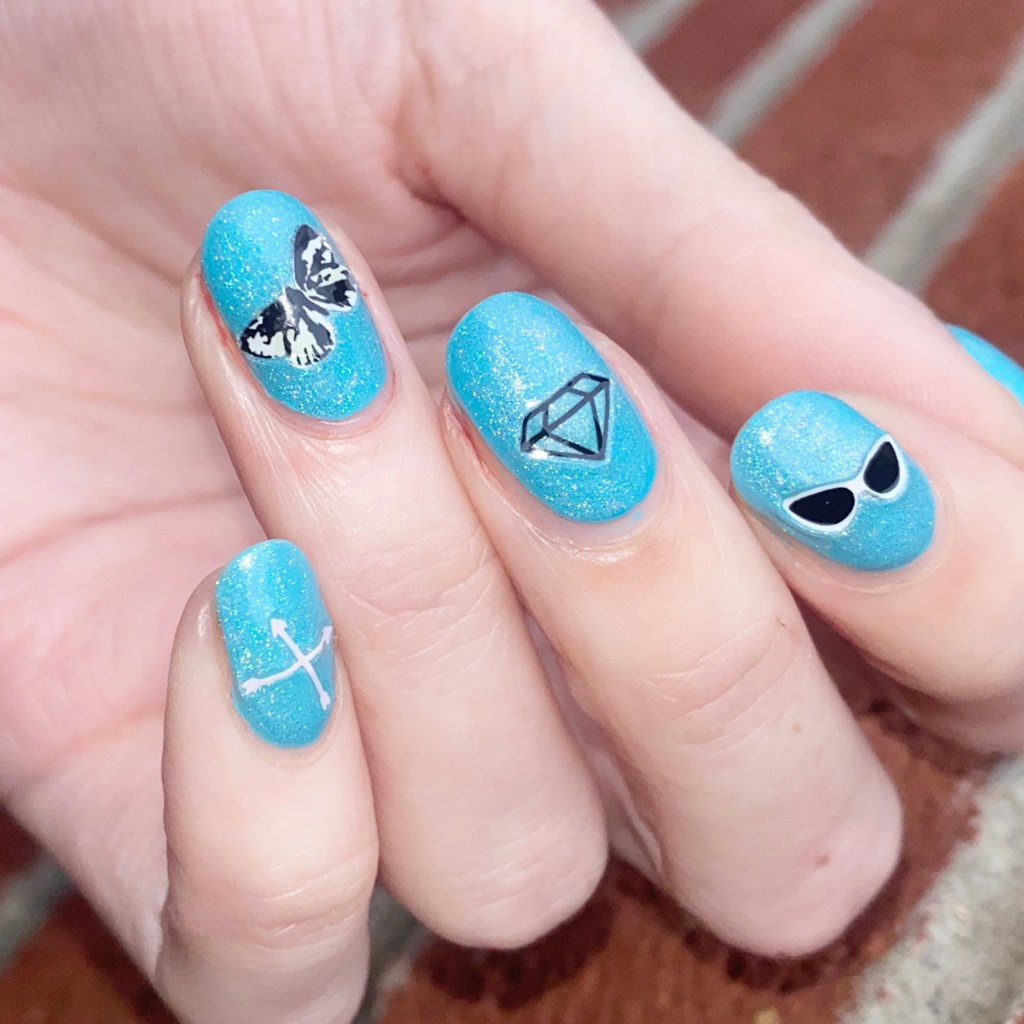
Hello lovelies! I hope everyone is having a lovely week so far. Today I’m feeling Summer vibes, so I wanted to share a fun pop art inspired nail art I recently did that were super easy to do — especially since they basically involve no actual talent what-so-ever! & isn’t that the best kind of nail art?

The polishes I used for this manicure are: 

  • Base Coat: Essie Hard To Resist Glow & Shine 
  • Top Coat: Seche Vive Fast Dry Top
  • Holographic Top Coat: Starrily Eclipse
  • Essie In The Cabana
  • Olive & June Nail Art Stickers (discontinued sheet)

I recently picked up (well… last Summer) a new bottle of Essie In the Cab-ana which is one of my favourite Summer shades. But adding Starrily Eclipse over top brought it to a whole other level! & I’m definitely obsessed.

I also thought these Olive & June nail art stickers were so cute over top. The black & white stickers feel very pop art to me. This sticker line is long discontinued (I think it’s about 5 years ago I was gifted them) but they do have lots of other cute nail art stickers on their site. You can also find cute nail art stickers through my go to, NailStuff.ca, Deco Miami — although I’ve never tried them — & Amazon, obviously!

What do you think about these fun nail art looks? Do you like easy nail art looks like this?

Let me know all your thoughts down in the comments below.

GLAM NAILS CHALLENGE APRIL — Easter Chicks 🐣

Hello beauties & happy Wednesday!

It’s also the second prompt of Glam Nails Challenge April! & we’re keeping with our Easter trend with Easter Chicks! 🐥

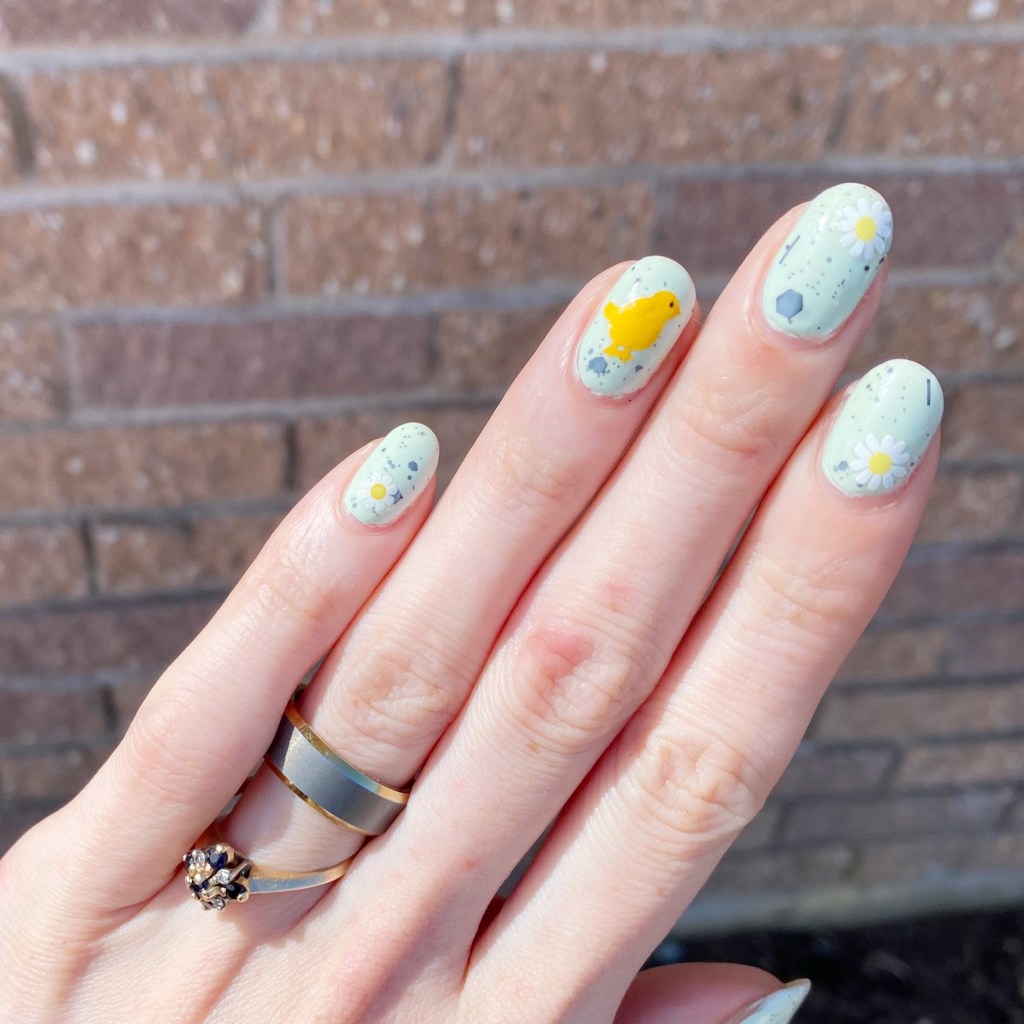
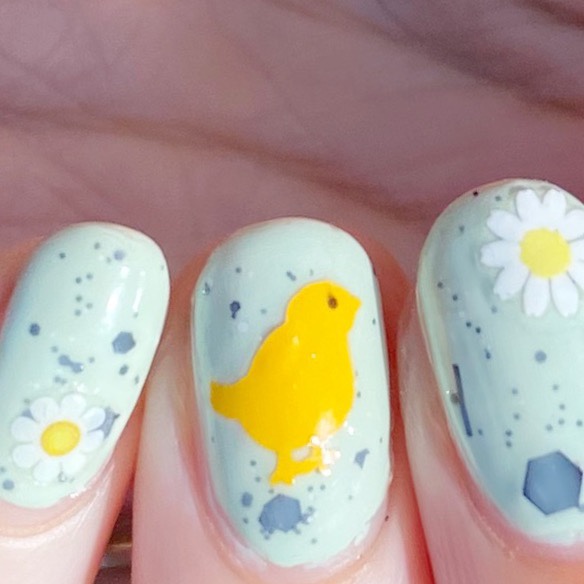
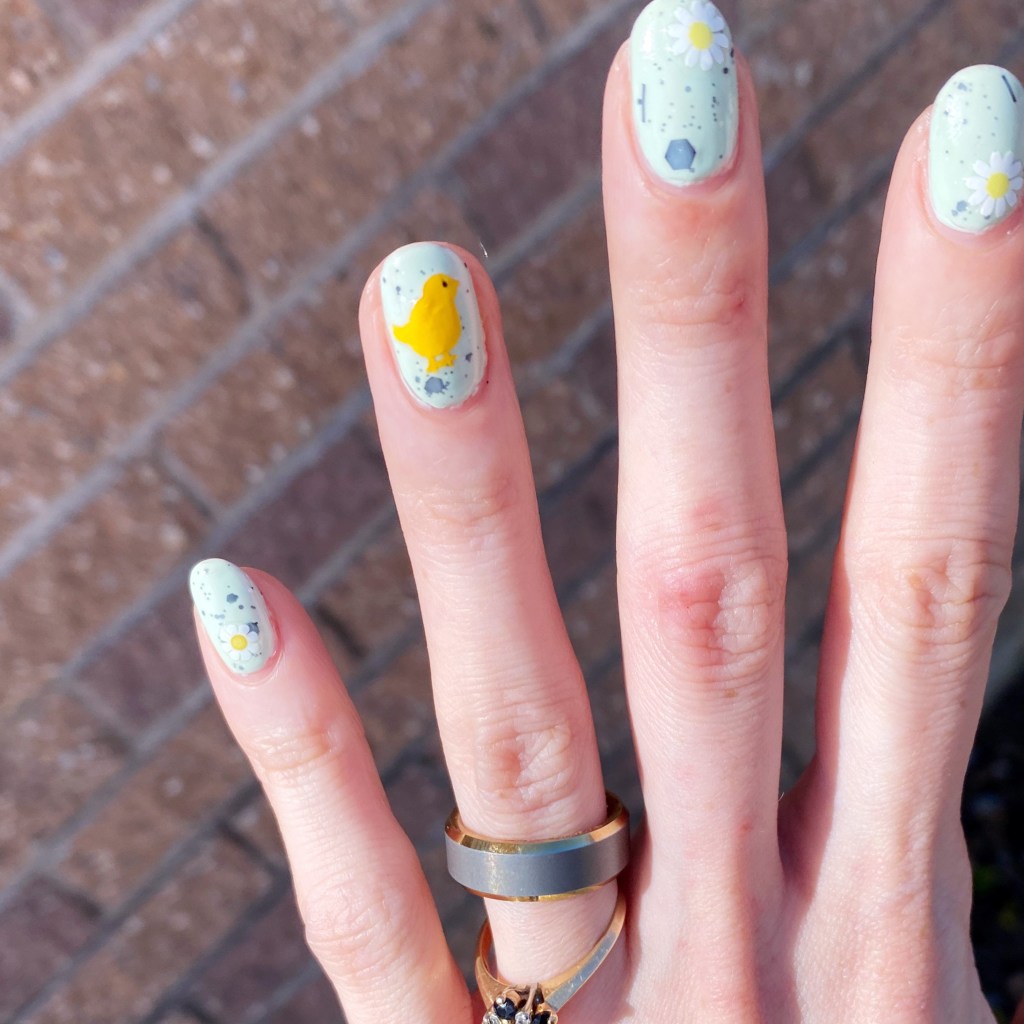
Now when I think of Easter chicks, my mind immediately goes to Peeps — you know, those squishy marshmallow chicks that I feel like are a VERY controversial Easter candy. But since I wasn’t confident in my ability to freehand some peeps, I decided to go with these cute chick Easter decals I got a few years ago.

The polishes I used for this manicure are: 

  • Base Coat: Essie Hard To Resist Glow & Shine 
  • Top Coat: Seche Vite Fast Dry Top Coat
  • Essence Blow My Mint (Bloom Me Up Collection)
  • Formula X for Sephora Chaotic
  • Essence Nail Art Pastel Ombré
  • Chick nail art decals
  • Daisy nail art decals

How cute are these little chick decals & daisy nail art stickers? I added the little black dots for eyes myself. Definitely Spring/Easter vibes. & yes I’m not done with speckled nail vibes yet — maybe in a few days. Haha. But for right now, I’m just going to stare at cute speckled nails & obsess over them.

Also just have to do a cute shout out because today is my 9th Blog-aversary! I swear, I always forgot that it’s coming haha so once again I forgot to do a special blog post. But I still want to celebrate because an almost decade of anything is reason to celebrate.

So happy birthday Coffee & Nail Polish. 🎂

What do you think about this quick Easter Chicks nail art look? Would you wear this quick & easy nail art design? Let me know all your thoughts down in the comments below!

Holo & Snowflakes (featuring some NailStuff.ca goodies)

Features Gifted Product

Hello lovelies & happy Tuesday!

It’s officially a little over a month until Christmas, can you believe it? I feel like I should really start thinking about Christmas shopping soon, but things have been in this weird adjustment period, I really haven’t had a lot of time to think about anything holly or jolly.

I was feeling some nail art the other night, but I was also feeling super tired — I recently started a new job, so after a few weeks off, I’ve been adjusting back into work life. & I’m tired, haha. But I wanted some cute nails, so I decided to grab some of my nail goodies from Nailstuff.ca. I thought some snowflake nails might, just, inspire me to feeling festive.

The polishes I used for this manicure are: 

  • Base Coat: Essie Hard To Resist Glow & Shine 
  • Top Coat: Sally Hansen Insta-Dri Anti-chip Top Coat
  • Dimension Nails Great Blue Heron (c/o: NailStuff.ca)
  • Starrily Eclipse (c/o: NailStuff.ca) (Holographic Top Coat)
  • NailStuff.ca snowflake stickers (not currently available but she does have other cute Christmas stickers right now)

So I definitely applied these stickers when my base shade was still a bit too wet, hence a bit of a 3D effect on some of my nails. But I think these little snowflakes look so cute over the blue holographic base. I wanted something kind of dusty, but with a holo kick, & this combination was perfect! Also, somehow, I think this is the first time I’ve worn Dimension Nails Great Blue Heron as a full manicure, & that’s kind of crazy. It’s such a beautiful blue!

What do you think of my easy snowflake nails? Do you like seeing easy manicures like this, or do you prefer more complicated nail art? I have a few more “easy” looks to share, & then we’ll be jumping into Glam Nails Challenge December so stay tuned! I plan on having something for everyone.