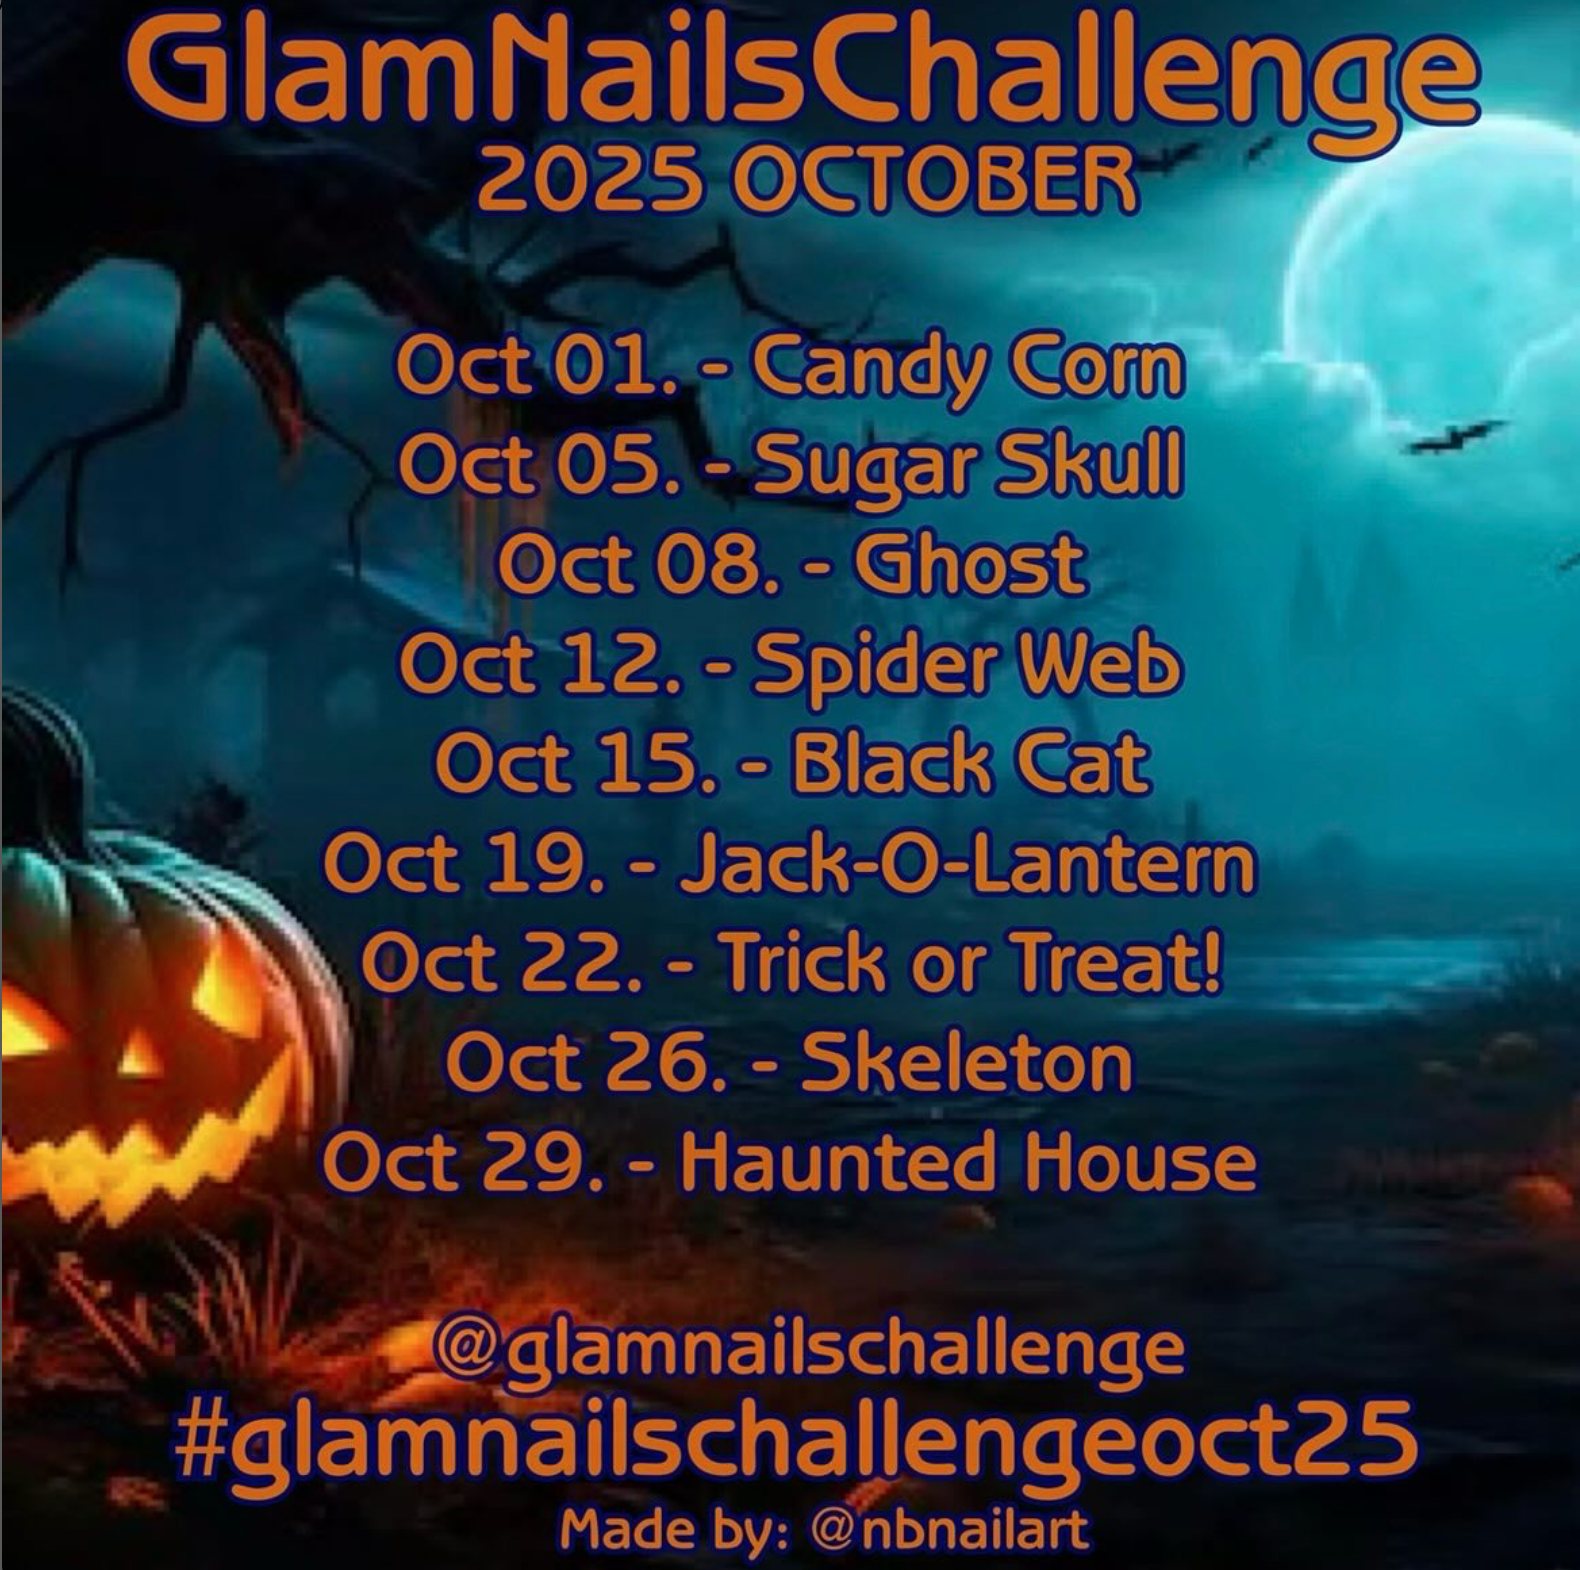
Hello lovelies — Happy Monday! Today is a beautiful start to the week, because it’s time for the second prompt of Glam Nails Challenge October! & the next prompt we have is Sugar Skull! I attempted Sugar Skull nails only once before, but wasn’t exactly super happy with how they turned out. So I had an idea to redeem myself, & I’m actually obsessed with the end result!


The polishes I used for this manicure are:
- Top Coat: Sally Hansen InstaDri Top Coat (red bottle)
- Base Coat: Essie Hard to Resist (purple)
- Icing Store Black
- Claires Cosmic Babe Nail polish Cosmic Blue
- Madam Glam Nail Art Pen Orange *pr
- Madam Glam Nail Art Pen Yellow *pr
- Madam Glam Nail Art Pen Blue *pr
- Madam Glam Nail Art Pen White *pr
- Sally Hansen I ❤️ Nail Polish pen in Purple
- Dollarama Spooky Halloween Nail Stickers (skulls)

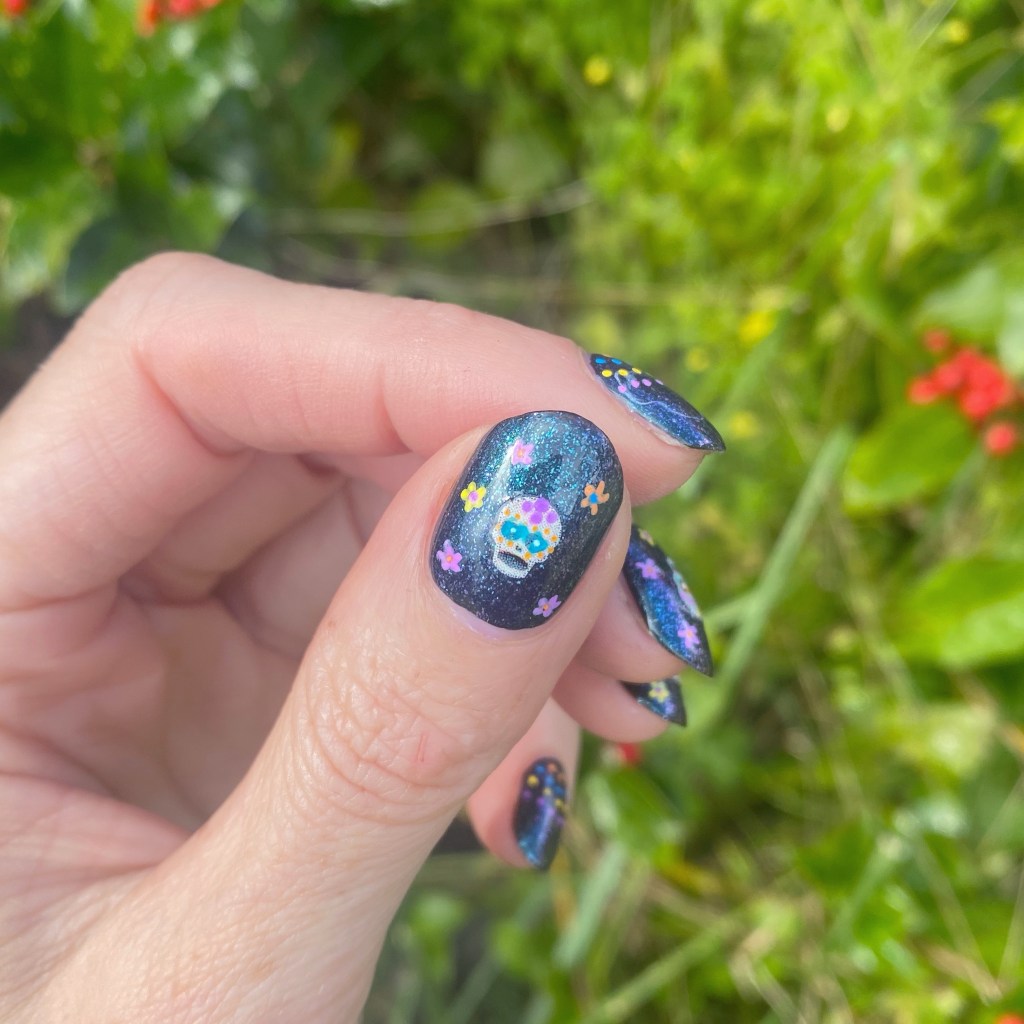
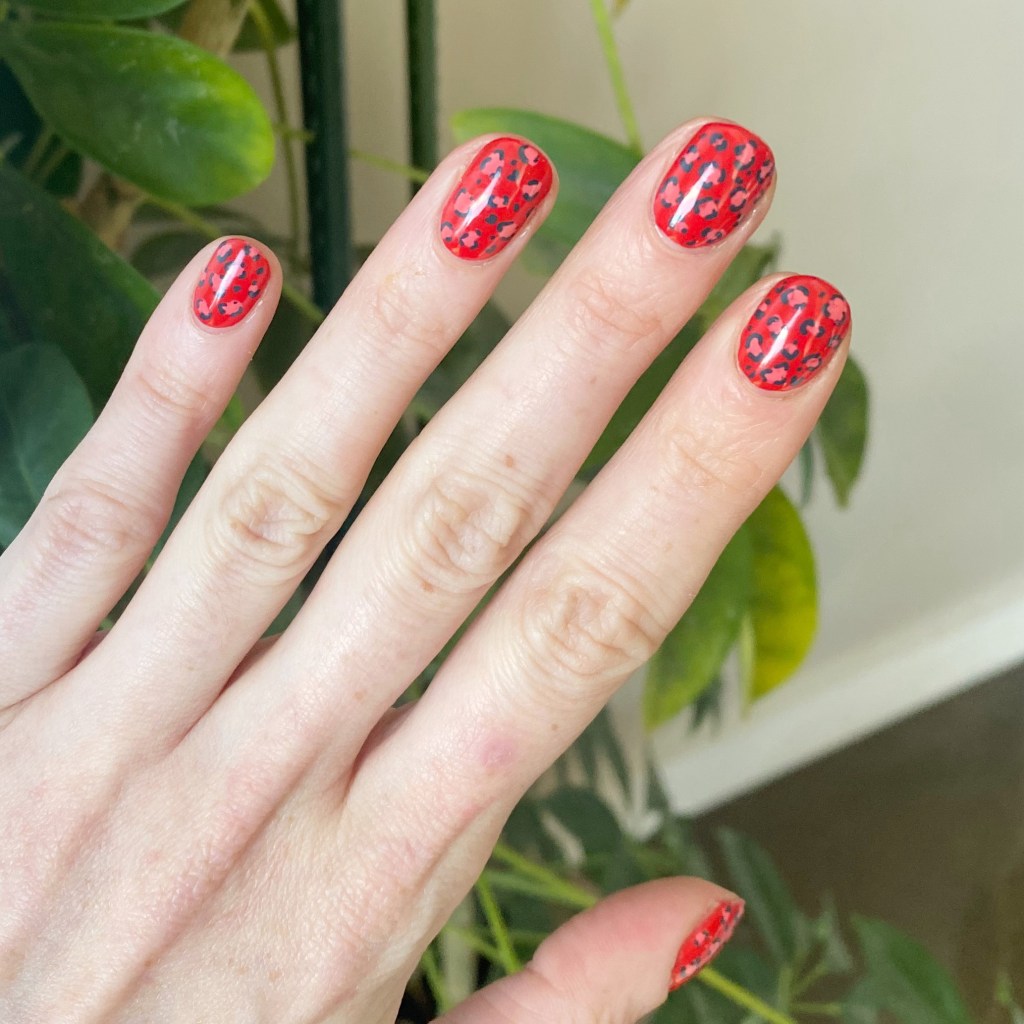
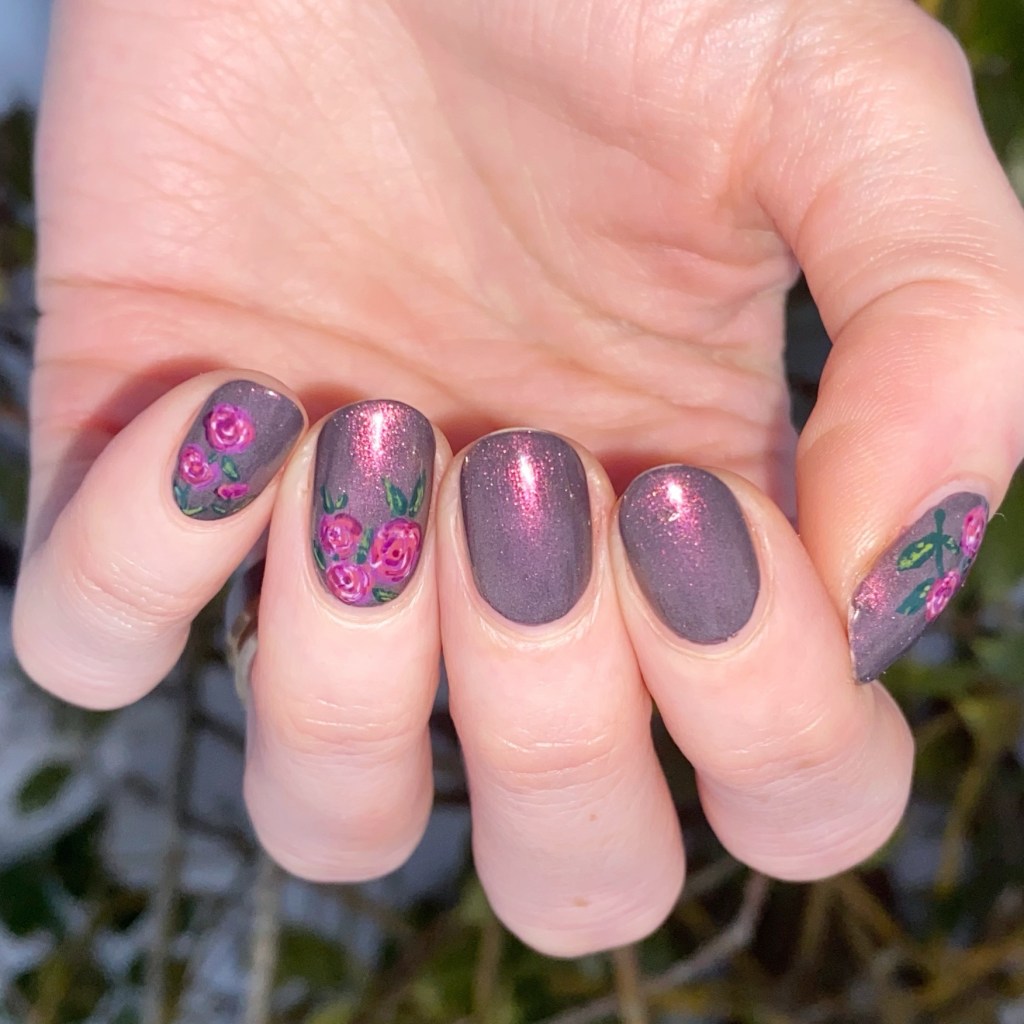
So my original plan was I was going to hand paint skulls on my nails, but that wasn’t really working — & then I was going to stamp on a skull, but I didn’t really like the images that I had. But I remembered I recently purchased some new nail art stickers at Dollarama so I decided to use those are my base for my sugar skull design!
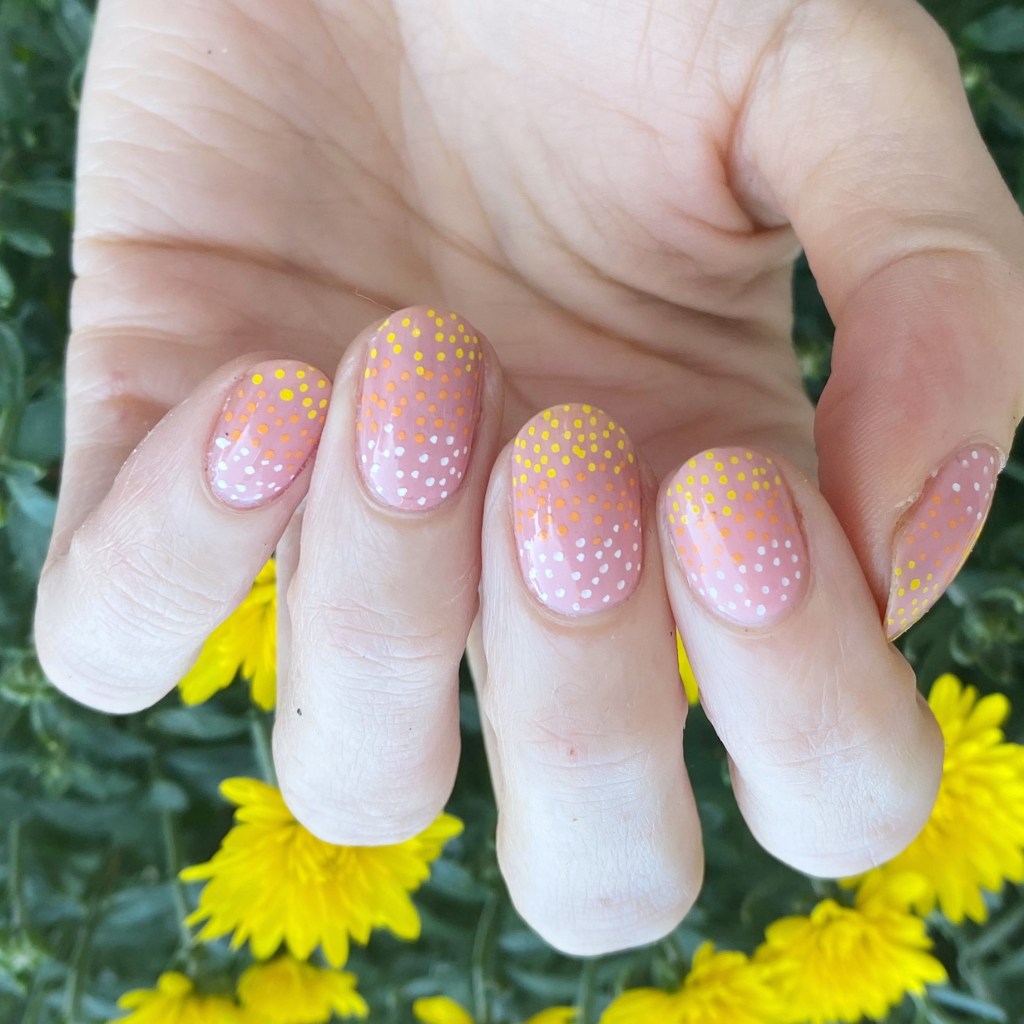
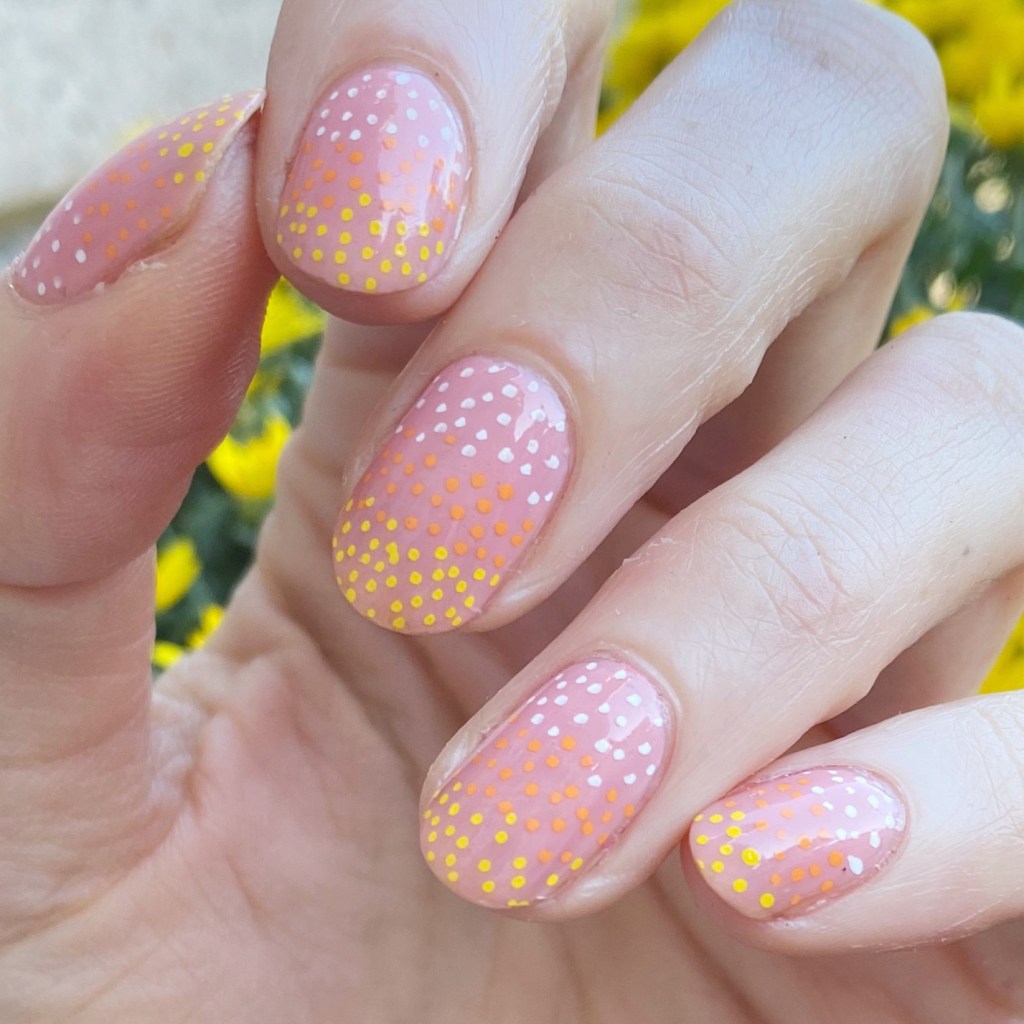
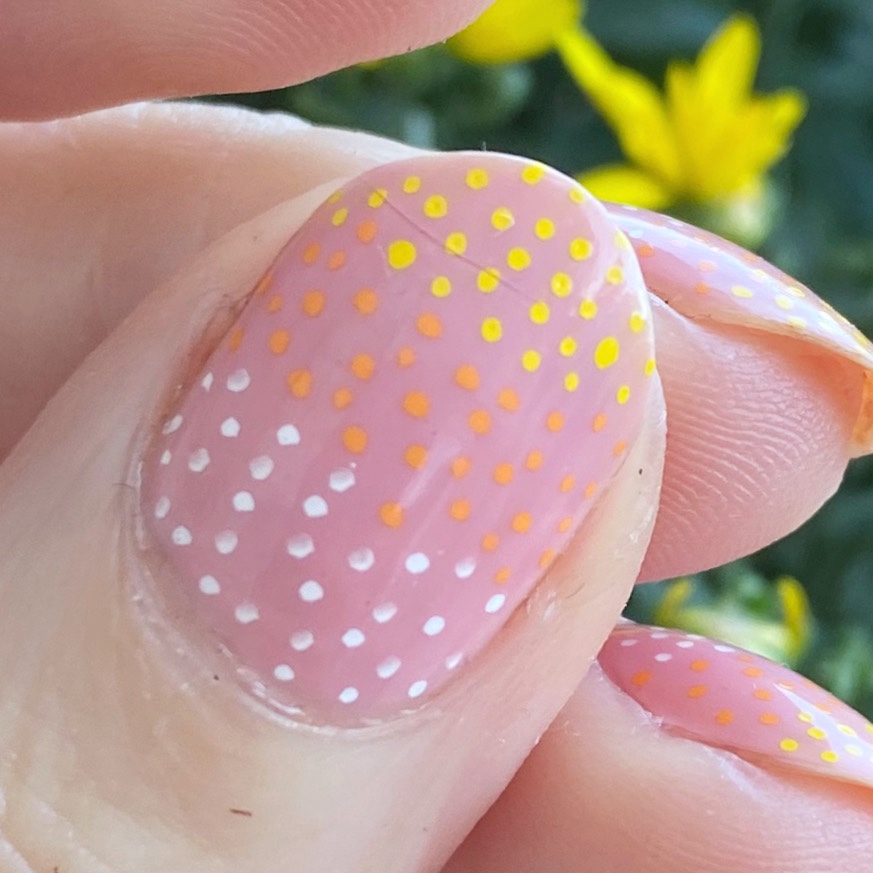
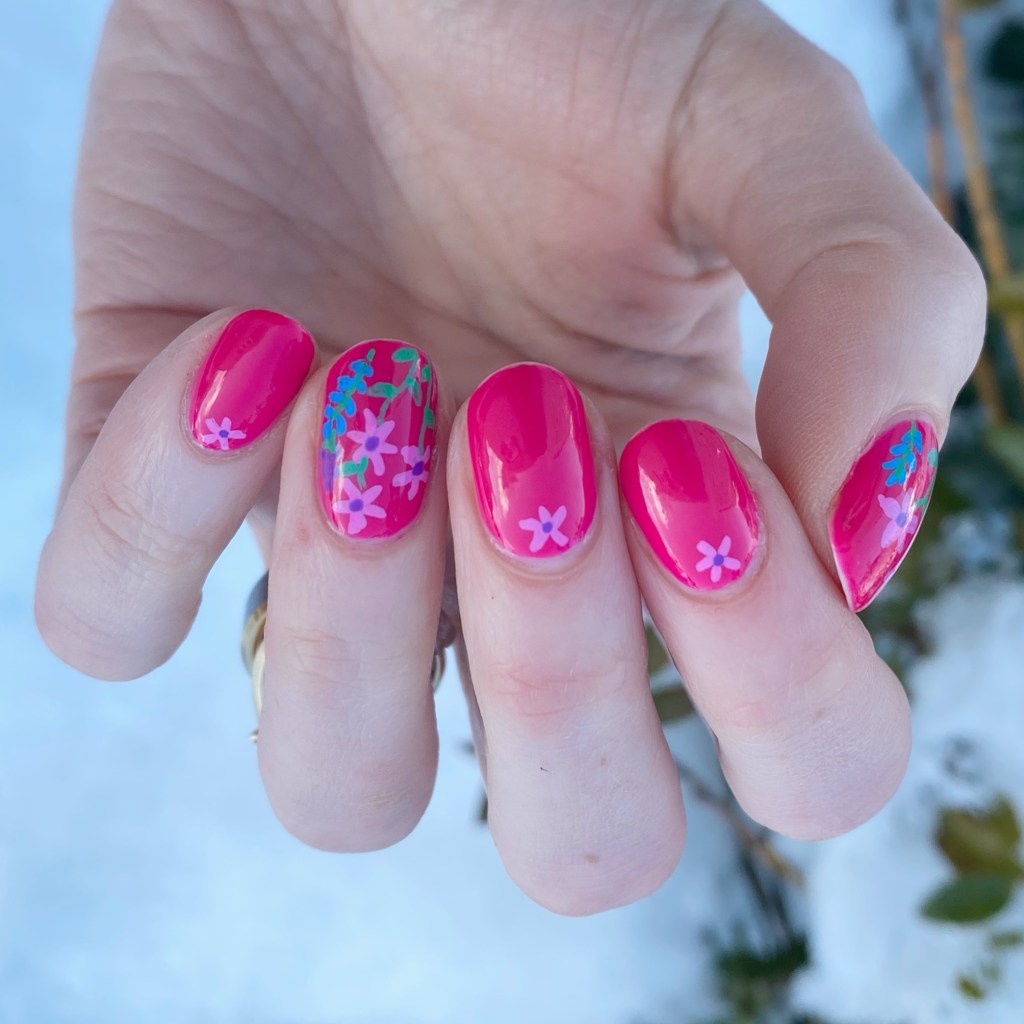
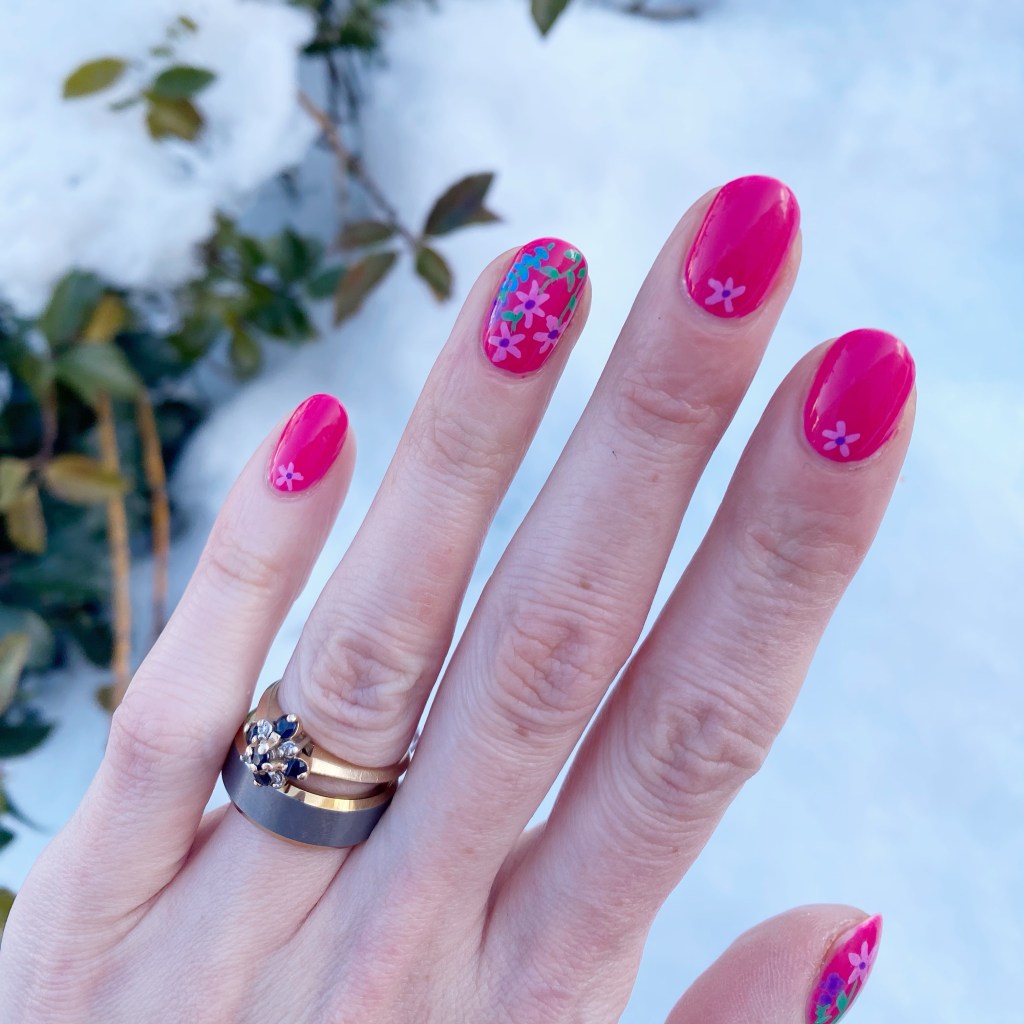
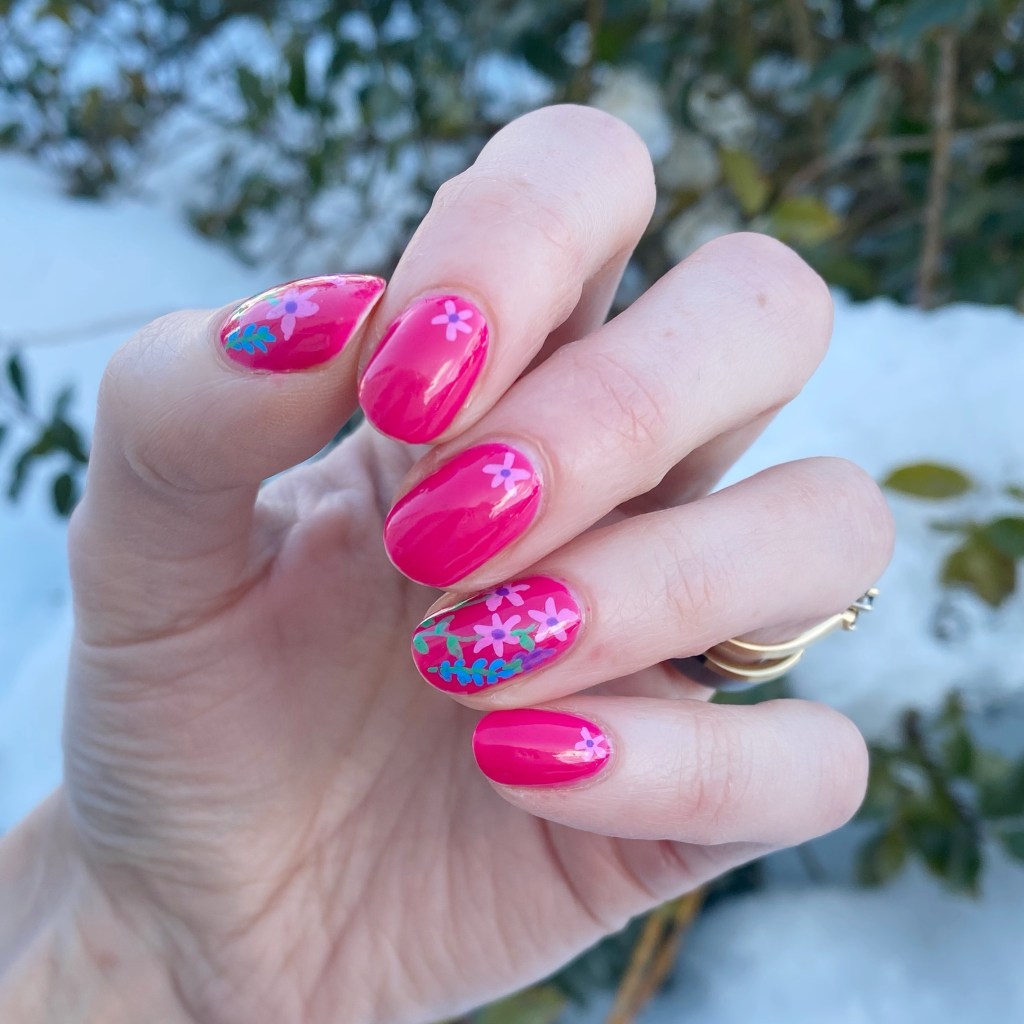
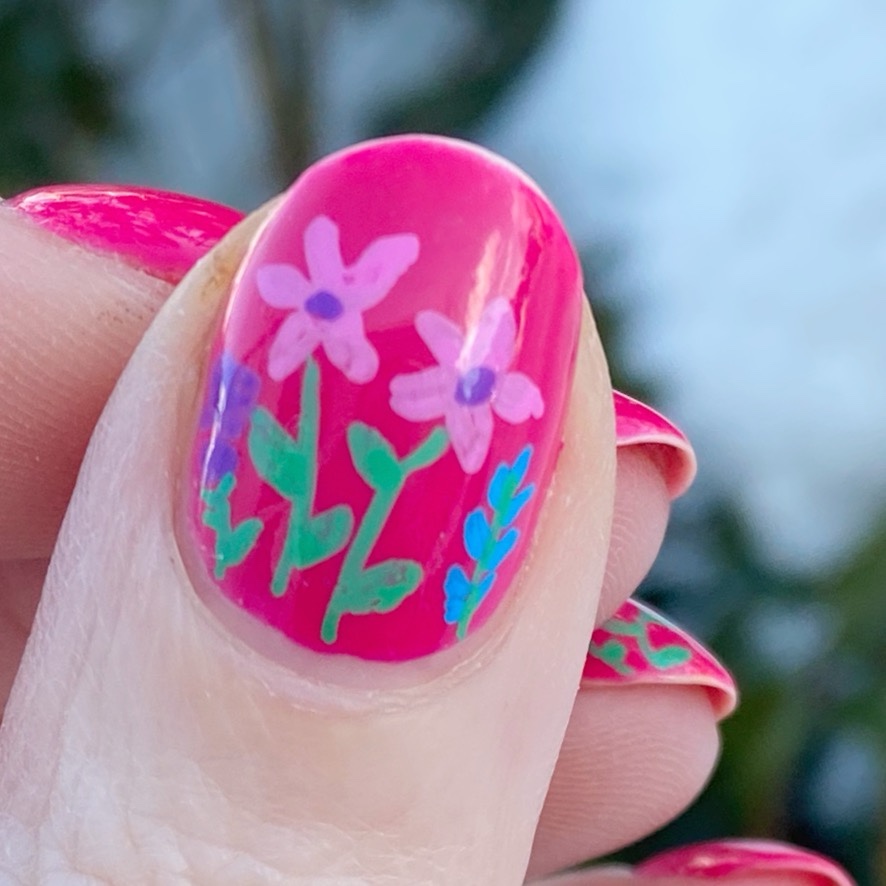
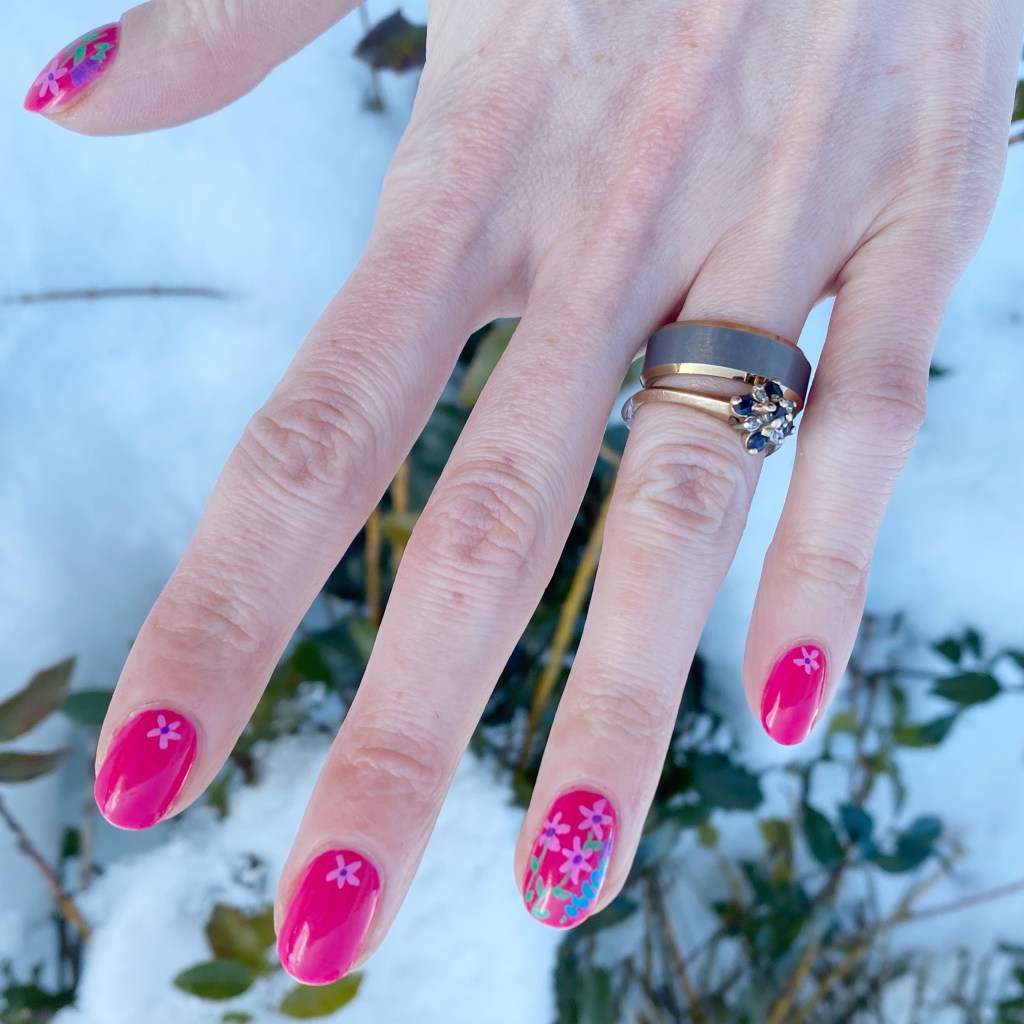
After I applied my skull stickers to the fingers I wanted them on, I then went in with my nail art pens one colour by one colour, & created a fun pattern on each skull face. I tried to do something bright, & eye catching, plus some fun little flowers. Then, on the two fingers I didn’t do skulls, I just added a few colourful dots in a half moon to keep them all looking fluid & cohesive.

What do you think about my Sugar Skull nails? Do you think I did the prompt justice?
Don’t forget that you can follow along with all the designs this month by checking out #glamnailschallengeoct25 on Instagram. There are so many beautiful designs to see, I definitely recommend taking a peek!
Happy Monday
🖤