Hello lovelies & happy Monday! A brand new week which is always exciting. It’s also Valentine’s Day this week, so I expect to be busy at work because who doesn’t want candy for Valentine’s Day?
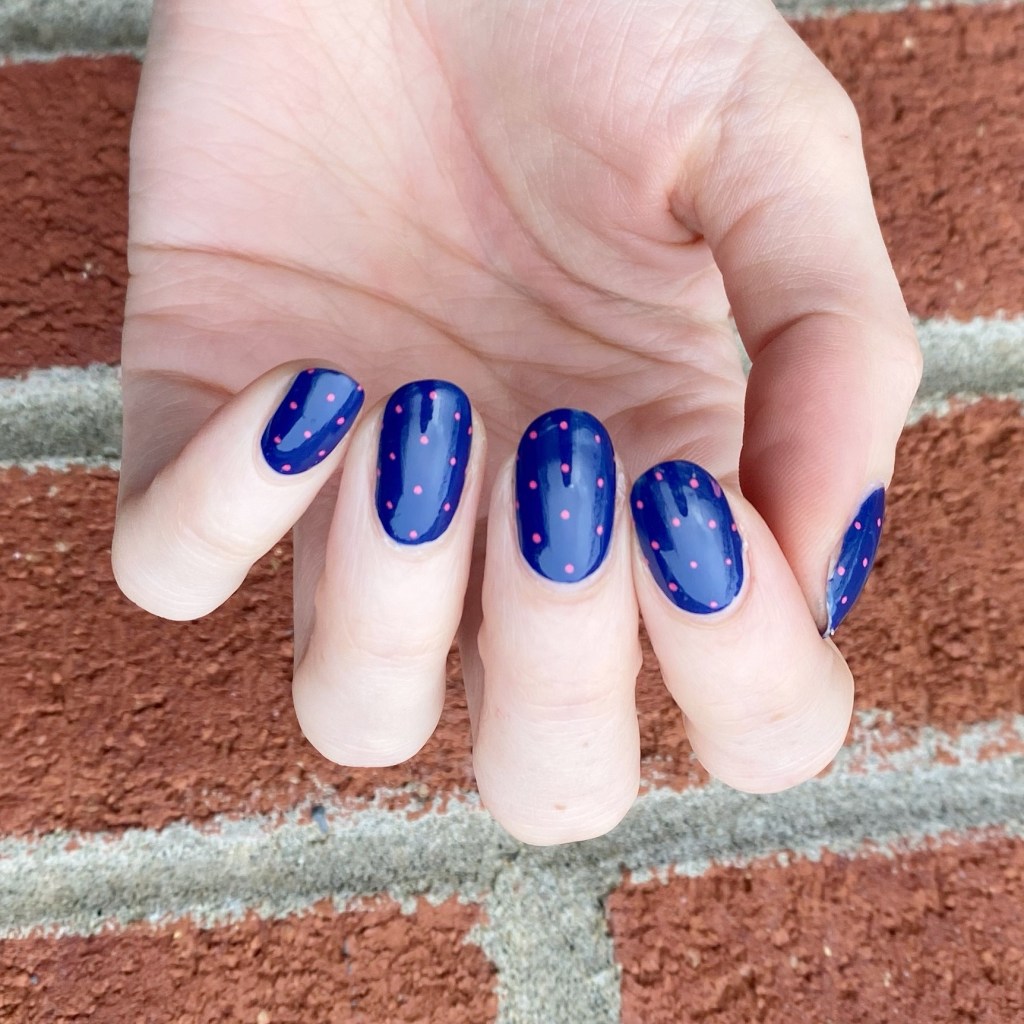
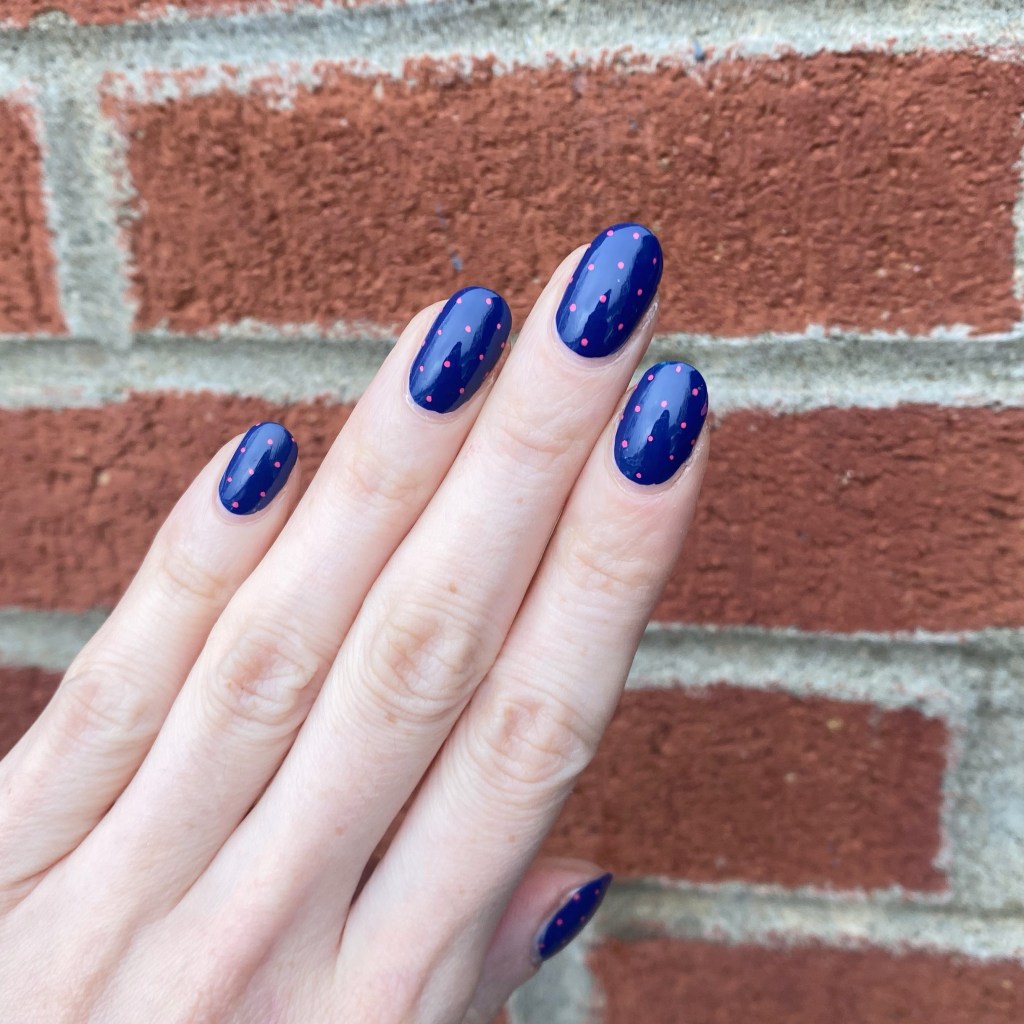
Today though, I’m sharing my last design I did during my week break from blogging (& before I chopped my nails down short.) In my opinion, a dainty dotticure is always a good idea!
The polishes I used for this manicure are:
- Base Coat: China Glaze Calcium Gel Fortifer
- Top Coat: China Glaze Fast Forward Top Coat
- Essie License to Thrill
- Sally Hansen I 💗 Nail Art Pen in pink

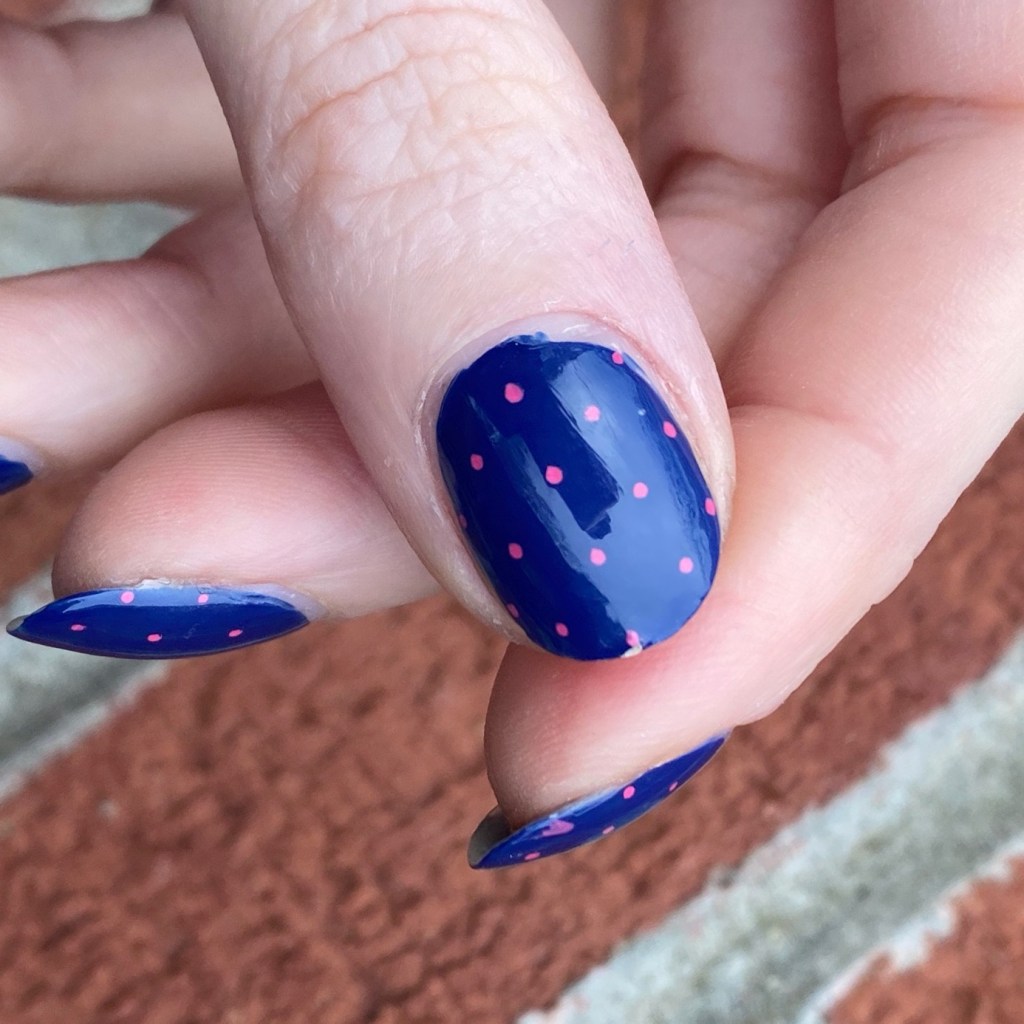
I am so ready to petition Sally Hansen to bring back these I 💗 Nail Art pens because they just make dotticure & polka dots so freaking easy! Like look at these! I could never get polka dots as clean & as perfect as these with a dotting tool, no matter how hard I try. I’m just absolutely obsessed & I really wish they would bring them back already!

What do you think about this dainty dotticure? Do you love a petite polka dot as much as I do? Let me know all your thoughts down in the comments below!