Mani Swap with @teenynails

It’s been a long while since I teamed up for any Mani swaps, so I have a few swap collabs coming up with some of my favourite girls on Instagram.

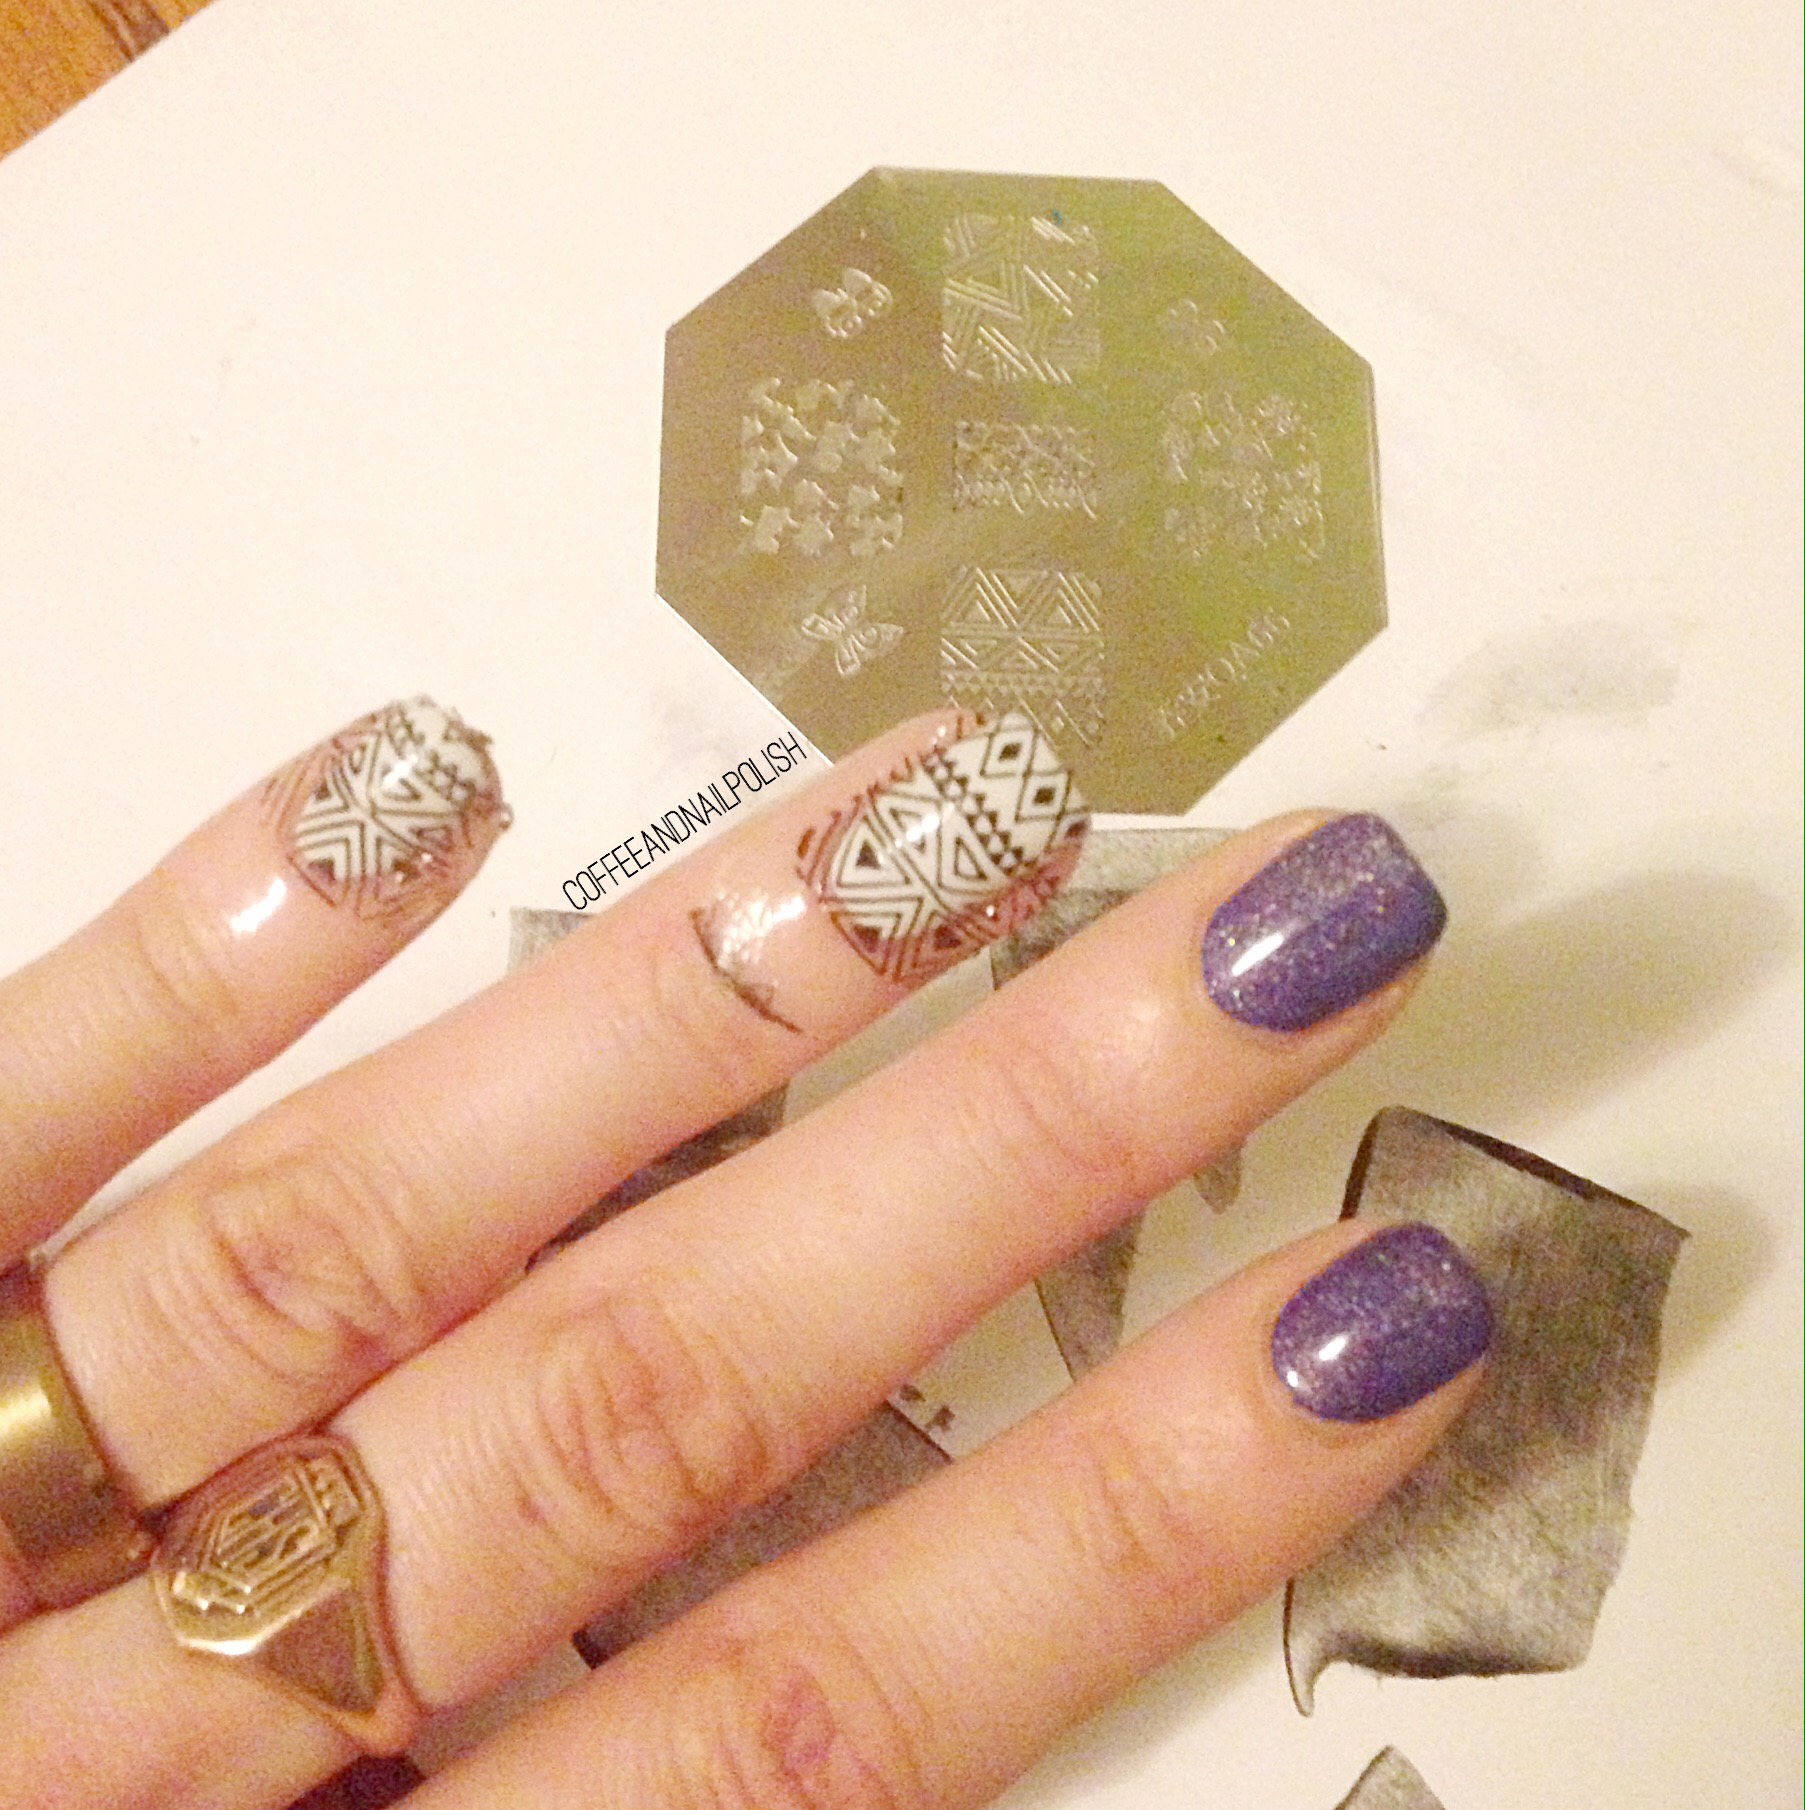
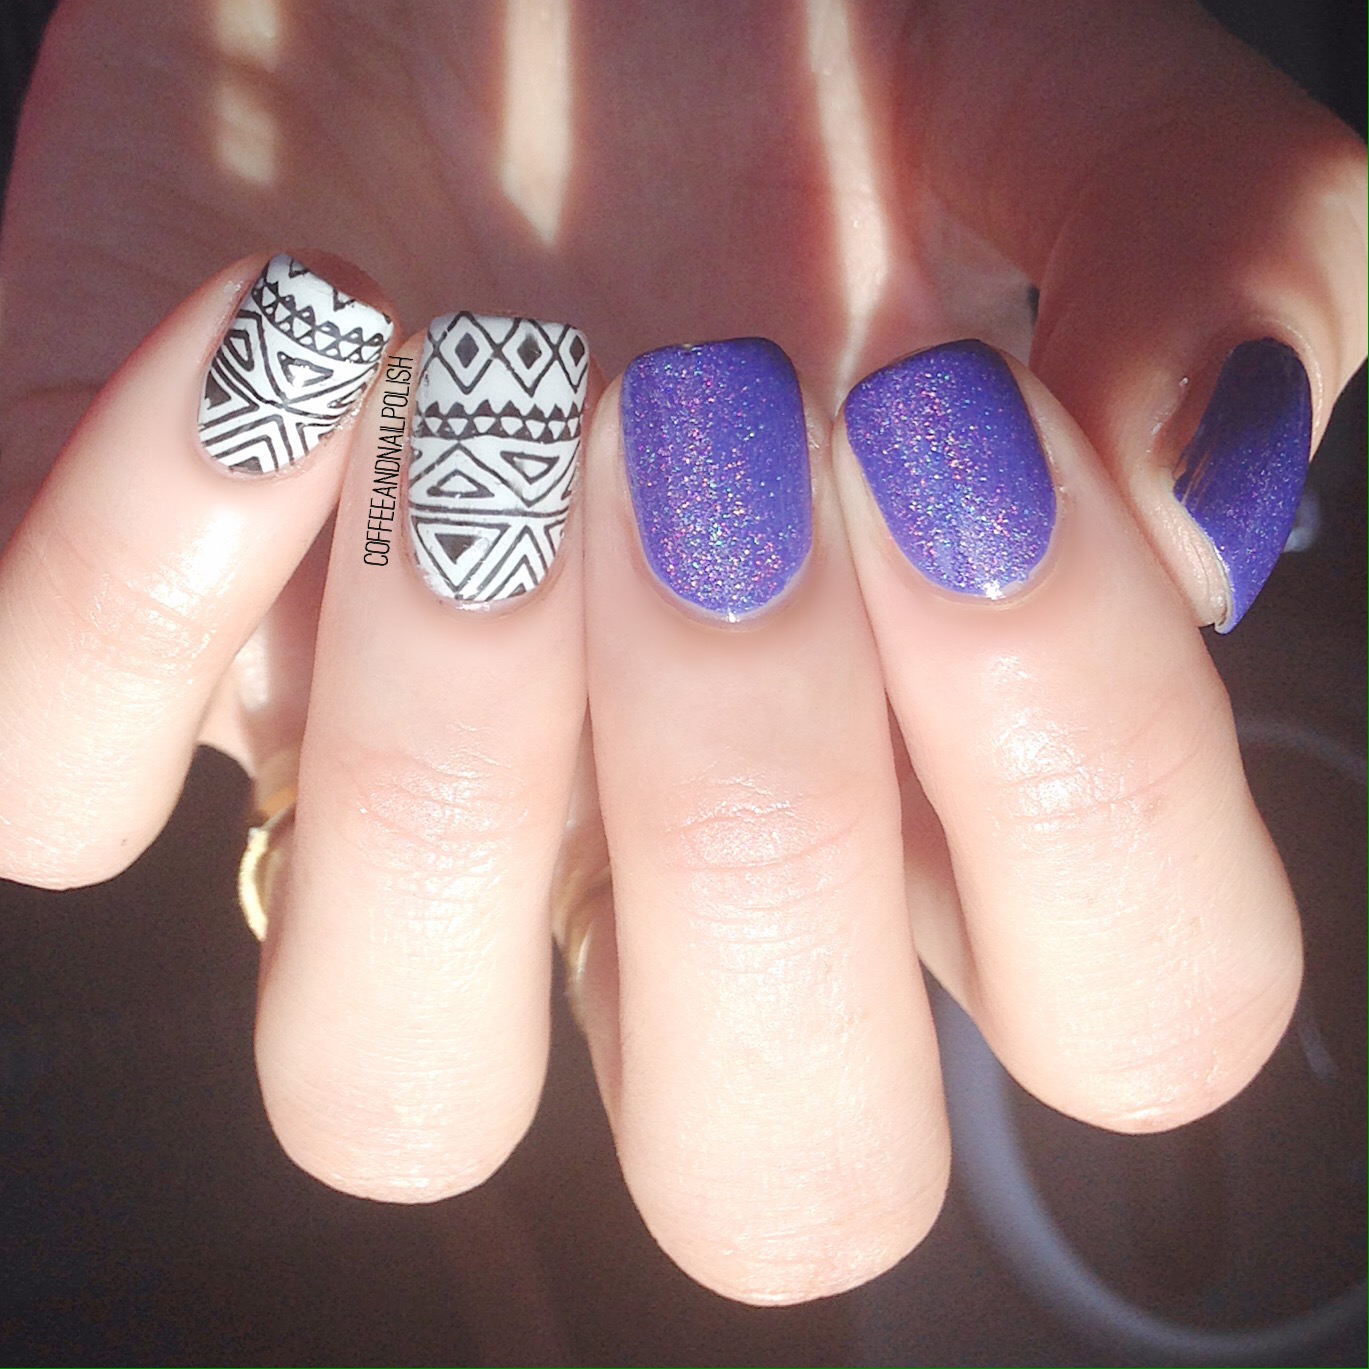
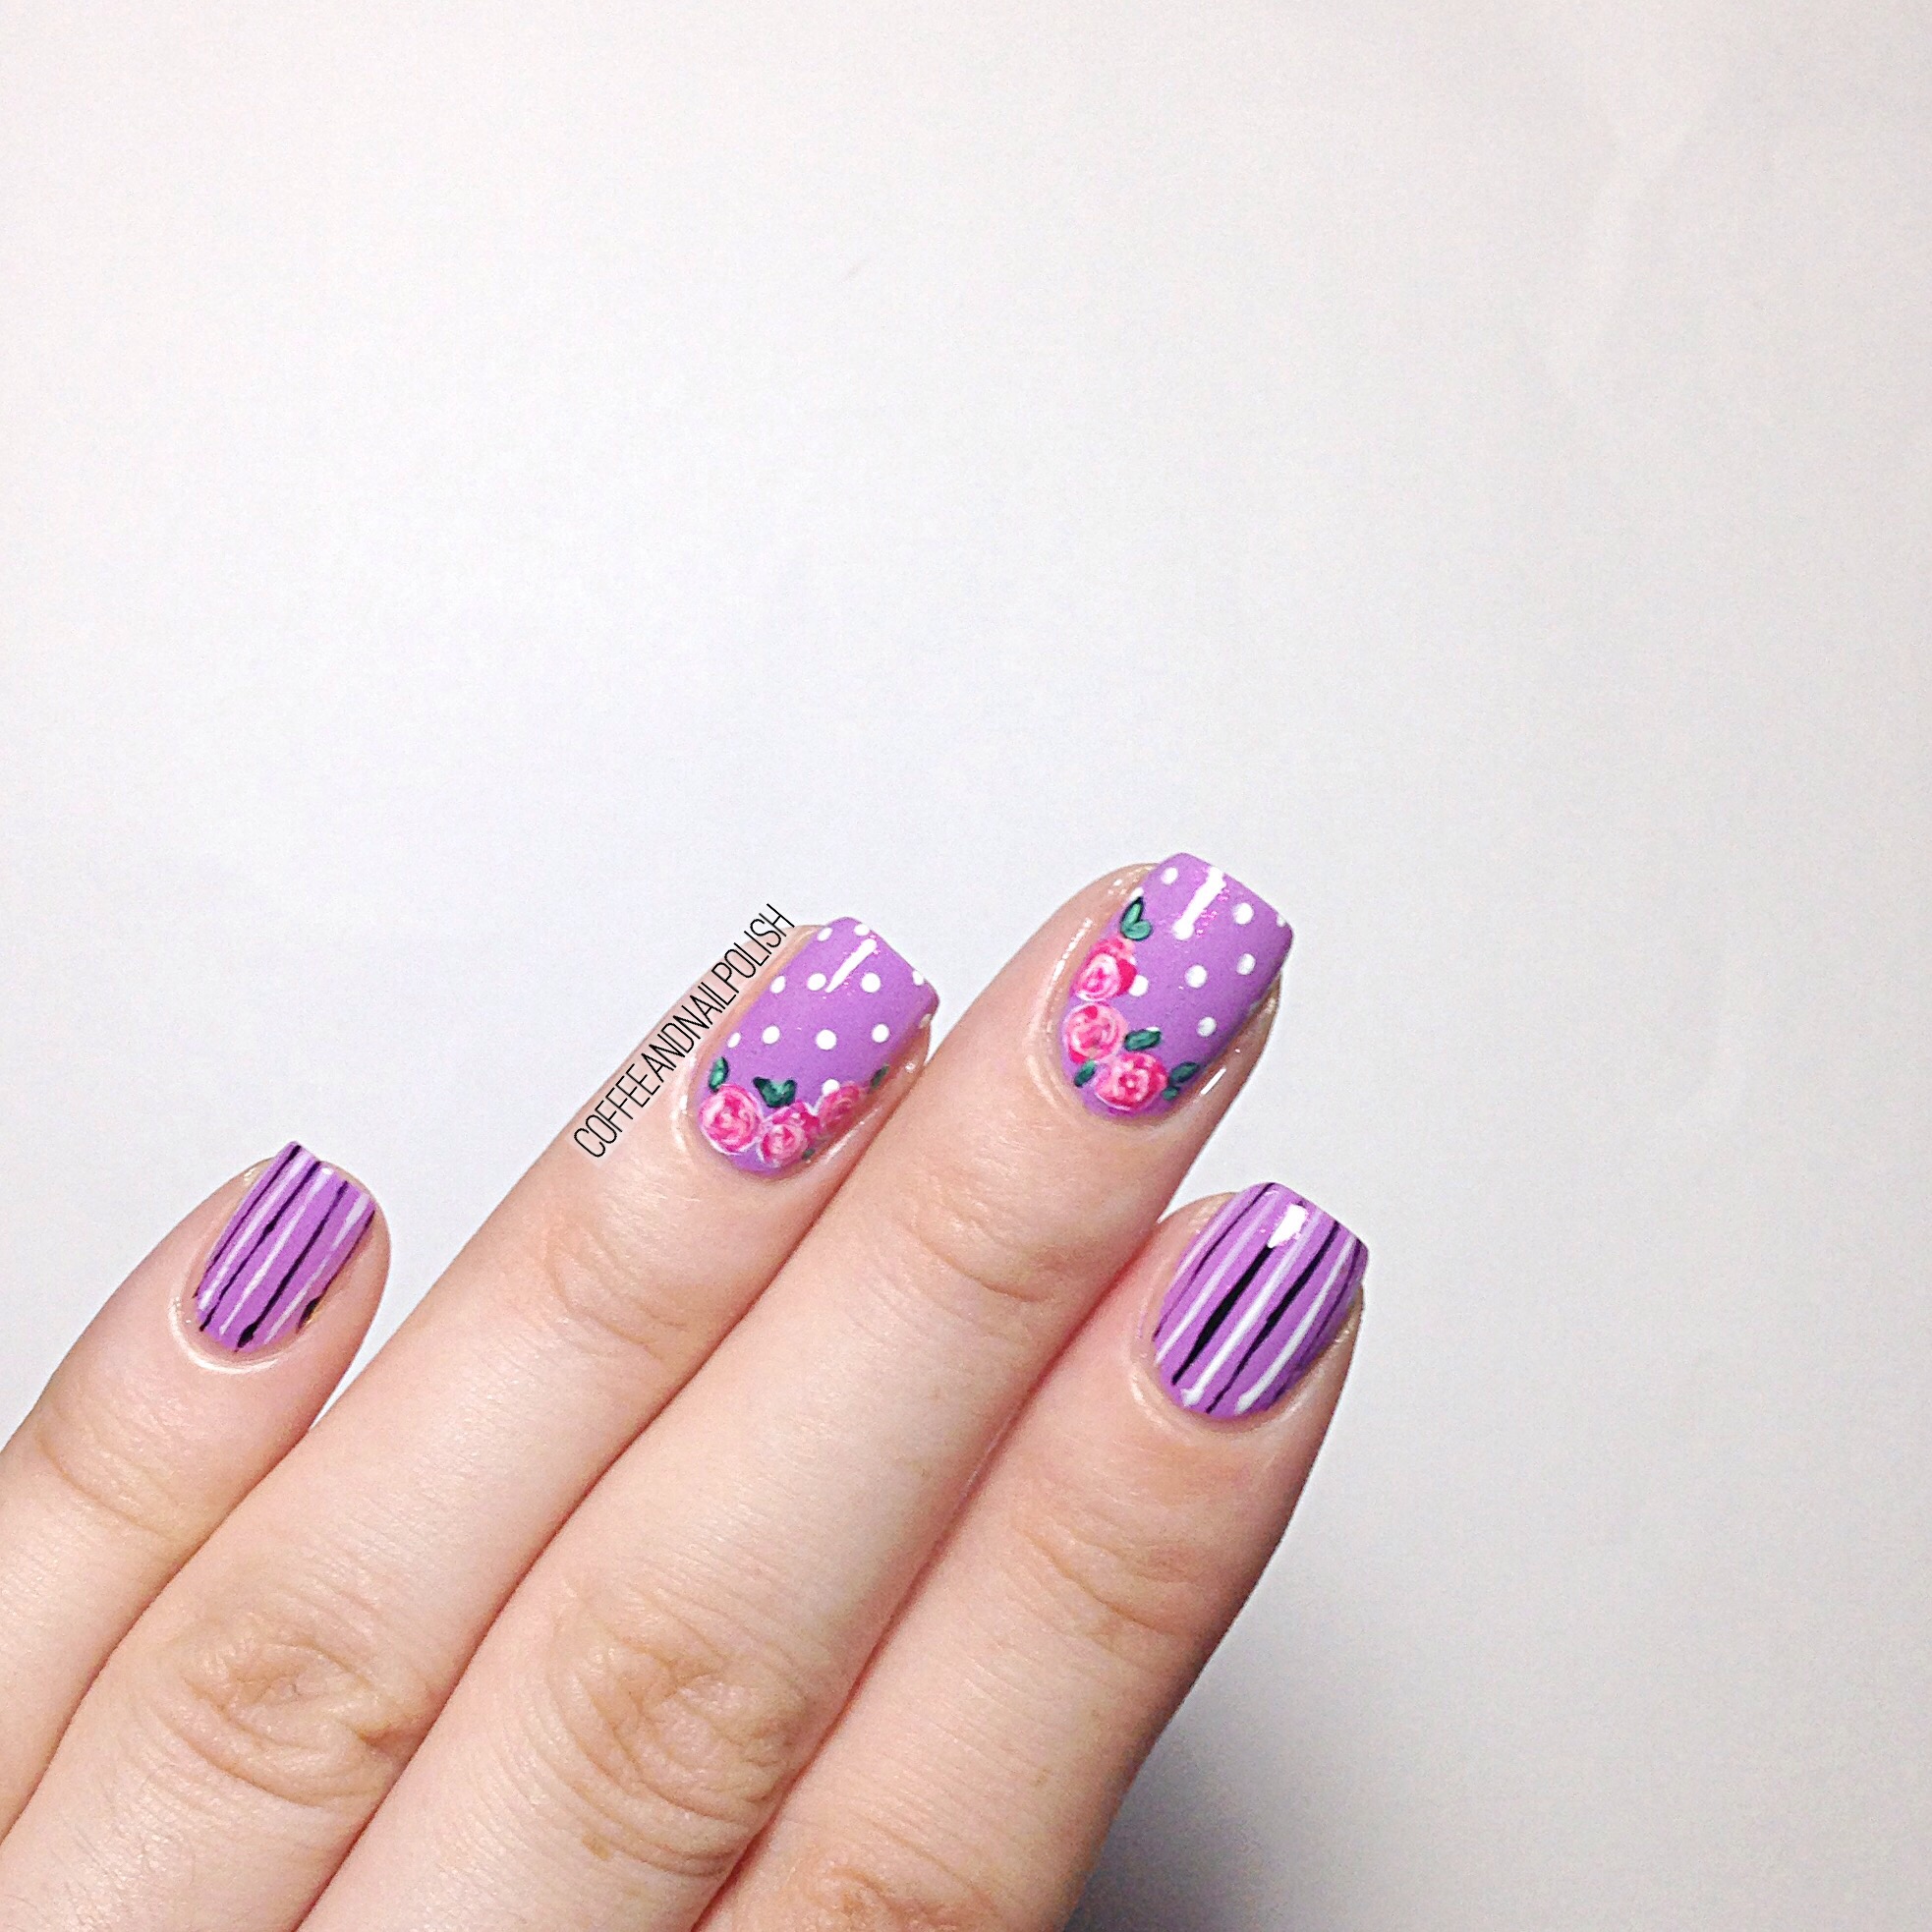
Up first, I have a swap with the very talented @teenynails. For this Swap she recreated my leopard patterned half moons & I had to recreate her beautiful purple vintage floral!

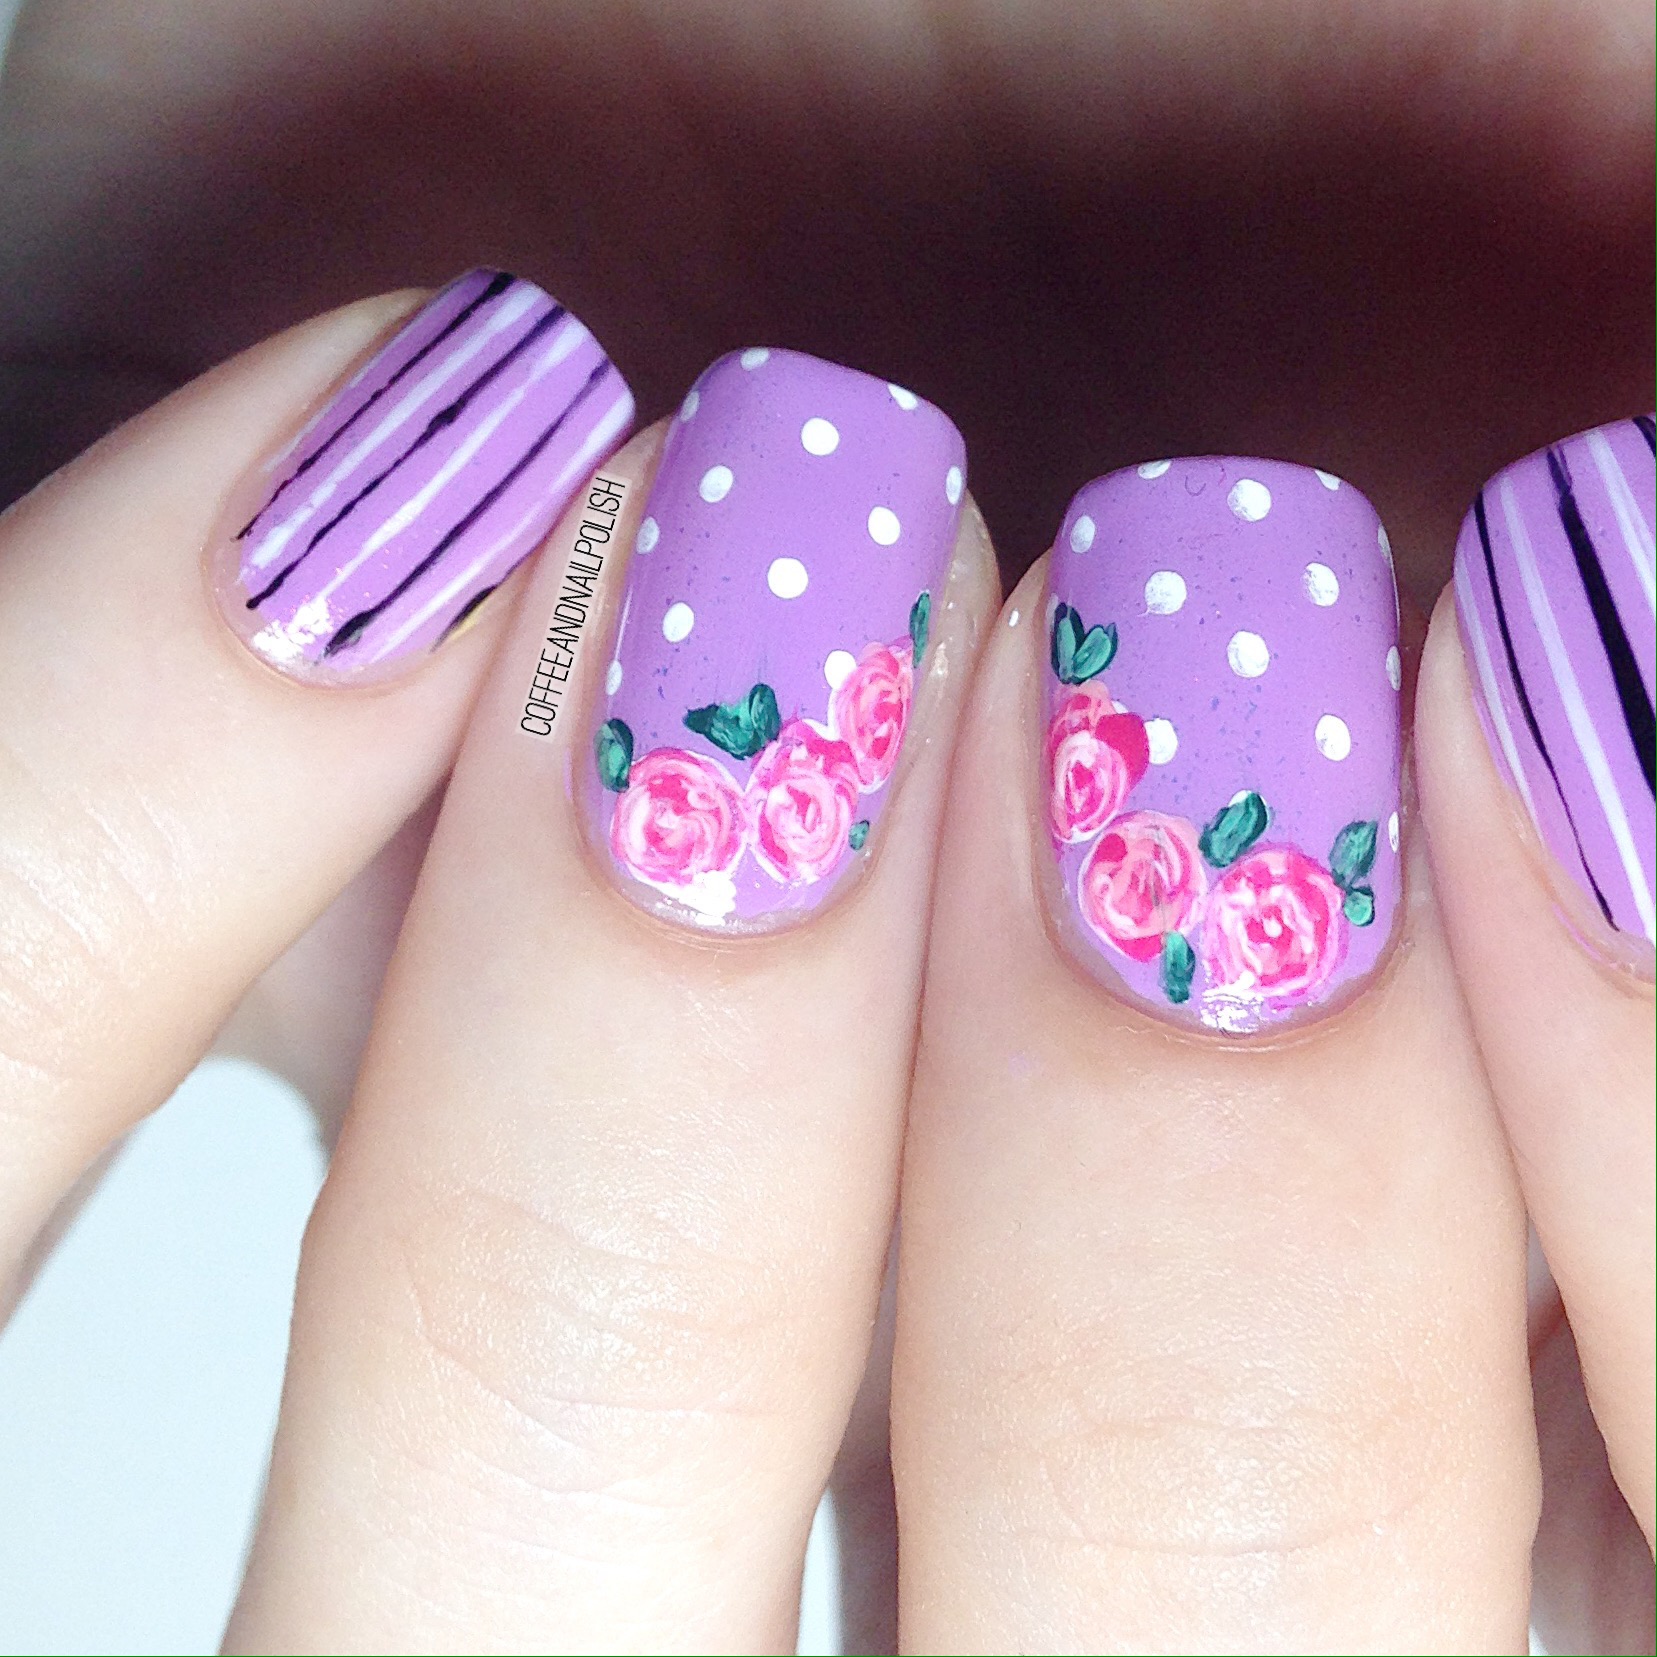
The polishes I used for my recreation were:

  • Essie Play Date
  • CND Crimison Sparkle
  • Kiss Nail Art Striper in Black
  • Kiss Nail Art Striper in White
  • Sally Hansen I ♥️ Nail Art pen in White 
  • Essie Brides No Grooms
  • My Beauty Spot unnamed pink
  • Essie Off Tropic 
  • Essie First Timer 
  • Cutex Quick Dry Top Coat
  • Small Nail Art brush from Bundle Monster

You know how I feel about floral, & I thought these were so perfect for the Spring-y weather we’ve been having. Plus it gave me an excuse to pull out Essie Play Date again. & these are definitely some of the best roses I’ve done in a while. I just can’t stop staring at them.

What do you think of our recreations? Let me know in the comments below!

And shout out the the lovely @teenynails for joining me in this swap. 💜 Don’t forget to check out her account on Instagram & check out all her amazing nail art!

Born Pretty Store Clear Jelly stamper review 

Happy Sunday!

Today I have a review of some products that were kindly sent to me by Born Pretty Store for review. 

You’ve probably seen that Crystal nail art stamper a are everywhere! I’ve been considering getting one for a while, and when Born Pretty offered to send me one for review I jumped at the chance. I’ve made attempts at stamping before, but I’ve never been very good. 

The stamper (item #24059) itself is a good size, and the pad is clear and nice and squishy. It’s also completely clear, which means that you can see through so that you can know exactly where you are placing your design. 

I started off by painting my nails with my base colours. I used a purple My Beauty Spot polish with Nubar Treasure layered overtop and OPI I Canolli Wear OPI. Next, I used liquid peel off tape (also from Born Pretty!) and applied it around my cuticles to limit clean up. I also discovered it’s much easier to do one hand at a time as sometimes the peel off tape sticks together and comes off. 

Before applying the design to my nails, I tested it on a peice of paper to see how it would turn out. I used OPI Who You Callin’ Bossy as I don’t own any stamping polish. 

Going one hand at a time, I applied the design to each nail. I am not someone who has an easy time with keeping things straight when stamping, but with this clear stamper it was so easy to know exactly where my design was going! Once I applied the design, I peeled off my peel off tape and applied to top coat to seal in my design. I finished off by cleaning up the rest of my cuticle area using a small brush dipped in acetone. 

And the finished product! 

I’m so impressed with this clear jelly stamper, I can’t recommend it enough! If you’ve been considering starting to stamp I would definitely suggest checking out the selection on Born Pretty Store! You can use my discount code COFFK31 to save 10% on your purchase! 

Saran Wrap Splatter nails. 

There is nothing I enjoy more than discovering new (to me, at least) polish brands!

And my favourite place for finding new polishes is Marshalls/Winners. They always seem to have interesting brands that I’ve never heard of before (and amazing deals on those polish brands I just love!) There is a Marshalls by work that I’m always visiting, and when I popped in a little while ago I saw a nail polish set by a brand called My Beauty Spot, so naturally I had to pick it up to try them out. I liked the polishes so much, that when I dragged the hubby to Winners a few days later I saw another set and decided to pick it up too!

The colours were so bright and vibrant I decided to combine them together in a saran wrap splatter design.


The polishes I used for this manicure were:

  • Essie Cabana Boy (base colour)
  • My Beauty Spot colours in pink, lime green, blurple, and teal.
  • Essie Gel Setter.
  • Crinkled up Saran Wrap/Plastic Wrap/Plastic Bag


The steps to achieve this design:

  1. Base your nails with your base coat of choice (I love Nailtek 2 and Barielle Nail Rebuilding Protein.)
  2. After your base coat has dried, paint your nails with your base colour (Essie Cabana Boy) and seal in with a quick dry top coat (Essie Gel Setter)
  3. After you’ve let your base colour dry for a couple of minutes, take your Saran wrap and rip up and crinkle four balls. You can also use a plastic grocery bag if you don’t have Saran Wrap. Make sure you have enough for all your colours.
  4. Using one colour at a time, paint you polish onto your crinkled plastic wrap ball and dab onto the nail to create a “splatter” look. I always try to apply to different areas of my nails, only overlapping my colours slightly. Also, if you feel like you’ve applied too much polish to your plastic, dab once onto paper towel before your nail.
  5. Once you’ve applied all of your colours to your nails, and like how everything looks, you can apply your quick dry top coat to seal in your design.
  6. Use a small brush dipped in acetone to remove any polish that got on your skin (or you can apply a peel off around your cuticles before painting to protect your skin!)


What do you think of these saran wrap splatter nails?

I love creating a splatter look this way, instead of the traditional way (with a straw), because I find it’s a lot less mess to clean up afterwards but still has a very similar effect!

Have a great day everyone!