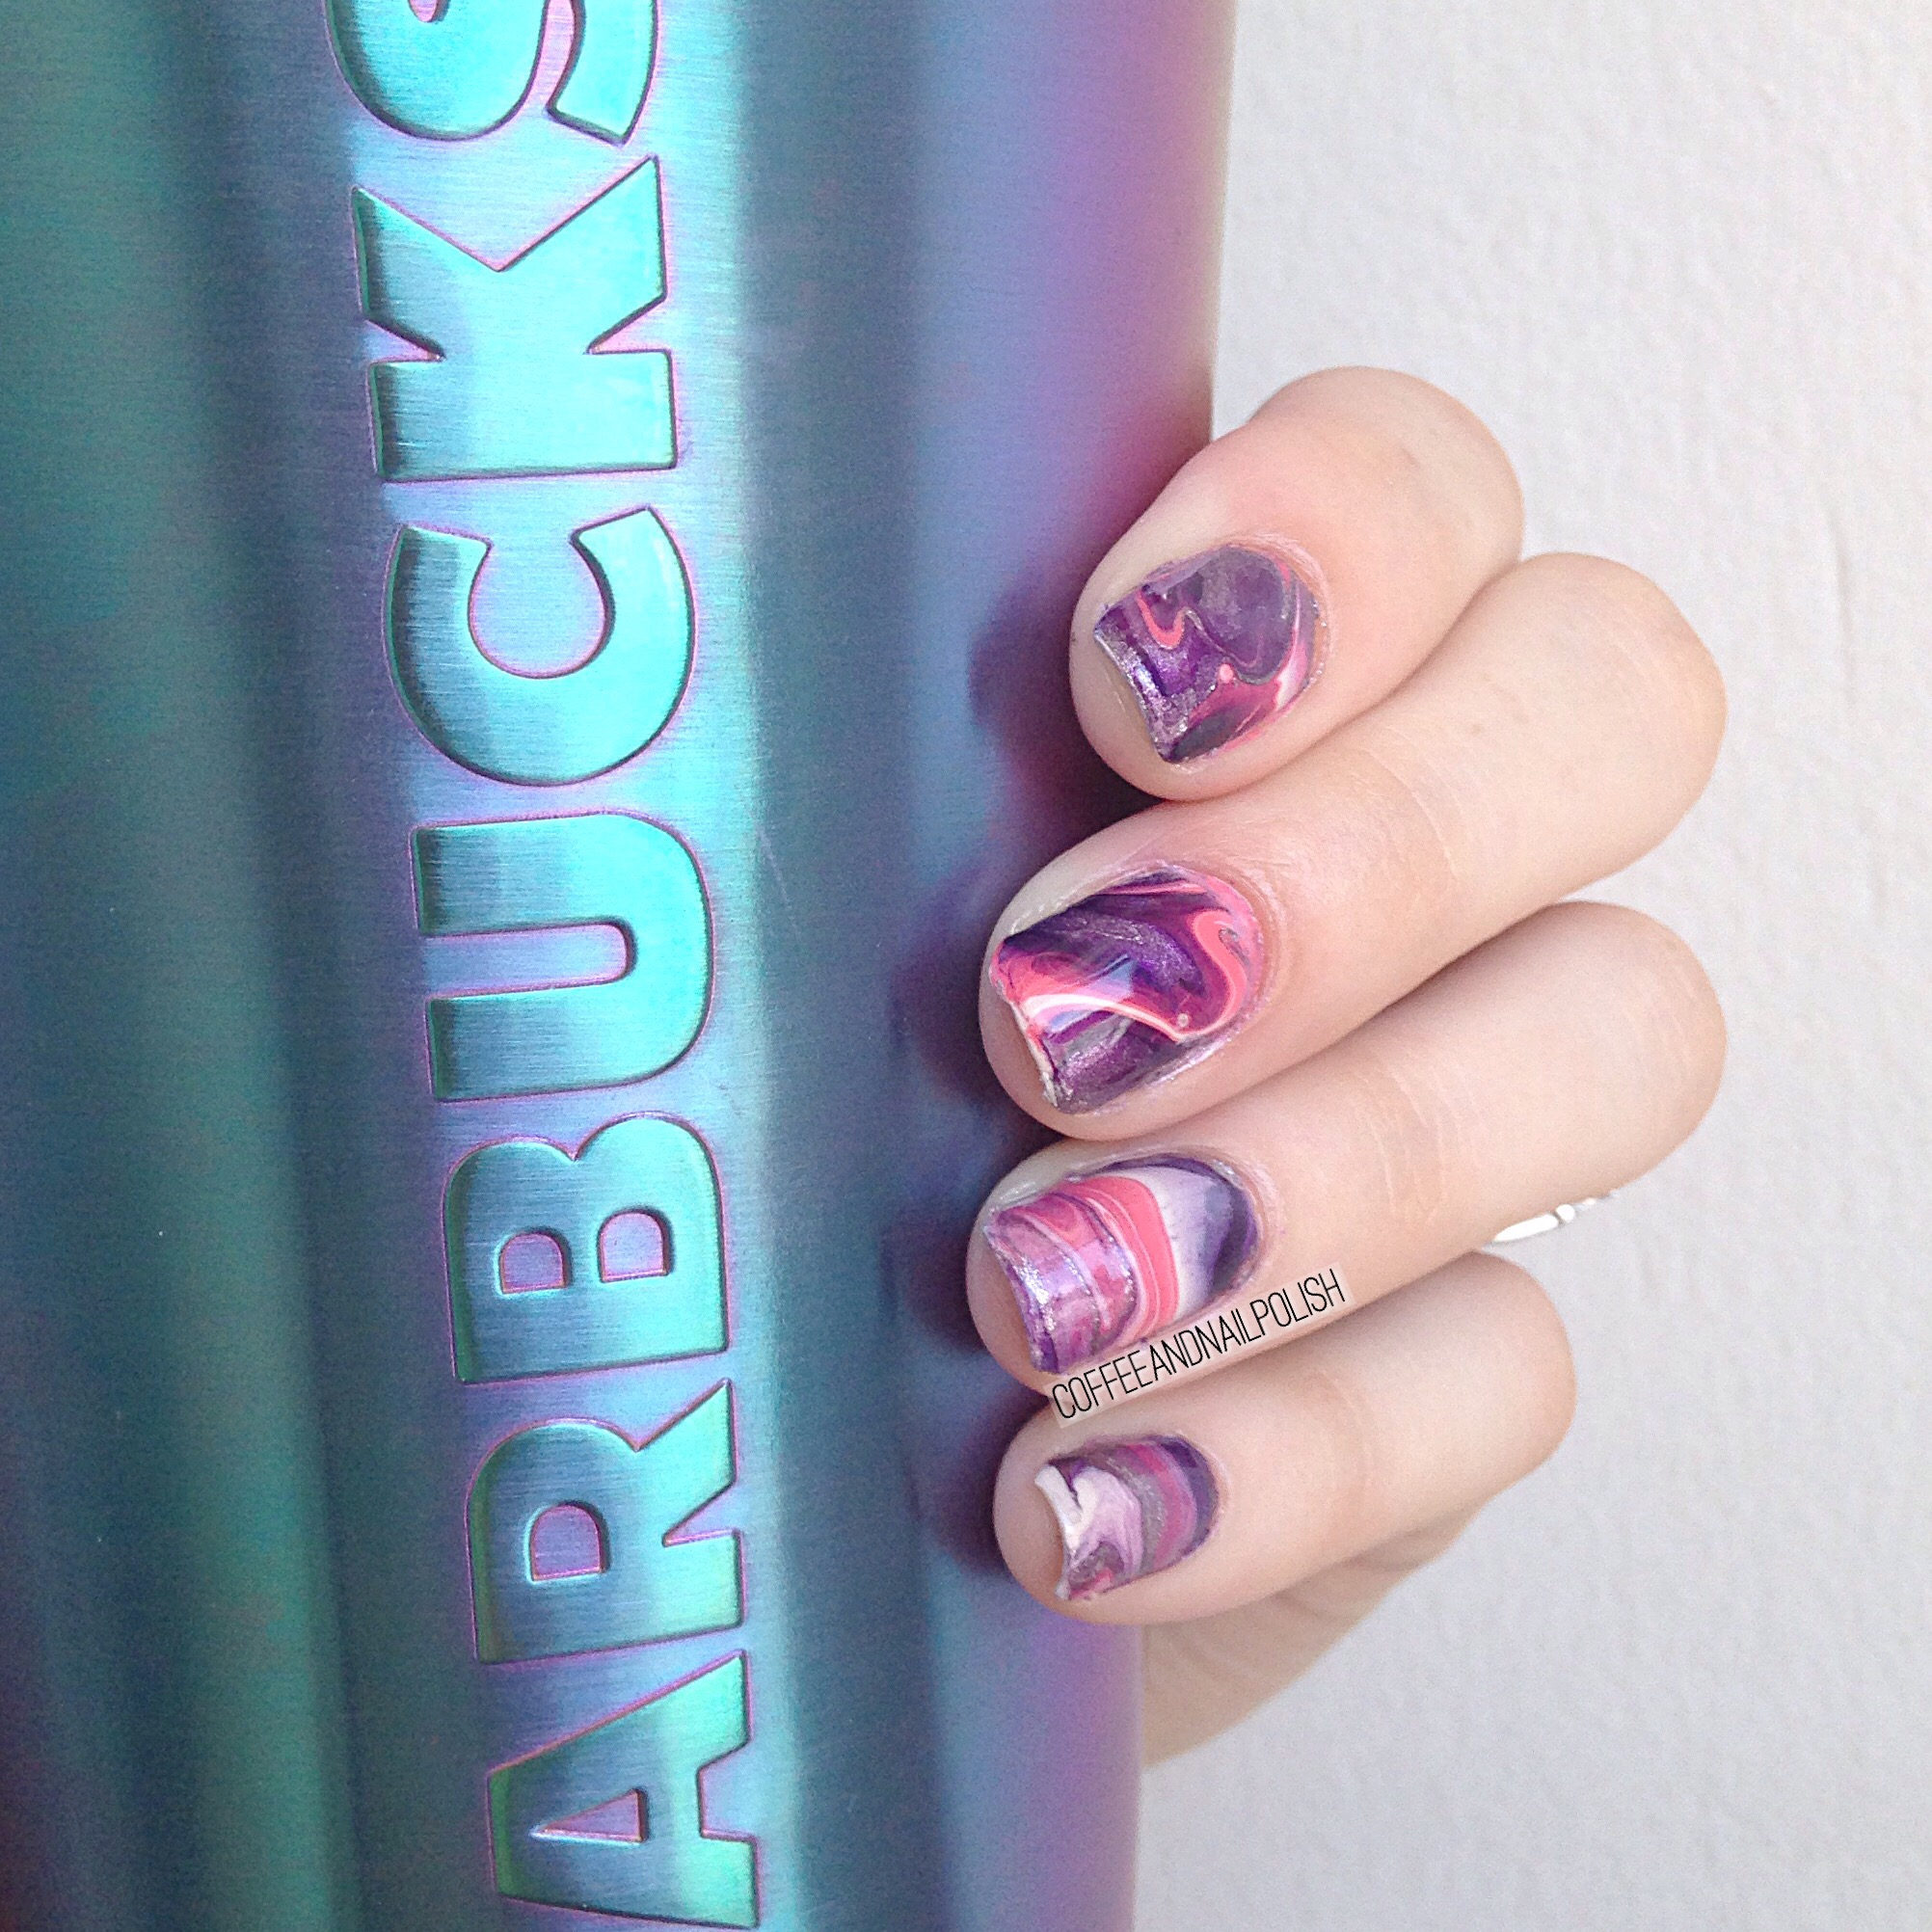
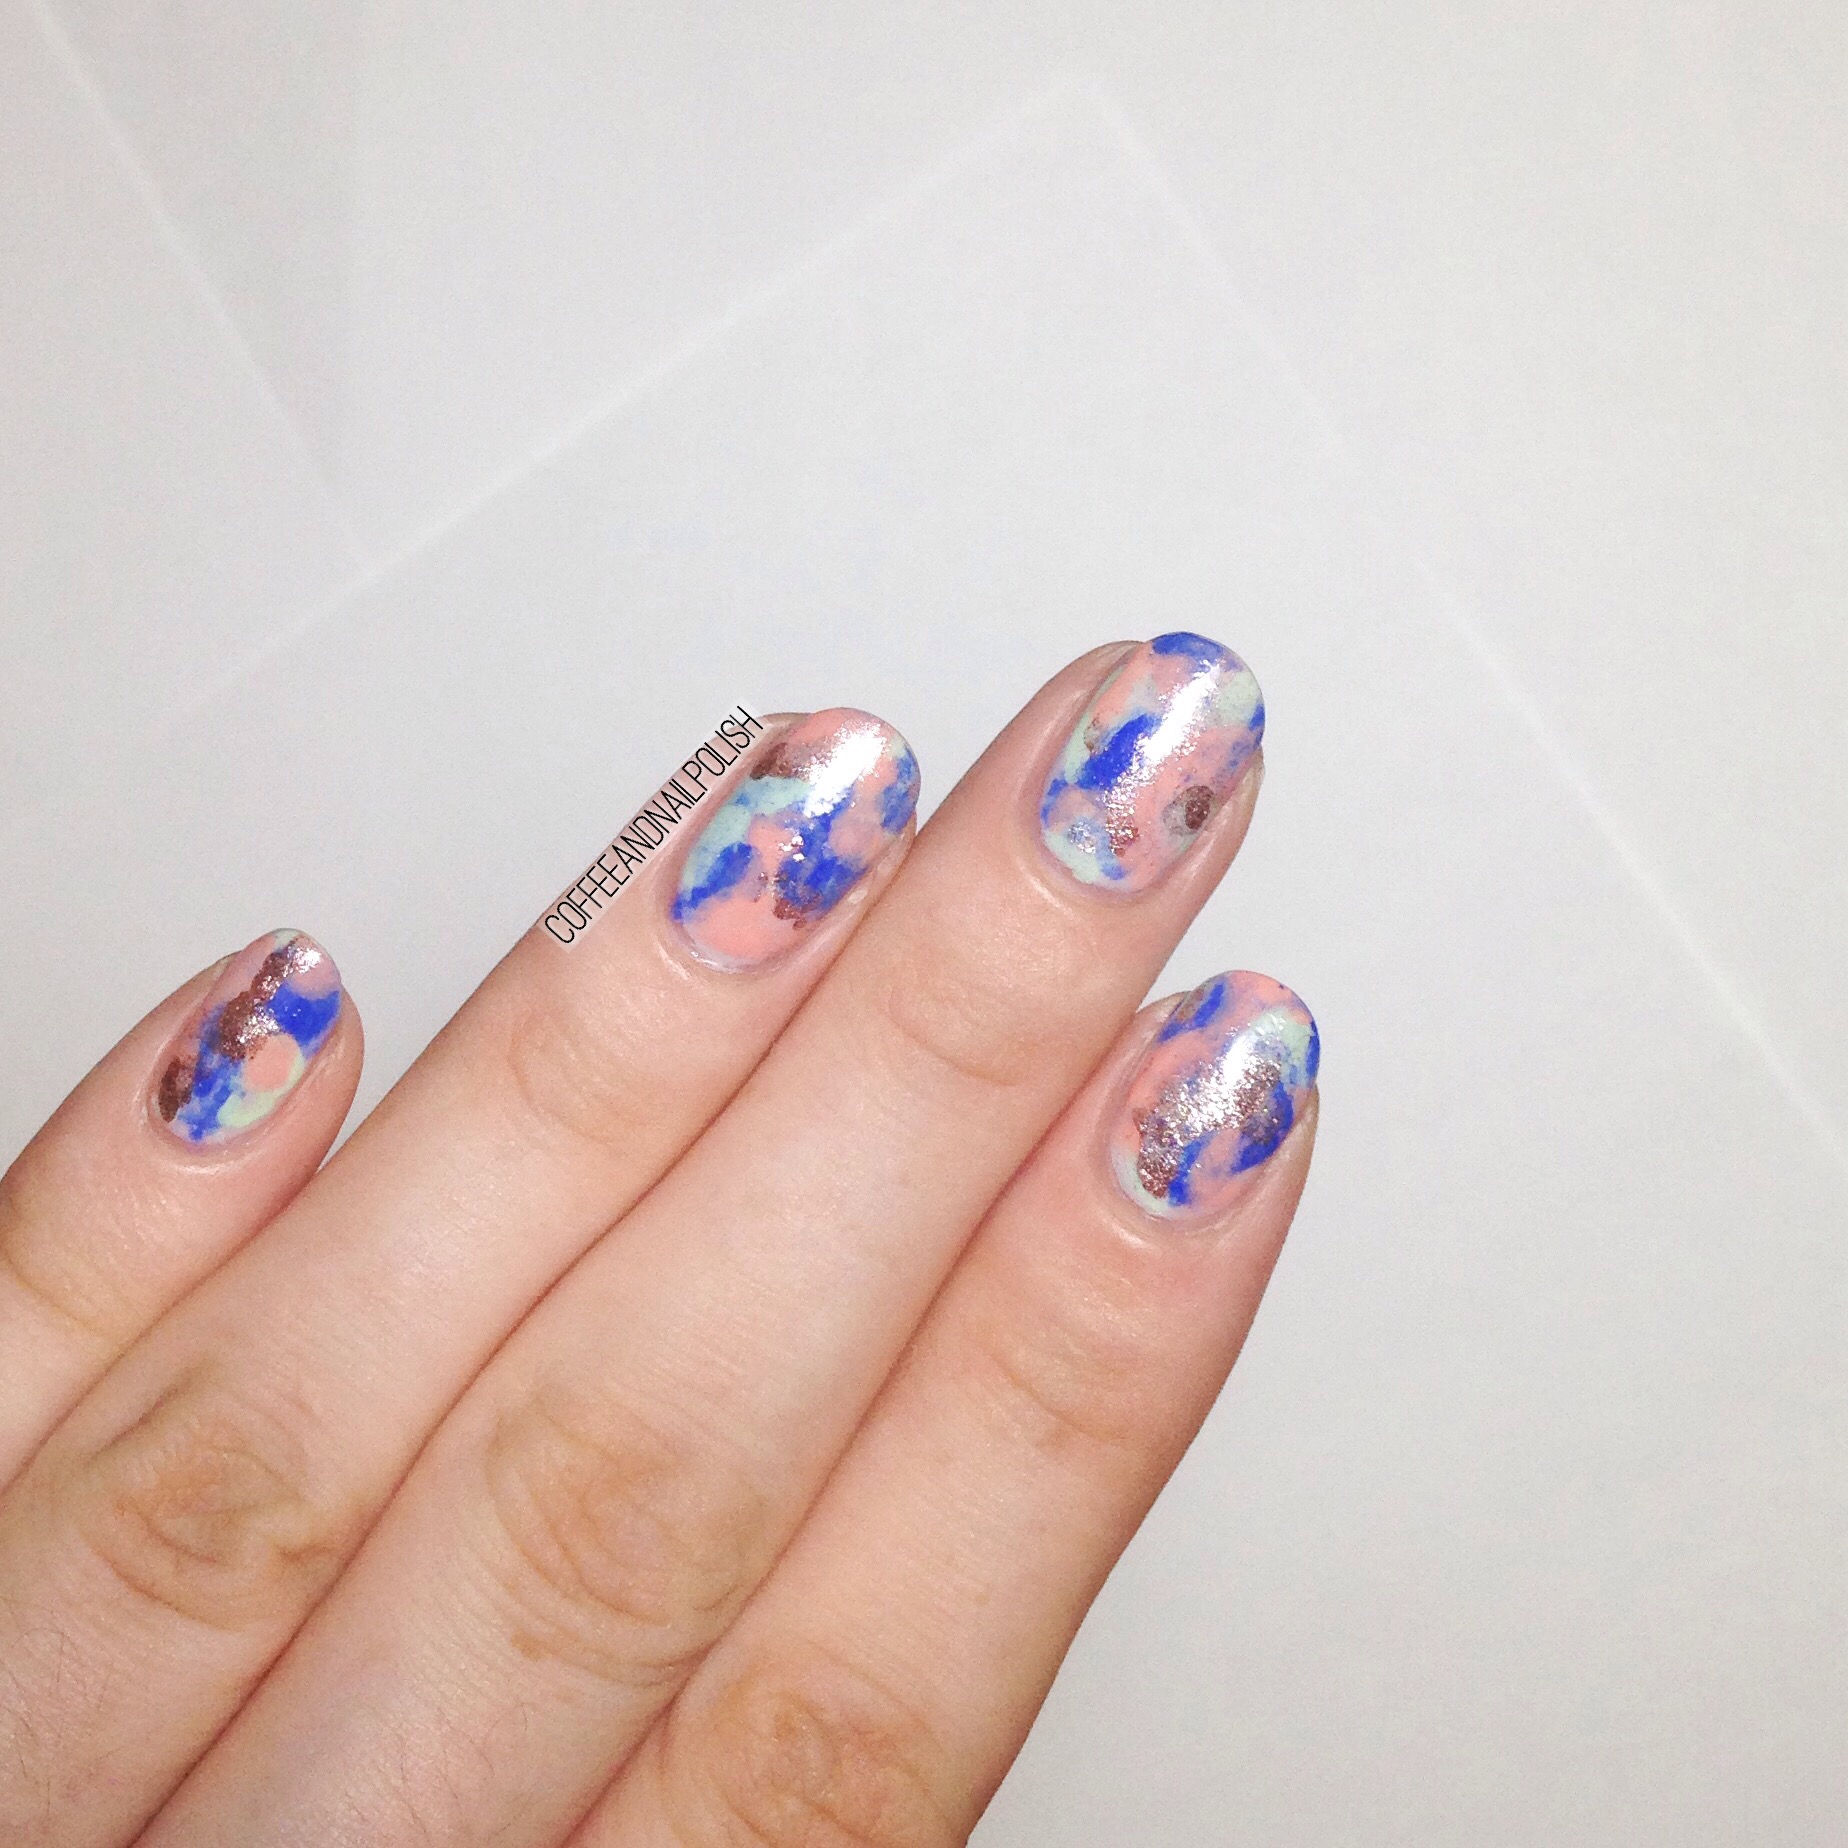
Dry Brush featuring Quo by Orly Breathable polishes. 

Good morning lovelies! It’s been a while. 

If you follow my Instagram, you maybe have seen a big announcement I made recently. Which is why I’ve been slacking on posting–turns out pregnancy is kind of exhausting. I’m feeling much better though so here’s hoping I can start blogging again (I’ve really missed blogging.)

I was recently sent some of the new Quo by Orly Breathable polishes for review. I’ve been testing out each colour and I’m super impressed with the results, so I thought it would be fun to use all 5 polishes sent to me for some nail art! 


For this mani, the polishes I used were: 

  • Nourishing Nude
  • Nail Superfood
  •  The Antidote
  • Just Breathe
  • Happy and Healthy

The great thing about this line is it requires no base coat or top coat. Just put it on, let dry, and enjoy! For this design, I started with a base of Nourishing Nude, then brushed on strokes of the other colours. Then I topped the dry brush with another coat of Nourishing Nude (which is pretty sheer). It gave everything that kind of faded effect, and sealed in the design. 
So what do you think of these Quo by Orly Breathable polishes? Have you tried any of them yet? I have to say I’m really impressed with this line so far, especially because they are all super shiney without any need for top coat! I will definitely be picking up more from the collection. 

Saran Wrap Splatter nails. 

There is nothing I enjoy more than discovering new (to me, at least) polish brands!

And my favourite place for finding new polishes is Marshalls/Winners. They always seem to have interesting brands that I’ve never heard of before (and amazing deals on those polish brands I just love!) There is a Marshalls by work that I’m always visiting, and when I popped in a little while ago I saw a nail polish set by a brand called My Beauty Spot, so naturally I had to pick it up to try them out. I liked the polishes so much, that when I dragged the hubby to Winners a few days later I saw another set and decided to pick it up too!

The colours were so bright and vibrant I decided to combine them together in a saran wrap splatter design.


The polishes I used for this manicure were:

  • Essie Cabana Boy (base colour)
  • My Beauty Spot colours in pink, lime green, blurple, and teal.
  • Essie Gel Setter.
  • Crinkled up Saran Wrap/Plastic Wrap/Plastic Bag


The steps to achieve this design:

  1. Base your nails with your base coat of choice (I love Nailtek 2 and Barielle Nail Rebuilding Protein.)
  2. After your base coat has dried, paint your nails with your base colour (Essie Cabana Boy) and seal in with a quick dry top coat (Essie Gel Setter)
  3. After you’ve let your base colour dry for a couple of minutes, take your Saran wrap and rip up and crinkle four balls. You can also use a plastic grocery bag if you don’t have Saran Wrap. Make sure you have enough for all your colours.
  4. Using one colour at a time, paint you polish onto your crinkled plastic wrap ball and dab onto the nail to create a “splatter” look. I always try to apply to different areas of my nails, only overlapping my colours slightly. Also, if you feel like you’ve applied too much polish to your plastic, dab once onto paper towel before your nail.
  5. Once you’ve applied all of your colours to your nails, and like how everything looks, you can apply your quick dry top coat to seal in your design.
  6. Use a small brush dipped in acetone to remove any polish that got on your skin (or you can apply a peel off around your cuticles before painting to protect your skin!)


What do you think of these saran wrap splatter nails?

I love creating a splatter look this way, instead of the traditional way (with a straw), because I find it’s a lot less mess to clean up afterwards but still has a very similar effect!

Have a great day everyone!


Colour Block Negative Space Chevron Moons

Hey it’s me again! After a busy couple of weeks (between work and moving!) I’m back in the blogging world, and not planning on any extend absences (I hope. 🙏🏻)

I’ve been rocking the blue polishes a lot lately, and loving anything negative space so I came up with some freehand colour block tips/negative space chevron moons (or whatever you would like to call them) using a few blues and a purple Garage polish I hadn’t yet had a chance to wear. This design sort of started as a whim, but I dig the final result–feels kind of Superheroesque to me. 


The polishes I used for this mani were: 

  • China Glaze Rain Dance the Night Away 
  • Garage Clothing unnamed purple polish. 
  • Jordana Cosmetics Pop Art Nail Design in Blue Abstract
  • Essie Gel Setter  


A quick how to on how I achieved this design:

  1. Start by applying your base coat of choice. (I’m currently using a combination of Nailtek 2 and Barielle Nail Rebuilding Protein.)
  2. Once your base coat had dried, use the brush from your lighter colour (China Glaze Rain Dance the Night Away) and paint a straight line from corner to corner. Fill in the tip. If you don’t feel you can paint this freehand, straight nail vinyls can make things easier! After giving it a couple minutes (or longer if you’re using nail vinyls), repeat this step using the darker colour (I used a beautiful Garage clothing unnamed purple polish). Apply however many coats you need to cover up the polish underneath. 
  3. Using your striper (Jordana Cosmetics Pop Art Nail Design in Blue Abstract), apply your lines to the edges. This not only looks cool, but can help hide and mistakes you may have made.  
  4. Wait a couple minutes (so you don’t smear your design), then seal your design in with top coat. 


I really love how these turned out. Colour blocking is just such a easy and fun way to pair colours, and I love the different designs you can come up with. 

What do you think of this mani? What’s your favourite colours to pair together? Let me know in the comments below! 💜 also feel free to suggest any content you’d love to see me post about. I’m dedicating my days off to blogging so I’m open to any suggestions. 

X-pattern Accent Nails 

Hellos loves! Hope you’re having a lovely weekend. 

Sharing some more bright and colourful nails with you today! I’m all about the neon right now! It’s all my craving on my nails. It’s also giving me a chance to pull out more my MyNailsDid Nail Vinyls!  I’m back to being a wee bit nail vinyls obsessed… Again. Once we move I need to make a big order!


The polishes I used for this mani were:

  • Color Club Pucci-licious
  • China Glaze Purple Panic
  • OPI I Canolli Wear OPI
  • Essence Lets Get Lost
  • OPI Life Gave Me Lemons
  •  Essie Gel Setter 
  • MyNailsDid X-pattern vinyls. 

Are you a fan of nails vinyls? Which ones are you obsessed with right now? Obviously chevrons have my heart, but you have no idea how much I want to get my hands on some of those kitty nail vinyls that I keep seeing around! They’re so amazing! 

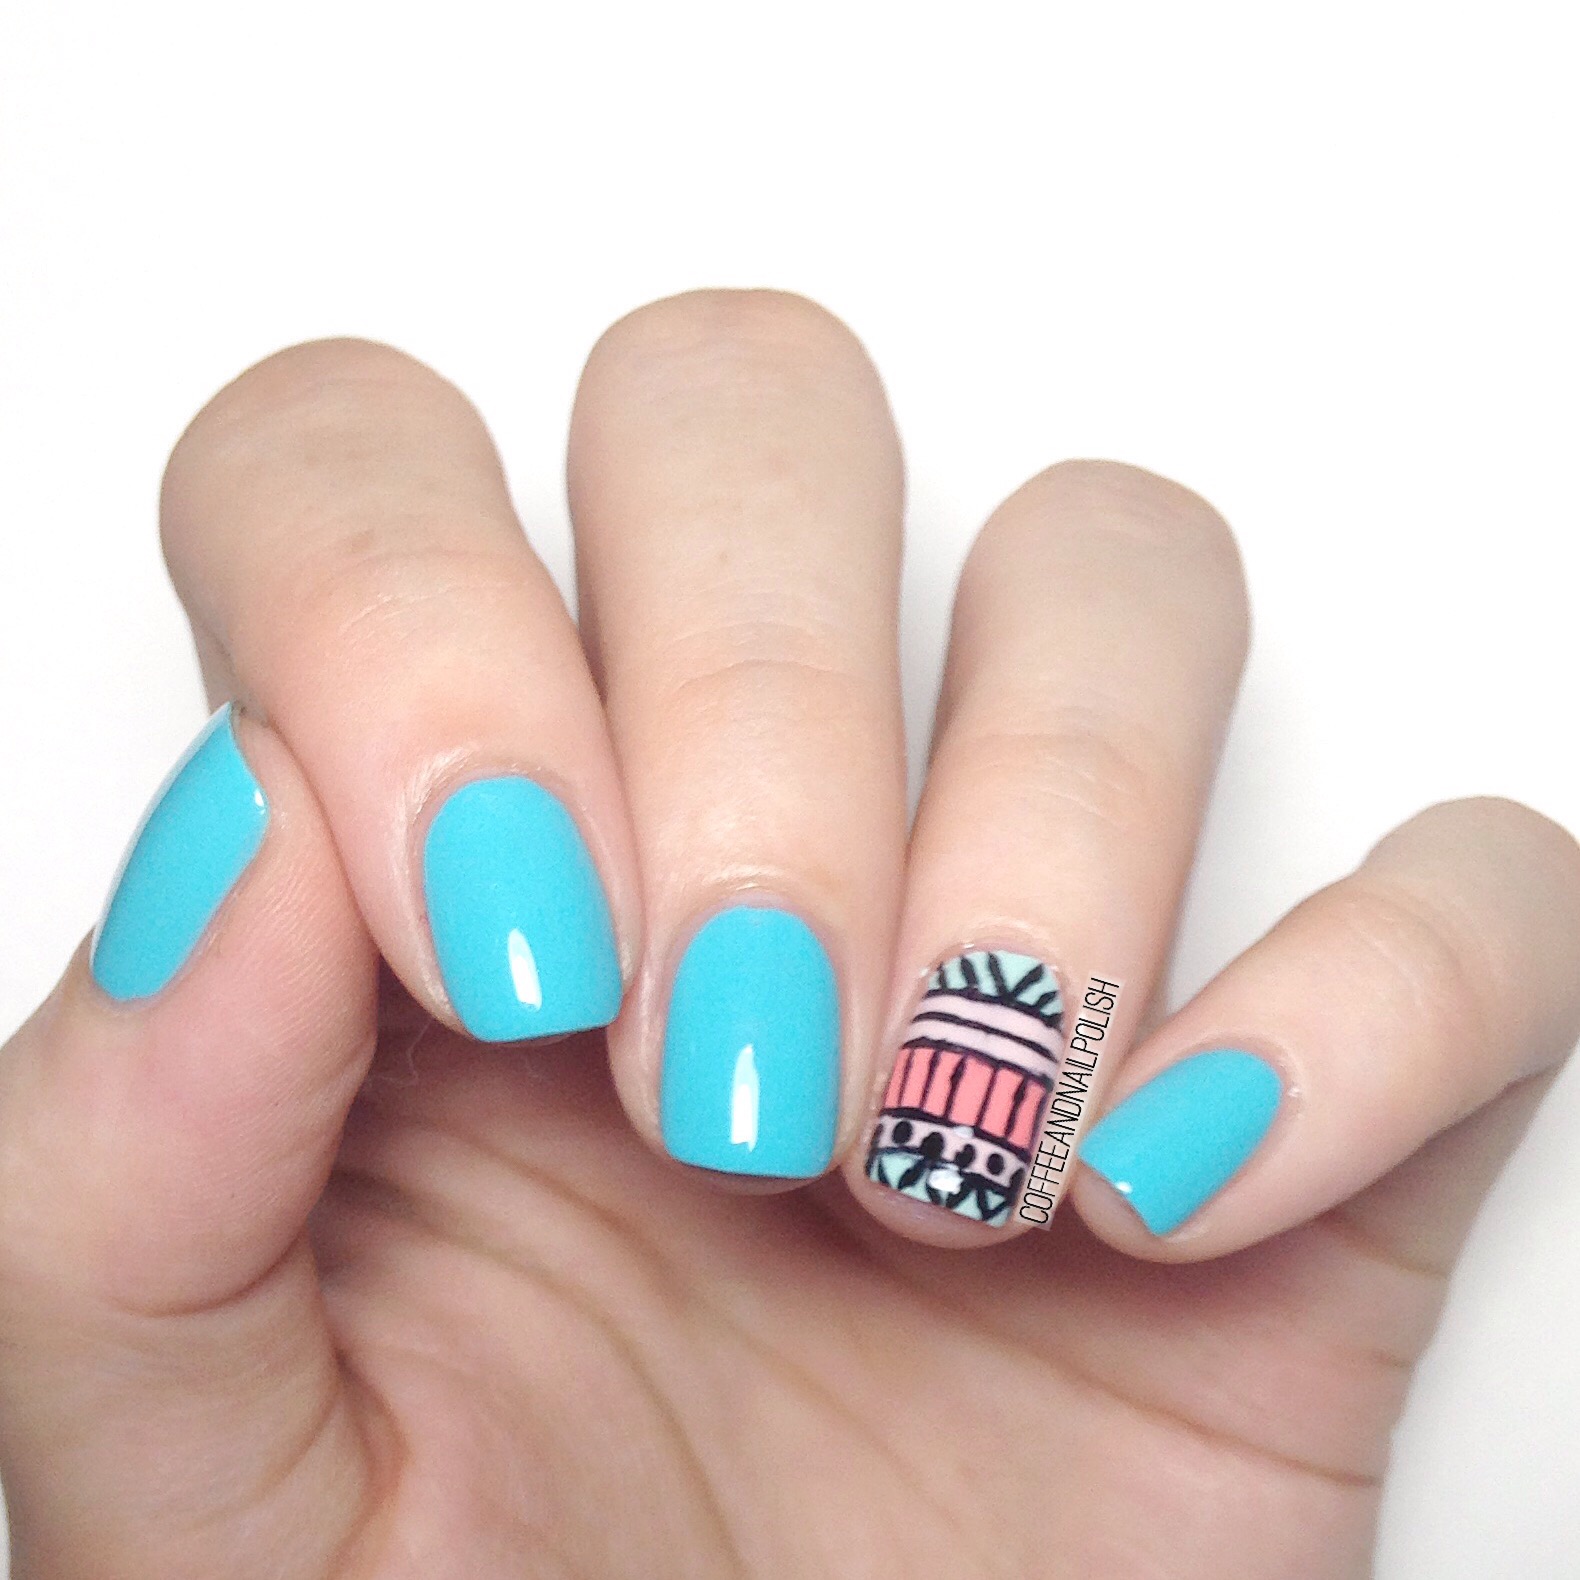
Freehand Tribal Accent Nails. 

I’ve been slacking on the blog front thanks to work stress and an impending move. No time to sit down and concentrate on blogging. Hopefully I’ll have more time soon, but in the mean time I thought I’d share some tribal. 

I love tribal/Aztec print… I might even almost love it more than floral. It’s been a while since I shared a tribal print mani, so I knew I needed to do some! I adore how these turned out. 

  
The polishes I used for this mani were:

  • OPI Gelato on my Mind
  • OPI I Cannoli Wear OPI
  • Essie In the Cab-Ana
  • China Glaze Plur-ple
  • Essence Back in Black 
  • Essie Gel Setter 
  • Circle stickers from Dollarama
  • Born Pretty Store small detail nail art brush. 


Finally weather in Halifax is getting warm and Spring like! I can finally break out the Spring dresses… Even if I still need some tights for the mornings. Makes me excited for warm summer days and pretty bright nail polishes!