Now that we have baby on a bit of a schedule, I have a bit more time for nail painting! My goal is to try & use polishes I don’t reach for often, & colours that aren’t my typical shades.
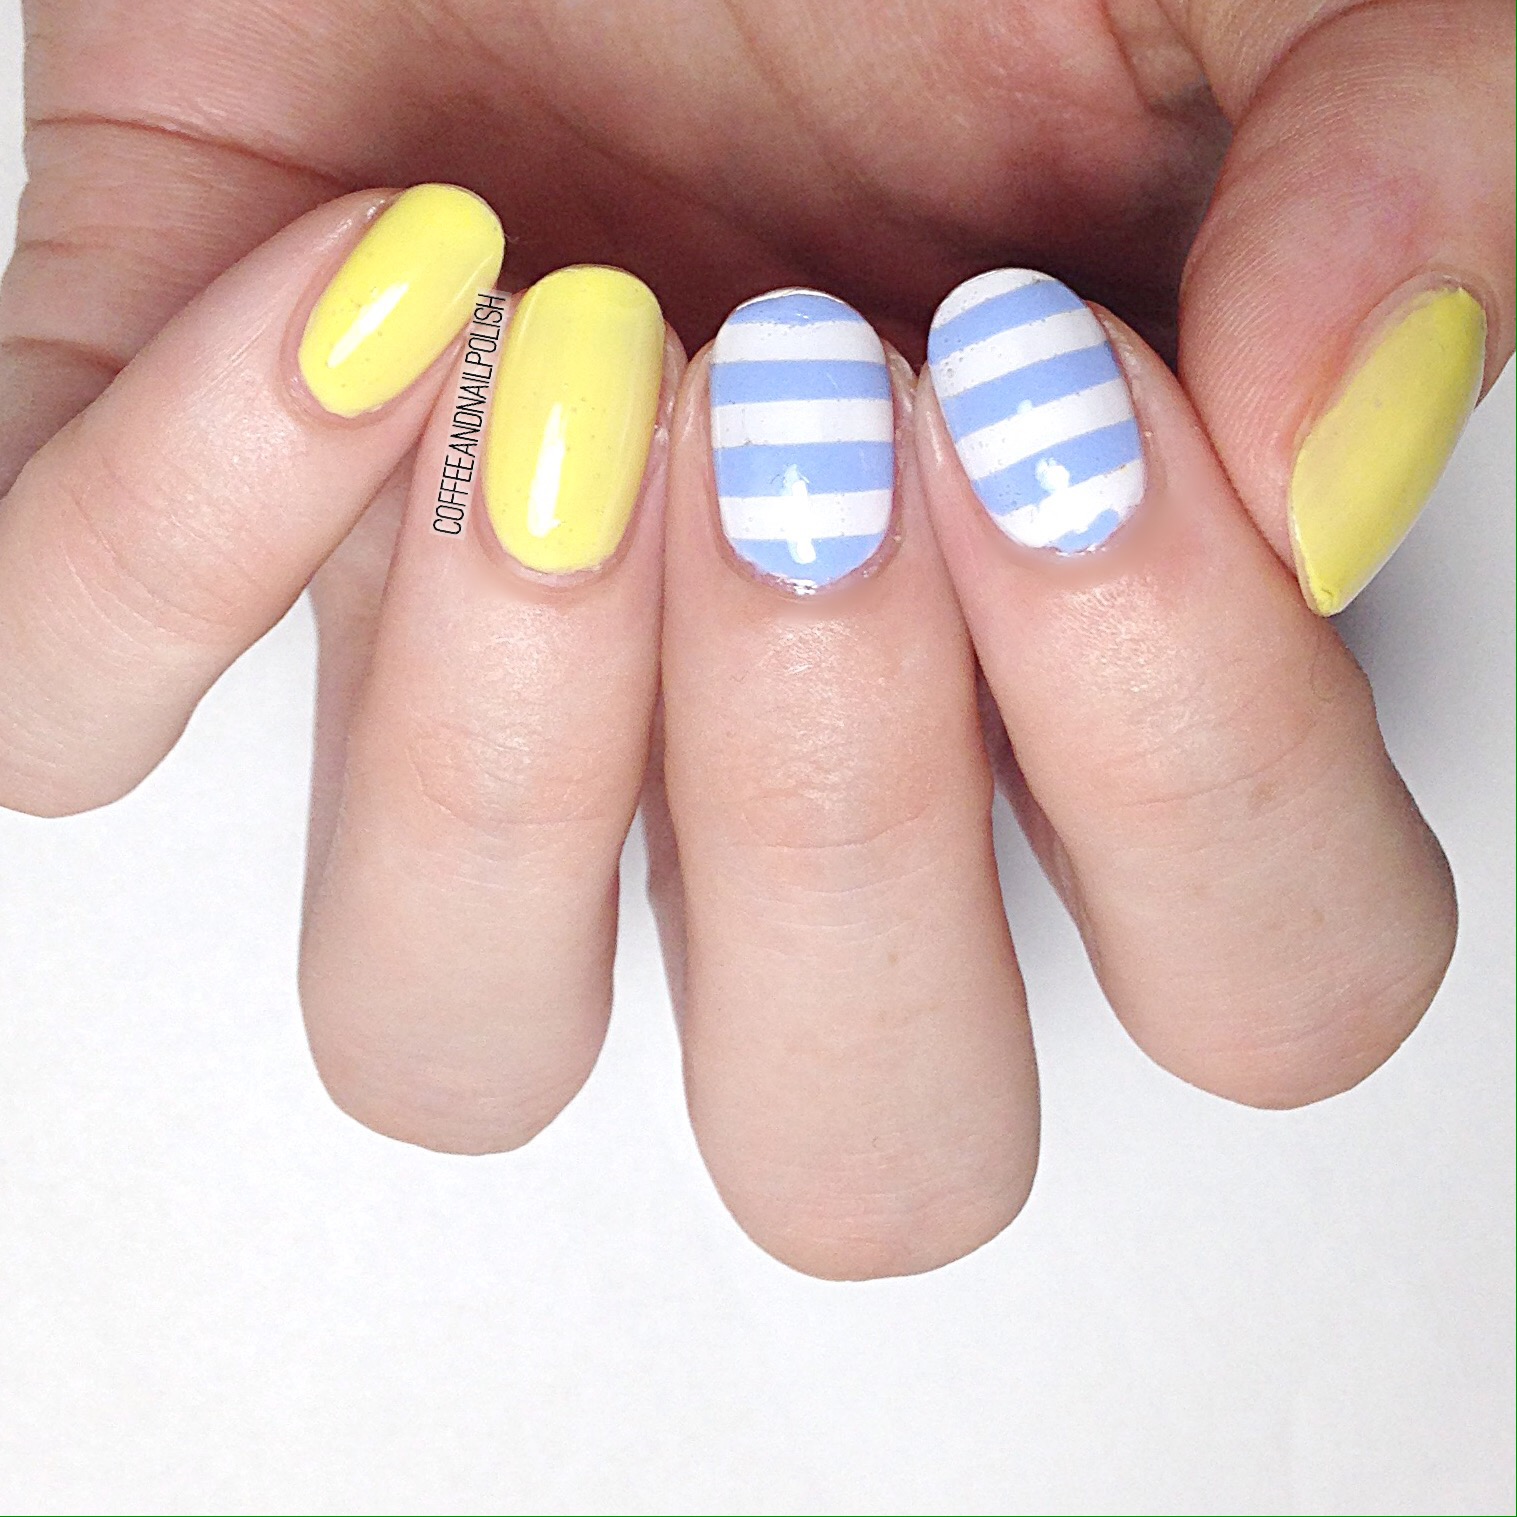
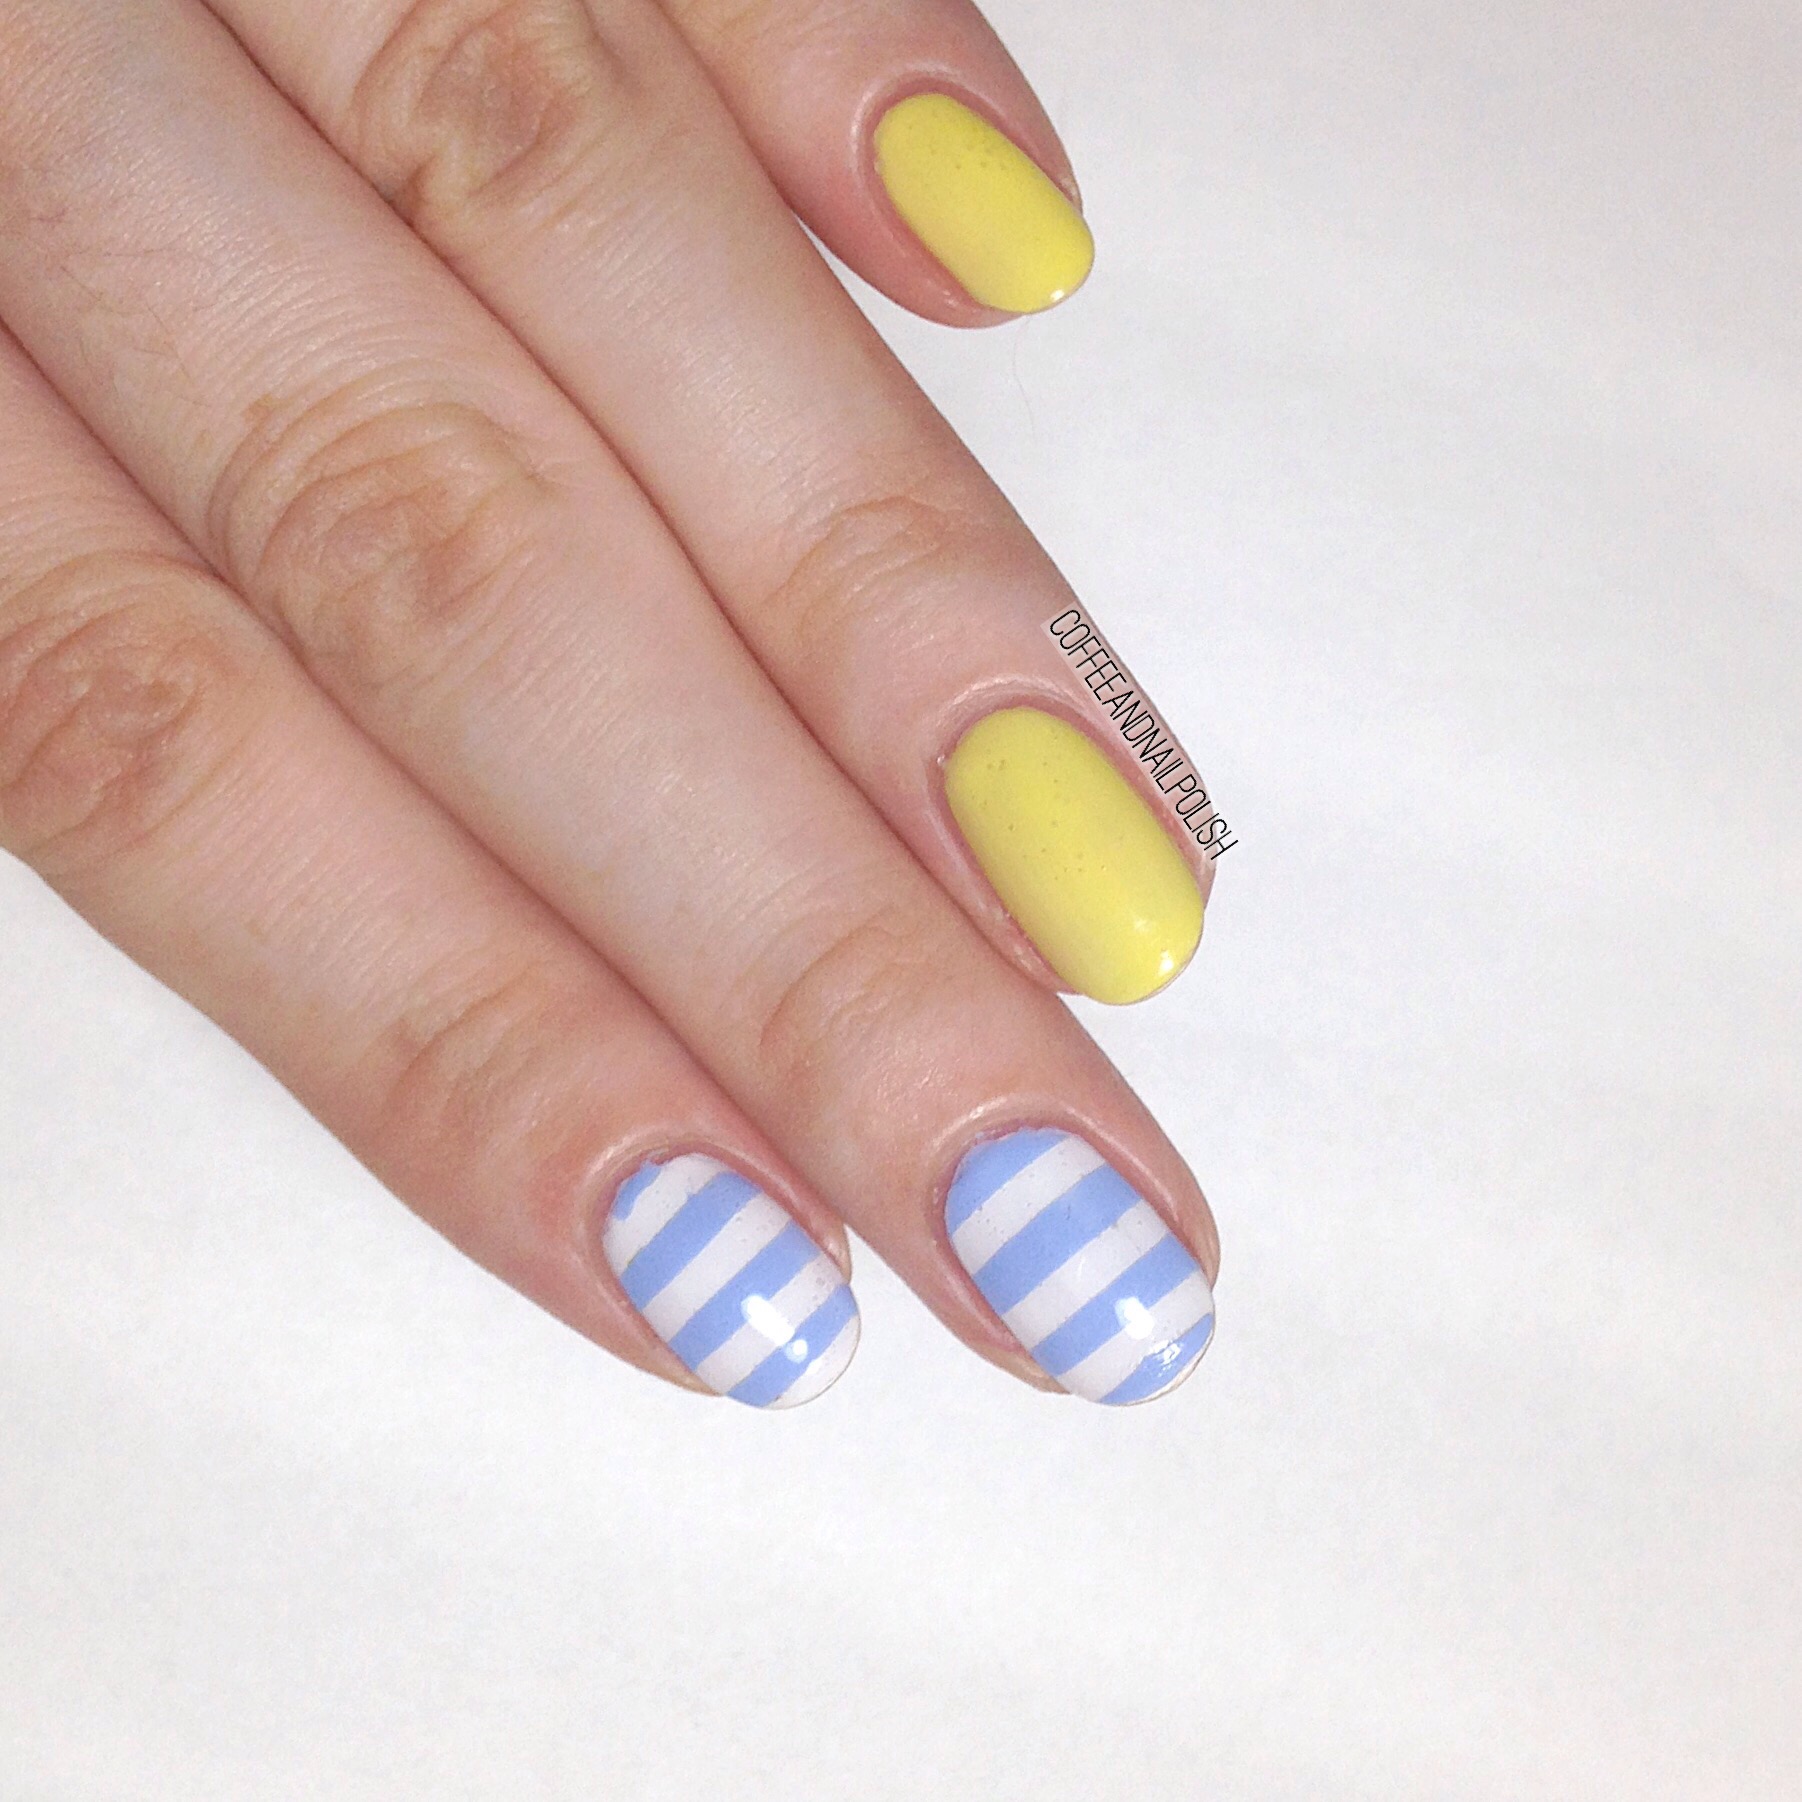
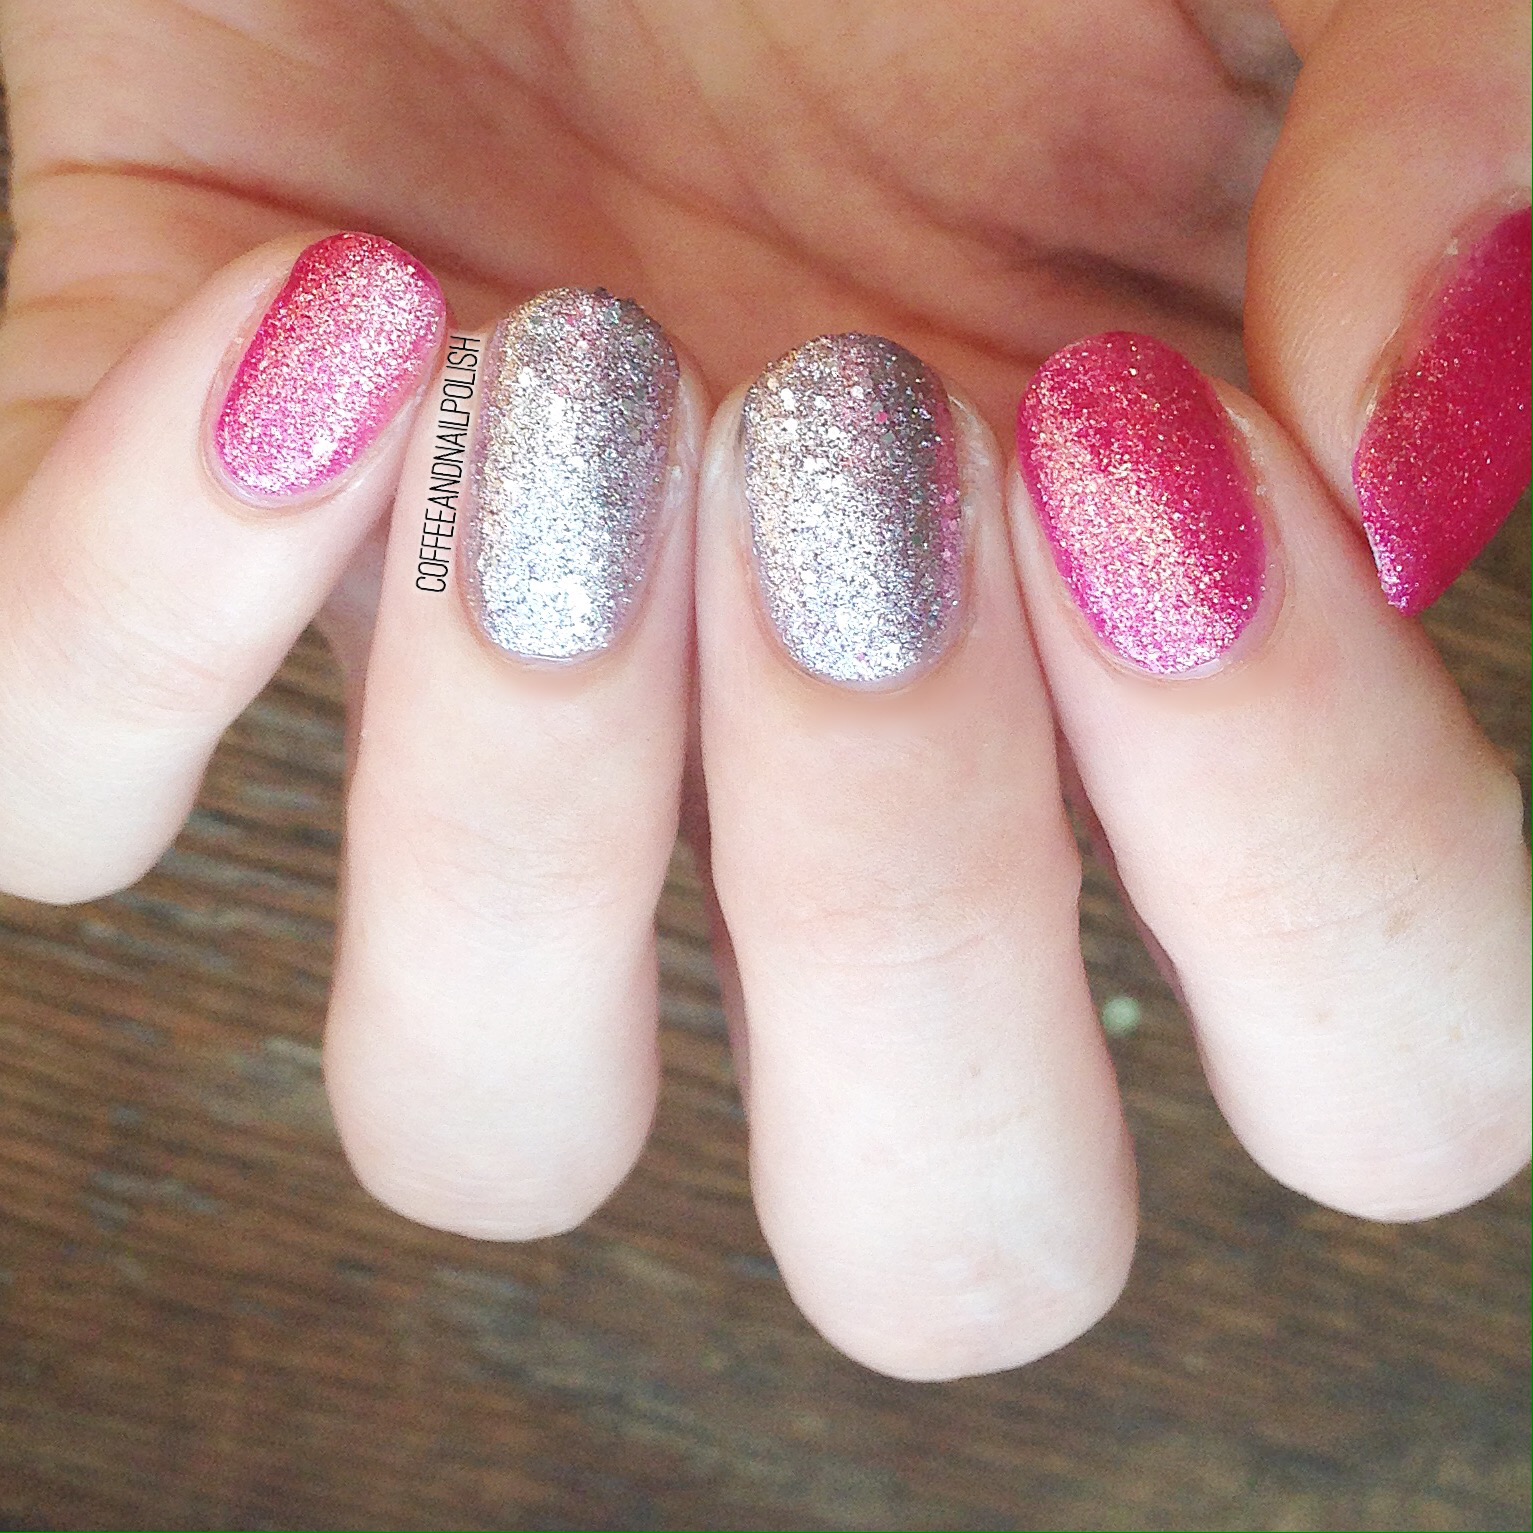
On top of that, I just want all the Spring colours. I decided to pull out a few polishes from deep in the back of my stash that I haven’t worn in ages for a fun squishy marble manicure.
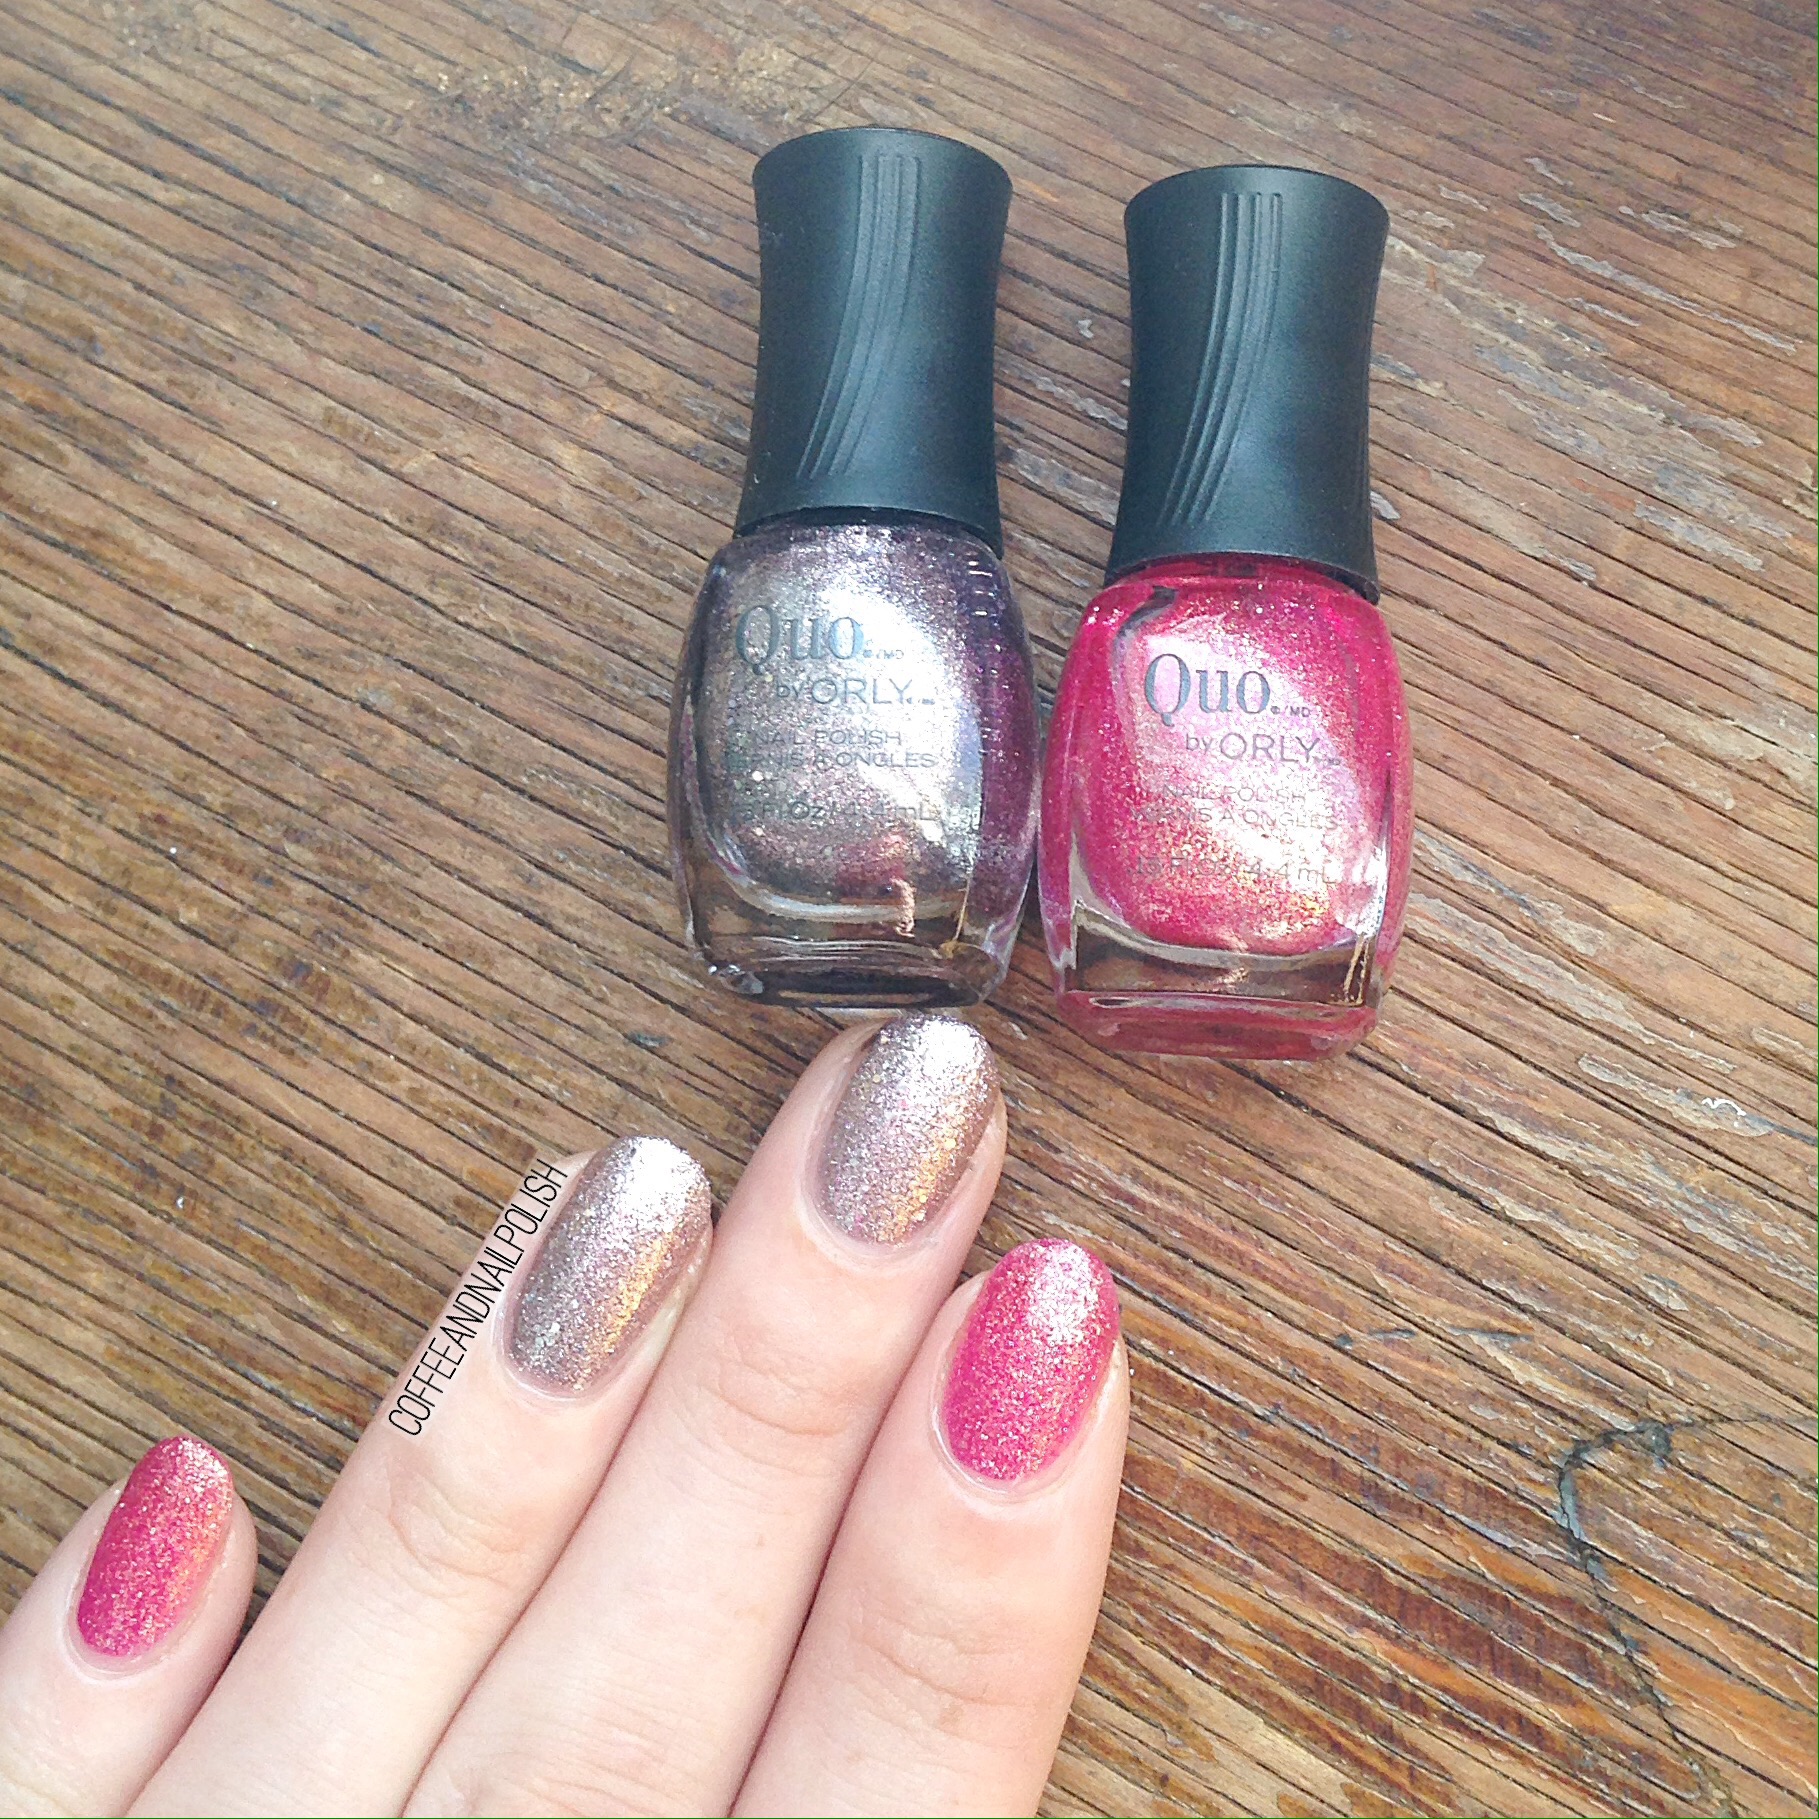
 The polishes I used for this manicure were:
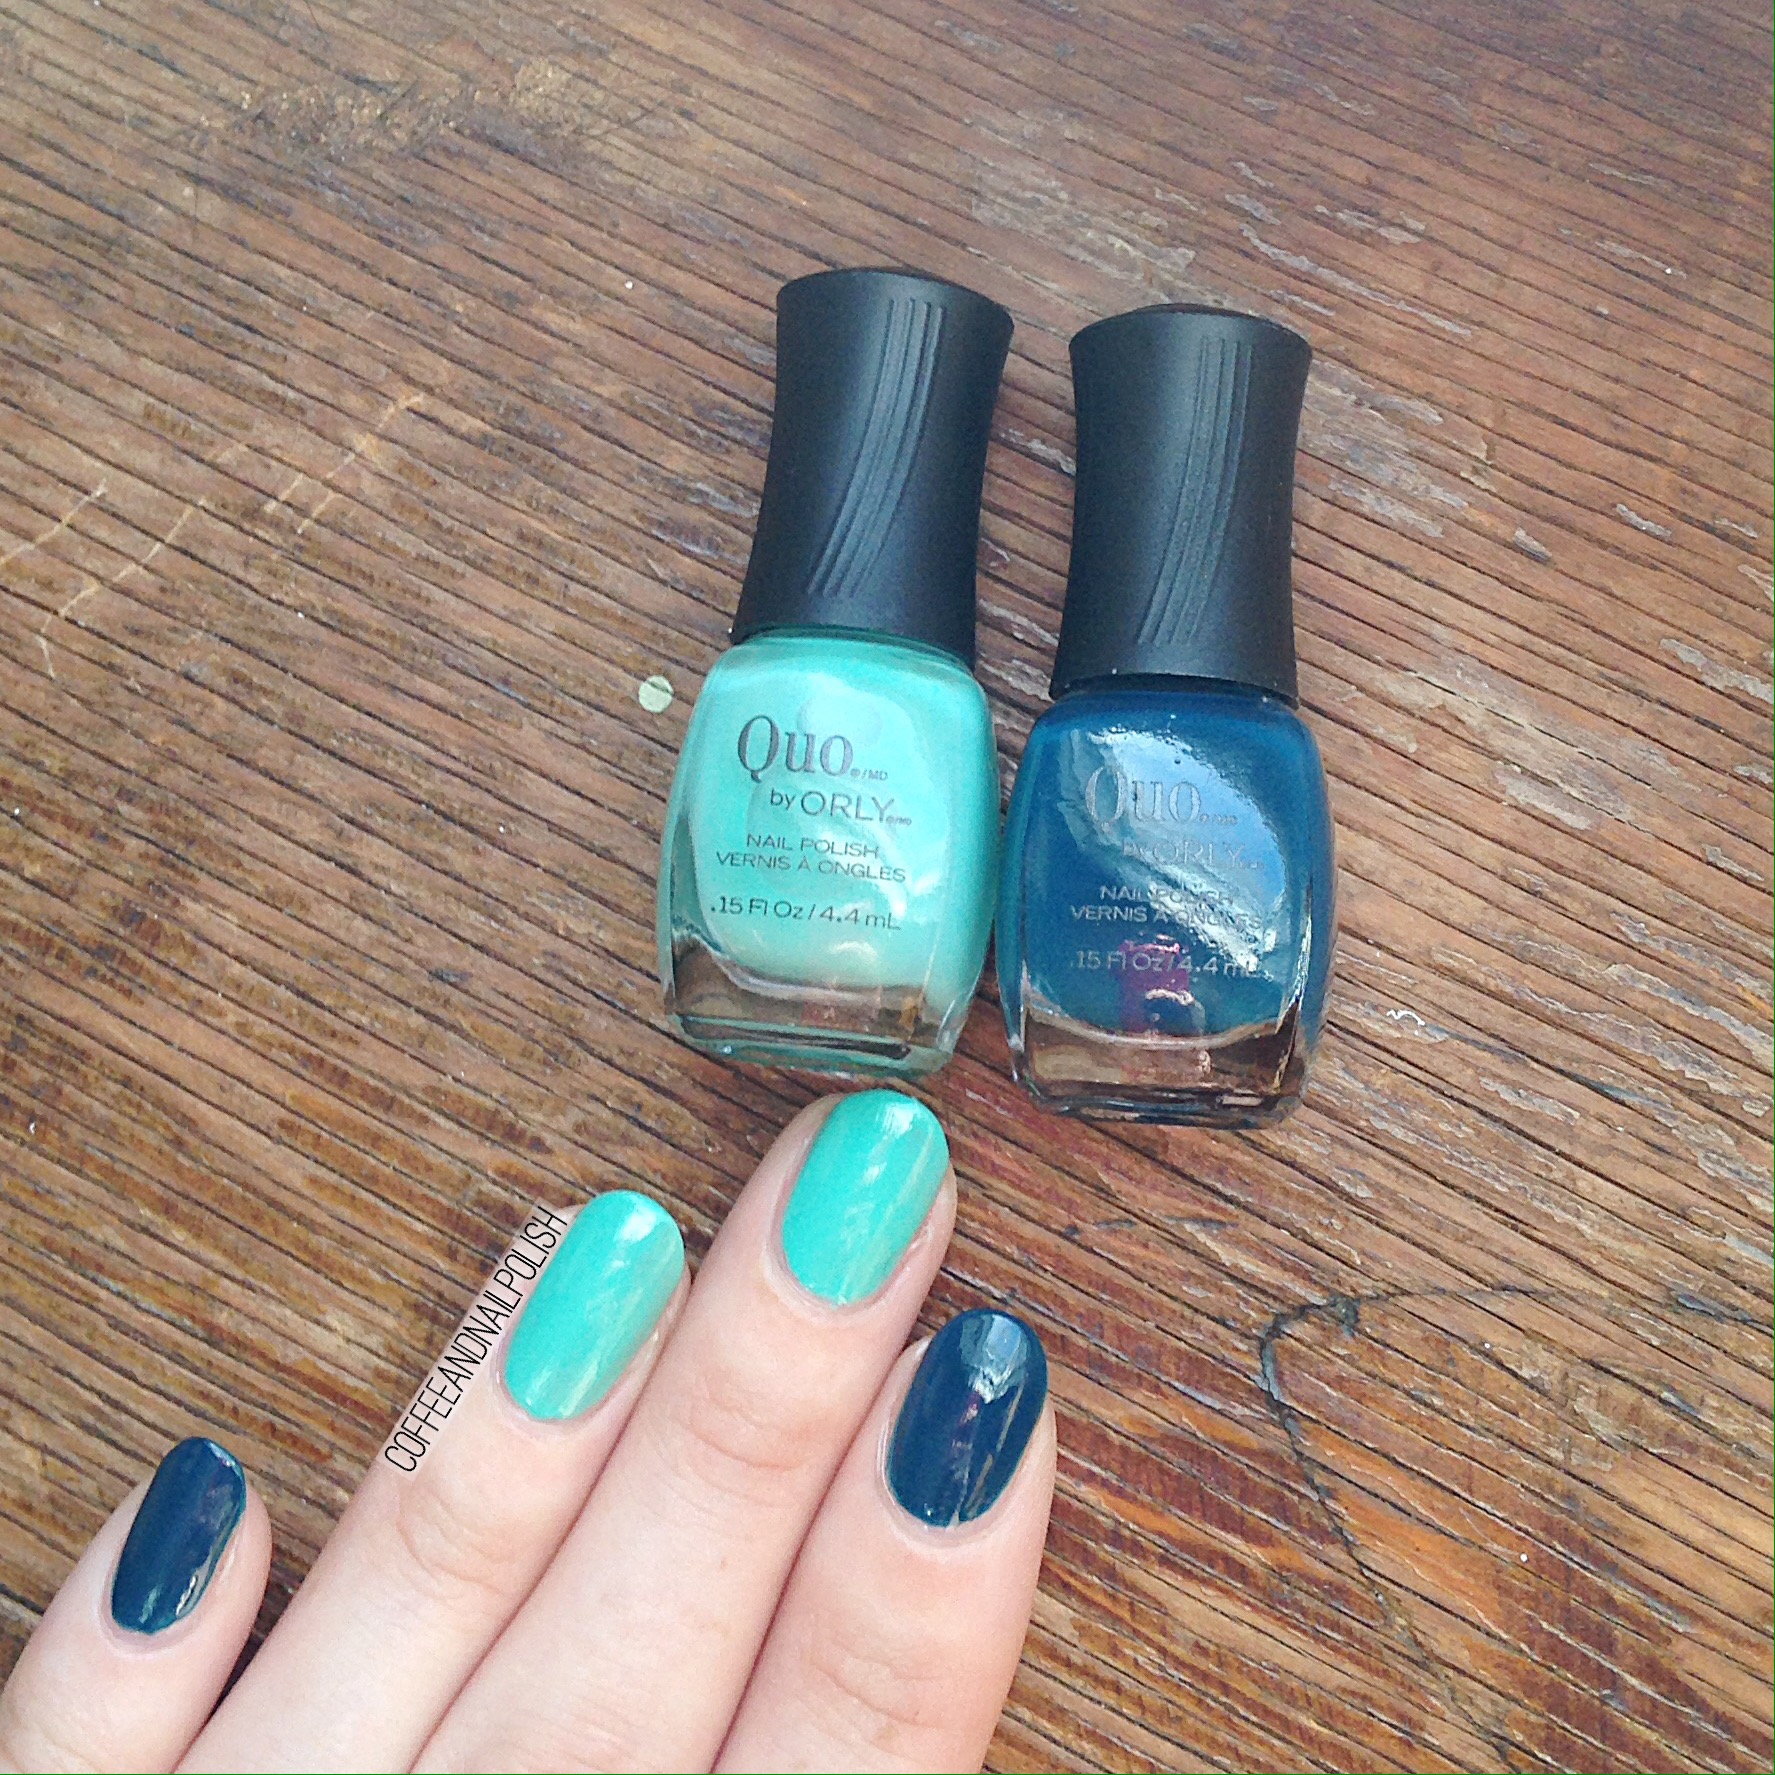
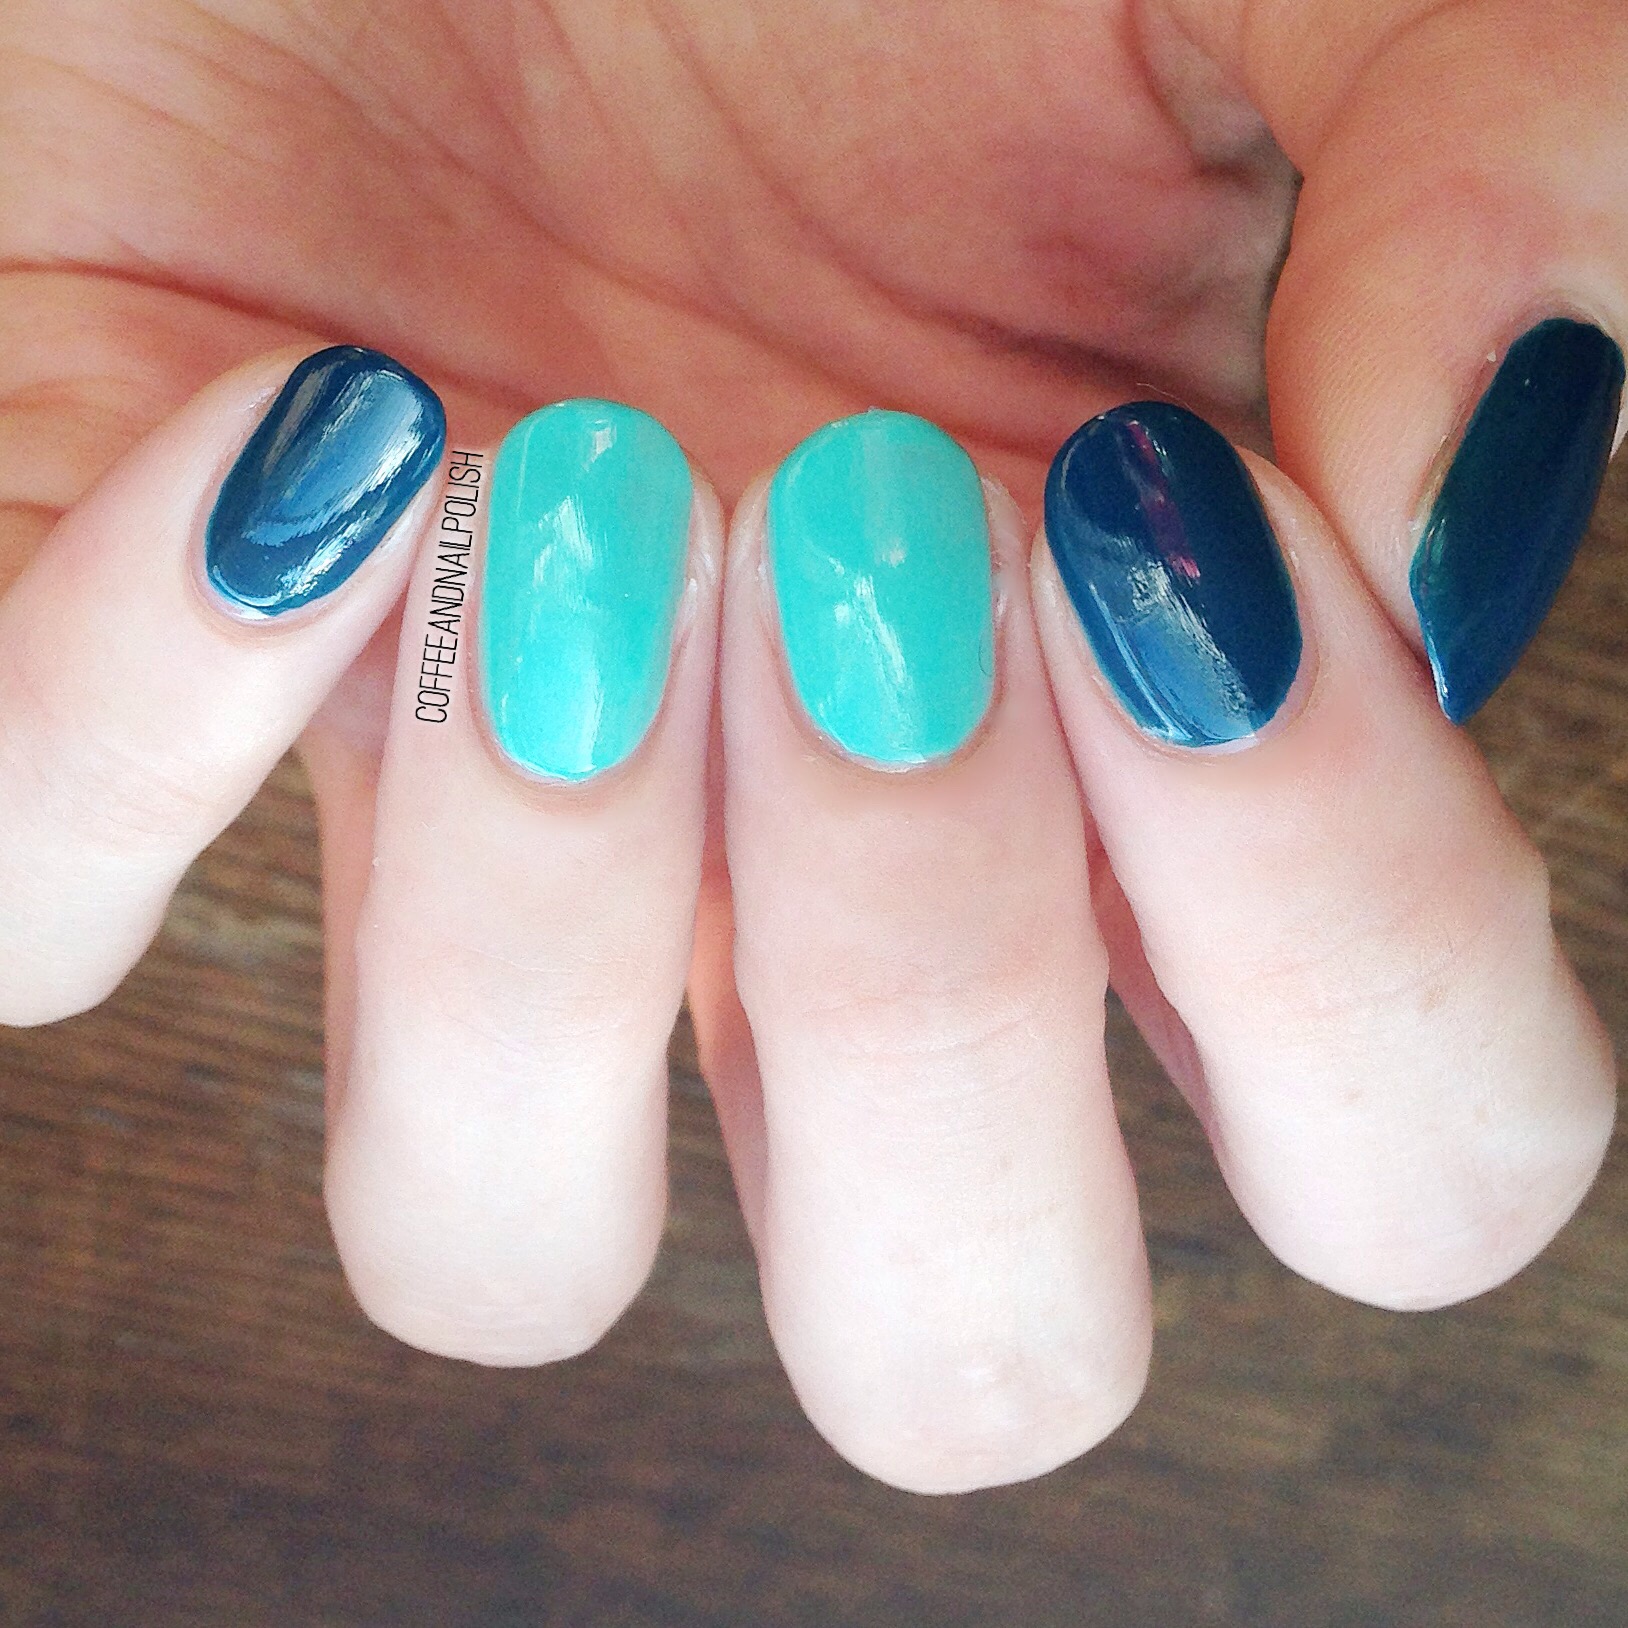
- Sally Hansen X-treme Wear Pacific Blue
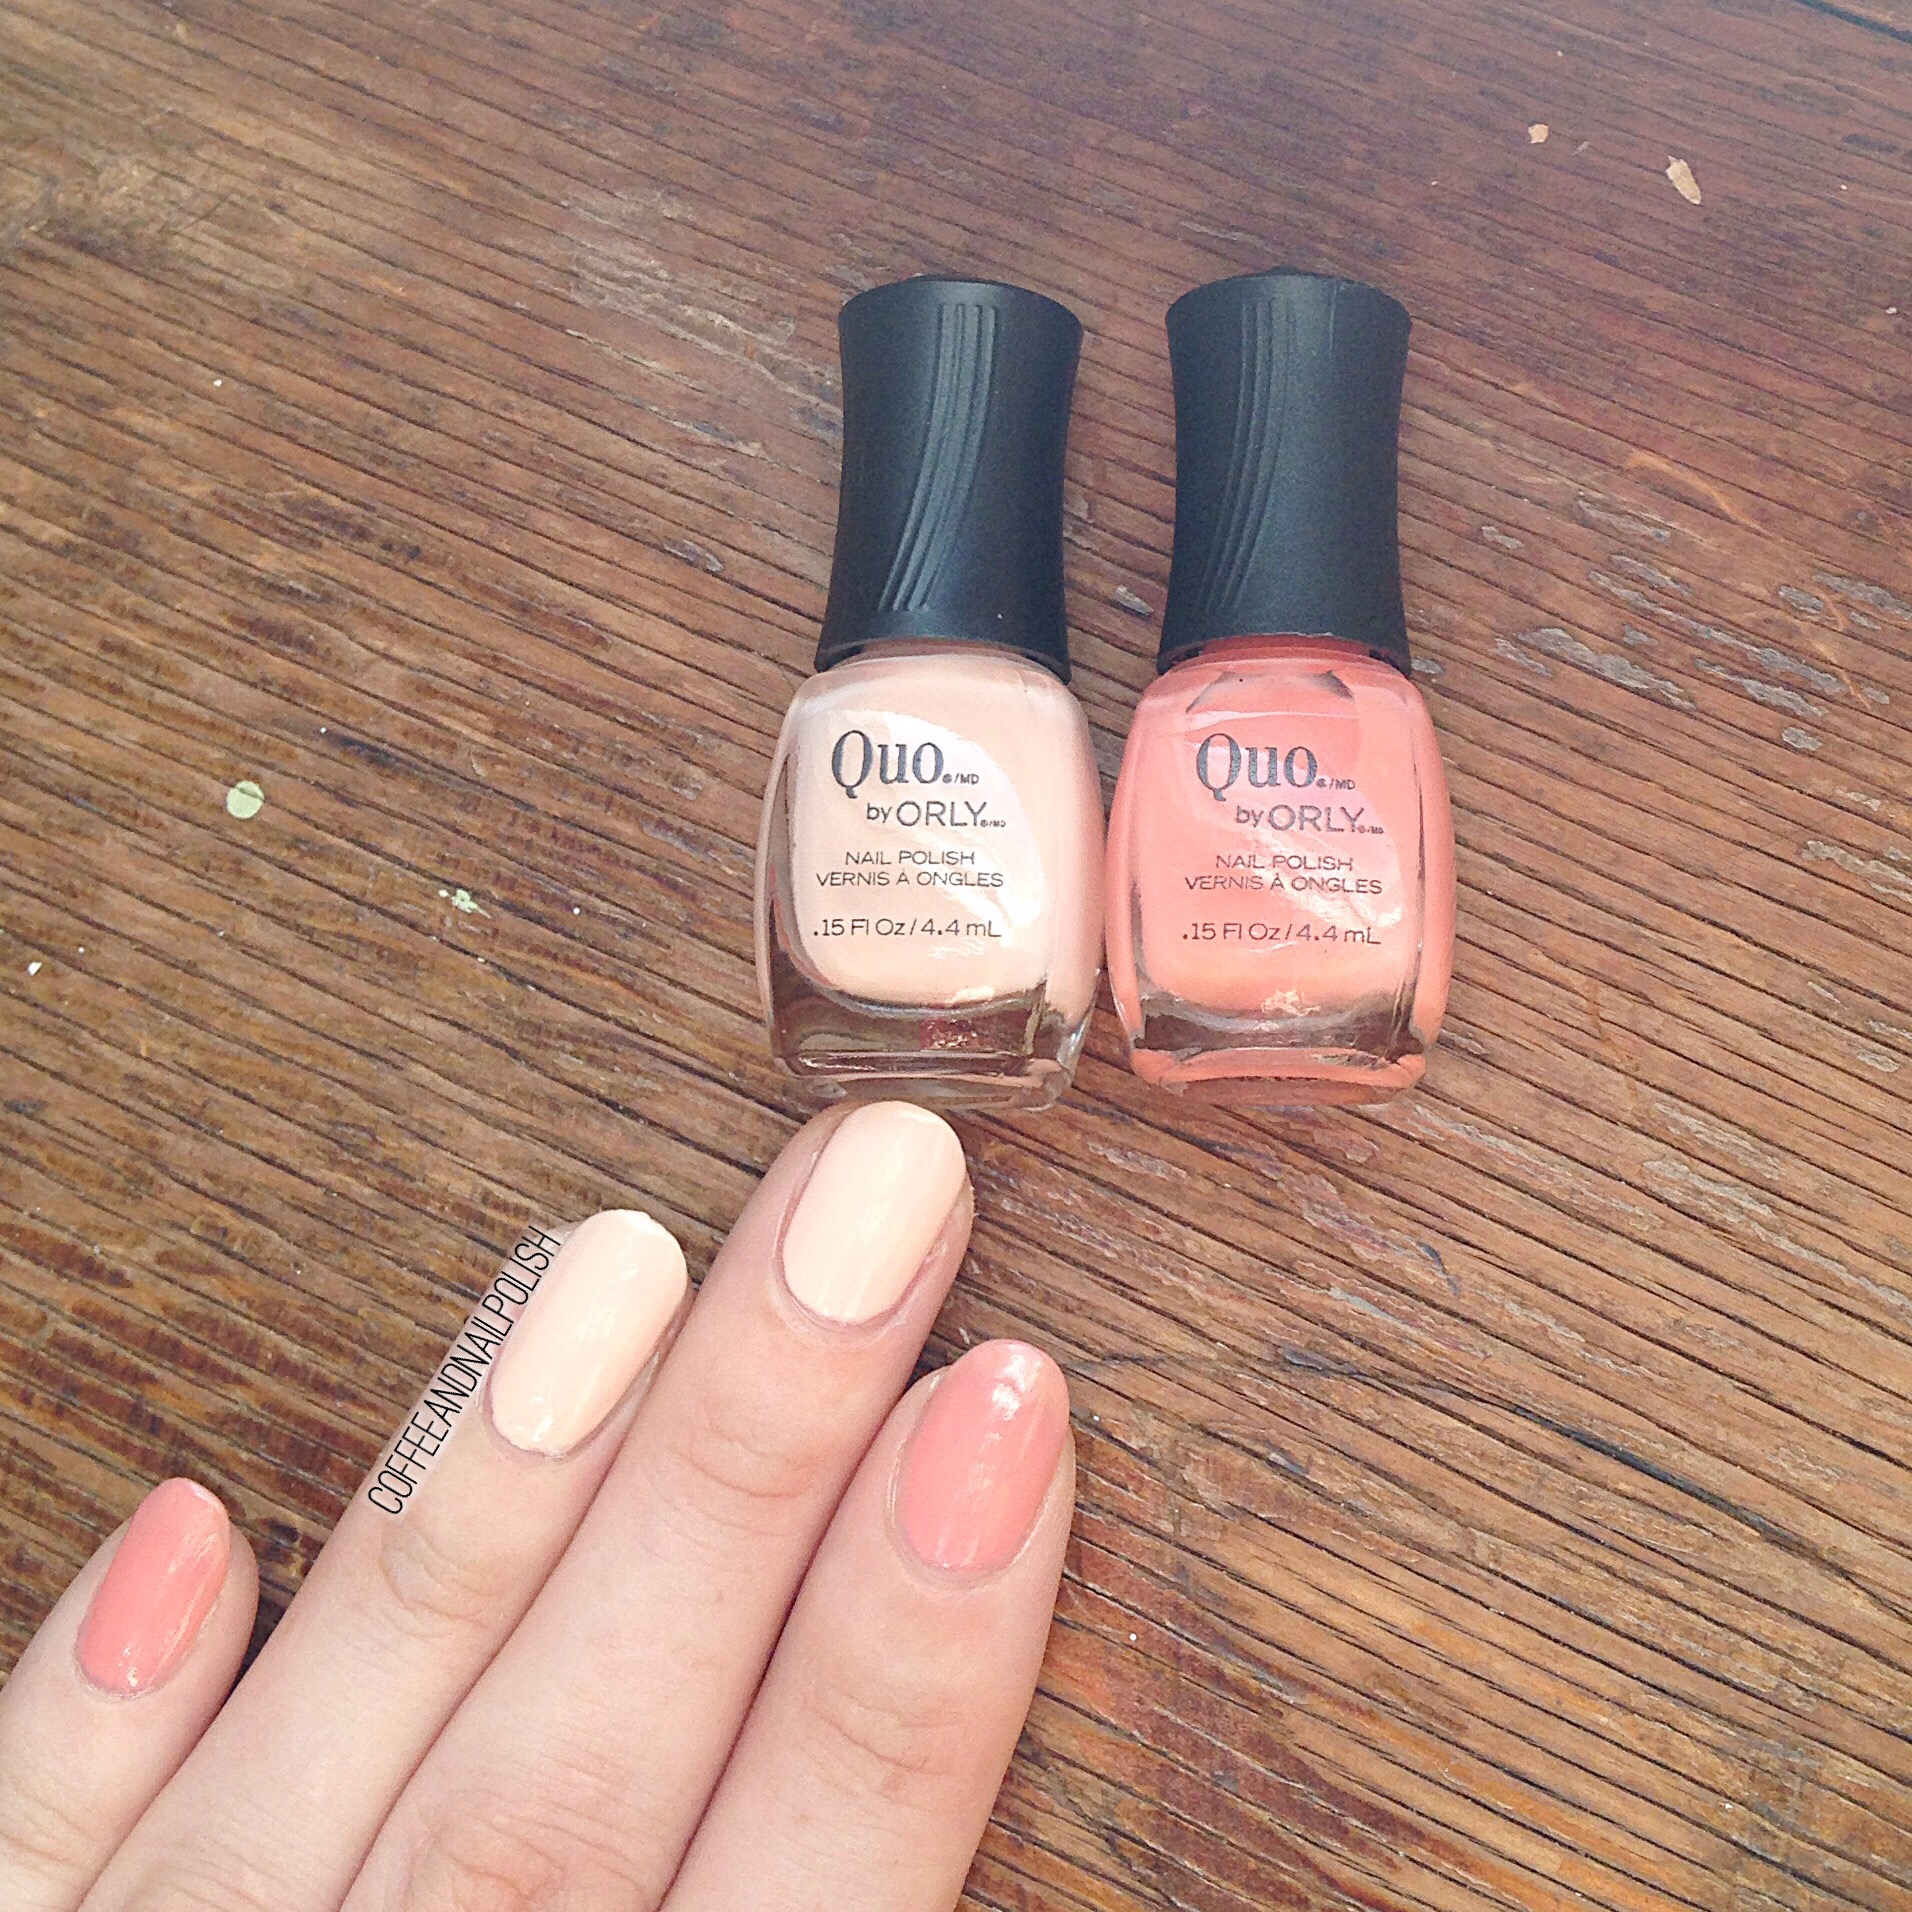
- Nicole by OPI I’ll Have the Salmon
- OPI That’s Hula-rious
- China Glaze Meet Me at the Mirage
- Cutex Quick Dry Top Coat

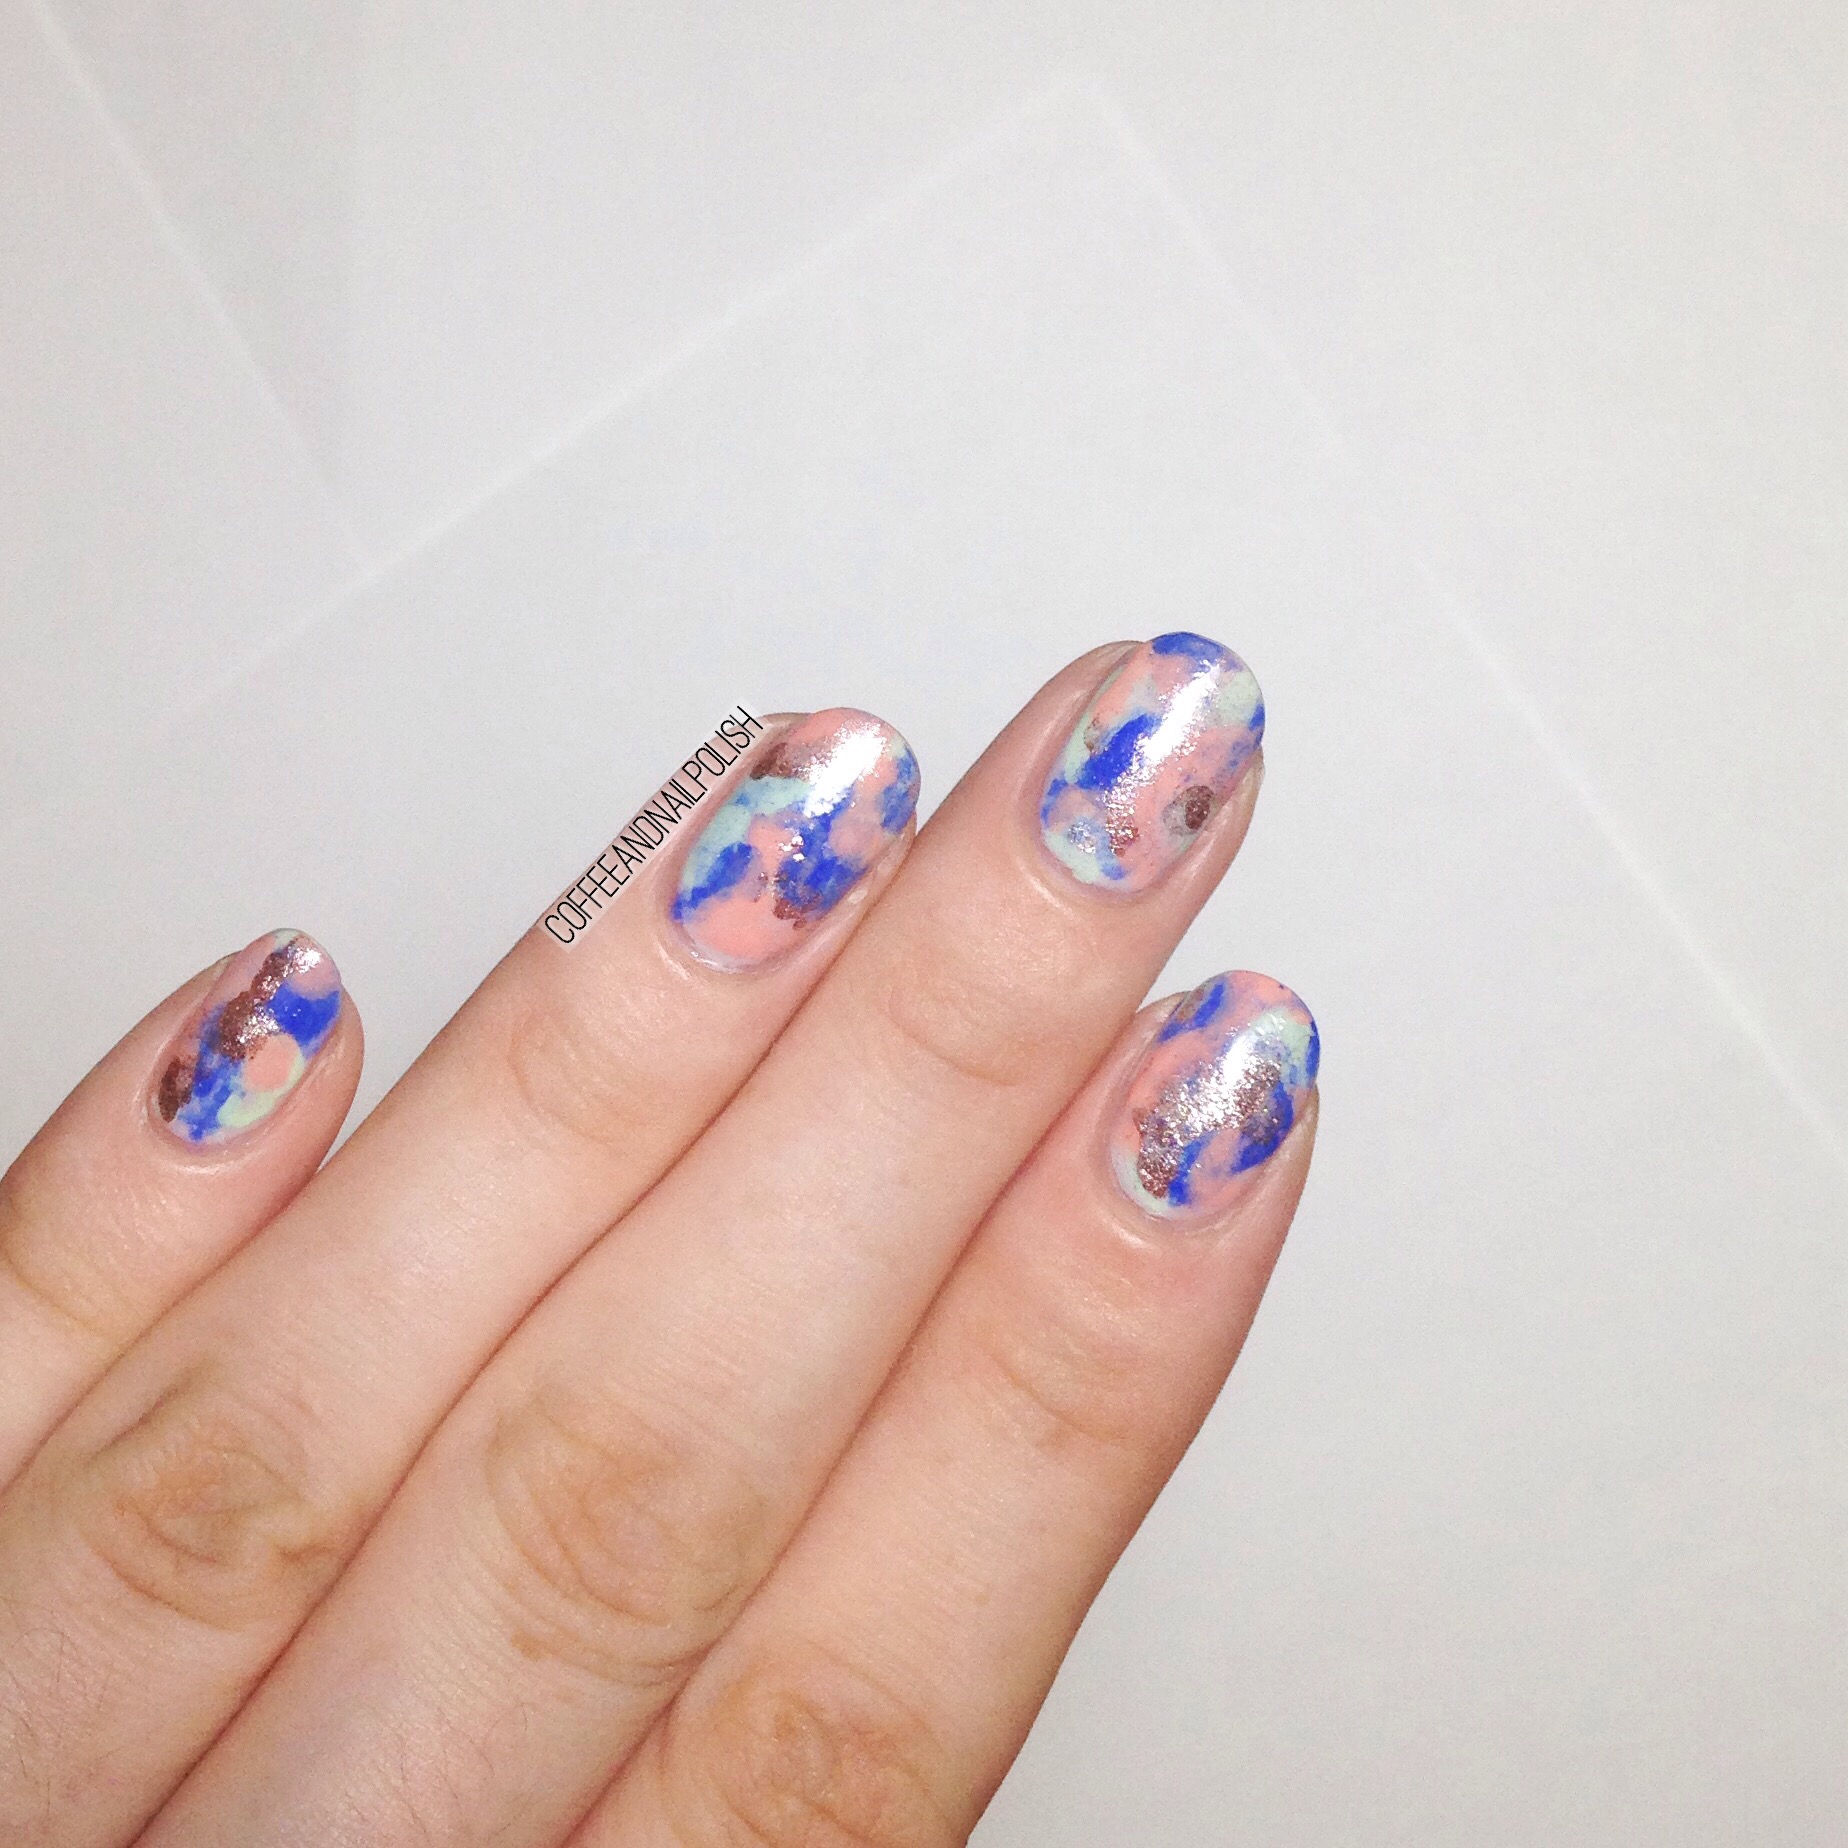
First off, trying out a brand new top coat so I hope to have a good review on that coming up soon! Secondly–how pretty is this mani?! I wasn’t so sure about pairing these colours together at first, but they ended up looking really awesome together! I’m not sure how others test mani shades, but I literally just brush my colours beside each other on paper until I find the ones that look best beside each other. I definitely need to download some of those nifty nail guides for designing manicures so I can plan more easily!
What do you think of this manicure? What colours are your favourite to pair together? Let me know in the comments below!