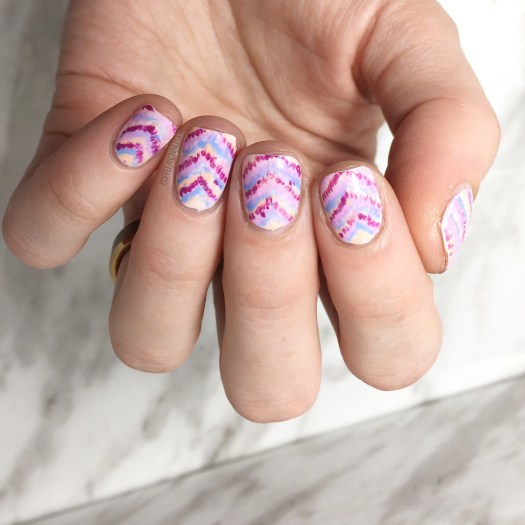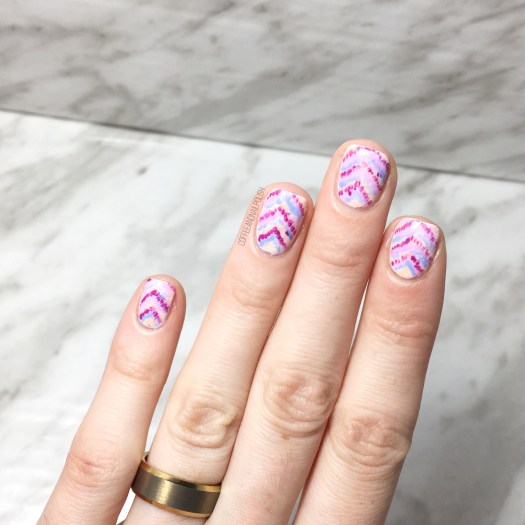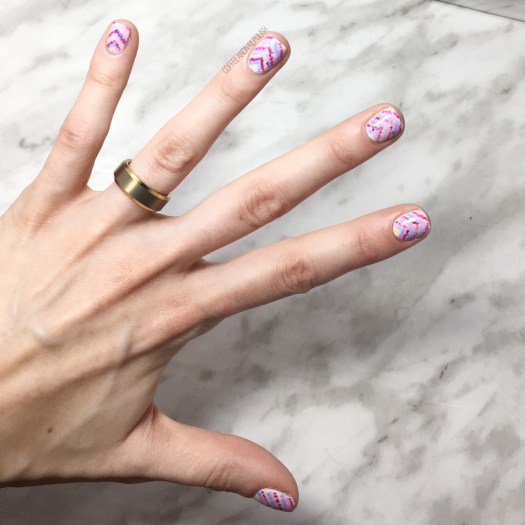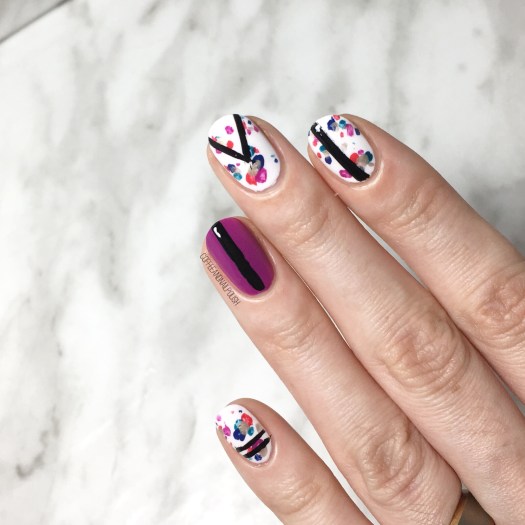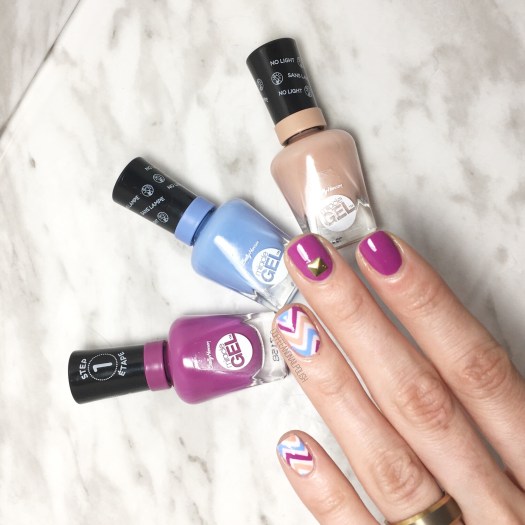
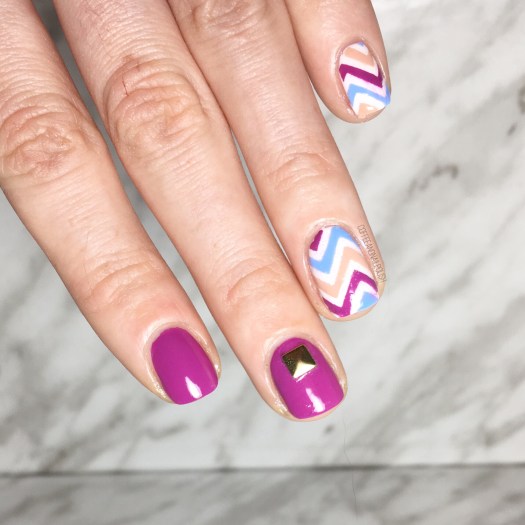
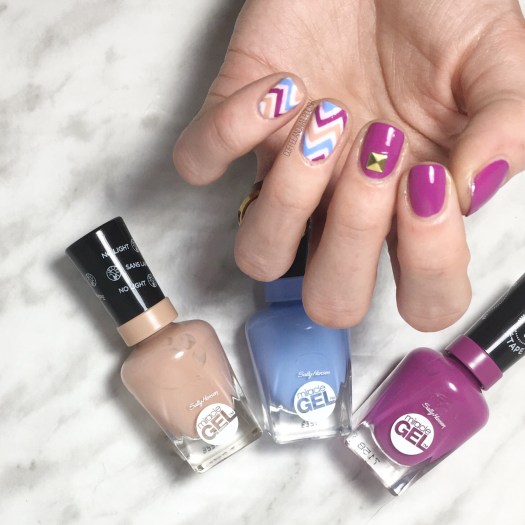
Happy Monday lovelies! Hope everyone had a fantastic weekend. ♥️ Mine was… short! But it’s a brand new week & I have a brand new manicure to start it off with. I’m still obsessing over these new Sally Hansen Miracle Gel polishes, so I have yet another design to share with you featuring them. This time, I used some brand new (to me) vinyls from The Base Coat to create some funky chevron zig zag accent nails.

For this manicure, the polishes I used were:
- Base Coat: Nailtek 2
- Top Coat: Sally Hansen Miracle Gel Top Coat
- Sally Hansen MG Lilac Insomniac
- Sally Hansen MG Little Peony
- Sally Hansen MG Sugar Fix
- Sally Hansen MG Sweet Tea
- The Base Coat Nail Vinyls Chevron/Zigzag (wide)
- NailStuff.ca square stud from mixed decoration wheel (gold).
- Small dotting tool.
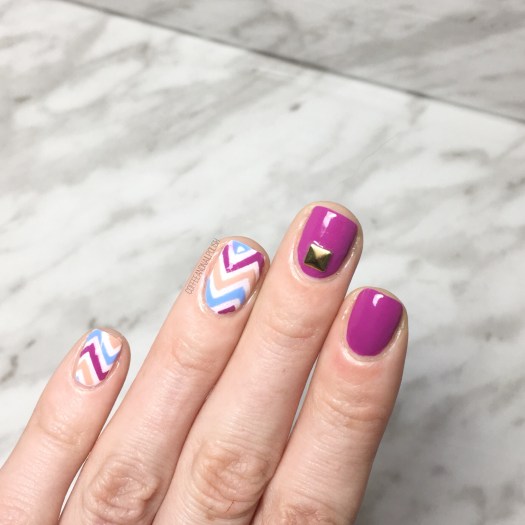

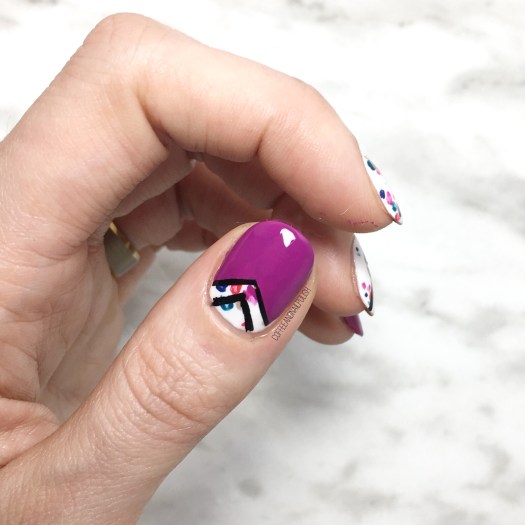
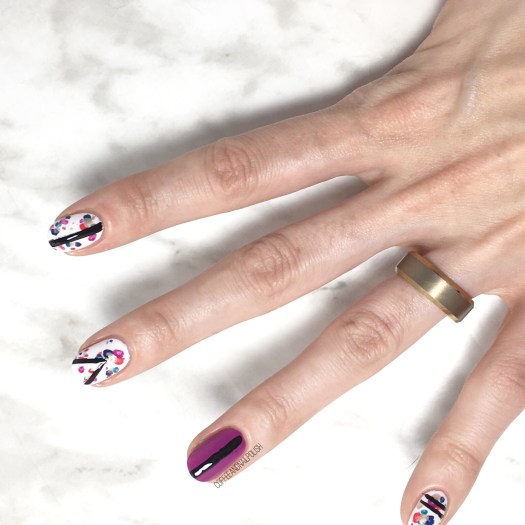
First off, these nail vinyls are so much fun & I love how they look. I’ve been obsessed with shopping from throw pillows lately (as we continue to decorate our new house) & this colour combination & pattern looks a lot like the patterns I continuously find myself drawn to. & obviously I had to throw some studs as an accent in there because it’s been a while since I used my favourite nail stud wheel from NailStuff.ca!
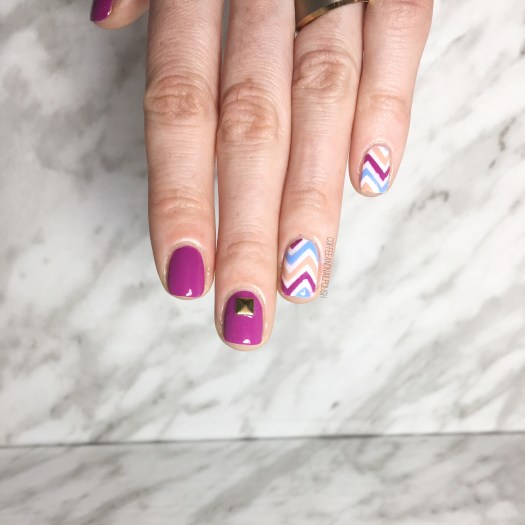
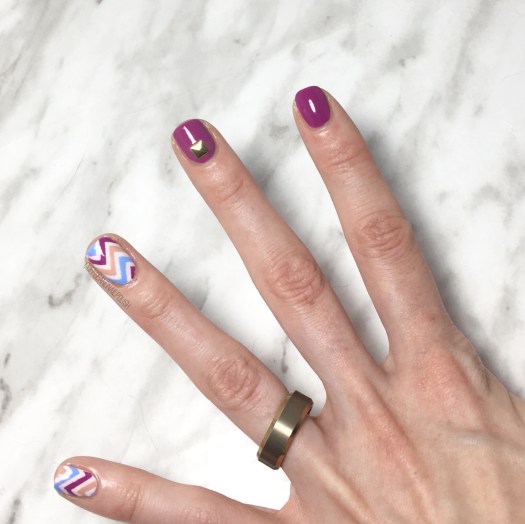
I have to say, I just love how cleanly the lines on these chevrons came out. The vinyls from The Base Coat definitely stick to the nail very well when you use them. No flooding under the vinyl & creating a big mess! Really, really just loving this whole look from the chevron zig zags, to the colours. It feels Summery & fun… which I think all of us need right now.
What do you think of this chevron design? What is your favourite nail nail vinyl pattern? Let me know your thoughts in the comments below!