Good afternoon lovelies! Today I have some brand new nails to share with you, which was a spur of the moment design that turned out surprisingly fun!
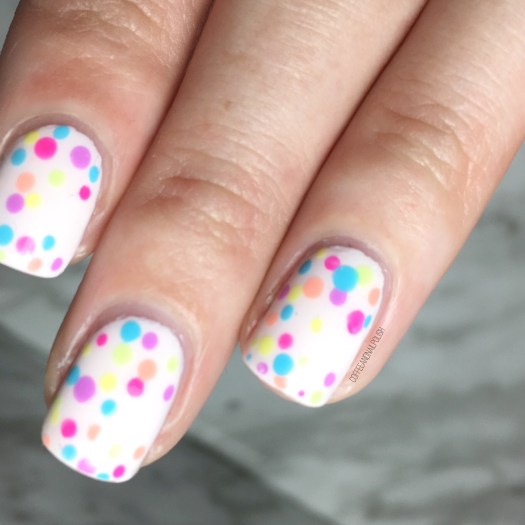
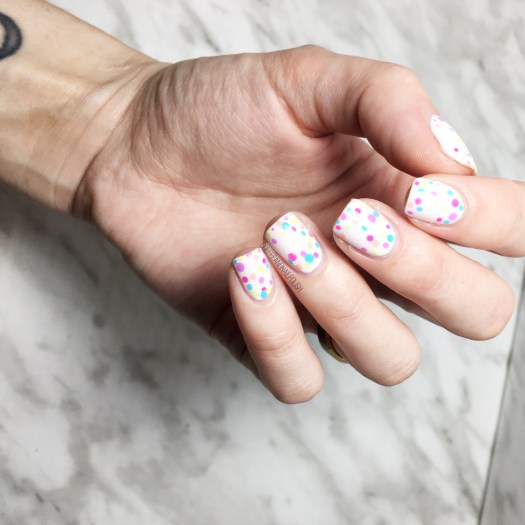
I’ve been using a lot of the same polishes over the last couple weeks (probably because they’re out sitting on my desk, so easy to grab) so I wanted to pull out some other shades! & TADA! this design was created. I decided to still stick to my neon-ish shades, as the weather is warming up & finally feeling beautiful, but dug into the stash to see what other Neons I could find.

The polishes I used for this manicure were:
- Base Coat: Sally Hansen Green Tea & Bamboo Strengthener
- Top Coat: Essie Speed Setter
- Sally Hansen Miracle Gel Pretty Peony {PR sample}
- Color Club Disco Dress
- China Glaze Too Yacht To Handle
- China Glaze Thistle Do Nicely
- NailStuff.ca 11mm Liner Brush {PR sample}


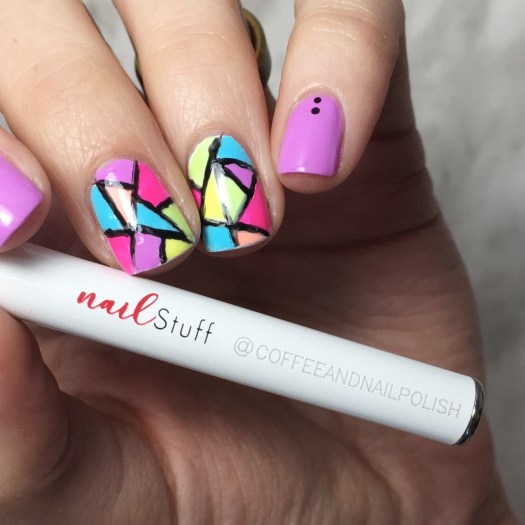
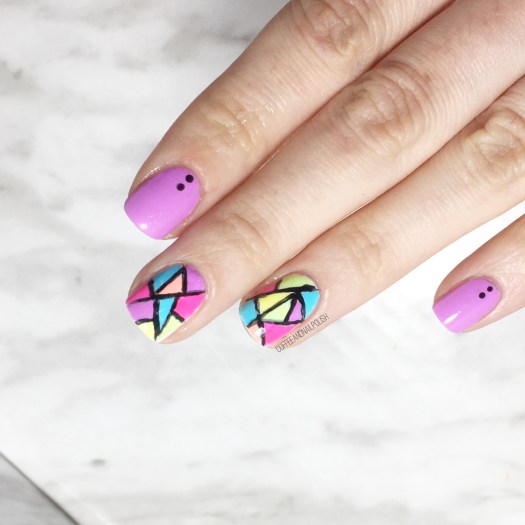
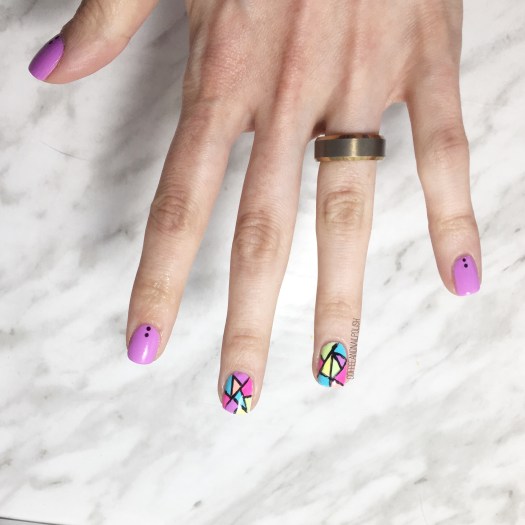
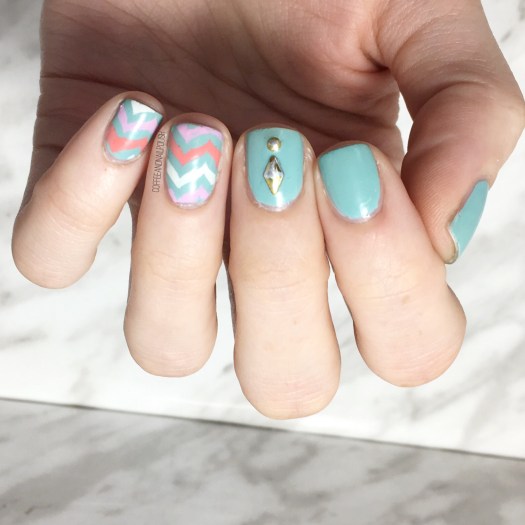
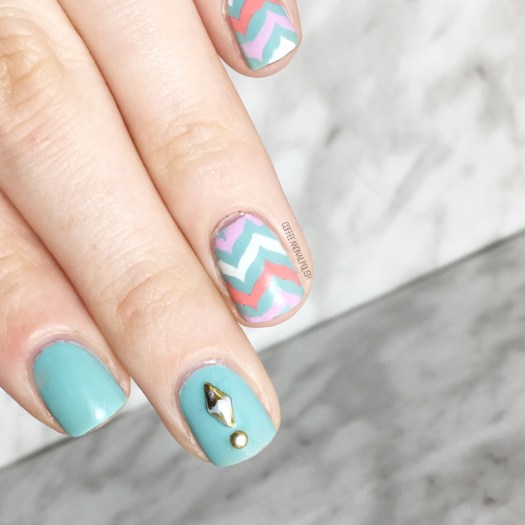
At first, I had just Too Yacht To Handle & Thistle Do Nicely & wasn’t so sure I liked to colour combination — which I hate when that happens — but as soon as I added my lines of Disco Dress, it brought the whole look together & I ended up being absolutely obsessed with the end result.
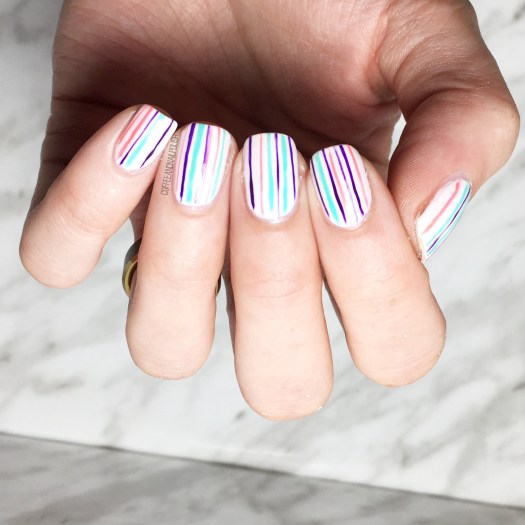
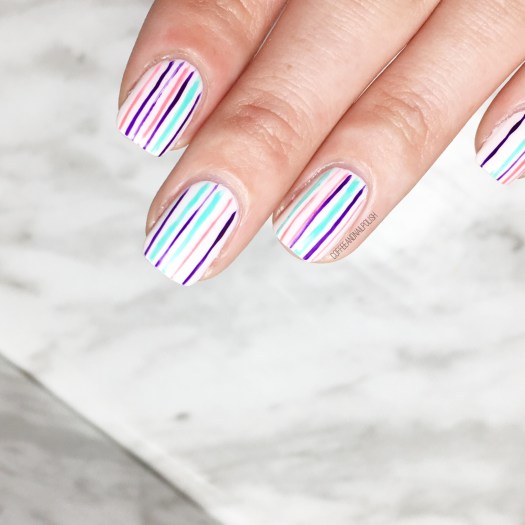
The imperfection of the stripes reminds me of a beach towel, or something. I originally was going to use vinyls to create everything, but I’m so glad I was lazy & freehanded things because I think it looks so much better the way they turned out.

What do you think of this look? What summer nail art look are you wearing right now? Share your thoughts down in the comments below!