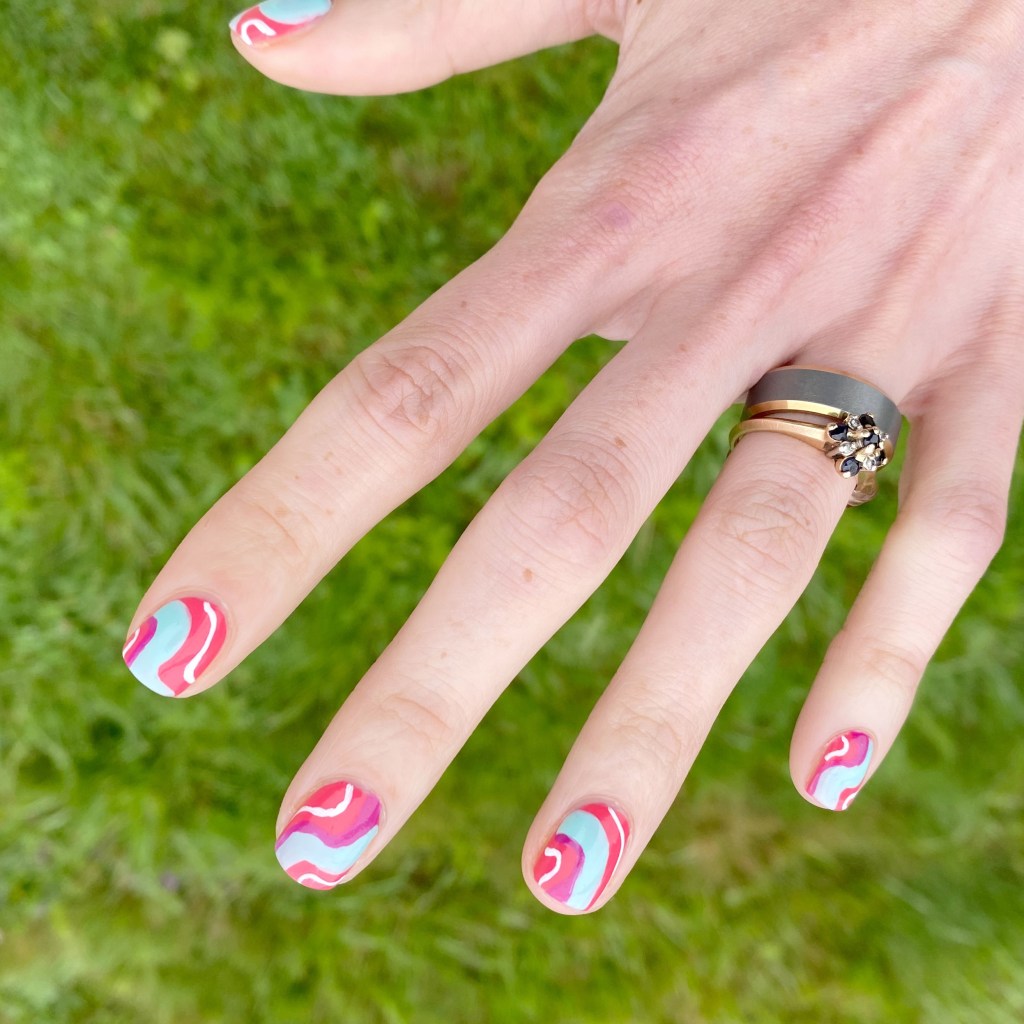
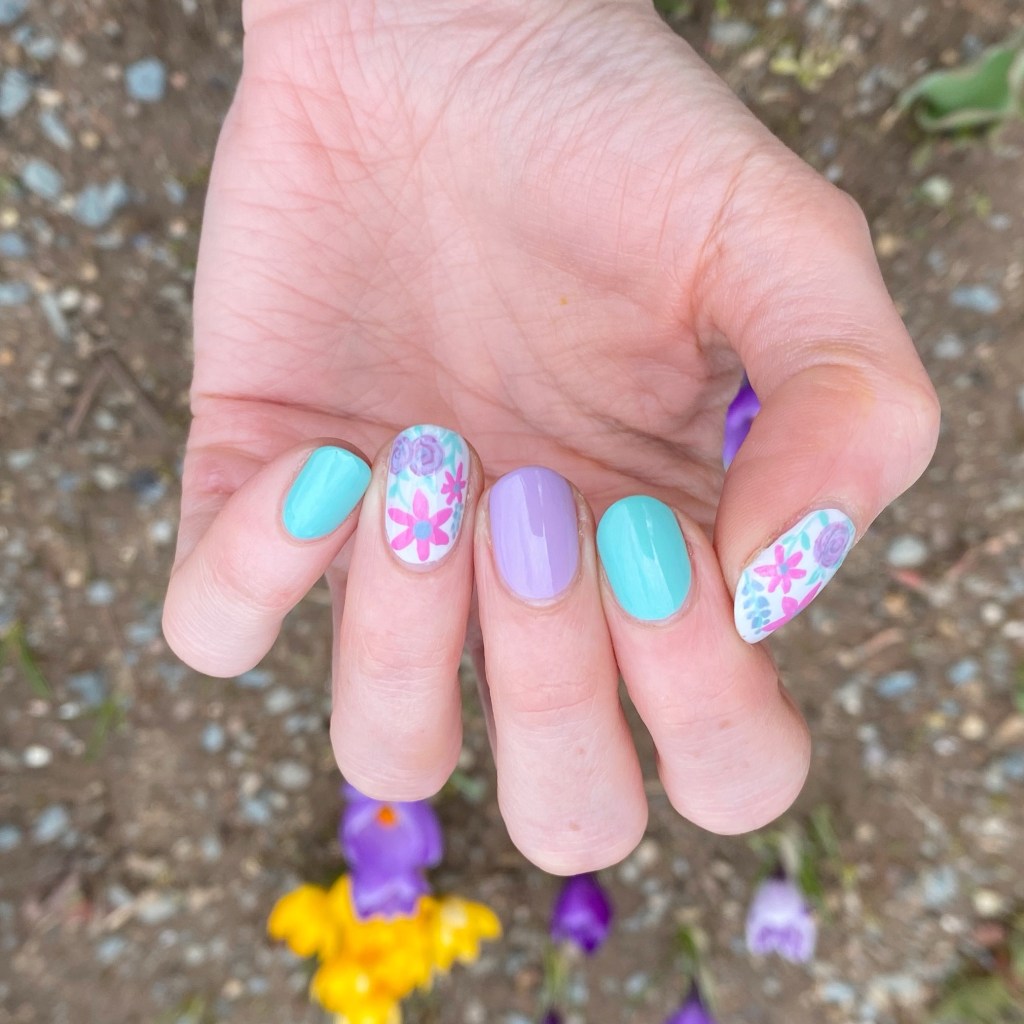
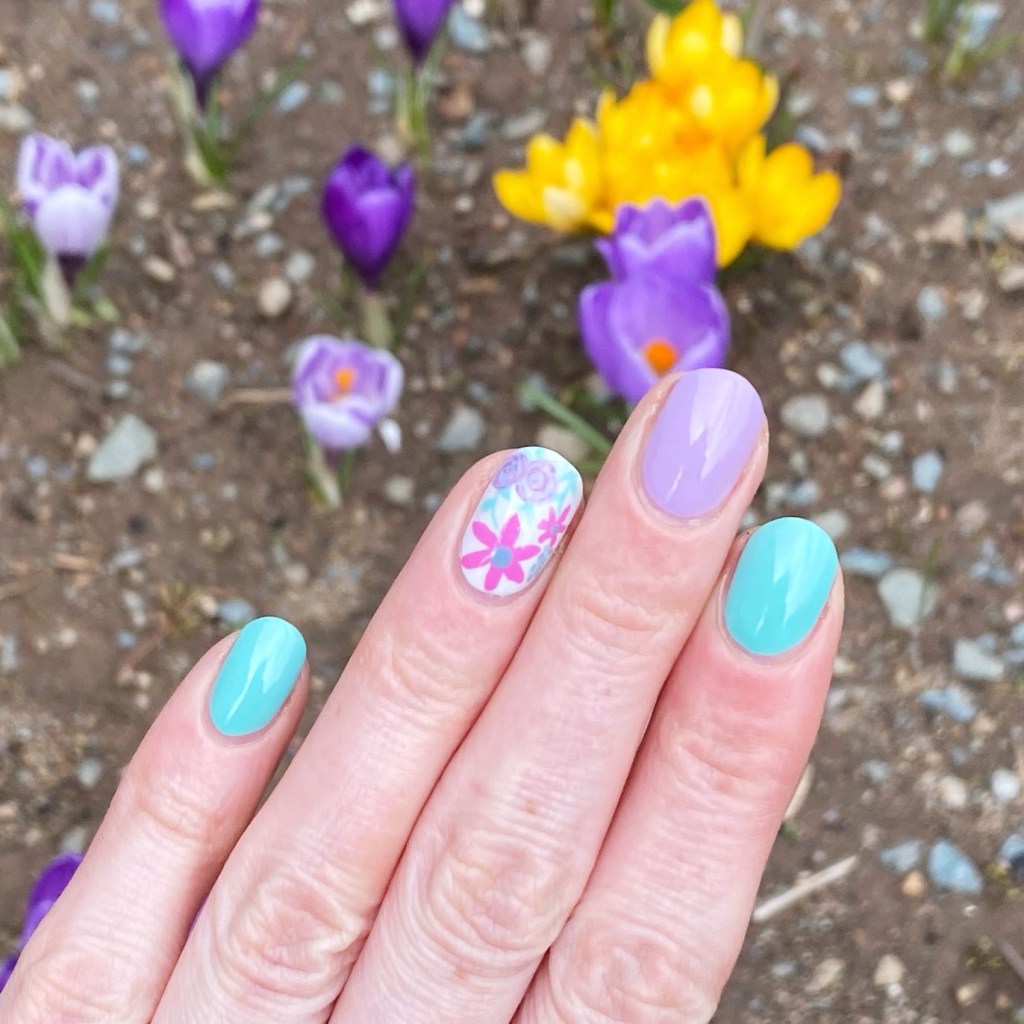
Hello lovelies & happy Friday! A beautiful Friday at that. Today I’m excited — not just because the snow is almost completely melted away, but I have a beautiful floral design to share with you!
The weather may not seem to know it’s Spring outside, but my nails certainly do!
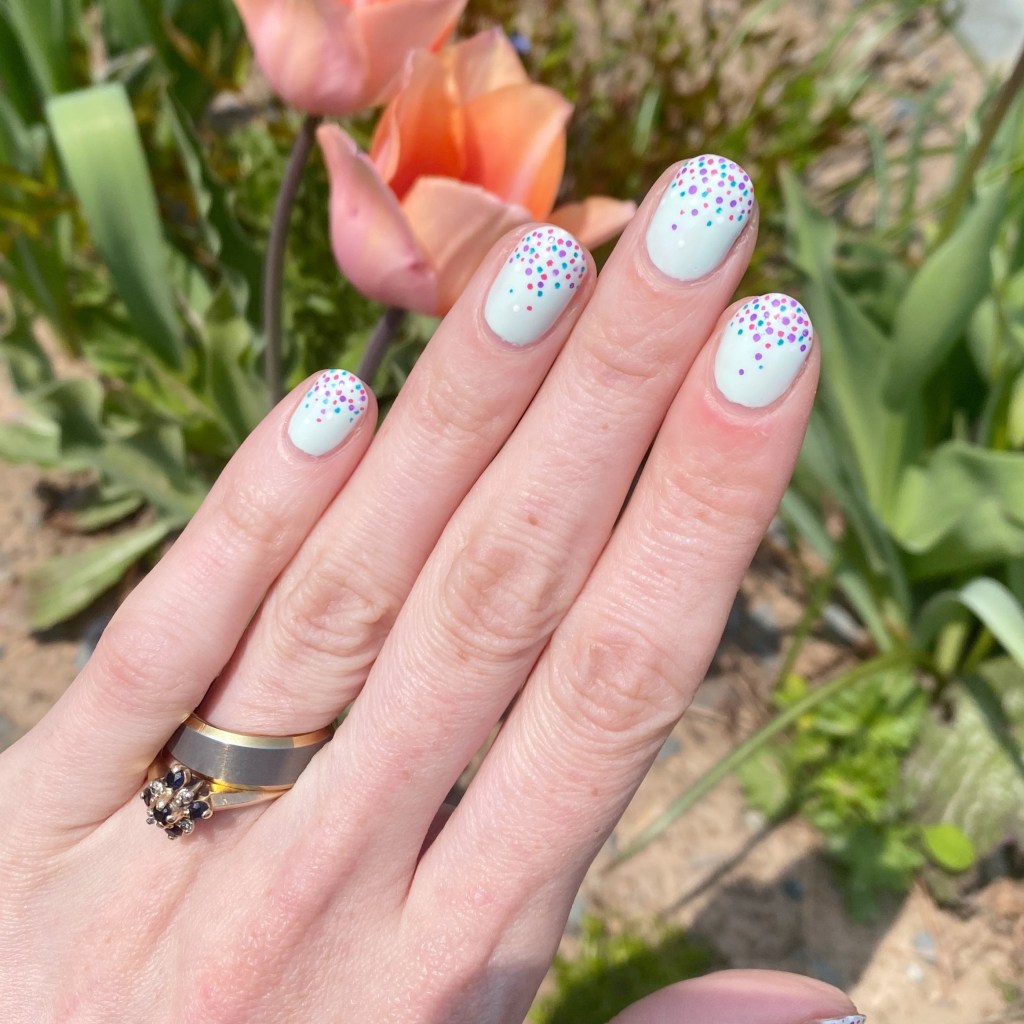
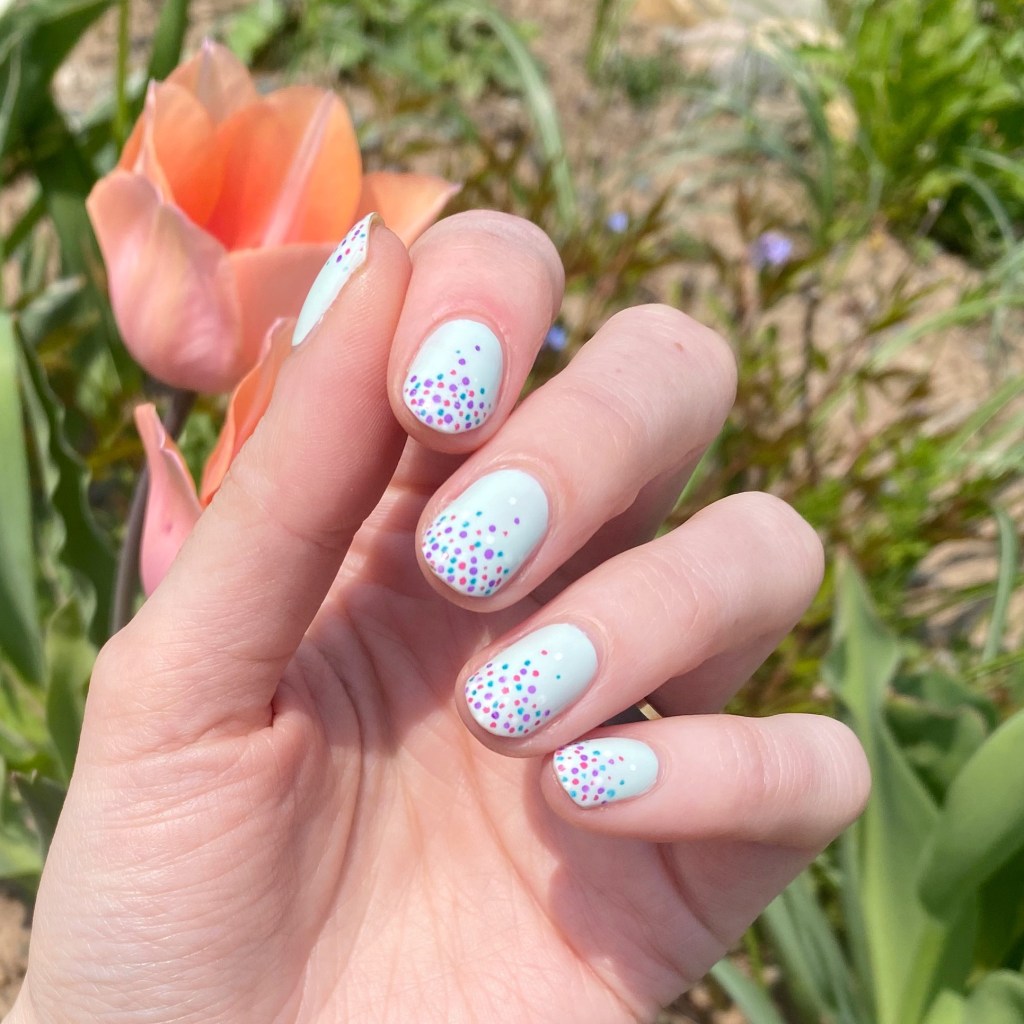
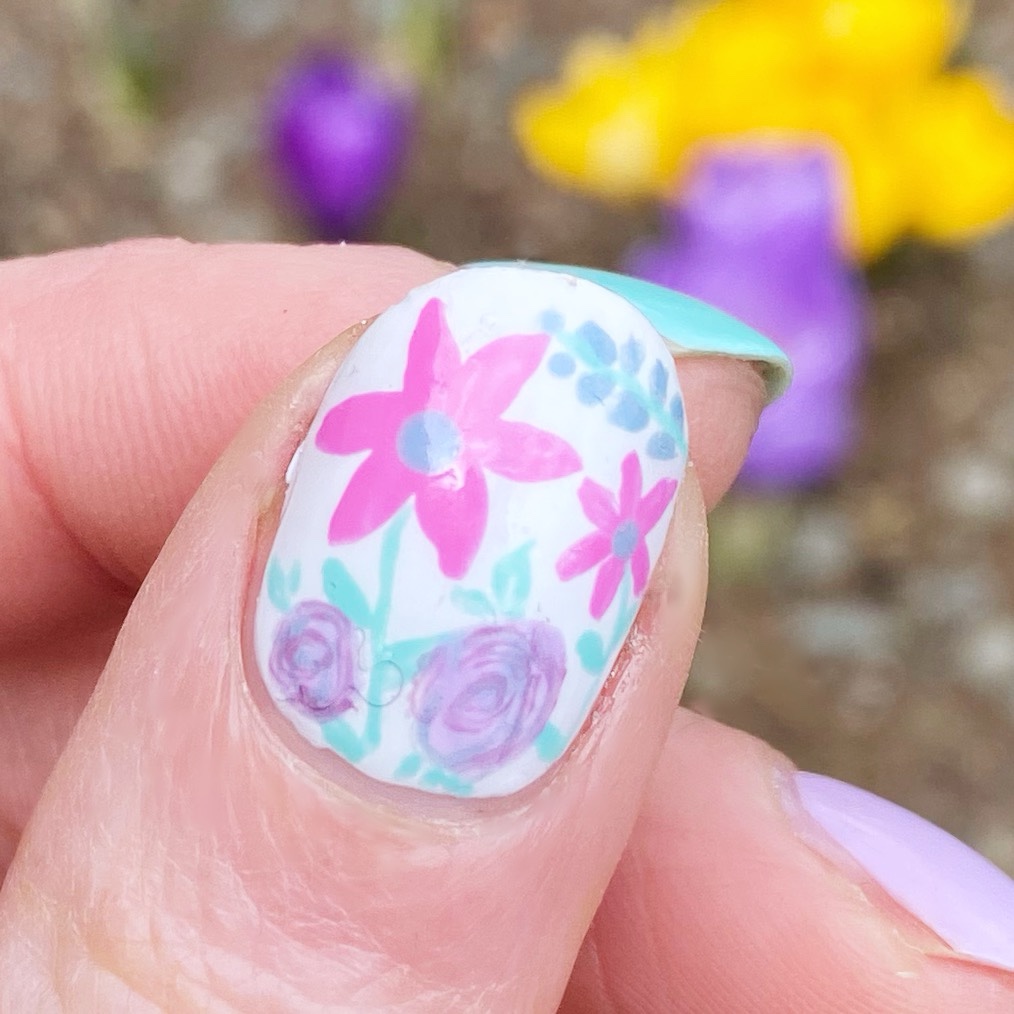
The polishes I used for this manicure are:
- Top Coat: Essie Gel Couture Top Coat
- Base Coat: Essie Hard to Resist Advanced
- OPI Nature Strong Cactus What You Preach
- OPI Nature Strong Emflowered
- OPI Canolli On My Mind
- OPI Sickeningly Sweet
- OPI Check Out The Old Geysers
- Nailstuff.ca Mermaid Tail 7mm liner brush
- NailStuff.ca Dotting Tool

How pretty did this Spring floral turn out? I think it turned out even better than I pictured in my head, & I just love it. I feel like anything to distract me from the lack of real Spring weather is what I need right now.

What do you think of my Spring floral? We’re close… so close to real Spring weather. But in the meantime, at least I have my nails! 🌿🌸
Happy Friday loves!
🖤