Happy Halloween with Wonder Woman Nails! 💫

Happy Halloween everyone! I can’t believe it’s already Halloween 🎃 — how crazy is that? This year I was dedicated to doing a family Justice League costume with the hubs & our little Bubs so I could wear my Wonder Woman costume again! & obviously that means I needed to have nails that matched. 

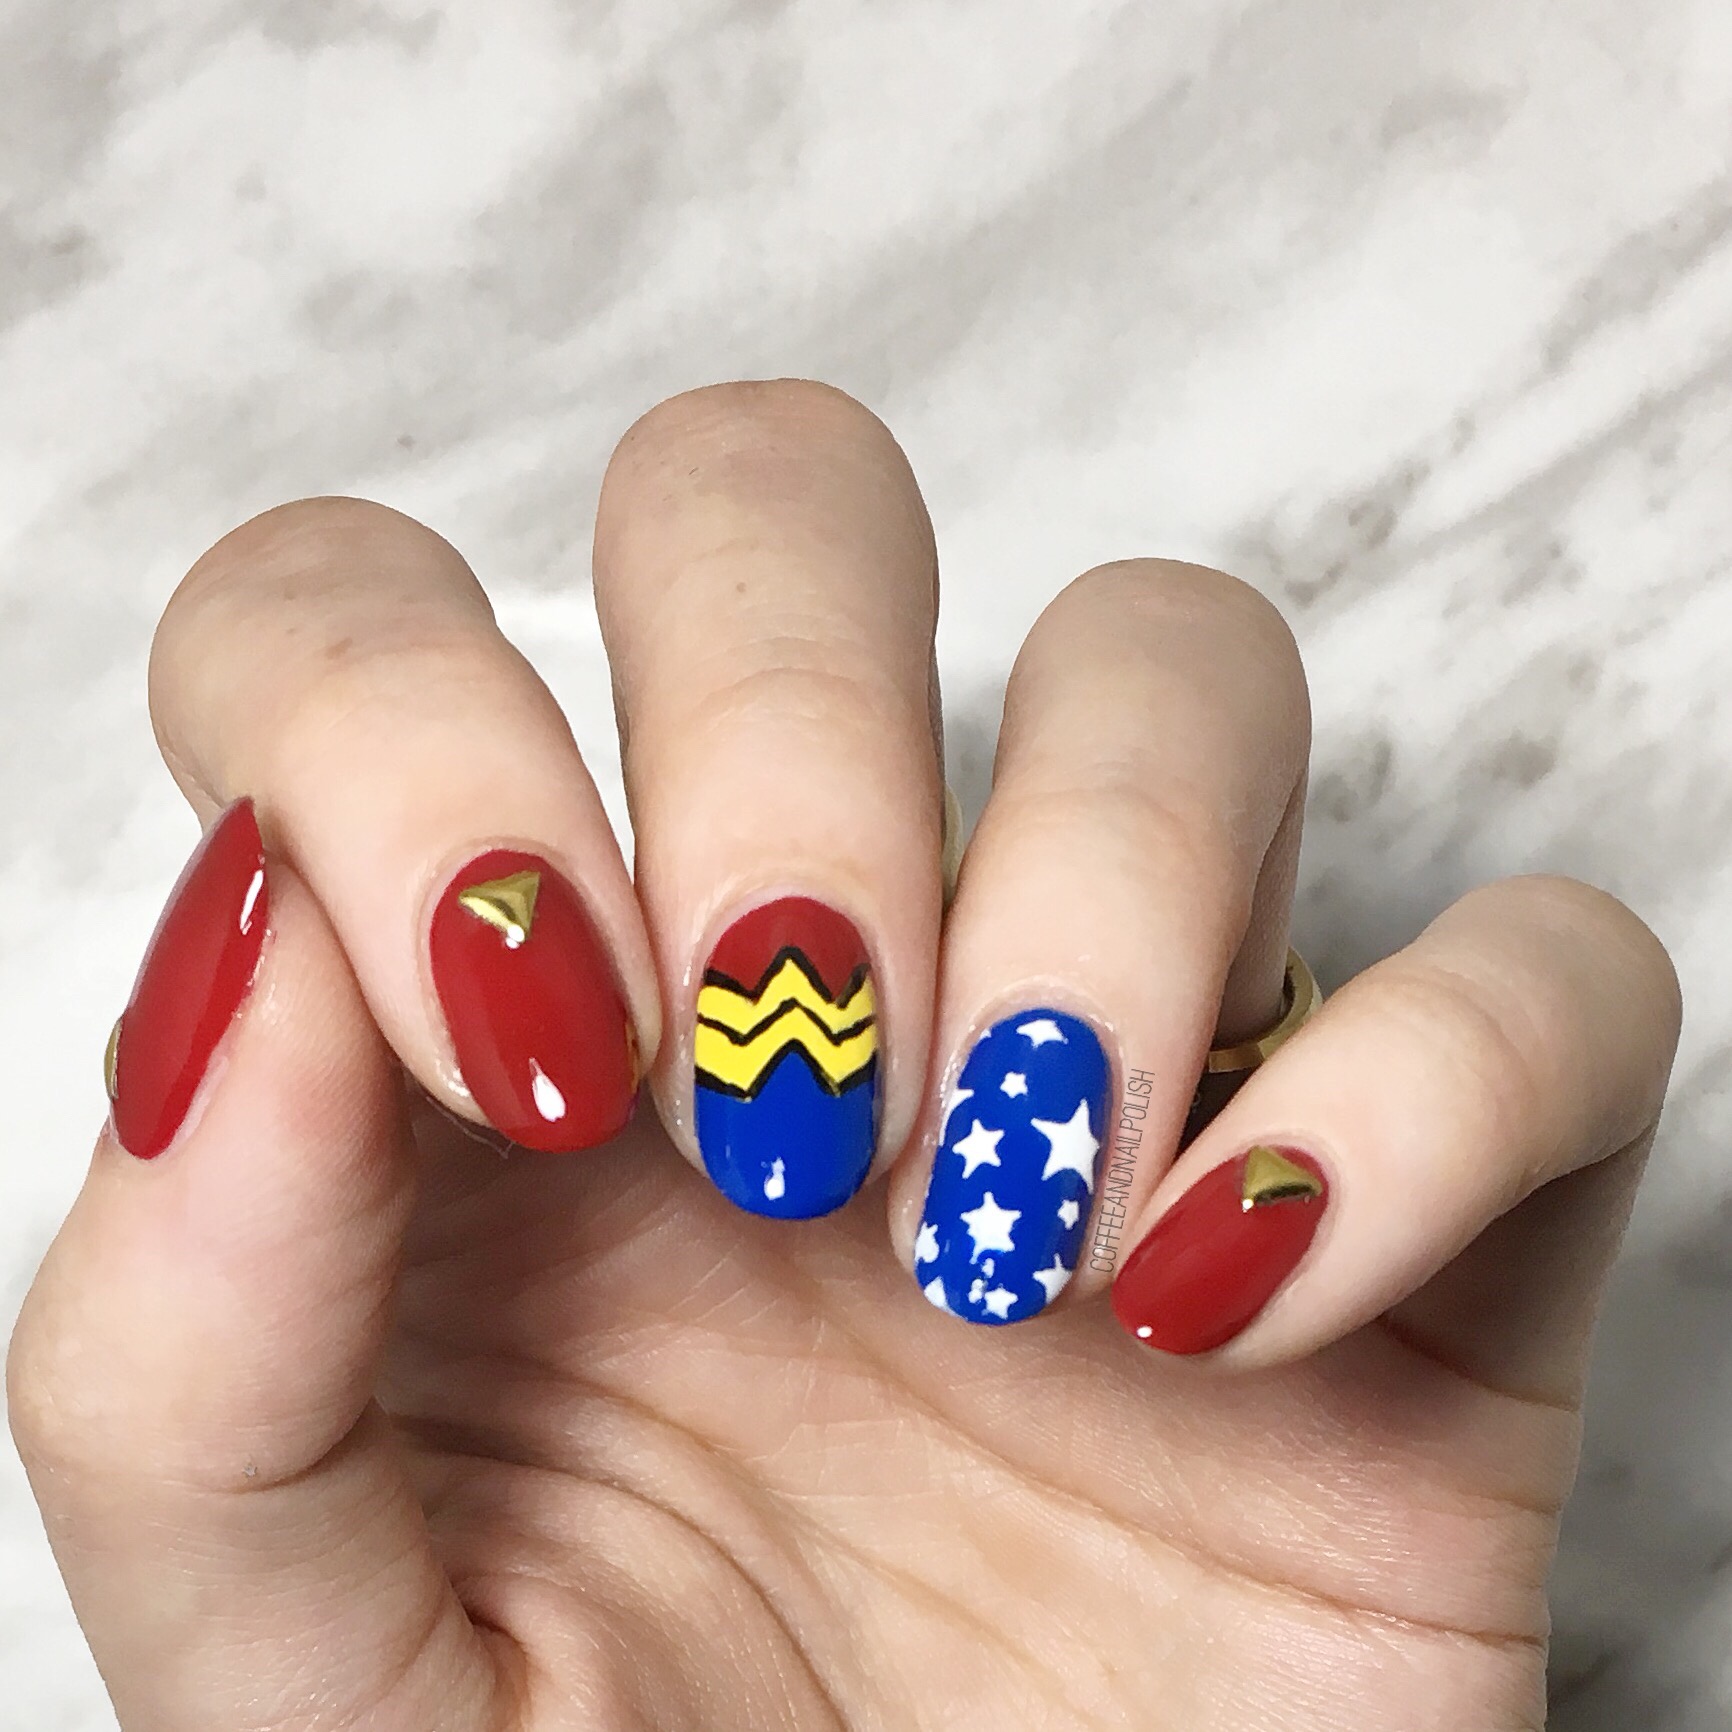
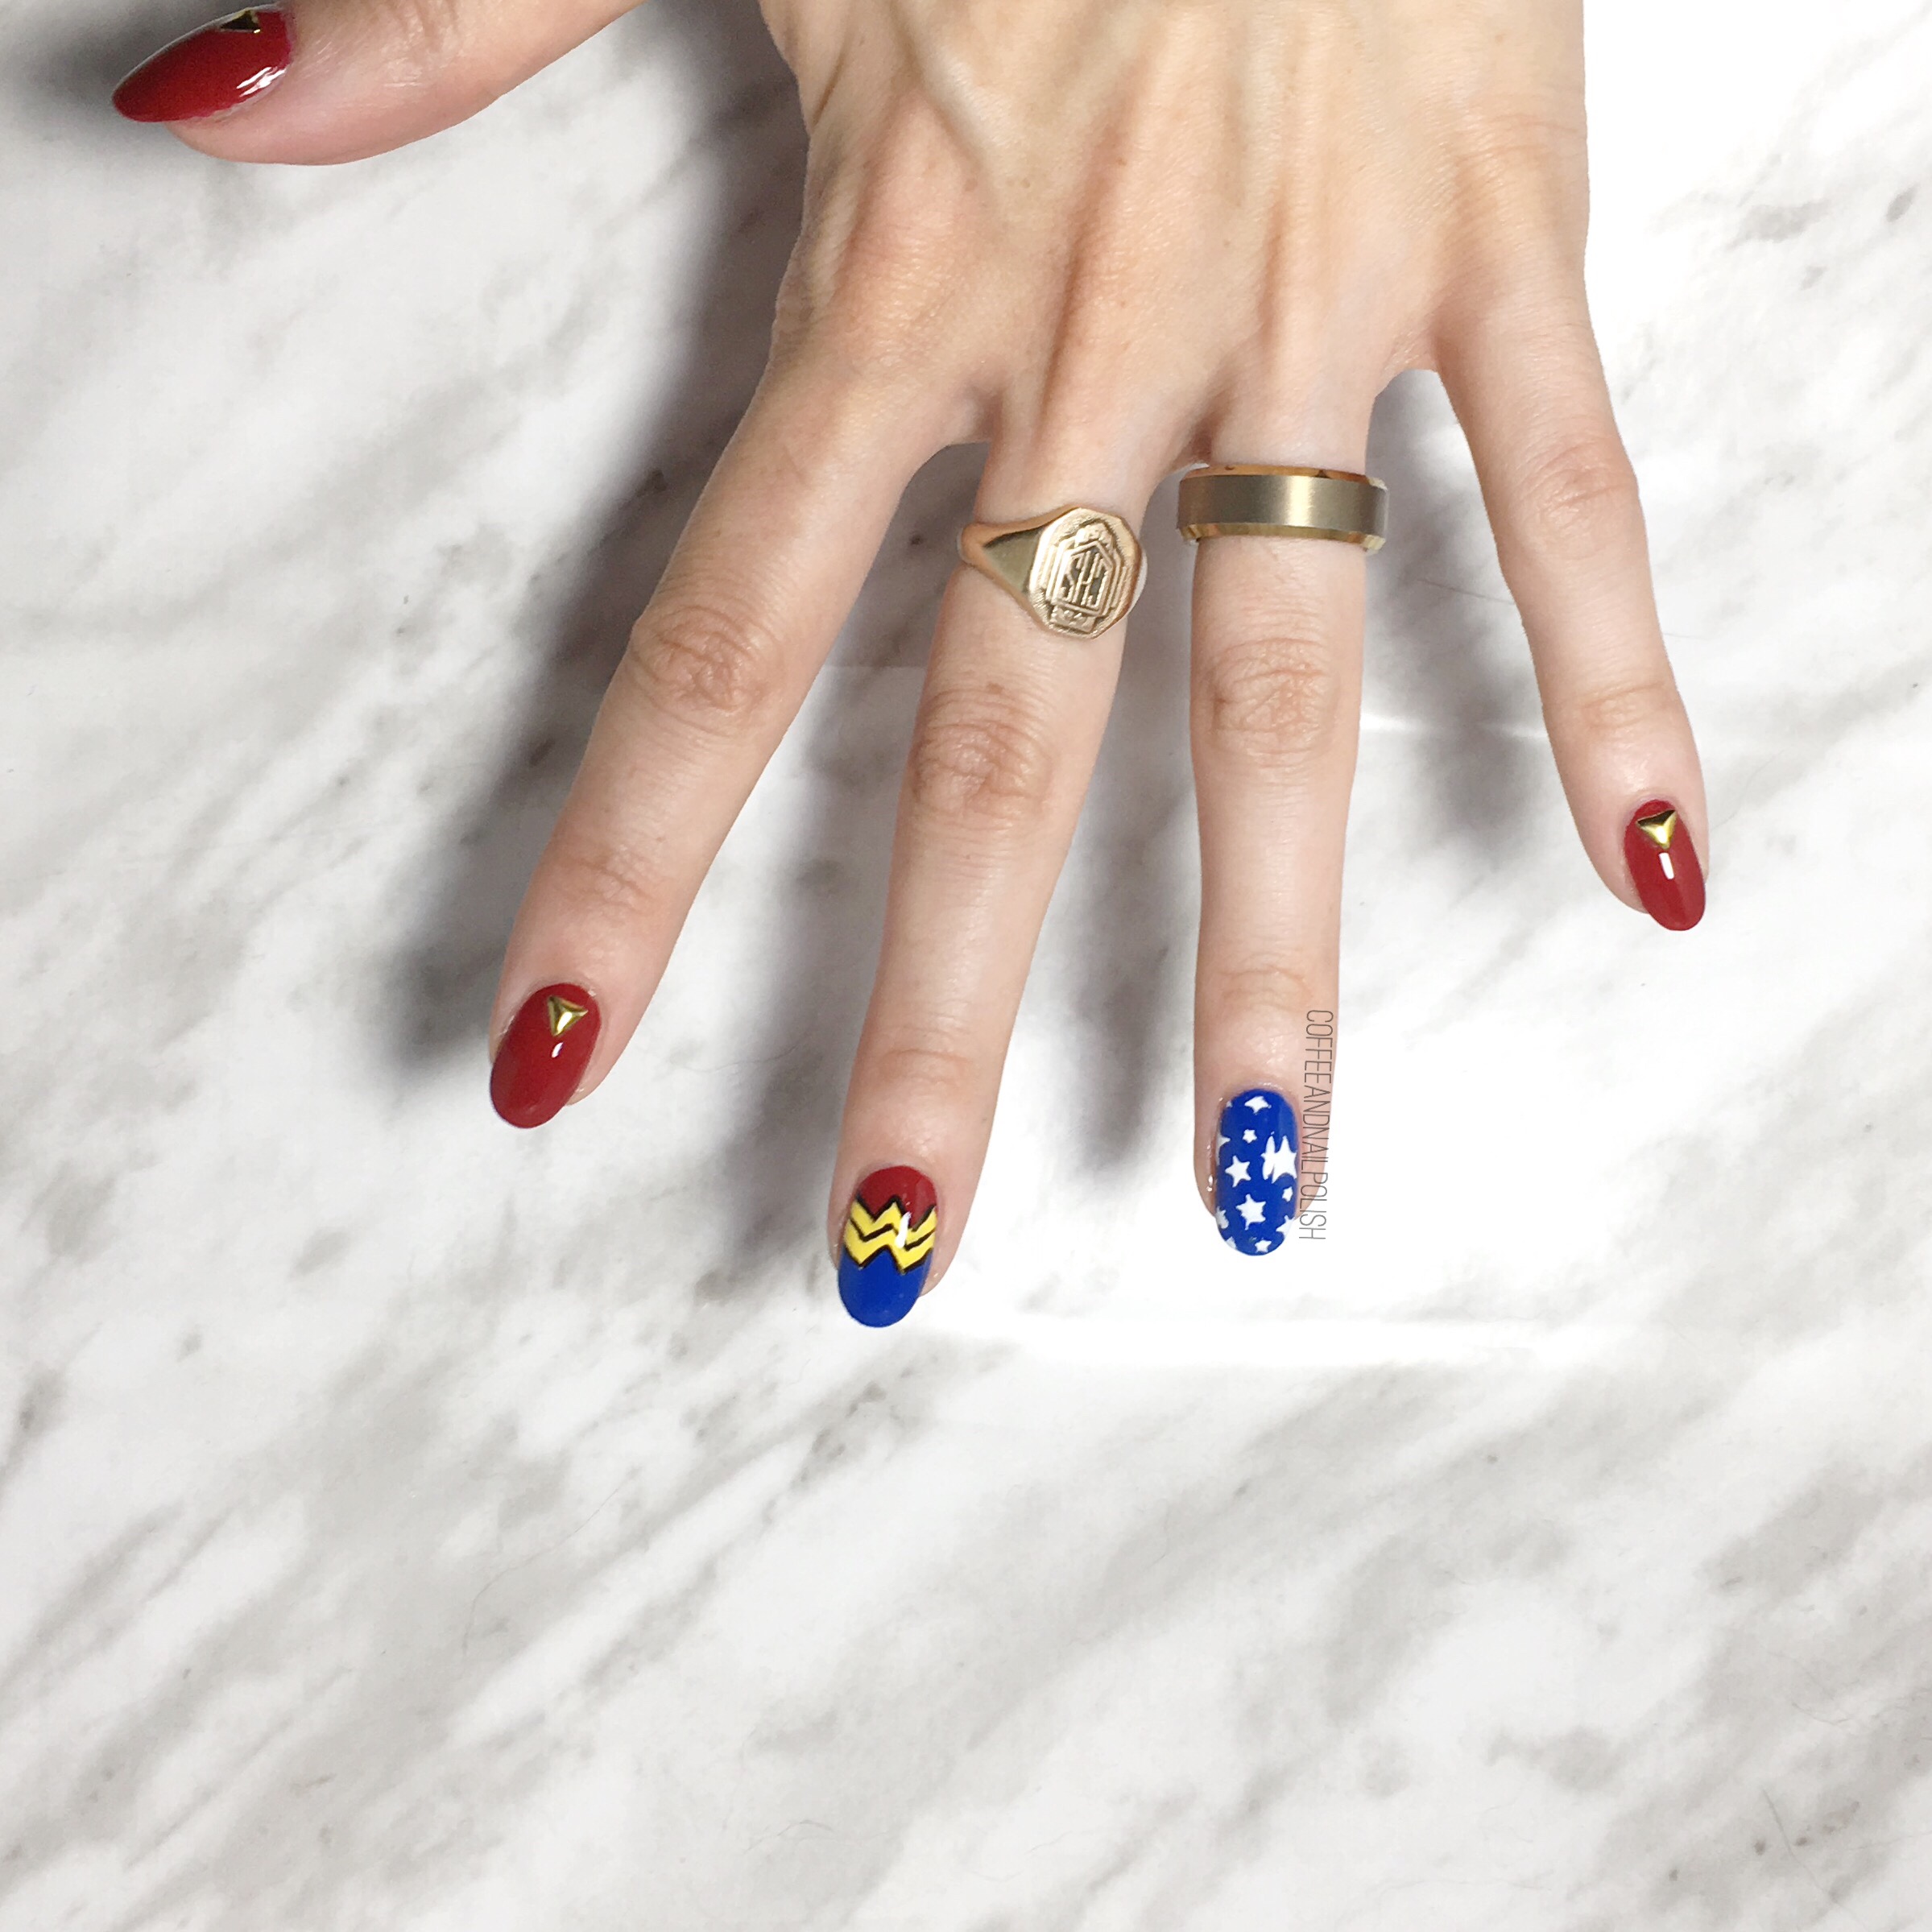
Originally I was going to try for full on Justice League Nails with all the hero symbols but… my freehand skills are just not that good. I started & realized it would probably take me 14 hours & multiple attempts so I decided to go the easier route & just go Wonder Woman. 

For this manicure, the polishes I used were:

  • Base Coat: OPI Natural Nail Base Coat
  • Top Coat: Seche Vive
  • Boho Green Make Up Pacific Ocean
  • L’Oréal Color Riche Carmin Parisien 
  • Color Club Almost Famous
  • Sally Hansen Hard As Nails Black Heart
  • Sally Hansen Hard As Nails Hard To Get
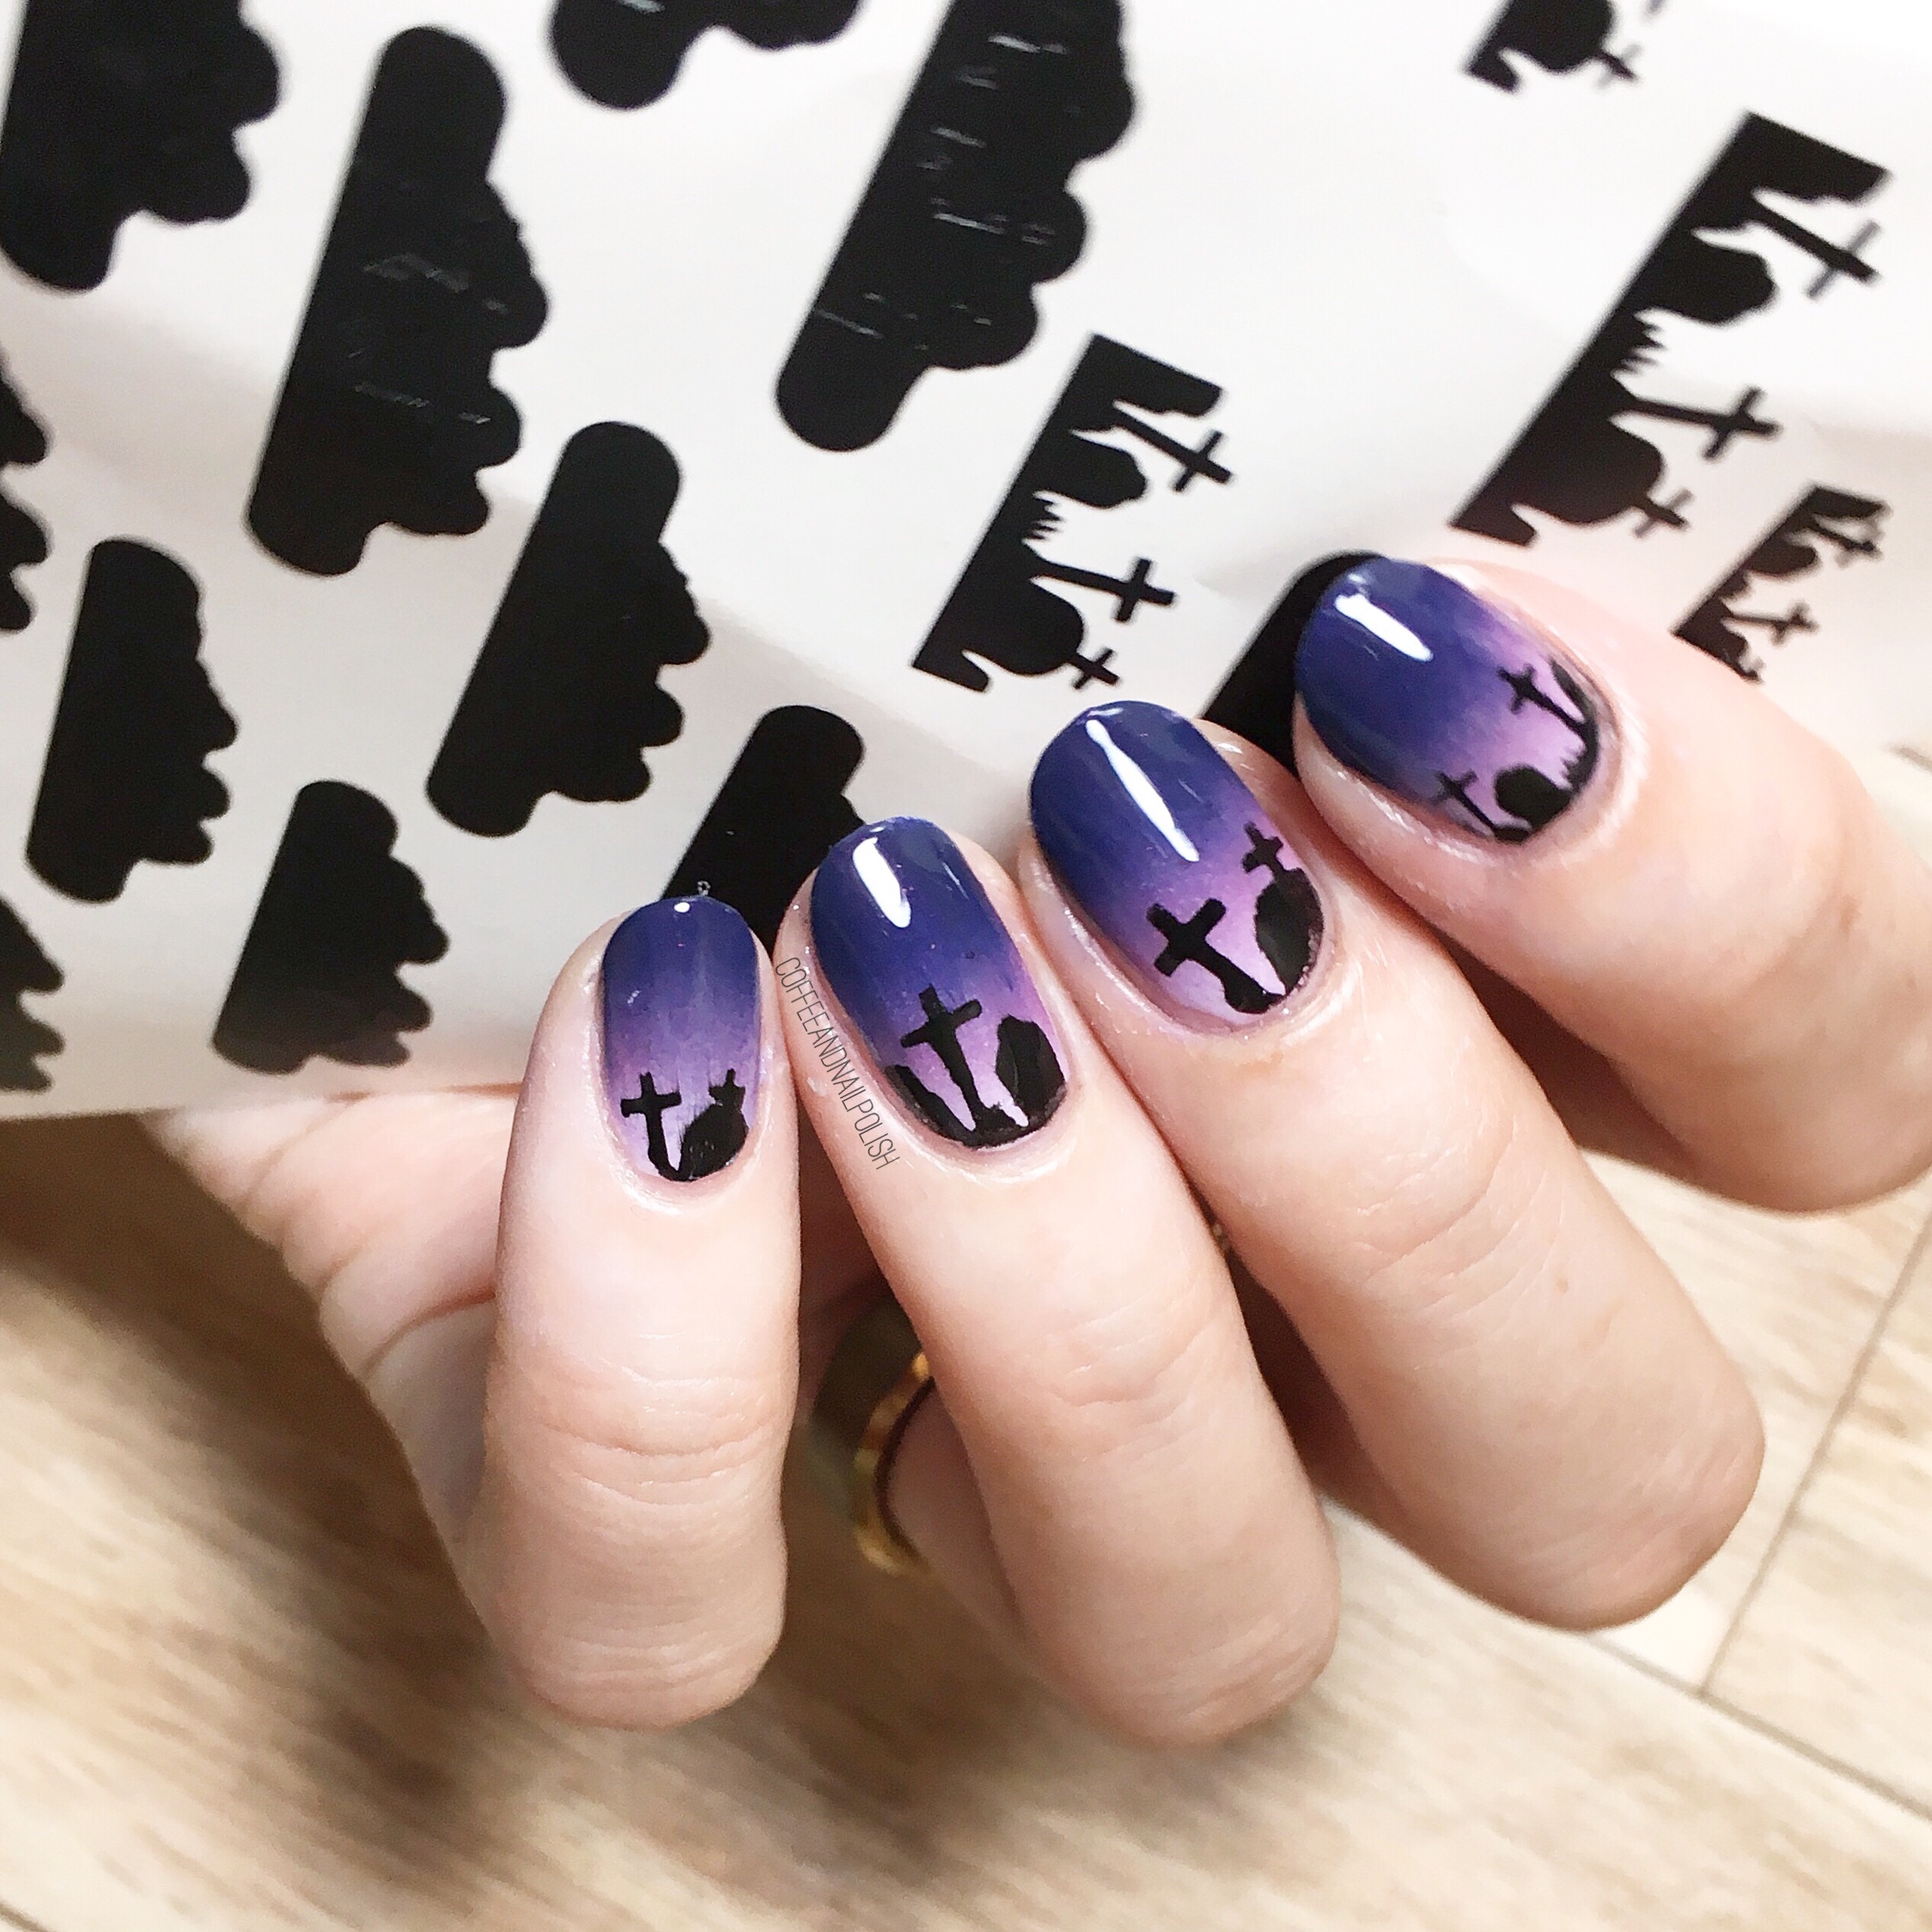
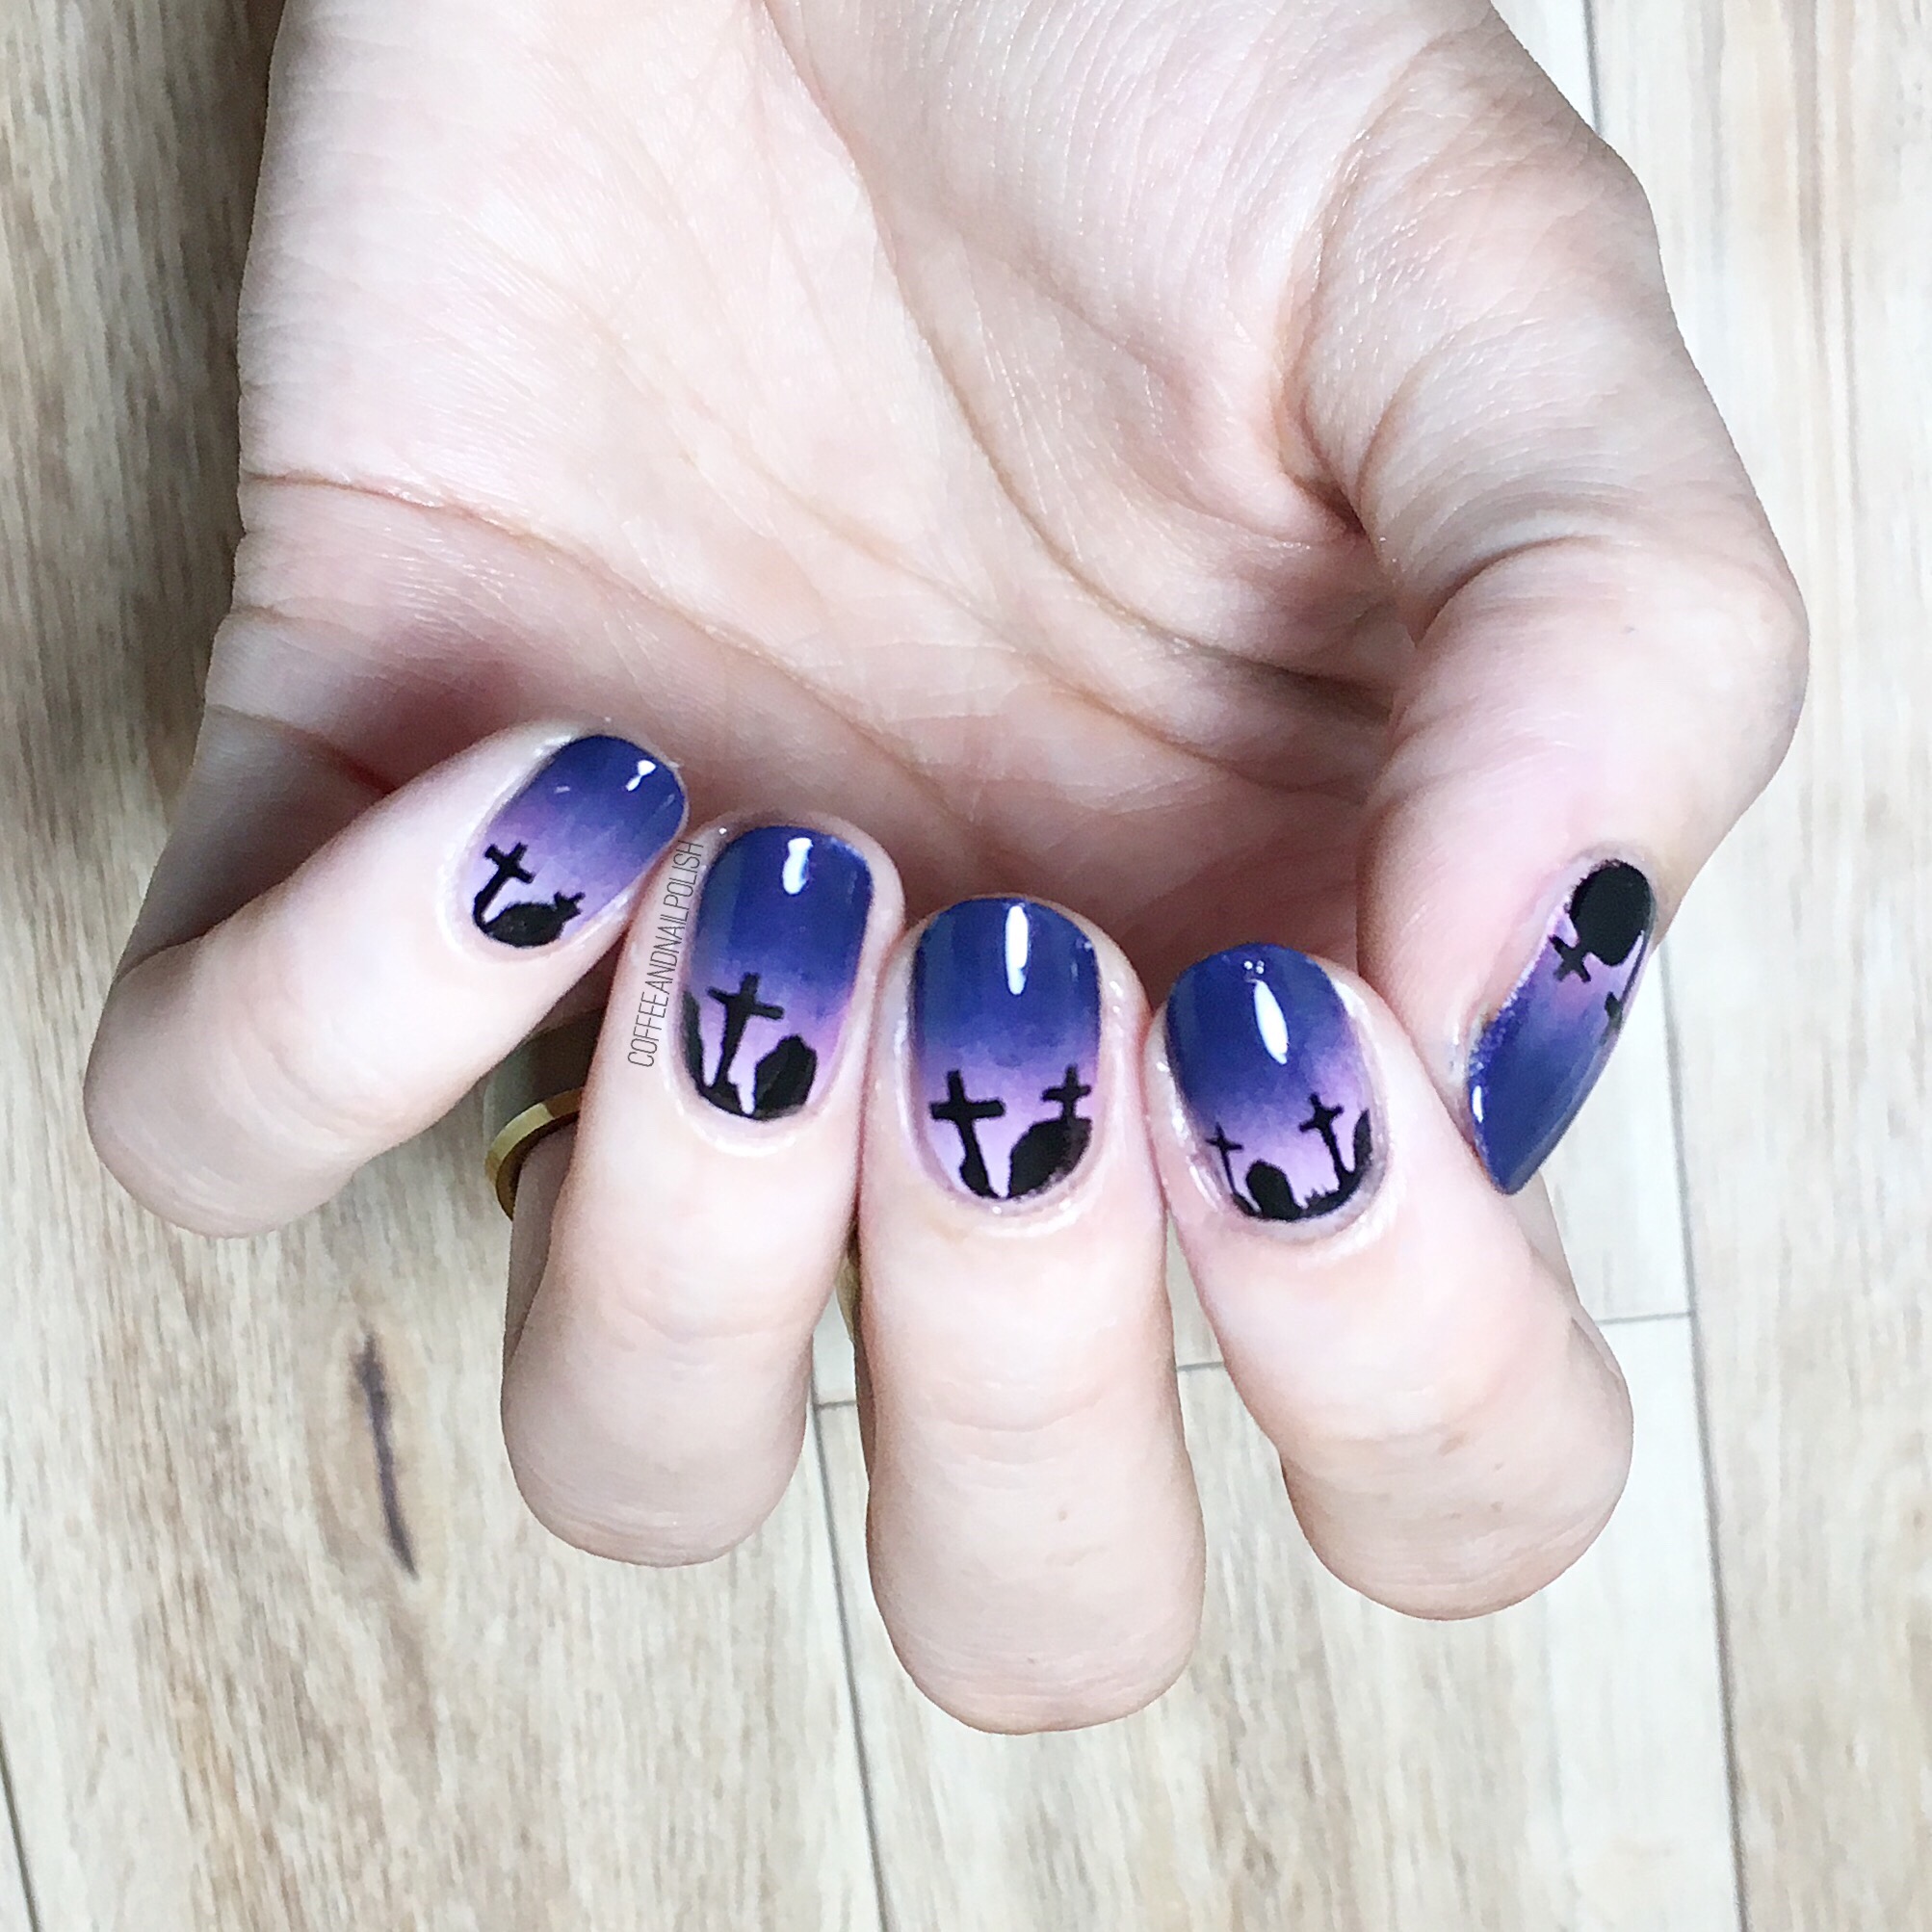
  • UR Sugar Star Nail Stencil item #AUB39877 — Click to buy
  • NailStuff.ca gold triangle studs — Gold Mixed Decoration Nail wheel 
  • Small detail brush from Bundle Monster 

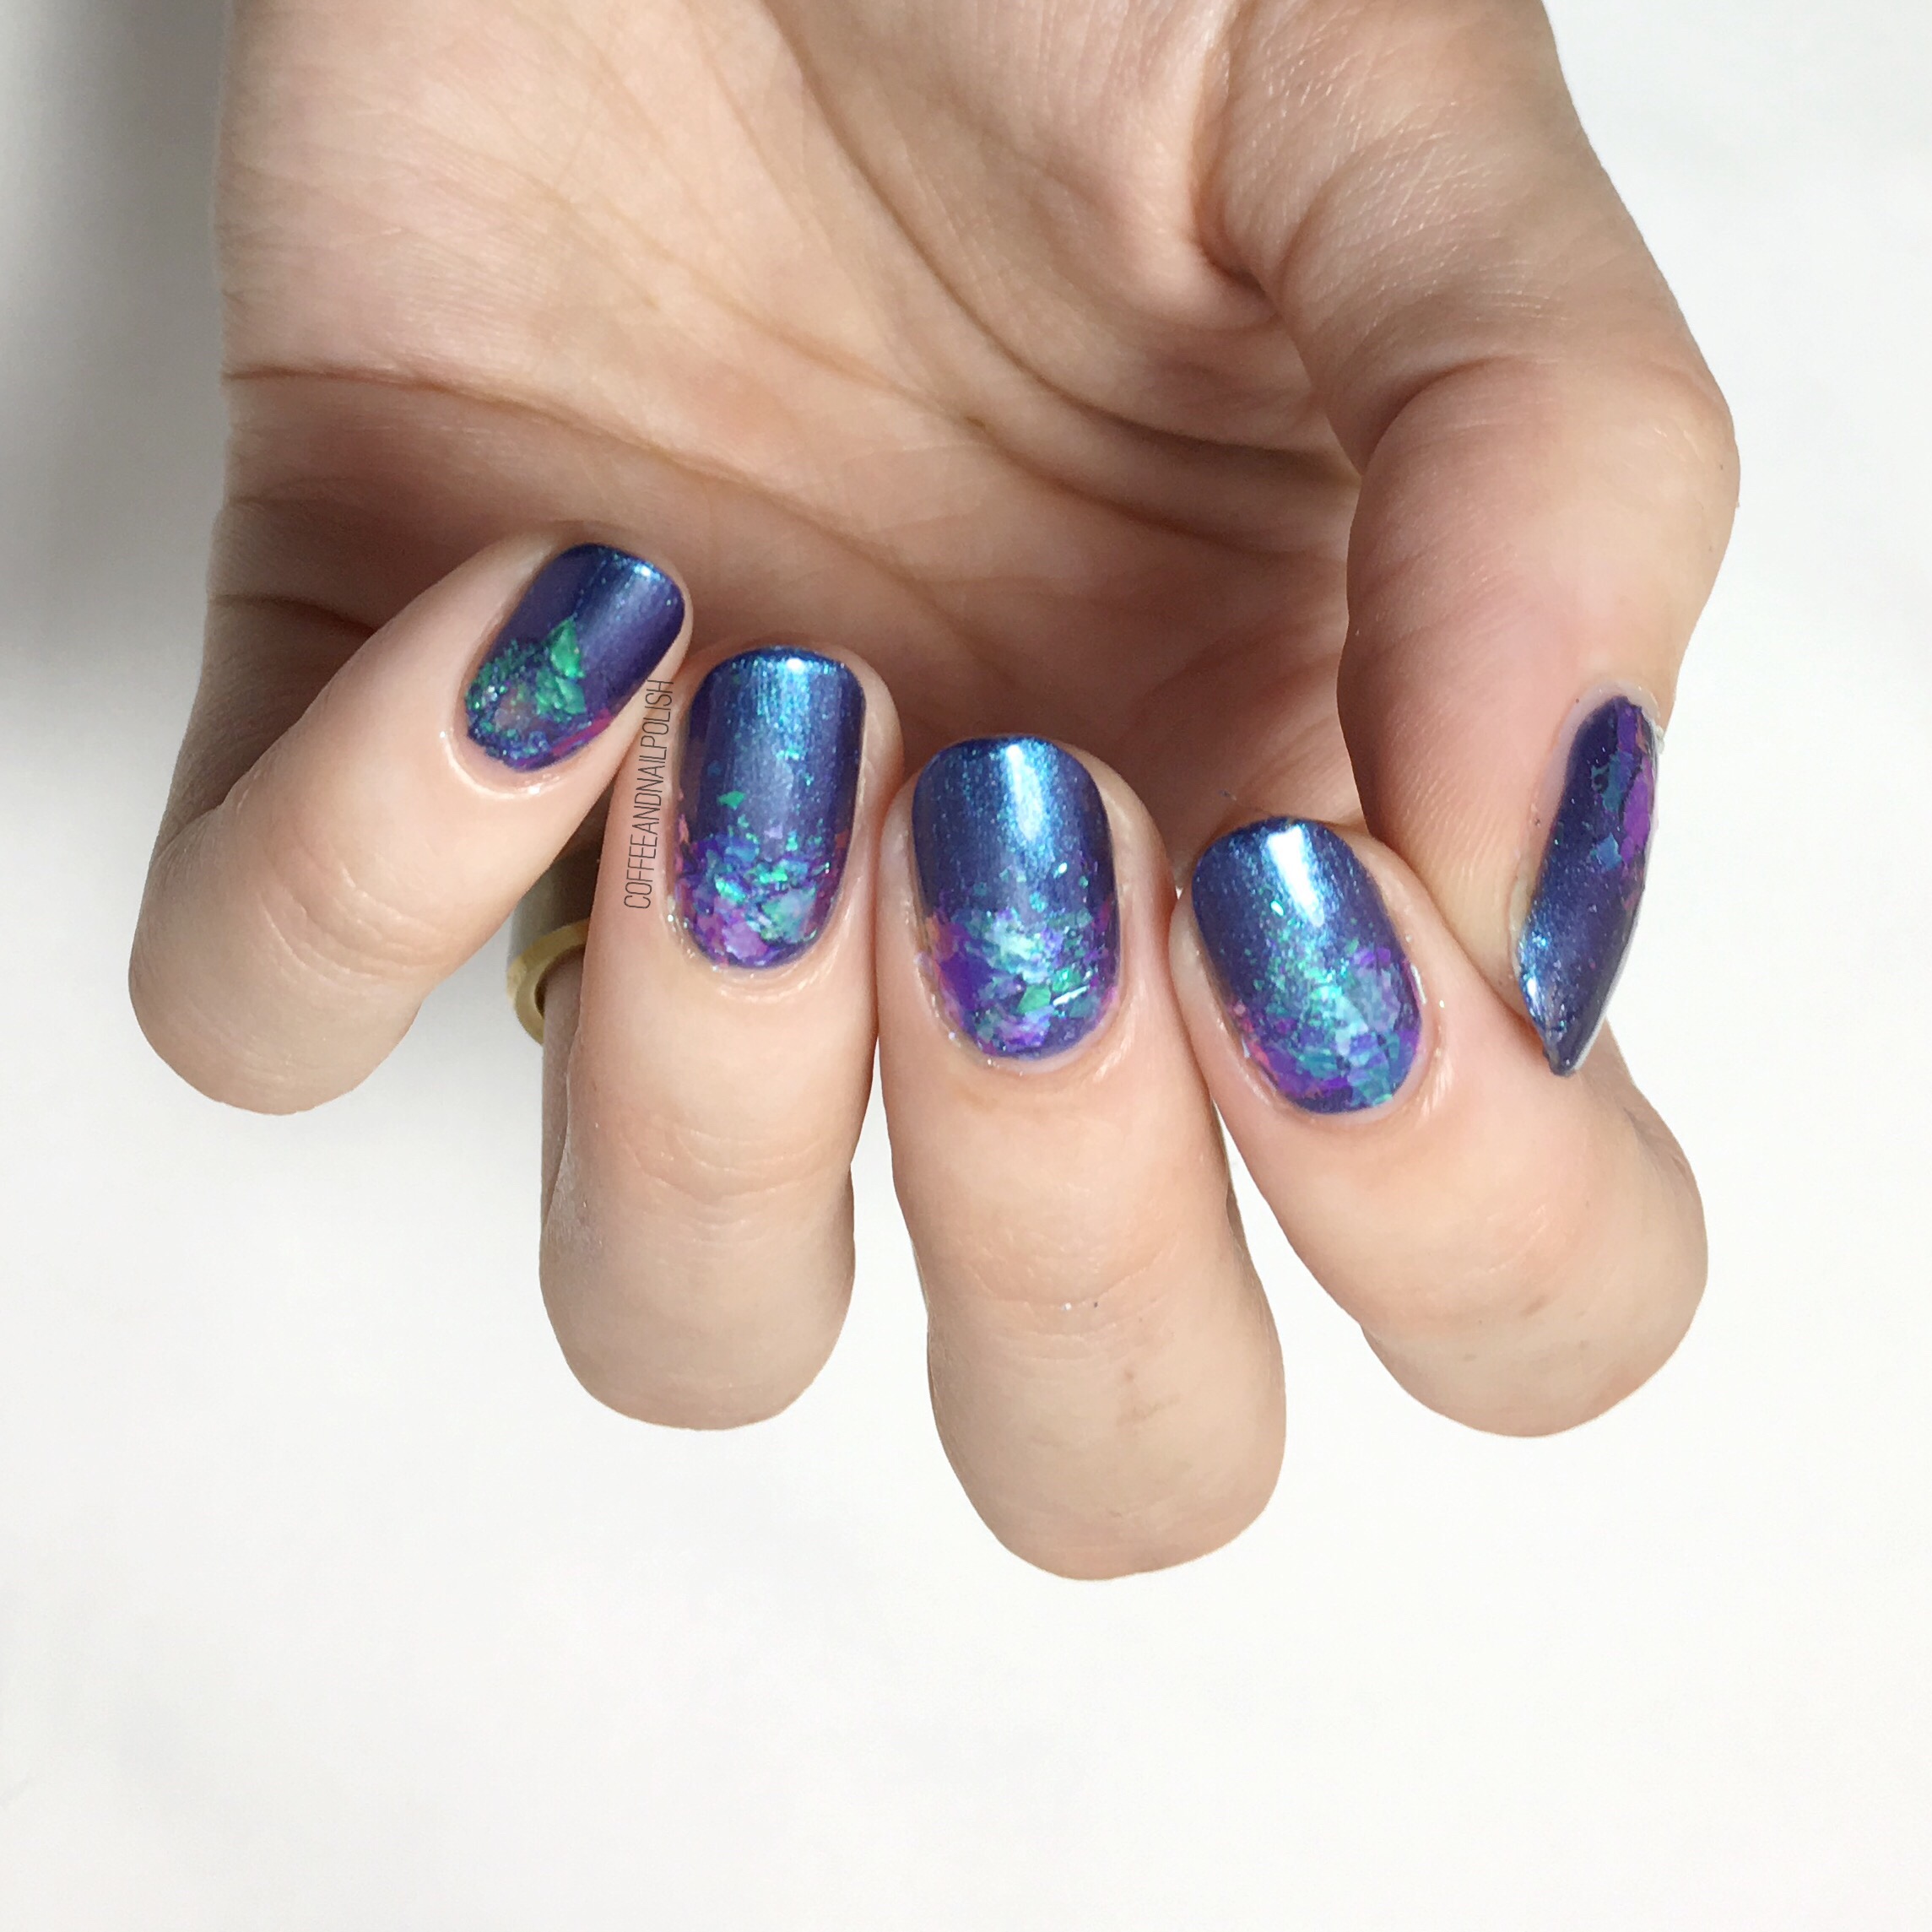
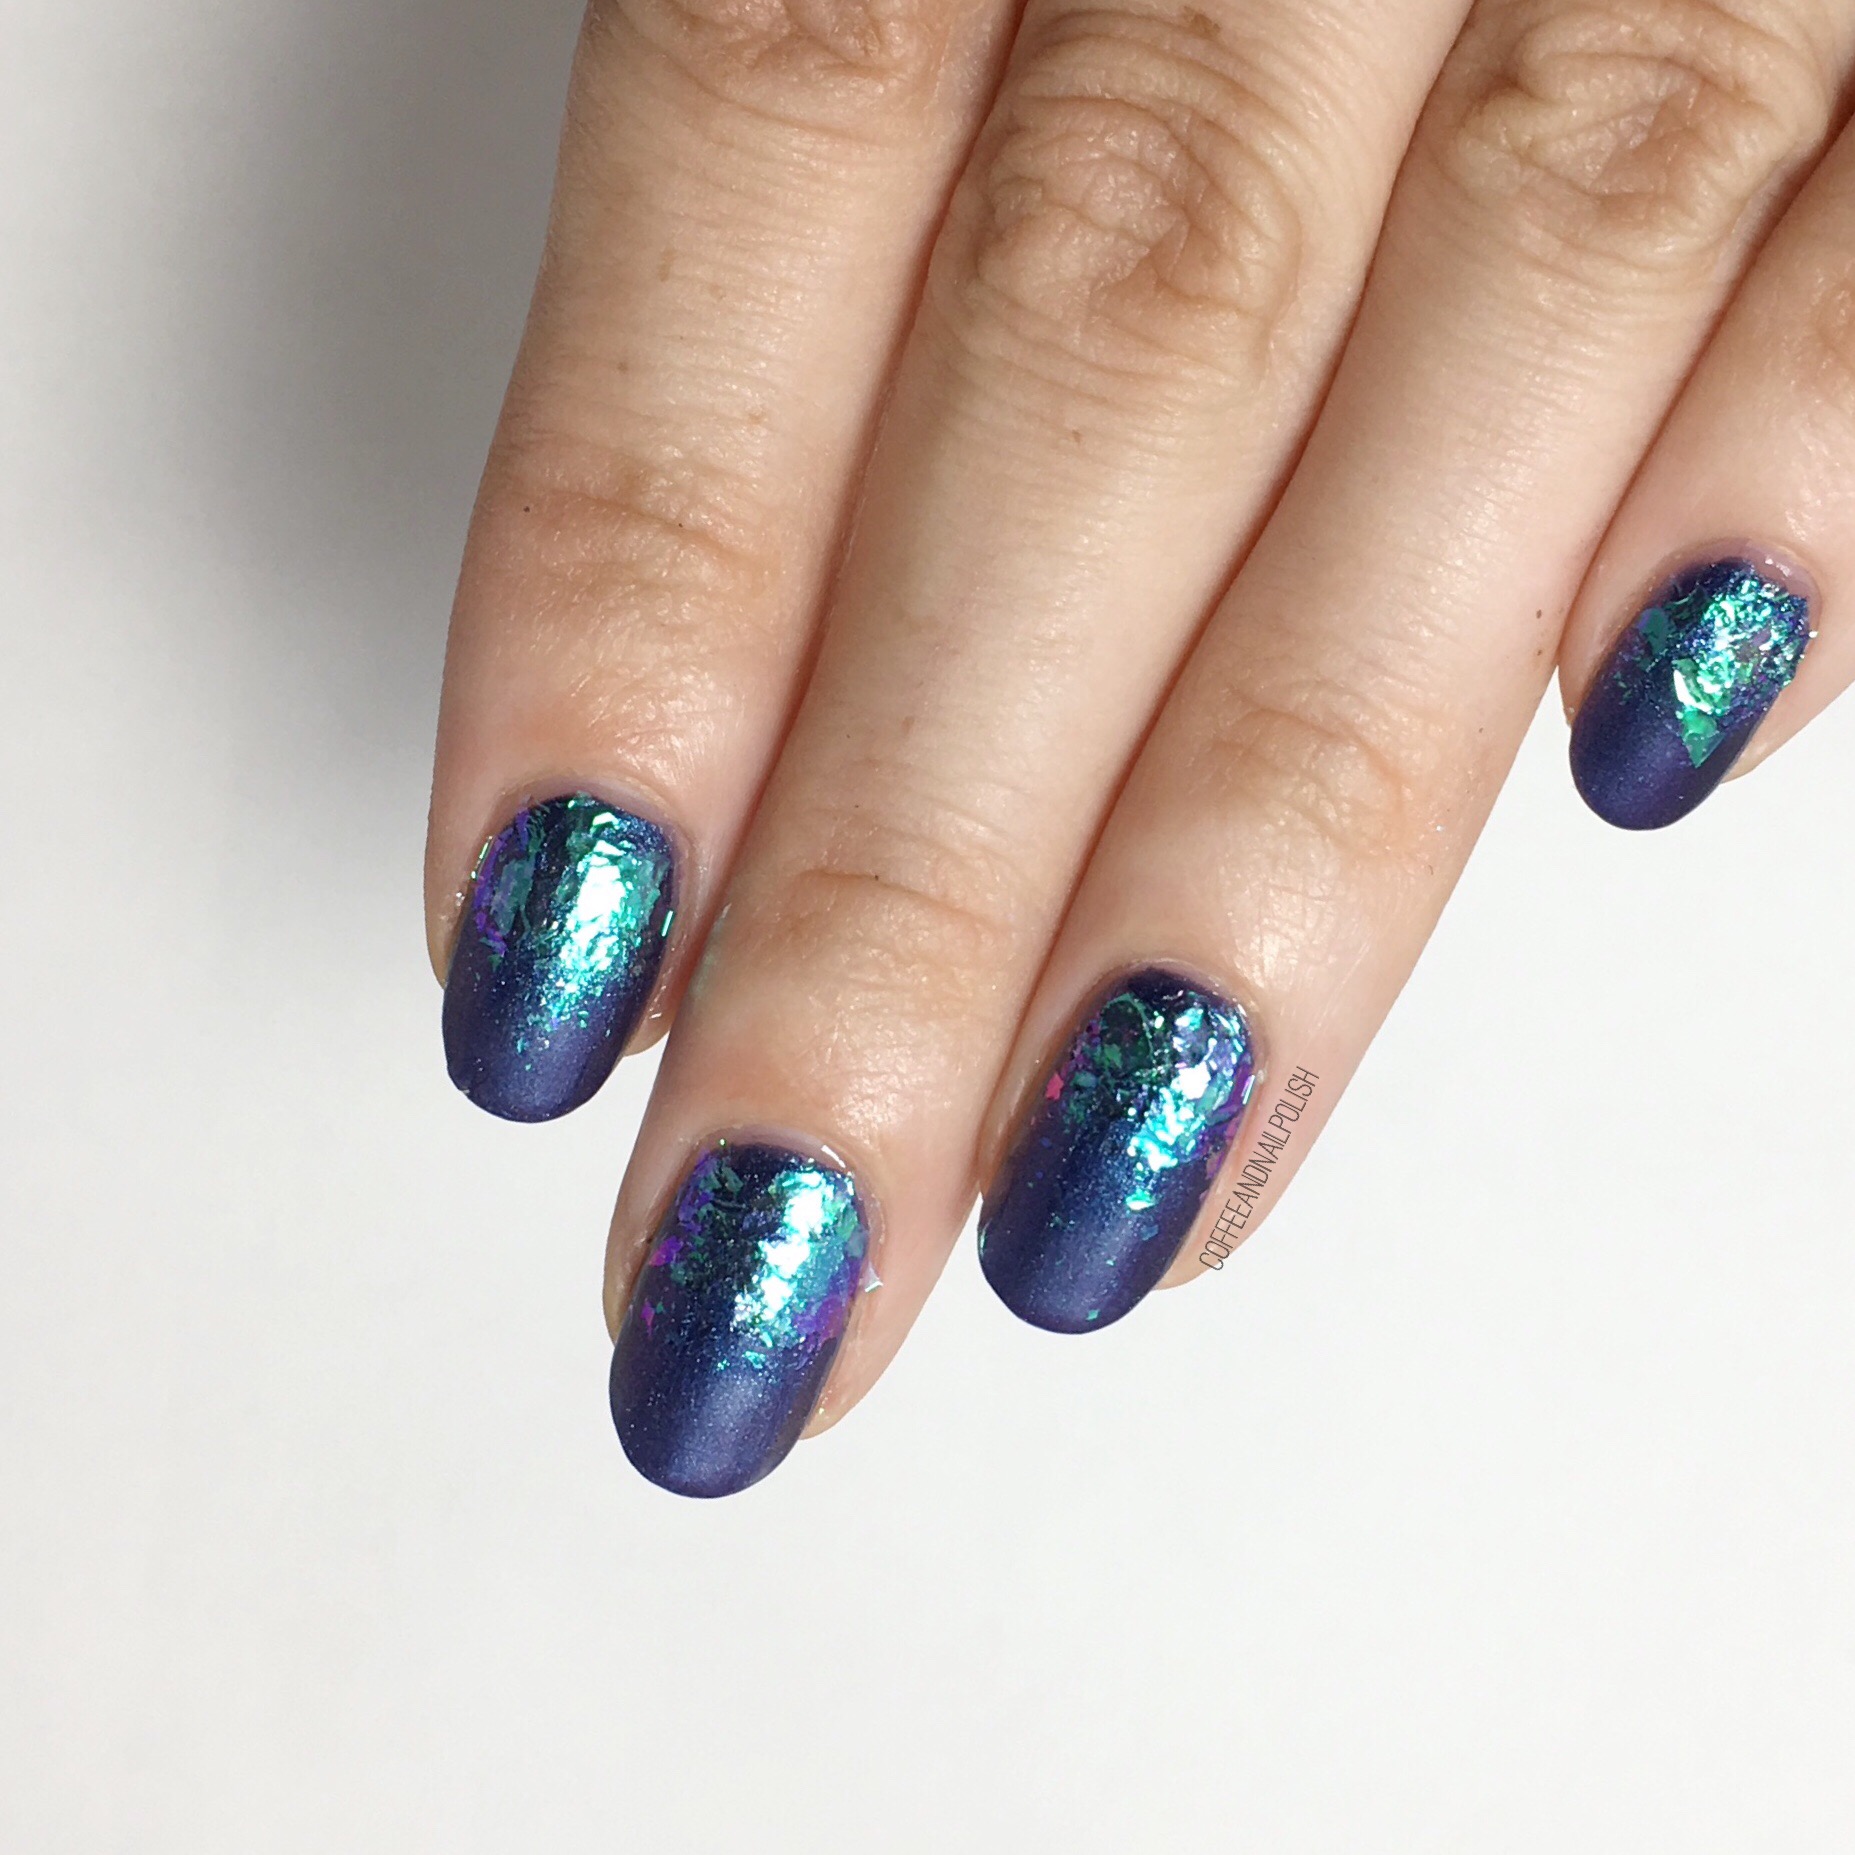
I love, love, love how these turned out. I had a bit different idea going into this mani but even though these are different than who I originally planned, I think they turned out WAY better than what I was thinking I was going to do… & say Wonder Woman much more! I was super scared to attempt that W symbol, but I think it turned out great. & these are going to compliment my costume perfectly. 


 🎃 whether you plans involve trick or treating, handing out candy or just hiding inside with a box of mini candies (or anything else!) I hope you have the best Halloween ever. For those who follow me on Instagram I’ll make sure to post a picture of my nails & my costume together later on! 

🖤

Mermaid Inspired Glitter Gradient using NailStuff.ca Flakies

Guess what! I have anothe review of one of the items sent to me from Nailstuff.ca. This time I’m sharing these beautiful irredentist flakies. 

Now I know I said I would share more Halloween looks & these aren’t spooky, but I thought this would be an awesome look for anyone going with a unicorn or mermaid look for Halloween! I know I can’t be the only one whose costume (or outfit in general) isn’t complete until her nails are done!

Okay, I’ll be honest—I’ve never used loose flakies before so I was going into this as a newbie. I knew I wanted to create a glitter gradient with them, so I glanced around at a few posts on Pinterest & Instagram until I felt confident enough I could achieve the look I wanted.

  1.  I started off by painting my nails with a base of Essence Out of Space Stories Intergalactic Adventure & let it dry. I chose this shade because I thought it would compliment the shift in these gorgeous flakies. 
  2. Apply liquid latex around cuticles. I used Edge Perfection to keep the flakies from spreading to my skin during application. 
  3. After about 10ish minutes, I took a little bit of clear polish & applied it at the base of my nails so they would be a bit “sticky”. Like I said I’ve never used these before so I wasn’t sure if this was a necessary step. 
  4. Next I opened up my little pot of flakies & using the little eyeshadow sponge provided, pressed the flakies down at the base of my nail. I also brushed lightly up the nail to create the gradient effect.
  5. Peel off your liquid latex & seal in your whole nail with top coat—I used Cutex Quick Dry Top Coat. I think using Matte top coat would also look beautiful! 
  6. Time to get distracted by your pretty shifty mermaid-esque nails. 

These flakies were a lot easier to apply than I thought they would be! You can see I got the hang of things are I went along with my pinky being my first nail & working towards my thumb. I think using a light touch really makes a huge difference on how they turn out. Also, I’m definitely going to try not applying the clear polish this time to see how well they go on. I feel like it made an extra step that wasn’t necessarily needed, so I’ll keep you updated!


Check out that shift! 😍 Had to include a shot of these nails in action because you really see how gorgeous they are in motion. & this mani totally matches my Starbucks multichrome “nail blogger” cup from a couple of years ago. Which is obviously the perfect excuse to fill up on iced lattes! 

If you’re curious about checking out these flakies for yourself, you can order these (& many more) straight from the NailStuff.ca website! Don’t forget that all Canadian orders over $29 have free shipping, & all US & International orders over $49 are free shipping. 

*PR SAMPLE* Some of these items were sent to me for review. However, all opinions are my own

Halloween Skull Nails 💀 

We are only FOUR days away from Halloween which means I only have a couple more days to get in a few more spooky designs. My next Halloween design is one that is quite popular on Instagram—Jack Skeleton’s face (or just a skull since I don’t want any Disney copyright person coming after me!) 

For this design, I wanted to do something quick & easy for those who may be looking for a last minute Halloween nail design that isn’t too complicated to do. 

  • Base Coat: OPI Natural Nail Base Coat
  • Top Coat: Cutex Quick Dry Top Coat
  • Revlon Elusive
  • Ardene Ice Mist
  • Sally Hansen Hard To Get 
  • Kiss Products Nail Art Striper in Black 
  • Bundle Monster small nail art brush
  • Bundle Monster dotting tool 

This design was super simple to do! I decided to freehand my stripes because I wanted my stripes to look somewhat imperfect. I also like that they’re over such a sheer base colour. These really are super simple to do & I feel like you can accomplish them at any nail art level. My eyes/nose were the hardest to get right but even though they’re not perfectly symmetrical, they still turned out fun & Halloween-y. 🎃 For the eyes, I just created blobs using my larger size dotting tool & the mouth length using my striper. I then went in with my smaller brush & created the teeth & nose. 

What are you wearing on your nails for Halloween? Do you have any Halloween designs you’d like to see me take a stab at before Tuesday? Leave your suggestions here or on Instagram & I’ll try my best! 🖤

Throwback Thursday Halloween Nails

October is quickly speeding by, so I need to amp up my Halloween designs! 🎃

 This time I decided to recreate a design I did all the way back in 2014 (originally done with @mynailpolish_addiction as part of a bestie twin nail collab.) Even though I had spiders, I always thought this design was adorable so I wanted to recreate it. 

For this manicure, the polishes used were:

  • Base Coat: OPI Natural Nail Base Coat
  • Top Coat: Cutex Quick Dry Top Coat
  • L’Oréal Orange You Jealous?
  • Color Club Wham! Pow!
  • OPI I Cannoli Wear OPI 
  • Sally Hansen Hard To Get Black Heart
  • Essie No Place like Chrome
  • Revlon Holographic Pearls
  • Sally Hansen Xtreme Wear Pacific Blue
  • The Base Coat Spiderweb nail stencil 
  • Small detail brush from Bundle Monster
  • Latex Free Make Up Sponge 

I thought these nails were super cute when I did them originally, & I still think they’re super cute. & I definitely feel like they turned out a little less wonky this time around. Sometimes when I feel like my nails suck & I have no talent & I’m feeling especially hard on myself it’s nice to do these recreations to see how far I’ve come. I may not be the most insanely talented nail artist, but I’m hugely proud of how far I’ve come. 

What do you think of this Halloween design? Let me know your thoughts in the comments below! 

Graveyard Nail Stencils with NailPolishCanada (& how to score your own set of vinyls for free!)

We’re over halfway to Halloween, which it’s time to get serious about Halloween nail designs! & what is more Halloween than spooky graveyard nails! Thanks to What’s Up Nails & Nail Polish Canada, I had a quick & easy time creating the spookiest of nails! 🎃 

The polishes used for this manicure were:

  • Base Coat: OPI Natural Nail Base Coat
  • Top Coat: Cutex Quick Dry Top Coat
  • Essie Go Ginza
  • OPI Auroa Berry-alis 
  • China Glaze Sleeping Under the Stars
  • Essence Back to Black 
  • What’s Up Nails Graveyard Stencils c/o: Nail Polish Canada 

These graveyard vinyls are great because they have multiple ways you can use them—my favourite is to use them as a stencil & paint in the design. I found it worked best by sponging on the black using a tiny piece of make up sponge. You could also apply the stencil to your nail & paint over top or you could use the vinyl itself & seal it all in with top coat. Each sheet of Graveyard vinyls comes with 20 vinyls (inner & outer) in small & large size which means you have a ton of graveyard nails to do in the lead up to Halloween. 

I’ve been lucky enough to team up with Nail Polish Canada to share a code for TEN of my readers to score their very own graveyard vinyls just in time for Halloween! You can click here & enter the code E75337KJX9A1B in order to claim your own set of vinyls. 

What do you think of these graveyard nails? What Halloween design are you most excited to wear this year? Let me know in the comments below. 🖤