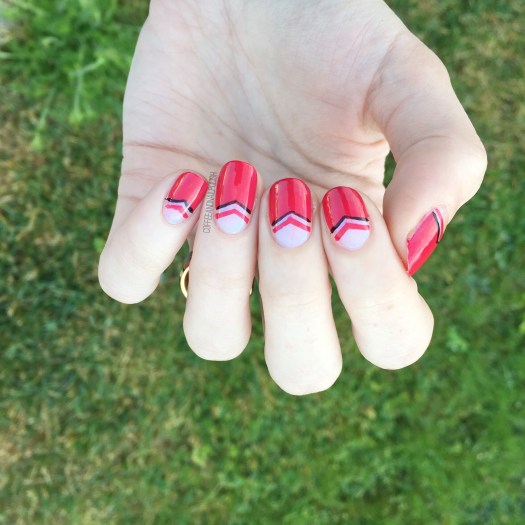
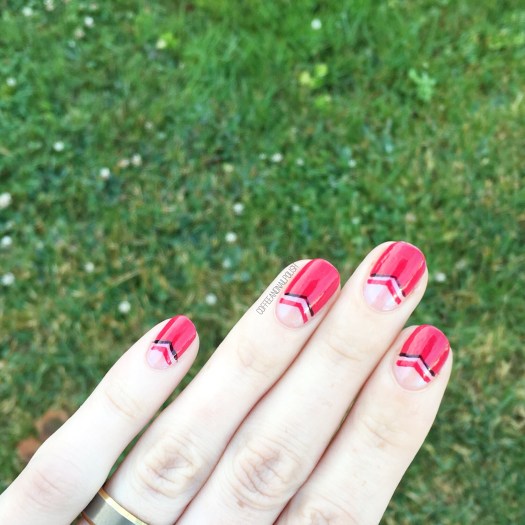
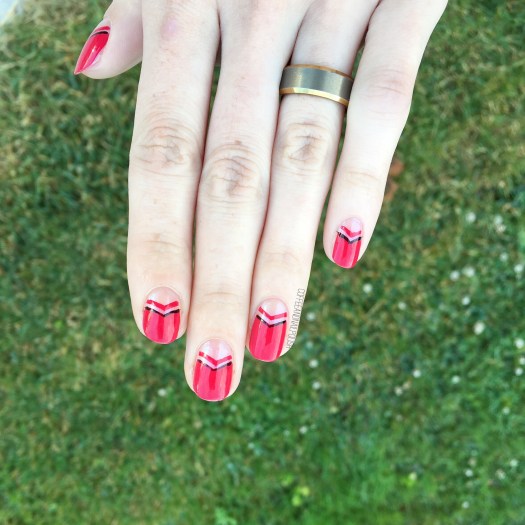
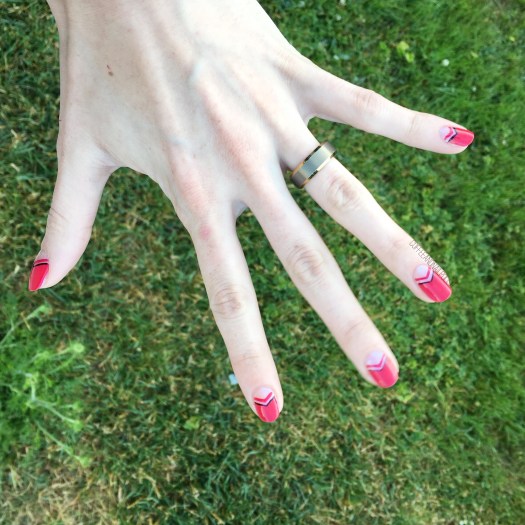
Negative Space Red Chevron Moons

Good Morning & Happy Wednesday! We’re already half way through our week–how crazy is that. We’re also one week away from August… even crazier. This Summer is certainly rocketing by! I’m already feeling that familiar draw towards dark polish, pumpkin spice & cosy knits that starts happening around this time of year.

But not yet… we still have a bit of Summer left so bring on the bright polishes!

Today’s design was brought on by wanting to wear red nails, but more than just a solid colour. It wasn’t intentional, but these totally ended up reminding me of Bring It On! Does anyone else remember that movie. I was so obsessed with it when it first came out… & now I totally need to rewatch it again.

For this manicure, the polishes I used were:

  • Base Coat: OPI Nail Envy
  • Top Coat: Essie Speed Setter
  • L’Oréal Magic Top Coats —The Shift Me
  • Essie 5th Avenue
  • Kiss Products Nail Art Striper in Black
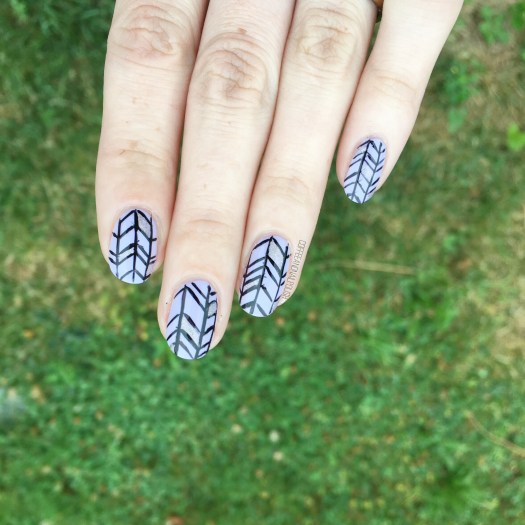
  • Snail Vinyls small single chevrons (so sad the shop is closing!)

I love red nail polish, but I find it the hardest colour to do nail art over simply because it seems to be a colour I turn to during holidays (Christmas, Canada Day, ect) but it is by far one of my all time favourite polish colours. I seriously love how these turned out, even if they totally remind me of cheerleader uniforms. Also I’m pretty sure this red is my new favourite red polish — I’ve been wearing it a lot lately, especially as a pedicure.

What do you think of this design? Let me know in the comments below! & let me know what your favourite 2000s teen movie is!

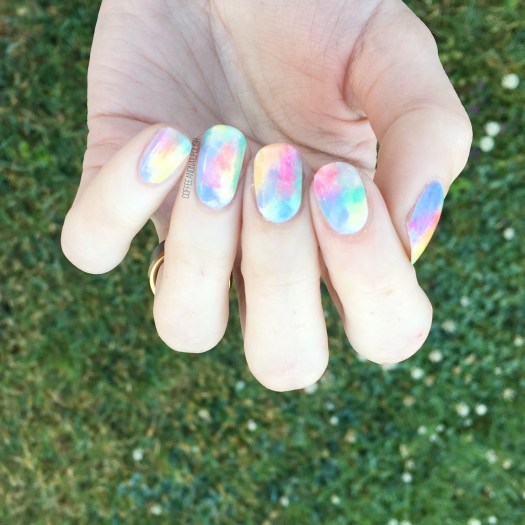
Rainbow 🌈 Nails

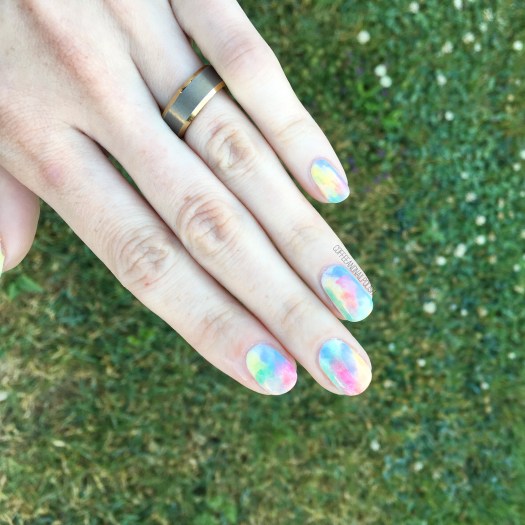
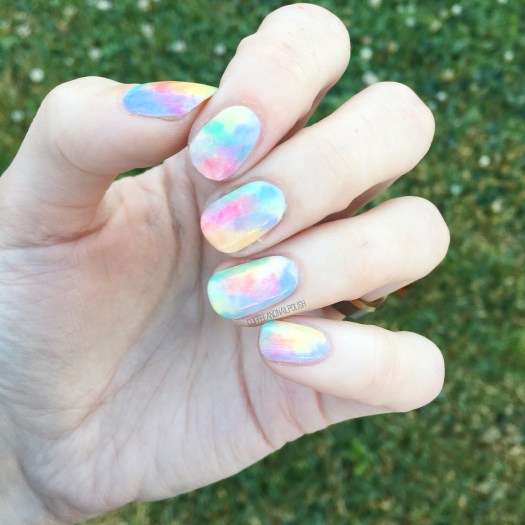
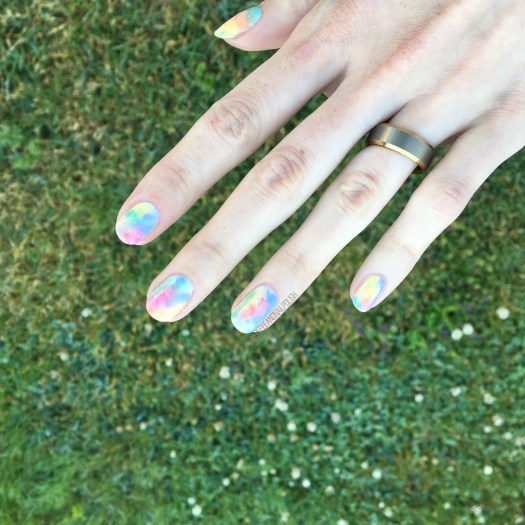
Good Morning Lovelies & Happy Monday. Today I have a special manicure to share with you in honour of it being Pride Week in Halifax right now — some rainbow nails. This past weekend, I went out to celebrate & attended my very first Drag Show ever! So in honour of that, I wanted to create a design bright & colourful, & with a touch of glitter.

For this design, the polishes used were:

  • Base Coat: OPI Nail Envy
  • Top Coat: Essie Speed Setter
  • Sally Hansen CSM Let’s Snow
  • Sally Hansen MG Just Maui’d
  • Sally Hansen MG Bourbon Belle
  • Sally Hansen Xtreme Wear Mellow Yellow
  • Essie First Timer
  • Quo by ORLY Pep in Your Step
  • China Glaze Fairy Dust
  • Latex Free Make Up Sponge
  • Wet n Wild Clear Polish
  • This design was super simple to create. I started off with a plain white base (my current favourite White polish!) & then sponged each colour over top of the white. Next I took a clear nail polish that would streak the colours together & repeatedly brushed over the nail so they blended. This is a trick I like to use with gradients, sponged looks & dry brushes because it blends them together really well (especially good with gradients!) & then I finish with actual top coat after. I also felt like this design needed a little bit of glitter, so I added some fairy dust as well.

    I really love this combination of colours & the rainbow-ness of it. It was the perfect design for the awesome night I had out dancing! I’m very proud to live in a city which can celebrate Pride with such festivity & inclusivity. There really is an event for everyone!

    What do you think of my rainbow nails? 🌈 Have you ever attended a drag show before? Share you comments down below & let me know what you think!

    Easy Purple & Turquoise Half Moons 🌙

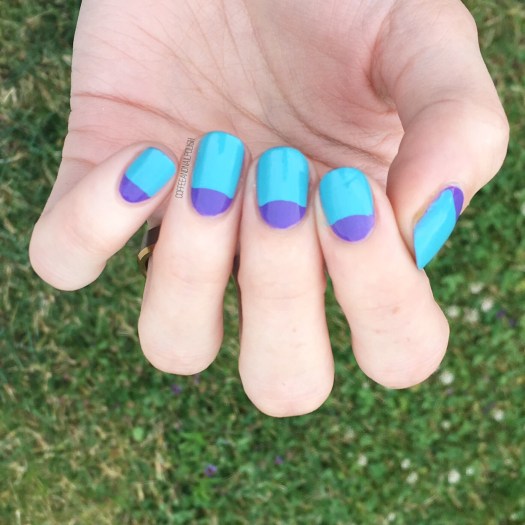
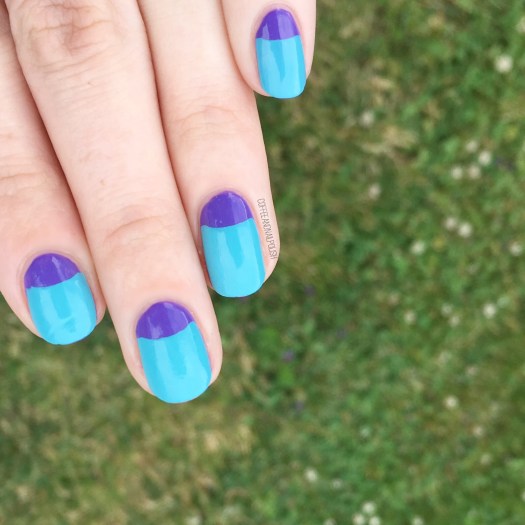
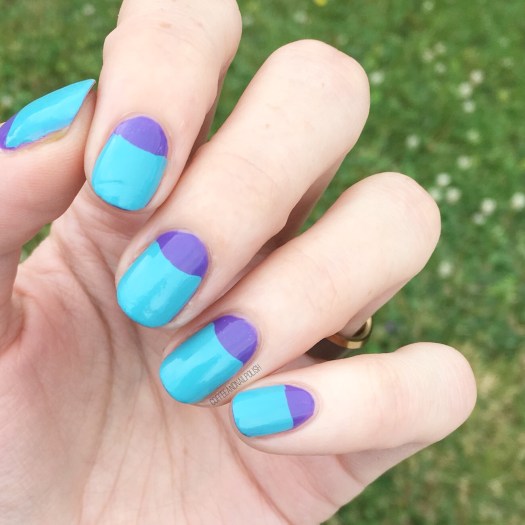
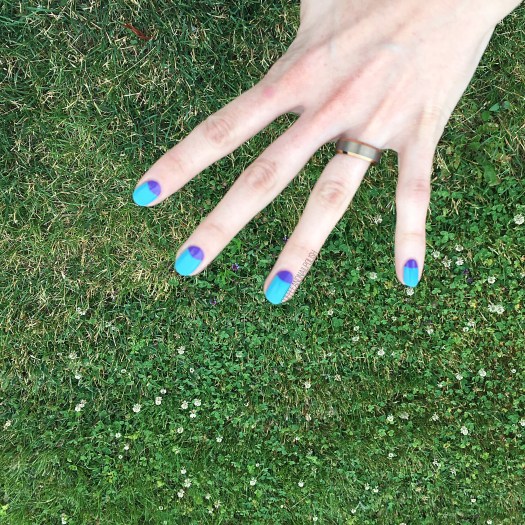
    Happy Wednesday lovelies! Today I have another set of half moons to share with you, this time featuring a blurple & turquoise colour combination I’m kind of obsessed with! It’s been a while since I went with half moons, & colour combination was inspired by a t-shirt dress from Forever 21 that I own & love.

    Colour blocking makes me happy. It’s a great way to test colour combinations out.

    For this manicure, the polishes I used were:

    • Base Coat: OPI Nail Envy
    • Top Coat: Essie Speed Setter
    • Quo by ORLY Venice
    • Essie In the Cab-ana
    • Paper Reinforcements (from the Dollar store)

    Was half moons with paper reinforcements anyone else’s first nail art technique they learned? I remembering doing them back in the day & feeling like I was a nail art expert. For those of you who are still getting into nail art looking for easy designs… half moons are a great option with endless colour combinations. You can go subtle for more work appropriate designs or go crazy neon! I also love adding polka dots on top of my design for a little extra design.

    what do you think of these half moons? What colour combination would you pick? Let me know in the comments below!

    Mani Swap with @mugglenails

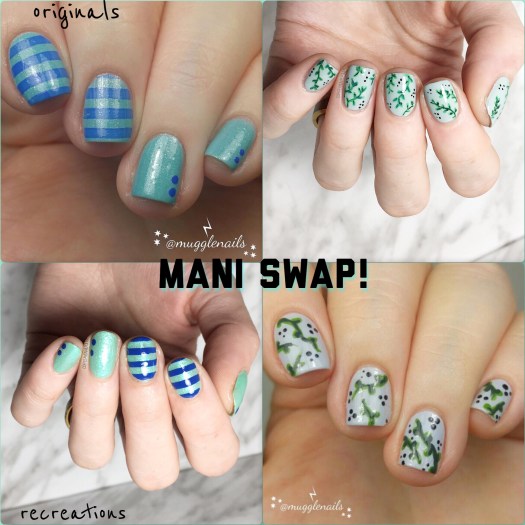
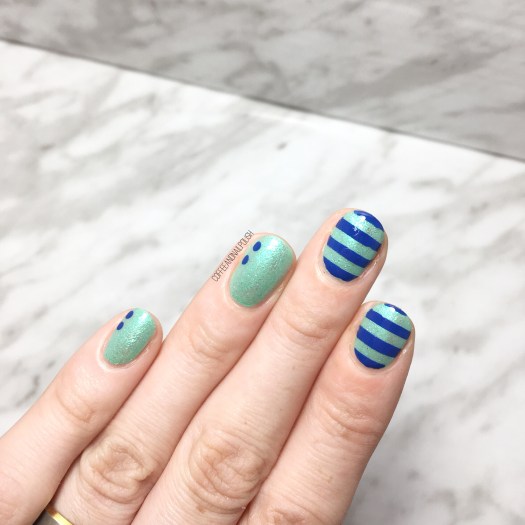
    It feels like forever since I had to opportunity to join one of my fellow nail art addicts in a mani swap. So I was super excited to be able to team up with a fellow Canadian nail polish addict @mugglenails in a fun design swap. Meghan always comes up with such creative nail art patterns & colour combinations. So it was really fun to scroll through her feed to pick a design to recreate!

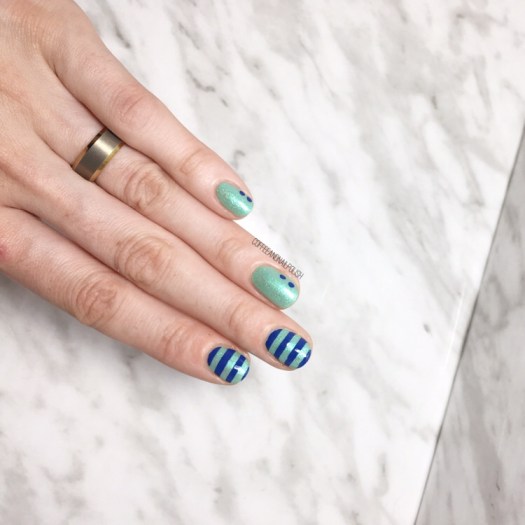
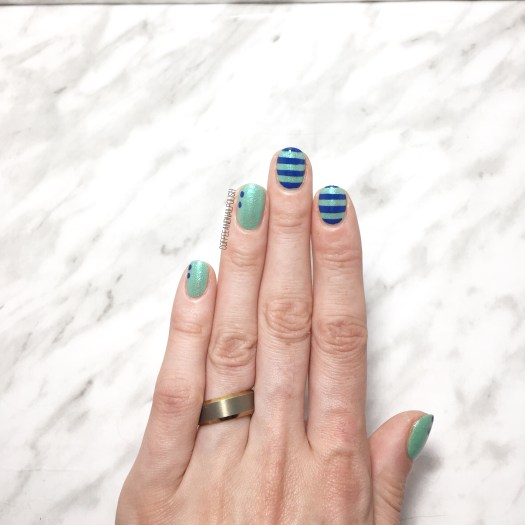
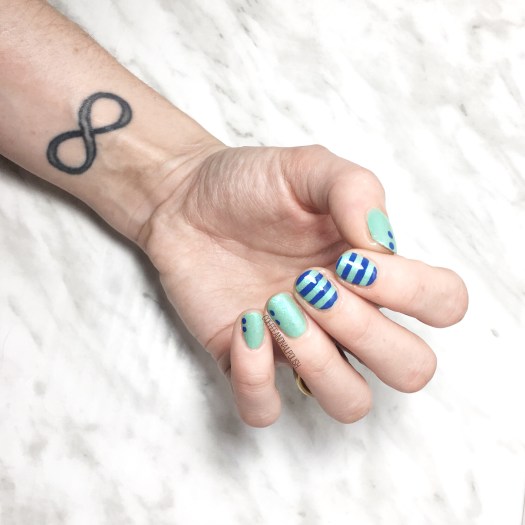
    I had narrowed it down to two designs of hers, but in the end I kept coming back to this blue & aqua design. There is something about the colour combination which felt so nautical, I just couldn’t get it out of my head. Very, very Summery! For her design, Meghan recreated my green vine design from a few months back.

    For this design, the polish I used were:

    • Base Coat: OPI Nail Envy
    • Top Coat: Essie Gel Setter
    • Essie First Timer
    • Icing Stores Mermaid Mint
    • Essie All the Wave
    • Born Pretty Store Aurora Rainbow Nail Striping Tape (item #40423)
    • Medium sized dotting tool

    There is something about this colour combination that just makes me swoon. Maybe because it feels so Summer-y & reminds me of the ocean. I mean, I’m an East Coat Girl… the ocean is in my veins. I will always adore a nail design with a nautical theme. All this design needs is a quick accent anchor for it to go full nautical. But I kind of like the fact that it’s kind of subtle–it makes this design a much more everyday look. This colour combo isn’t my everyday choice, & yet I’m completely obsessed with it!

    What do you think of this mani swap? Do you think my recreation was successful? Share your thoughts down in the comments below!
    Vintage Roses (take #17283)

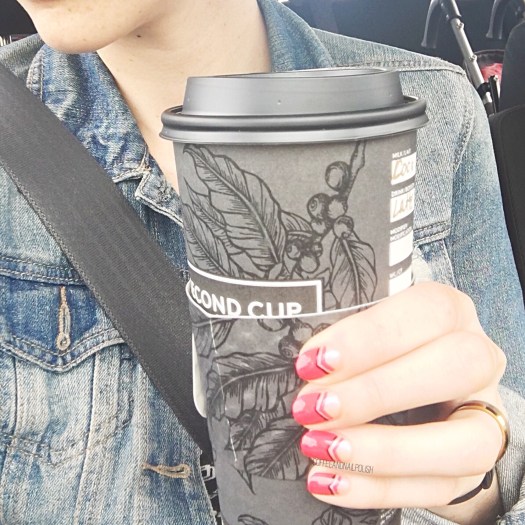
    You know when you did that perfect pair of jeans or shirt or outfit that looks amazing, & fits your perfectly, & just makes you look amazing? You wear it constantly (maybe more than you should), because it just looks so good? That is how I feel about floral & vintage rose nails. & that is why I have ANOTHER floral design to share with you.

    This design is actually inspired by an old design of mine, this time using blues instead of pinks. Yep, I’ve done a different version of these simple roses a lot but they never get old to me, so hopefully they’re not tired to you.

    For this manicure, to polishes I used were:

    • Base Coat: OPI Nail Envy
    • Top Coat: Essie Gel Setter
    • Essie Find Me an Oasis
    • OPI Angel with a Leadfoot
    • Sally Hansen Complete Salon Manicure Rose to the Occasion
    • Essie Bachelorette Bash
    • Sally Hansen Insta-dri Petal Pusher
    • YSL Beauty Vert D’Orient
    • Essie First Timer
    • NailStuff.ca Mixed Decoration Nail Wheel in Gold
    • Small dotting tool
    • Small detail brush from Bundle Monster

    Oooooh these roses over white is definitely one of my favourite accent nails to do. I love all floral nails, but there is something about vintage roses that just looks so good: easy to do, but looks beautiful & complicated every time. Not to mention, roses are one of the easiest florals to do because I find (for me at least), they’re one of ten hardest florals to mess up.

    My tutorial on how I do roses is Here.

    So what do you think of this design? Are you a vintage roses person or do you prefer other floral? Share your thoughts down below!