
Good morning lovelies & happy Monday!
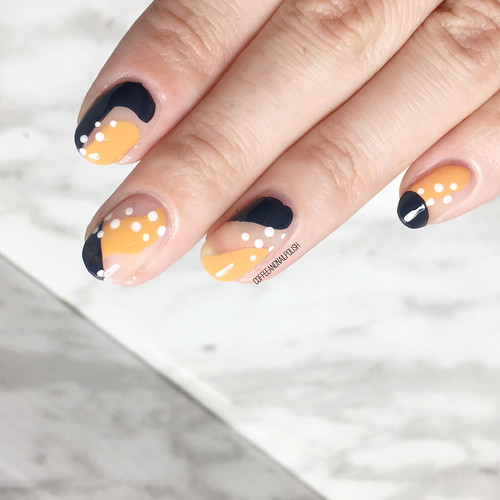
Hope everyone is having a beautiful start to their Monday! Today I have the second challenge for #glamnailschallengeOct: stars. I was trying to come up with the most witchy star manicure I could–because it’s October, & that means every manicure needs to be Halloween related, naturally.
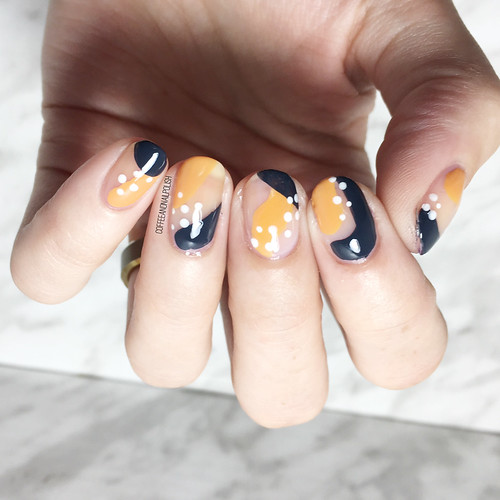
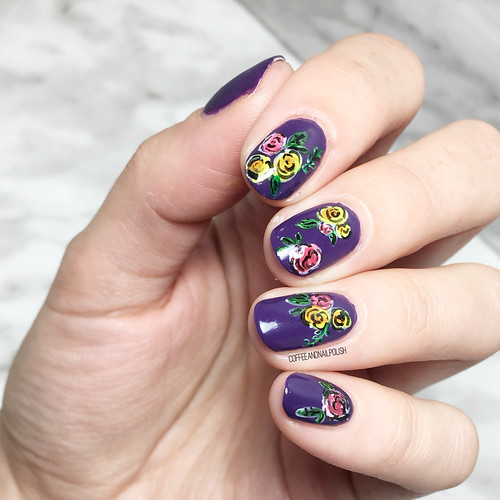
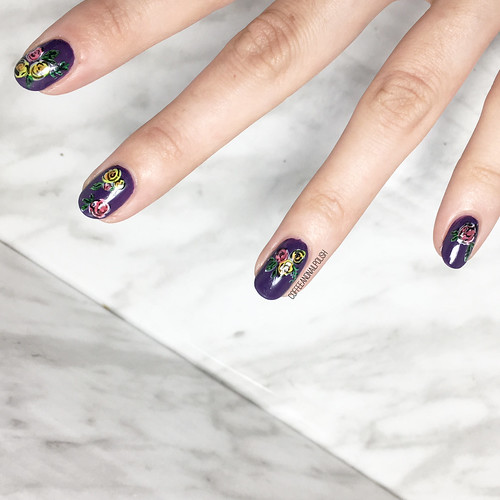
I decided that yesterday’s Swatch Sunday pick China Glaze Choo Choo Choose You was so magical, it would be the perfect base for this star design, that kind of came out reminding me Wizard robes.


For this manicure, the polishes I used were:
- Base Coat: Quo by ORLY Bonder
- Top Coat: Essie Gel Setter
- China Glaze Choo Choo Choose You
- China Glaze Sleeping Under the Stars
- L’Oréal Feeling Kilty
- Born Pretty Store Classic Patterns Stamping Plate BP-L006 (item #17924)
- NailStuff.ca Clear Stamper
- Latex Free Make Up Sponge (for the gradient)
.
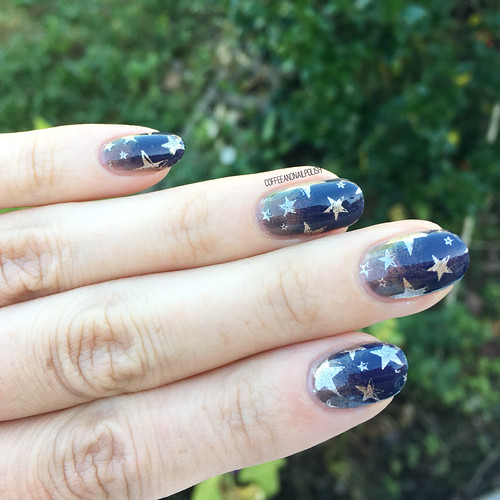
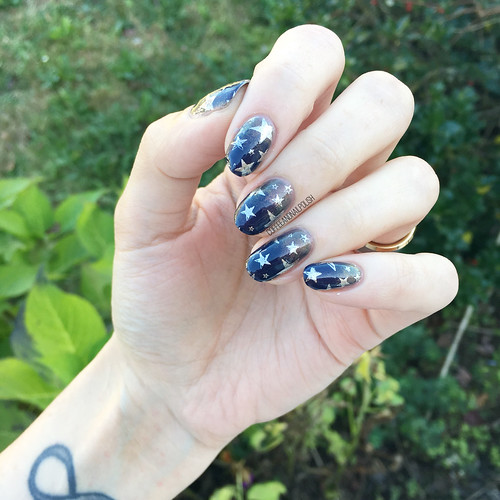
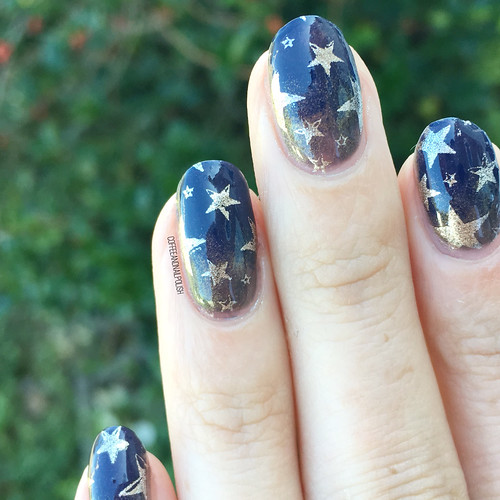
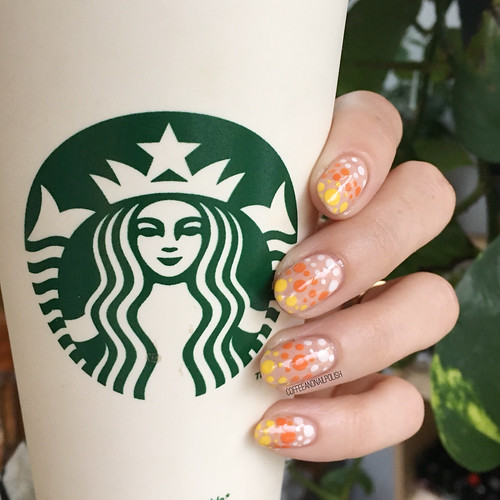
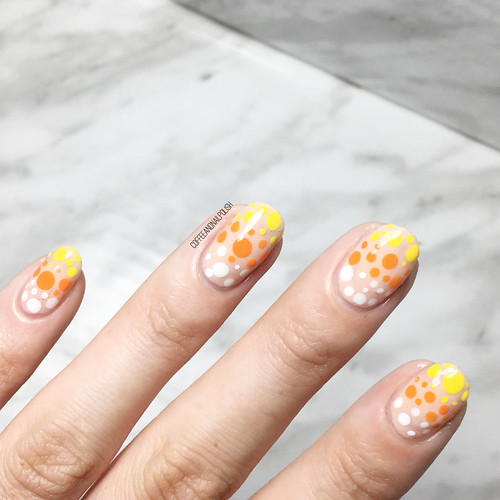
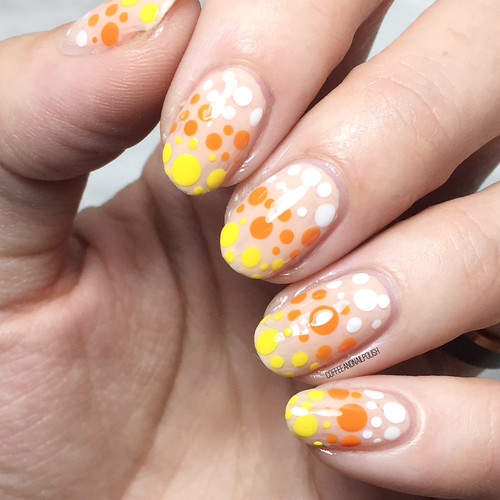
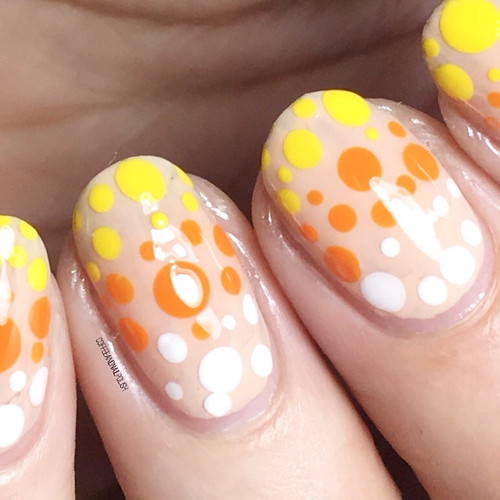
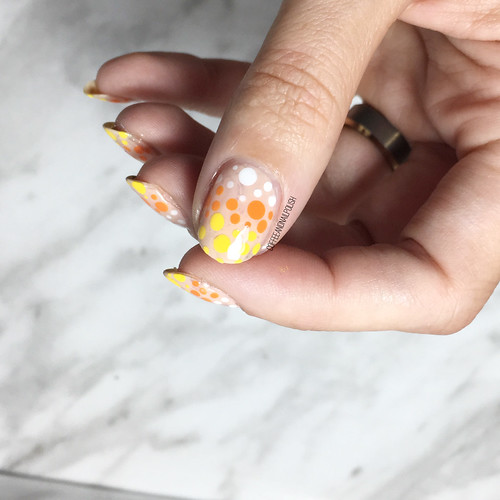
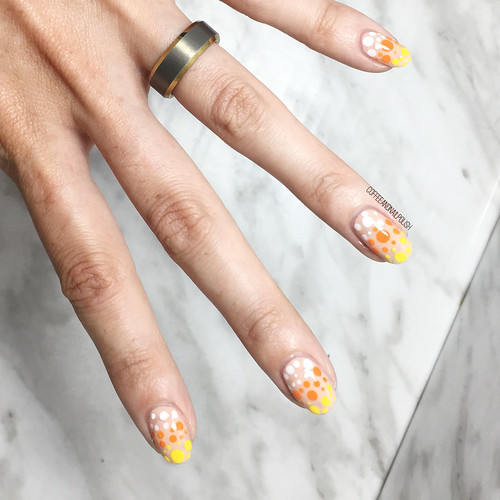
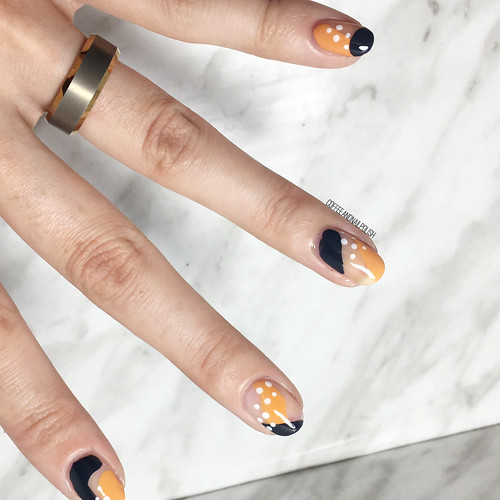
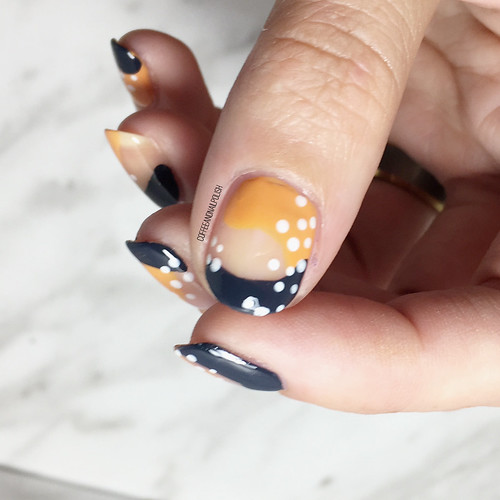
I’m really digging the gradient of China Glaze Choo Choo Choose You & Sleeping Under The Stars, I feel like they really compliment each other well. But I also feel like there is this grungy quality (in a good way!) when Choo Choo Choose You is sponged that makes me so happy. Add in the stars, & I really am getting a wizardly vibe… & I dig it.
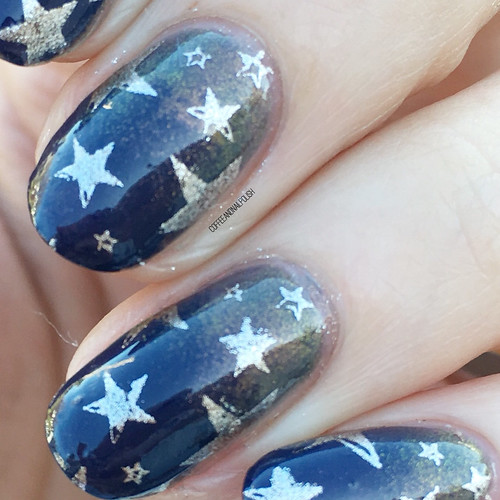
Oh look, a cat hair… are you even really a nail blogger if you don’t occasionally get cat hair in your manicure.
Also this gradient combination is just soooo good. I wasn’t sure how well these two colours would blend, but I think it turned out really really awesome. & I ♥️ it. So much so I wore this manicure for a full 4 days before having to change it due to a whole lot of top wear happening.

Are you excited for the manicures to come this month thanks to #glamnailschallengeOct? We’re two prompts down, & 7 more to go! Don’t forget to keep track of all the manicures by following the above hashtag, & stay tuned for some fun designs that will be coming! & let me know down below if you like these challenges & want to see me take on more!


