Bestie Twin Floral Nails

59BBE75C-0787-49C6-ABC0-D37D53F13050

B9CA451F-3CA4-4D3C-BE65-DF2D8780BD0D

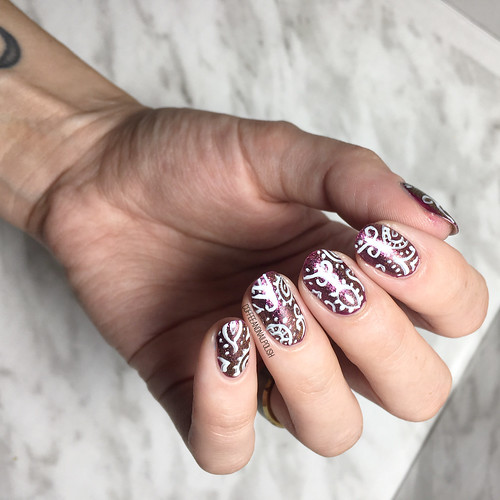
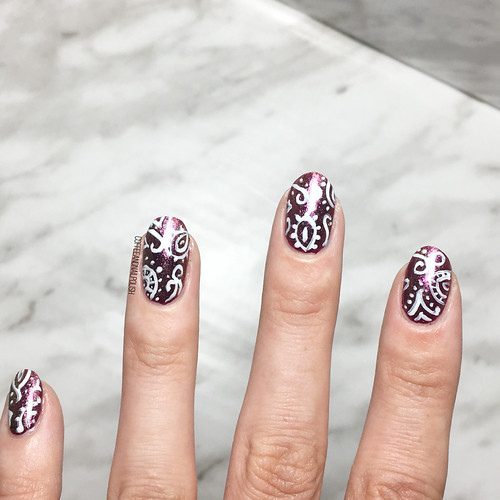
Happy Saturday lovelies! Did everyone survive Full Moon Friday the 13th okay? Today I’m sharing a fun design that has been in planning for a while–bestie twin floral nails that I did with my girl Victoria over at @nailstuffca!

We’ve been talking about doing some twin floral nails for absolutely ages, so I was really excited that we finally managed to come together to create our matching looks! The inspiration for this floral comes from my favourite place for inspiration: Pinterest! I found this pattern while browsing for Fall floral & that was where we started for our manicures.

AC29FDE7-B841-4A6B-875A-2497F0DD97AA

7D66BF9B-C90E-491C-8D63-DF1049489BE9

The polishes used for this manicure were:

  • Base Coat: Gel overlay (trying to grow out some damage on my tips)
  • Top Coat: Essie Gel Setter
  • ORLY Plum Sugar
  • Essie Stop Drop & Shop
  • Acrylic Paints (set purchased from Dollarama)
  • Nailstuff.ca Dotting Tool Trio
  • Nailstuff.ca Mermaid Tail Brush Brush Trio (I used the 11mm liner brush)

.

01DF62D3-ABA7-404A-A18C-A1EE91030975

D9FEE90B-CC23-417E-BEEE-0881F20D680A

This was my first time using acrylic paints to create a look like this (floral) & I was a little nervous at first, but it was actually pretty easy to do! I still had to use polish for the pinky roses, as the set of paints I bought didn’t have any red. But other than that, I was pretty impressed that a $2 set of acrylic paint could create such beautiful art on such a teeny canvas. I don’t think I’ll use paints every time I go to do nail art, but for a design like this that is supposed to be a bit rustic, I think they worked perfectly!

B370BF18-AEB0-4AA6-8AE1-47A3DC1D23DE

8F298B00-4486-459F-A444-EB04D411B23B

Ahhhh, how pretty did these turn out? Considering I was definitely feeling rusty since I hadn’t created any floral since before our baby girl was born, I feel really good about the end result.

E6F7B2EF-3ACF-4861-BFD7-C342E4A76BA0

A4450C32-F712-4C62-A9A5-2BE44A259BEC

What do you think about these floral nails? Don’t forget to hop over to @NailStuff.ca & check out Victoria’s version of this design & give her some love!

Fall Ombré

00A8EE4C-4814-430D-A100-506E77960F7B

B848A81C-D408-4270-A7D4-1A210BCDF869

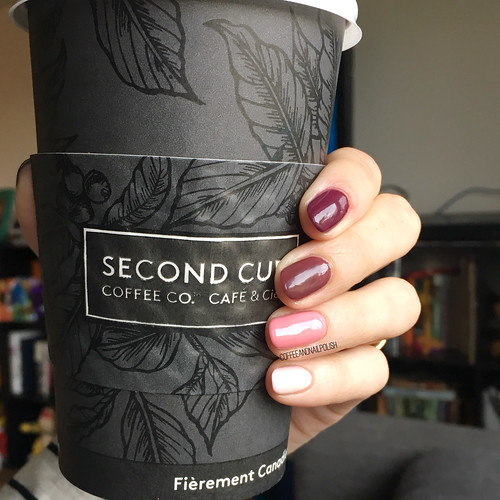
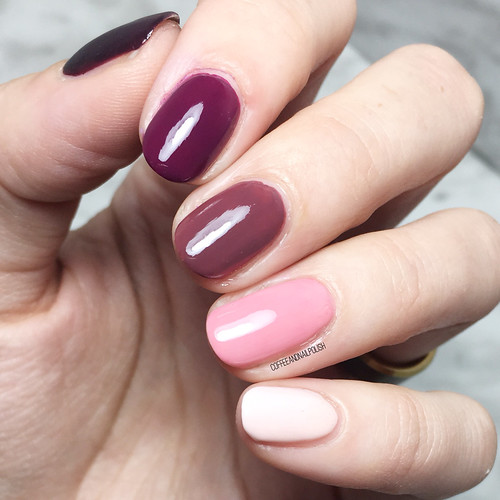
Hello lovelies & Happy Wednesday! I don’t know about where you are, but here in Halifax the weather is already starting to have that gorgeous Fall chill. It also has me thinking about Fall Manicure ideas, & one design I’ve been seeing pop up on my Instagram feed is the ombré look. A few years ago, ombré designs were super popular, & one of my favourites. So I can’t lie, I’m so pumped that ombré nails are making me a resurgence!

For those wondering the difference between an ombré & a gradient, an ombré is when you wear a different colour on each nail, while a gradient blends a few colours together on each nail.

BEB5AF25-F836-427A-A238-3694679A7A55

AE486A8C-14C7-4C3B-9825-0599B37ACF9C

For this manicure, the polishes I used were:

  • Base Coat: Currently wearing soak off gel to grow out my natural nail.
  • Top Coat: Revlon Quick Dry Top Coat
  • Cosmetic Arts Baby Pink (no name)
  • L’Oréal Jardin Des Roses
  • Kosmic Colours dusty dark pink (no name)
  • ORLY Red Rhapsody
  • Essie Carry On
  • Wet n Wild 2% Milk (to make my pinky & ring finger look more dusky)

F5CAFF7B-97F3-4DD3-B92B-A18FA9D03950

86F524EB-49B4-4D37-A3A4-8E86C44C2BEE

I’ve done a few ombré manicures over the years in different colour schemes, but I was really feeling something dusky, in the rose family. This combination really felt like it suited our increasingly Autumn-like weather. On my pinky & ring finger, I applied 2% milk over my lighter pink shades so they would match closer with the rest of my colours.

085AA078-D281-404E-8082-D57BEA7B3741

7BF029EF-0E05-4192-A81B-94EAA51EFD8F

Ah, this makes me so happy! I’m so glad that this design has come back into rotation & is cool again. Not that I care that much about being trendy — my love of crackle nail polish will attest to that — but it certainly gives me a great excuse to wear multiple shades at once.

(Like I need any excuse to paint my nails!)

23B3C34D-3EF5-44C7-9C9A-0464395A40D4

What do you think of the ombré nail art trend–have you given it a try yet? What colour combination are you dying to try? Share what shades you’re planning on pairing, down in the comments below.

🍁🍂
VACATION NAILS — ocean inspire Saran Wrap splatter.

1F5E8430-715C-417A-BCAE-E9504FD66D57

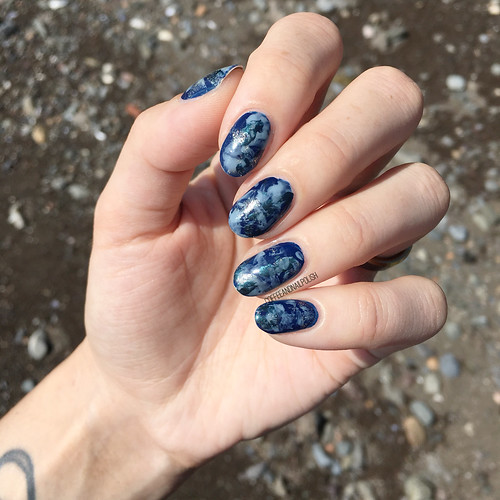
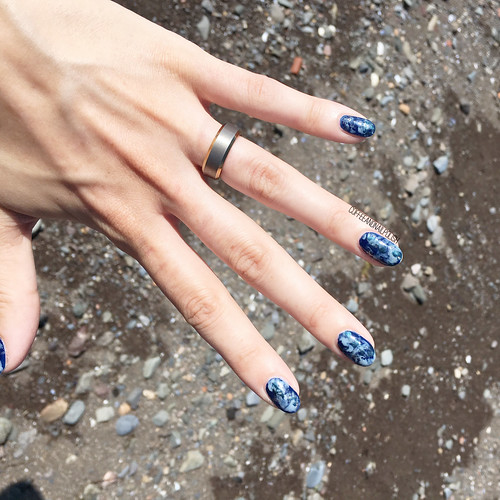
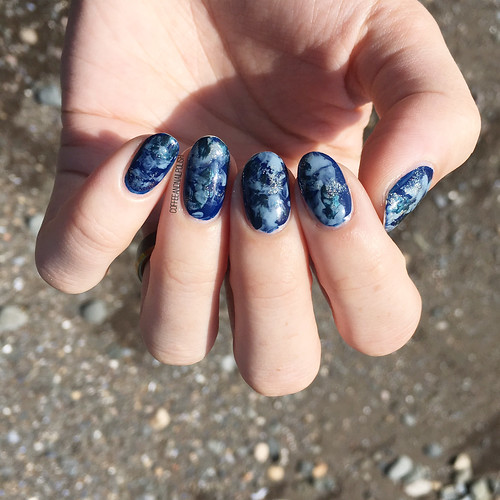
Hello lovelies! Still on vacation, but even though I’m on vacation that doesn’t mean I’m not painting my nails! Like I wrote in my last Swatch Sunday post, visiting my parents means I get to take advantage of my Mom’s massive nail polish collection she uses for her jewelry. So I decided to take a few of her polishes to create an ocean inspired design perfect for an East Coast vacation!

F34B5EC3-7B73-4533-AA58-9DCA32EA5AE6

8A74833B-53E3-482F-8C77-05F680D8F910

For this manicure, the polishes I used were:

  • Base Coat: Duri Rejuvacote
  • Base Coat: Quo by ORLY Bonder
  • Top Coat: Essie Speed Setter
  • Sally Hansen CSM A Bleu Attitude
  • Quo by ORLY April Showers
  • Santee ACO6433
  • China Glaze Cattle Drive Me Crazy
  • Crinkled up Plastic Wrap

3018B7E9-EBC3-4FDD-93EC-DFD4089C3E5F

E64A490C-0B87-4396-B6C5-DEB22E22FE9D

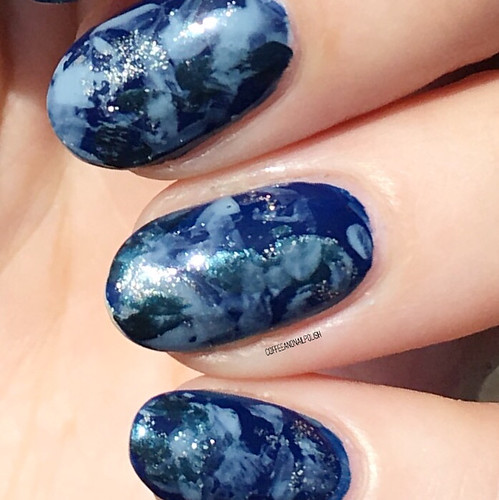
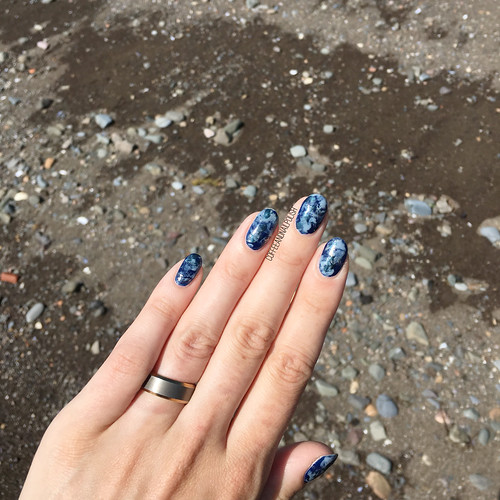
Obviously, being away from my own nail polish stash & supply, I’m not going to attempt to crate one of my more complicated designs–like floral– which is why something like a Saran Wrap splatter is such a perfect design! Easy to do, minimal clean up, but still looks fancy & fun! & obviously because my nails were inspired by the ocean I had to take pictures of this look right on the beach! 🌊

E48B8A14-A26F-4691-94A7-6096C8740489

B41F6E90-4326-4640-B16E-54C51E272DFB

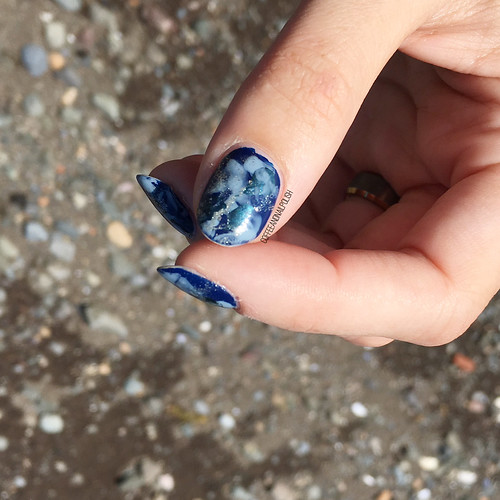
Looking at these close up, I realized how much these look like the mussel shells we used to collect off the beach as kids! This colour combination is definitely one of the best versions of this design I’ve done, but I find that happens whenever I do anything in shades of blue! They always just turn out so beautiful!

5AF41BE9-0F54-48A7-9807-9714C422E7C0

What do you think of this look? What do you do about your nails when you’re on vacation–do you still paint them, or go with something like soak off gel that lasts 2+ weeks!

Let me know your vacation nail routine down in the comments below!

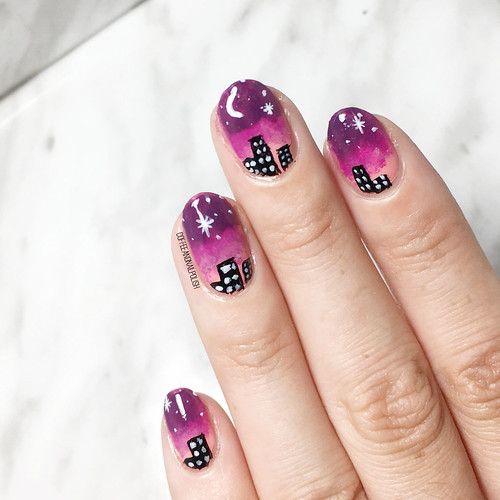
City Sunset 🌇 for #glamnailschallengeAug

442EFCE3-D6AC-4DB5-9414-201C209443E0

3541CA6A-E6B4-4FCF-8F1B-5788E1D5F5AA

Hello lovelies! & happy Monday.

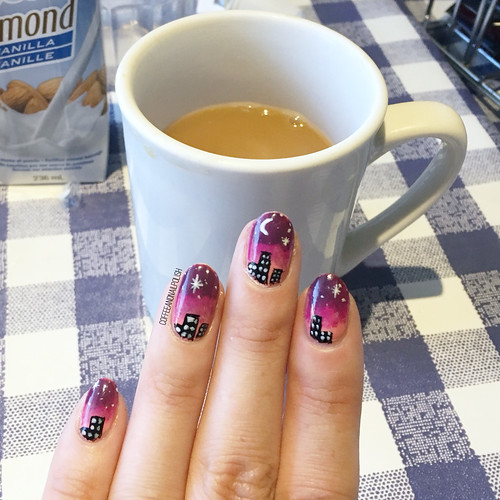
We’ve got two more prompts left for #glamnailschallengeAug, & I’m going to be honest… I wasn’t sure I was going to get this prompt done! Not only was I a bit stumped on inspiration, but I’ve had a busy last week so I haven’t been able to get my nails painted like I usually can. But thanks to some late night Pinterest-ing & a cooperative baby, I pulled out a last minute nail art success!

& I’m so super in love with the end result!

DF055C51-0DCB-4959-A47B-84686D782086

994D4412-1401-4299-A491-5DC05D6C0A0E

For this manicure, the polishes I used were:

  • Base Coat: fraken base coat combination
  • Base Coat: Quo by ORLY Bonder
  • Top Coat: Essie Speed Setter
  • Essence Indian Summer
  • Essie Flowerista
  • Sally Hansen Complete Salon Manicure Trouble Maker
  • Essence Black is Back
  • Kiss Products Nail Art Striper in white
  • NailStuff.ca Mermaid Tail Nail Art Brush Trio (7mm size)

1BF27FAC-9575-491E-ABC4-6E7EBD39BD5F

05393D2F-0E0E-4EAB-82F3-B3D57FDA39F5

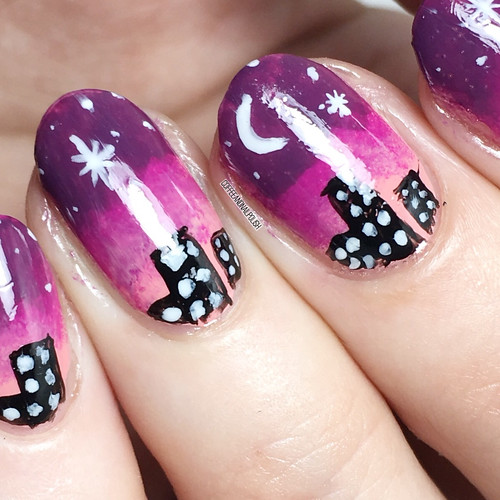
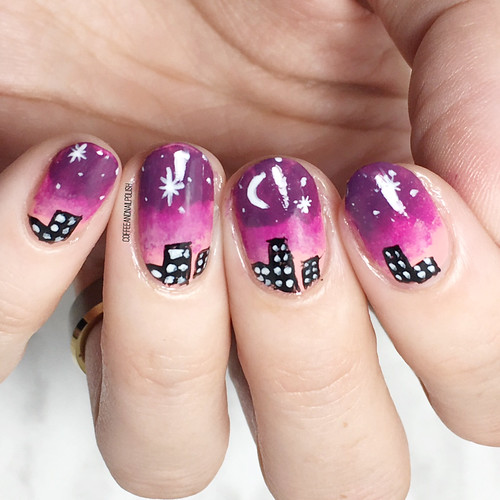
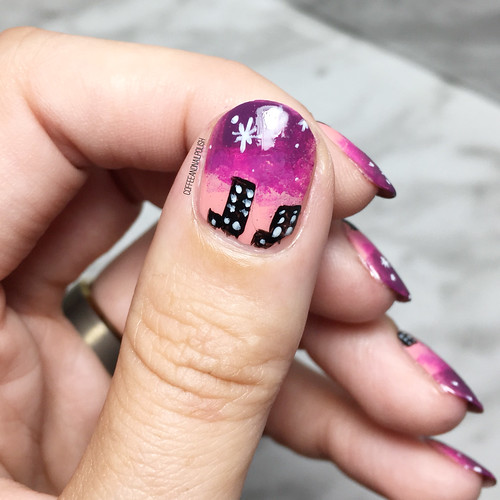
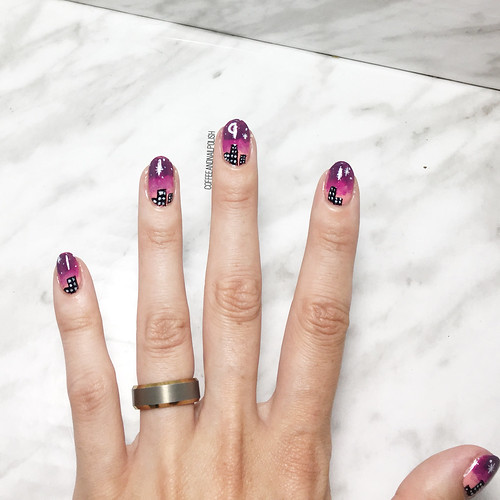
I started off this design with what I’m going to call a “rustic” gradient — I didn’t go your typical route where you blend all your colours together at once, but instead sponged my layers on top of each other which kind of created the pinky cloud effect. I then brushed my top coat over & over to smear the layers together a bit. This created the perfect background because I really feel like it looks more like what you see when you see a sunset. & it reminds me a lot of this sunset I captured not that long ago (which was also kind of my inspiration for the colour combo I went with.)

C027E52E-70D1-46F8-88BB-3D137D1A0C3D

B2331629-087D-4680-B5BB-F1D827B97007

I’ve done a few of these sunset with background designs, but this is definitely the most unique. (Usually I do mountains & cacti, or something similar) but with the pinky sky & the buildings it really does feel like a city sunset, maybe even my own city.

F2948671-BBBD-4782-93B9-EBC1B7E673DC

What do you think of this design? Can you believe we only have one more prompt left for this challenge… how crazy is that?

Don’t forget to hop over to Instagram & check out #glamnailschallengeaug to see everyone’s amazing city building manicures!

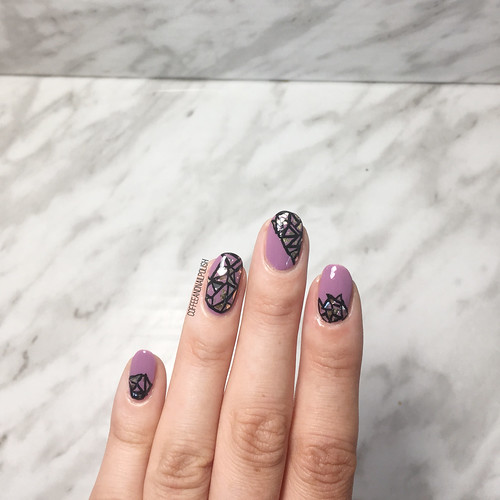
Stained Glass Nails for #glamnailschallengeaug

FBAB67AC-50EB-4888-BF2B-B1EA0636BA4D

43A74F1F-F1D5-45CE-8123-225CC0FEE596

Good morning lovelies! Another day, another fun manicure created for Glam Nails Challenge August! I’ve really been having a lot of fun creating new designs for the challenge this month, getting out of my usual comfort zone.

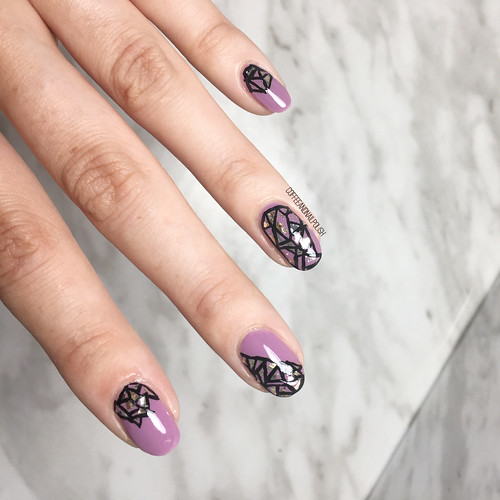
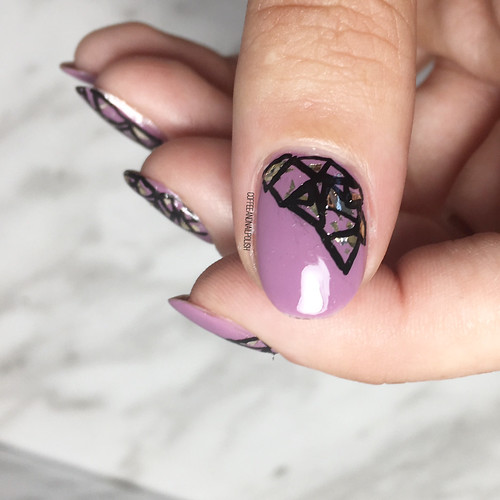
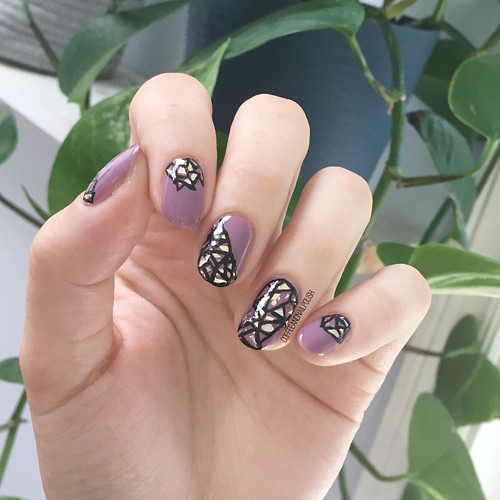
Today’s manicure prompt is Stained Glass. I used to so shattered glass manicure a lot back in the day, but it’s been a while since I attempted one. Glitter placement can be a bit time consuming, so that’s probably why it’s been so long. So I was super excited to give it another try! & because the prompt is stained glass & not shattered glass, I decided to add some freehanded framing around my glitter to complete the look!

4611FA17-21BF-4033-883B-38B90E2B6A7C

B60162F1-AD44-410F-8A39-10D1197353B1

For this manicure, the polishes that I used were:

  • Base Coat: Sally Hansen Complete Salon Manicure Strengthening Base Coat
  • Base Coat: Quo by ORLY Bonder
  • Top Coat: Essie Gel Setter
  • OPI One Heckla Of A Color {PR sample}
  • OPI Gaining Mole-mentum
  • Black Acrylic Paint
  • Nailstuff.ca 4mm Micro Detail Brush {PR sample}
  • Nailstuff.ca Dotting Tool Trio {PR sample}

8E765E11-C7D8-4B4F-904F-AAFAD96B9C36

0209CA00-7D3A-42E1-AF89-CD5394E4A2D7

First time I’ve used acrylic paint for nail art in a while. I decided to use acrylic paint because I wasn’t sure if I was going to like the black framing & I wanted to be able to wash it off my base if I hated it, without destroying my base nail art. Thankfully I didn’t have to worry about hating it, because the black looked really good with the glitters!

9C7D405B-2499-4849-9CFC-184F1EC03BEC

F57D04C4-4E8B-4486-870B-E34EE317BEDA

This look just makes me so happy, & makes me realize I miss doing shattered glass manicures. Could you imagine this look with holo flakes/glitters? I’m getting Fall manicure inspiration with maybe like an emerald green & maybe some negative space with the glitters.

Ooooh I can see it now! I can’t wait!

D0D4219A-5F40-4FB4-9D9A-CDC99756C9A0

What do you think of this manicure? Have you been following along with the challenge on Instagram? Don’t forget to check out #glamnailschallengeaug to see everyone’s amazing manicures!