Watercolour Freehand Floral 🌸

Hello lovelies & happy Thursday!

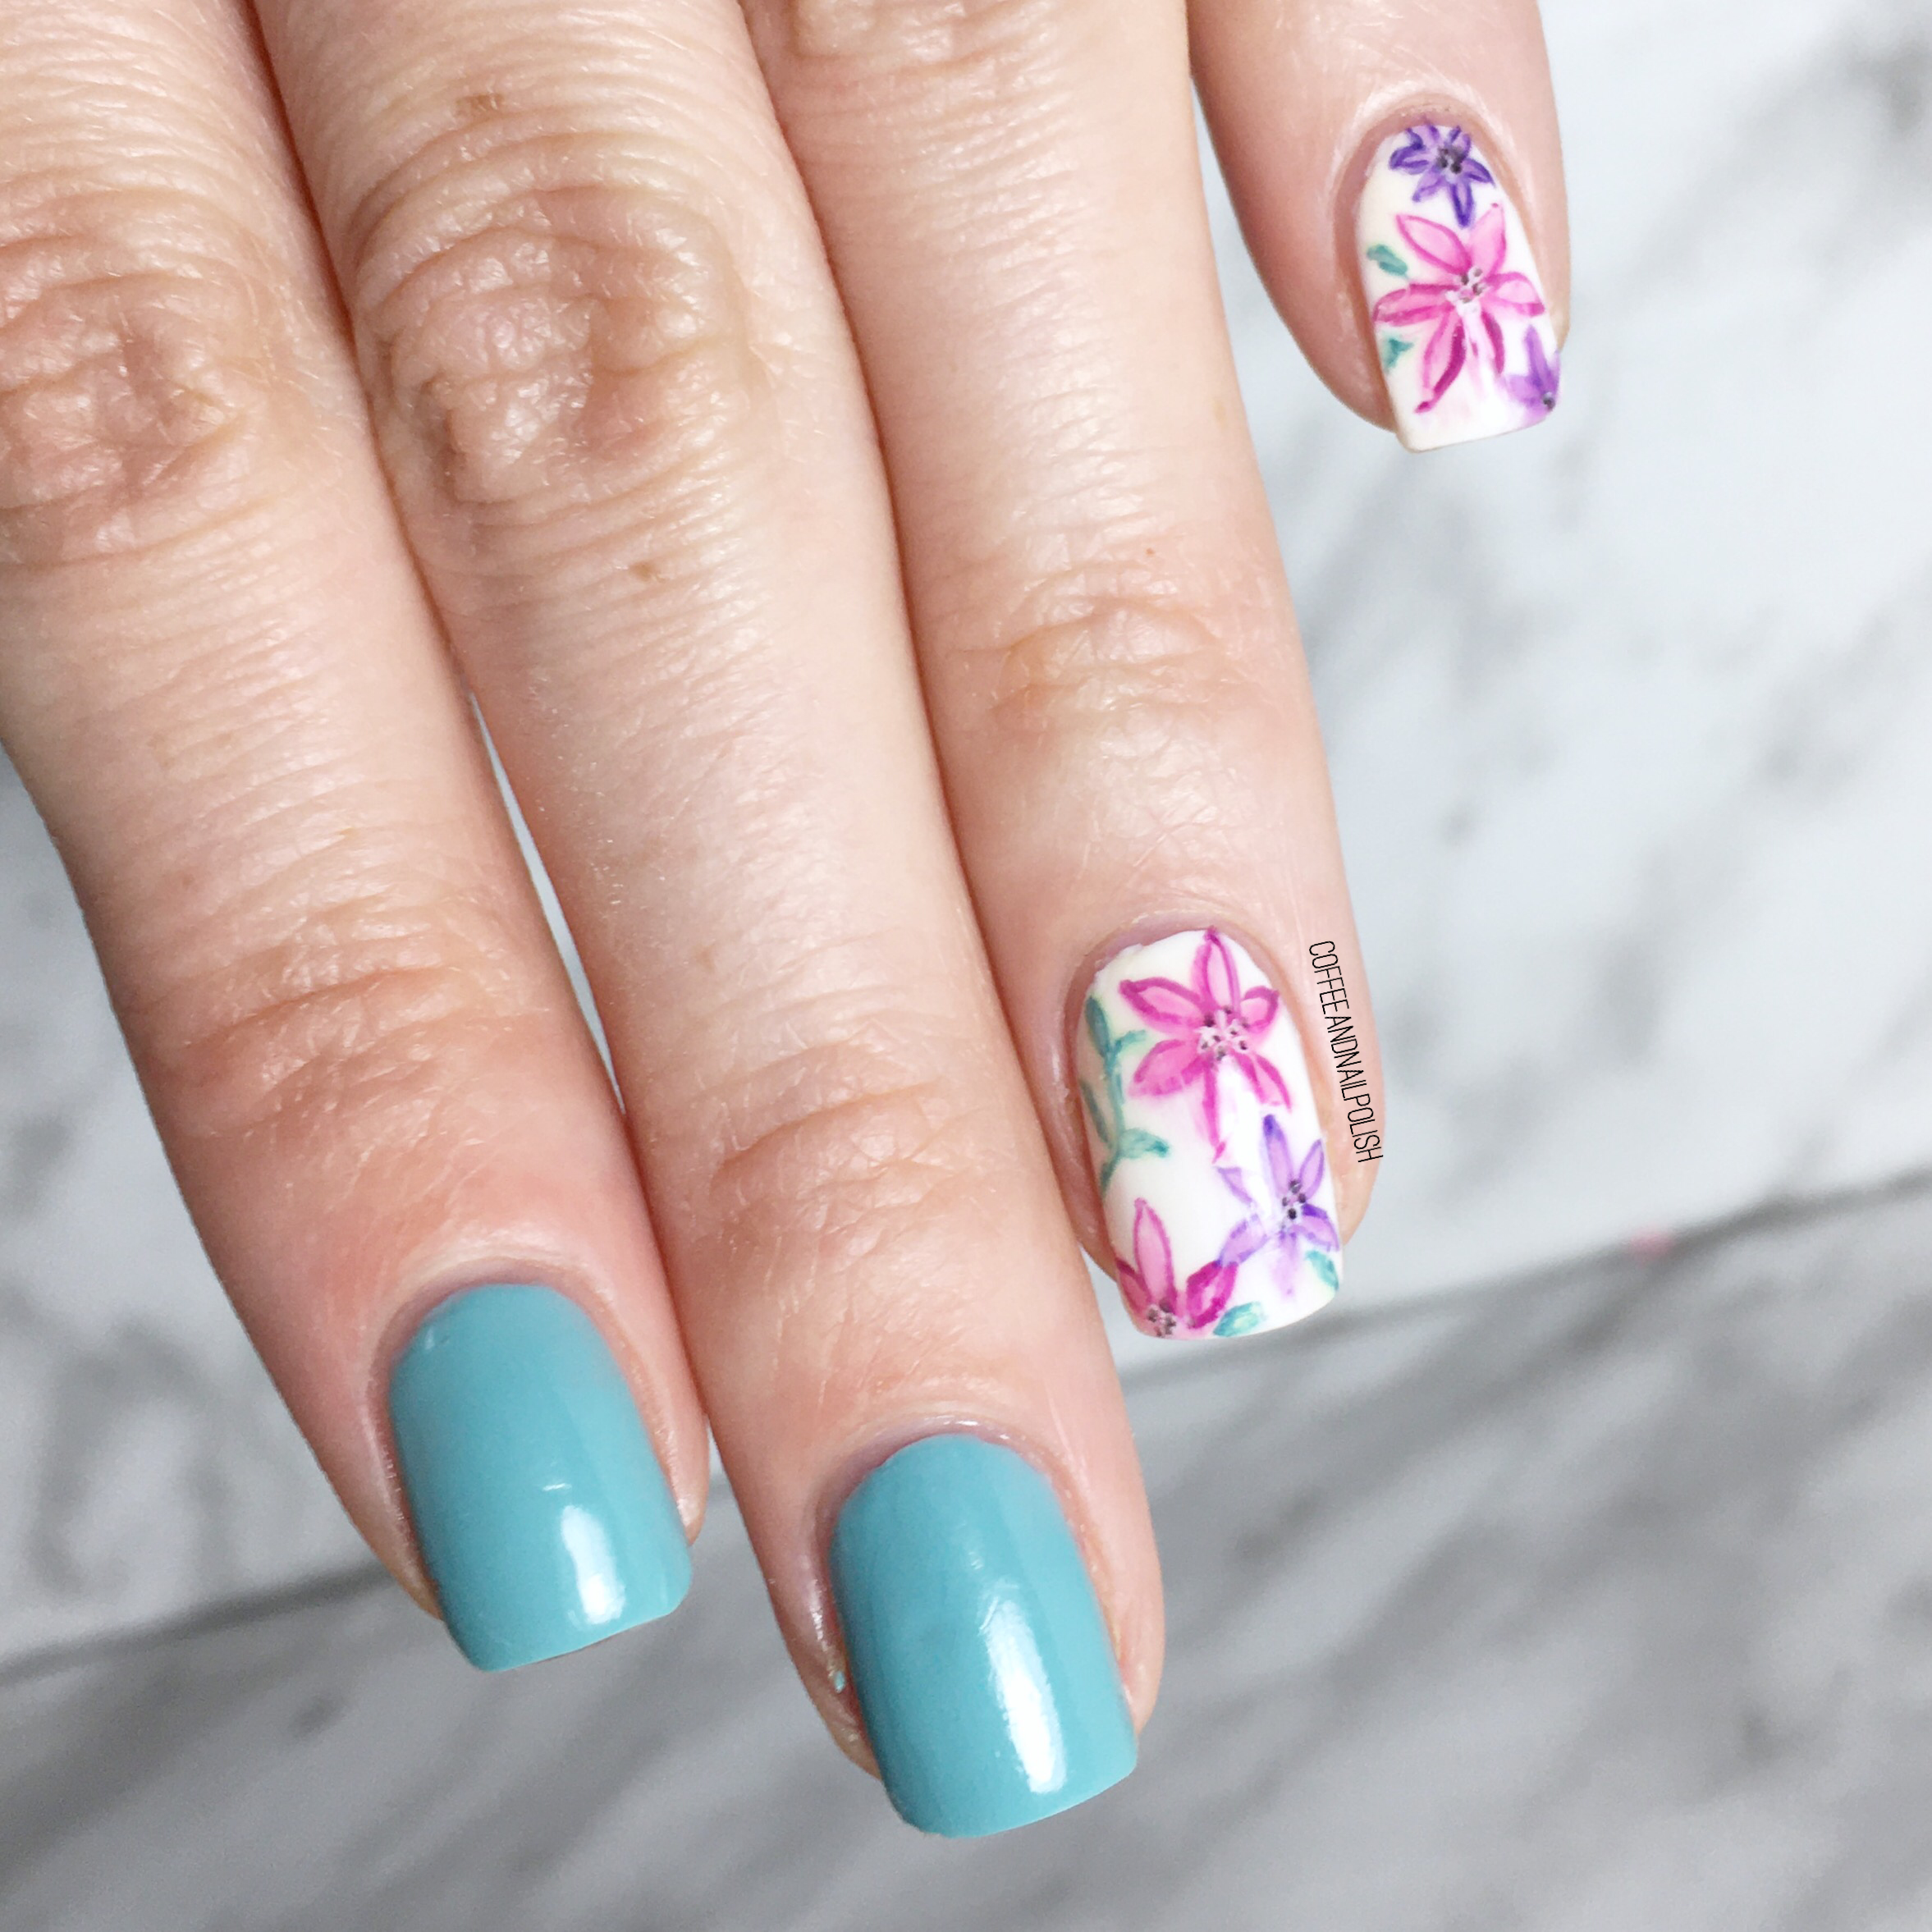
I hope everyone is having a lovely week. The weather here has been pretty amazing & Spring like. You can’t help but love it! Our flowers are even starting to bloom in our front garden, so naturally I was inspired to create some pretty floral on my nails! This design was also inspired by a nail art look that popped up in my Facebook memories from 6 years ago (this one, in case you want to see the original.)

For this look, the polishes I used were:

  • Base Coat: Sally Hansen Good Kind Pure Hardener
  • Top Coat: Essie Gel Setter
  • Essie Where’s My Chauffeur
  • Sally Hansen Miracle Gel Get Mod
  • OPI Be Magentale With Me (Sheer Tints)
  • OPI Don’t Violet Me Down (Sheer Tints)
  • Essie No Shrinking Violets (Silk Watercolours)
  • Essie Love Sheen (Silk Watercolours)
  • Essie Flowerista
  • OPI Lost My Bikini in Molokini
  • OPI My Dog Sled Is A Hybrid
  • Essie Poolside Service
  • Sally Hansen Miracle Gel Blacky
  • NailStuff.ca 7mm detail brush (COFFEE10 to save 10%)
  • NailStuff.ca Dotting Tool Trio 

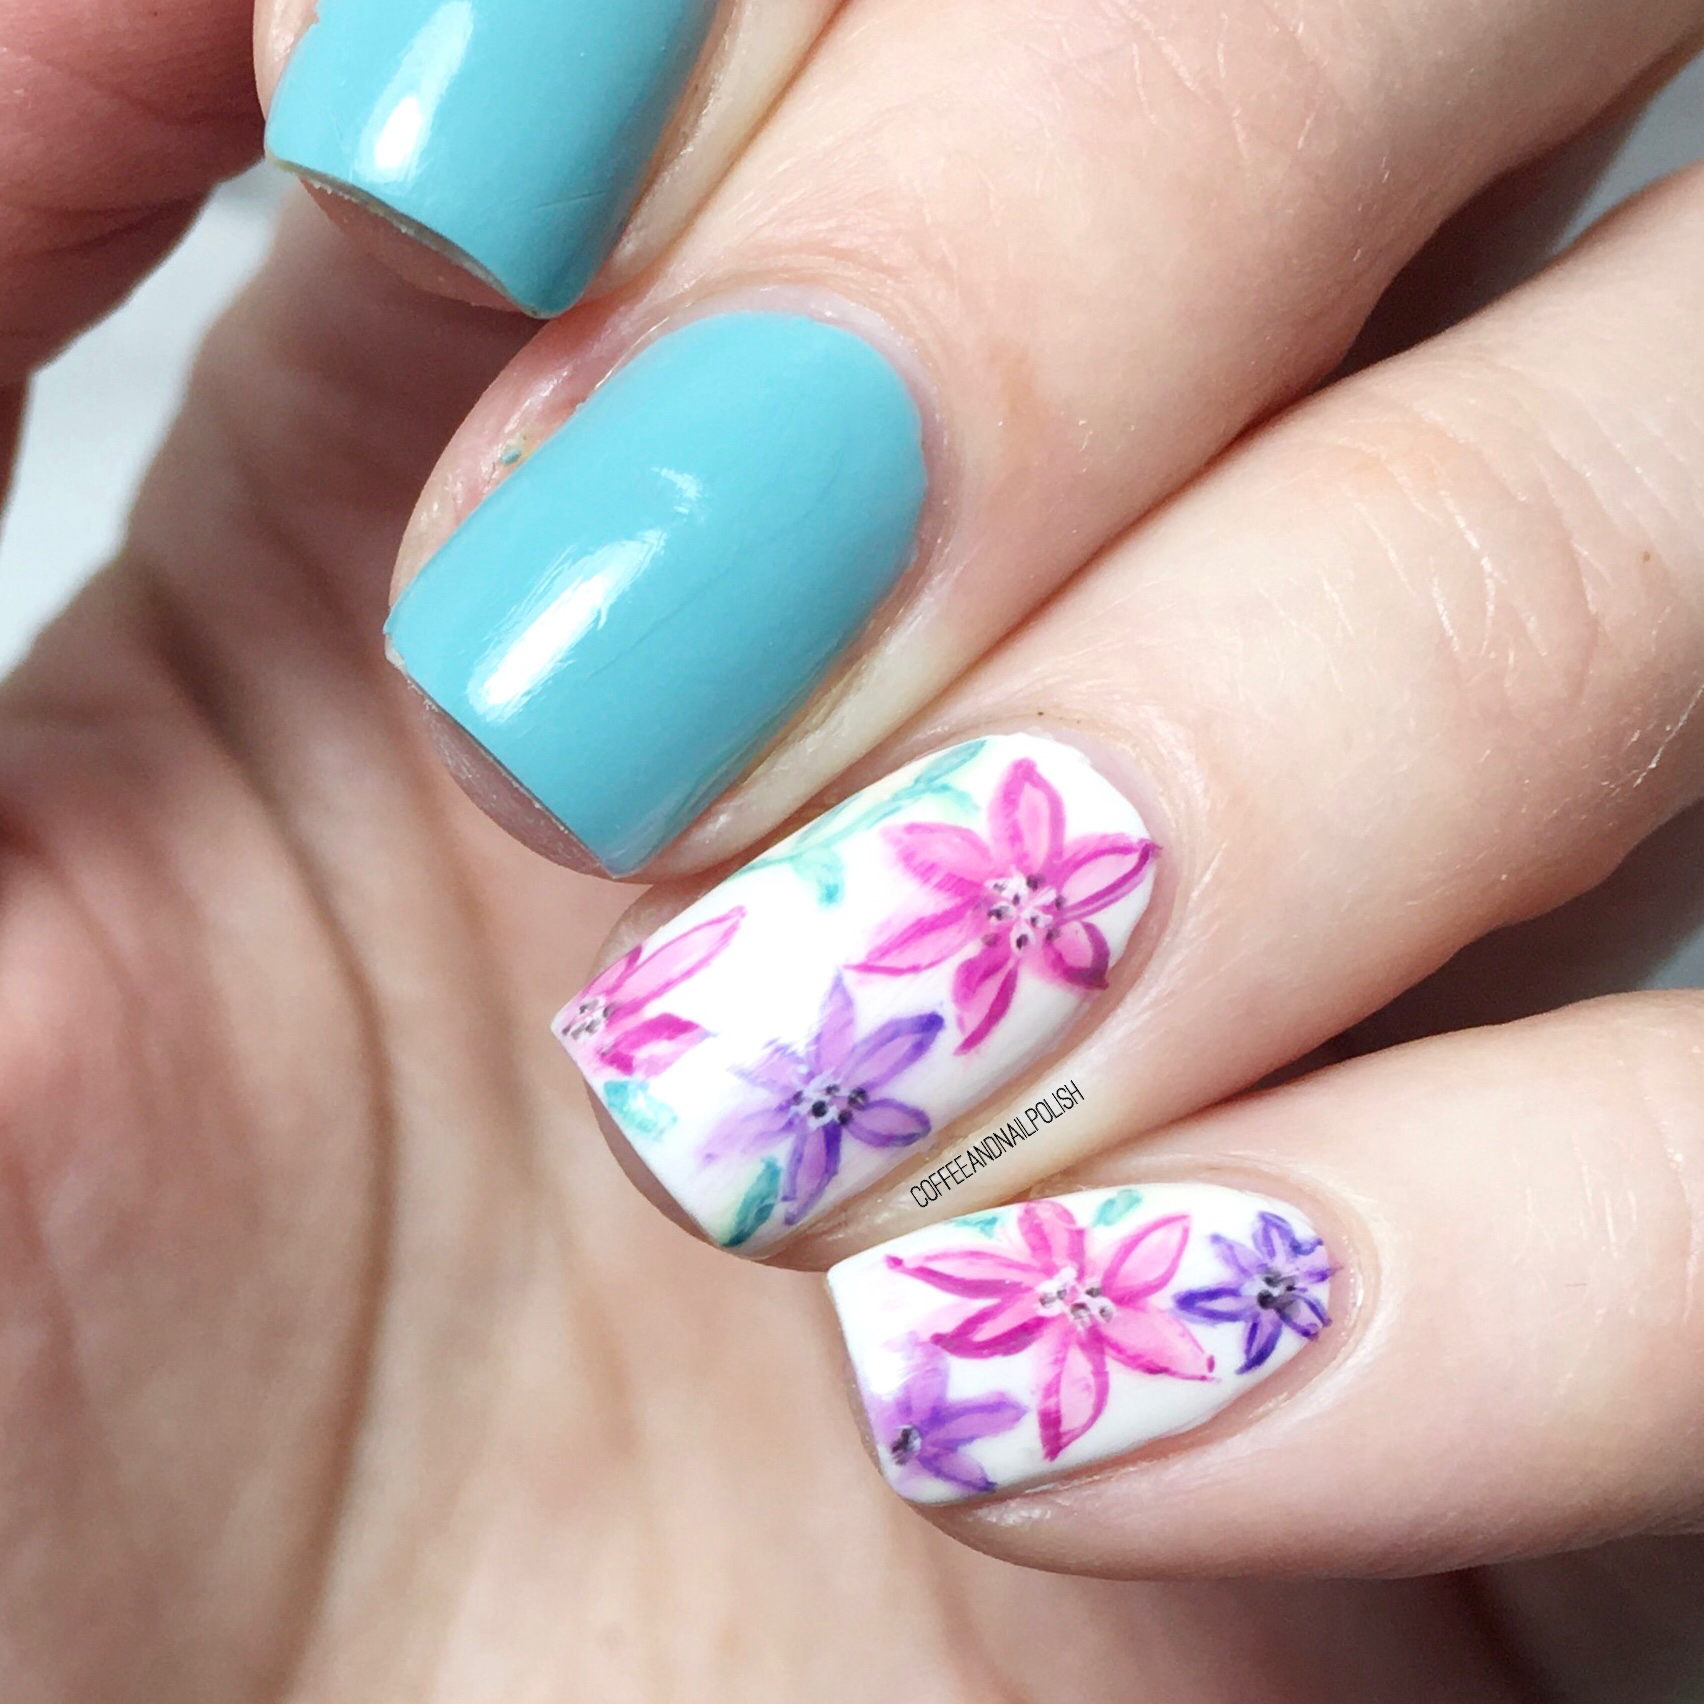
Okay, so I know every time I do a floral, I say that it’s my new favourite — so I won’t even say it, but seriously this might be the most favourite floral I’ve ever done! I feel like the sheer polish plus darker outlining just gives this manicure such a beautiful feel. & I love the floral combined with the brightness of Essie Where’s My Chauffeur which is hands down one of my favourite polishes for Spring. I’m really really in love with this whole combination.

& obviously, a close up because I am so freaking proud of how these turned out! I know roses are my floral safe zone, but I think I would to branch out a little bit more, maybe try & perfect other styles. I definitely still have plans to try out a tulip design very very soon as well!

What do you think about this floral look? Has your garden started to come to life yet? Let me know what you think down in the comments below, & what kind of floral you’d like to see me attempt next!

Happy 6th Blogiversary Coffee & Nail Polish

Hello lovelies & Happy Sunday. I know what you’re thinking — this isn’t my usual Sunday content. But I’m making a special exception for this Sunday because IT’S MY BLOGIVERSARY!

6 years ago today, I posted my very first post here on coffee & nail polish, & I haven’t stop since. A lot has changed since those early, early days of blogging but my love of nail polish has not. & I can honestly say I can’t imagine not having this place, my very own place, to share that love! So whether you’ve been reading since the beginning, or just recently found me, I just want to say thanks for being here! & have a piece of cake (or a very large fancy coffee) for me!

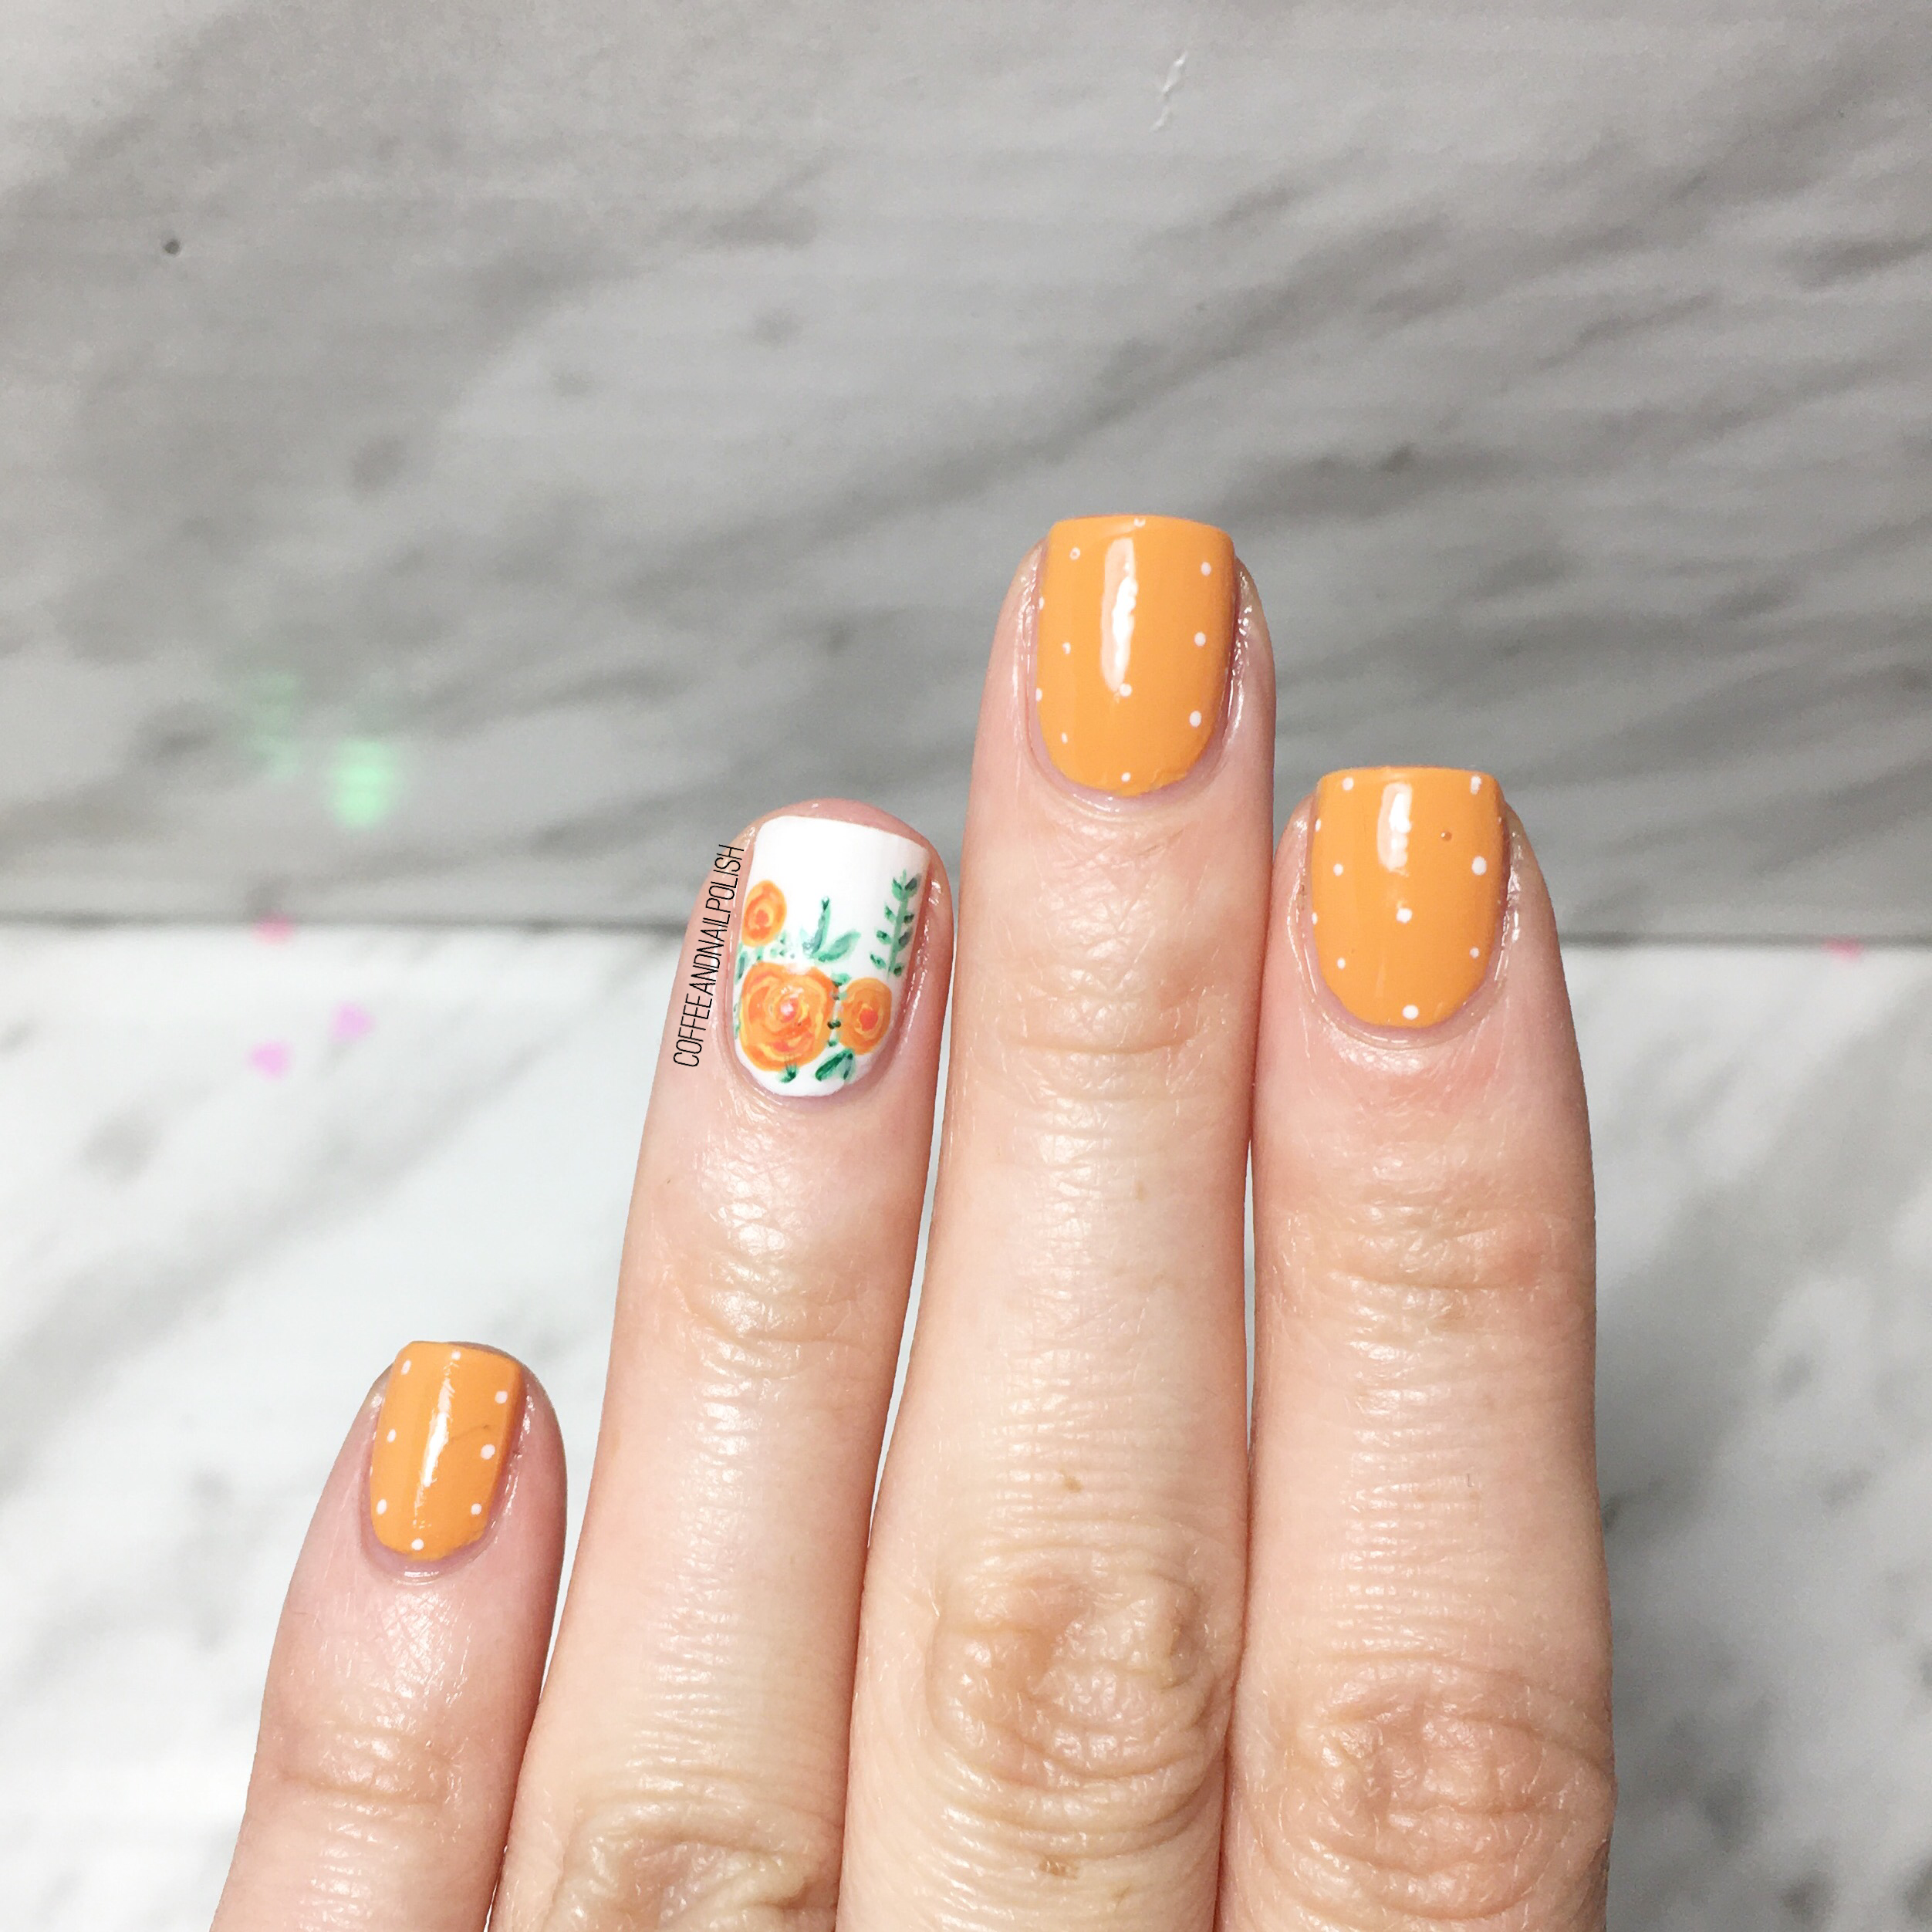
In honour of today, I thought I would do something I did for a previous blogiversary, & recreate one of my early nail art looks. This orange floral look was the second ever nail art I posted here on the blog, & one of the first really good florals I ever painted. I was going to attempt to repaint this using all the originally polishes I used, but sadly both my bottles of China Glaze Metro Pollen-tin, as well as my bottle of OPI My Boyfriend Scales Walls are long gone. So I updated the look using newer polishes in the stash.
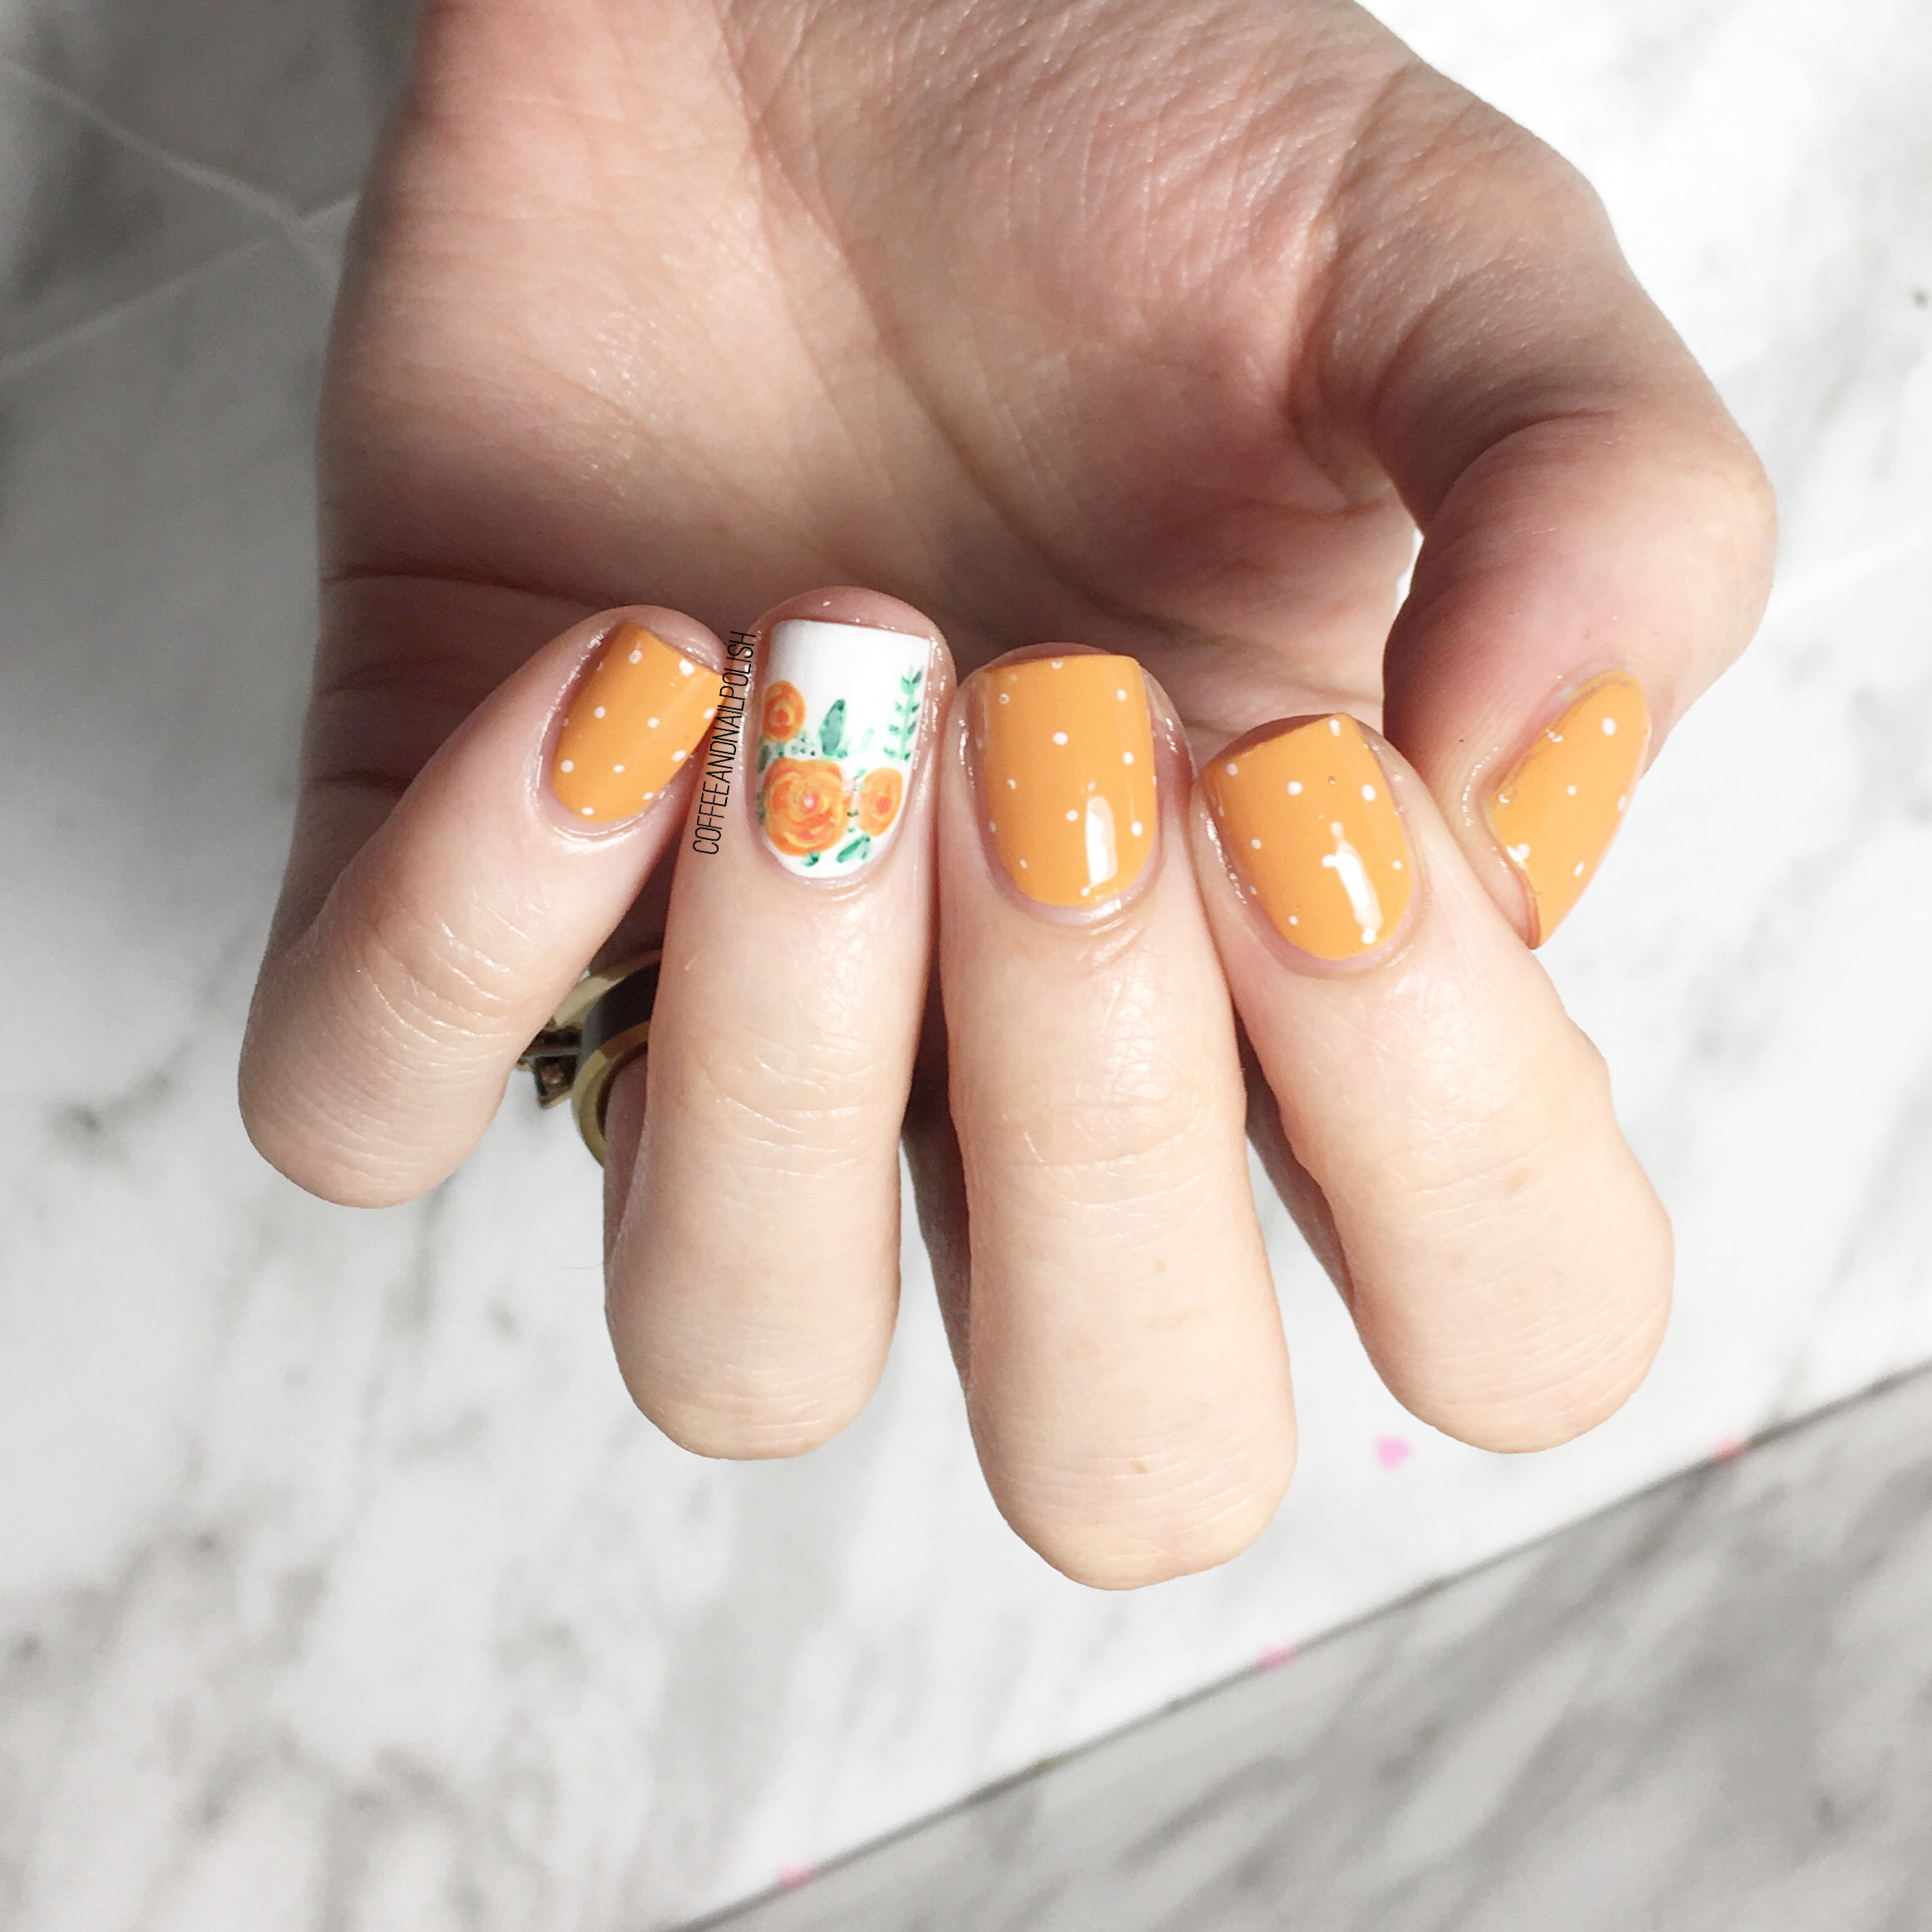
For this look, the polishes I used were:

  • Base Coat: Sally Hansen Good Kind Pure Hardener
  • Top Coat: Essie Gel Setter
  • Essie Fall for NYC
  • Sally Hansen Miracle Gel Get Mod
  • Sally Hansen Complete Salon Manicure Firey Island
  • ACO by Ardene Lemon Sorbet
  • Essie First Timer
  • Essie Off Tropic 
  • NailStuff.ca 7mm detail brush (COFFEE10 to save 10%)
  • NailStuff.ca Dotting Tool Trio 

Back when I started this blog, I think I had a single dotting tool (Essence brand — I still have it around here somewhere) I had bought from Shoppers Drug Mart for like $1.99, some cheap dollar store brushes I never ended up using, & a bunch of striping polishes. & that was the extent of my nail art tools. But you know, I thought that was amazing & I loved teaching myself how to create nail art looks with them, like that beautiful floral. & honestly, I remember being so beyond proud of myself for posting those. I thought they were the best nails I ever painted!

Flash forward: check out those roses! I’m in love. But I will definitely say this — the tools you use definitely make a huge difference in your ability to paint. Everyone always comments on how much my painting has improved, but I definitely think it has a lot to do with the fact my tools have improved as well. That’s always my #1 tip to those who ask me what tips I have for improving their painting: invest in good brushes! I absolutely adore my nail art brushes from NailStuff.ca, but I also have amazing brushes I used to use from Bundle Monster (now Maniology) that definitely helped my improve my skills. &, of course, practice!

So what do you guys think of this floral recreation? Have you ever recreated an old manicure?

Thank you guys SO much for sticking around, for finding me, for liking my posts & leaving comments. You honestly have no idea how much it means to me to see people loving what I do, & the fact after 6 years people still love it! ♥♥♥

Have an amazing Sunday!
Matte St. Patrick’s Day Dotticure 🍀

Hello lovelies! Happy St. Patrick’s Day 🍀 although this feels like a very strange thing to say considering the state of the world right now. I hope wherever you are, you’re safe & healthy & stocked up on all the essentials you need. Like coffee.

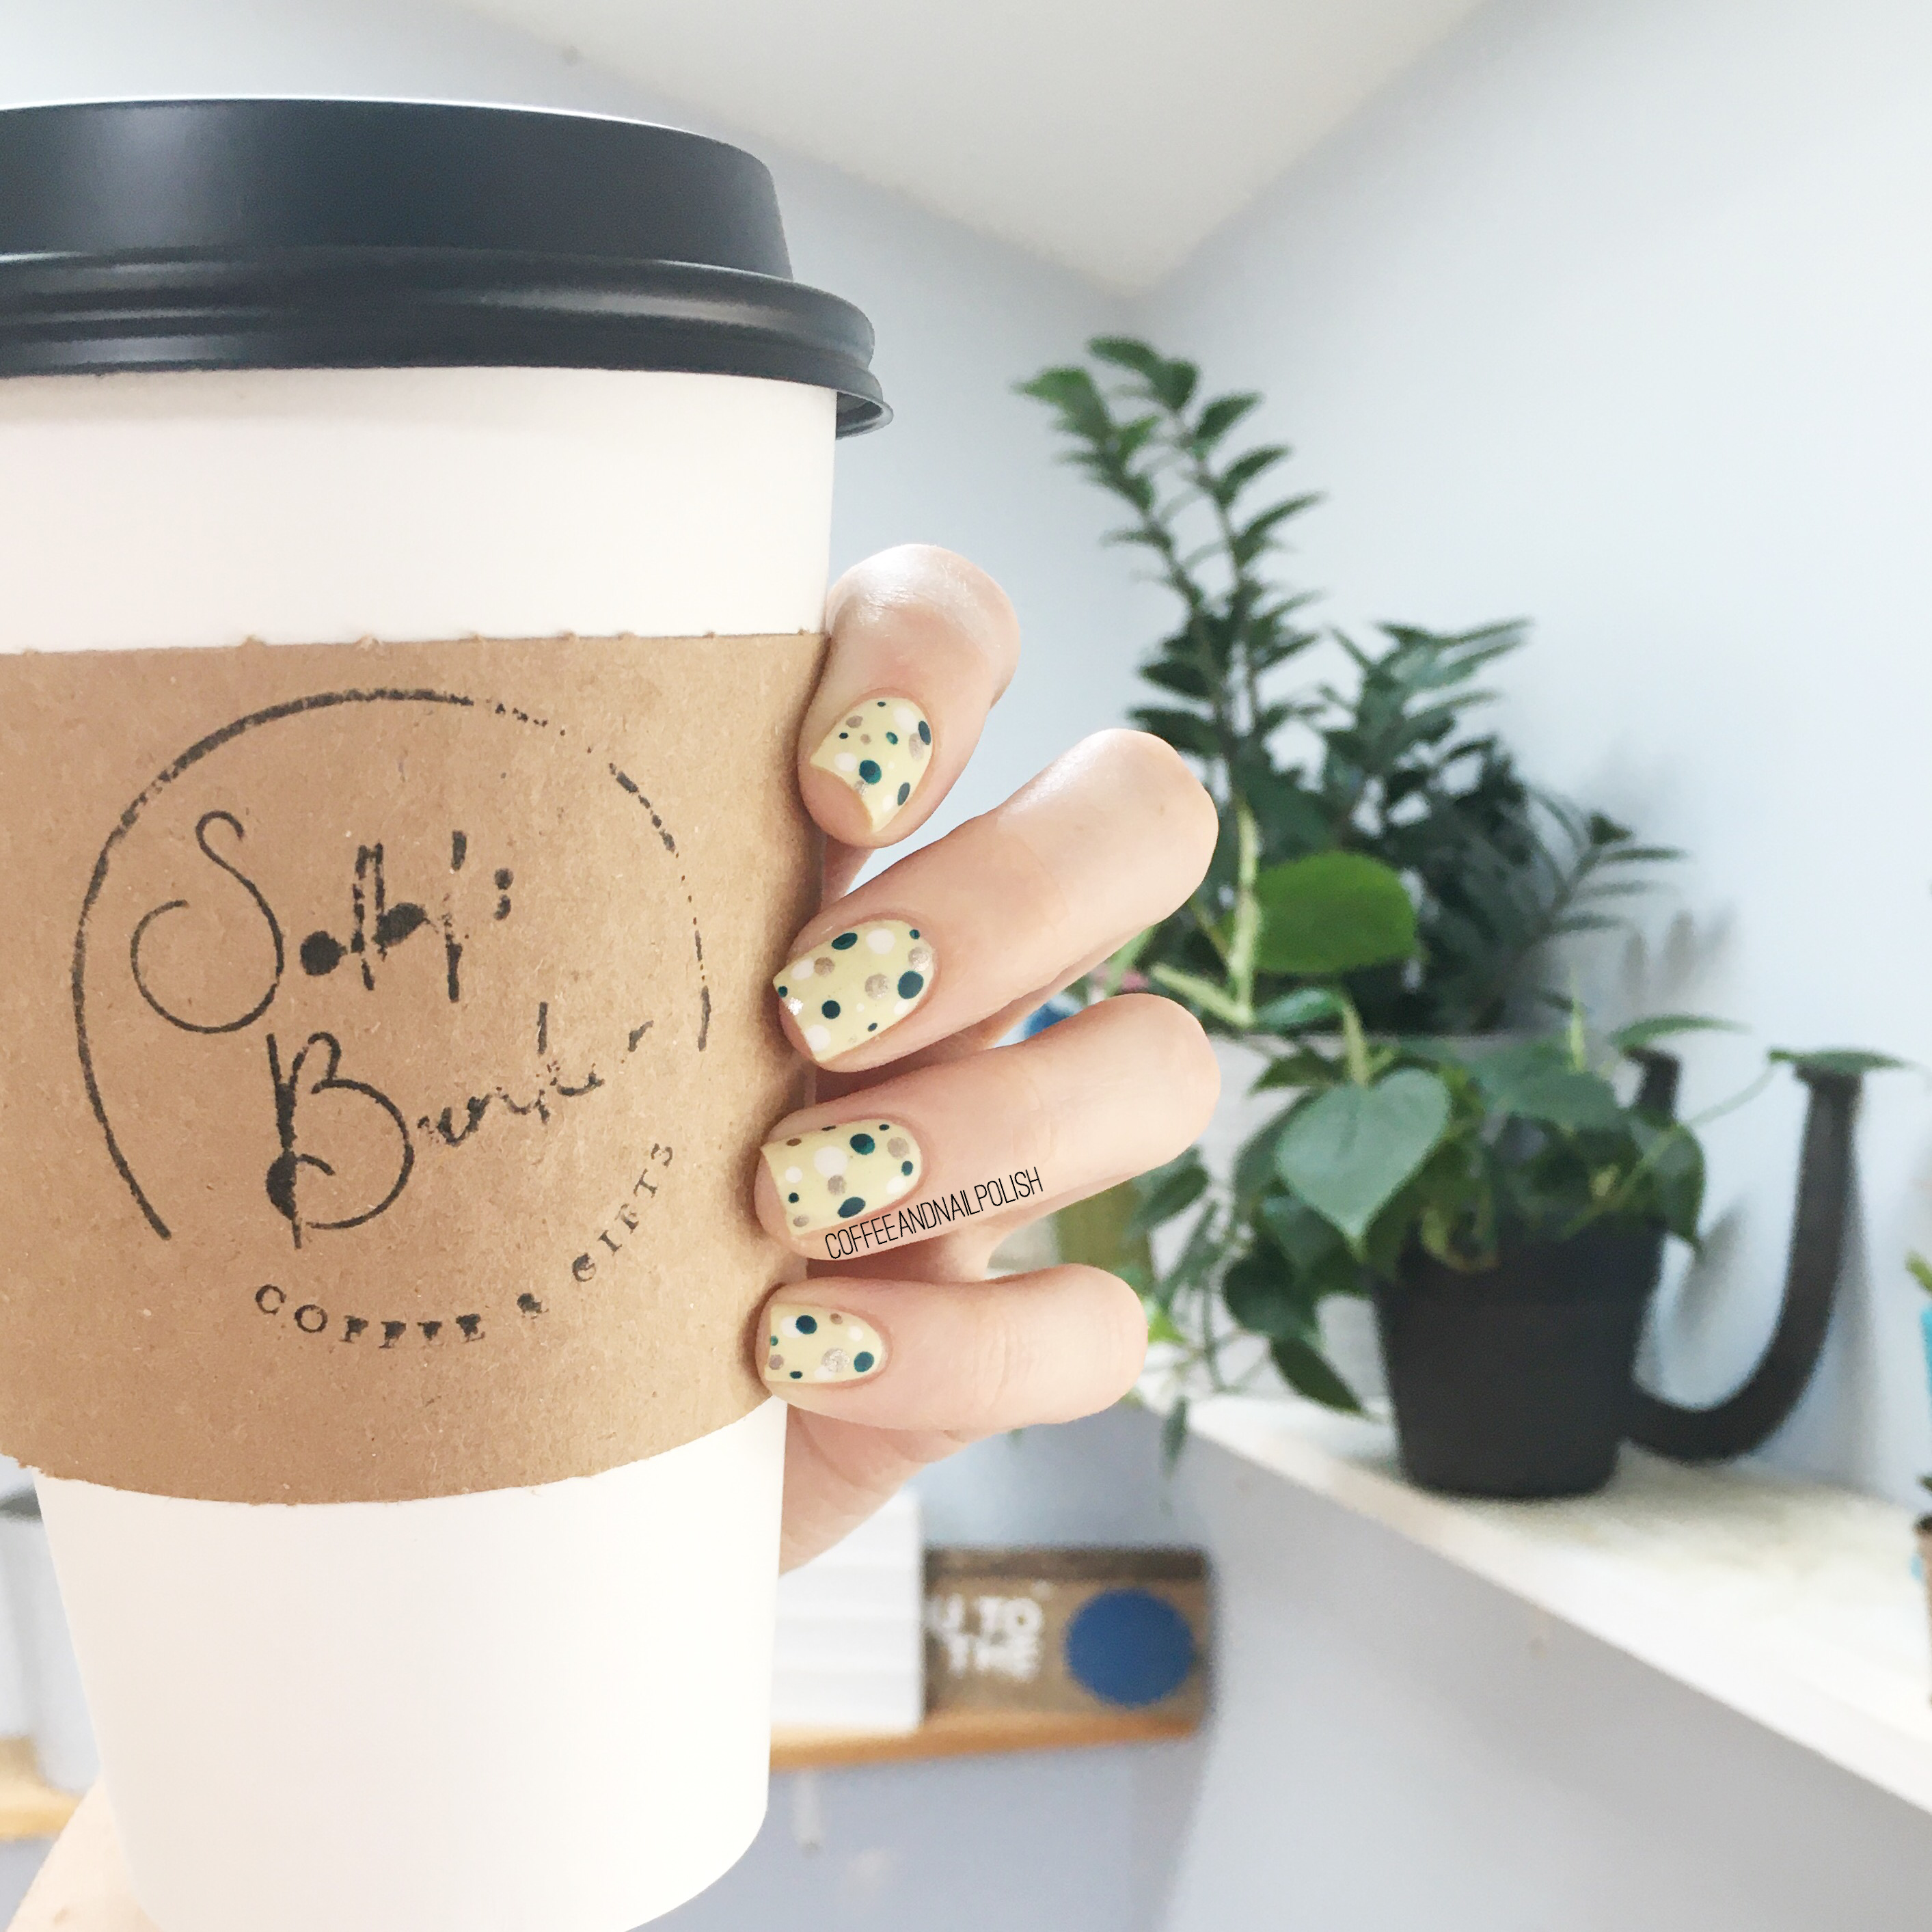
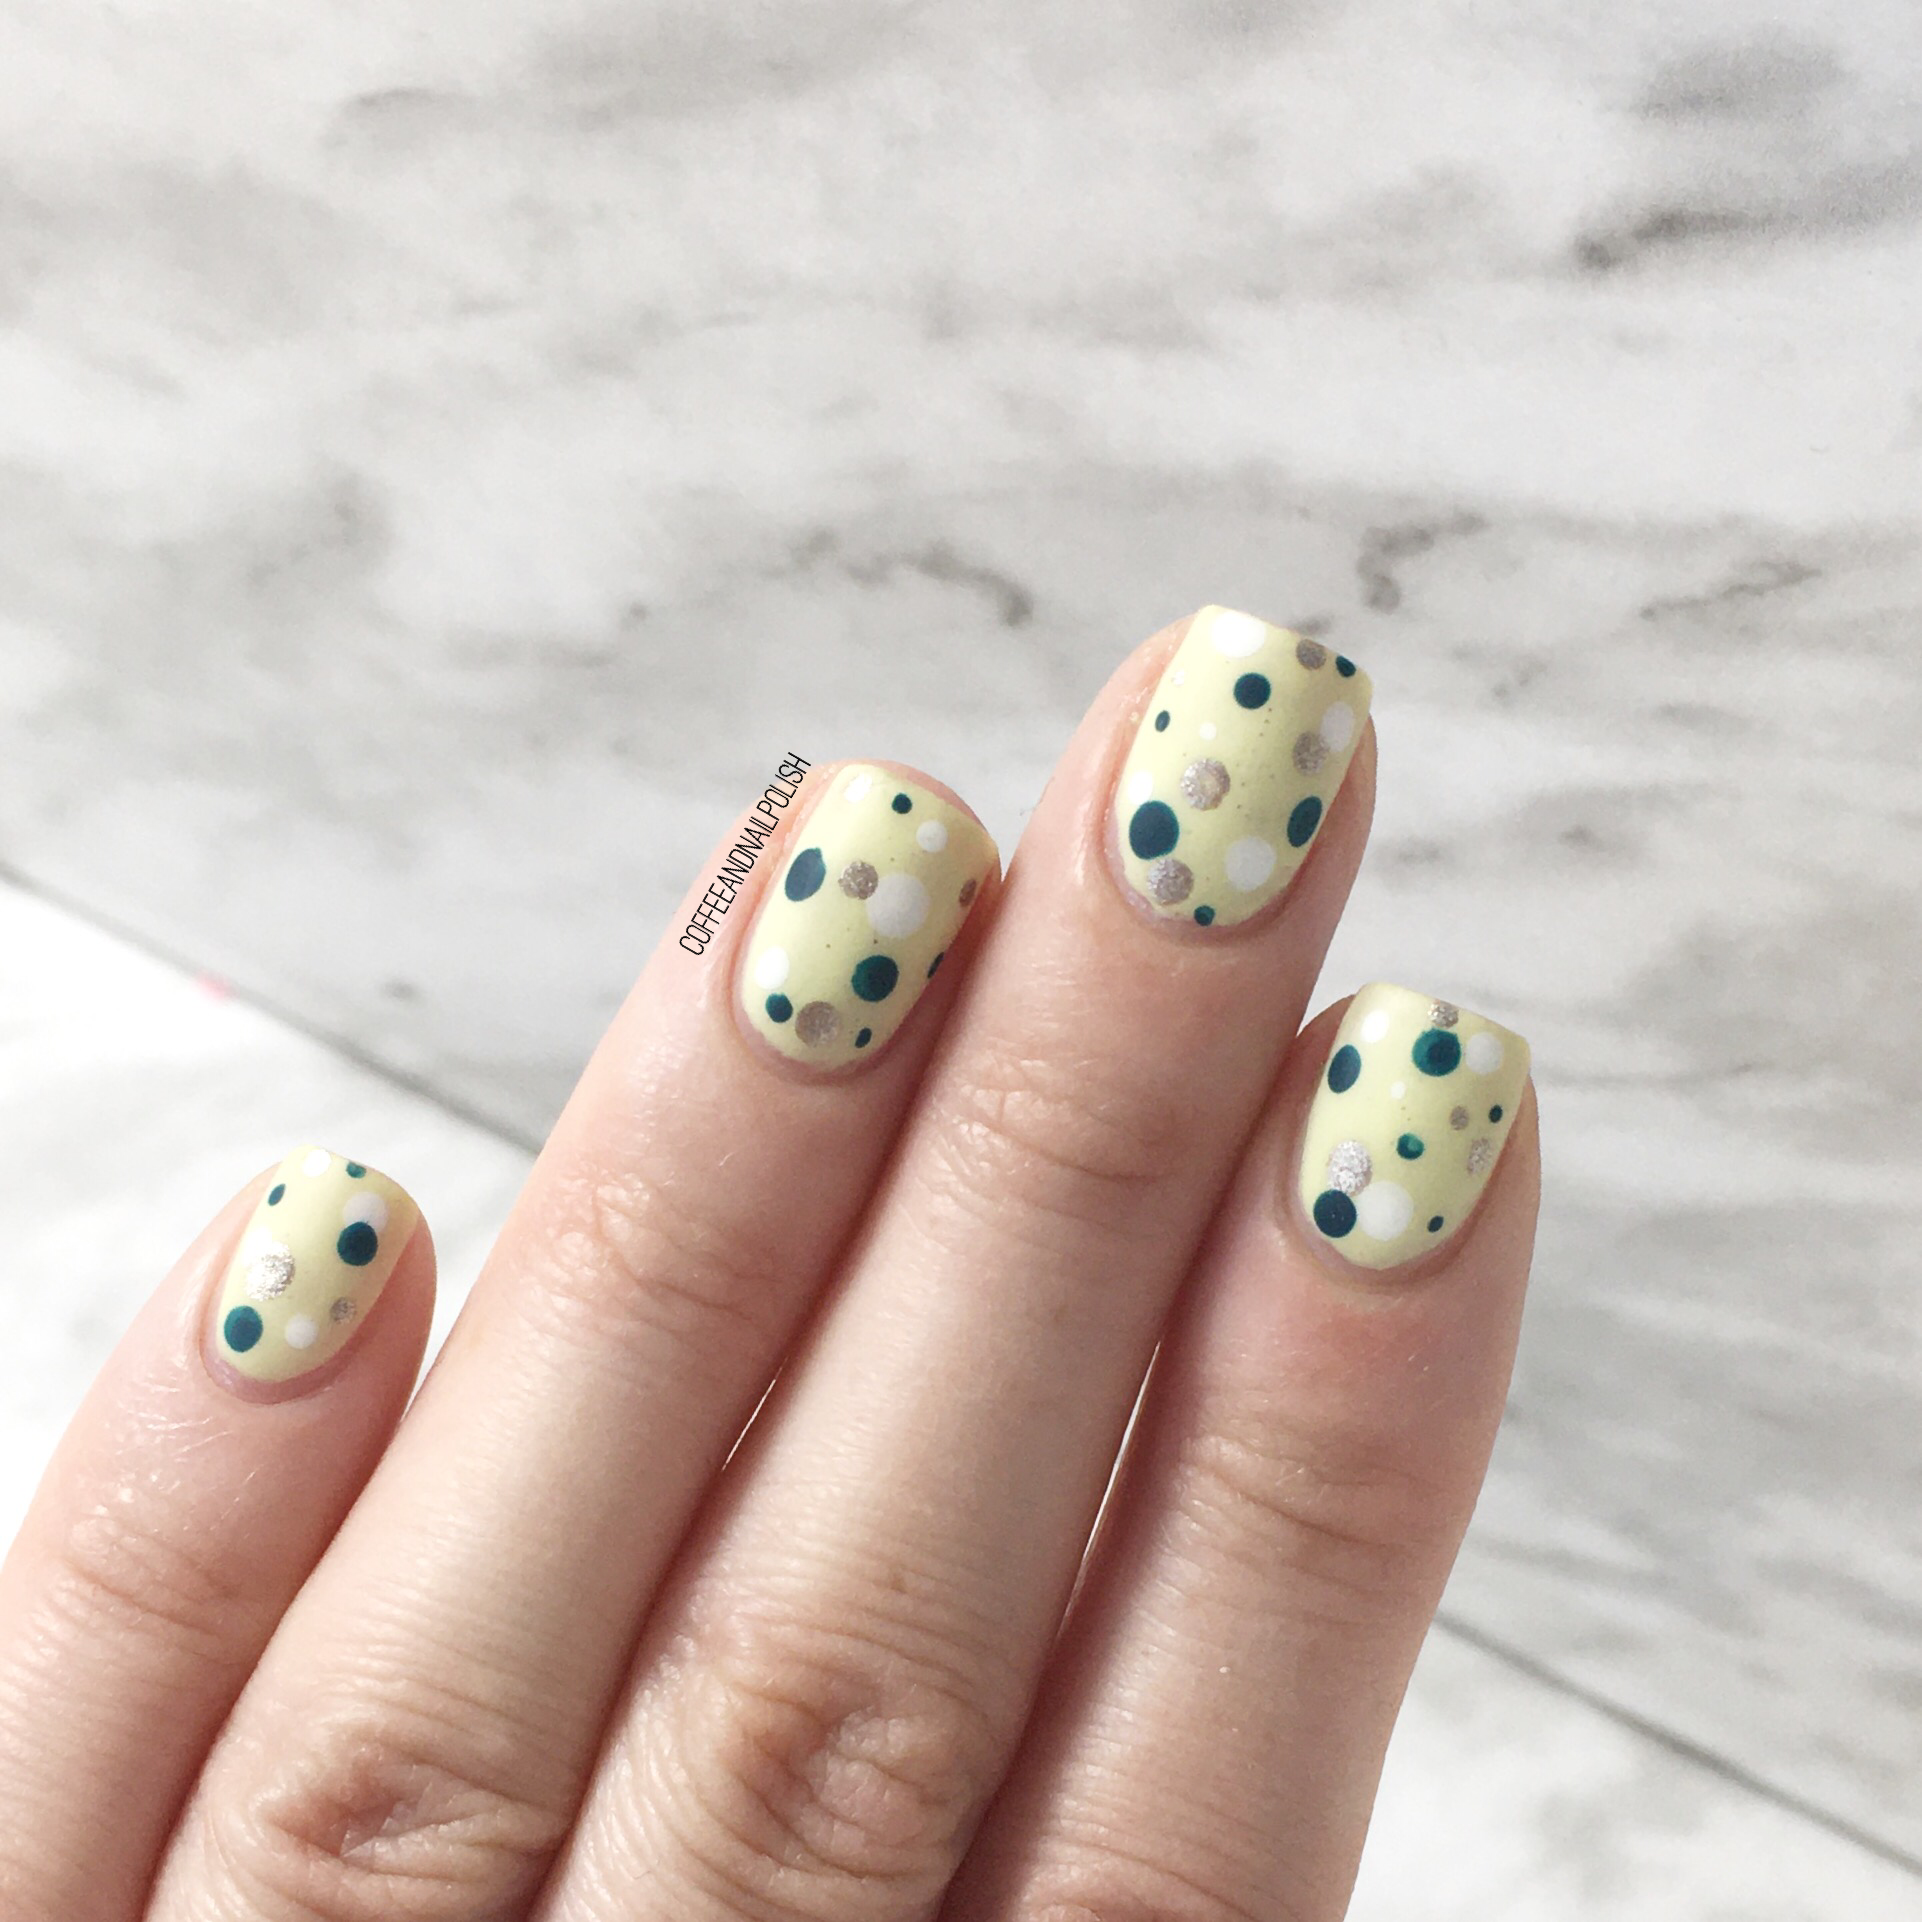
For the first time in a long time, I wasn’t feeling the St. Patrick’s Day nails this year, but decided at the last minute (yesterday) to do something, anything. & what is more fun & festive than a green themed dotticure!

For the manicure, the polishes I used were:

  • Base Coat: Sally Hansen Good Kind Pure Hardener
  • Top Coat: Essie Gel Setter
  • Matte Top Coat: Sally Hansen Miracle Gel Matte Top Coat
  • My Beauty Spot pistachio green (no name)
  • Sally Hansen Miracle Gel Get Mod
  • L’Oréal Feeling Kilty
  • Quo by ORLY Diva
  • NailStuff.ca Dotting Tool Trio  (COFFEE10 to save 10%)

This look makes me happy, not only because it’s relatively quick & so easy to do! A dotting tool was the very first nail art tool I ever purchased, & by far they are the ones I’ve used the most over the last decade of me obsessively painting my nails! The great thing about a dotticure is that you grab a few festive colours & you can create a manicure for any holiday! Orange & black = Halloween. Green, red & White = Christmas. Pastels = Easter.

Easy peasy.

What do you usually do for St. Patrick’s Day? Back in my bit crazier days, I would take the day off from work & go party at a friends house literally all day. Those were crazier times for sure. Now I pretty much stick to kombucha & maybe Irish Cream flavoured coffee!

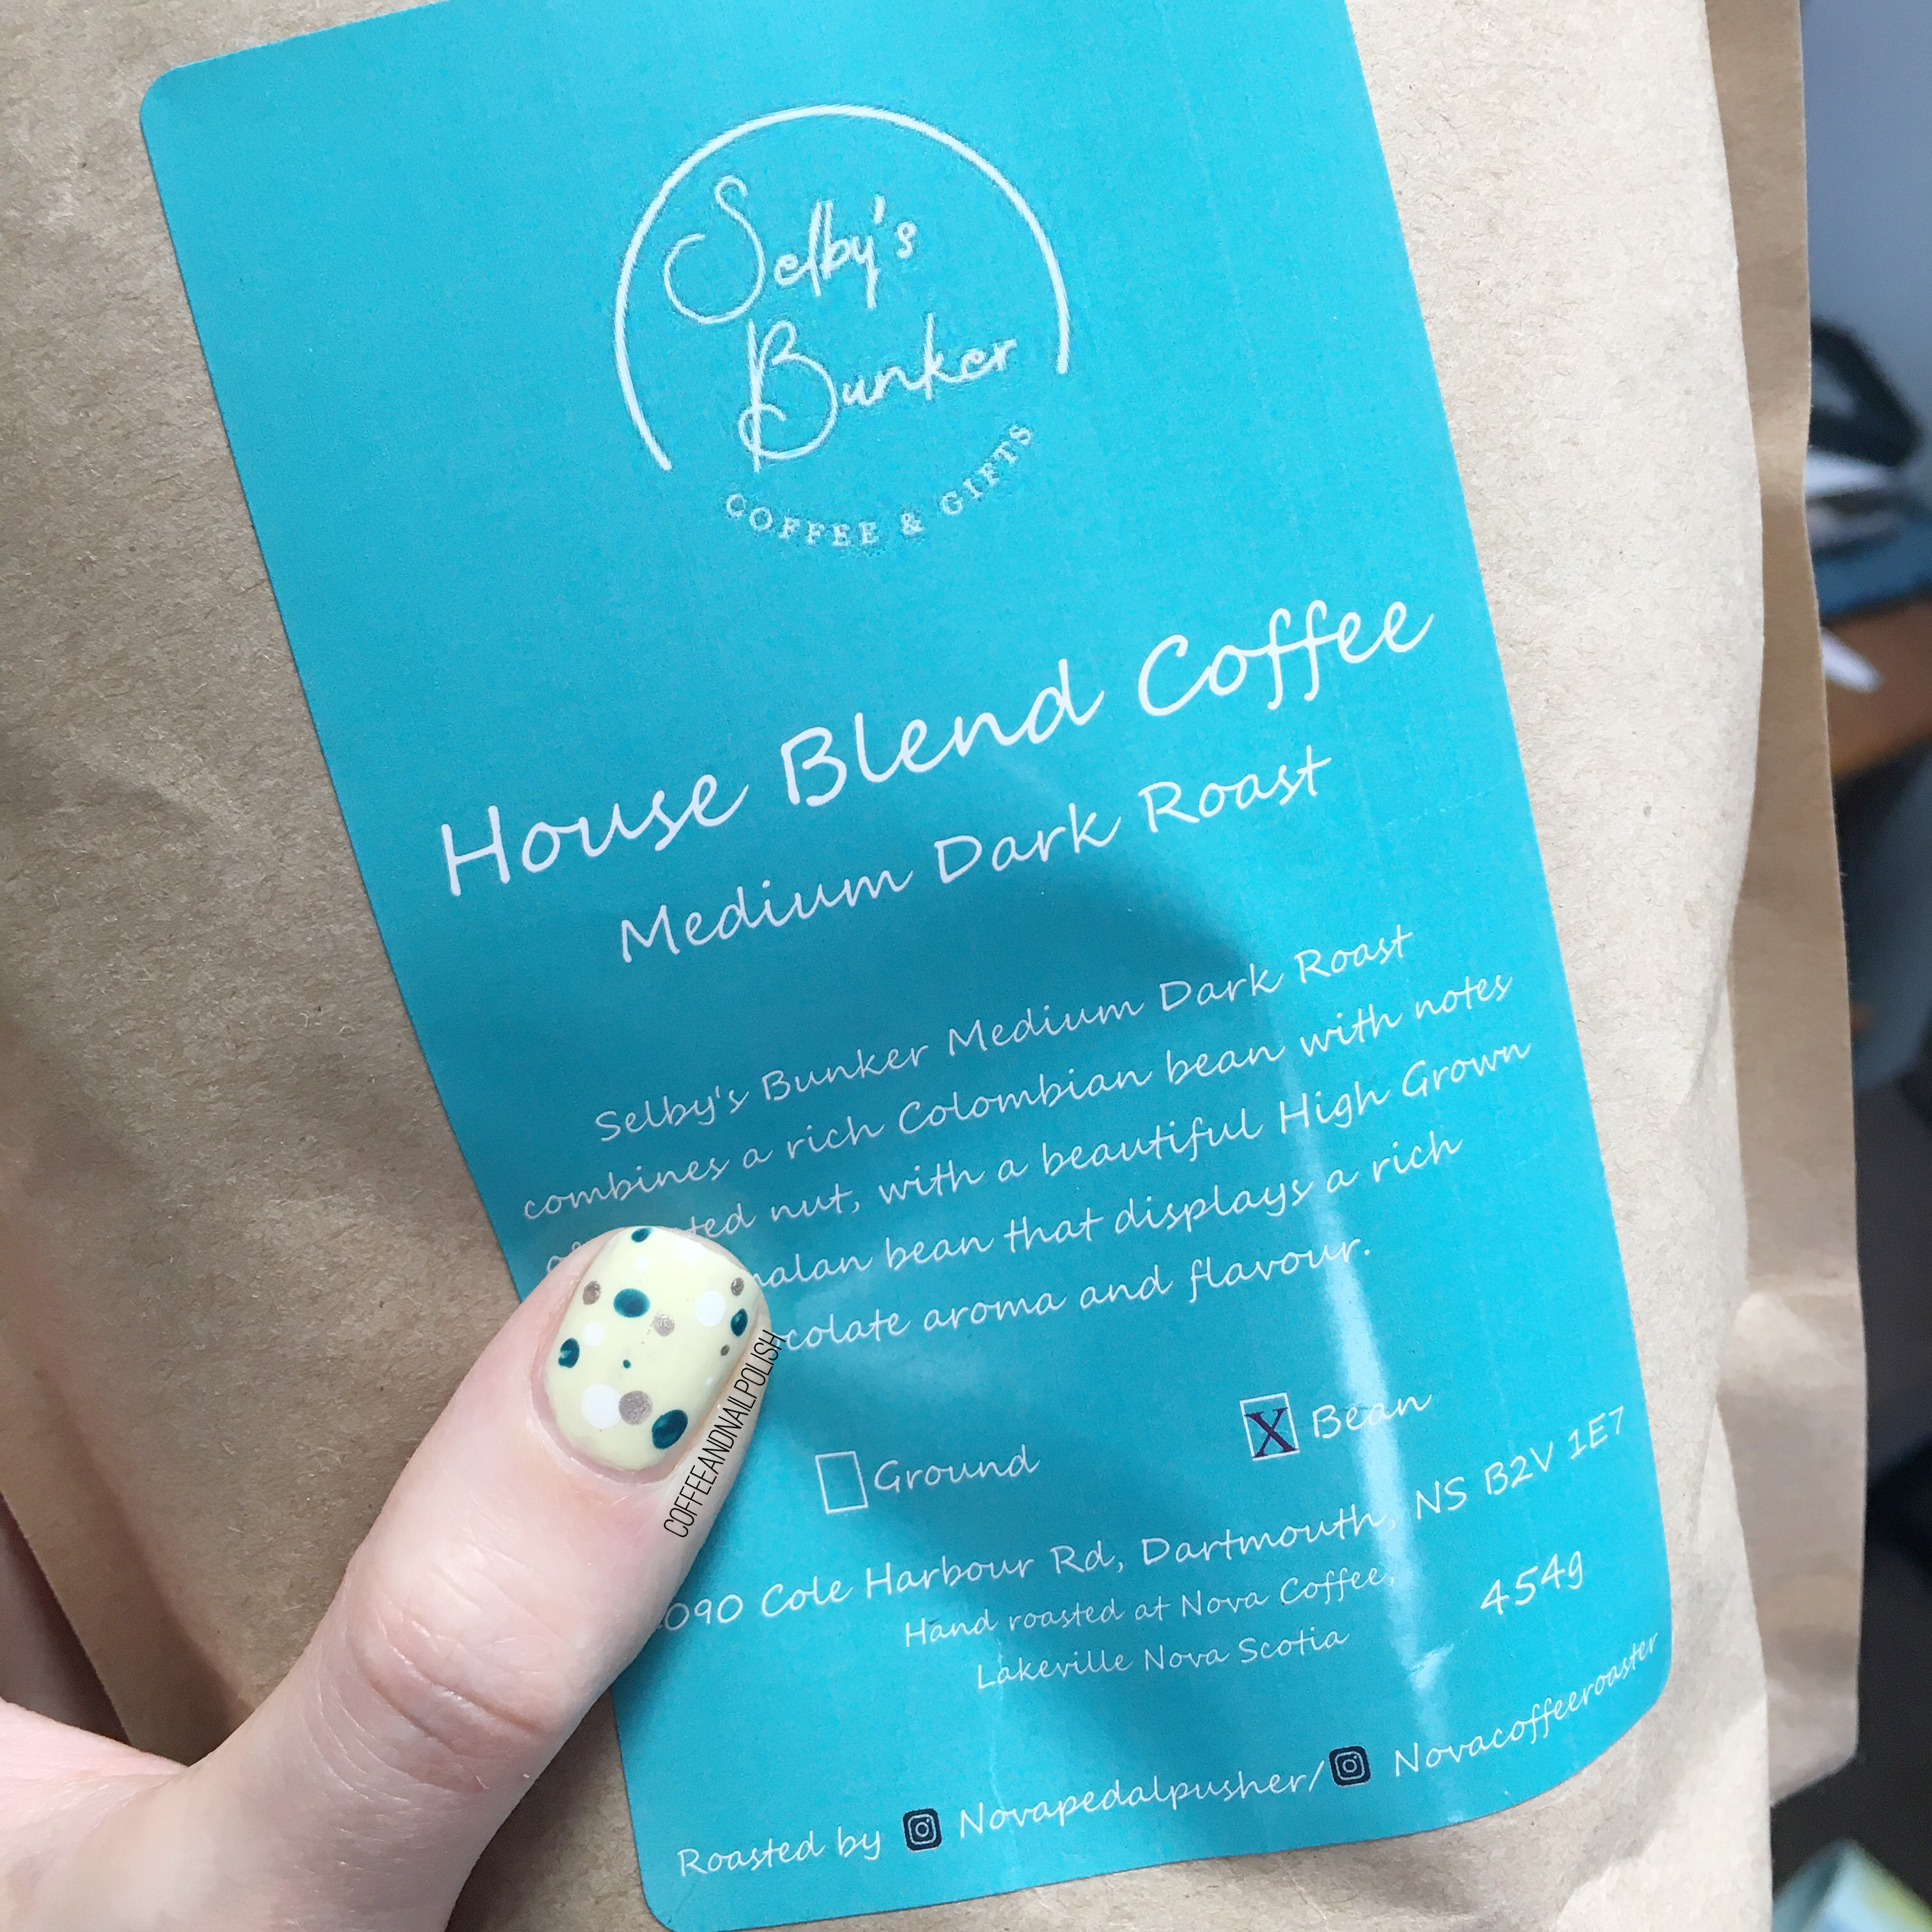
This year, like I said, with all the fear about Covid-19, we’ve stocked up on goods for the next little while. But I am set when it comes to coffee — we made sure to hit up Selby’s for some at home coffee! ☕️

Stay safe (& healthy!) loves

Groovy Abstract Stripes

Hello lovelies & happy Tuesday! Hope everyone has had a lovely start to their week. We had another beautiful almost Spring like day yesterday, which gives me hope that maybe — maybe — one day soon, Spring will be here to stay. I just keep longingly staring at the clothes in my closet, dreaming of the day when it’s warm enough to wear them!

In the meantime, how about some Spring on the nails! I’ve definitely been feeling myself drawn to my more Spring looking nail polishes. I just need a little brightness in my life!

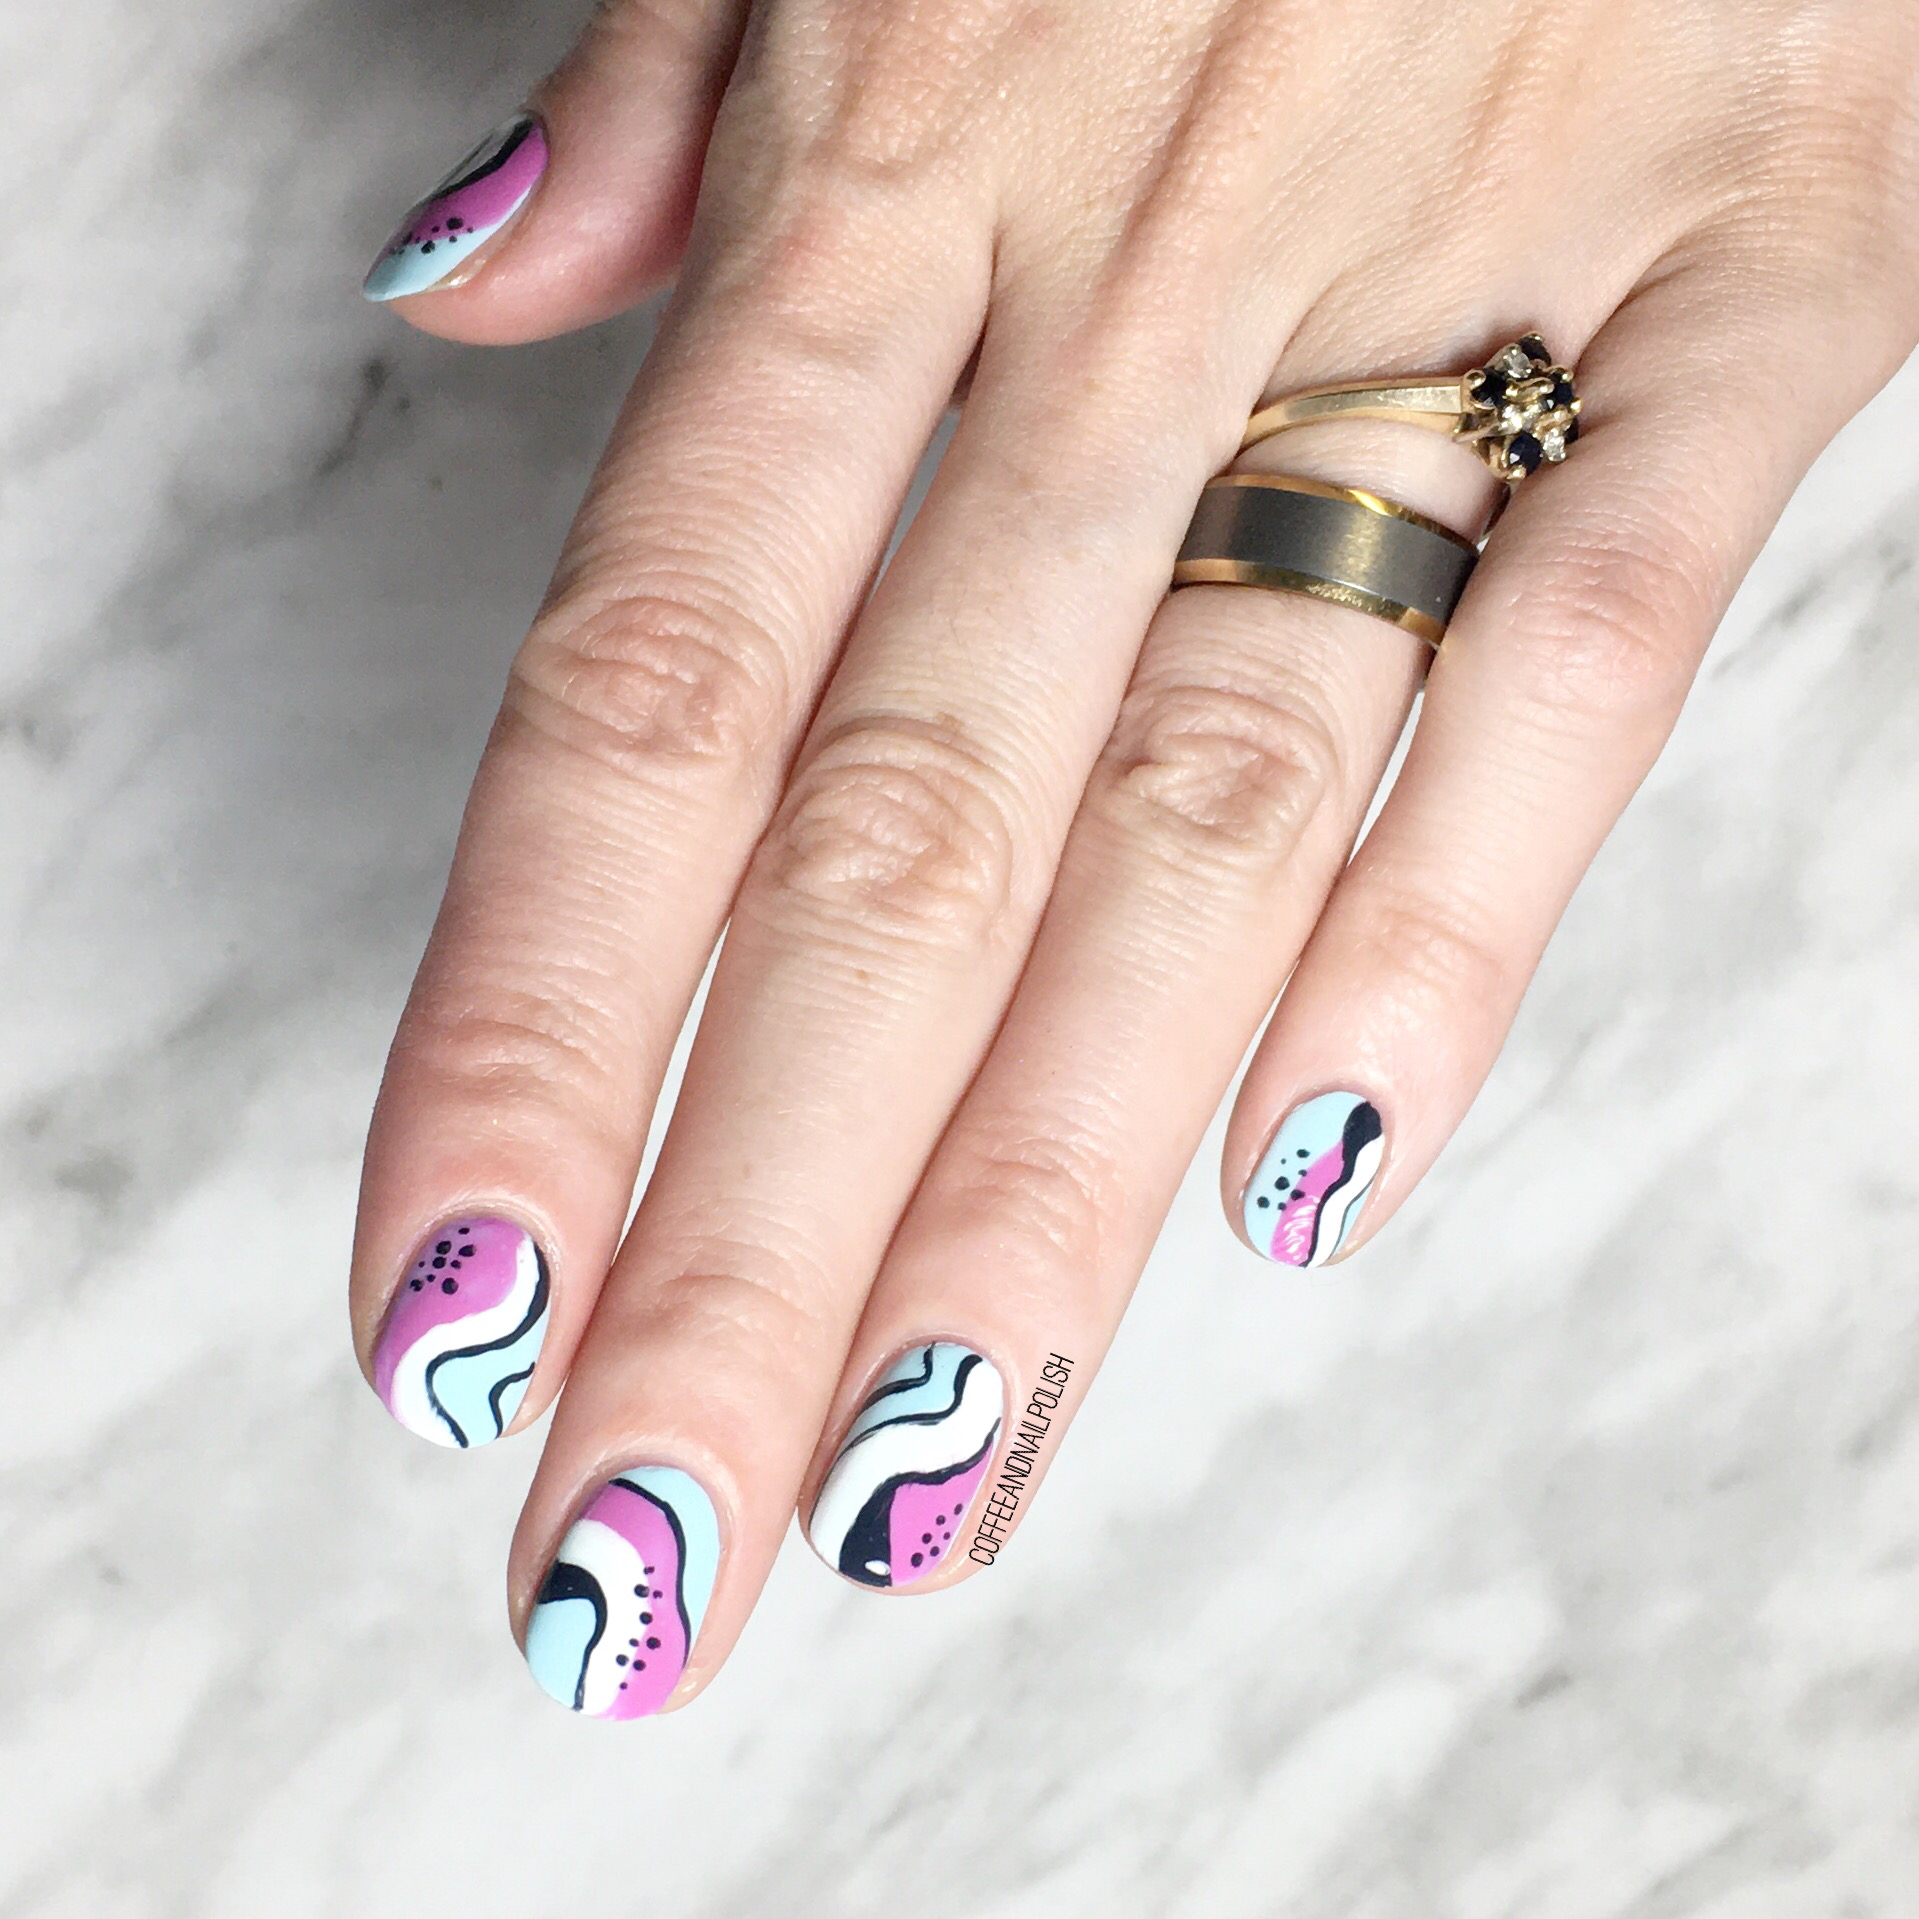
For this manicure, the polishes I used were:

  • Base Coat: Sally Hansen Good Kind Pure Hardener
  • Top Coat: Essie Gel Setter
  • Essie Mint Candy Apple (the blue version)
  • Essie Splash of Grenedine
  • Essie Blank Page
  • Essie Bobbing for Baubles
  • Nailstuff.ca 11mm Liner Brush (COFFEE10 to save 10%) {gifted}

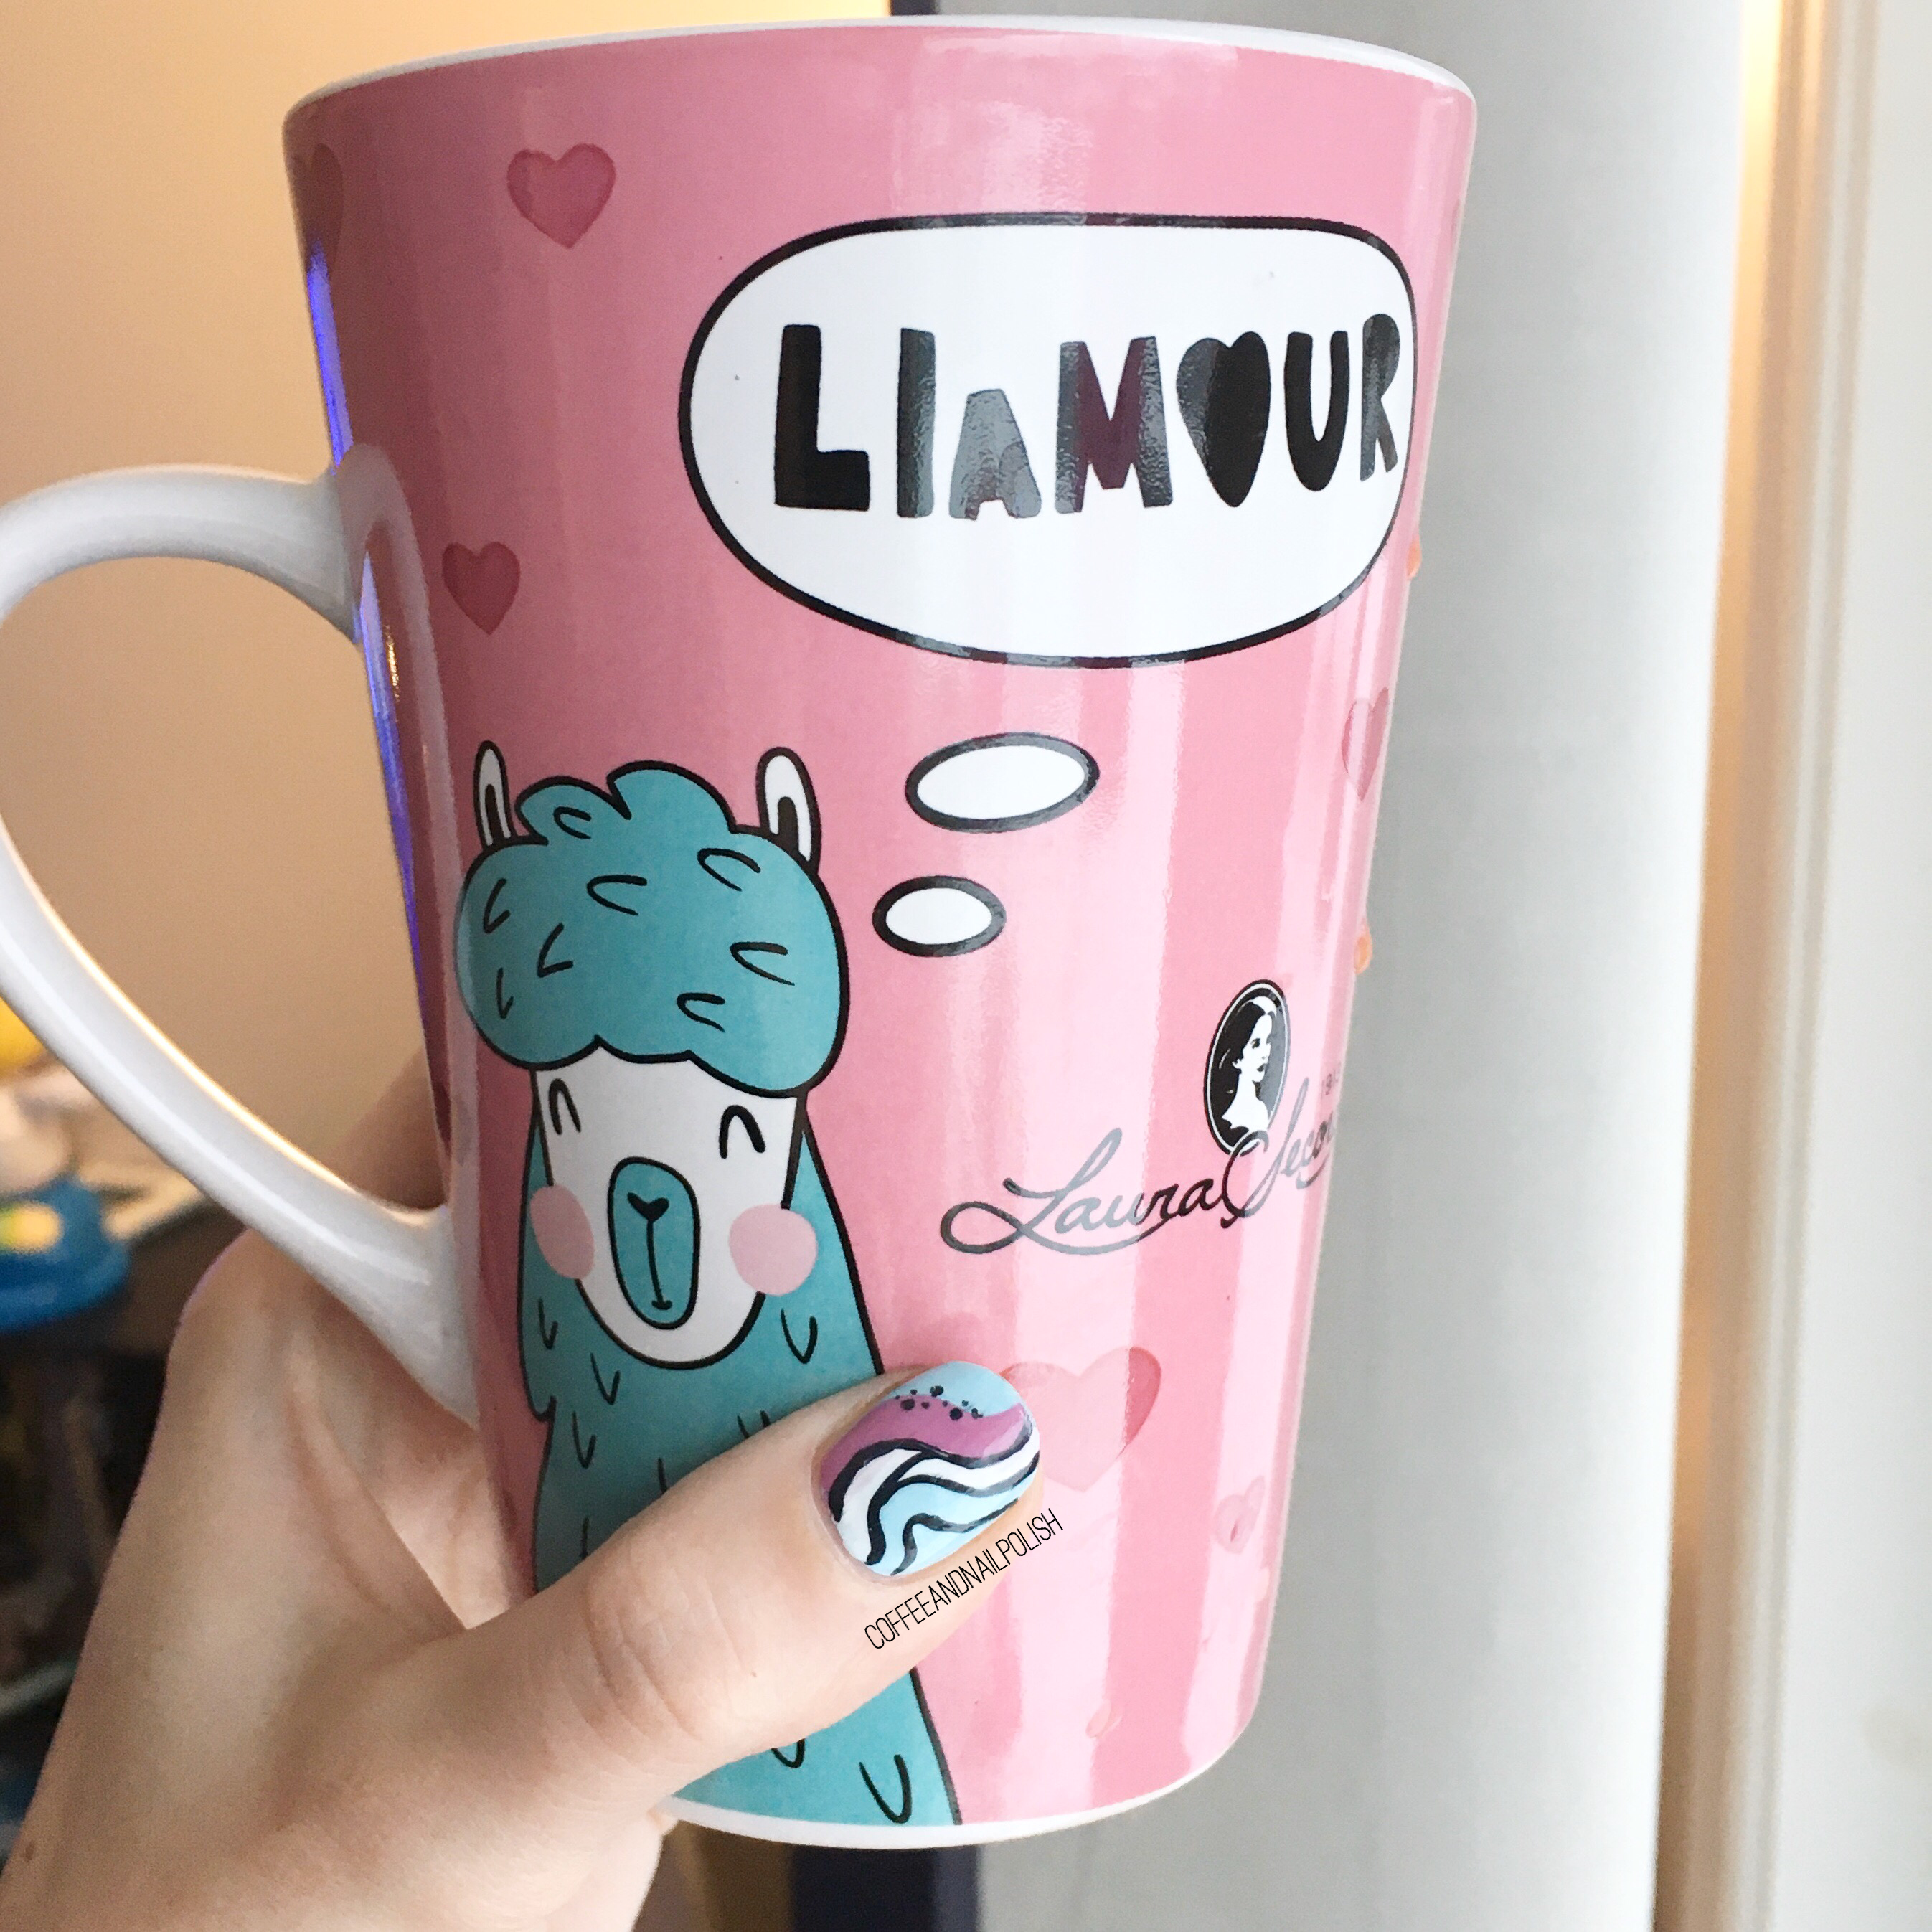
I love abstract stripe designs so so so much, especially when they turn out as perfect as these did! These totally remind me of one of those gorgeous abstract Pucci designs. The swirly lines & bright colours — perfect for Spring! Also I love the brighter pop of pink over the paler blue base. What is it about this colour combo? It makes me so happy!

If this doesn’t make you feel ready for Spring, I don’t know what will. I also just feel so proud of how these turned out too — it might just be the best version of the abstract stripe design I’ve done yet! & yeah, it kind of makes me want to do another!

What do you think about this look? Are you feeling these Spring-y colours? Let me know what you think down in the comments below!

Subtle Vertical Stripes

37B77646-2A11-4CA7-B412-8D3CF7AE185C

Hello lovelies & happy Thursday! We’re back into our nail art routine & I have another fun look to share. Two things I’ve been trying to do this year: wear more of my polishes from deep in my stash, & bring my manicures back to the beginnings. Sometimes it’s fun just to go a little more simple. I’ve been seeing a few looks of simple vertical stripes — @xglitzandpolishx & @apolishedcolleen recently did beautiful versions that I’m obsessed with.

So I decided to do my own version!

228B2628-AD28-4B46-893E-F10AA04FE8F1

For this manicure, the polishes I used were:

  • Base Coat: Essie Treat Love & Color Gloss Fit (clear)
  • Base Coat: OPI Nail Envy
  • Top Coat: Sally Hansen Miracle Gel Top Coat
  • China Glaze Jungle Queen
  • China Glaze Up All Night
  • Straight Nail Vinyls

.

7A15D9C3-6E5F-47C7-B69B-C4C8D9E46851

For this look, I decided on two shades that would compliment each other really well, but was kind of a subtle look. First I grabbed Jungle Queen because it’s a gorgeous shade which I don’t wear nearly enough & the grey-ness of it is something I love in the depth of January. It is a bit of a darker shade, so I needed to find something dark that it would still pop against. China Glaze Up All Night has been in my stash for a long time (since before baby #1) but I haven’t worn it… ever. That’s kind of crazy because it’s SUCH a pretty shade.

EFCC5BE0-CBB2-453C-8A26-AA48D6131CFB

I think my only regret with this look is a wish I had gone with skinnier nail vinyls/striping tape. But I think these single stripe nails are so chic, & they end up making your nails look SO long. Such a fun look to wear, & there are so many different ways to wear it & so many different colour combinations.

BEFA91D5-2CAA-40BF-94A0-32E324F79D52

Have you done this single stripe design yet? What do you think about this subtle version of this look? Hope over to Instagram (since my blog comments don’t seem to want to work), & let me know what you think & what colour combinations you would rock.