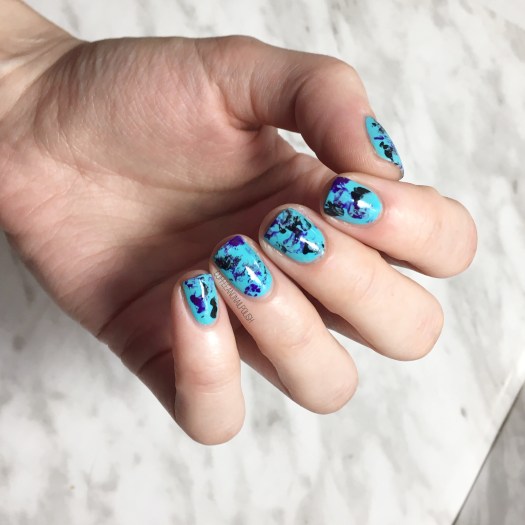
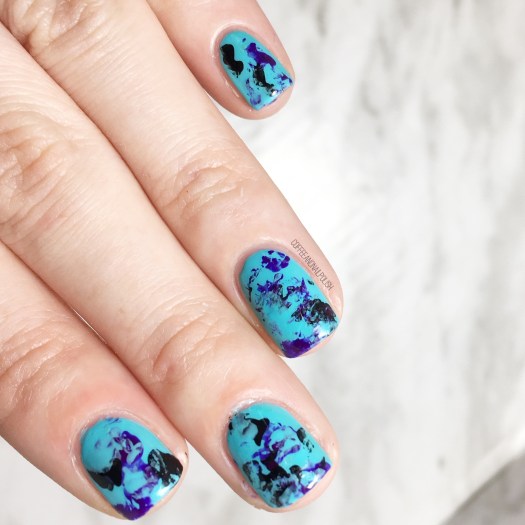
Turquoise & Purple Marbled Nails

Good morning lovelies! I’m back from the land of the stomach flu. Thankfully I managed to avoid catching it but the rest of the house was not so lucky. After 3 days of basically hiding, I finally managed to do my nails & it feels so good. Especially since yesterday marks 🎉FIVE YEARS🎉 since the beginning of this little nail blog of mine.

& I totally forgot until yesterday (I blame pregnancy brain & trying to avoid gastro.) I’m going to do a post tomorrow soon I’ve been planning on writing forever, but in the meantime I have some quick & easy nails that have become a favourite over the years!
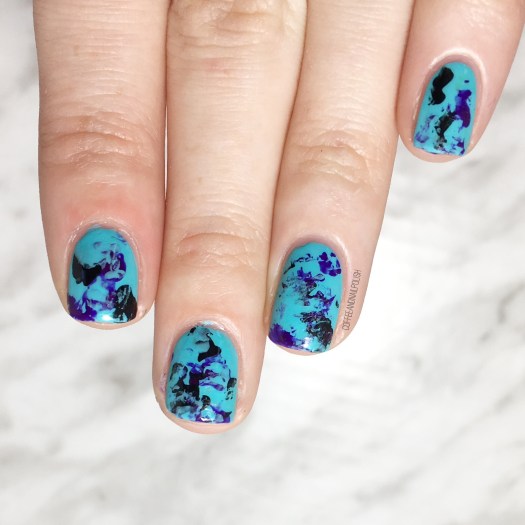
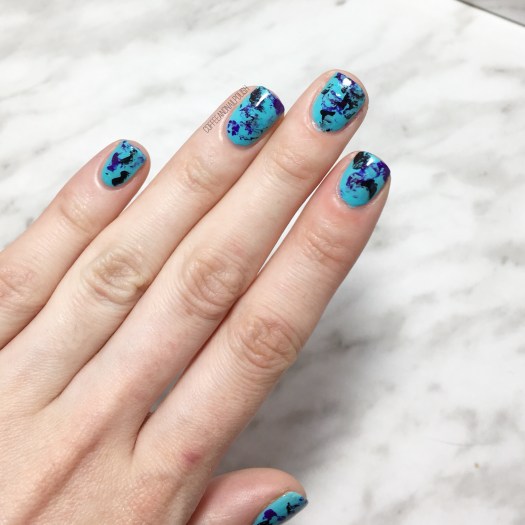
Today’s look is another Saran Wrap splatter/marble.

The polishes I used for this look were:

  • Base Coat: Nailtek 2
  • Top Coat: Seche Vive
  • Icing Matte Effect Polish 60217
  • Color Club Disco Dress
  • Sally Hansen Hard As Nails Black Heart
  • Crinkled up plastic bag

Usually I try to create a splatter effect when I do my Saran Wrap nails, but I wanted to do more of a marble look this time so I layered my polishes… a splatter of purple, a splatter of turquoise, a splatter of Black & then a little more turquoise. This created the more marble effect & they look EXACTLY like how I pictured in my head!

I’m seriously just so in love with how they turned out.

I just want to say thank you really quick to everyone who has been checking out this blog for the last five years. From my early days with some questionable photography skills to now, you guys are the reason I keep coming back… even if there are long pauses due to things like morning sickness & birth haha.

& I’ll keep coming back no matter what new adventures life comes my way.

💙💙

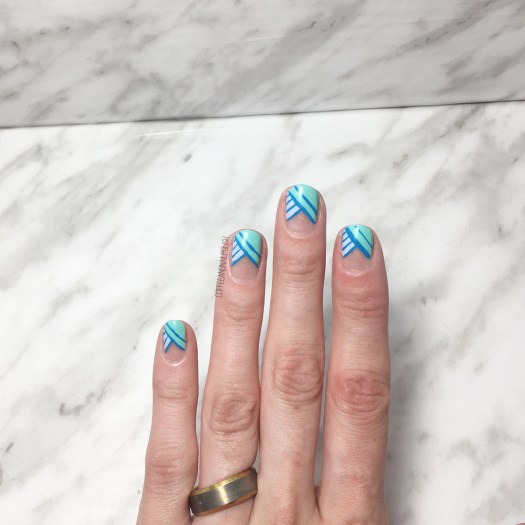
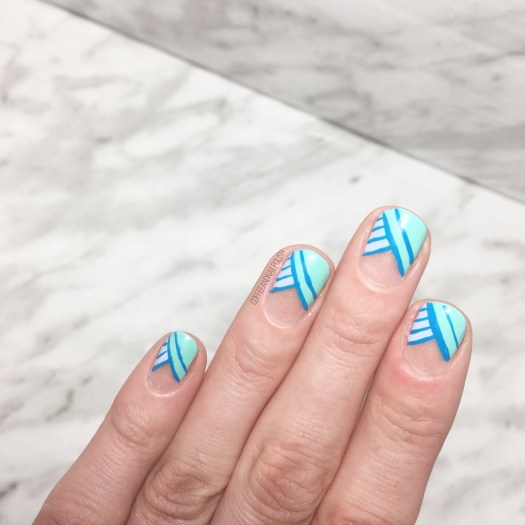
Even More Negative Space Half Moons!

Happy Wednesday lovelies! Who else can’t even believe it’s already Wednesday. It feels like this week is speeding by like crazy. Dreaming of the weekend already… it feels like it’s almost here. Which means spending all weekend (hopefully) barbecuing!

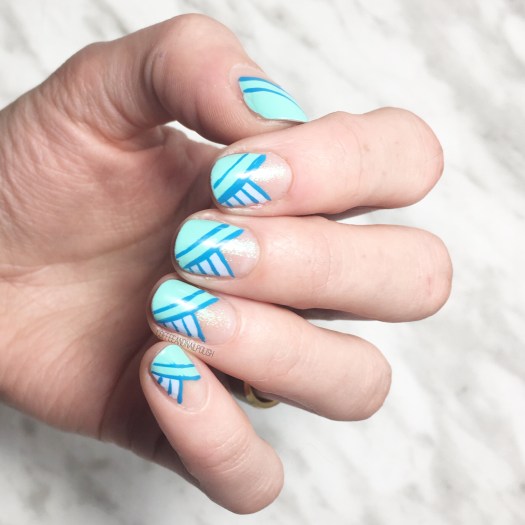
Today’s design is one I actually did back in June, during my super crazy two weeks at work, & never got a chance to share with you! This design was actually what I wore when I had my first Head Office visit at work. I was super nervous as this was the first time I was meeting one of my big bosses, so I wanted to make sure I was representing the brand as best as I could…. right now to the nails!

The polishes I used for this design were:

  • Base Coat: Essie Grow Stronger
  • Top Coat: Essie Gel Setter
  • Icing Mermaid Mint
  • Claire’s Matte Pastel Nail Polish Sorbet Mint
  • Claire’s Matte Pastel Nail Polish Sorbet Blue
  • Jordana Cosmetics Pop Art Nail Design in Blue Abstract

You know what’s awesome about working for a company which is geared towards a tween audience—you always have an excuse to do something fun with your nails! We sell a lot Nail goodies, so I’m always getting inspiration from them! This design was kind of a recreation of an old design that I had done, but with a few different polish picks.

You can seriously never go wrong with a good negative space chevron look. & the colour combinations are endless!

What do you think of this design? Are you as obsessed with negative space chevron looks as I am (I don’t think anyone is!)

Share down below all your thoughts!

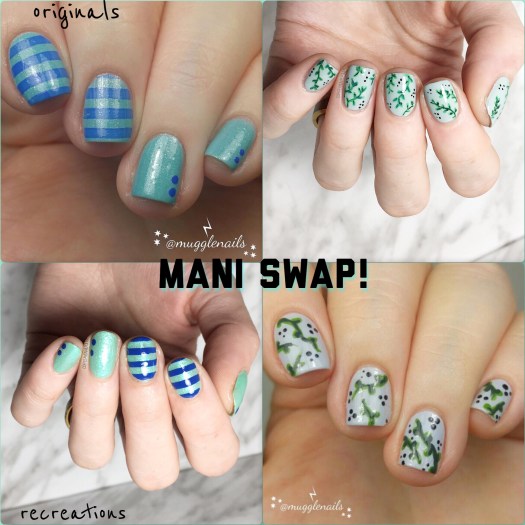
Mani Swap with @mugglenails

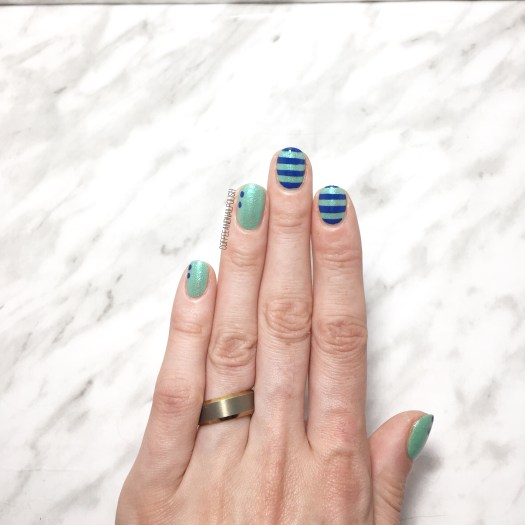
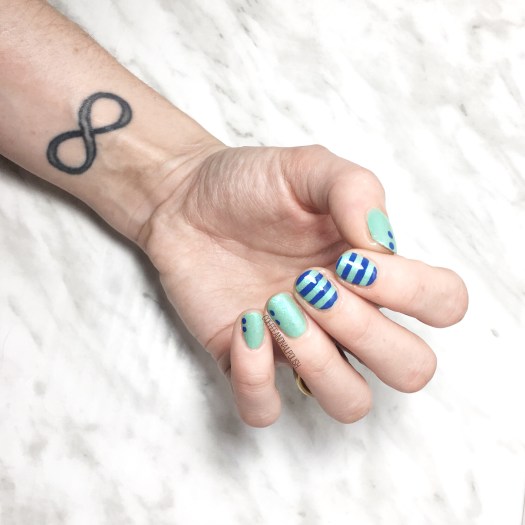
It feels like forever since I had to opportunity to join one of my fellow nail art addicts in a mani swap. So I was super excited to be able to team up with a fellow Canadian nail polish addict @mugglenails in a fun design swap. Meghan always comes up with such creative nail art patterns & colour combinations. So it was really fun to scroll through her feed to pick a design to recreate!

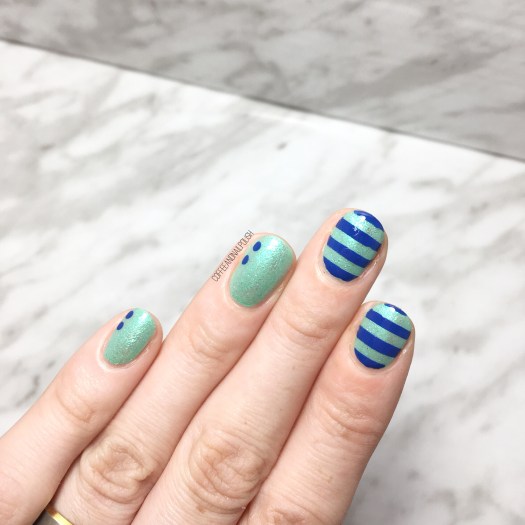
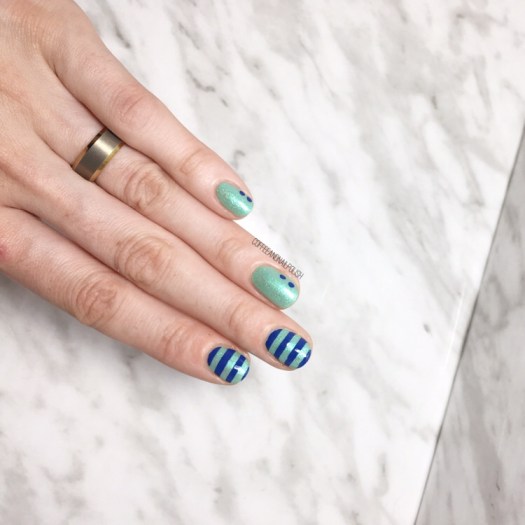
I had narrowed it down to two designs of hers, but in the end I kept coming back to this blue & aqua design. There is something about the colour combination which felt so nautical, I just couldn’t get it out of my head. Very, very Summery! For her design, Meghan recreated my green vine design from a few months back.

For this design, the polish I used were:

  • Base Coat: OPI Nail Envy
  • Top Coat: Essie Gel Setter
  • Essie First Timer
  • Icing Stores Mermaid Mint
  • Essie All the Wave
  • Born Pretty Store Aurora Rainbow Nail Striping Tape (item #40423)
  • Medium sized dotting tool

There is something about this colour combination that just makes me swoon. Maybe because it feels so Summer-y & reminds me of the ocean. I mean, I’m an East Coat Girl… the ocean is in my veins. I will always adore a nail design with a nautical theme. All this design needs is a quick accent anchor for it to go full nautical. But I kind of like the fact that it’s kind of subtle–it makes this design a much more everyday look. This colour combo isn’t my everyday choice, & yet I’m completely obsessed with it!

What do you think of this mani swap? Do you think my recreation was successful? Share your thoughts down in the comments below!

Summer Vibes Magazine Spread & My Summer Inspired Nails

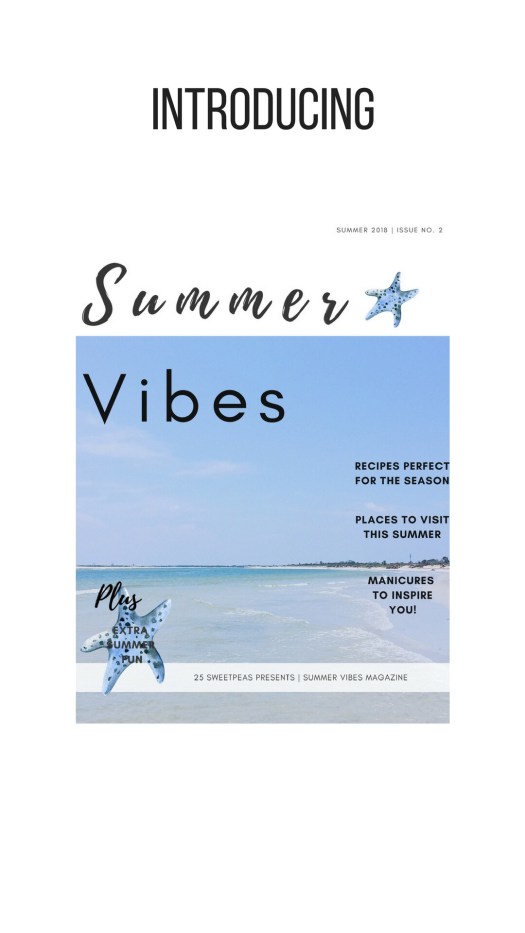
You may remember back in December, Sarah from @25sweetpeas created the most amazing holiday magazine. While once again she has gathered together some of her blogger friends to create another awesome magazine, this time focusing on all things Summer. There are recipes, pretty nails, & even a travel guide!

The magazine has been broken up into two parts for you — part one, which holds the recipes (including 2 of mine) & pretty nails! Part two has some awesome fun things including places to travel this Summer & other bonus goodies!

You can click below to go to the PDF & download!

For my nails, I decided to create a pretty & bright tropical leaf pattern design which was inspired by a mix-n-match bikini I saw few months back (& didn’t buy sadly). Once if my favourite things about Summer is the colour! I love pulling out all the colourful clothing that has been sitting way back in the depths of my closet, waiting for sunnier days.

Continue reading “Summer Vibes Magazine Spread & My Summer Inspired Nails”

Quick & Easy Summer Nails

Happy Summer lovelies! & Happy Friday! I hope everyone is as excited for sunny days as I am! ☀️ seriously, the last few months has felt like a never ending Winter with a little fall thrown in for good measure. I’m very excited for sunshine & beach days… even if I spend most of my time hiding out within the walls of the Mall.

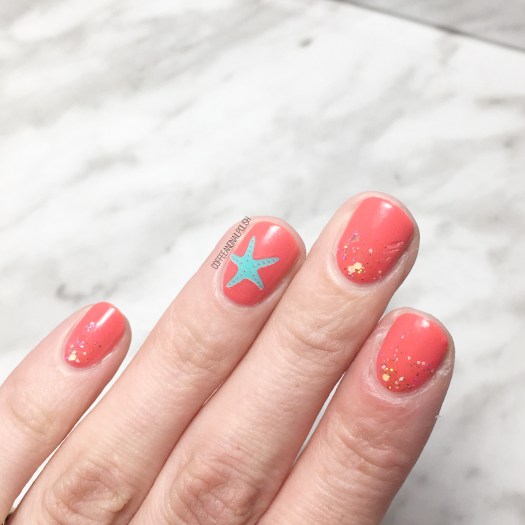
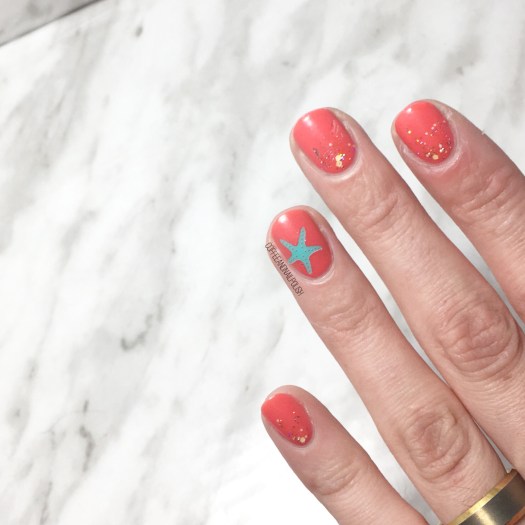
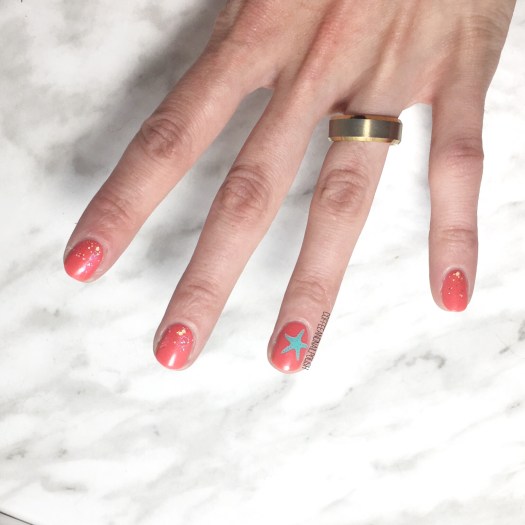
I just got over a very busy couple of weeks, which meant my nail designs needed to be fairly simplistic (since I had no time to do my nails!) That means I’ve been wearing either solid colour nails or going with simple accent nails. I’ve had these nail stickers from Icing in my nail art collection for a few years now, but I felt like I haven’t worn them in a while. I really wanted to have a contrasting colour to my base shade, so I decided to pick one of these turquoise starfish stickers as my accent.

For this manicure, the polishes I used were:

  • Base Coat: Sally Hansen Green Tea + Bamboo Strength
  • Top Coat: Essie Gel Setter
  • Essie Sunday Funday
  • Deborah Lippmann Make Someone Happy
  • Icing Stores Nail Art Stickers (beach themed circa 2015/2016)

Originally I was planning on just wearing Essie Sunday Funday on its own with the starfish sticker, but it really felt like it needed something extra which I why I added the glitter gradient on my other nails…. & I LOVE how it turned out. Like, seriously love. It gives the design that Beachy feel I was hoping for without too much work. Like I said, it’s been a CRAZY few weeks with a lot of late nights at work, so nail art has taken a bit of a back seat. Thank goodness I have a huge back stock of nail art stickers & decals & other goodies to make doing my nails so much easier!

I think coral & turquoise is going to be one of my favourite colour combinations for Summer. After seeing them together here, I’m definitely going to need to do a half moon design featuring them… like now! (Or whenever I recover enough to actually function for nail art haha.)

what do you think of this simple design? Do you use nail art stickers to fancy up your nails? Share your thoughts down below!