Lavender & Gold Romantic Celestial Nails ✨🌙

Hello lovelies & happy Friday! The weekend is upon us… unless of course, you’re like me, & working the entire weekend.

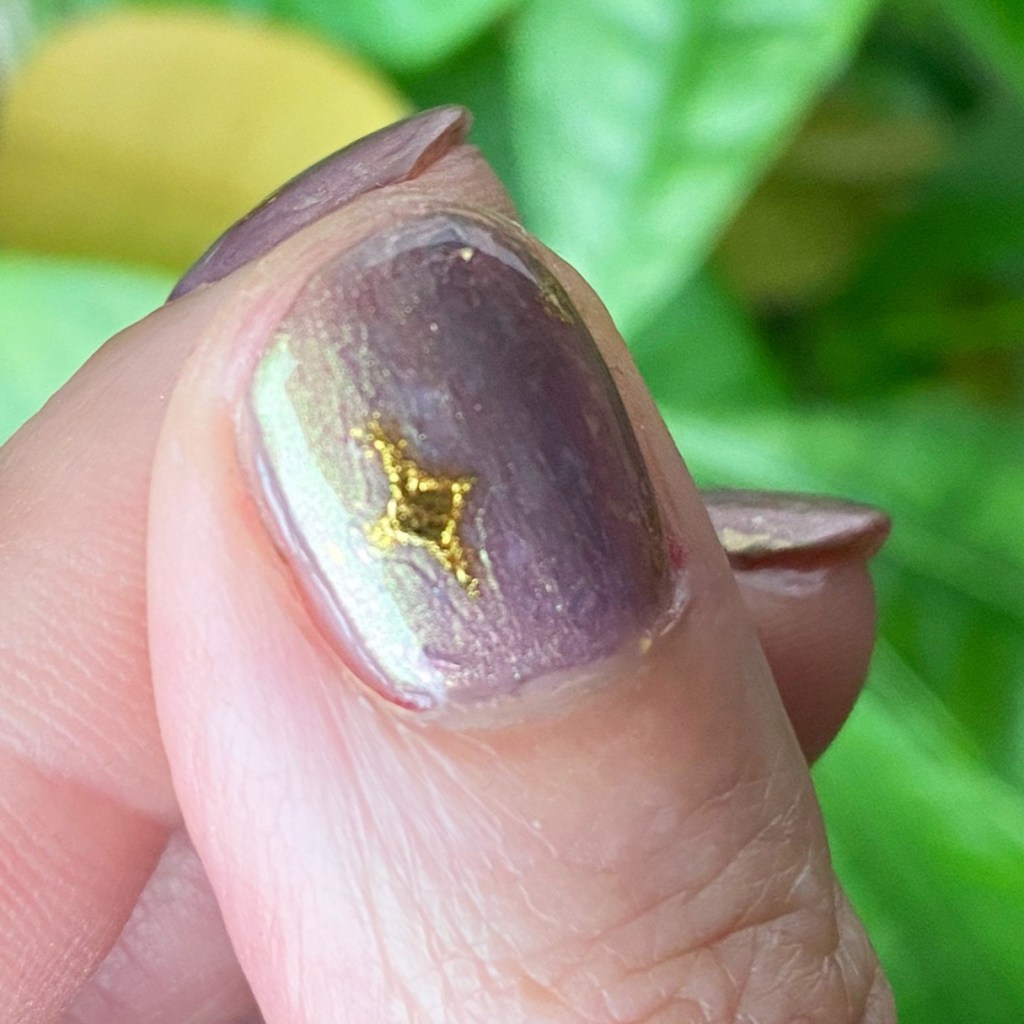
Today though, I’m excited because I feel like I created one of the prettiest nail designs I’ve done in absolute ages. Soft, & romantic… I’m kind of (very) in love. I also feel like this is kind of a different look for me, but the vibe reminds me a bit of a pair of press on nails I tried out a few years ago that I loved.

The polishes I used for this manicure are: 

  • Base Coat: Essie Hard To Resist Strengthner
  • Top Coat: Sinful Colors Power Paint Top Coat + Essie Speed Setter
  • Joe Fresh Gel Look Mauve-ulous
  • Revlon Daydreamer
  • Joe Fresh Gold Rush
  • Essie Get Your Groove On
  • Icing store nail stickers — the stars
  • NailStuff Mermaid Tail Brush — 7mm liner brush

I feel like I perfectly colour matched these nail stickers from Icing I’ve had in my stash for a good… 7 years, to the freehand lines & crescent moon I pained. They look so good together! I was also going to try & add some rhinestones to this look, but it was getting late, & I was so scared of messing up what I had already painted, so I kept them as it.

But aren’t they giving a fun celestial vibe? I was inspired by a few manicures I saw on Pinterest, & these stickers as well. So much so, that when I was at Dollarama, & saw a nail sticker kit with similar stickers, I had to buy it. I’m already planning on a similar vibe, with a mix of dark & light purples, closer to Halloween.

So what do you think of this celestial nail design? Do you just love the pattern & colour combo. I’m kind of obsessed with the shift on Revlon Daydreamer. It is absolutely dreamy.

Let me know what you think about this look, & let me know what kind of nail vibe you’d like to see in the future.

☼ ☽

GLAM NAILS CHALLENGE OCTOBER 2025 — Ghost 👻

Hello lovelies & happy Wednesday! It’s hope your week has been as calm & peaceful as can be.

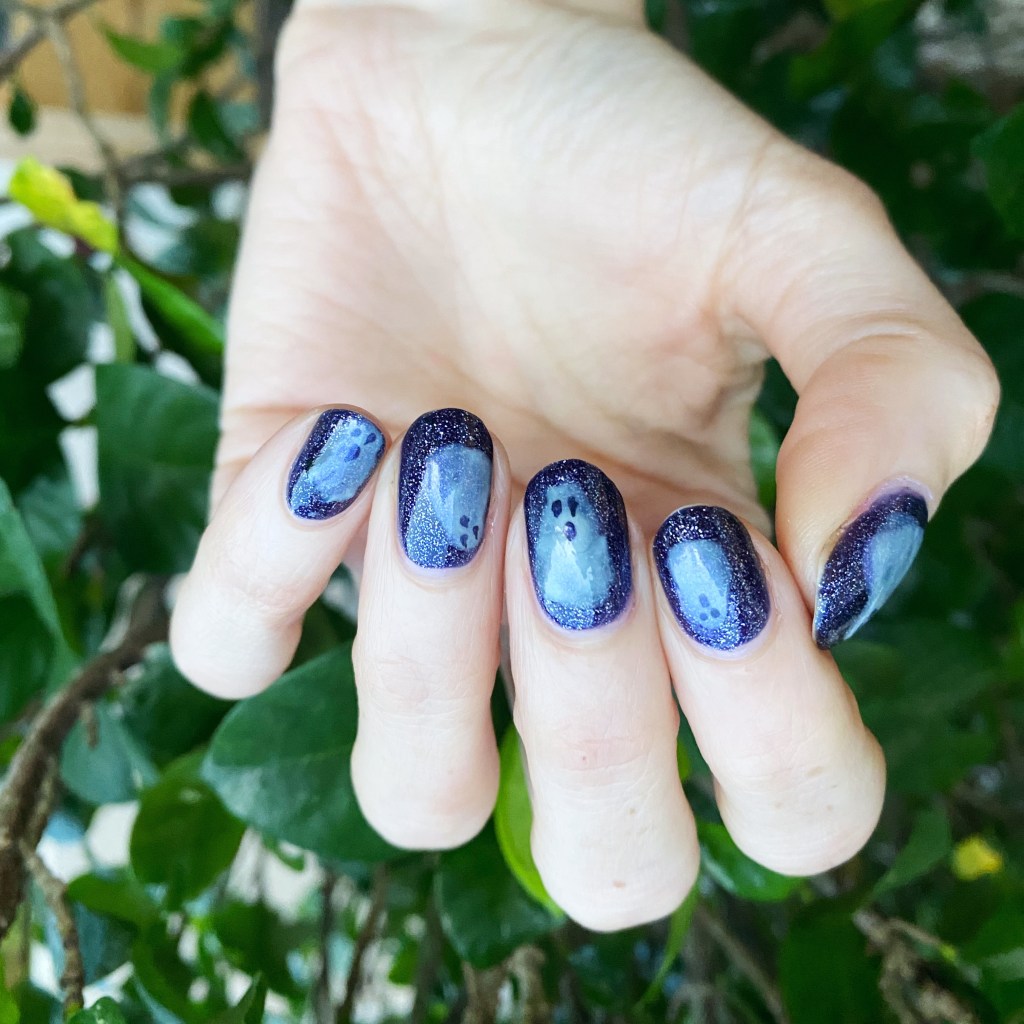
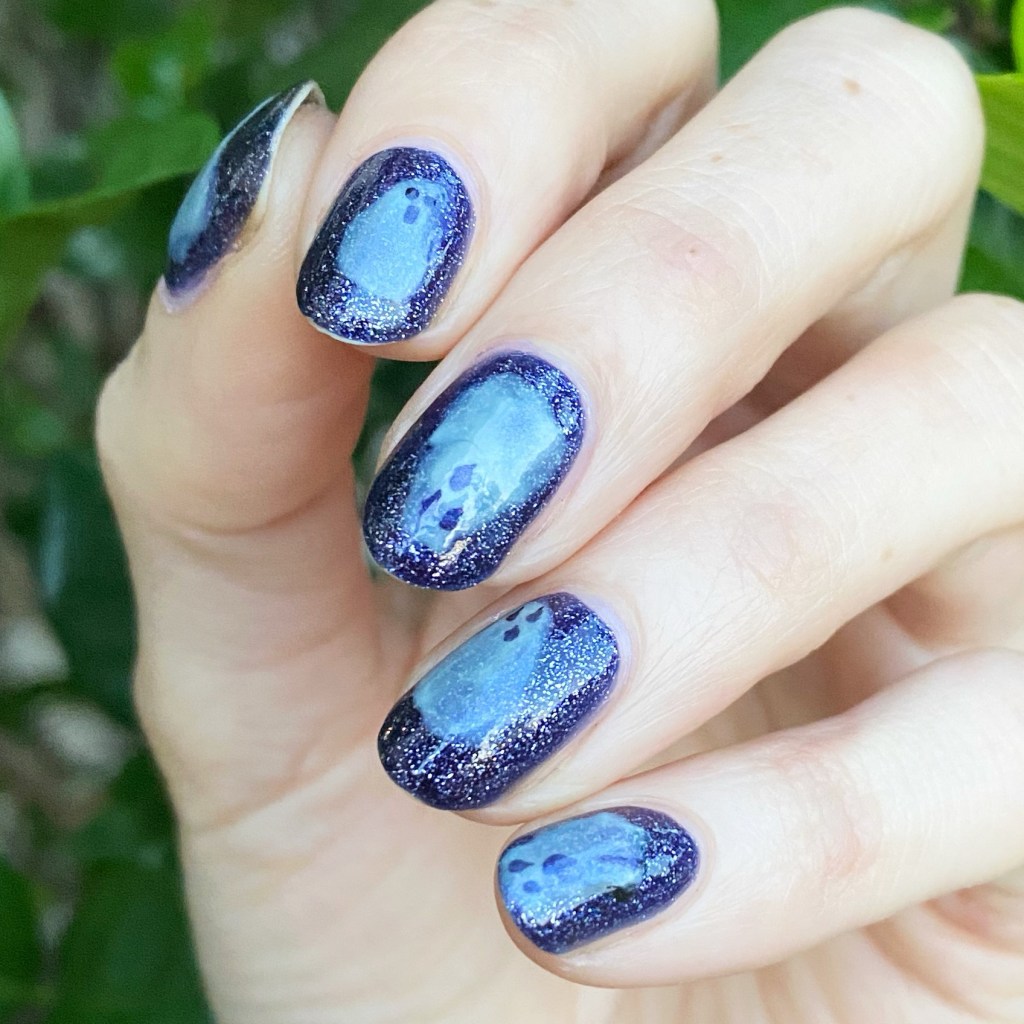
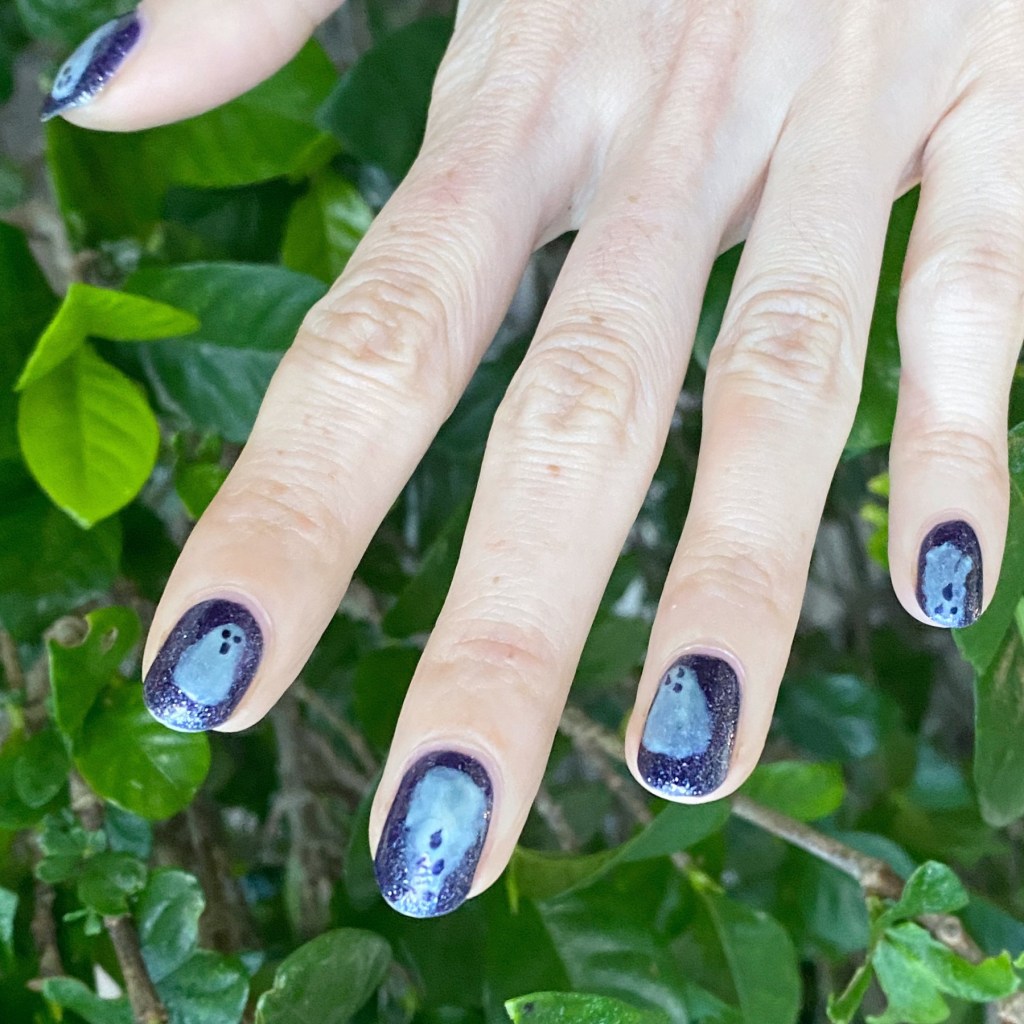
Today is our third prompt for Glam Nails Challenge October, which is ghost! I do love a good ghost design especially this time of year, so I was excited to give this a go. I wanted to create a ghost look slightly different from ones I’ve done in the past, & I think I managed to create a spooky & fun look. & I’m so in love with how they turned out.

The polishes I used for this manicure are: 

  • Top Coat: Sally Hansen InstaDri Top Coat (red bottle) 
  • Base Coat: Essie Hard to Resist (purple)
  • China Glaze Skyscraper
  • Essence Pastel Ombre Top Coat
  • OPI Alter Ego
  • Icing Store Black
  • Small Dotting Tool (NailsStuff.ca Dotting Tool Trio)

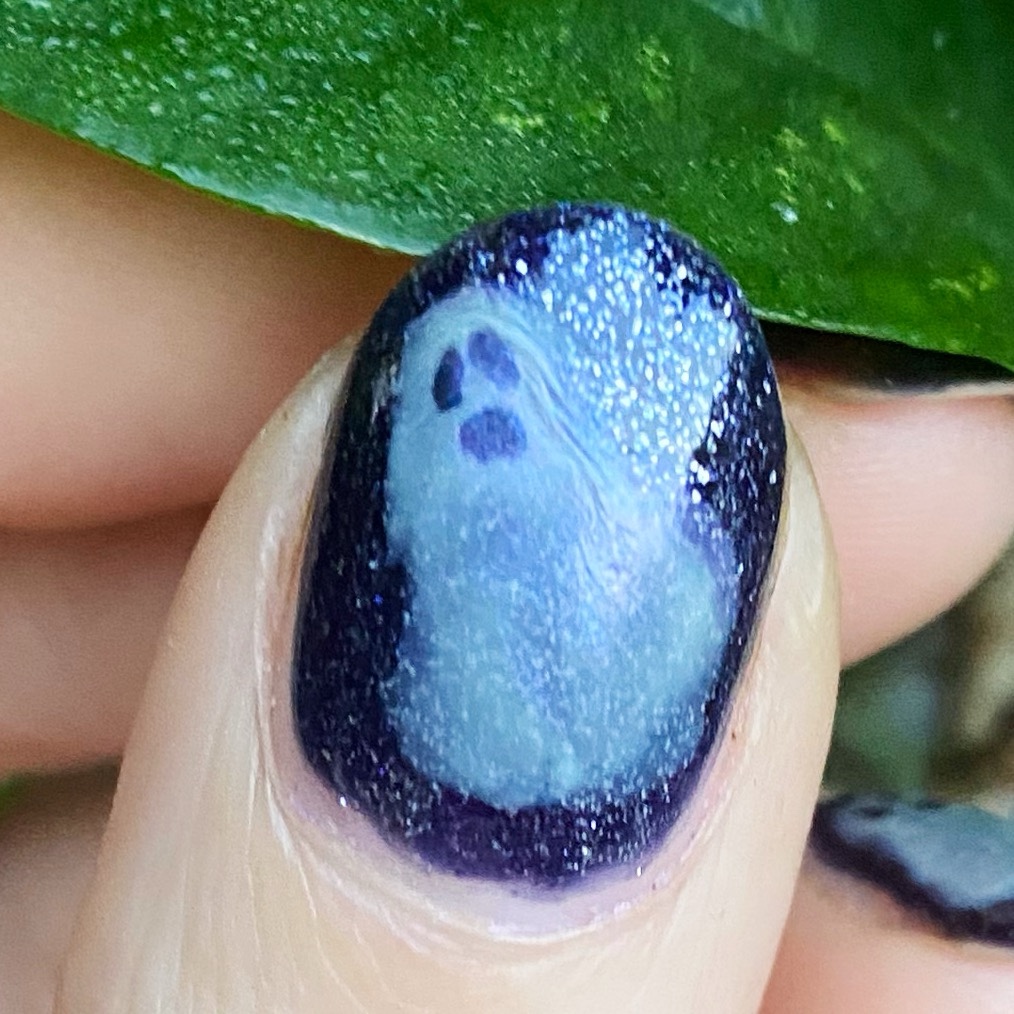
So the trick of creating these translucent ghosties is using a really, really shear white polish (or mixing a more opaque white with a clean polish to thin it out.) I Have this Essence Pastel Ombre Top Coat from years, & years ago, & while I’ve never used it for an ombre design, it works perfectly for nail art like this! I also added a bit of OPI Alter Ego for a bit of extra shimmer/glow.

What do you think about this ghostly design? Do you like the spooky sheer effect of the ghosts. I feel like these ones are definitely more on the spooky side, compared to my ghost designs of years past — which I’m loving! Let’s go for all the spooky vibes this October — I am here for it!

Happy Wednesday

♥︎

GLAM NAILS CHALLENGE DECEMBER (2024) — Christmas Tree 🎄

Hello lovelies & happy Thursday! & happy day after Christmas. I hope everyone who celebrates had a peaceful holiday, however they chose to spend it. I know this has been a hard year for so many, & so whatever peace you need, you’ve found it.

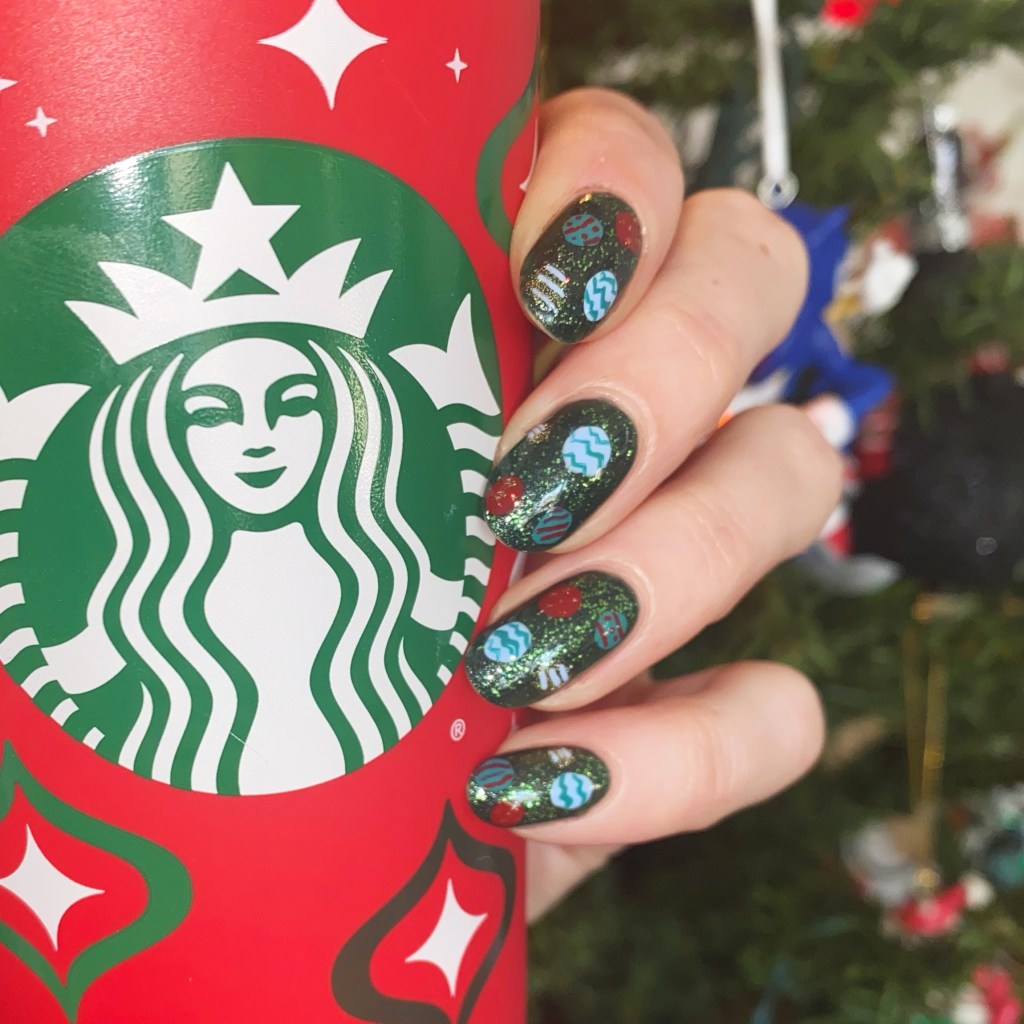
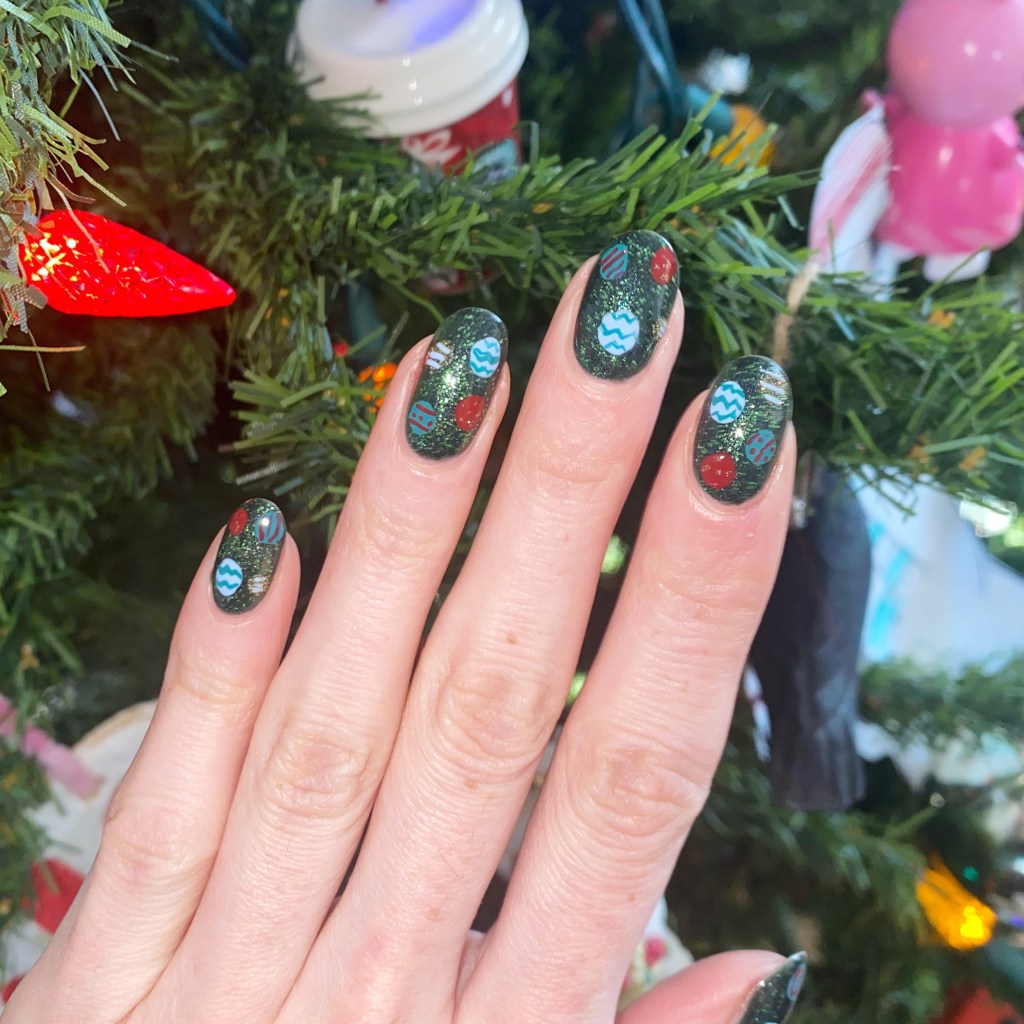
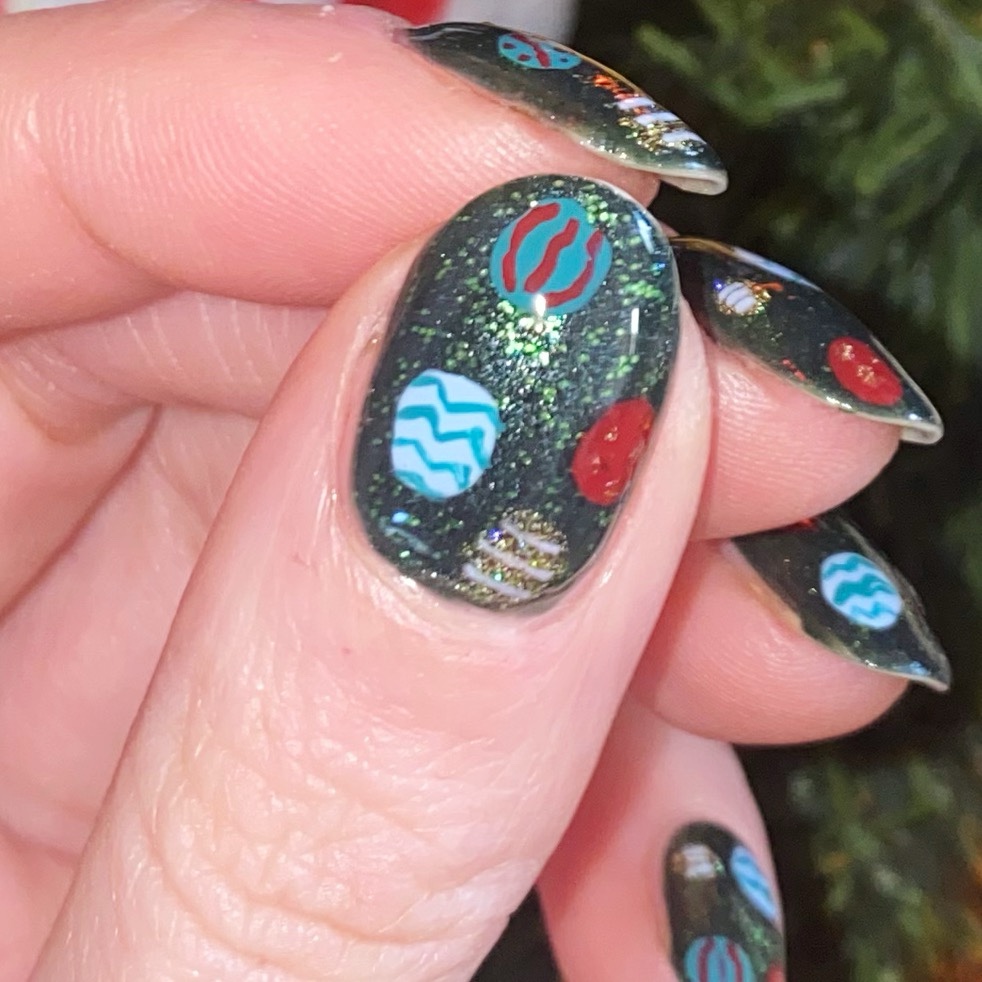
Today I have another prompt for Glam Nails Challenge December — Christmas Tree. & I wanted to turn my sparkly base into a tree, so I added some cute simple ornaments. & I think this look turned into perfection.

The polishes I used for this manicure are: 

  • Base Coat: NailStuff Essentials Base Coat *
  • Top Coat: Nail Stuff Essentials Quick Dry Top Coat *
  • Essie Off Tropic *
  • Icing Stores Under The Mistletoe
  • Essie (Un)Guilty Pleasures *
  • Essie Bikini So Teeny *
  • Essie Not A Phase *
  • Sally Hansen 5 Golden Blings
  • Nailstuff.ca Mermaid Tail 7mm liner brush
  • NailStuff.ca Dotting Tool Trio 

    *pr/gifted

I thought this was such a fun look. It kind of reminds me of the Andy Warhol Flowers painting/print, but with Christmas ornaments instead. A little Christmas twist & different from the Christmas tree looks I usually go for. Plus the green glittery polish is so beautiful! I didn’t realize how much glitter coverage it actually had. So pretty!

Again, merry Christmas. & happy Hanukah to those who are currently celebrating.

& don’t forget that you can see all the beautiful designs using the hashtag #glamnailschallengedec24 on Instagram. Only a few more prompts to go until this year is over!

🖤

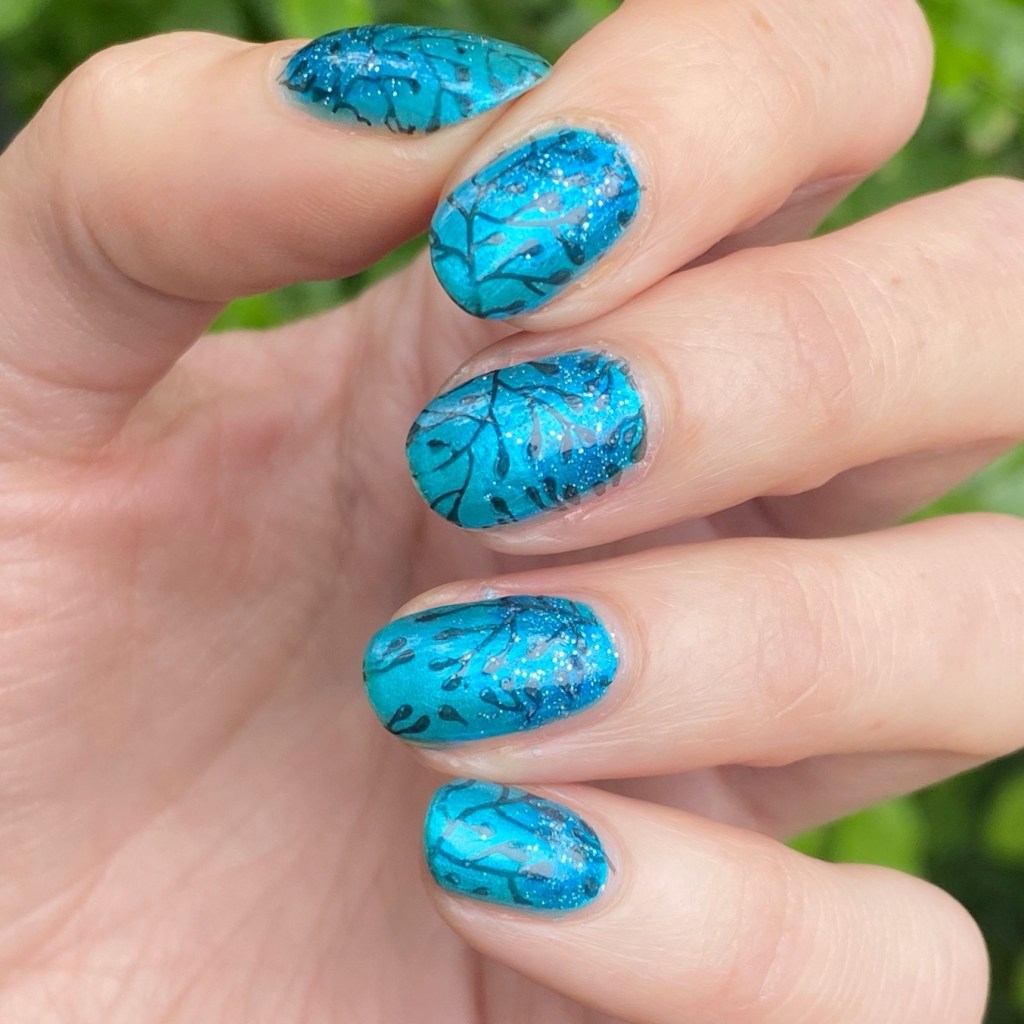
Under the Sea Stamped Nail Art 🪸🌊

Hello lovelies & happy Wednesday. Sorry for a quiet week so far — with the kids being off school, sometimes it’s hard to get my posts done!

But I’m really excited to share my nails today, because I feel like these are really fun! I originally started out with just my gradient nails, but felt like something was missing so I added some fun stamping—that reminded me of sea weed—over top.

The polishes I used for this manicure are: 

  • Base Coat: Essie Here to Stay
  • Top Coat: Essie Gel Setter
  • CND Vinylux Lost Labyrinth
  • Icing Stores Starlight
  • Icing Stores Black
  • Born Pretty Store Stamping Plate BP-L026
  • Nailstuff.ca clear stamper & scraper set

Does that not look like seaweed, under the water? If only I had some cute fish nail art stickers strategically added, then I would really sell the ocean vibes! But I still think the stamping gave the look I was going for.

What do you think of these stamped nails? Did you guess ocean? Let me know all your thoughts down in the comments below!

🖤

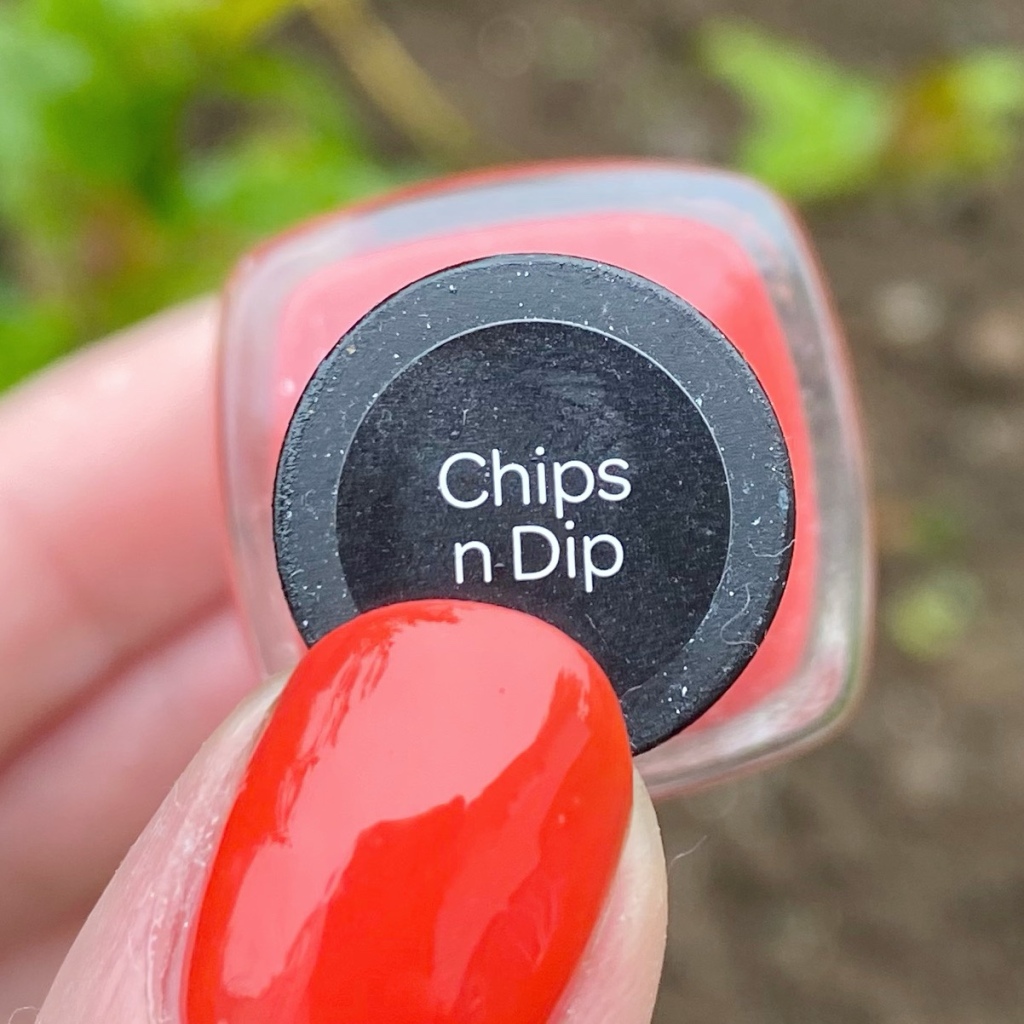
SWATCH SUNDAY — Icing Stores Chips n Dip

Good morning lovelies & happy Sunday! After some rainy & chilly days we’re finally back to beautiful sunshine, & I couldn’t be happier.

For today’s Swatch Sunday post, I decided to do some serious digging through my stash & found a very throwback shade circa 2013 (I’m guessing). I wanted something bright & vibrant & Summery, & I think that I was very successful.

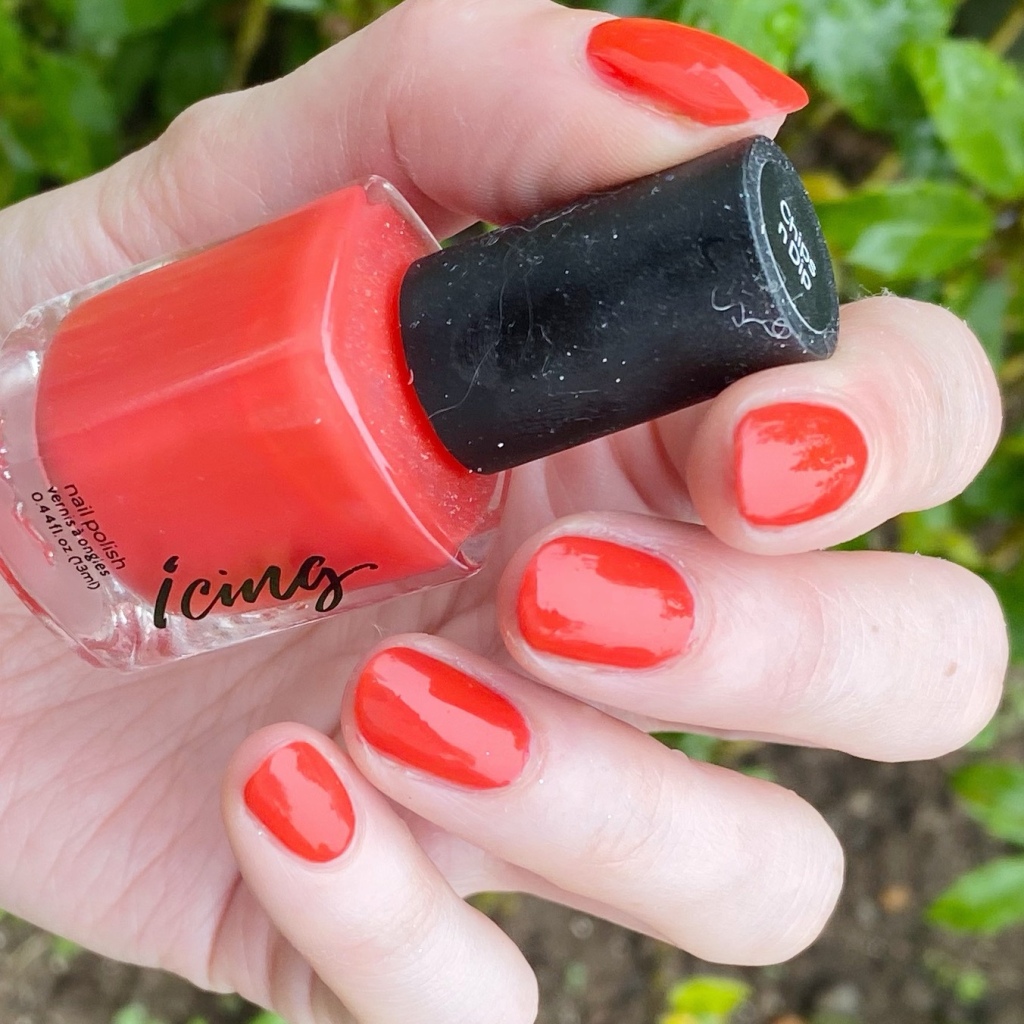
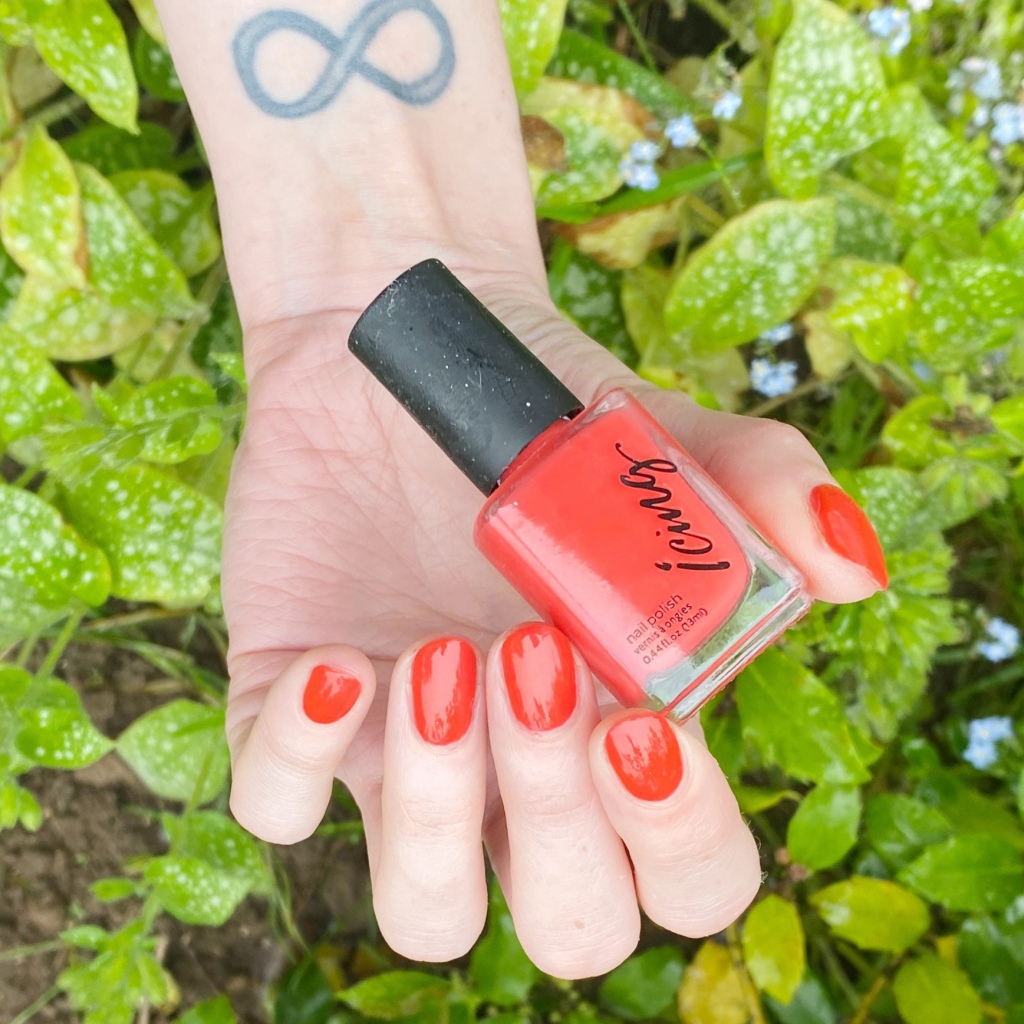
This is Icing Stores Chips n Dip.

3 coats + Top Coat

This beautiful fiery coral applied in 3 thin coats, which usually would be a no for me, but because the formula is quite thin, it dried down very quickly so I didn’t have to worry about wait time — especially after applying a quick dry top coat. It’s a cruelly formula, definitely leaning more on the jelly side of that occasion which I like.

The colour is bright & I love that. I’m always drawn towards anything in the red or red leaning family, & this is a fantastic Summer option. Like could you imagine this as a pedicure colour? So perfect for the beach.

Look how bright this is! Definitely looking more on the red side in these photos, but the coral really comes through in person.

My only complaint — & it’s probably an issue due to how long I’ve owned this shade — is handle of the brushes on the bottles have kind of melted over the years so they’ve gotten really sticky & I absolutely hate it. Not sure what to do to fix the stickiness, so if anyone has any suggestions please let me know! Because I would love to use this shade (& others from this brand in the same style of bottle) but the sticky issue keeps me from reaching for them.

What do you think about Icing Stores Chips N Dip? Does this shade scream Summer to you as much as it does to me? Have you ever tried an Icing brand polish? Let me know all your thoughts down in the comments below.

Happy Sunday! ♥︎