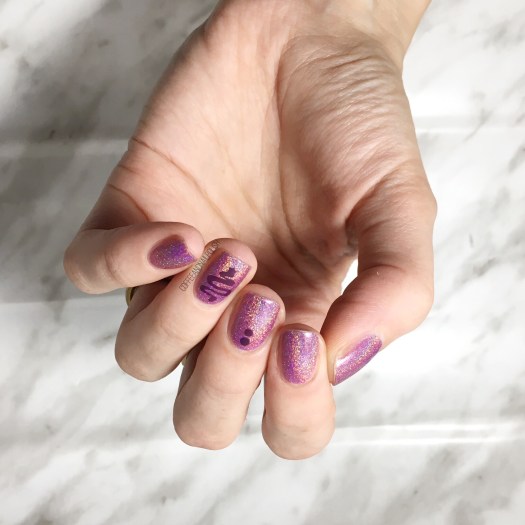
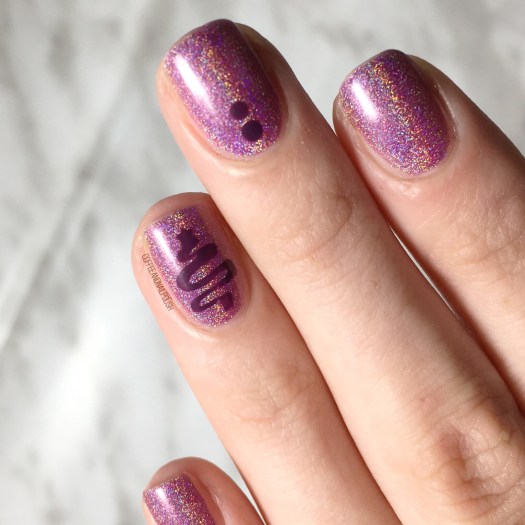
We’ve come to that weird time period betweeen Christmas & Valentines Day where I always feel like I have zero inspiration & it feels just a little too early for hearts. I actually created this design before Christmas & a potential New Years design but never shared it so today felt like a good day! ✨
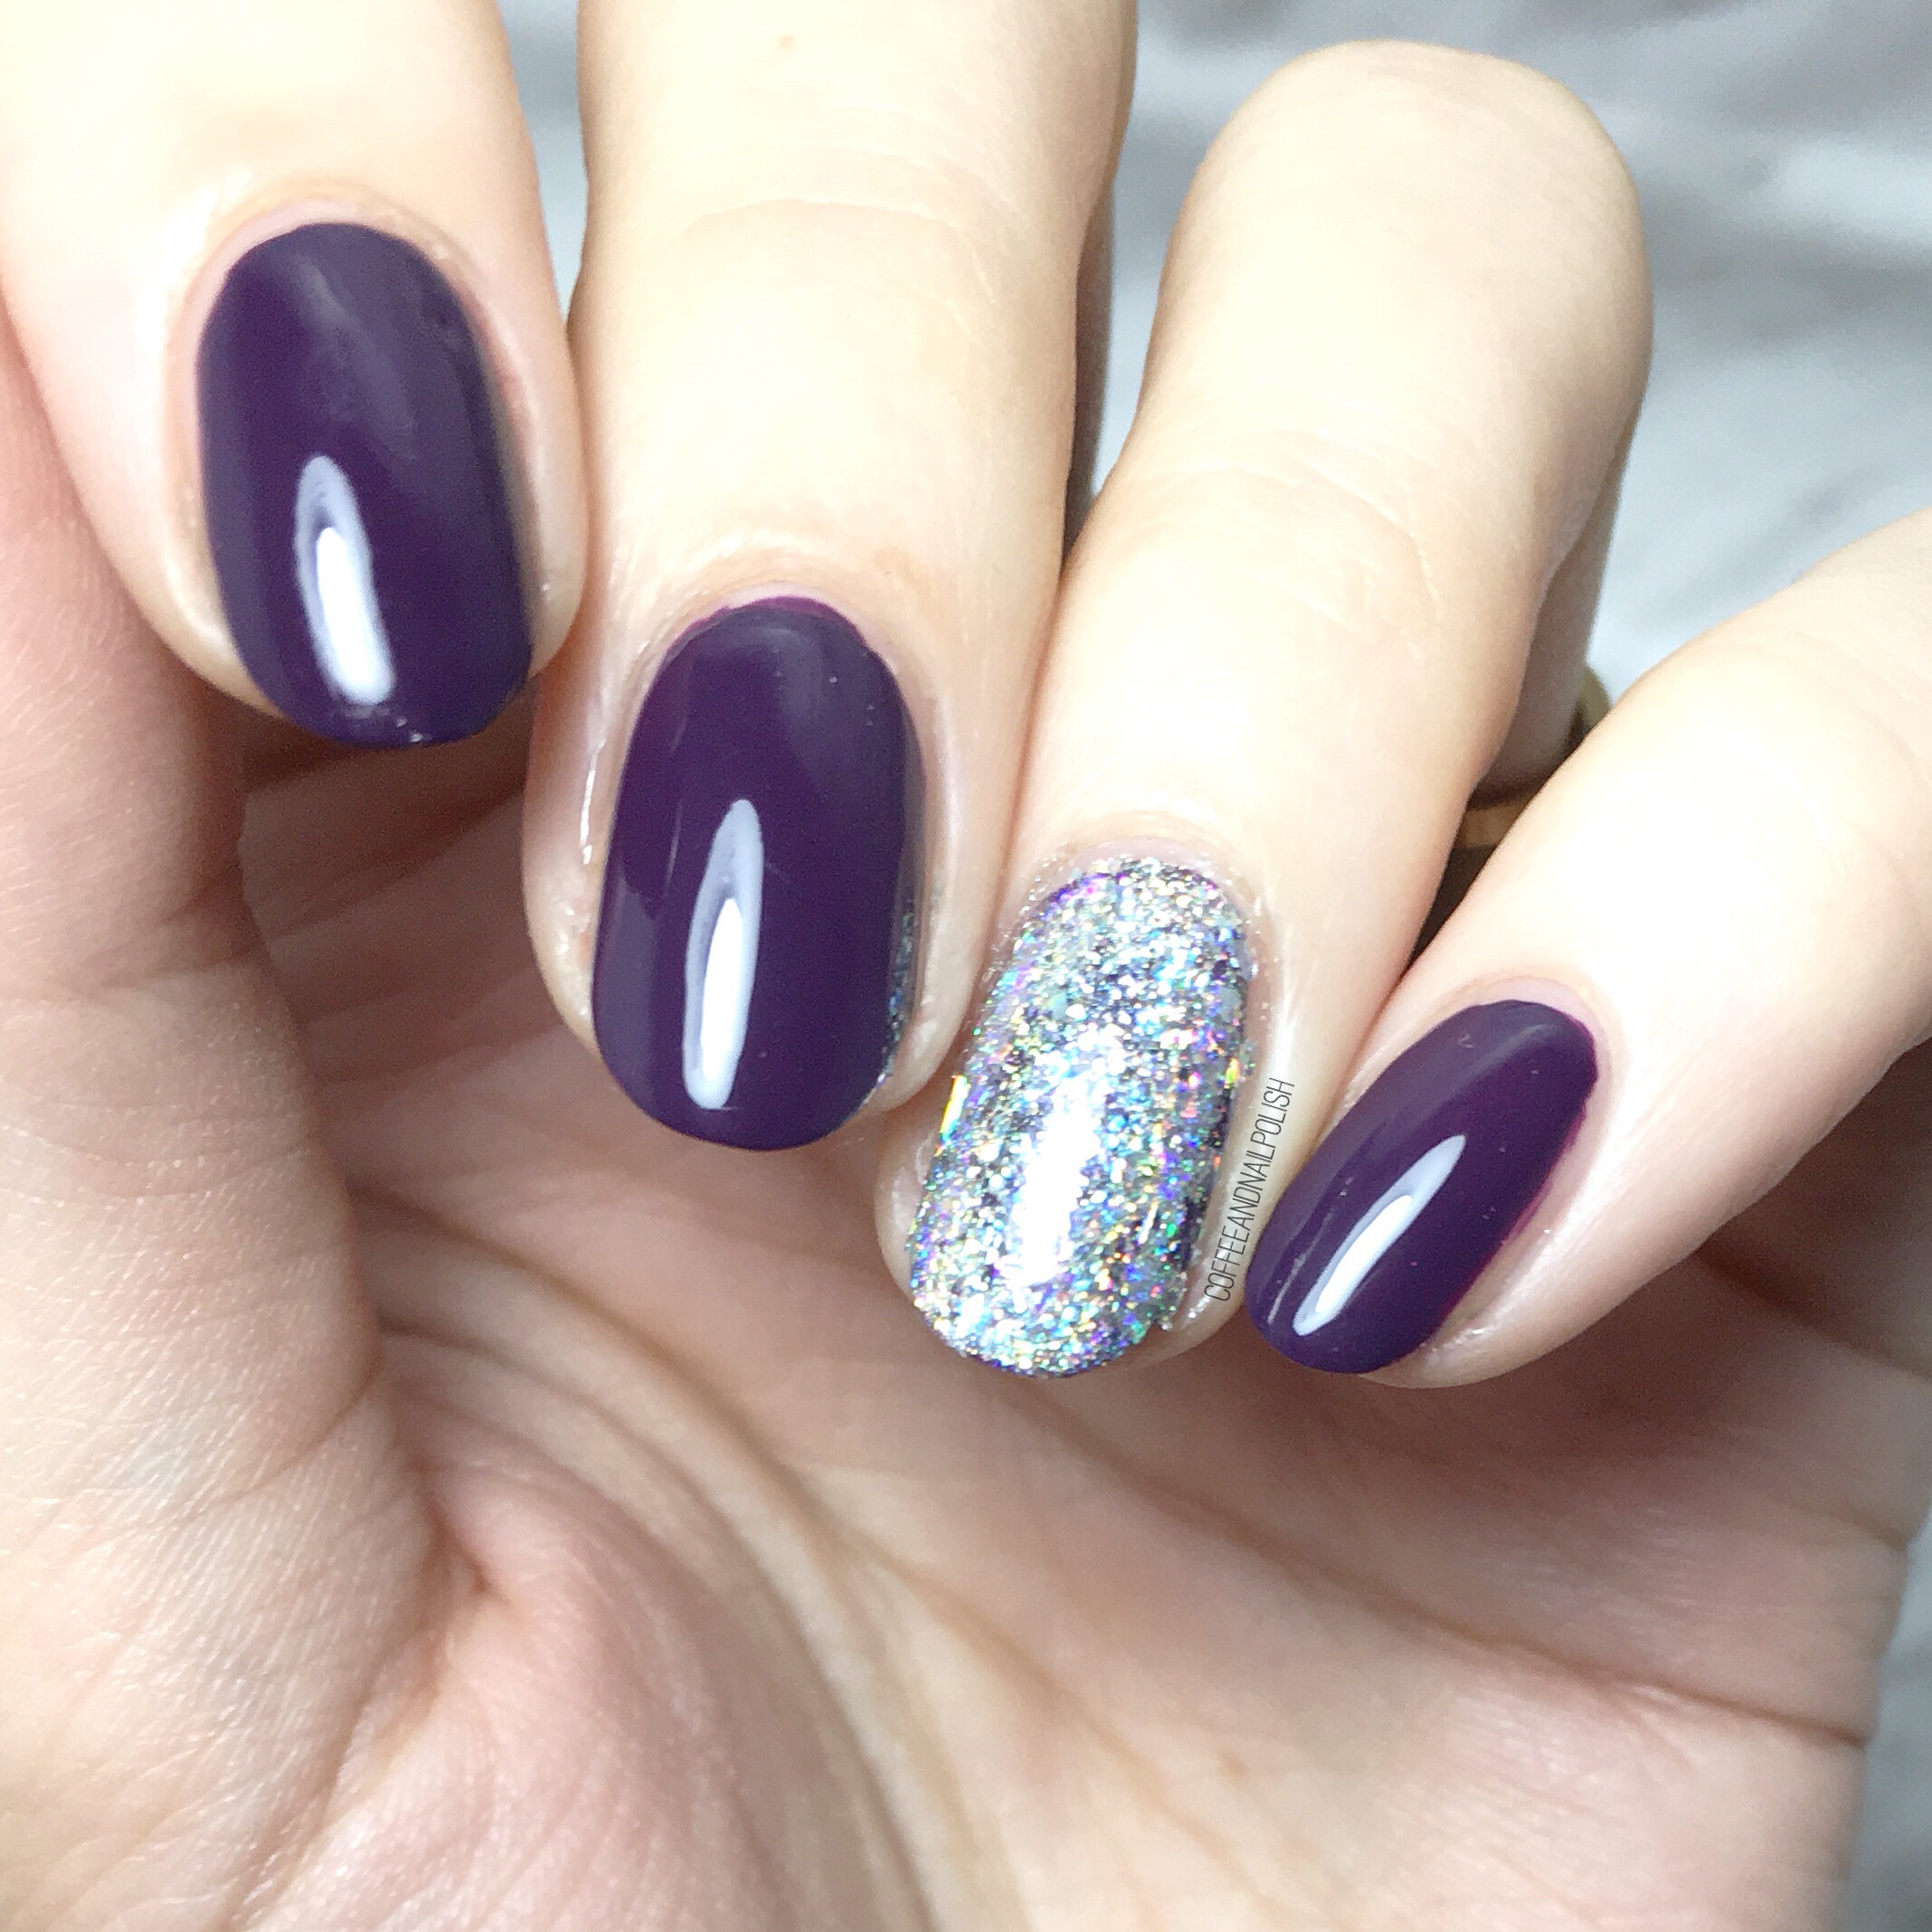
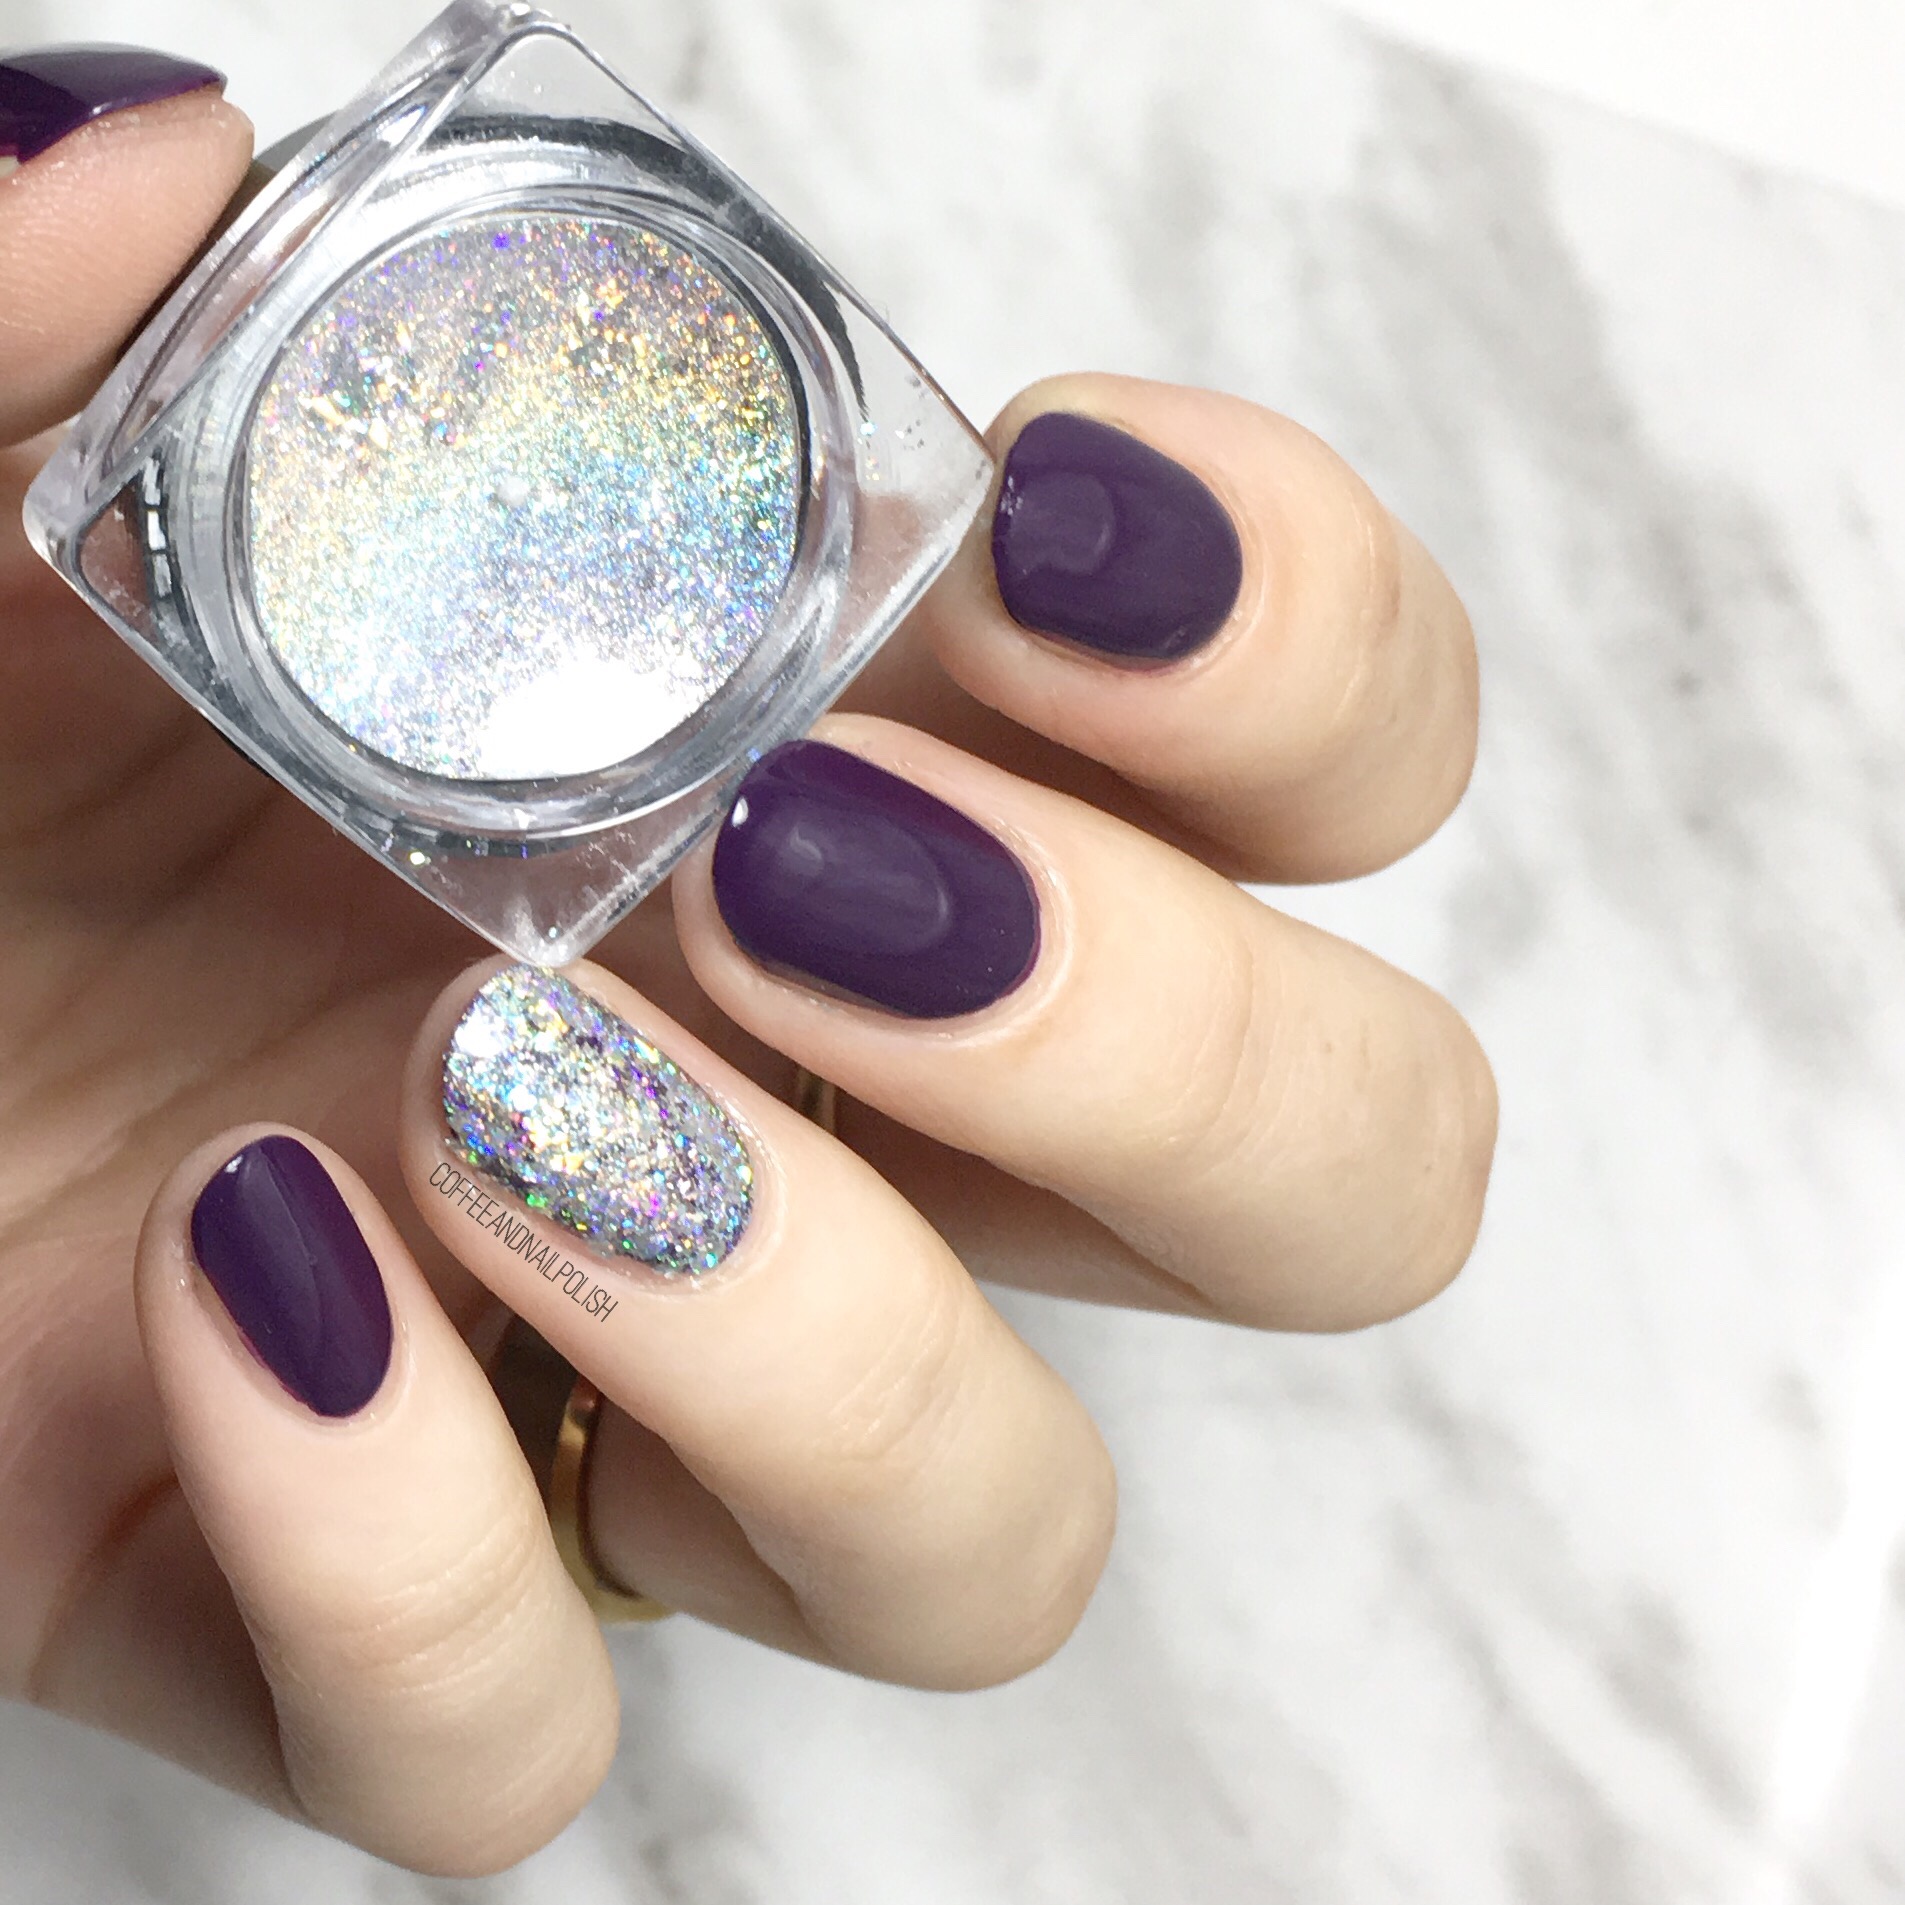
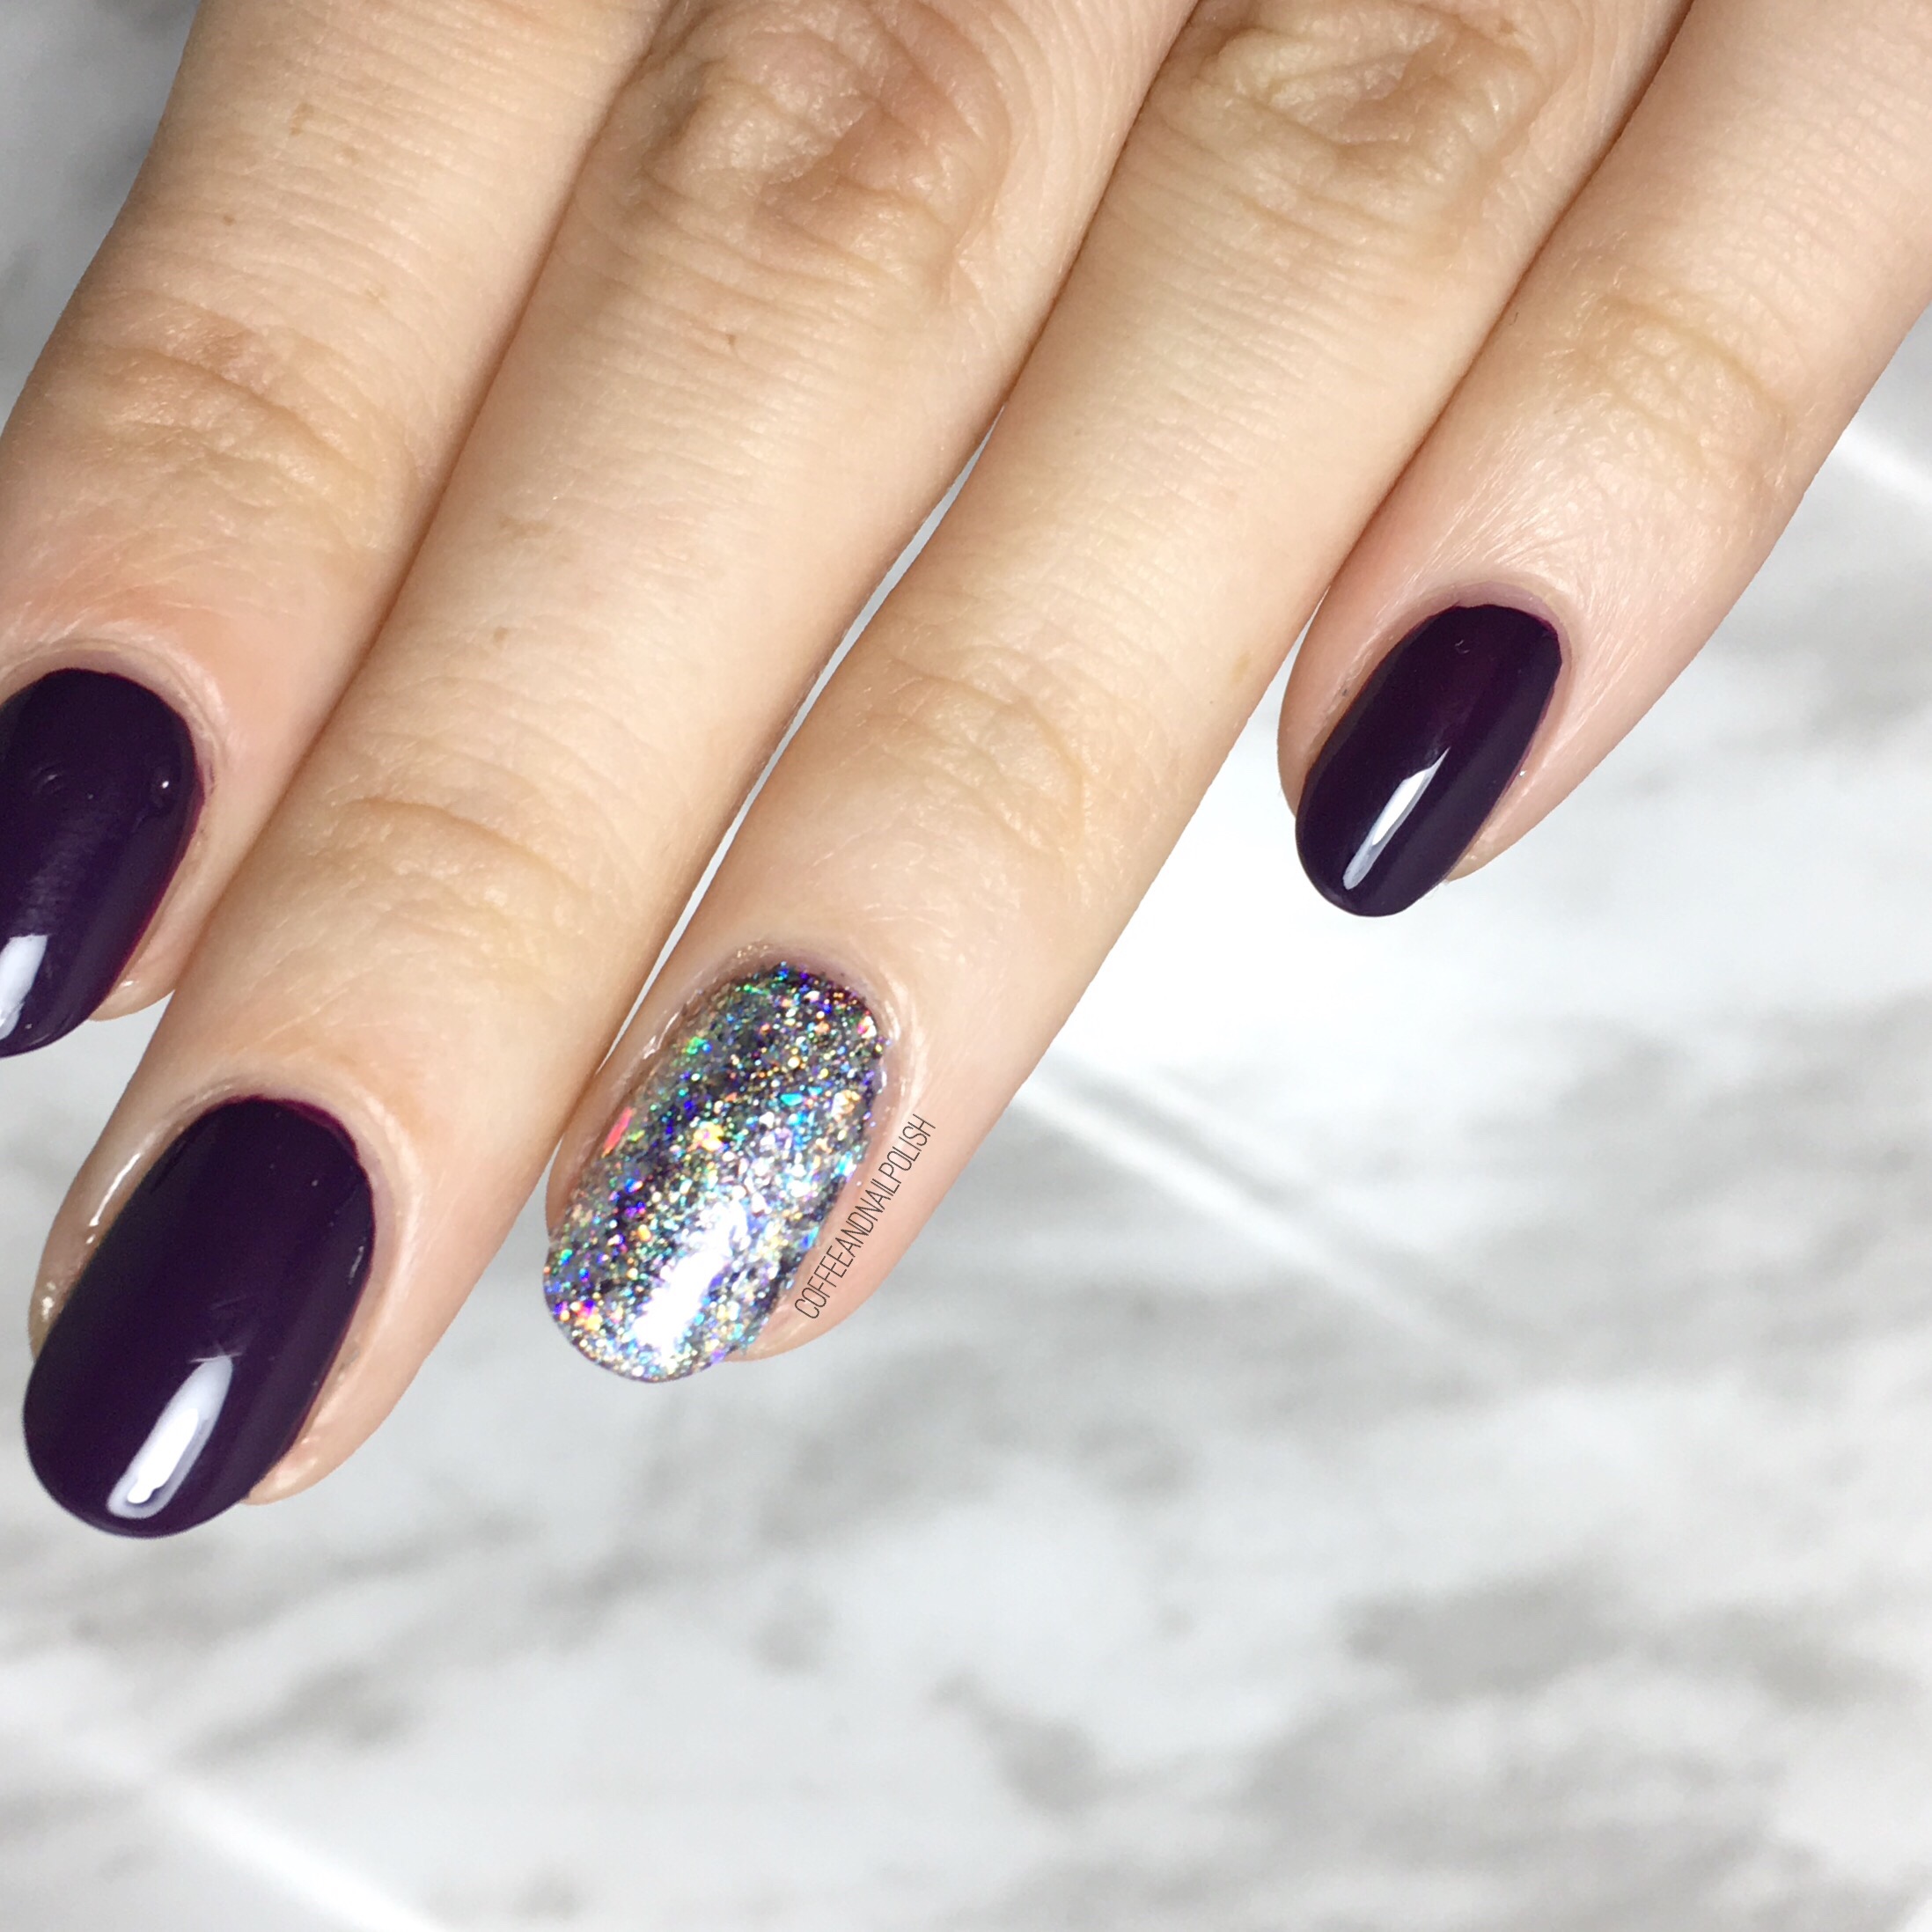
For this manicure, the products I used were:
- Base Coat: Nailtek 2
- Top Coat: Seche Vive
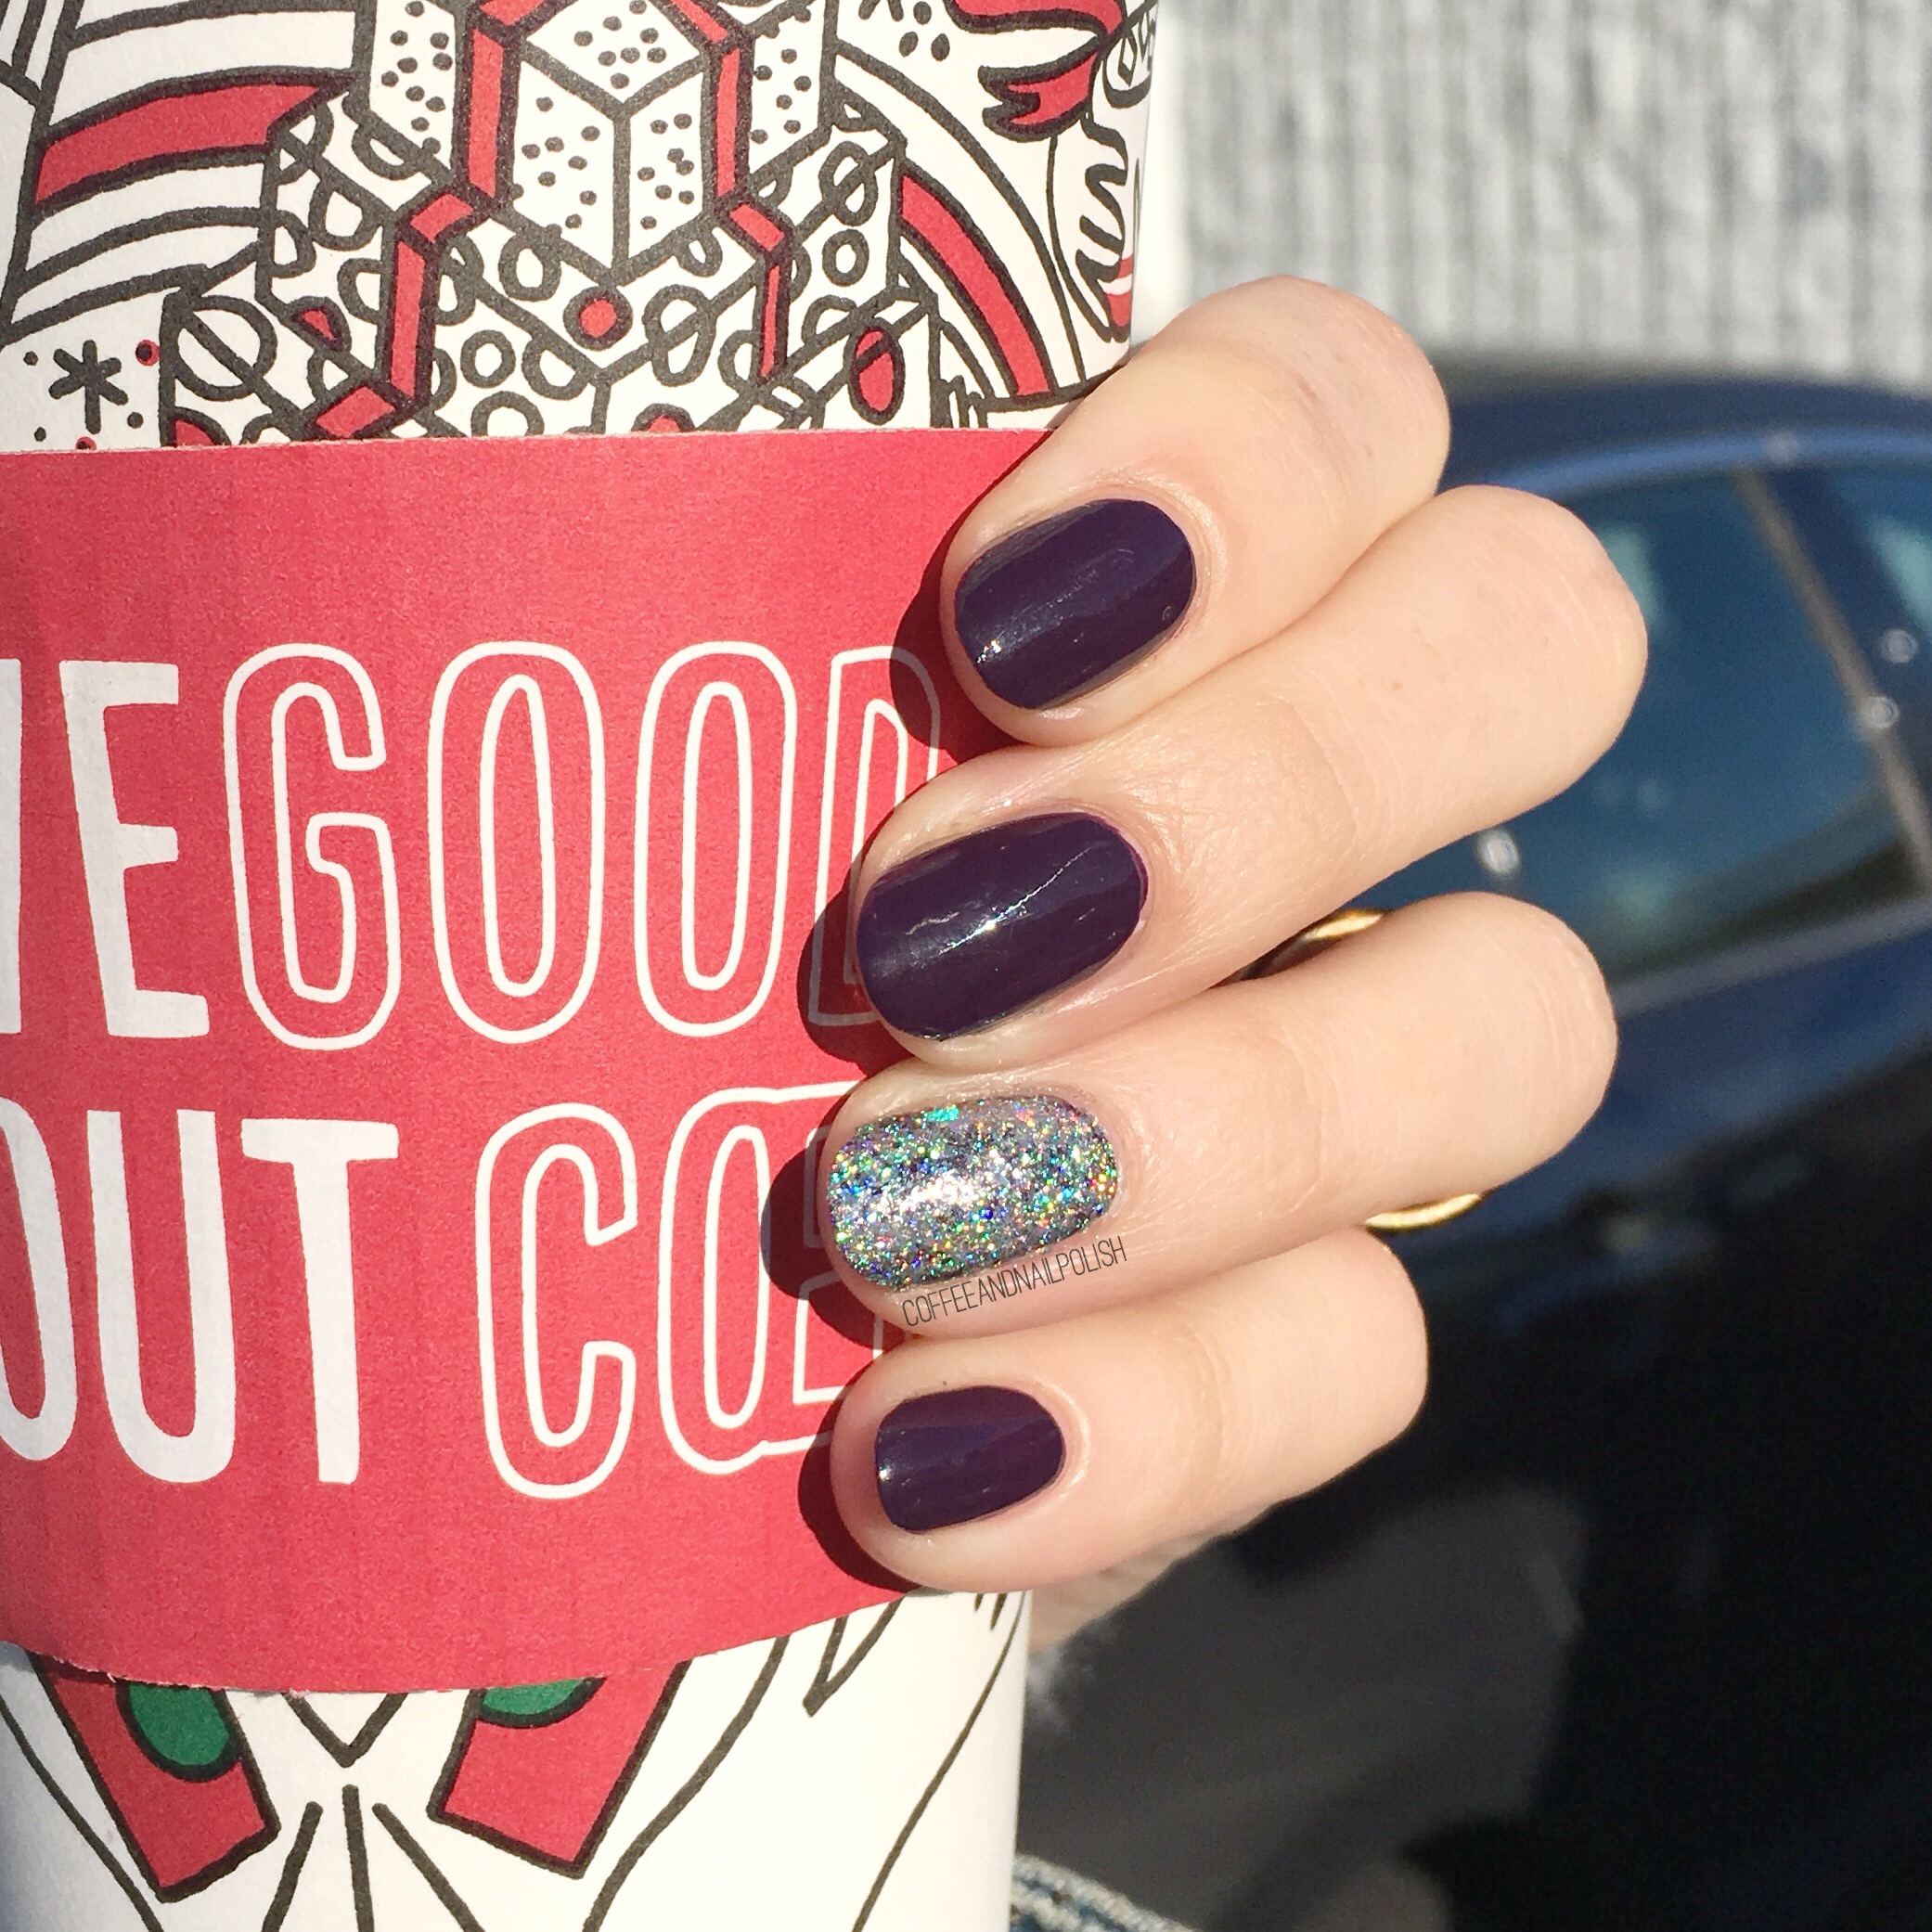
- Sally Hansen Complete Salon Manicure Pat on the Black
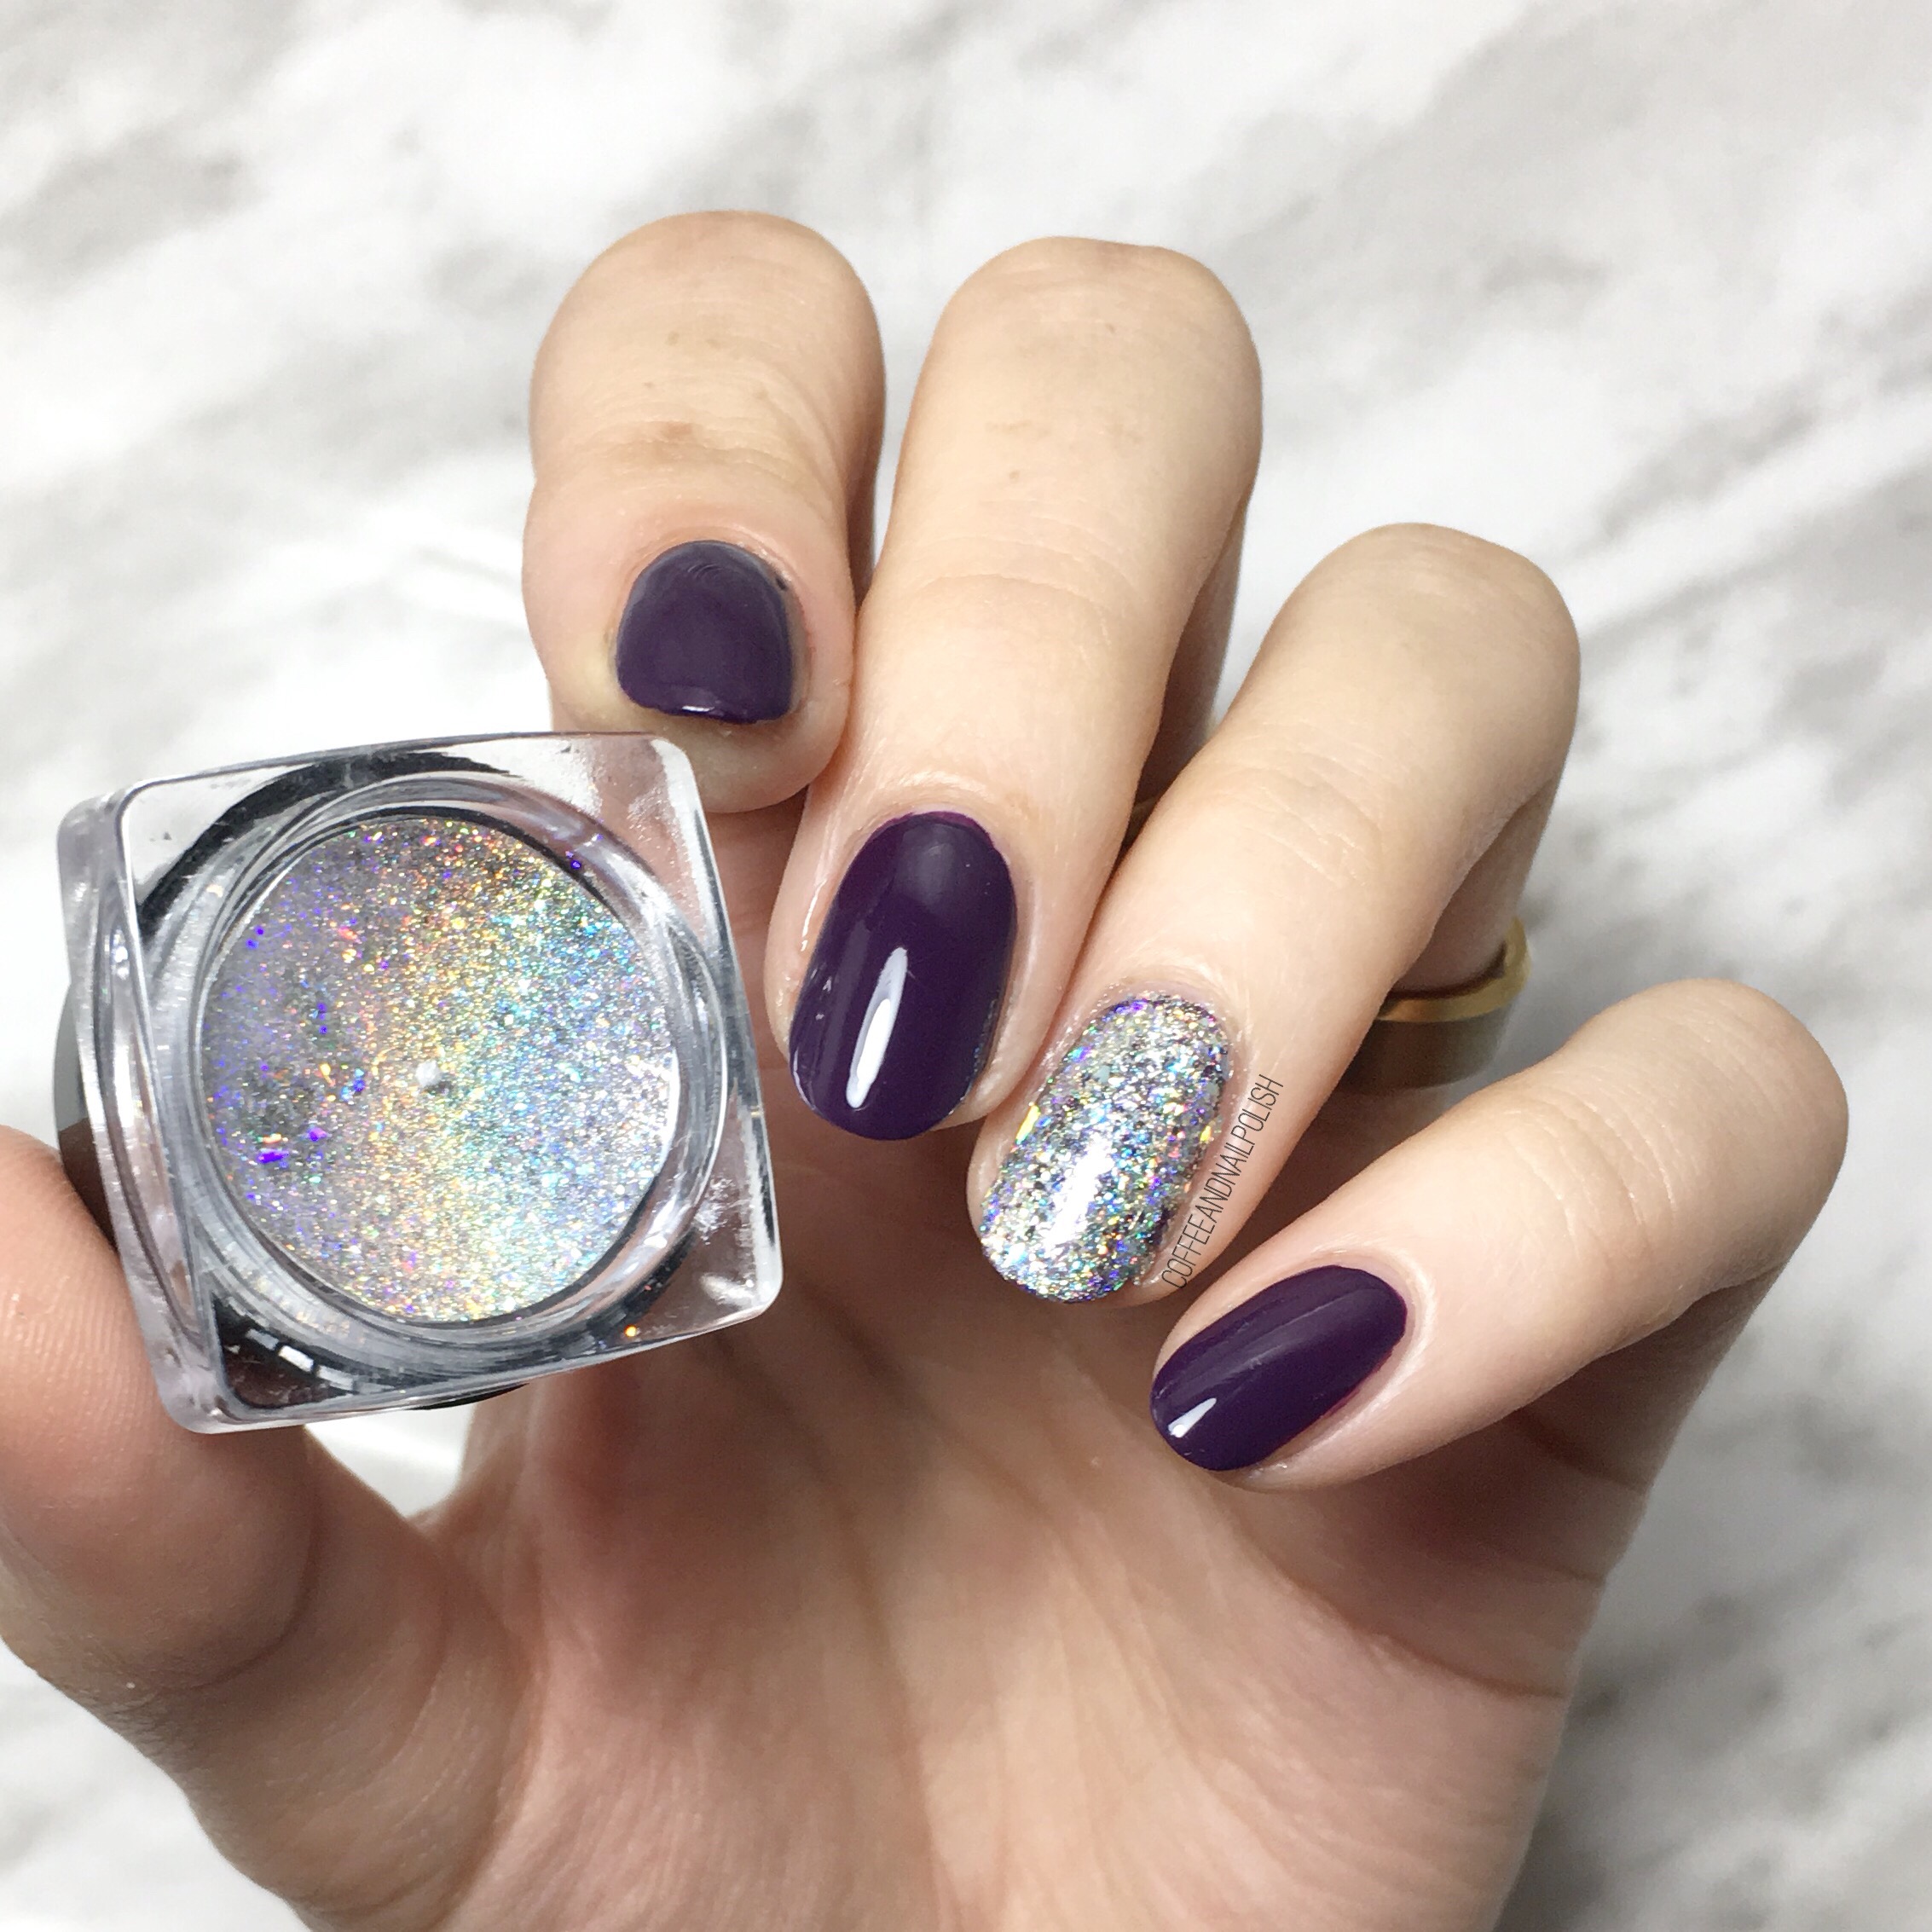
- ORLY Mirrorball
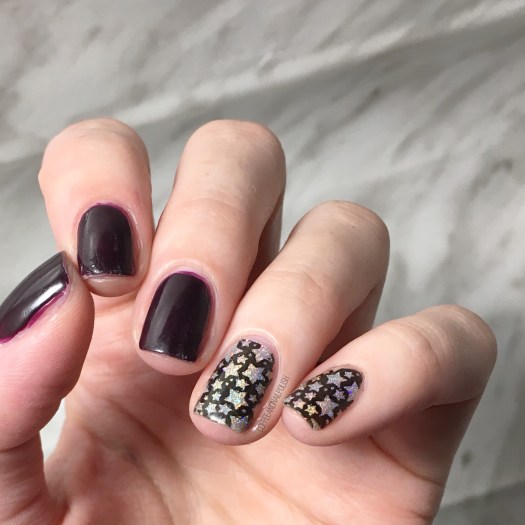
- Sally Hansen Hard As Nails Black Heart
- Star print stamping plate (no idea where from)
- Clear Jelly Stamper from Born Pretty Store (item #24059)
- Edge Perfection Cuticle Barrier

I really loved how these turned out, so much I wore them for a couple days before I thought to take a picture (hence the tip wear.🤦🏻♀️) I found this stamping plate in my collection of plates & had never used it before so I gave it a try & it turned out really nice. I think it’s from the Salon Express Nail Art Stamping Kit which I found at Dollarama almost 5 years ago (before this blog even existed!) & was my first foray into stamping.

What do you think of this design? What designs do you like to do this time of year when it’s too early for Valentine’s Day? Let me know your thoughts in the comments below!


 <
<
 <<<<<<<><<