Hello lovelies & Merry Christmas Eve! Hope everyone is having a not too stressful start to their Christmas (or December 24th, for those who don’t celebrate.)
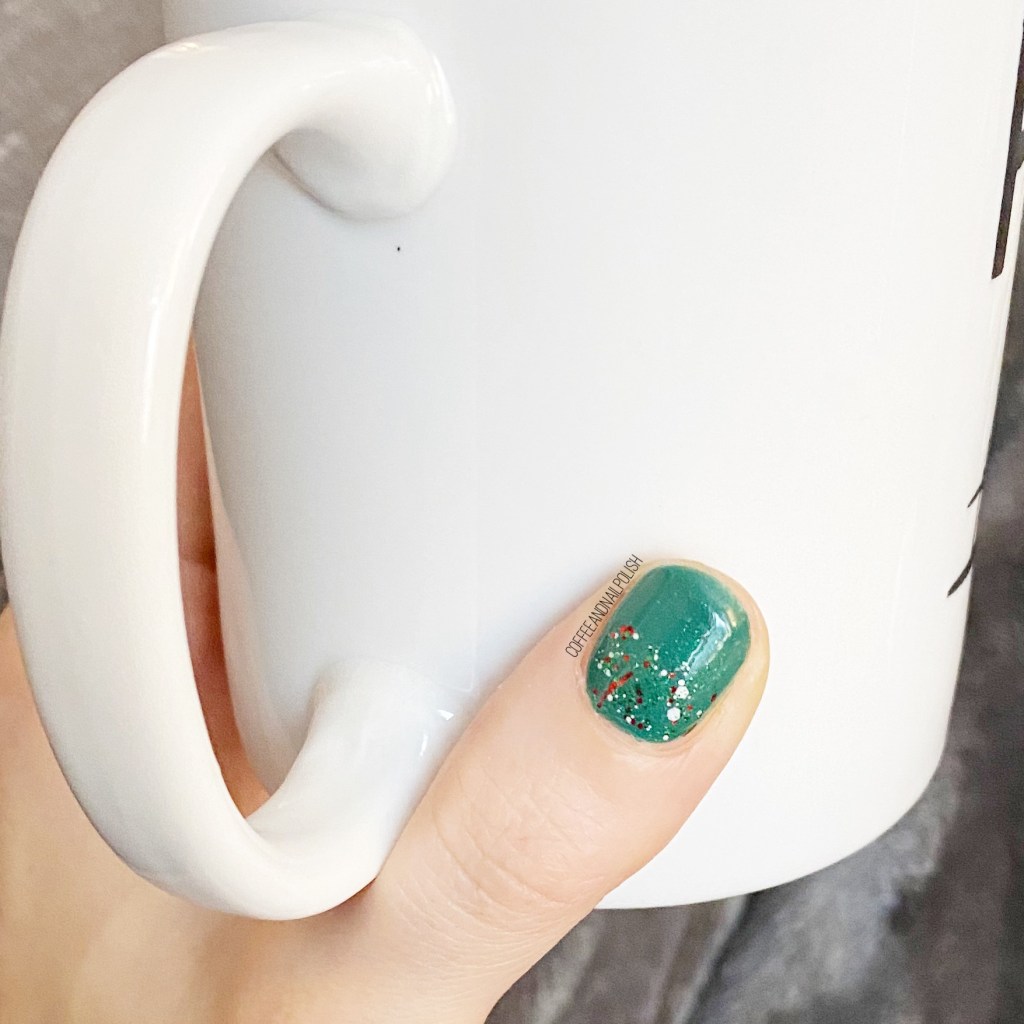
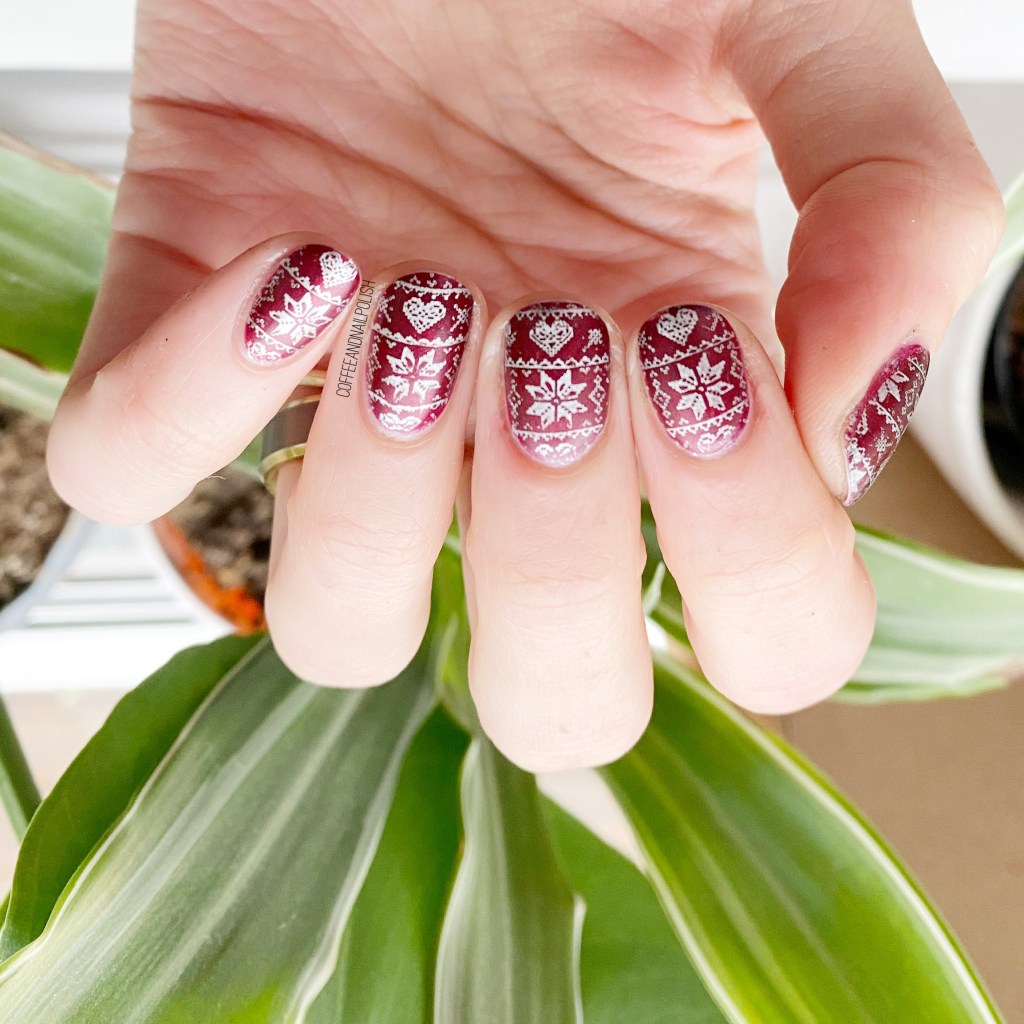
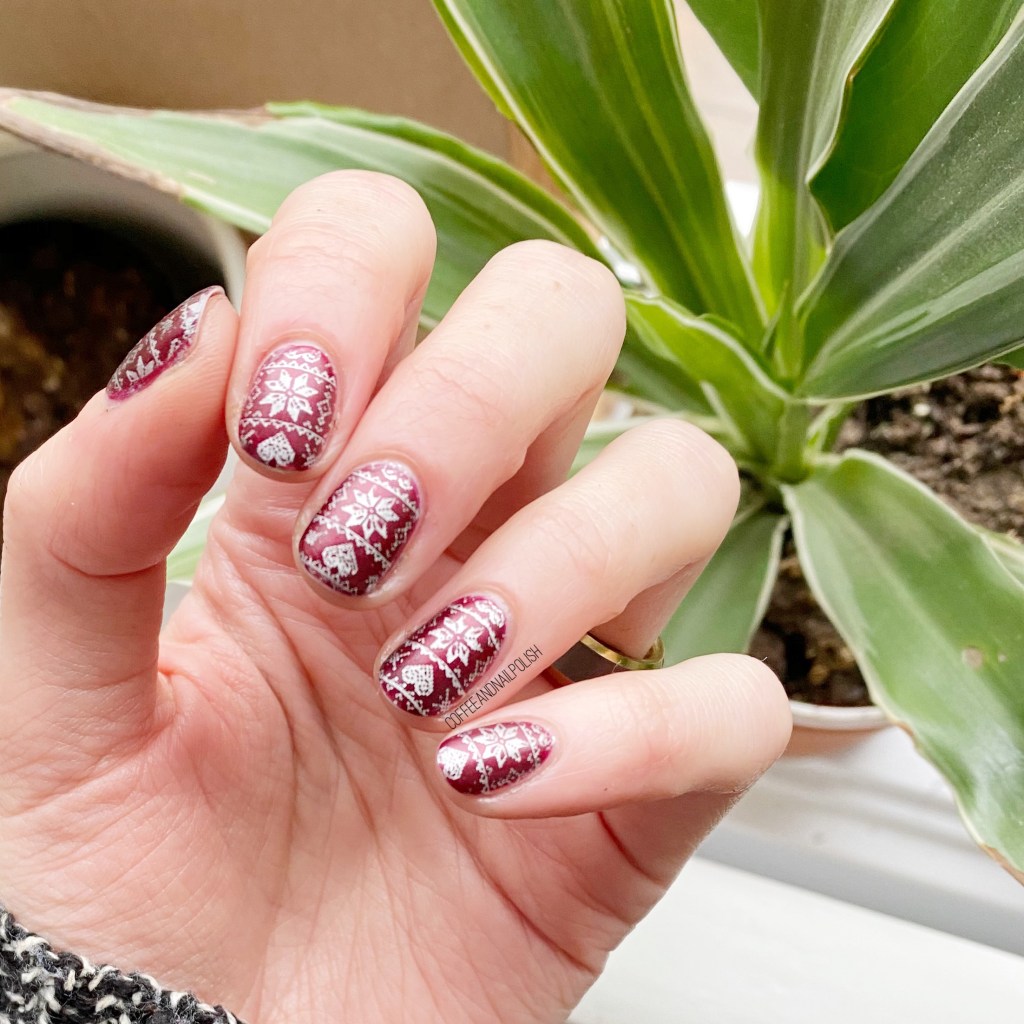
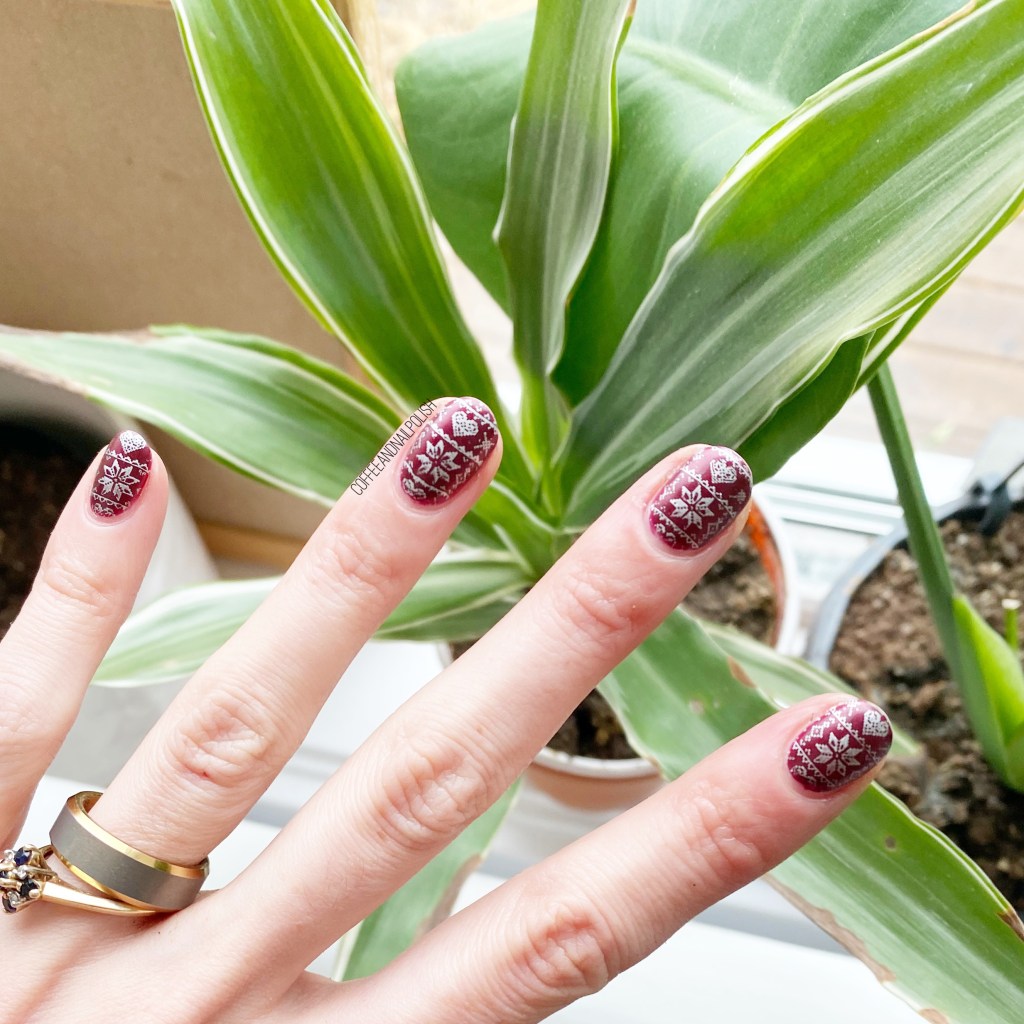
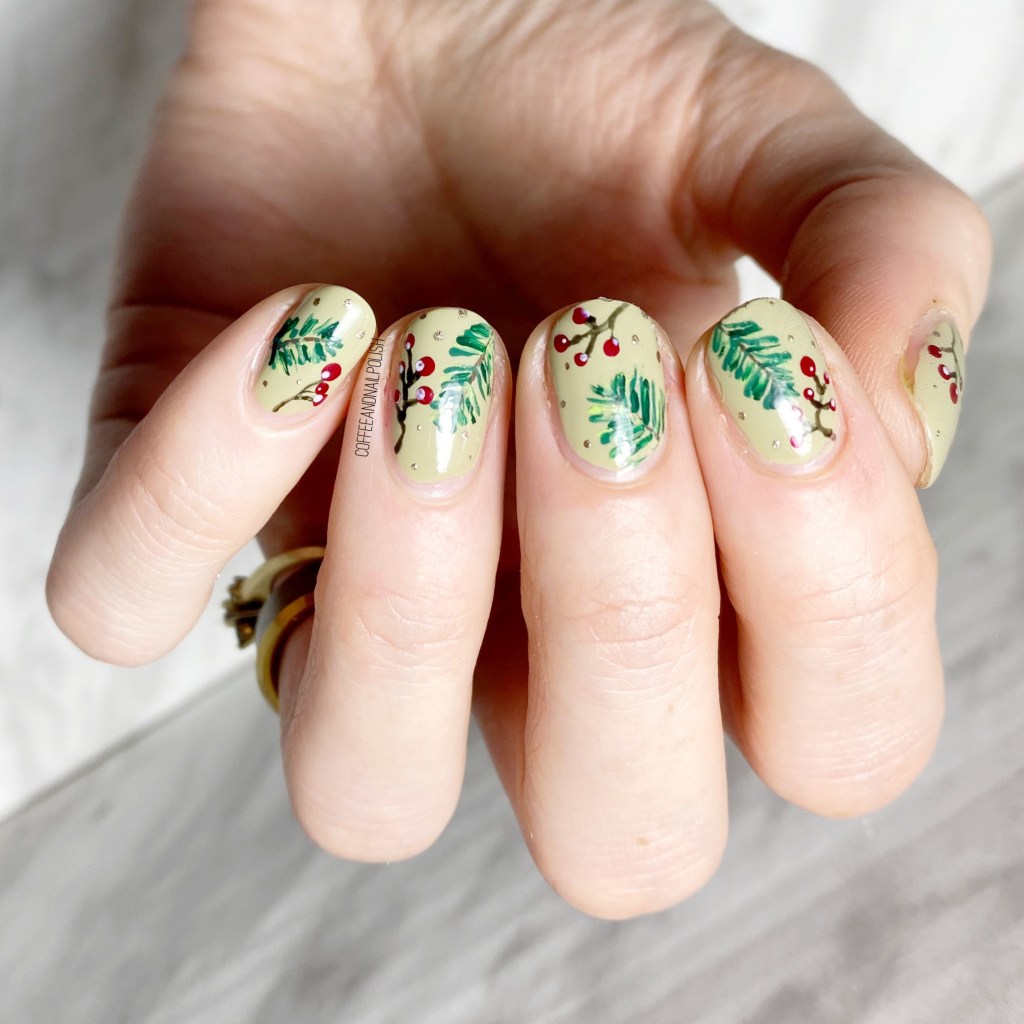
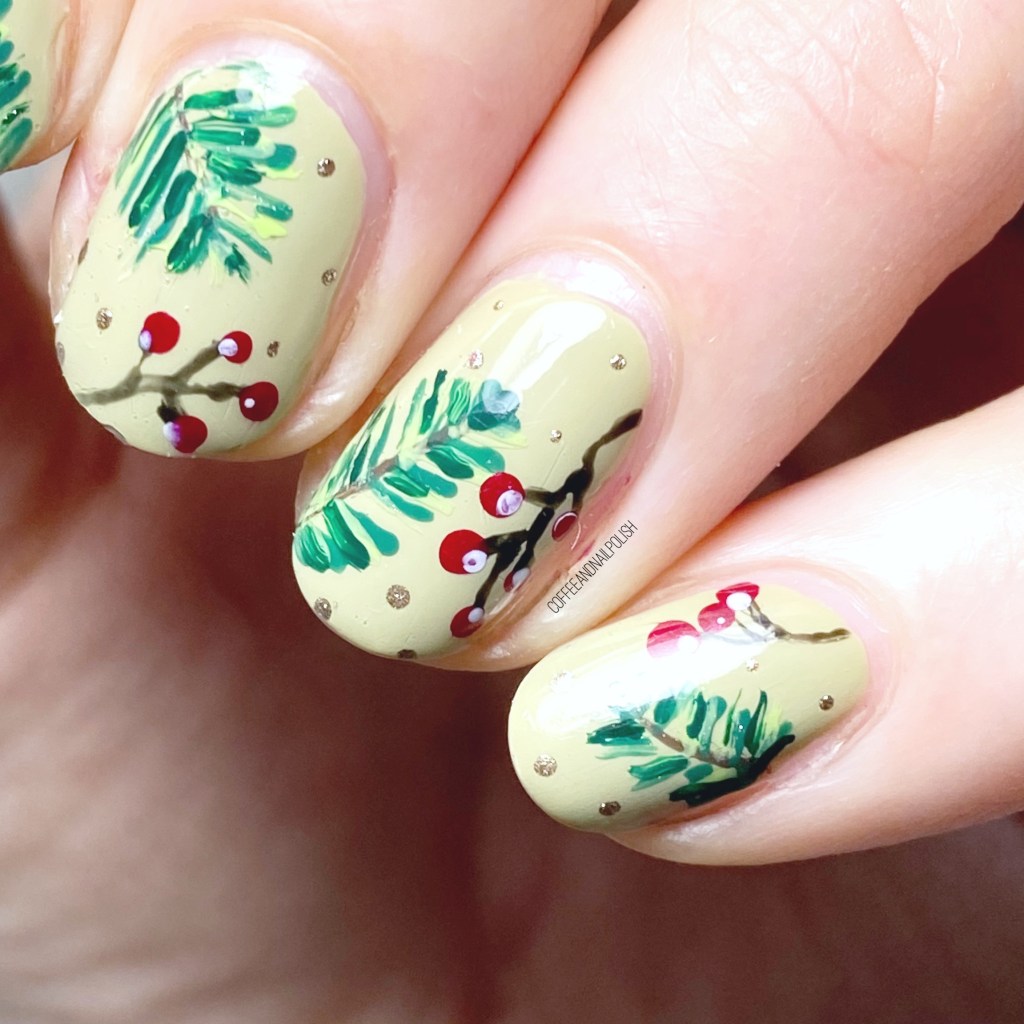
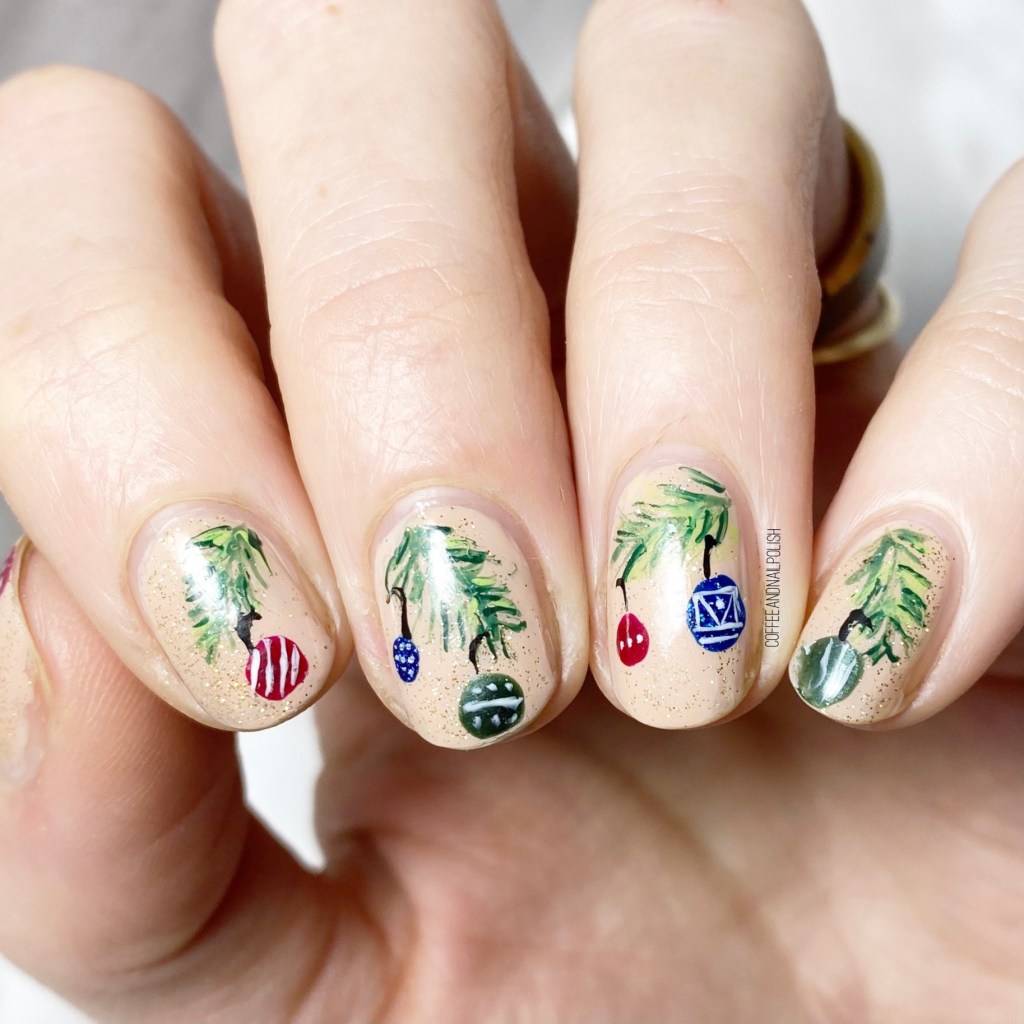
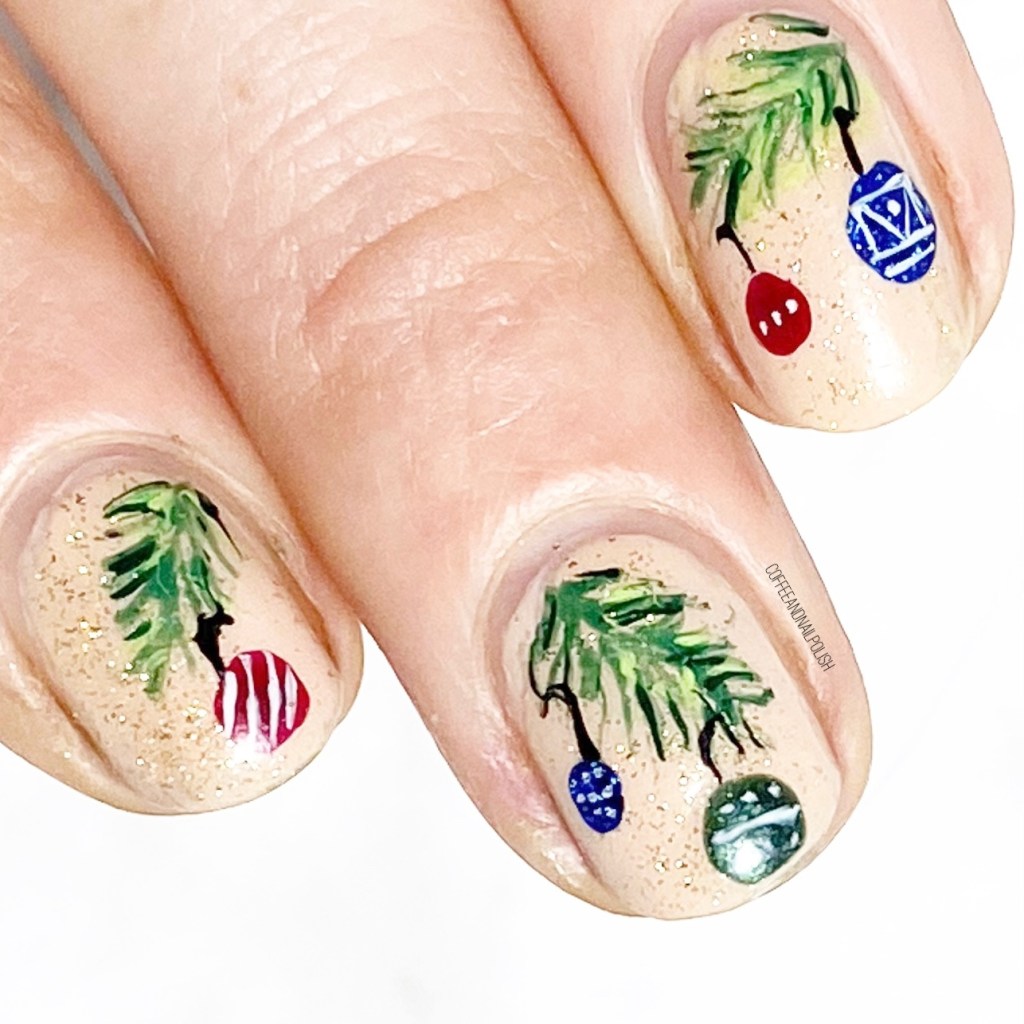
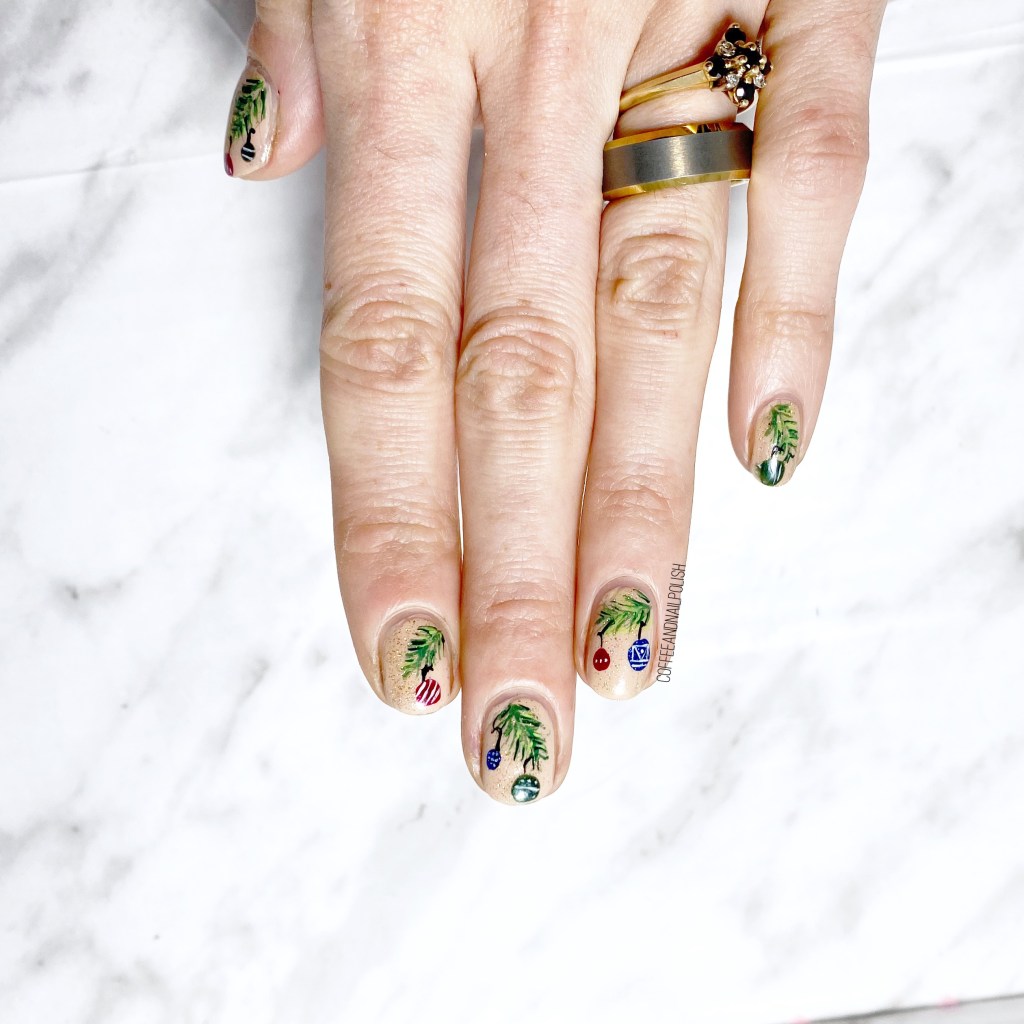
Today I have one final pre Christmas look to share with you — some Christmas ornament nails. This is actually a recreation/new take on a design I did five years ago. I thought a new version would be a fun design!

For this manicure, the polishes I used were:
- Base Coat: Sally Hansen Hard As Nails
- Top Coat: Sally Hansen Miracle Gel Shiny Top Coat
- Sally Hansen Good Kind Pure Almond Tan
- Sally Hansen Miracle Gel Five Golden Blings
- Icing Emerald City
- Essie Off Tropic
- Random icky green (haha)
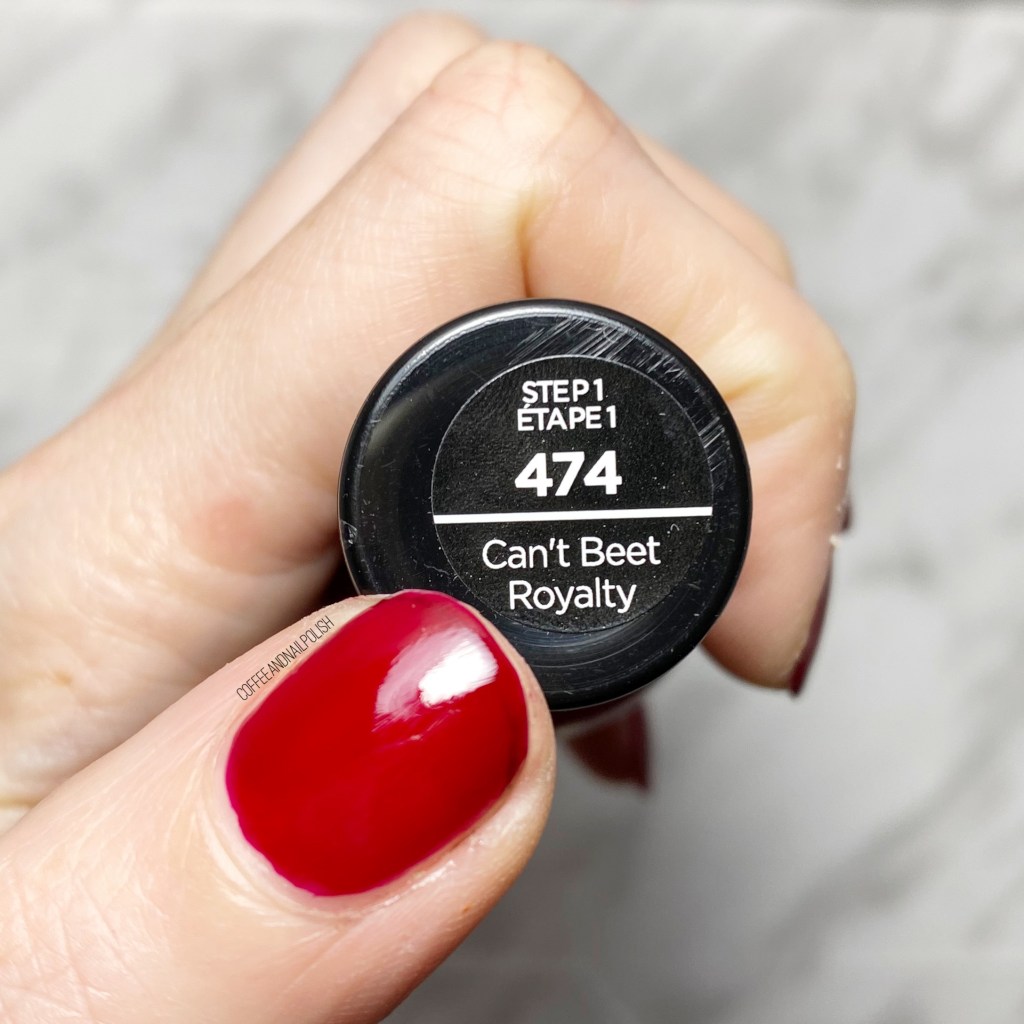
- Sally Hansen Miracle Gel Can’t Beet Royalty
- Starrily Diamond Rain
- Zoya Ray
- Starrily Vantablack
- Sally Hansen Miracle Gel Get Mod
- NailStuff.ca 4mm Micro Detail Brush (COFFEE10 saves you 10%!)
- NailStuff.ca Dotting Tool Trio
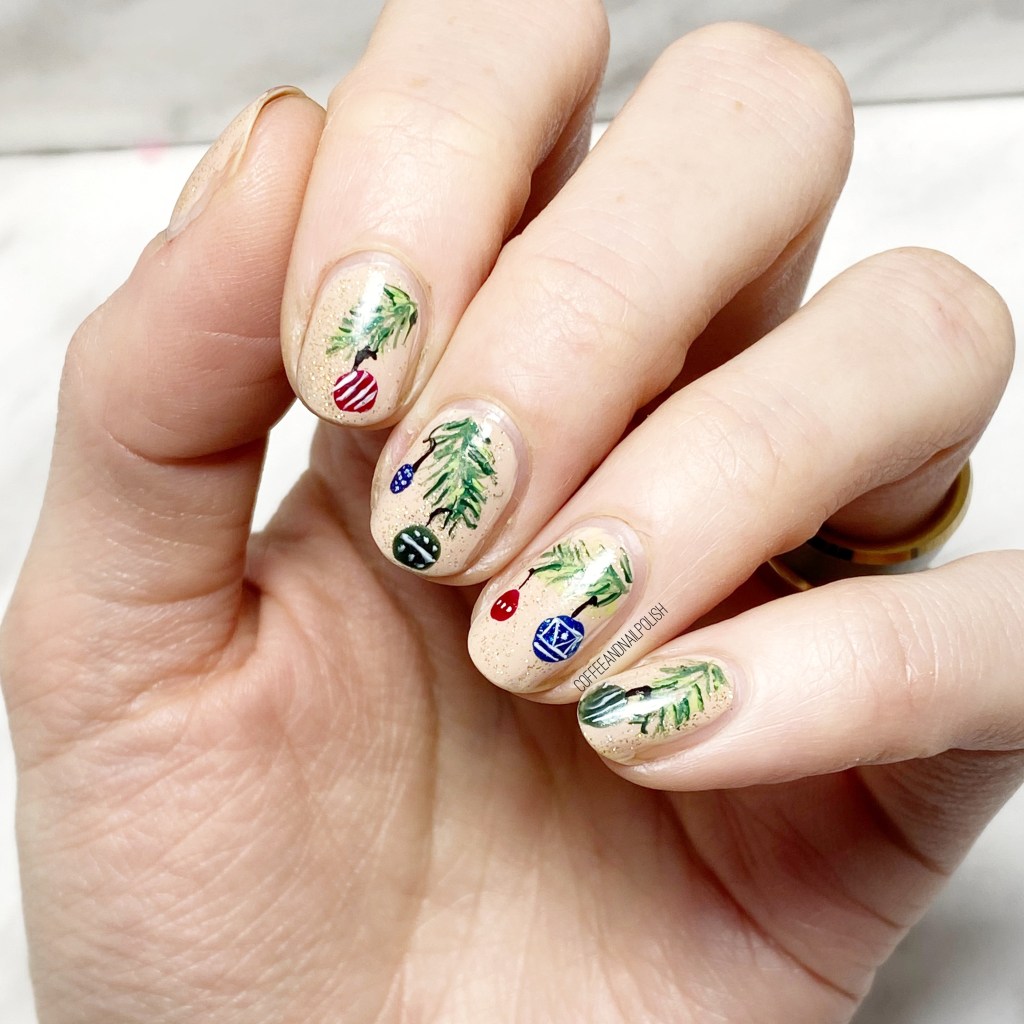
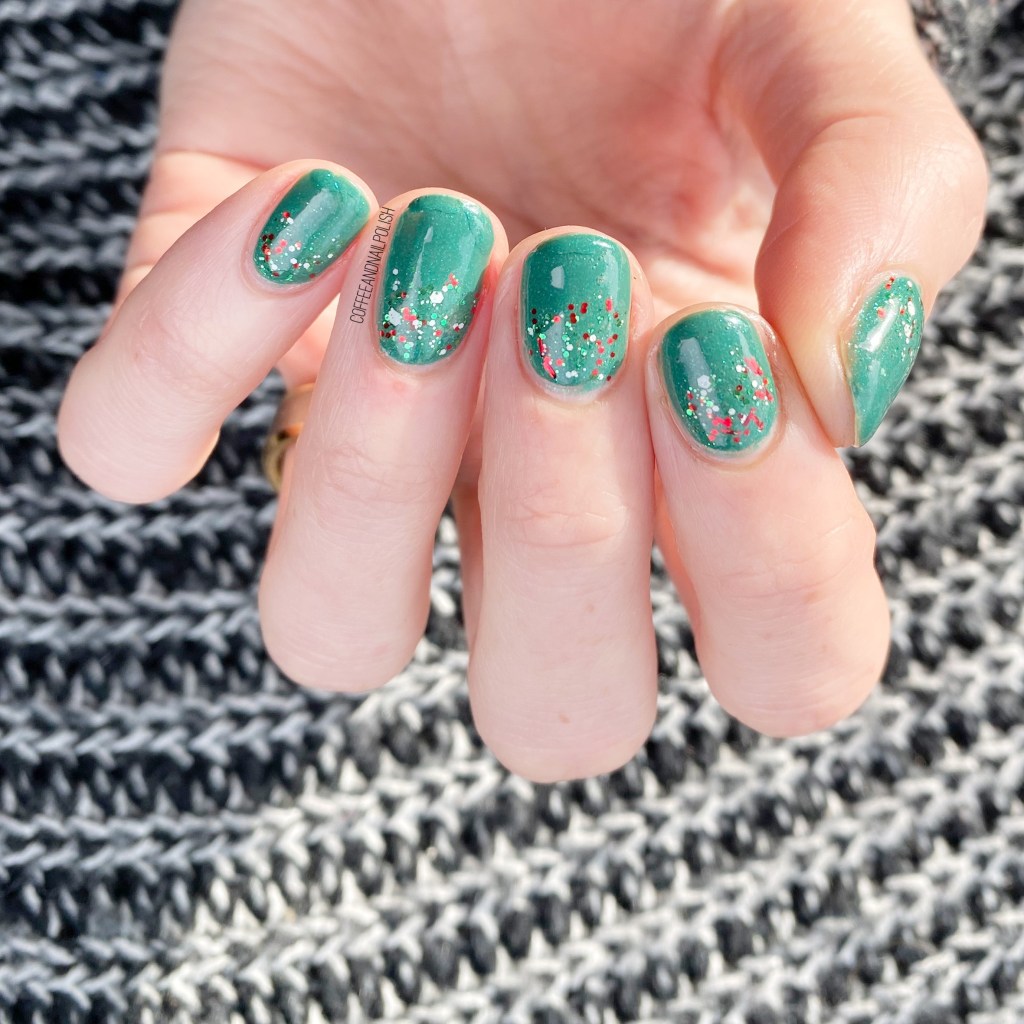
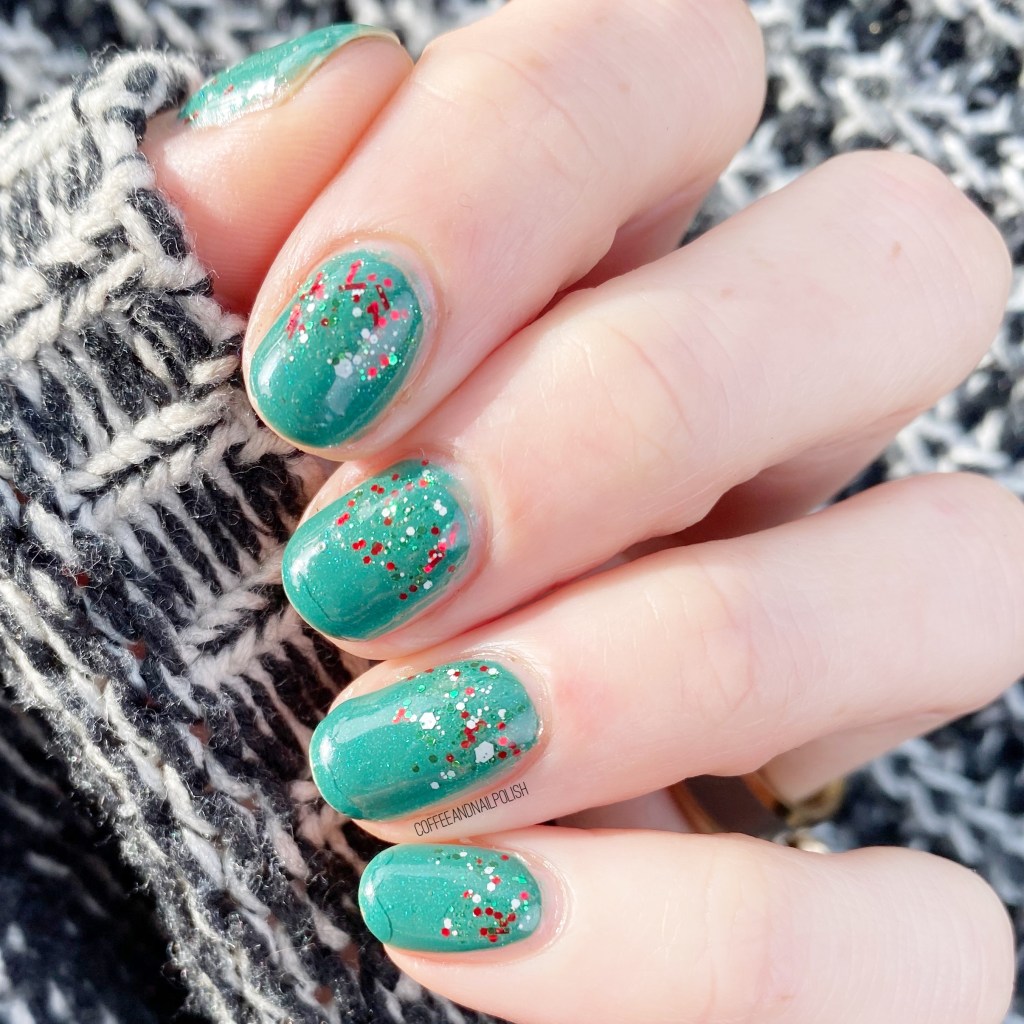
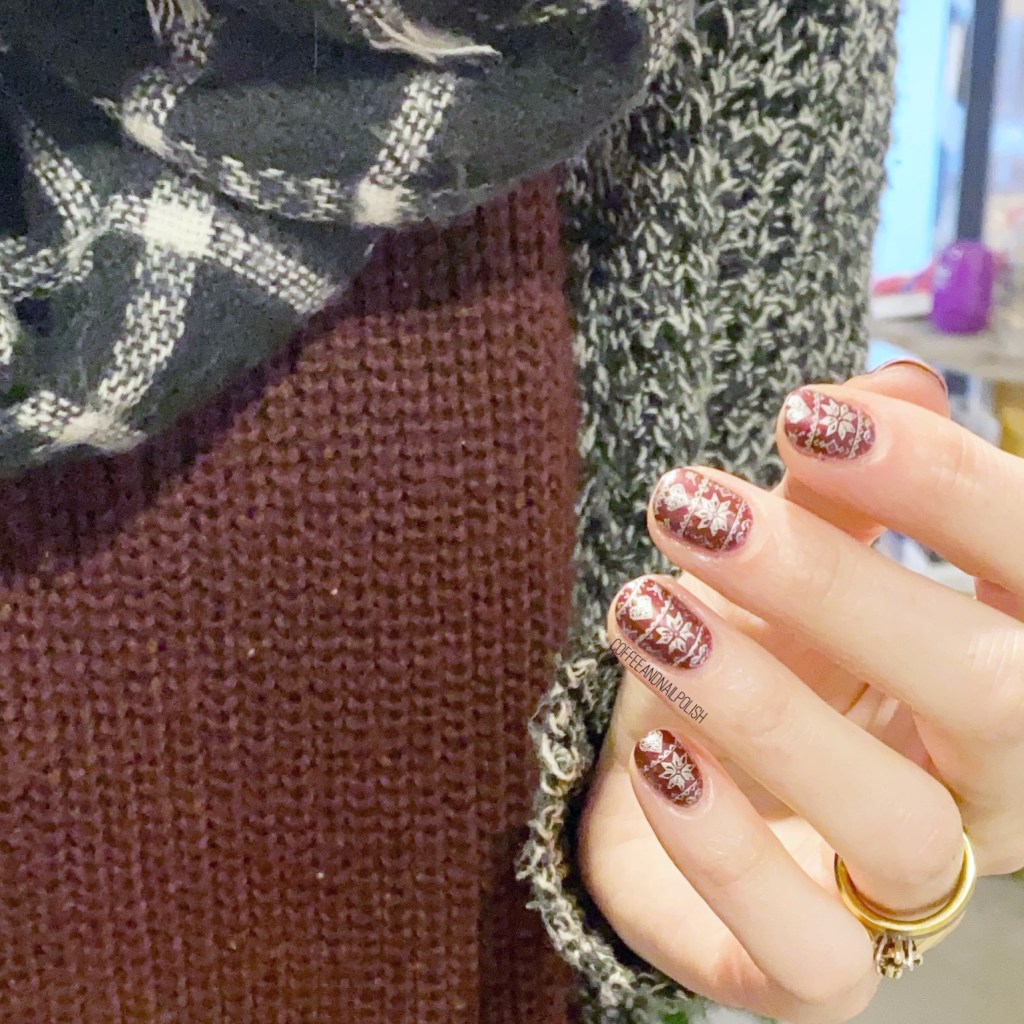
I’m actually obsessed with these. They turned out so perfect—-better than I had even imagined! I really wanted to do some kind of ornament design, & these just turned out so cute. I also didn’t have a ton of time to do my nails, & all the painting was (relatively) quick! Also I’m super proud of my teeny tiny little designs on the ornaments themselves, mostly because I was stumped on what designs to even put!
It’s the perfect Christmas Eve design, especially for the hours of wrapping I have to do tonight after the kids go to bed! Haha.
I hope everyone has the most lovely next couple days filled. I know this year is so much different than Christmas past, & so many people are away from the people they love most, but I’m sending love to all, & wishing no matter your situation, your days are filled with peace.
Merry Christmas & Happy Holidays lovelies! 💗🎄