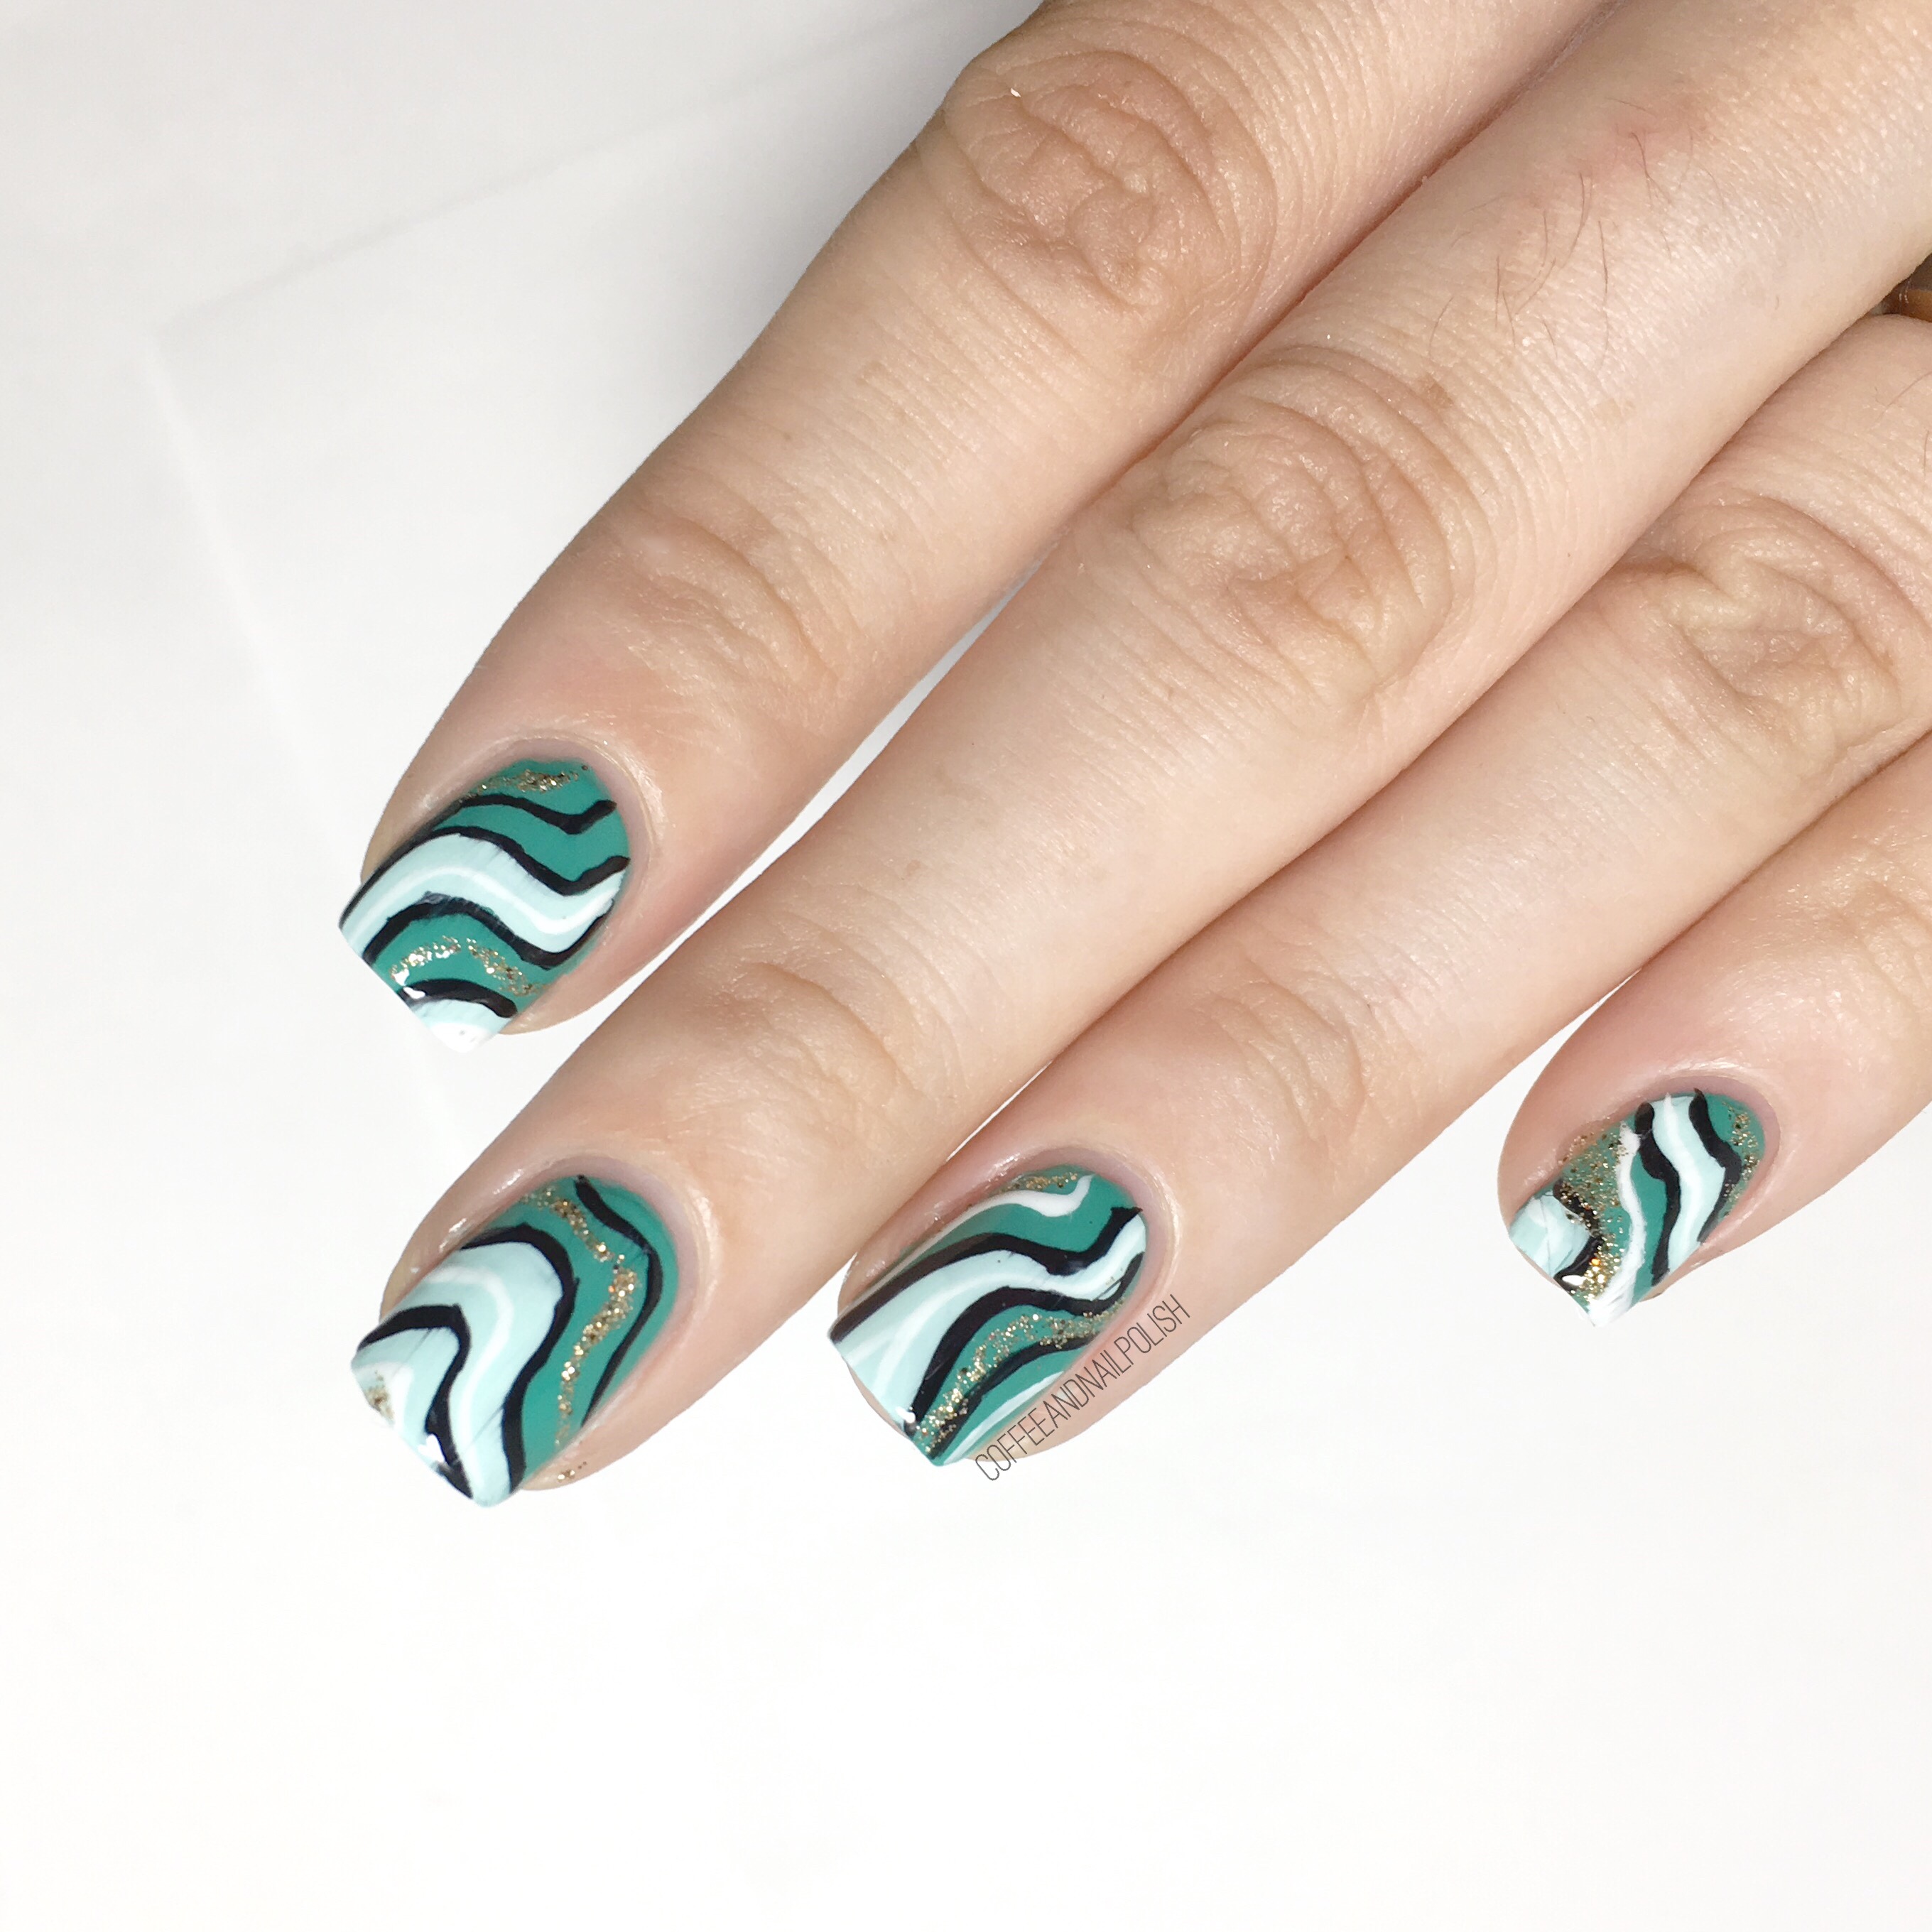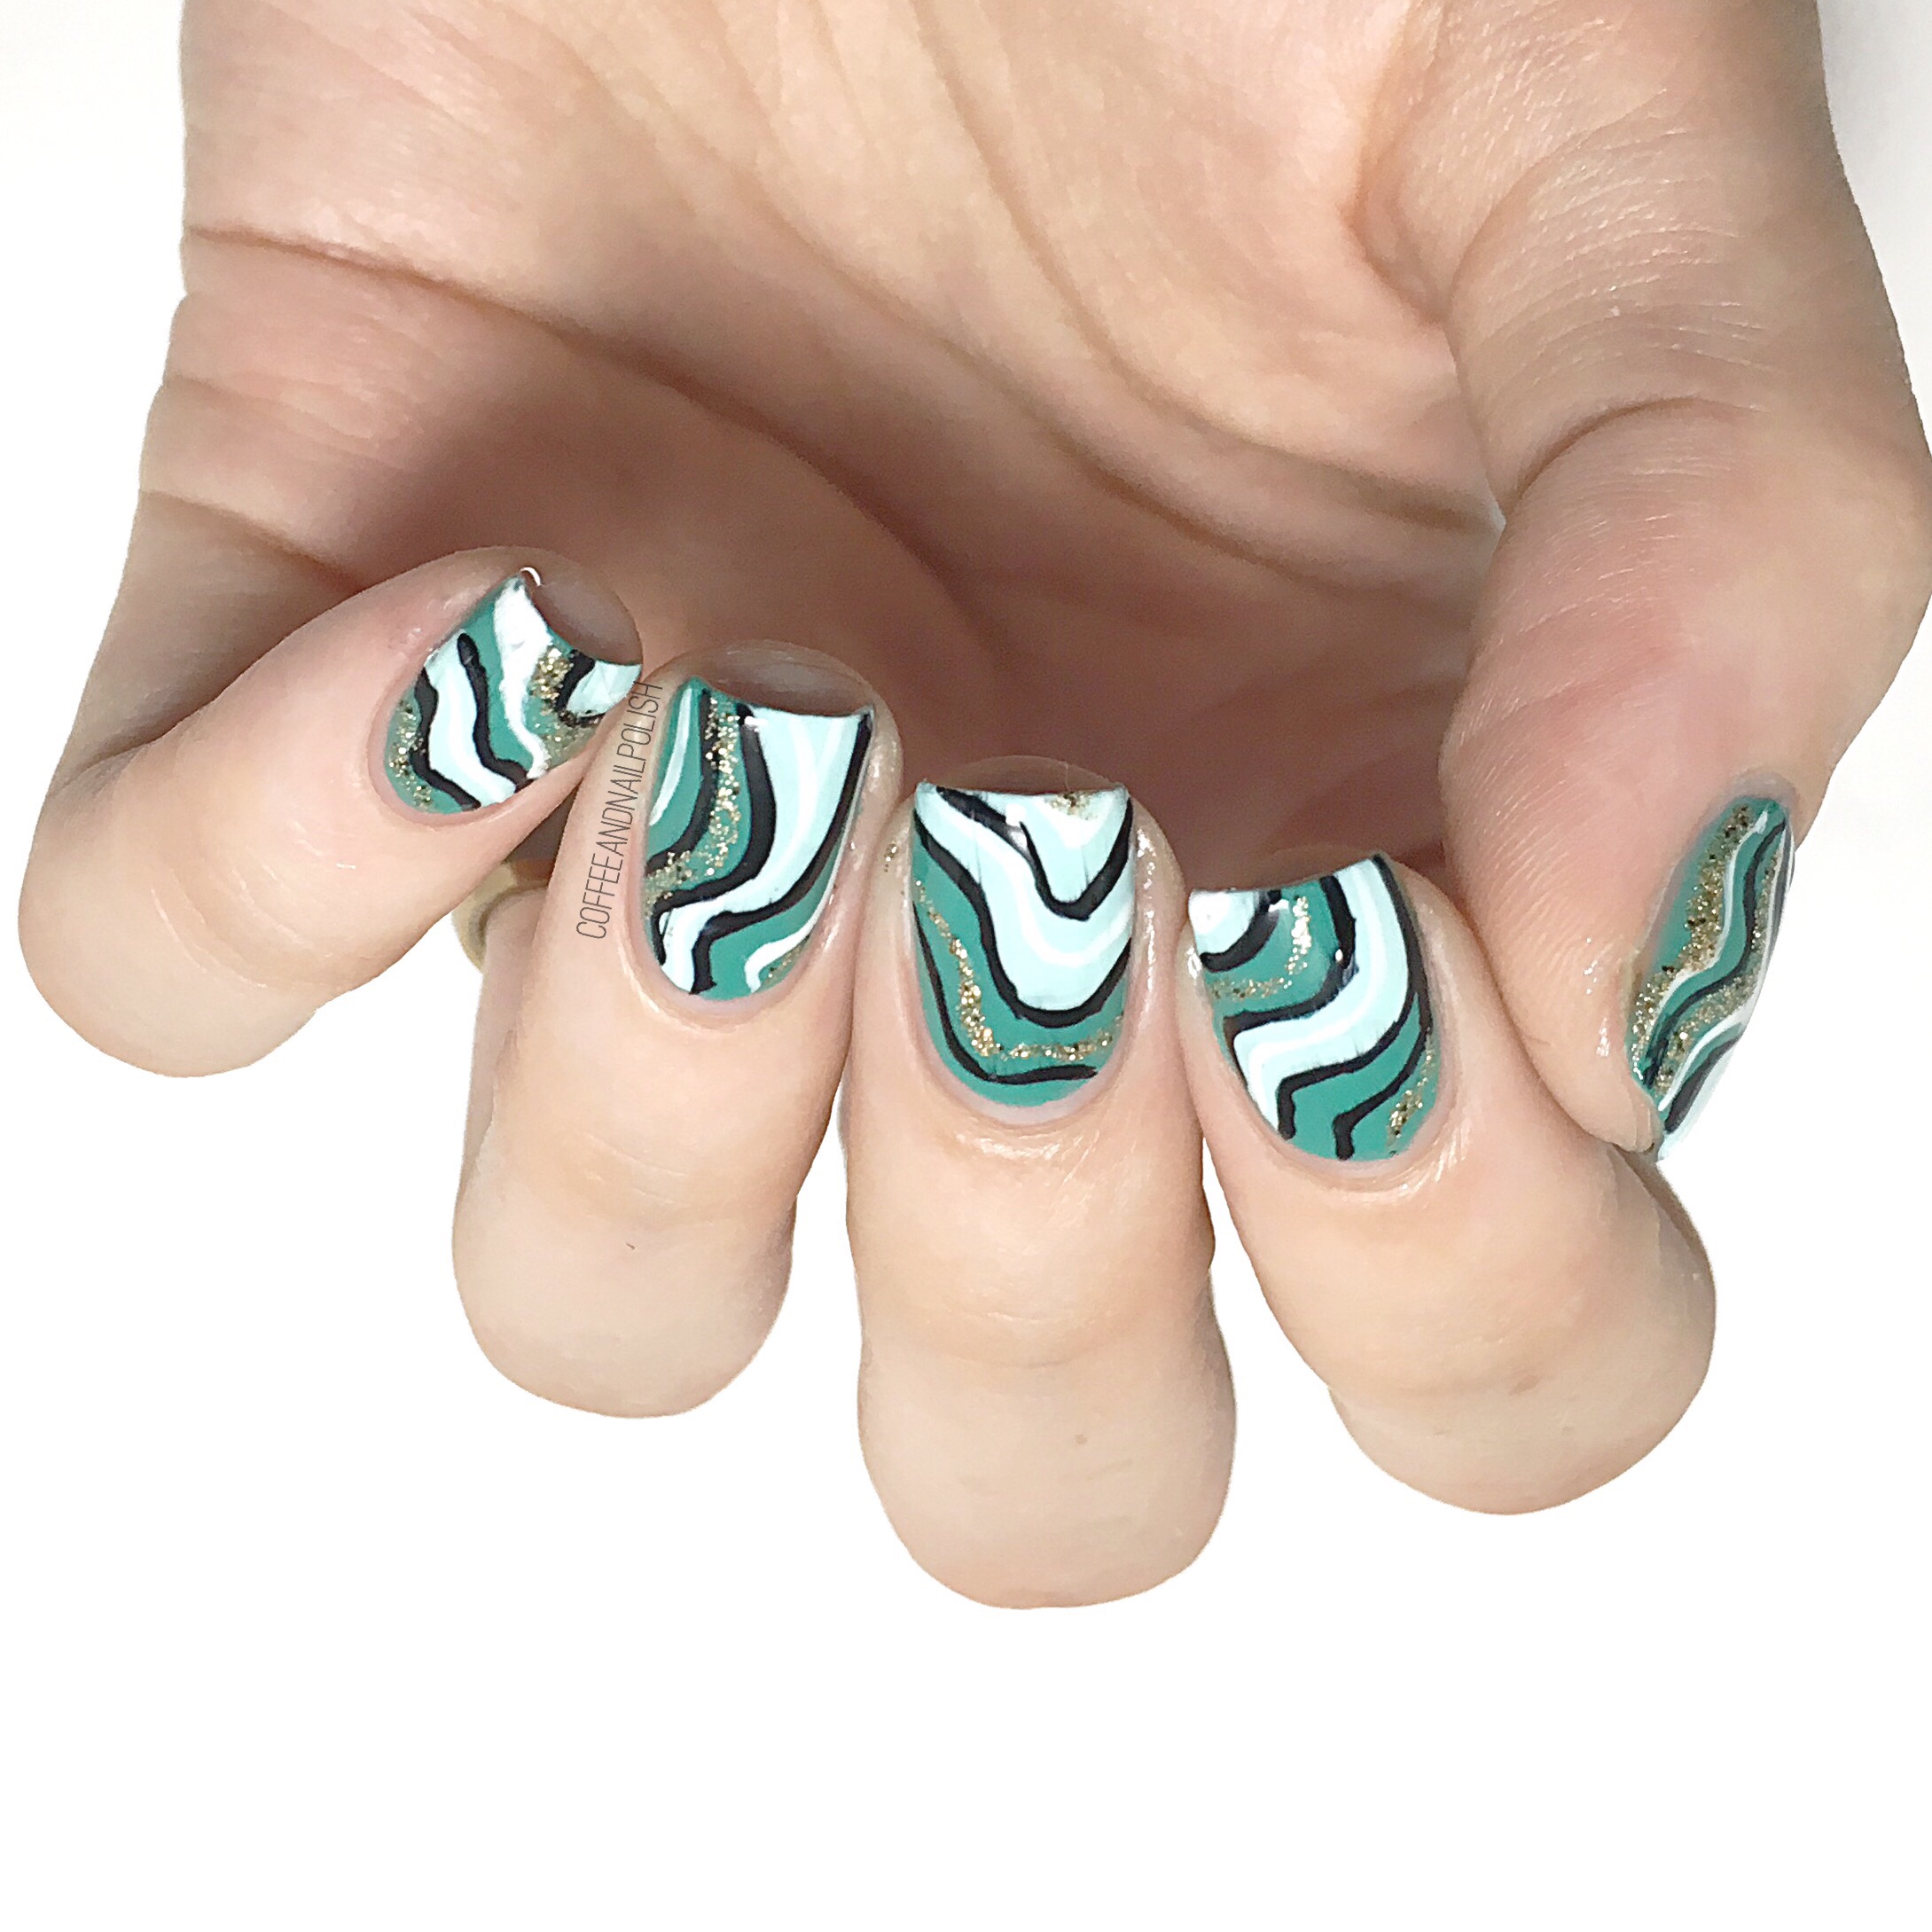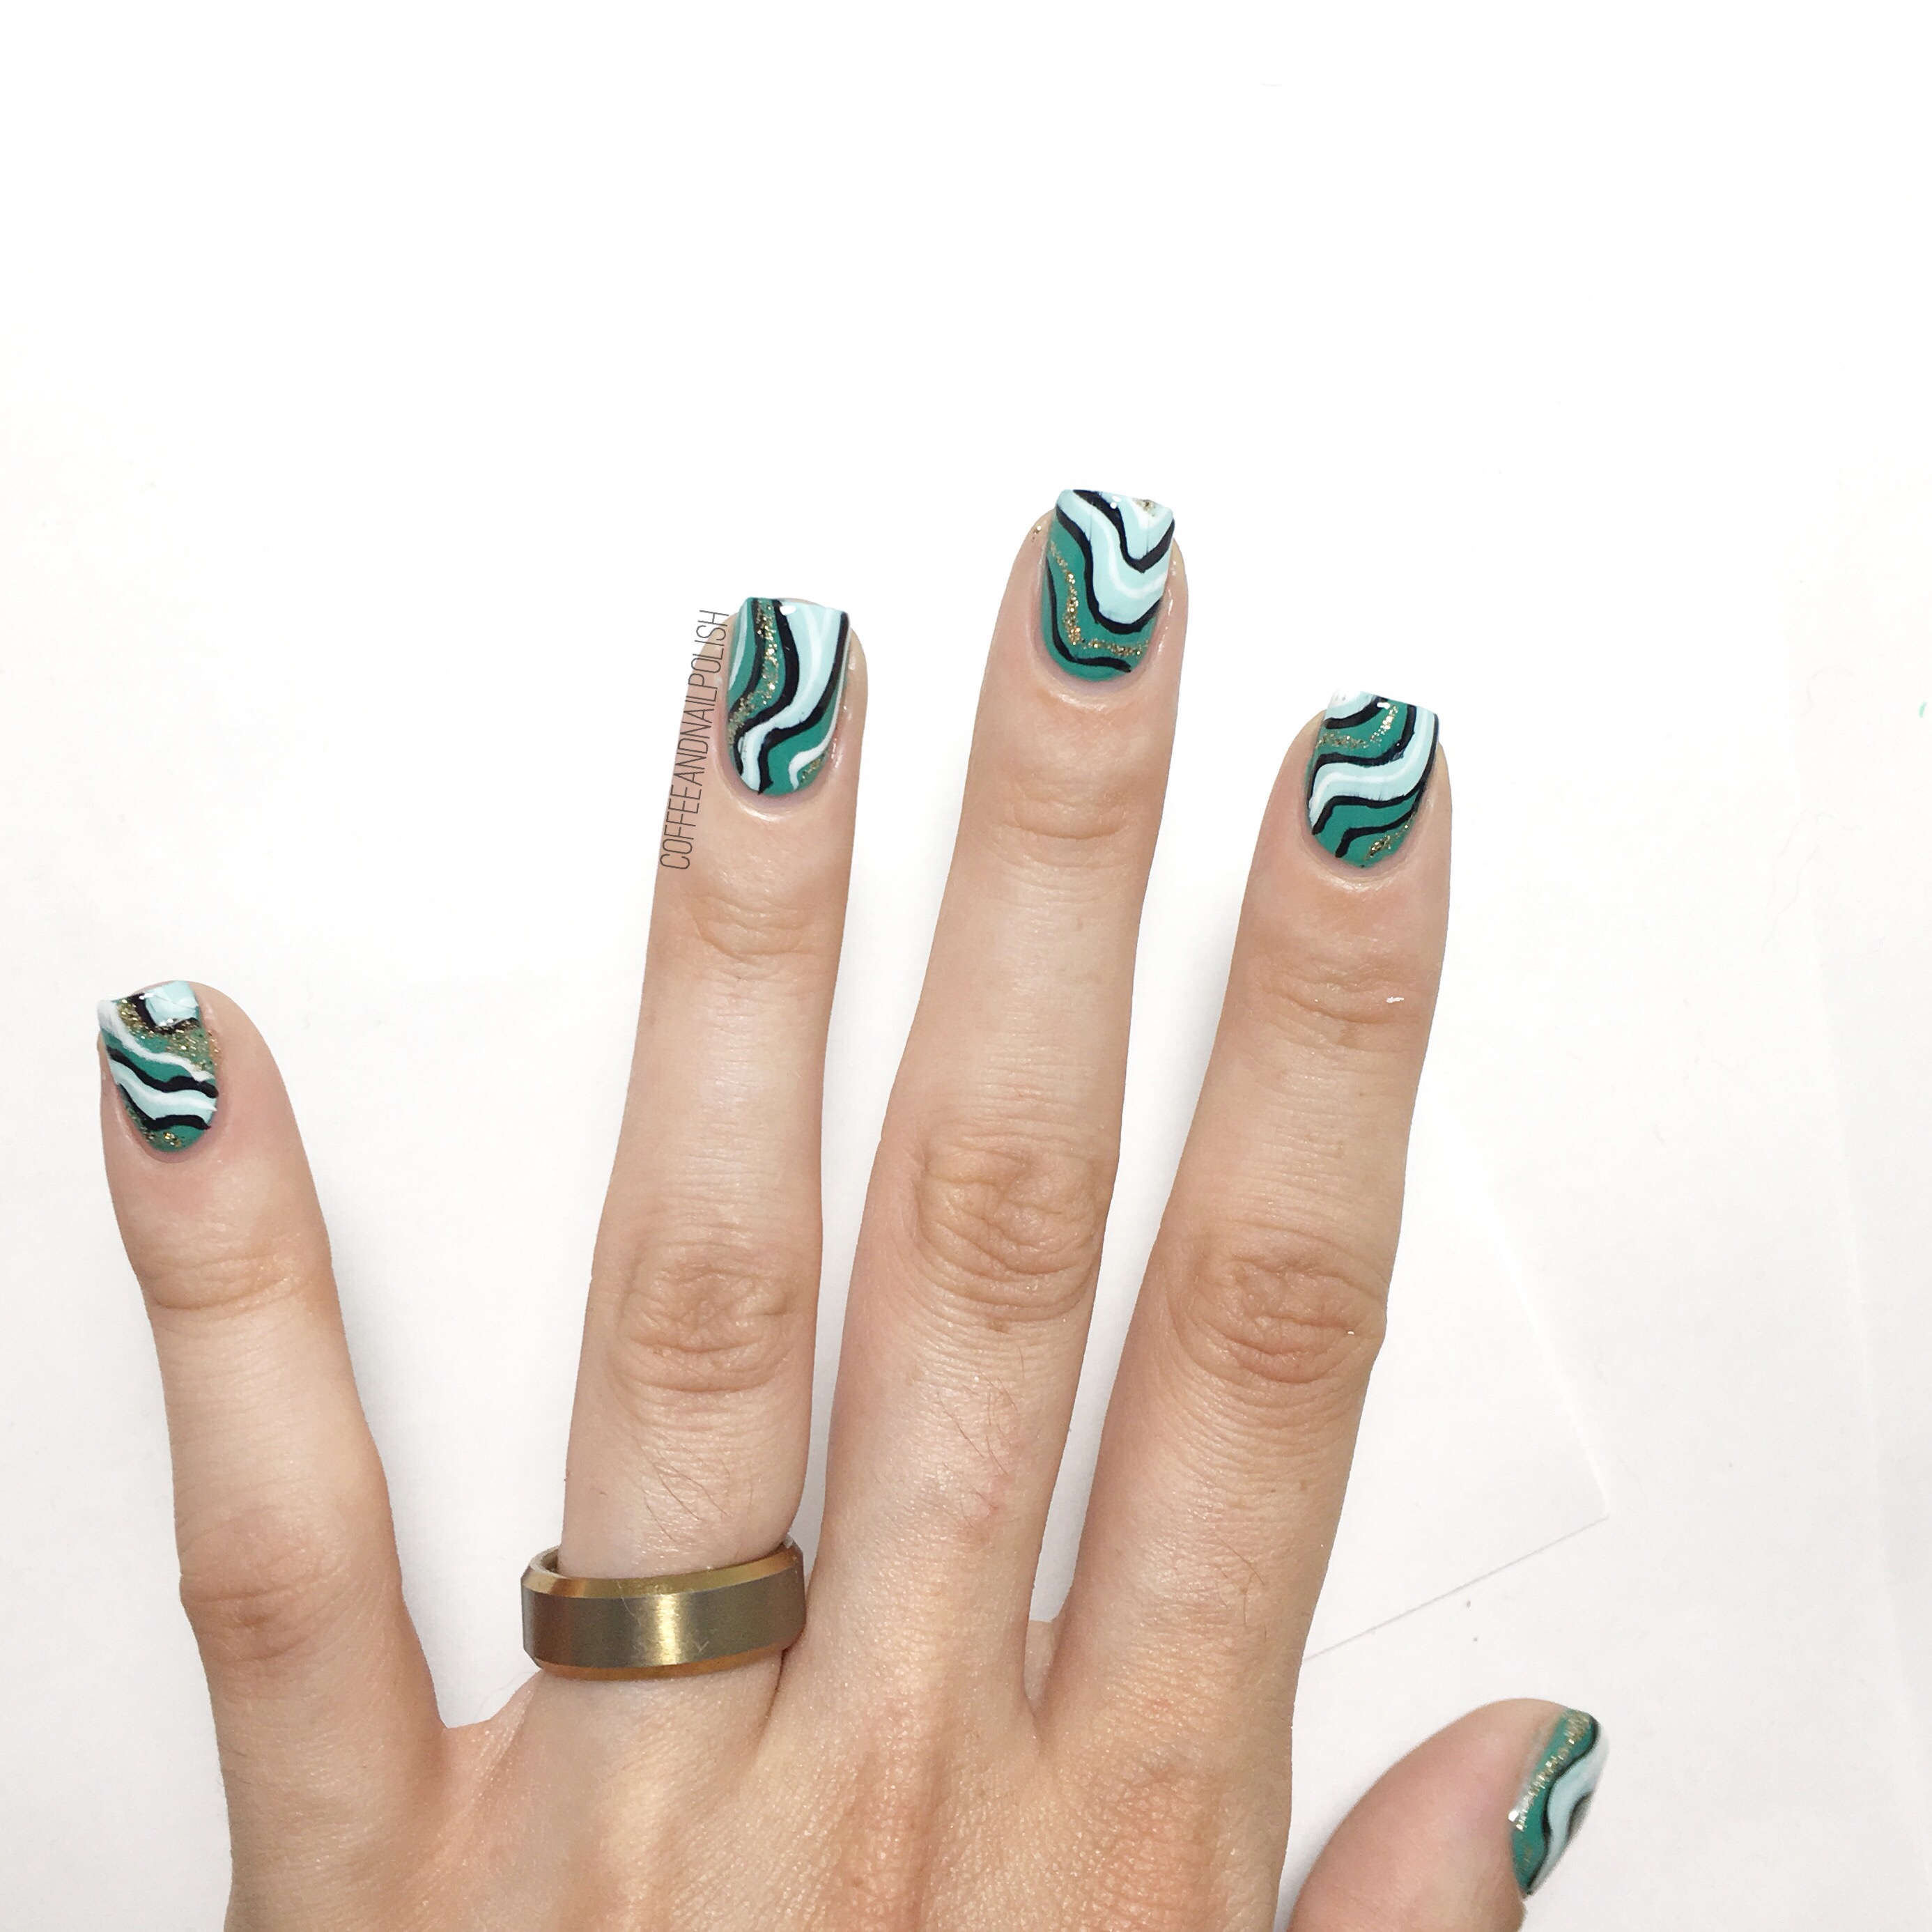
Jade Abstract Stripes

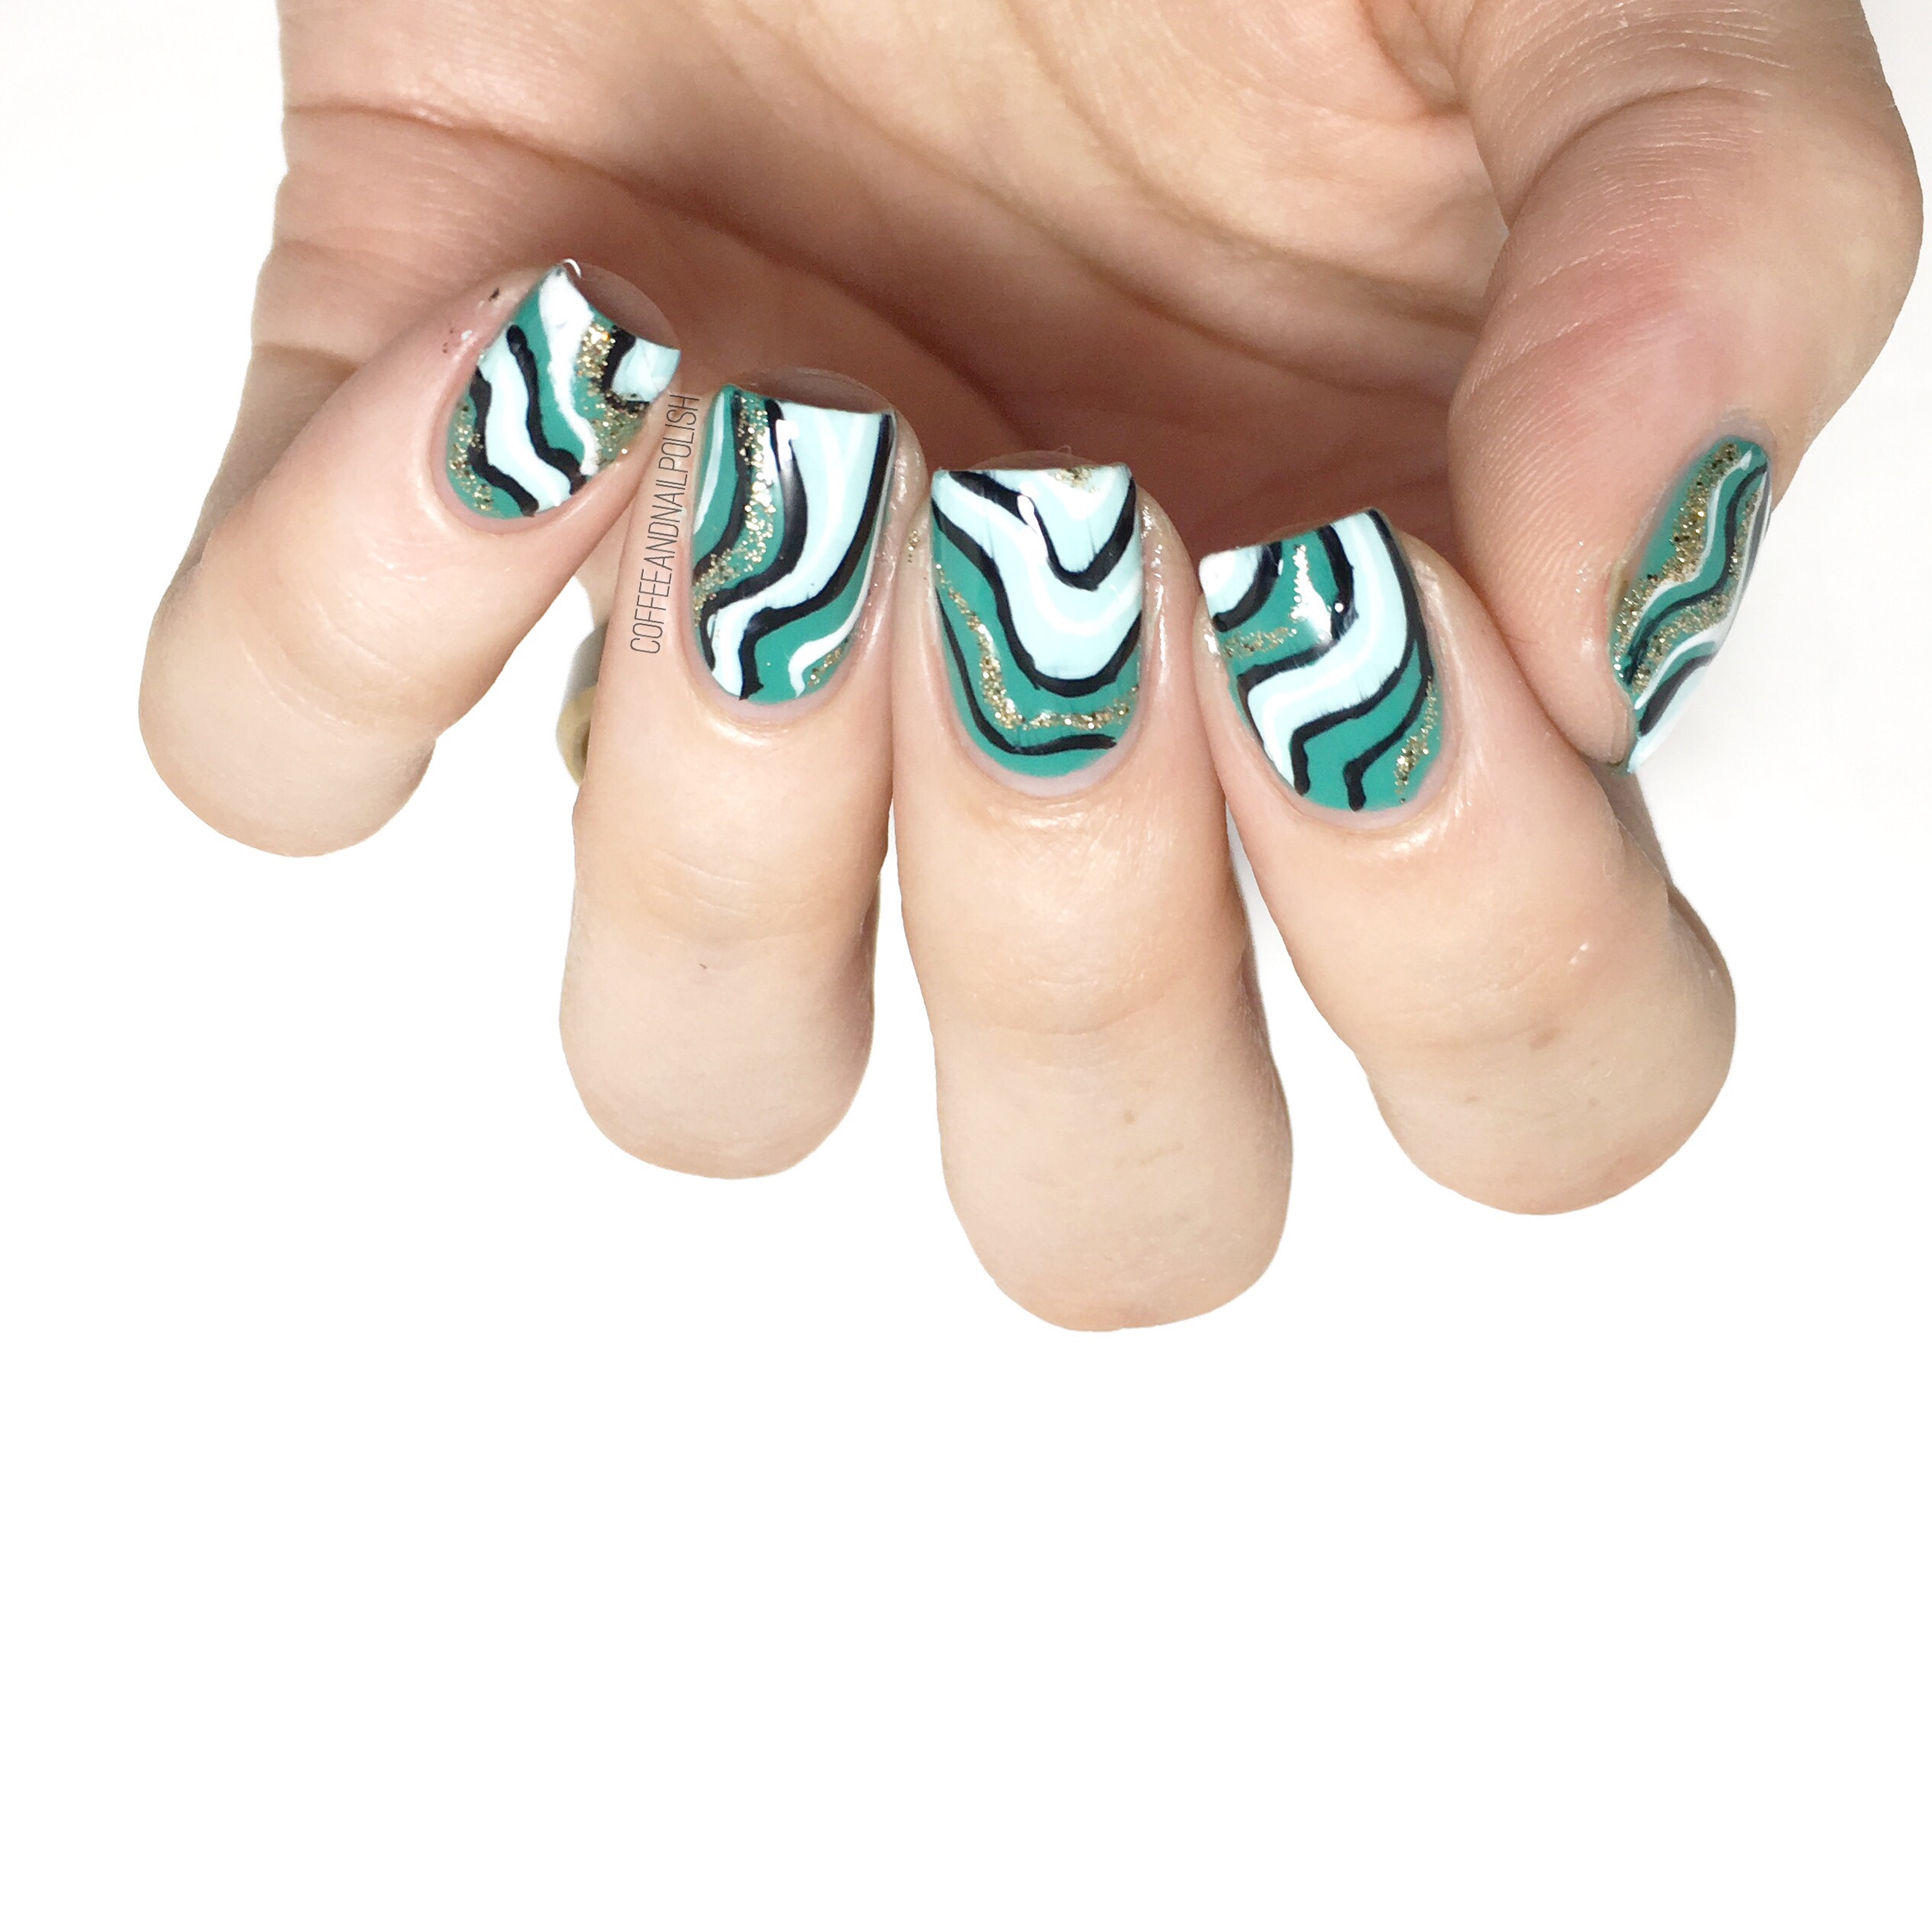
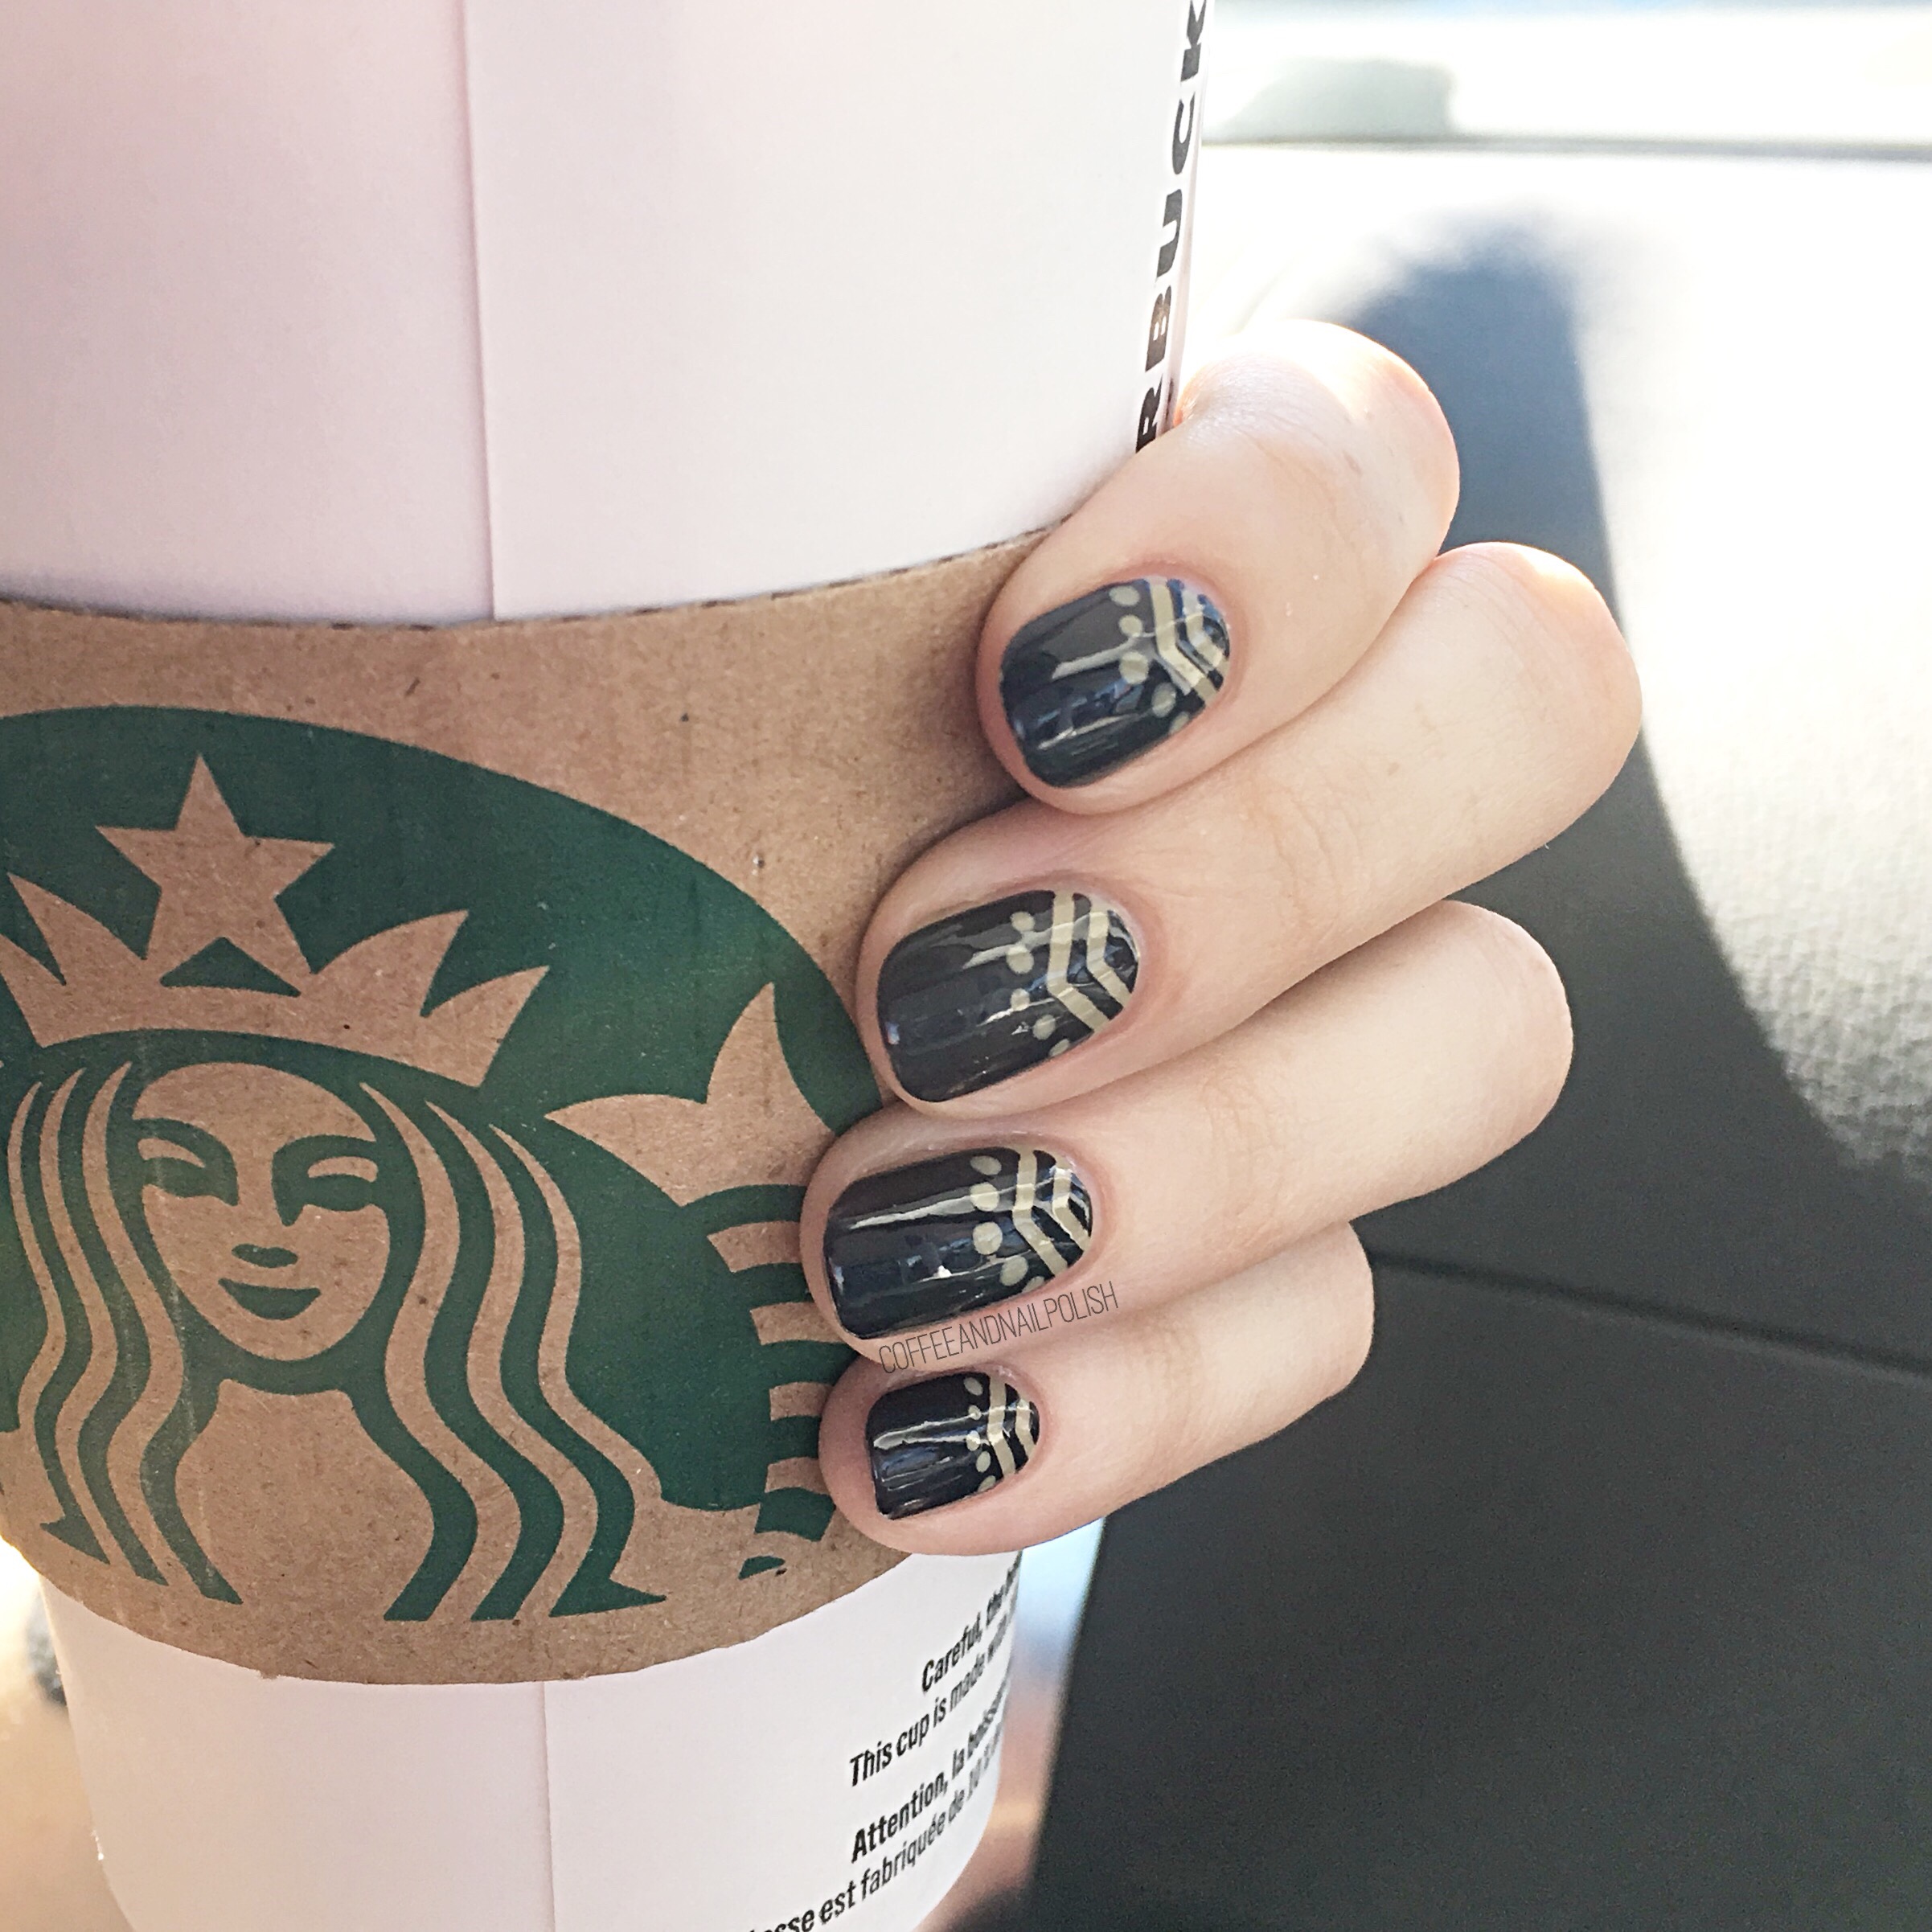
Today I’ve got some abstract stripes to share with you featuring another untried polish from the stash! I’m ashamed to admit I have way too many untried polishes, so I’m trying really hard to pull them out & actually wear them. Except it’s me, & I just end up going out & buying a new one that then adds to the collection haha. 🤦🏻‍♀️

Problem? I don’t have a nail polish problem. 

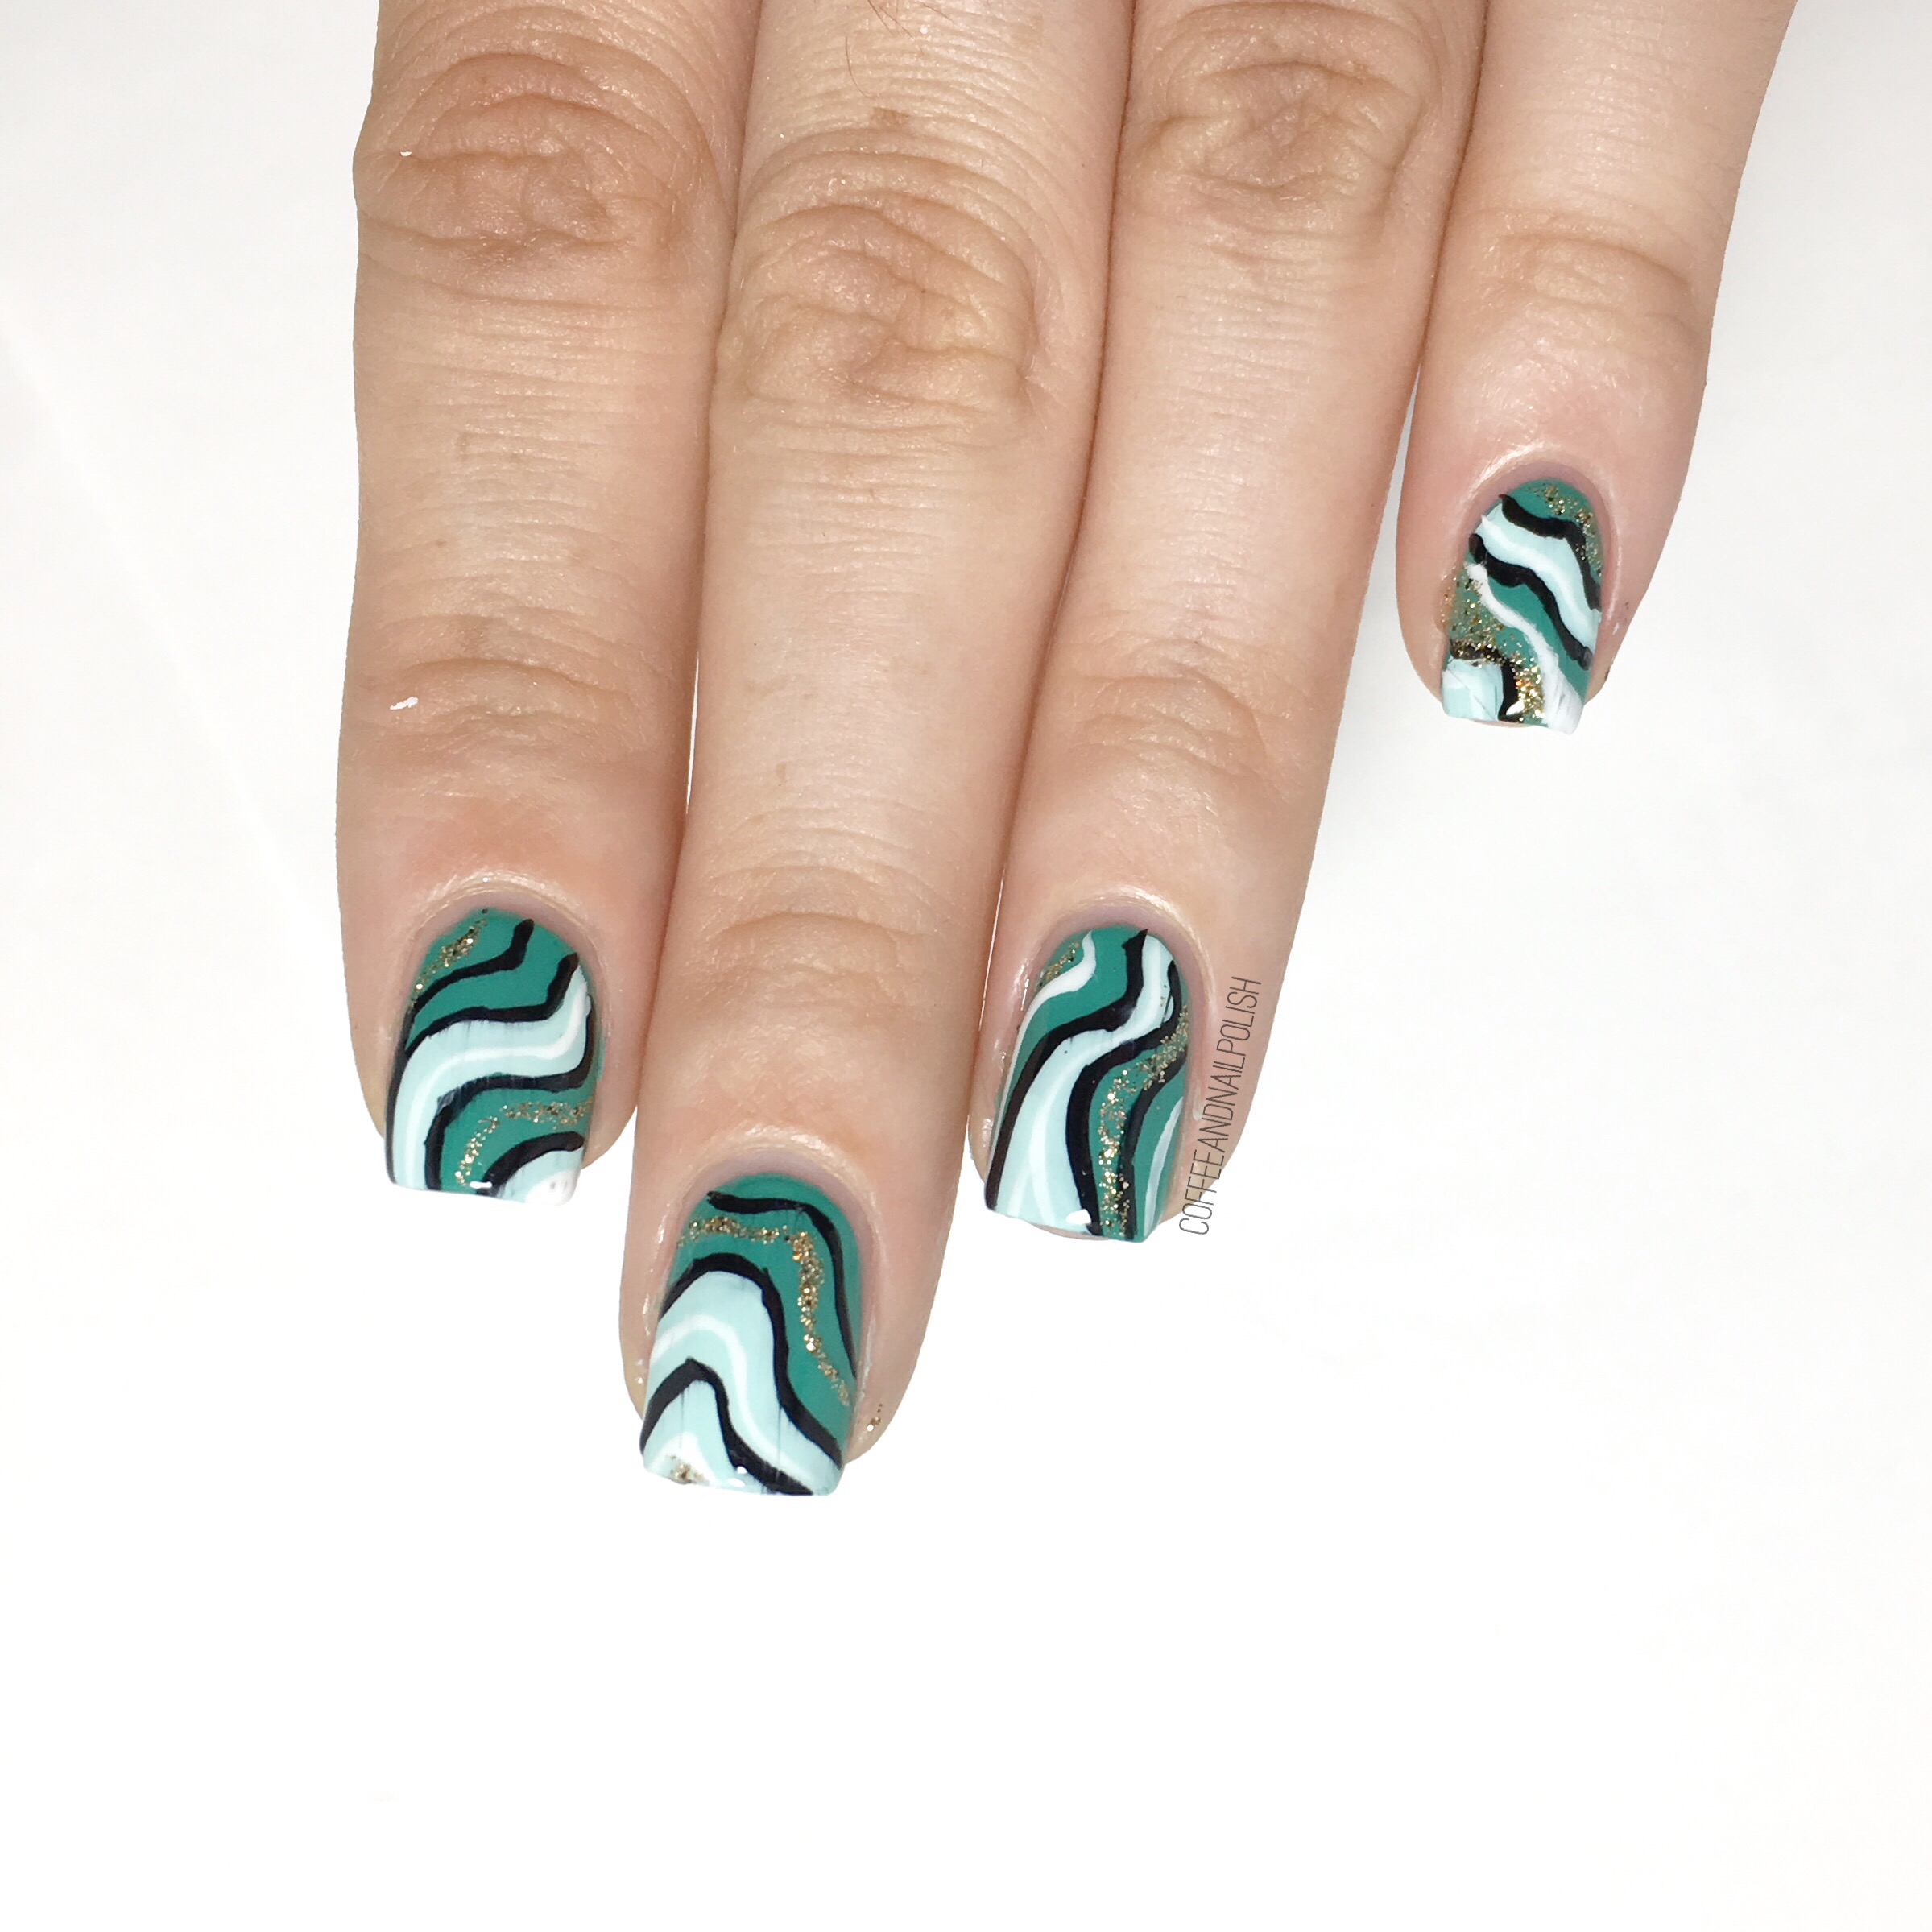
But today I’m wearing Deborah Lippmann She Drives Me Crazy which is a pretty jade green shade which my Mom picked up for me at Marshall’s.  The colour is obviously gorgeous, but I felt like it definitely needed something added, so I came up with these abstract stripes over top. 

For this manicure, the polishes I used were:

  • Base Coat: L’Oréal All in One
  • Top Coat: Essie Speed Setter
  • Deborah Lippmann She Drives Me Crazy
  • Essie Mint Candy Apple
  • Kiss Products Nail Art Striper in White
  • Kiss Products Nail Art Striper in Black
  • Quo by ORLY Nail Art Striper in Gold

This design never gets old to me.  It’s like floral or polka dots–easy to pull out when I’m too tired to think about what to do on my nails. It’s all about the colour palate. You have to make sure your secondary colour (in this case Essie Mint Candy Apple) falls within the same colour family as your base for the stripes to really just look awesome together. Also I need to stop forgetting to do a tutorial for this design because I keep promising one. Blame it on the fact I do my nails on the couch in my pjs  (bottle balanced between my knees) & not at a table like a normal person haha. But now that I have this fancy new iPhone, maybe I’ll finally be able to film a long promised tutorial. Crazier things have happened! 


Am I the only person who buys nail polish then proceeds to forget to wear it? What polishes do you currently have waiting to be worn?

I recently went through & reorganized my stash so I’m really trying to make a point to pull out those forgotten shades that I forgot I owned! Hopefully I’ll be able to incorporate more into my blog posts before I end up buying more! 

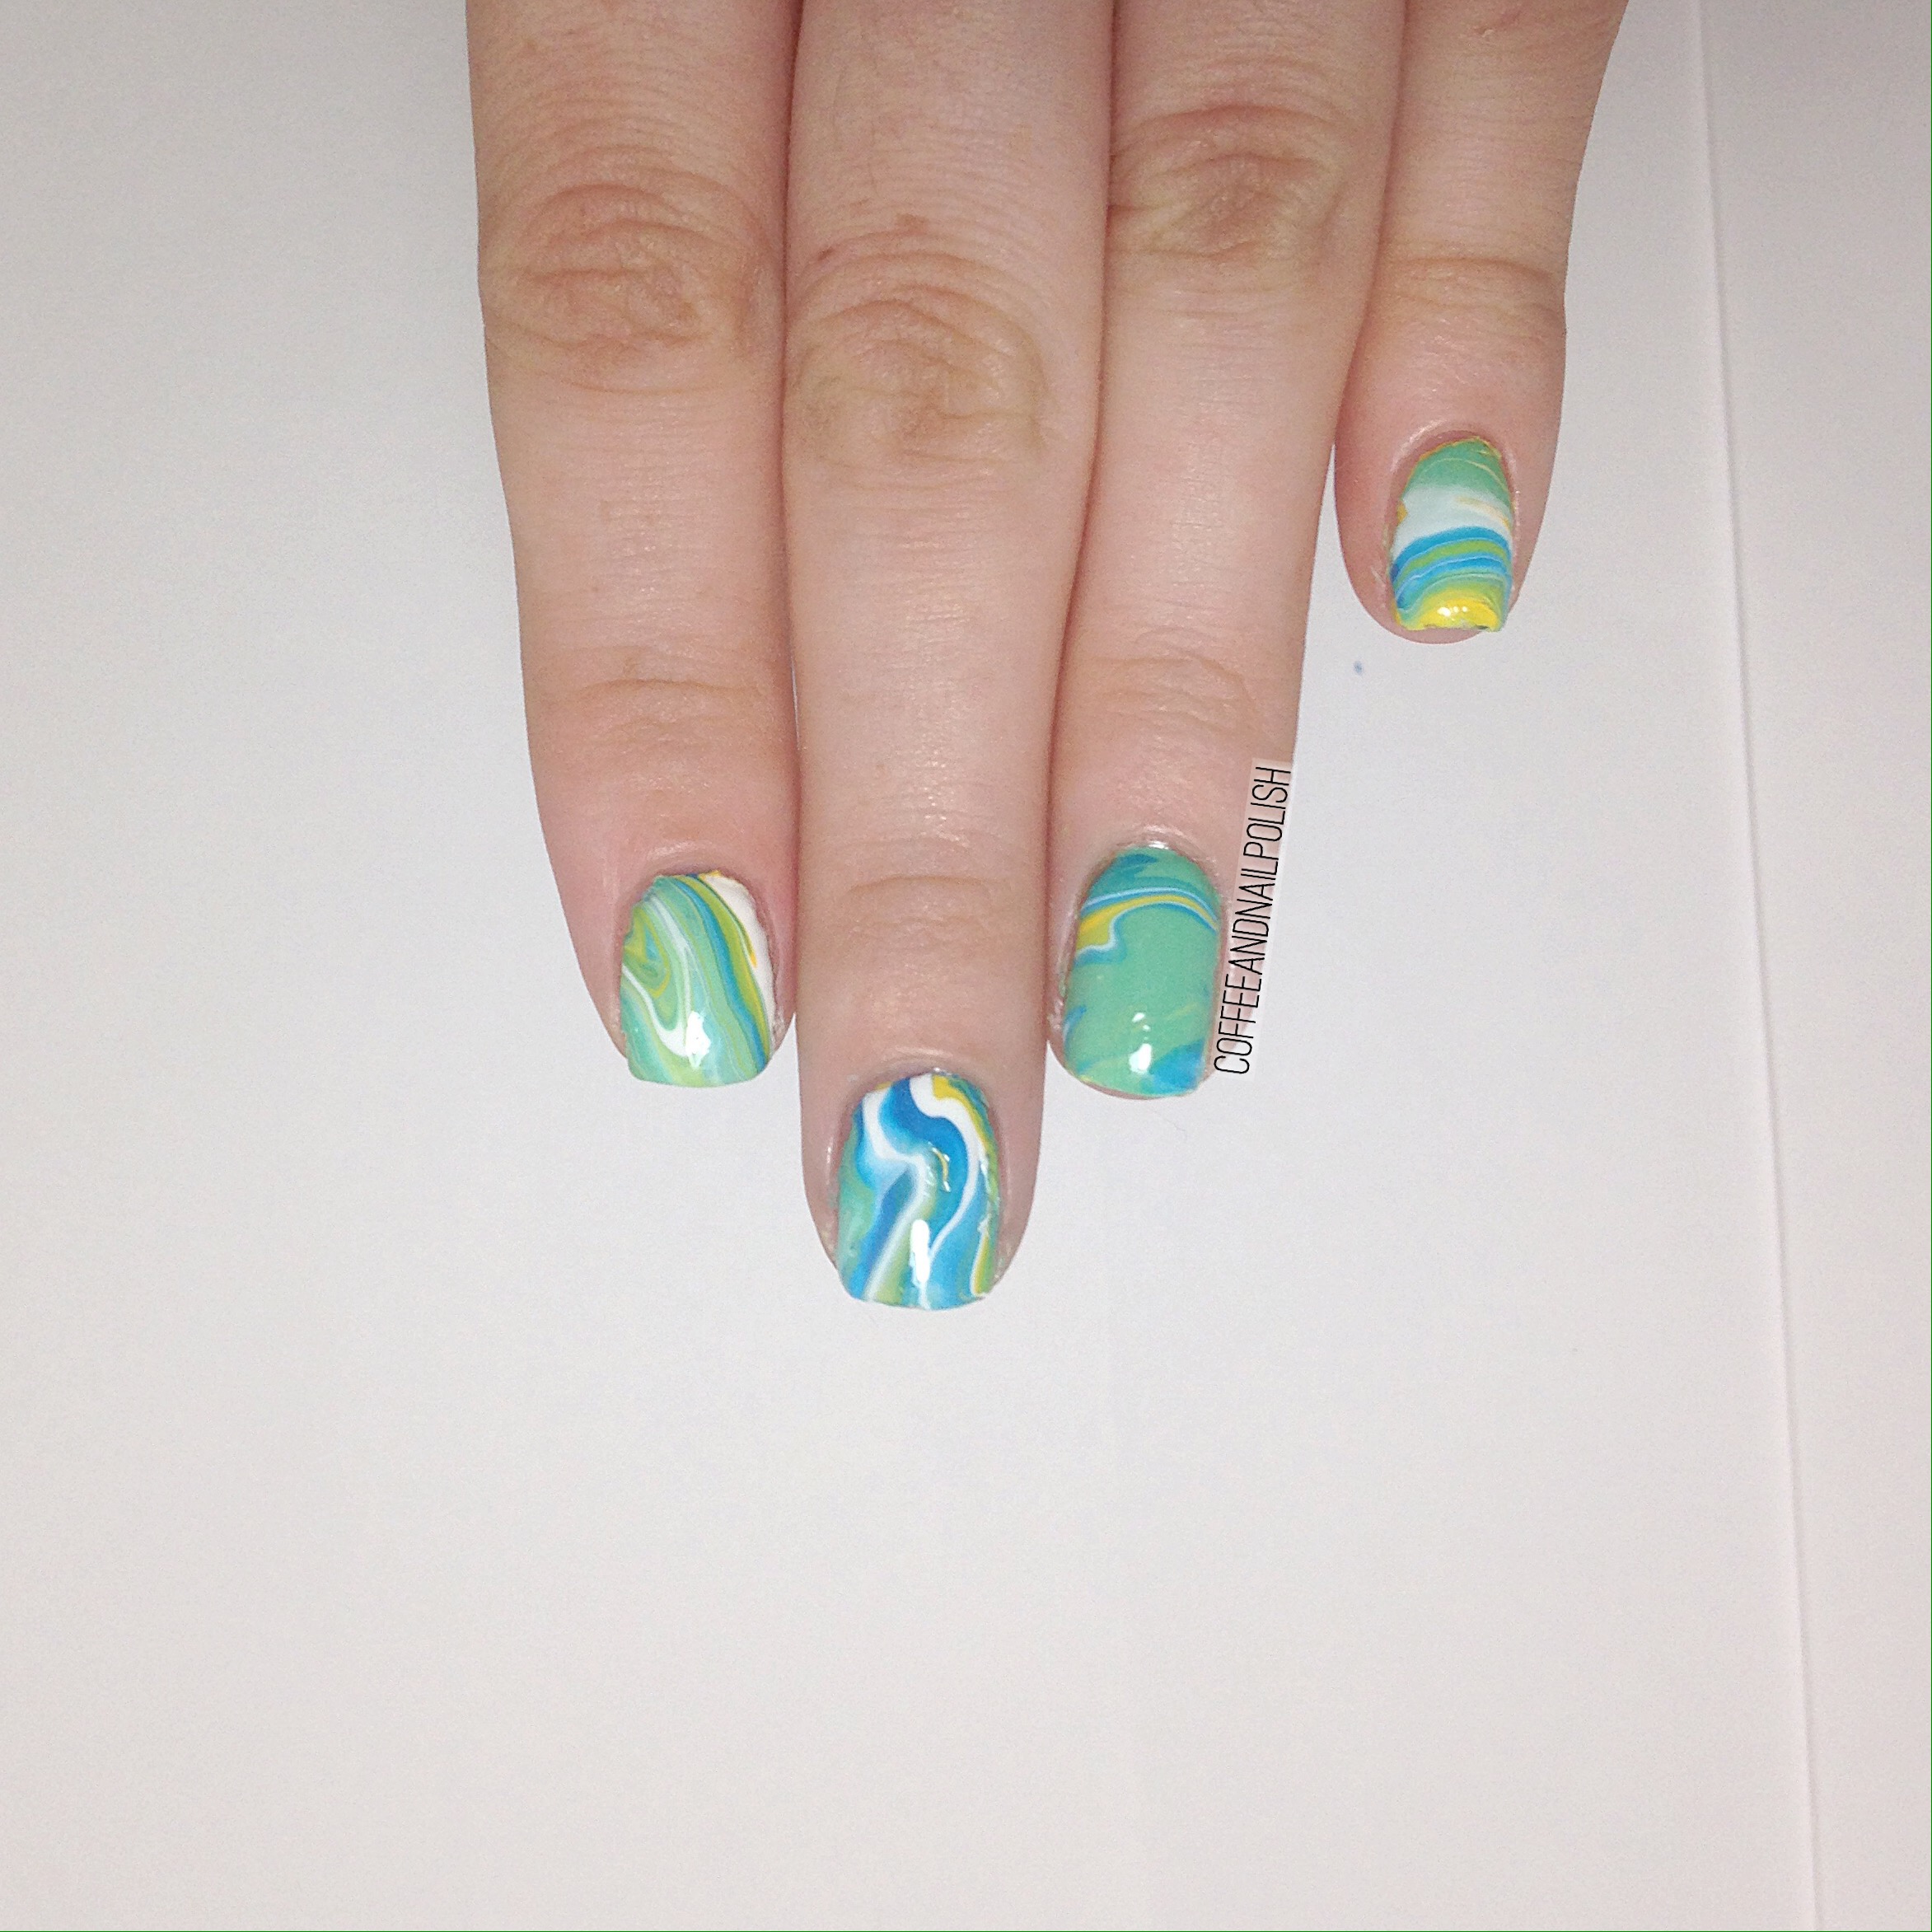
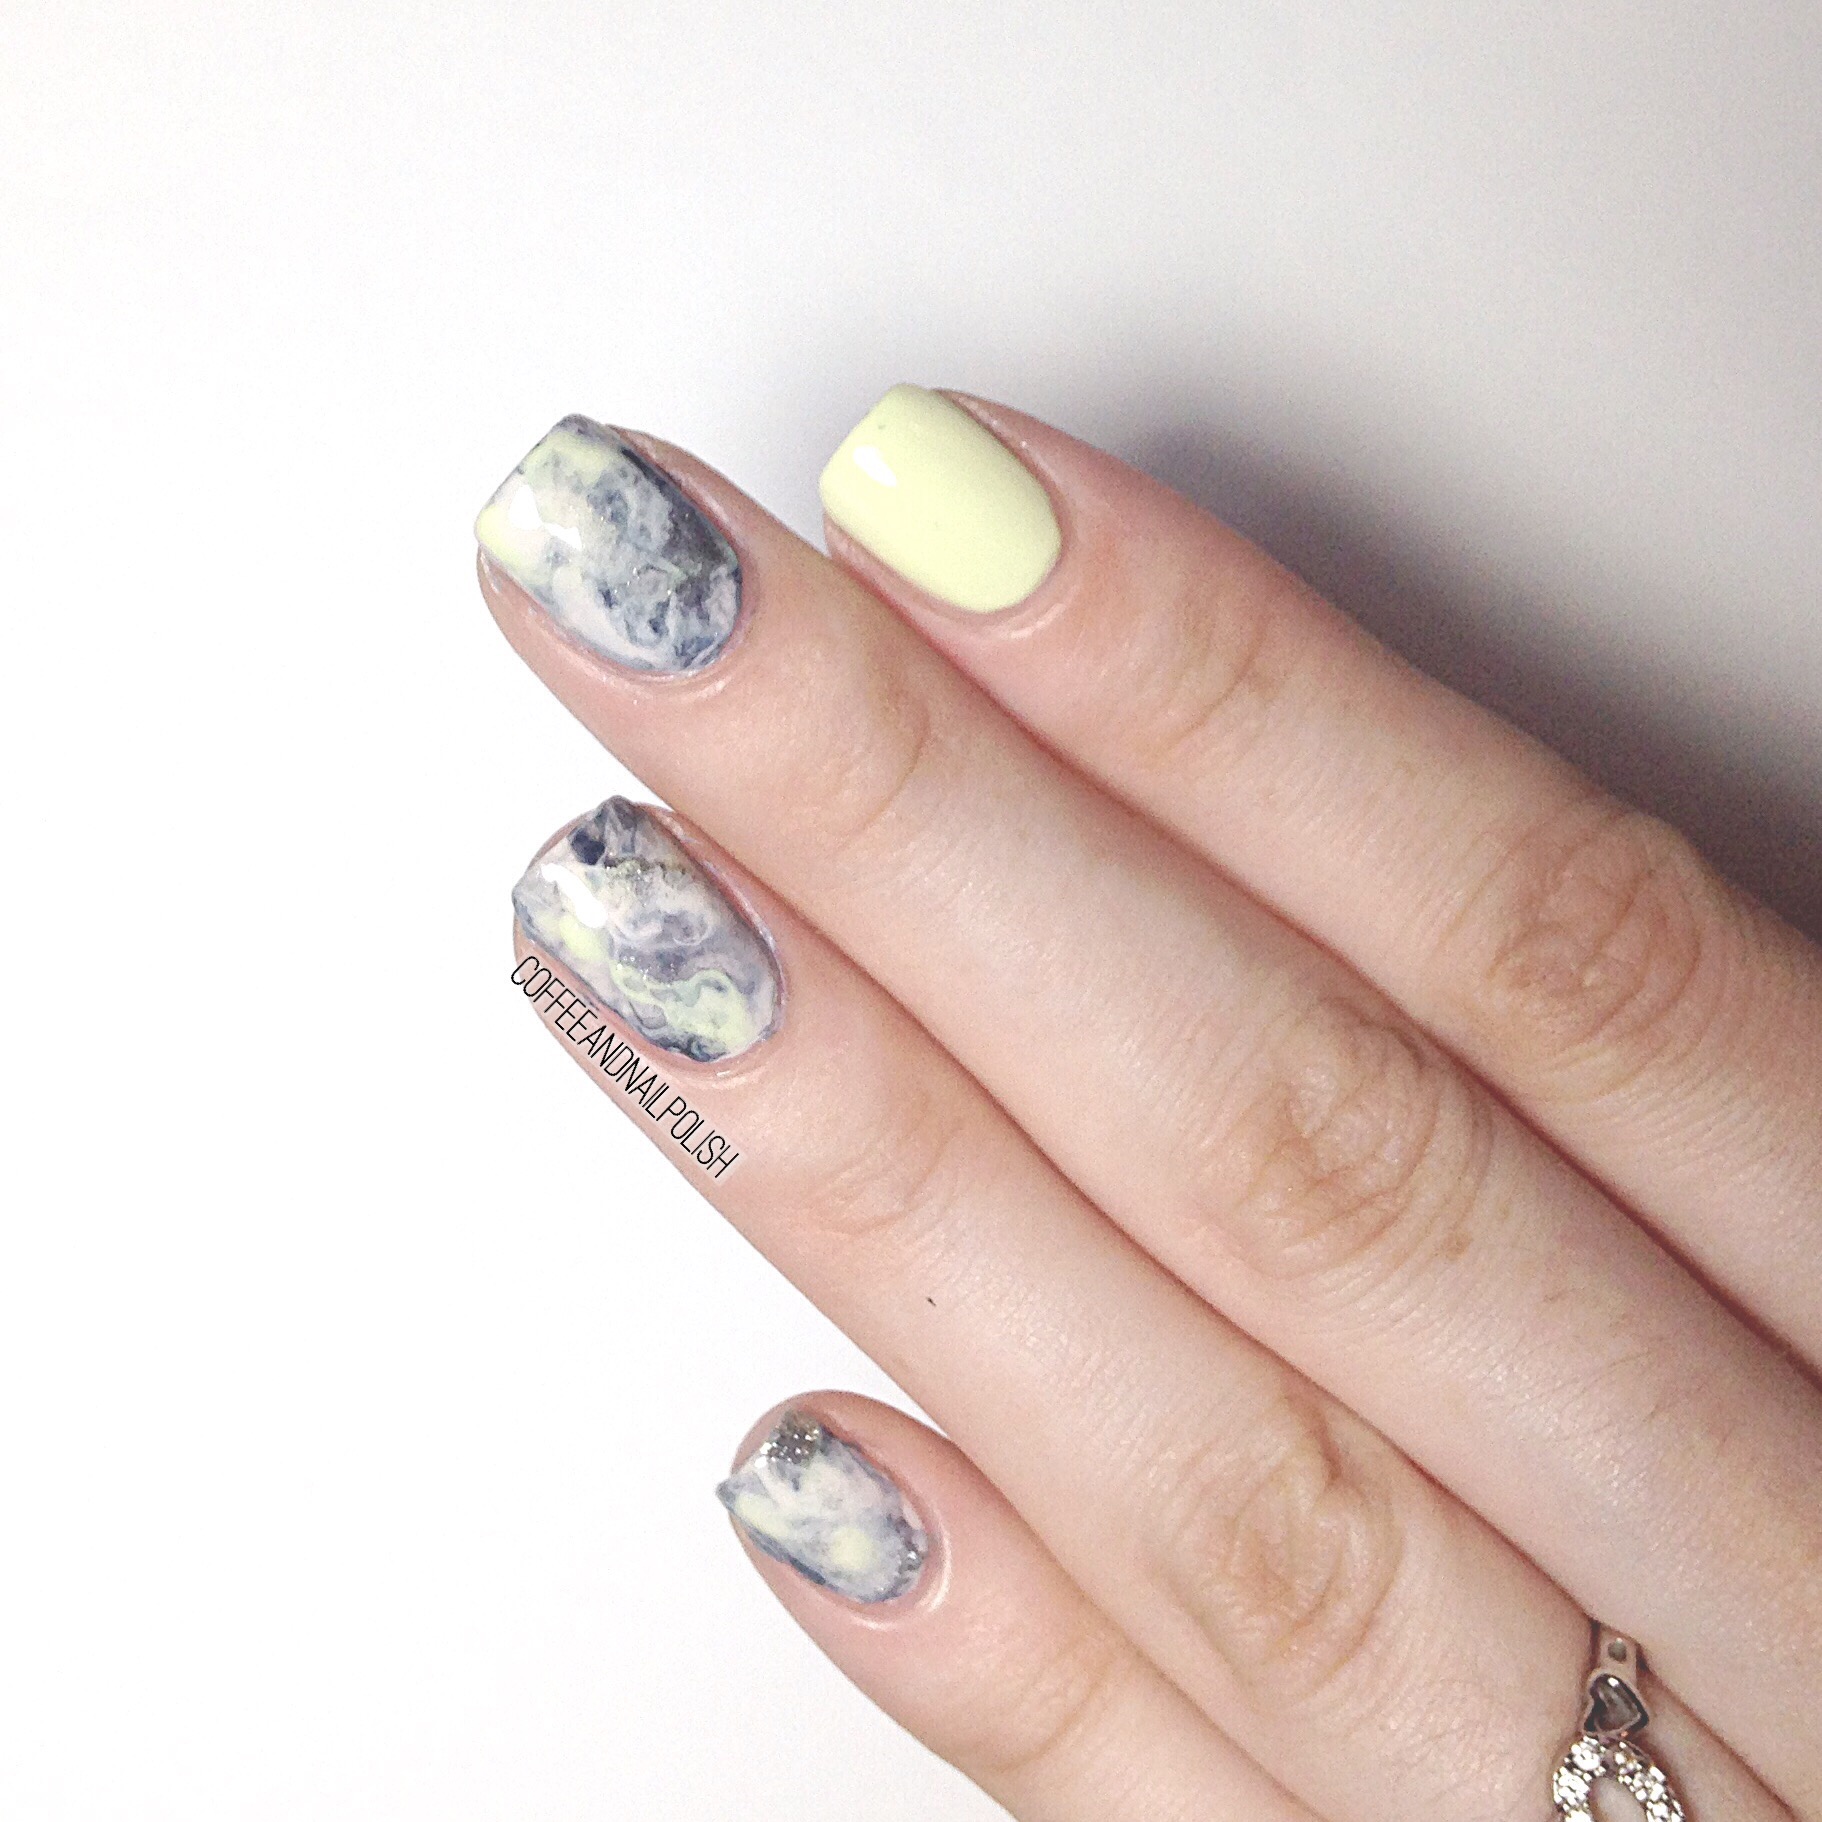
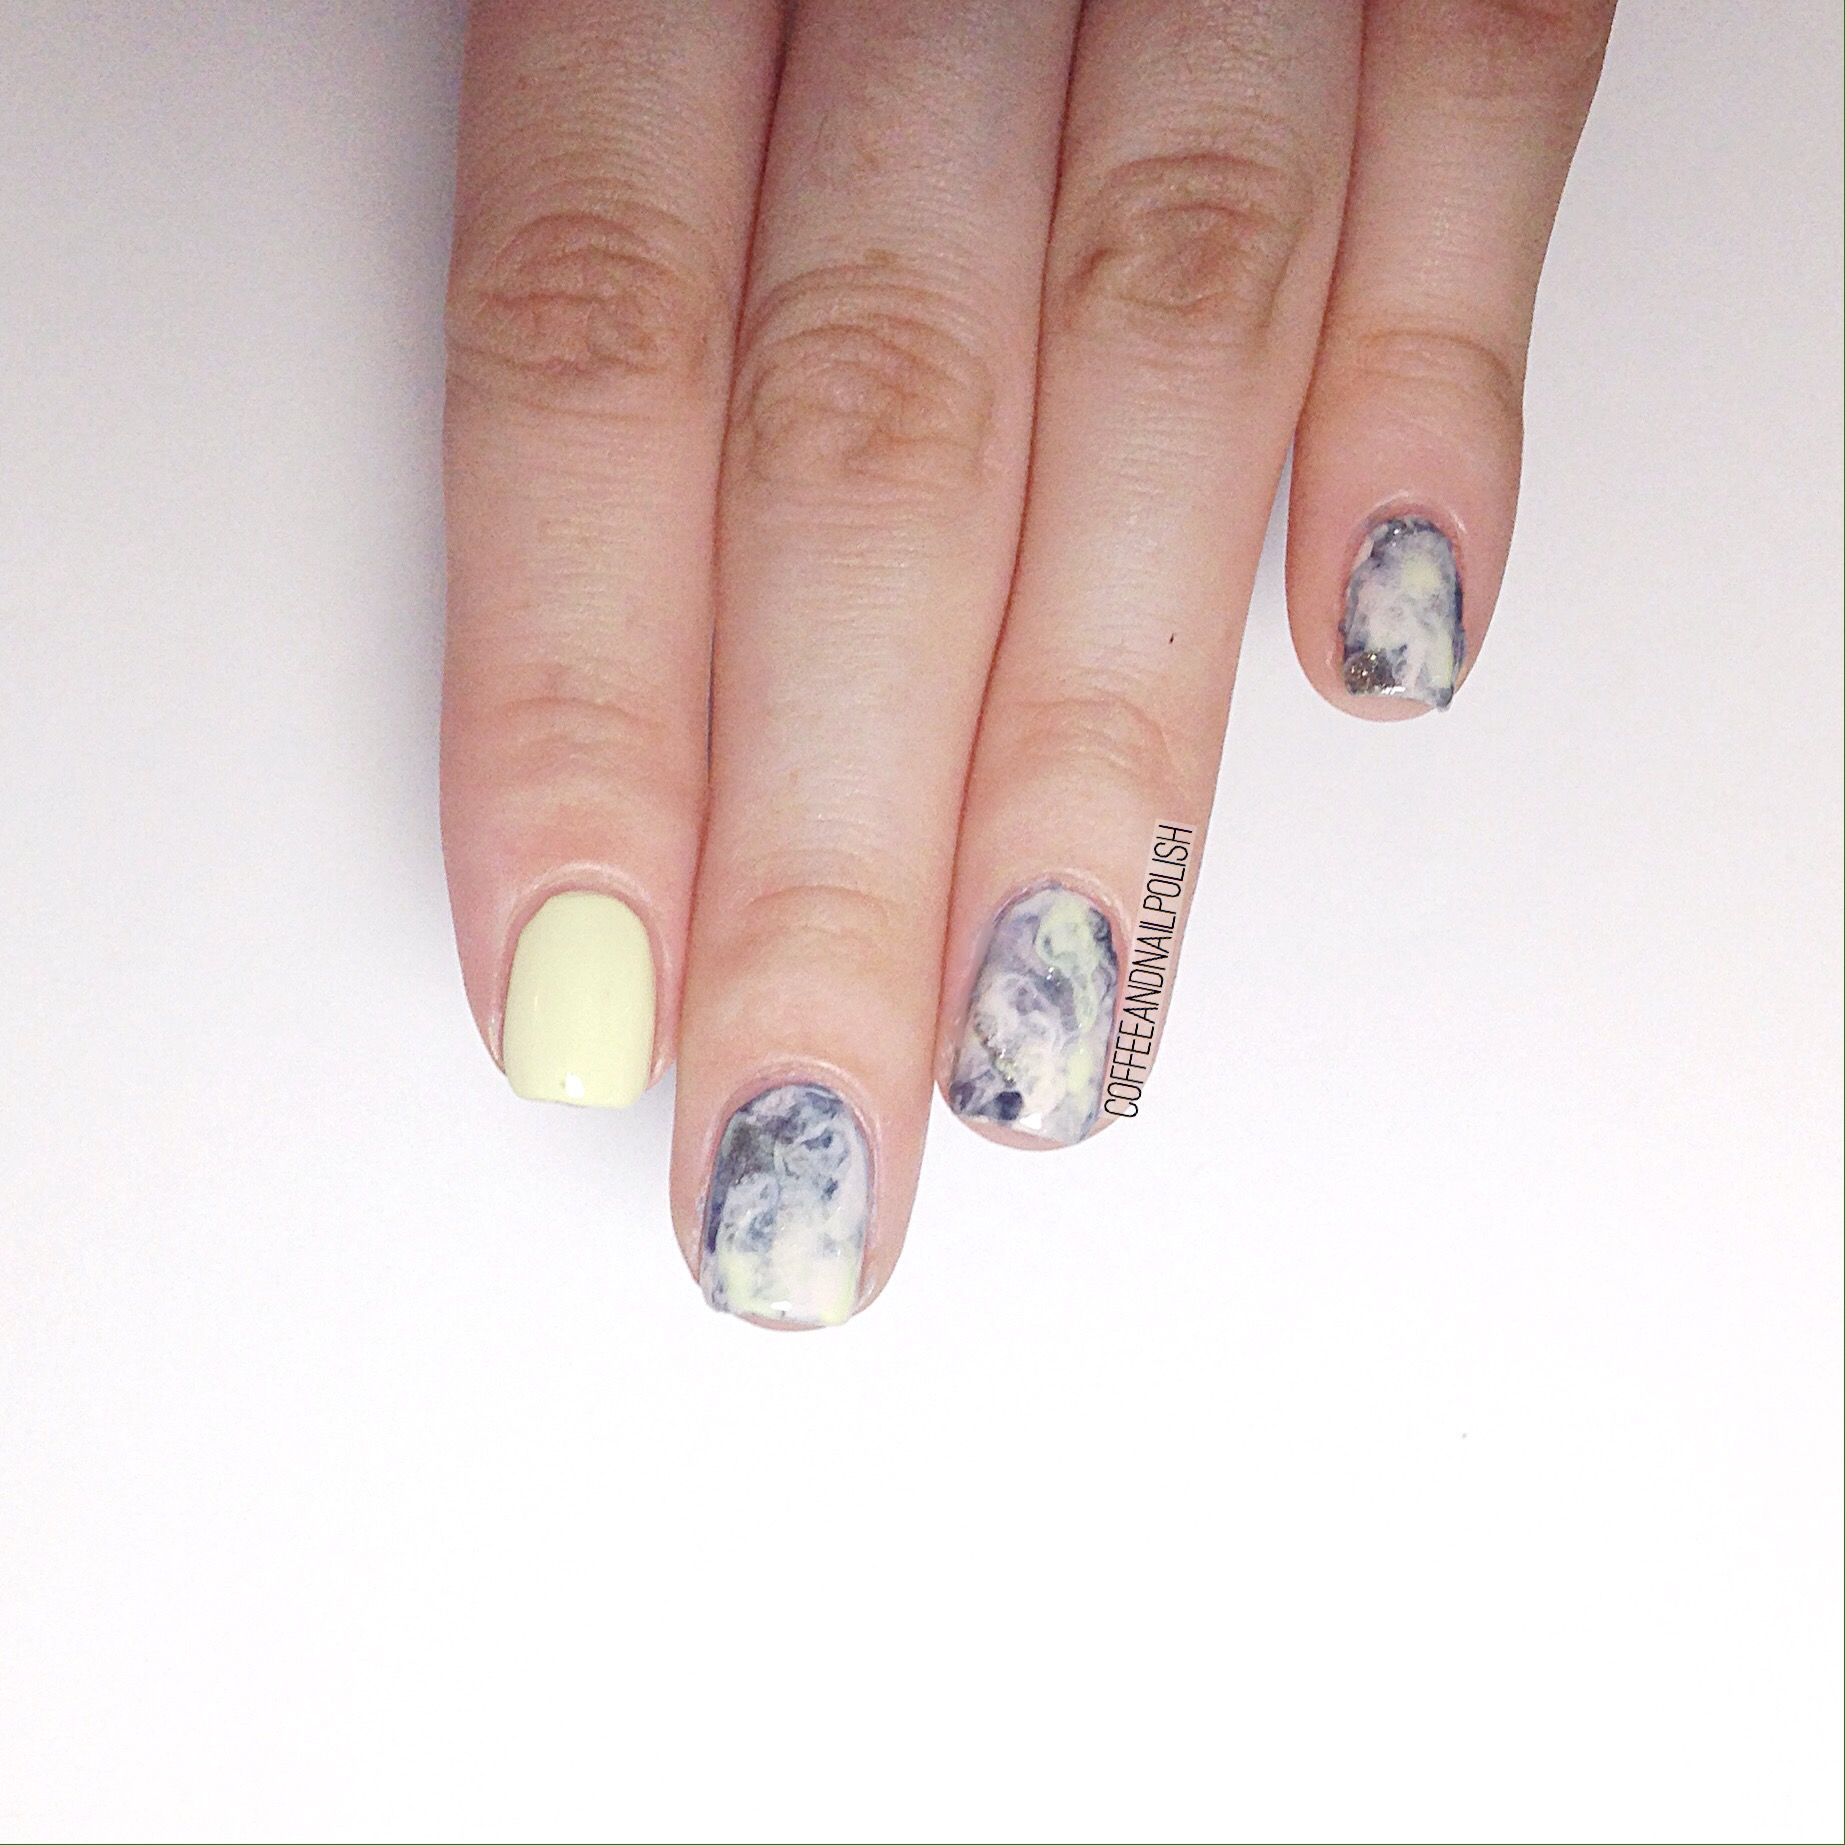
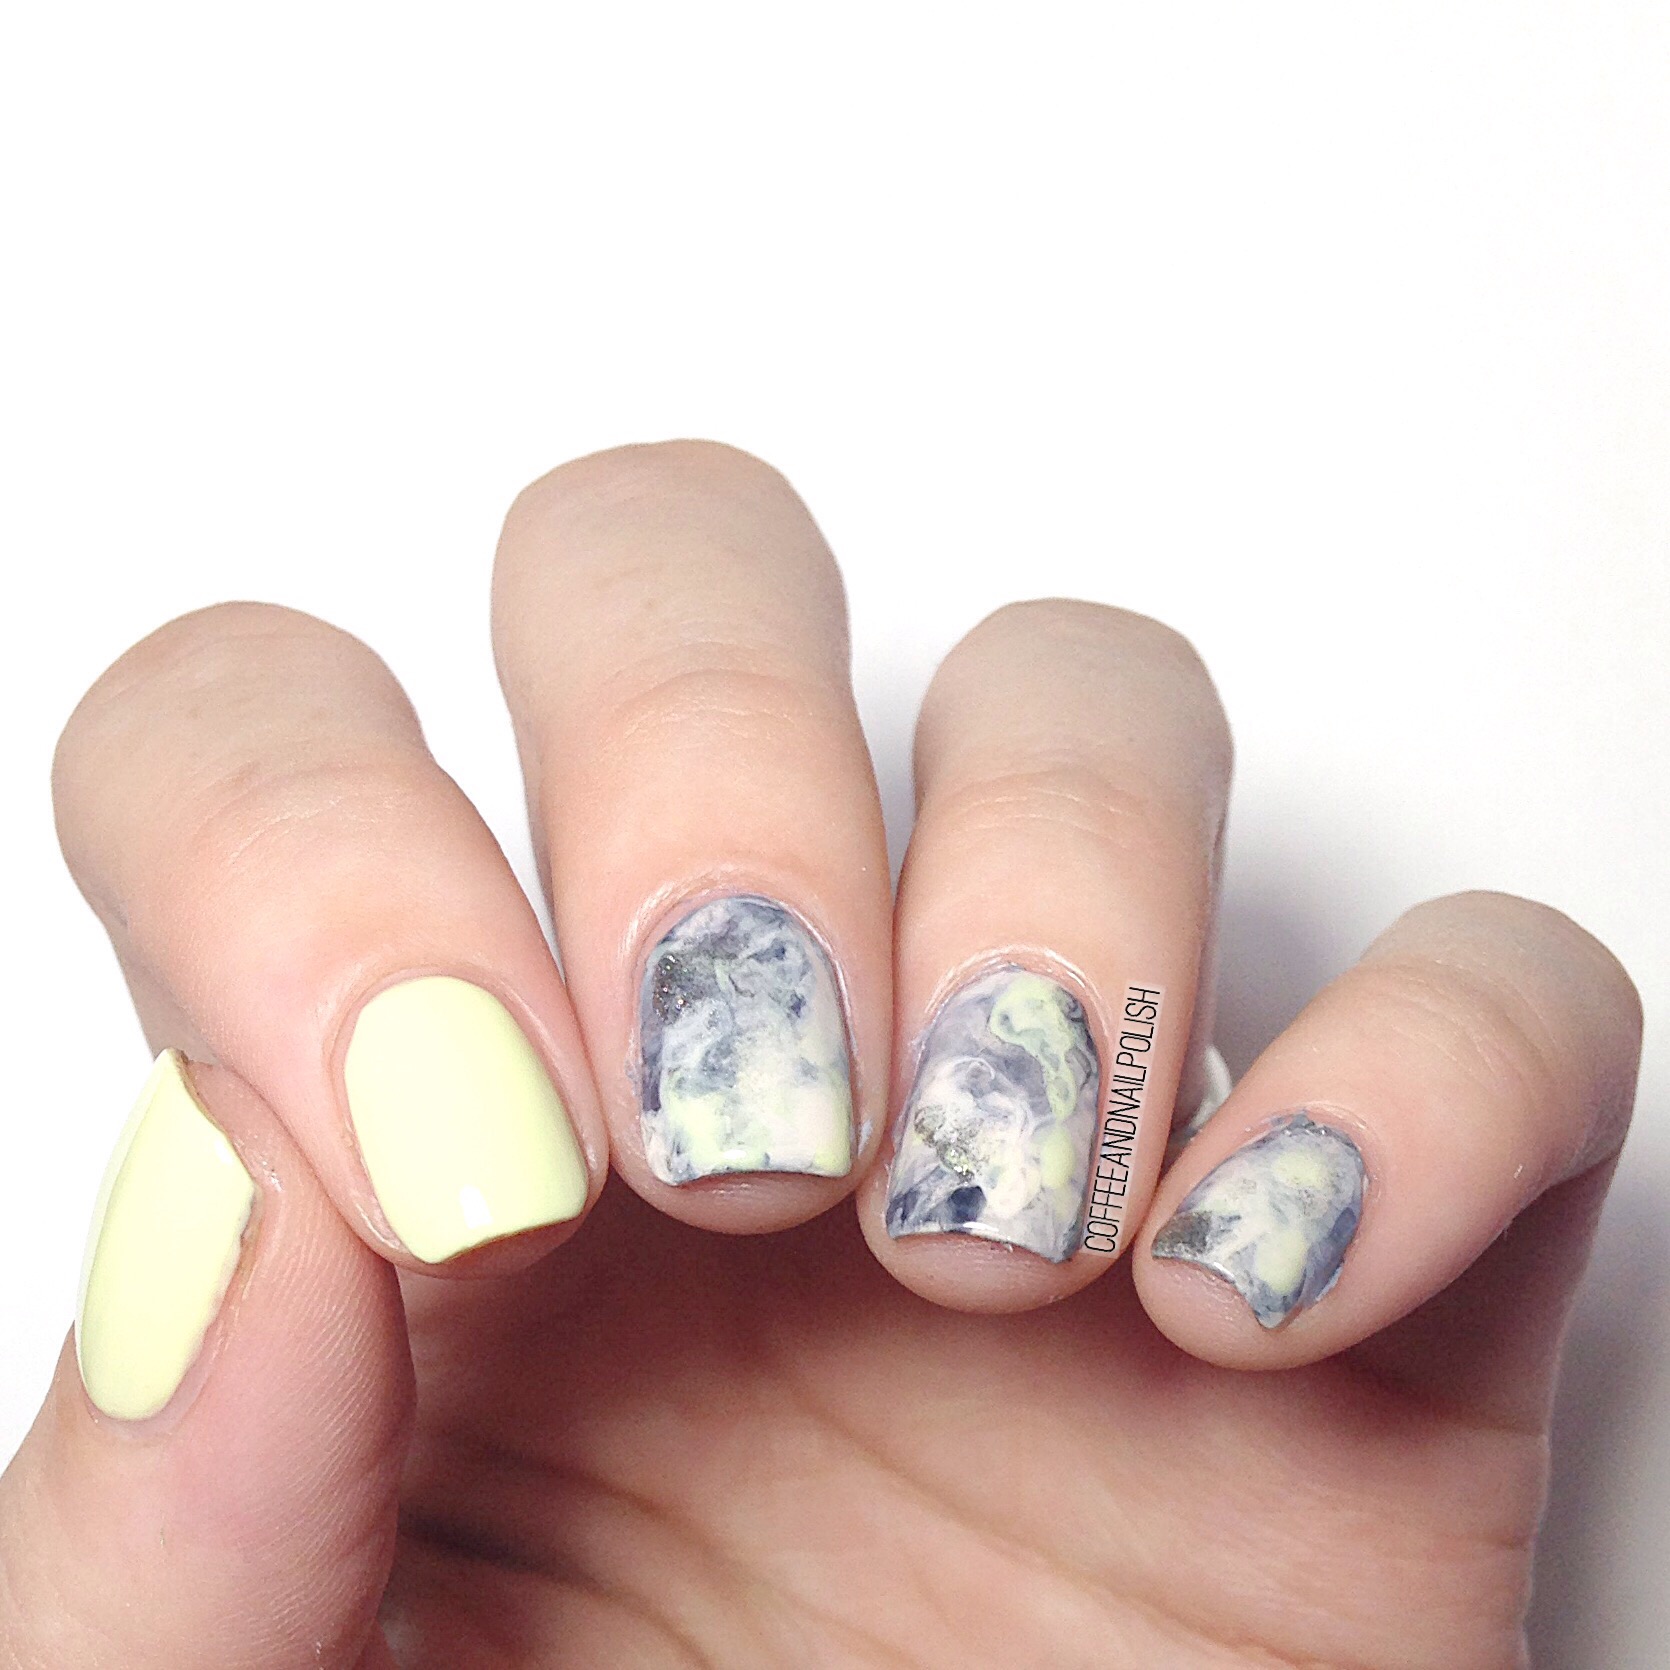
Spring Drip Marble decals


Have I mentioned enough how much I’m loving my silicone mat? I’ve been having a blast creating fun decals with it. I can’t believe it took me so long to get on the silicone mat trend. That’s me–always behind on the times! But now that I’ve caught up to modern times, I’m having a blast playing around & can’t get enough.

This drip marble is from a few weeks ago. I had decided to pull out a few more Spring-y colours for another drip marble. These are kind of similar to the Earth Day drip marble I created colour wise. I don’t often reach for green shades, but I’m starting to find myself craving them more. They’re great shades for Spring!

For this manicure, I used:

  • Base Coat: Perfect Formula Pink Gel Coat
  • Top Coat: Cutex Quick Dry Top Coat
  • Color Club Almost Famous
  • Essie Strut Your Stuff
  • Essie First Timer
  • OPI Angel With A Lead Foot
  • Silicone Craft Mat

I wanted some fresh colours (& an excuse to wear use my new bottle of Color Club Almost Famous!) I had originally planned to do a yellow to blue gradient with these colours, but decided at the last minute to make these decals instead. & application definitely gets easier with practice.

So what do you think of this manicure & colour combination? I think it looks so fresh! The colours just meld together so well, I’m completely obsessed! 💛

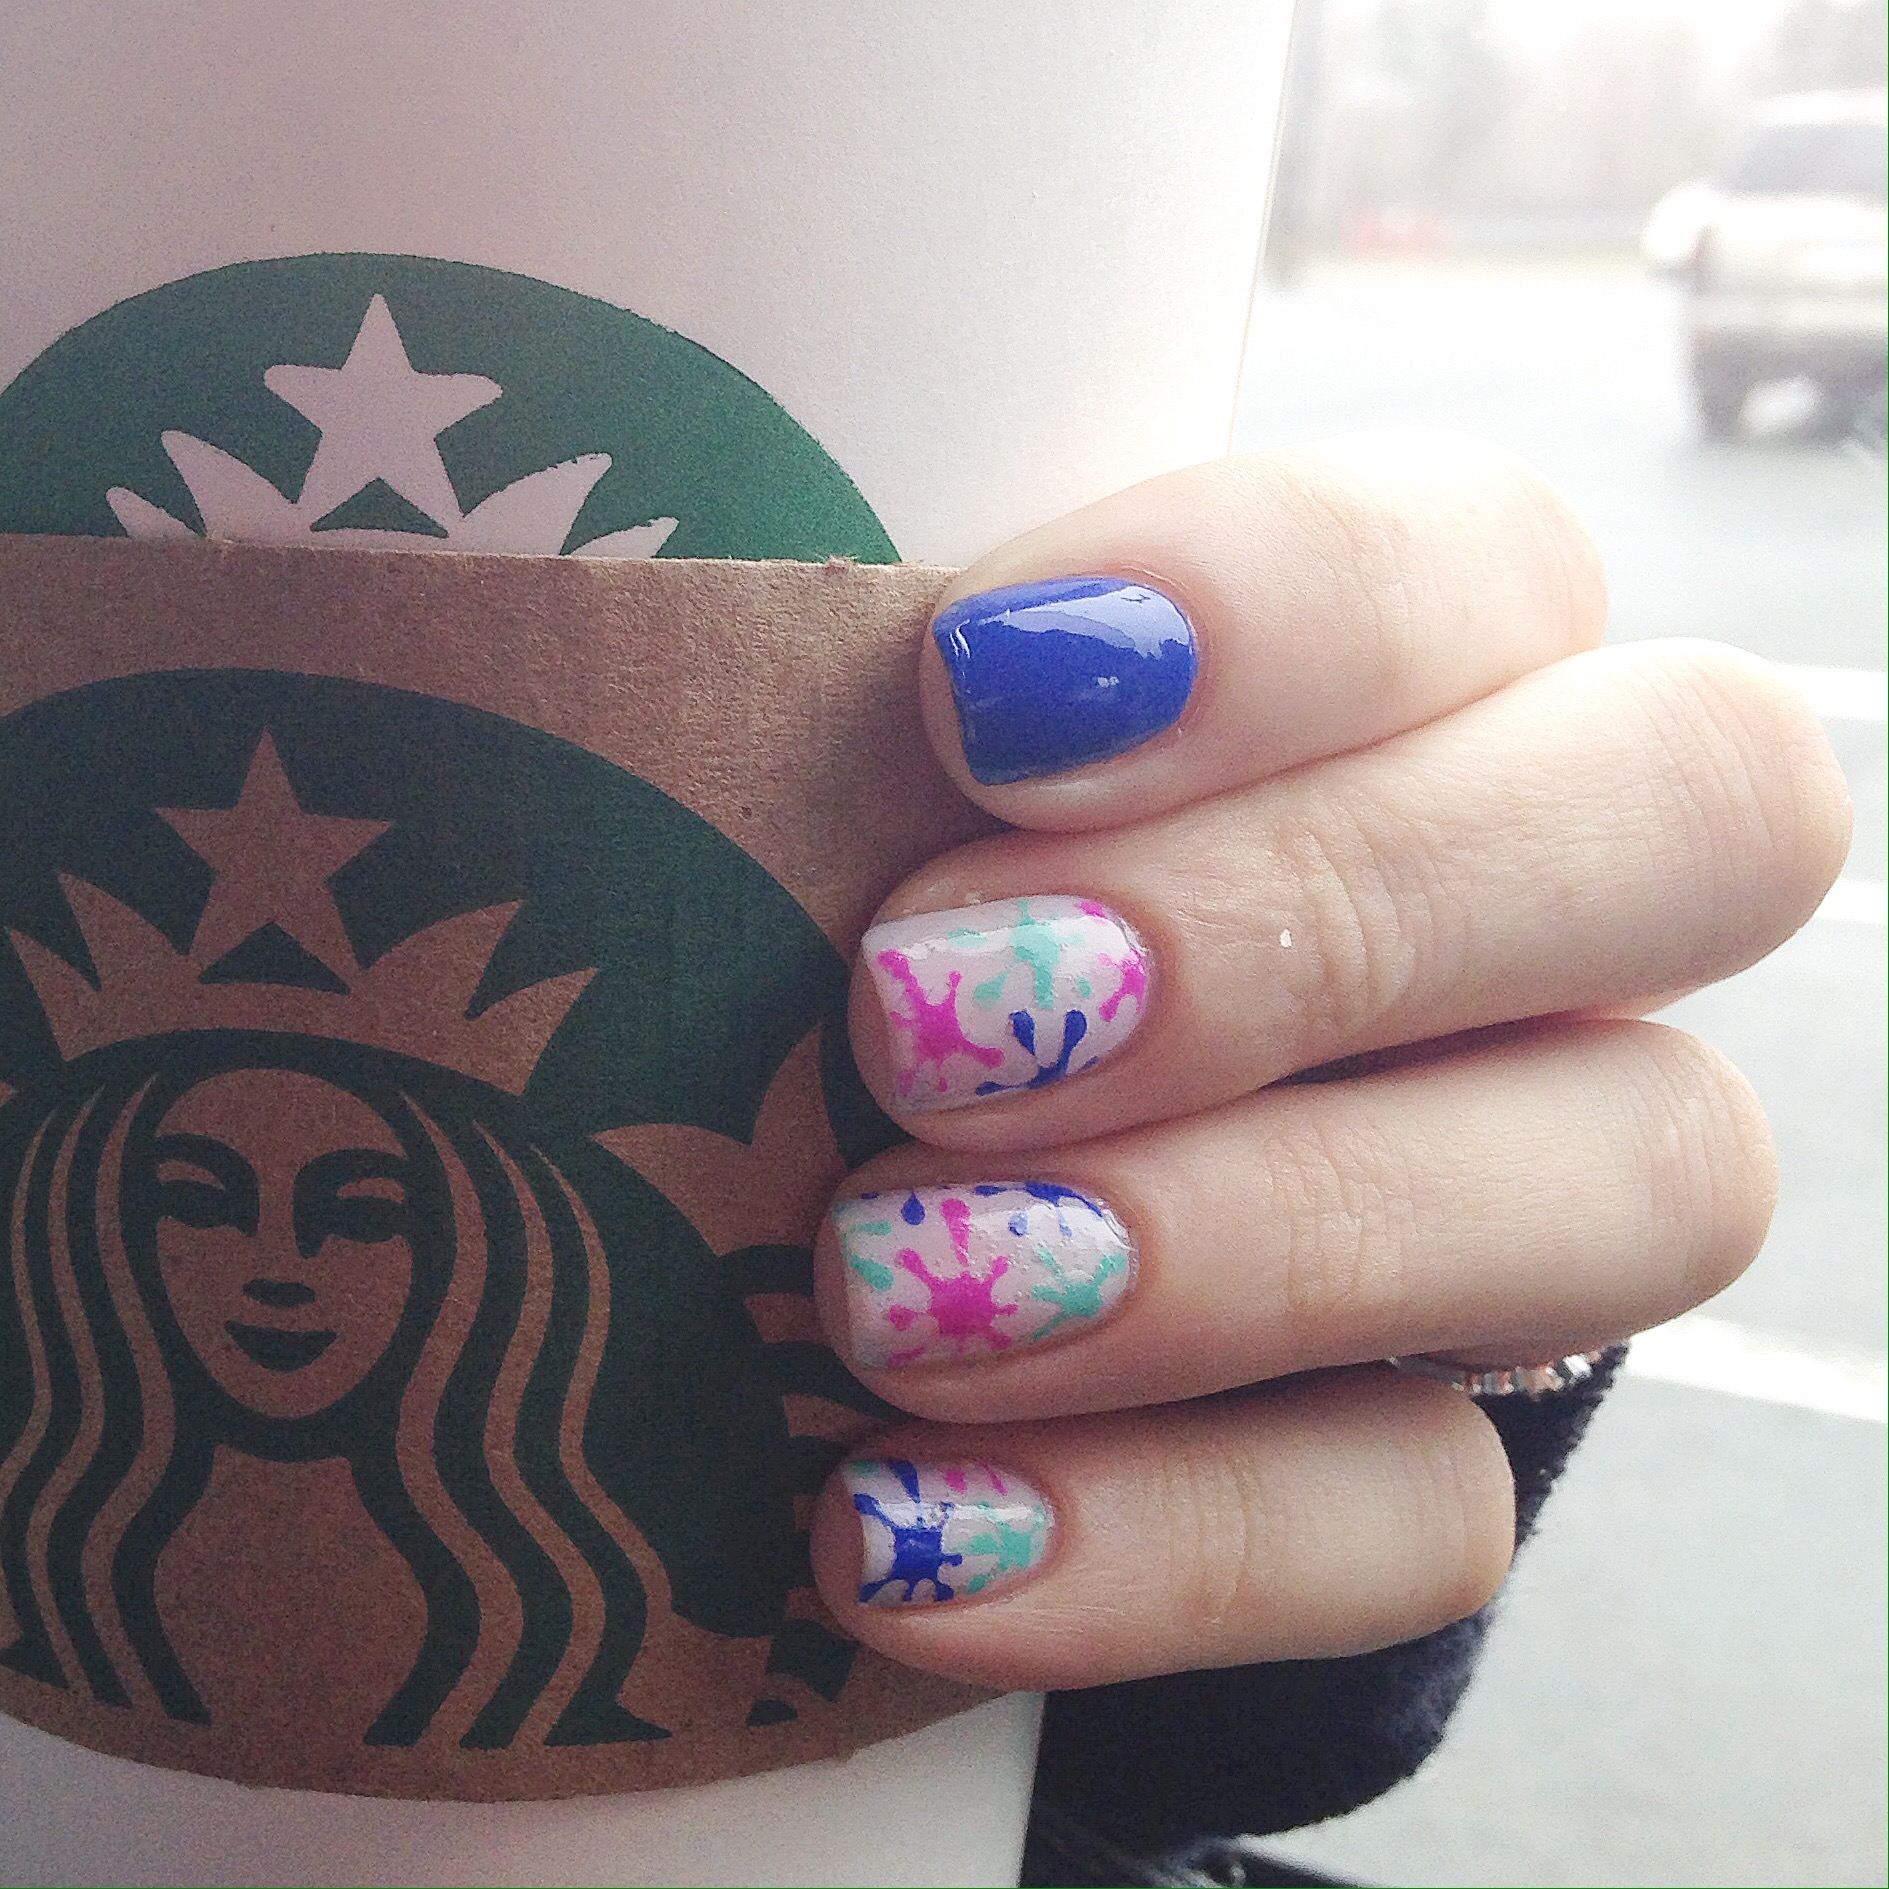
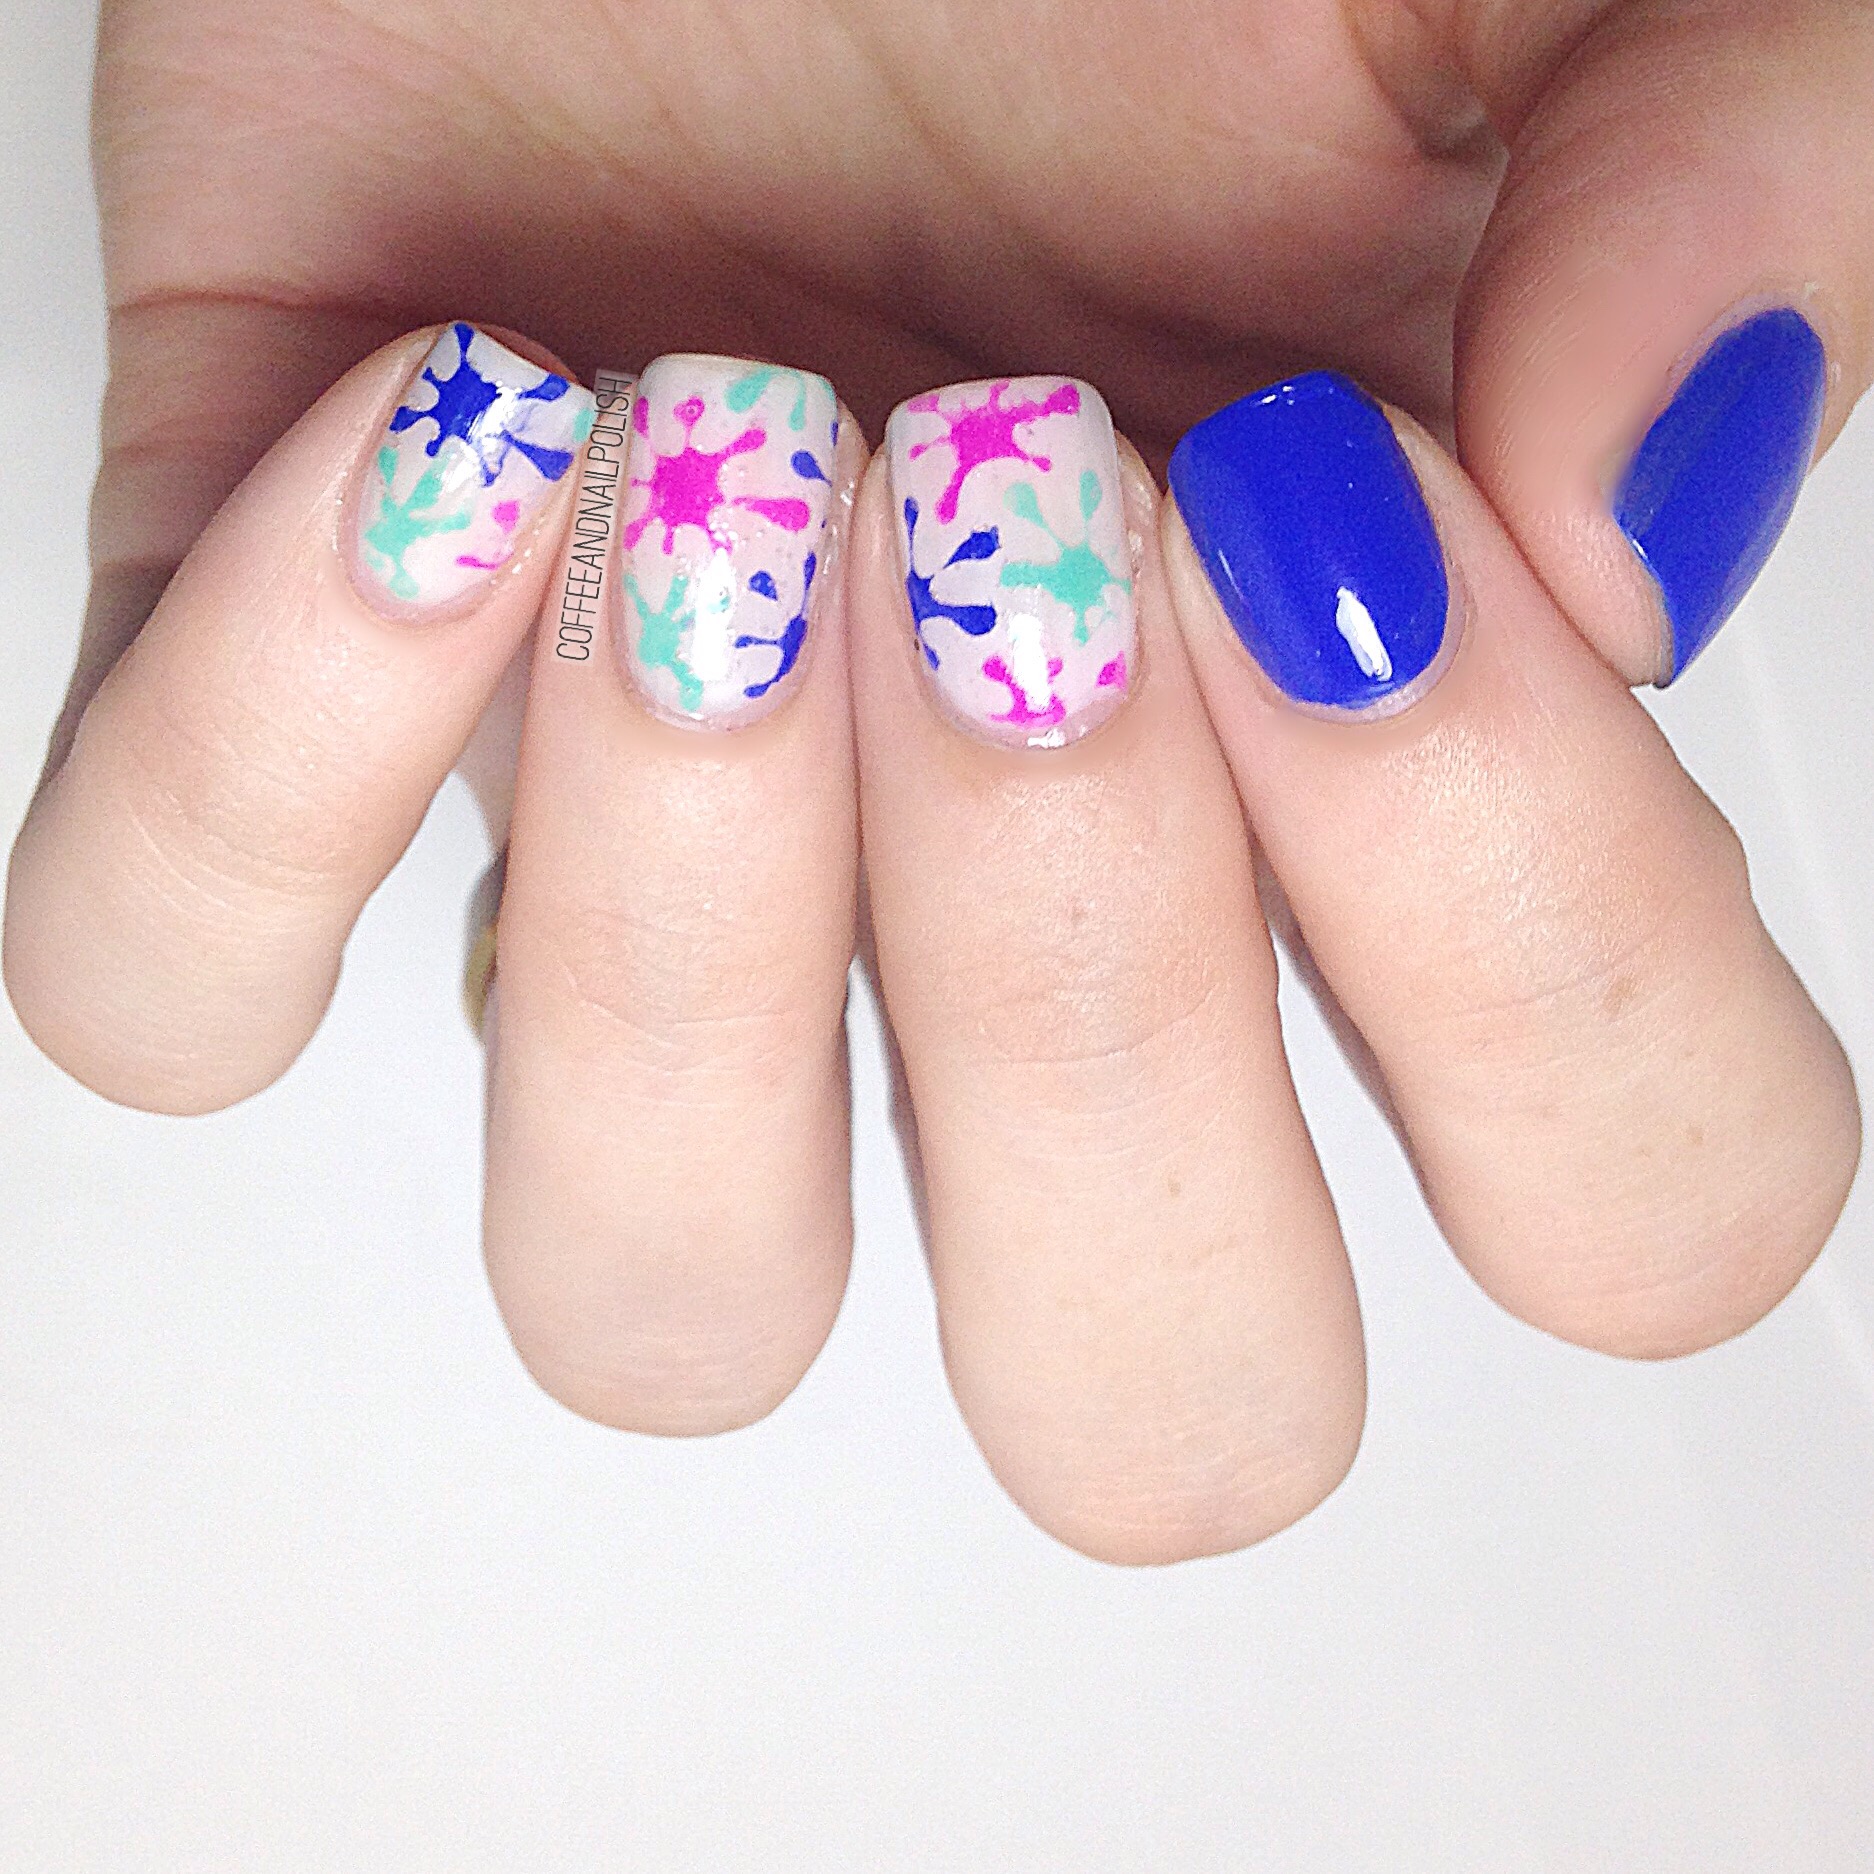
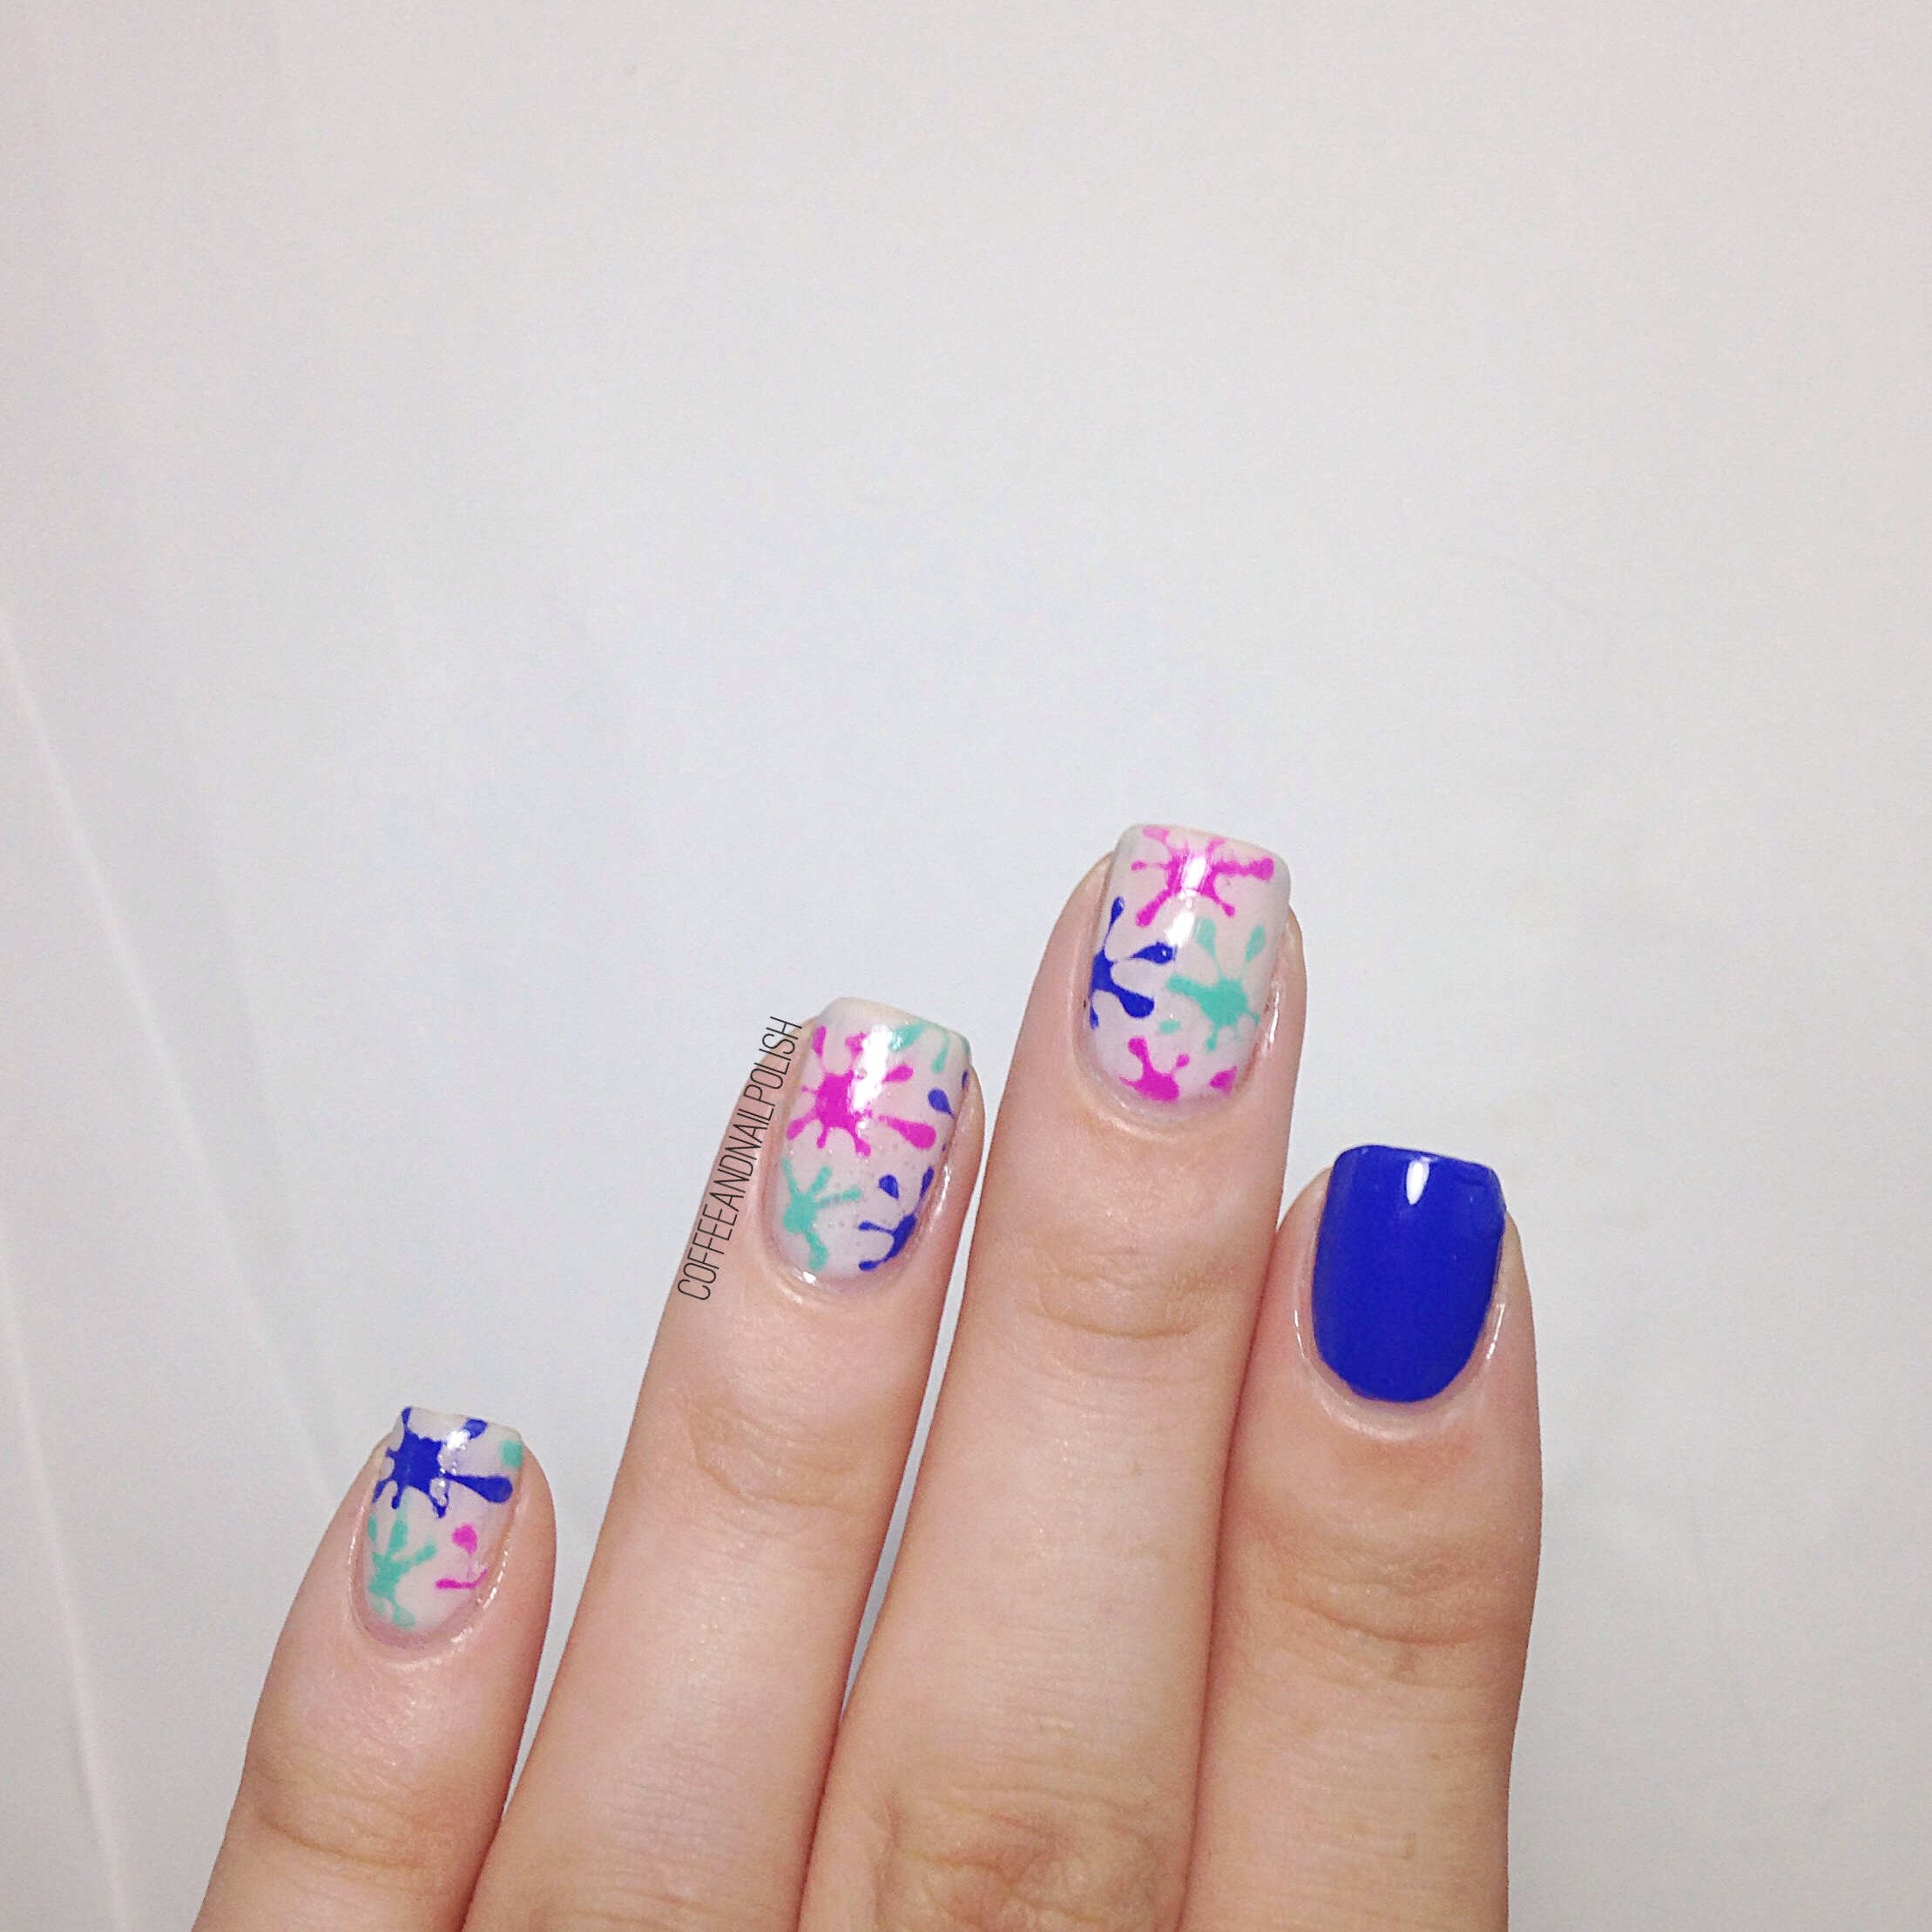
Splatter Nails with @xromapolishandvinyls!

Happy Monday everyone! 

I was recently sent some nail vinyls to play with from @xromapishandvinyls & as soon as they arrived I couldn’t wait to pull them out & start creating. You know how much I LOVE my nail vinyls, & Xroma Polish and Vinyls have a ton of awesome creative designs available on their site. 

First design I grabbed to play around with was the splat stencils! 

For this manicure, I used:

  • Base Coat: Perfect Formula Pink Gel Coat
  • Top Coat: Cutex Quick Dry Top Coat
  • Essie Butler Please
  • ACO by Ardene Ice Mist
  • Quo by ORLY mini unnamed pink
  • Quo by ORLY mini unnamed mint 
  • Xroma Polish and Vinyls Splat Stencil 
  • Small dotting tool 

Isn’t this pattern so much fun?! I’m sure I’m not the only person who loves splatter nails but hates the clean up. Plus even with filling in my splats individually, this manicure was easy & surprisingly quick to do! 

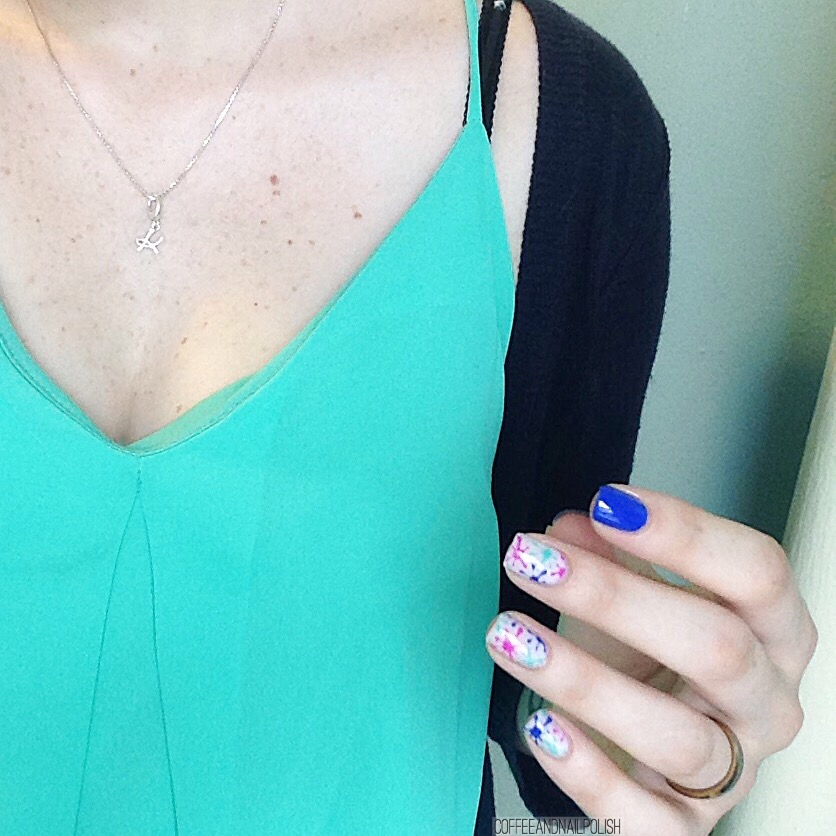
These were so much fun to do & even more fun to wear! They even matched my OOTD. I’d definite recommend checking out Xroma Polish And Vinyls site yourself, & all the amazing patterns available. They ship world wide from Australia, & mine arrived super quick! I think it took only 6 business days & I live on the other side of the world in Canada so I though that was really impressive. 

What do you think of this manicure? Let me know in the comments below! 

Smooshy accent nails using a silicon mat! 

I’m getting so much use out of my silicone craft mat! I understand now why people love their nail art mats so much–the options are endless. I wanted to try out some smooshy nails, & I saw this technique some on Instagram before (I just can’t remember by who unfortunately) so I decided to give it a try. 


For this manicure, I used:

  • Base Coat: Perfect Formula Pink Gel coat 
  • Top Coat: Cutex Quick Dry Top Coat. 
  • My Beauty Spot unnamed green colour.
  • Essie Wrap Me Up
  • Essie Bobbing for Baubles
  • Essie Cocktail Bling
  • Nicole by OPI A Phil’s Paradise
  • Born Pretty Store Peel Off Tape
  • Born Pretty Store Clear Stamper
  • Silicon Craft Mat

For this look, I started by dropping different colours onto my mat, & moving them around some to spread around the colour. I then took my clear stamper & pressed down, smooshing the polishes together. I immediately then pressed the stamper down on my nails to create the marbled look, & finished everything off with top coat.

I really love how these turned out. You can never go wrong with marbled nails. I don’t know if I could consider this an easier way to create smooshy nails, but it was definitely fun! You still want Liquid Latex around your cuticles to keep your clean up minimal! 

What do you think of this mani? What is your favourite design to create on your silicone mat? I’m always looking for inspiration, so share your nail art ideas in the comments below!

Tropical Leaves Accent Nail featuring OPI Fiji minis. 

Recently I entered a contest hosted by OPI Canada on Instagram, and surprise! I won! And my prize was the OPI Fiji Collection minis. I will hopefully have full swatches of the minis coming soon, but first I have a mani featuring a few of the colours to share. 

For this manicure, the Products I used are:

  • OPI Two Timing The Zones
  • OPI Getting Nadi on My Honeymoon 
  • OPI Is That A Spear In Your Pocket? 
  • Cutex Quick Dry Top Coat
  • What’s Up Nails Tropical Leaves Stencil

I seriously couldn’t think of a more perfect combination than these gorgeous colours and this pretty leaf accent nail. I ordered these stencils from What’s Up Nails recently on my vinyl buying splurge. They just looked so fun for Spring/Summer. 

These OPI Fiji polishes are gorgeous. I’ve always loved the mini sets OPI releases because it gives you the chance to try out a few polishes for a great deal, & then go pick up a big bottle (or bottles) of the ones you really love. 

Have you picked up any of the polishes from the OPI Fiji collection? Which ones are you favourite? Let me know in the comments below.