Hello my beauties! I hope everyone had a beautiful week. Mine was busy, busy as I started at a new cafe part time as a barista, & it’s been a while since I did that! My hands are feeling the need for a little TLC, but I think I’ll save that for another post.
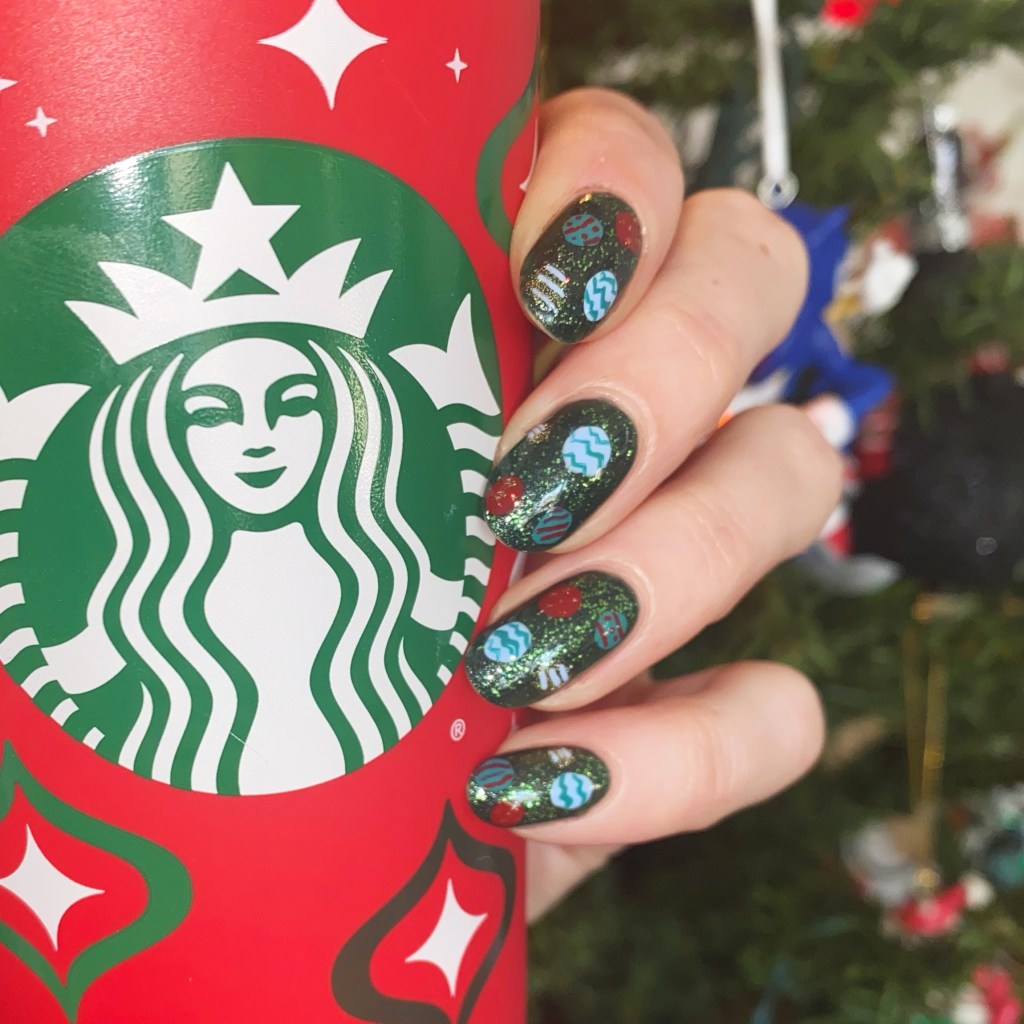
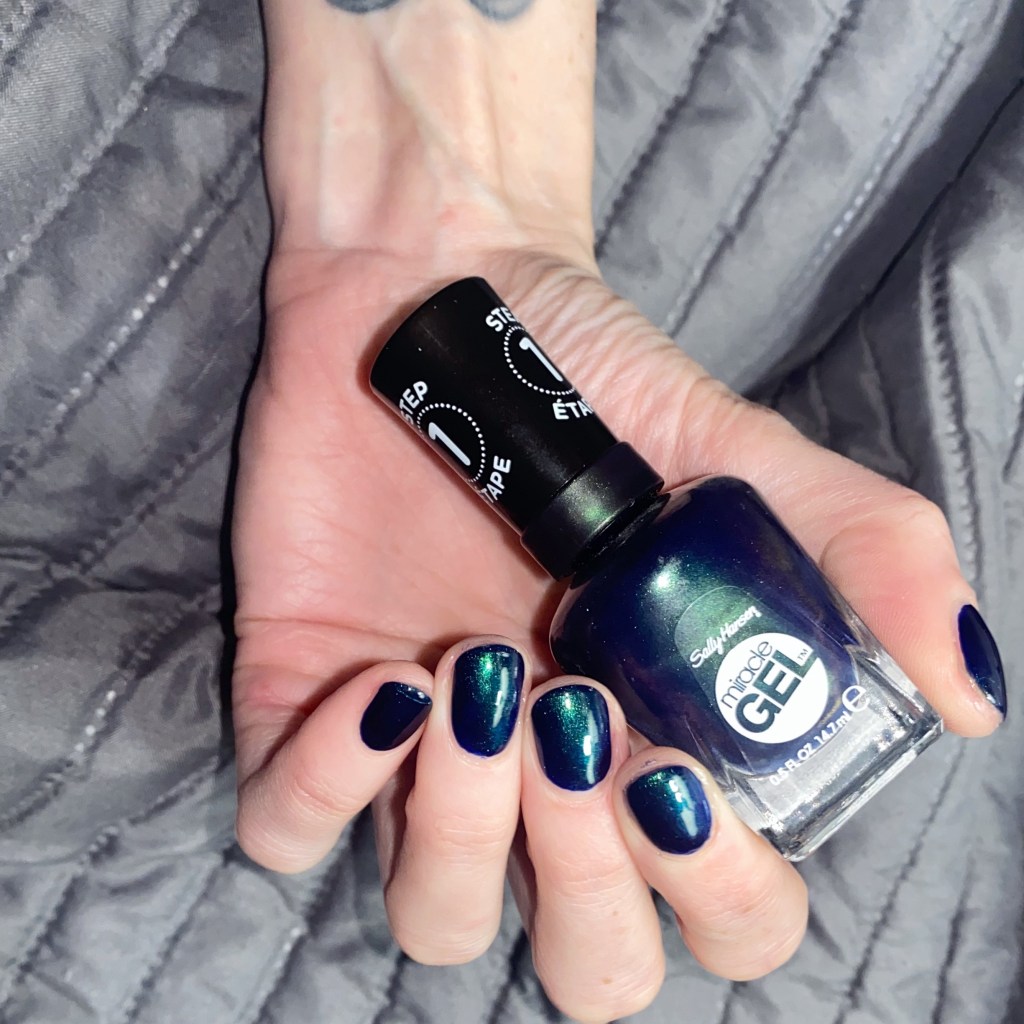
Today we’re all about the polish, & this one in particular— Sally Hansen Miracle Gel Garnish Attention from the 2018 Decadence collection. This shade was one of the limited edition shades released for the Holidays that year.

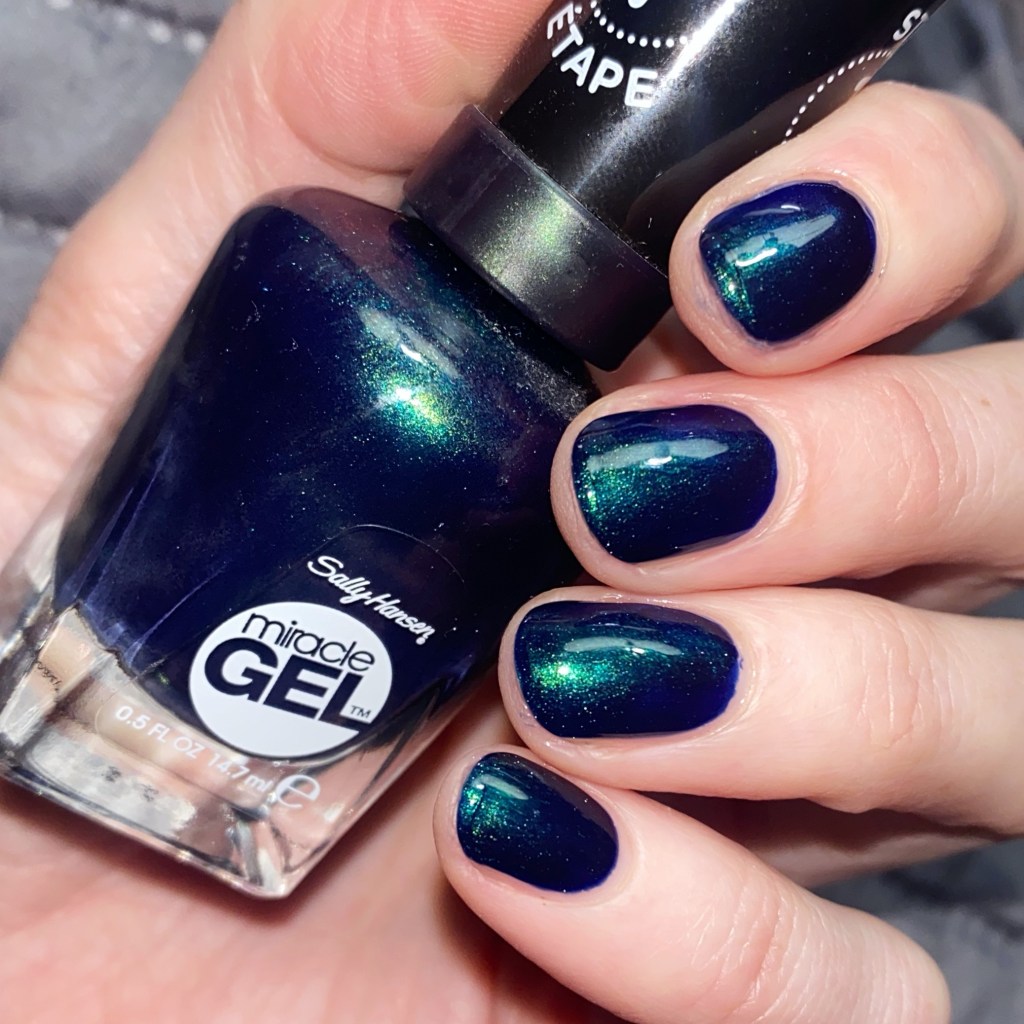
2 coats + top coat
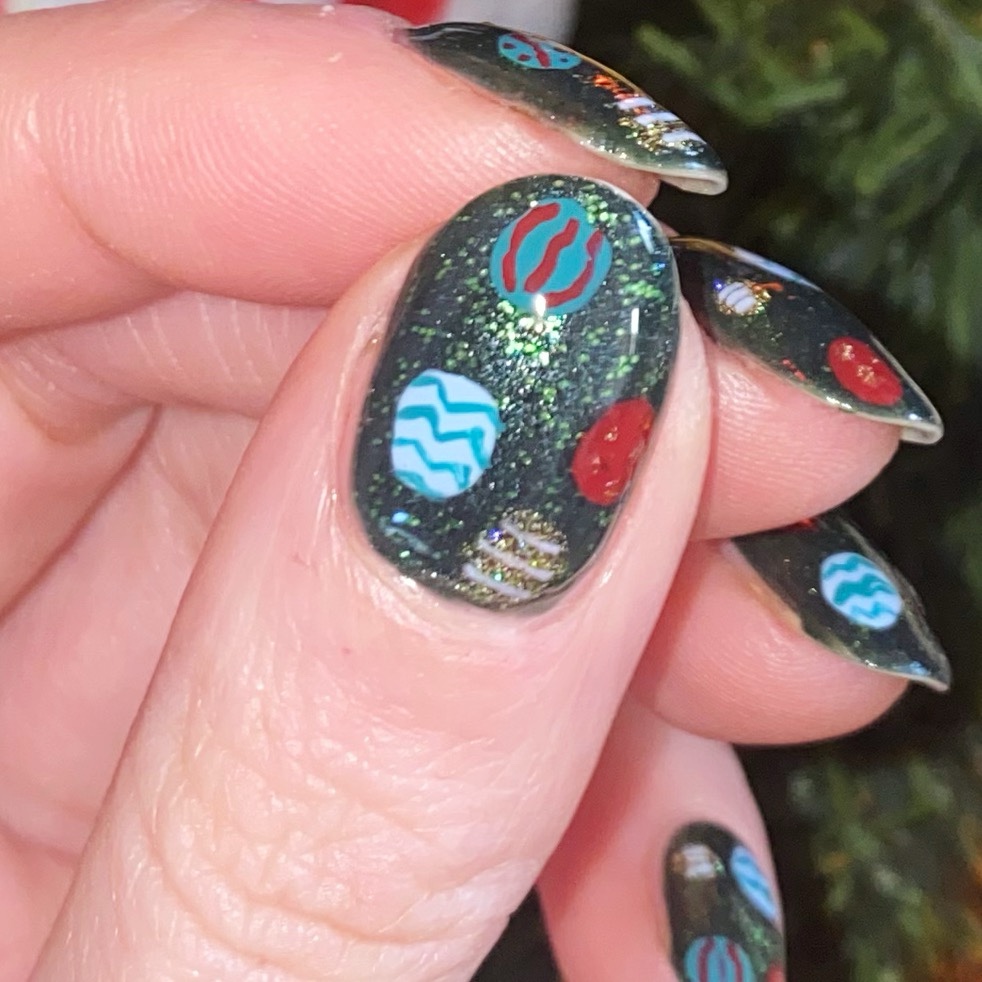
This beautiful dark navy blue is enhanced with a gorgeous green shimmer. It’s kind of giving me Wicked vibes, a little bit. Or maybe like Maleficent (from Sleeping Beauty). It’s definitely feeling a bit villainy, which I adore. That’s the kind of vibe we all need going into this new year. As for formula, first coat was definitely thin & streaky, but two builds to perfect opacity, & that’s what we like to see.
I also had no problems with removal, & no staining.
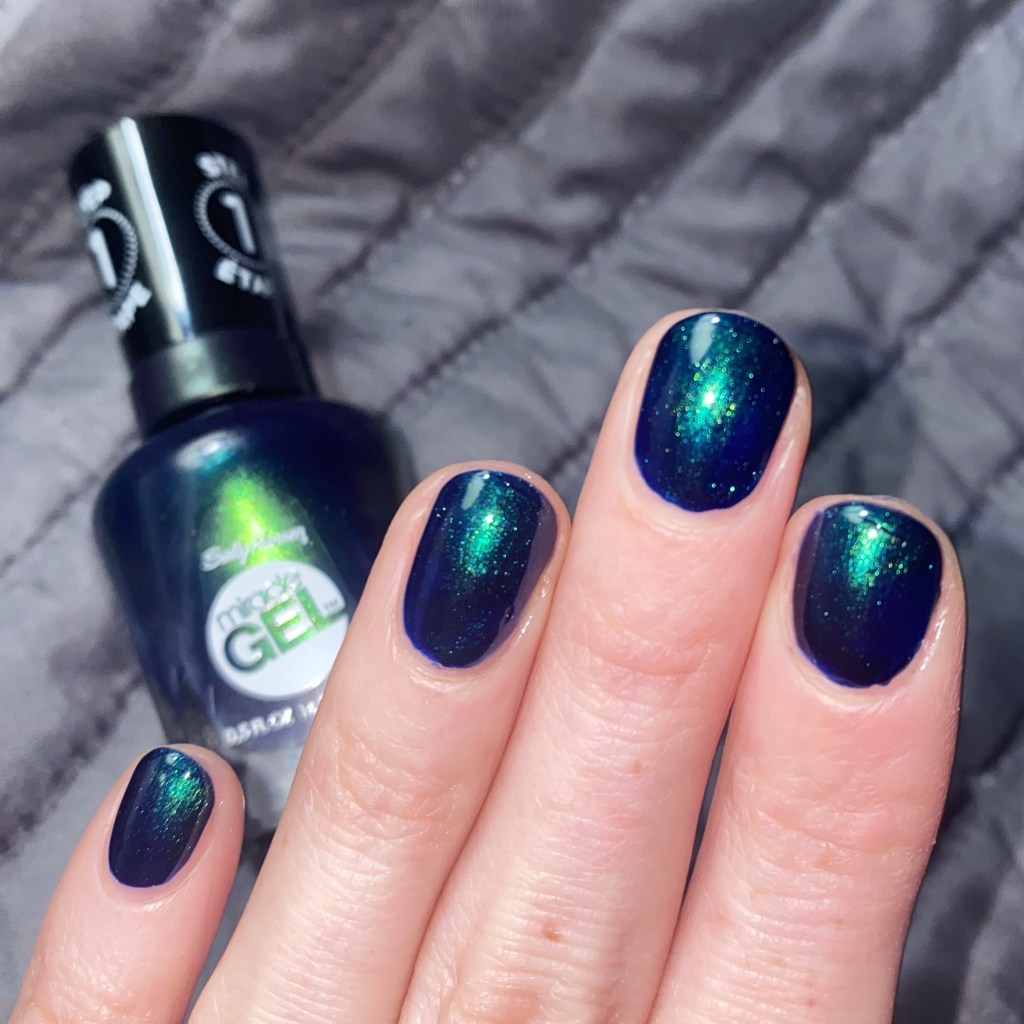
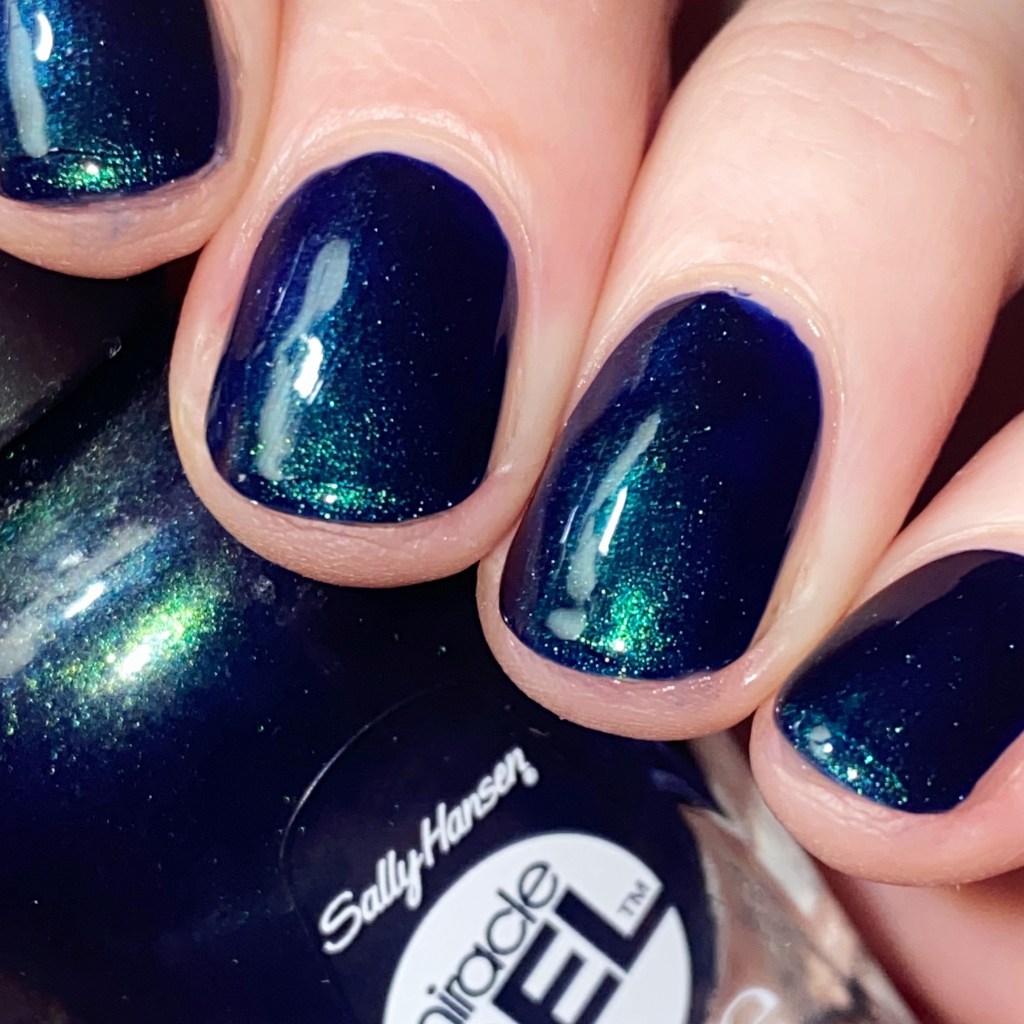
Look how pretty this is! That too shot just looks like some kind of rare sapphire, & I want it. Garnish Attention is absolutely stunning on the nails, even the short little nubby nails I’m currently rocking. I just love that bright greenish shimmer that comes out through the dark navy blue.
Sadly, this beauty was a limited edition released as part of the Holiday 2018 collection, so it’s not in current rotation. But maybe if we all ask for it, Sally Hansen could bring it back (even under another name) because I believe she deserves her moment in the spotlight!
What do you think of Sally Hansen Miracle Gel Garnish Attention? Would you wear this shade? Let me know in the comments below!
Happy Sunday
🖤