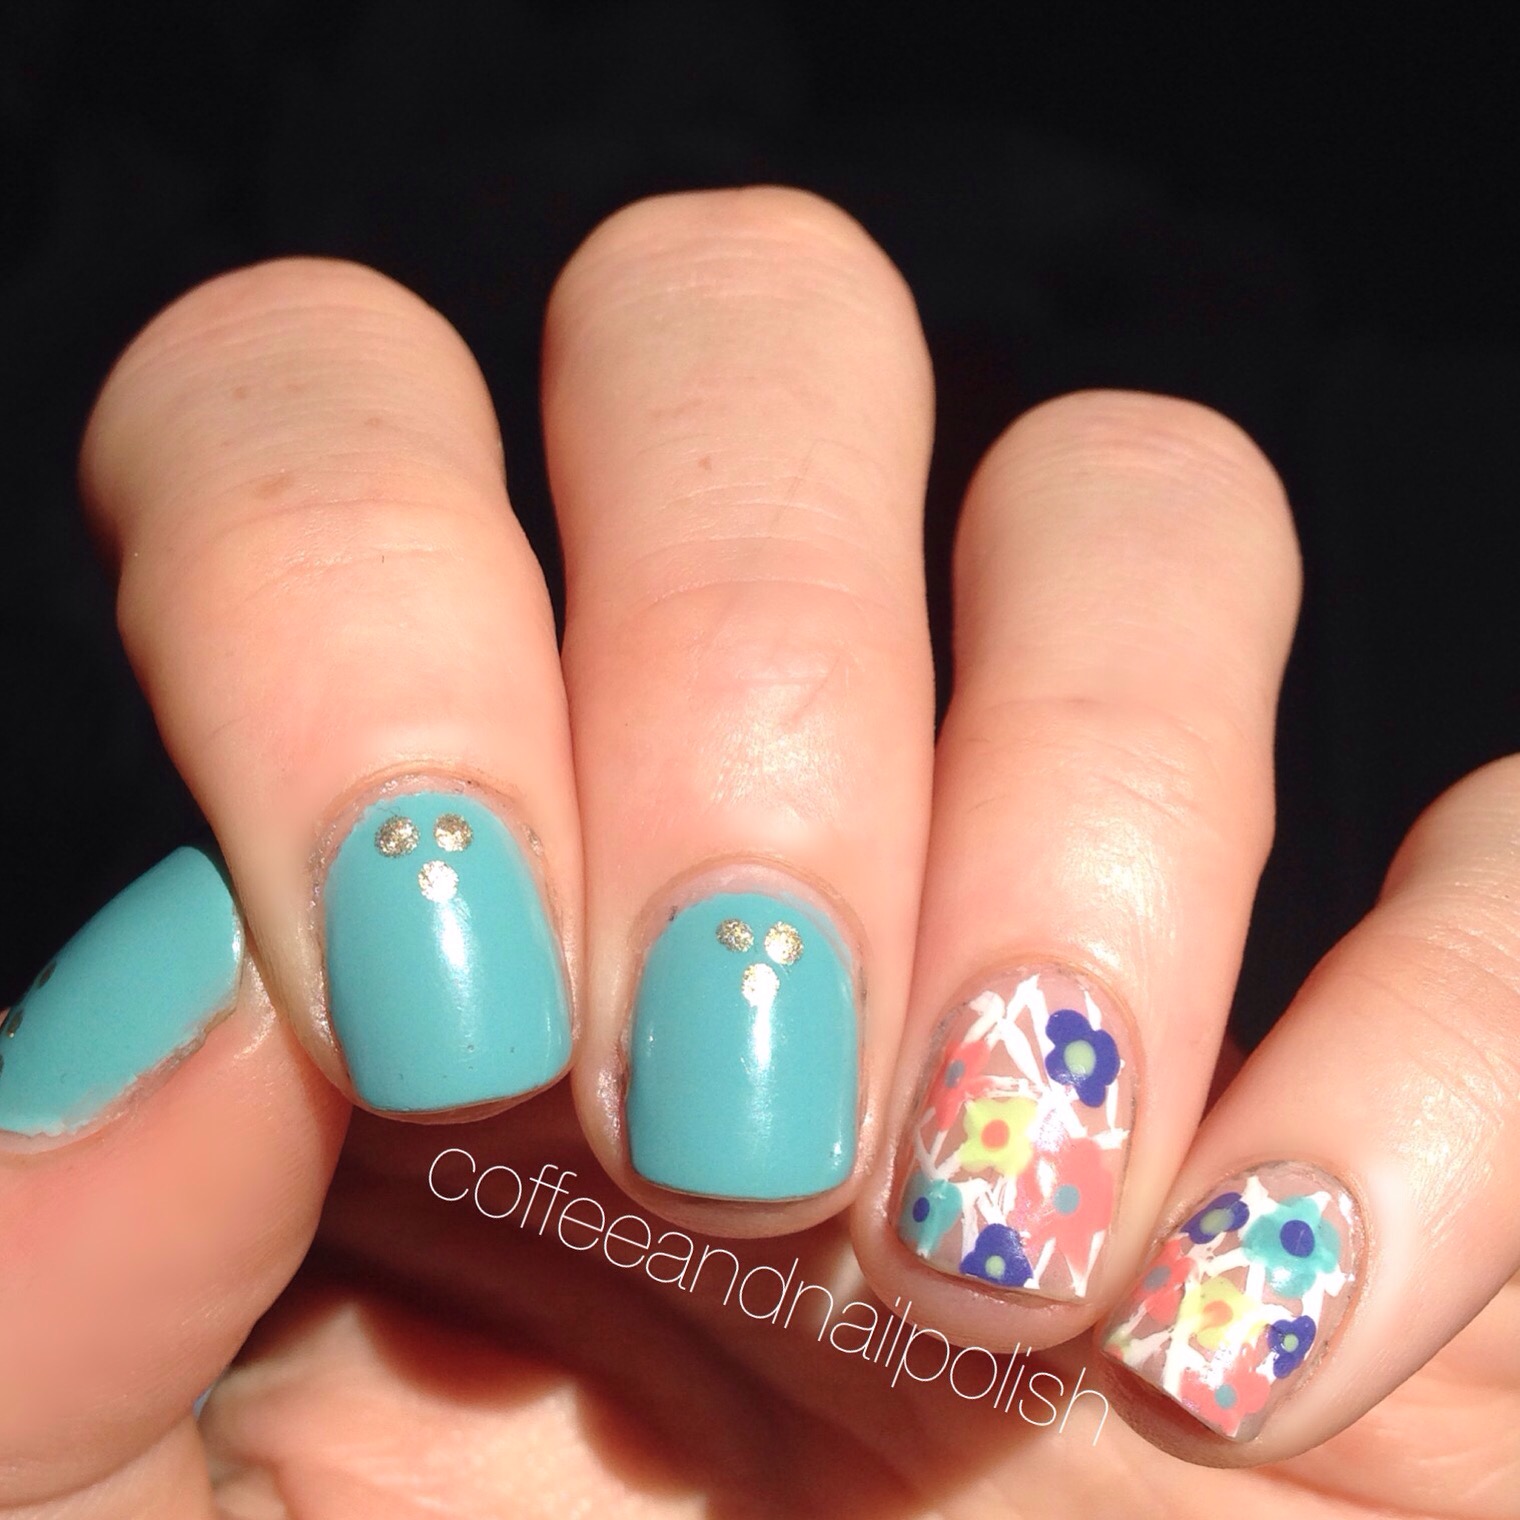
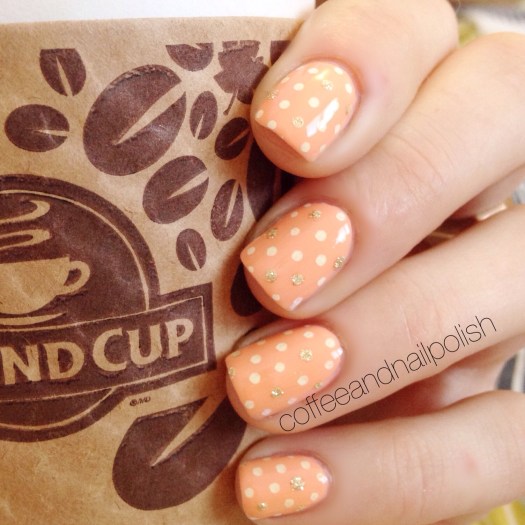
Spring dotticure. 


Is there anything better than starting your day with pretty polka dot nails and a soy latte? Wearing Essie Haute as Hello which is my new favourite coral for Spring, with polka dots of Sally Hansen I ❤️ Nail Art pen in White and OPI My Favourite Ornament. 

I love how much these nails scream Spring! 🌻 what’s your favourite colour for Spring? I’m really loving corals and pinks right now! 

SWATCH POST — OPI Pineapples have Peelings Too! 

 Good morning lovelies! 

I don’t know if you’ve checked out OPIs Hawaii collection yet. When I first saw the collection there was one polish I just HAD to have and that was this interesting glitter polish Pineapples have Peelings Too!  

PHPT is a yellow-gold frosty base chalk full of multicoloured glitters. It hasn’t received the best reception online, but the trick to making this polish shine seems to be in the top coat application. 


For my application, I applied three thin coats of PHFT! then applied two coats of Essence Gel Look top coat which is the thickest most pillow-y top coat I own, then finished with two coats of Seche Vite to speed up the drying process. I really kind of love the end result. I couldn’t stop staring at my nails all day! 

So what do you think of Pineapples have Peelings too! from the OPI Hawaii collection? I think the last one I need to pick up from the collection is Go With the Lava Flow — it just looks so pretty!  

Spring floral.

First, I have to apologize for my lack of posts recently. After getting promoted at work, my ability to sit down and write a blog post took a bit of a hit. But I’m back, and I plan on finding the right rhythm so I can start posting a couple times a week again.

Is anyone else seriously craving Spring?

I don’t know where you live, but we’ve had a seriously messy and frigid Winter. Too much snow! Too much ice! So I’m all about Spring right now. Even if it seems a million miles away, I can still embrace Spring on my fingertips!

IMG_3836


IMG_3839

The polishes used for this pretty floral are:

  • Essie Strut Your Stuff (Bright Blue)
  • OPI Angel With A lead foot (White)
  • Icing Cupcakes and Caviar (Darker Pink)
  • OPI Suzy shops and Island Hops (Light Pink)
  • Essie Parka Perfect (Light Blue)
  • Sally Hansen Golden-I (Gold)
  • Sally Hansen I Love Nail Art pen in green
  • Sally Hansen Nail Art pen in navy
  • Seche Vite top coat.
  • L’Oreal The Matte Velvet top coat.

I’m so seriously in love with this mani. My only complaint is that I only did my floral as accent nails instead of a whole mani. Also I’ve found the best matte top coat in the whole wide world! Look at this beautiful matte goodness. If you are looking for an amazing Matte top coat, you simply must search it out!

I have ideas about doing a whole blog post dedicated to the perfect colours for Spring so I must ask–what is your go-to Spring polish? I’m still on the look out to add to my collection so let me know in the comments below!


Out of this world Galaxy Nails–with a bonus tutorial!

IMG_1891

After being inspired by two of my fellow nail art girlies on Instagram (mymintnails and banulovesnailpolish) the other day, I was in the mood for Galaxy nails. The last time I did them was in April during the early weeks of this blog, and I hadn’t tried them since so it felt like a good time.

IMG_1893


IMG_1892


The polishes I used for this manicure were:

  • OPI Who Are You Calling Bossy?!?
  • Unnamed Blue Joe Fresh Metallic Polish I got as part of their holiday collection this season.
  • LA Splash Heiress.
  • LA Splash Glitz & Berry.
  • LA Splash Maroon.
  • Quo by ORLY Trashy Glam.
  • ACO by Ardene Showtime.
  • China Glaze Fairy Dust.
  • Sally Hansen Diamond Flash Top Coat.

I’m seriously so happy with how my galaxies turned out. I’ve done galaxy nails a couple of times now, and always get frustrated by the fact I don’t find they look very Space-y. However thanks to using ACO by Ardene’s Showtime for glitter placement (the stars) and China Glaze’s Fairy Dust I managed to create my very own galaxies on my nails.

And I thought since I’m trying to create more tutorials I would share my steps for creating this manicure. I know everyone has their own way of creating galaxy nails, these are just the steps I took for the above manicure.


IMG_1895

  1. Paint all nails black (OPI Who Are You Calling Bossy?!?) and apply quick dry top coat.
  2. While that is drying, applying OPI Glitter Off Base Coat around cuticle area. I do this to keep the sponging I do when creating gradients and other like manicures off my fingers and minimize clean up.
  3. Sponge on first colour (the unnamed Blue Joe Fresh polish with shimmer.) Depending on how sheer the polish is, you may have to sponge a couple times to be able to see the polish.
  4. Continue sponging using a variety of other colours. I try to keep my sponging in a line so you get that galaxy look. I also will apply some polishes thicker than others, or just sponge small spots so that it’s not too heavy handed.
  5. Using a dotting tool, place stars in random places on nail. (ACO by Ardene Showtime.) I also used some of the bigger glitters in Showtime for along the sponging.
  6. Apply a coat (or two) of Fairy Dust over everything. Then, after a couple minutes apply your top coat to seal everything in. Once that’s dry, you’ll be able to peel off your protective layer around your cuticles, and clean up what you might have missed around your cuticles.

And tada! You now possess galaxies on your finger tips. Galaxies are one of the easiest nail art designs you can probably do because they can be done with pretty much any polish, at any level, in whatever style you want! And the plus side is–it’s almost impossible to screw them up.

IMG_1896


In case you’re interested, my ring is courtesy of Kristalized_Designs on Instagram (who also happens to be my sister!) She designed two gorgeous midi-rings for me, and is going to be designing a little something special for an upcoming giveaway I’m going to be holding. She’s in the process of getting her Etsy page up and going, but you should definitely check out her page for a sneak peak at her designs. Everything is hand made and one of a kind (there is even a picture of her making the above ring.)


So what do you think of these galaxy nails?

SWATCH POST: Crazy Fancy Love by Essence Cosmetics!

Sorry about my absence last week. The boyfriend and I moved and my computer charger got mixed up in the chaos so I’ve been without my trusty MAC ever since. Well things are finally getting back to normal, and I’m ready to get back into the swing of blogging.

Today I have some swatches of a gorgeous polish that I just recently picked up: Essence Color and Go 164 Crazy Fancy Love.   IMG_1325

You may have noticed there are two things I absolutely love when it comes to polishes: gold, and multi-chromes. Crazy Fancy Love is the best of both worlds. I picked it up a Shoppers Drug Mart that carries a more extensive collection of Essence polishes for the awesome price of $1.99. I was drawn first to the gorgeous bronze-y gold colour, but quickly fell in love with the multi-chrome effect. In the right light, it pulls a variety of colours including pinks and greens. They’re subtle, but they’re there. The formula was awesome–I’ve never had issues with my Essence polishes and this one is no different. The polish applied in two easy, thin coats and if you applied it a little thicker you could definitely get away with just one!

IMG_1322

As you can see from my shots (which I took in my brand new light box I built over the weekend) you can really see the shift in colour in the bottle. On the nail, I find the pinks come out depending on how you shift your hand. Never less, I’m loving Crazy Fancy Love. This is a great polish for Fall, and even into the quickly approaching holiday season. I can see this colour pairing really well with not just some deep reds, but blue and green polishes as well. It’s a soft gorgeous polish, and I’m totally in love with everything about it.

IMG_1324

IMG_1323

So what do you think of the Essence Color and Go polishes? I love their whole range. Their special edition polishes are always must haves for me, but the permanent collection is so full of so many amazing polishes that I have quite a few added to my stash.

Also I don’t know if you may have noticed but I changed my nail shape! I was feel a crazy change, and I’ve been obsessed with almond shape nails lately. Right now I’m rocking some serious round nubs, but as they grow I plan on shaping them more almond. This is actually the FIRST time I’ve changed my nail shape since I was about 12 and started filing my nails, so it’s taking some getting used to but I actually LOVE how they look! =)


Have a great day lovelies!