My Very First V-Gap Design

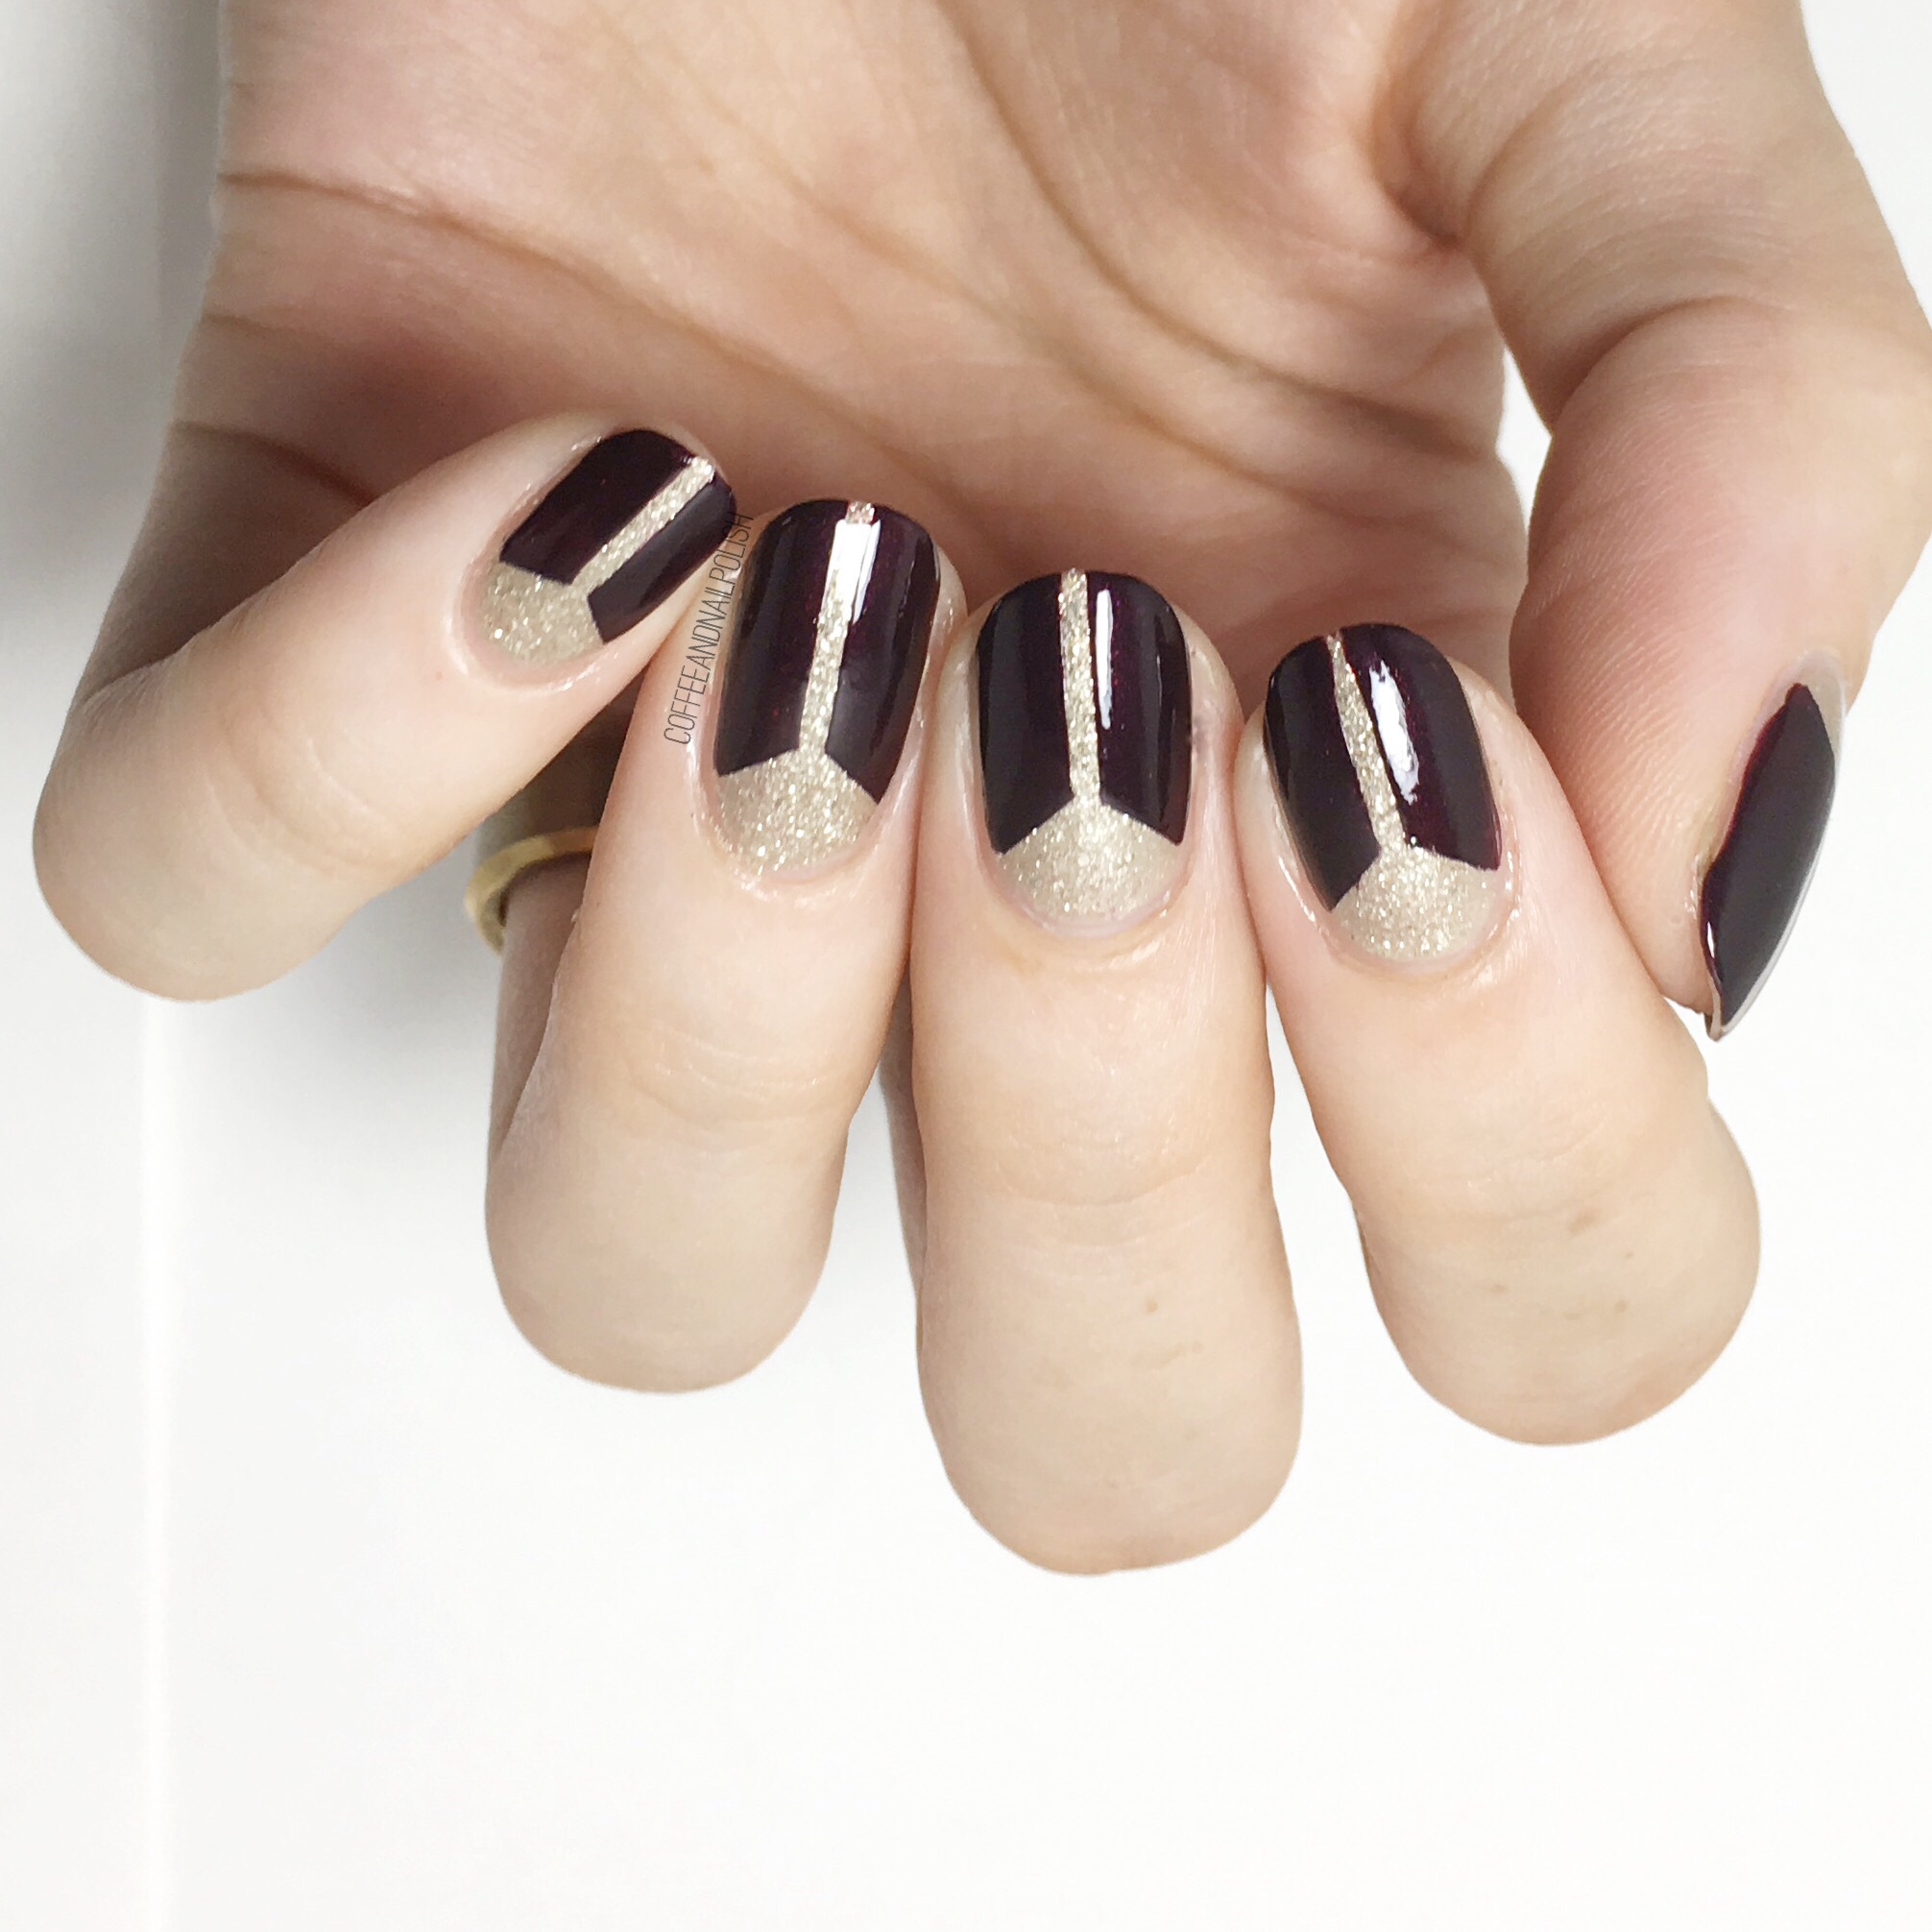
Over the years, I’ve expiremented with lots of different nail art designs. One I haven’t tried though is the v-gap! This design has been around a long time & according to Google the creation of the design is credited to a nail artist by the name of Sophy Robson. Yes, I know. I’m always so behind on these trends! But you know how much I love chevron moons, & I thought this would be a nice change up for my favourite look. 
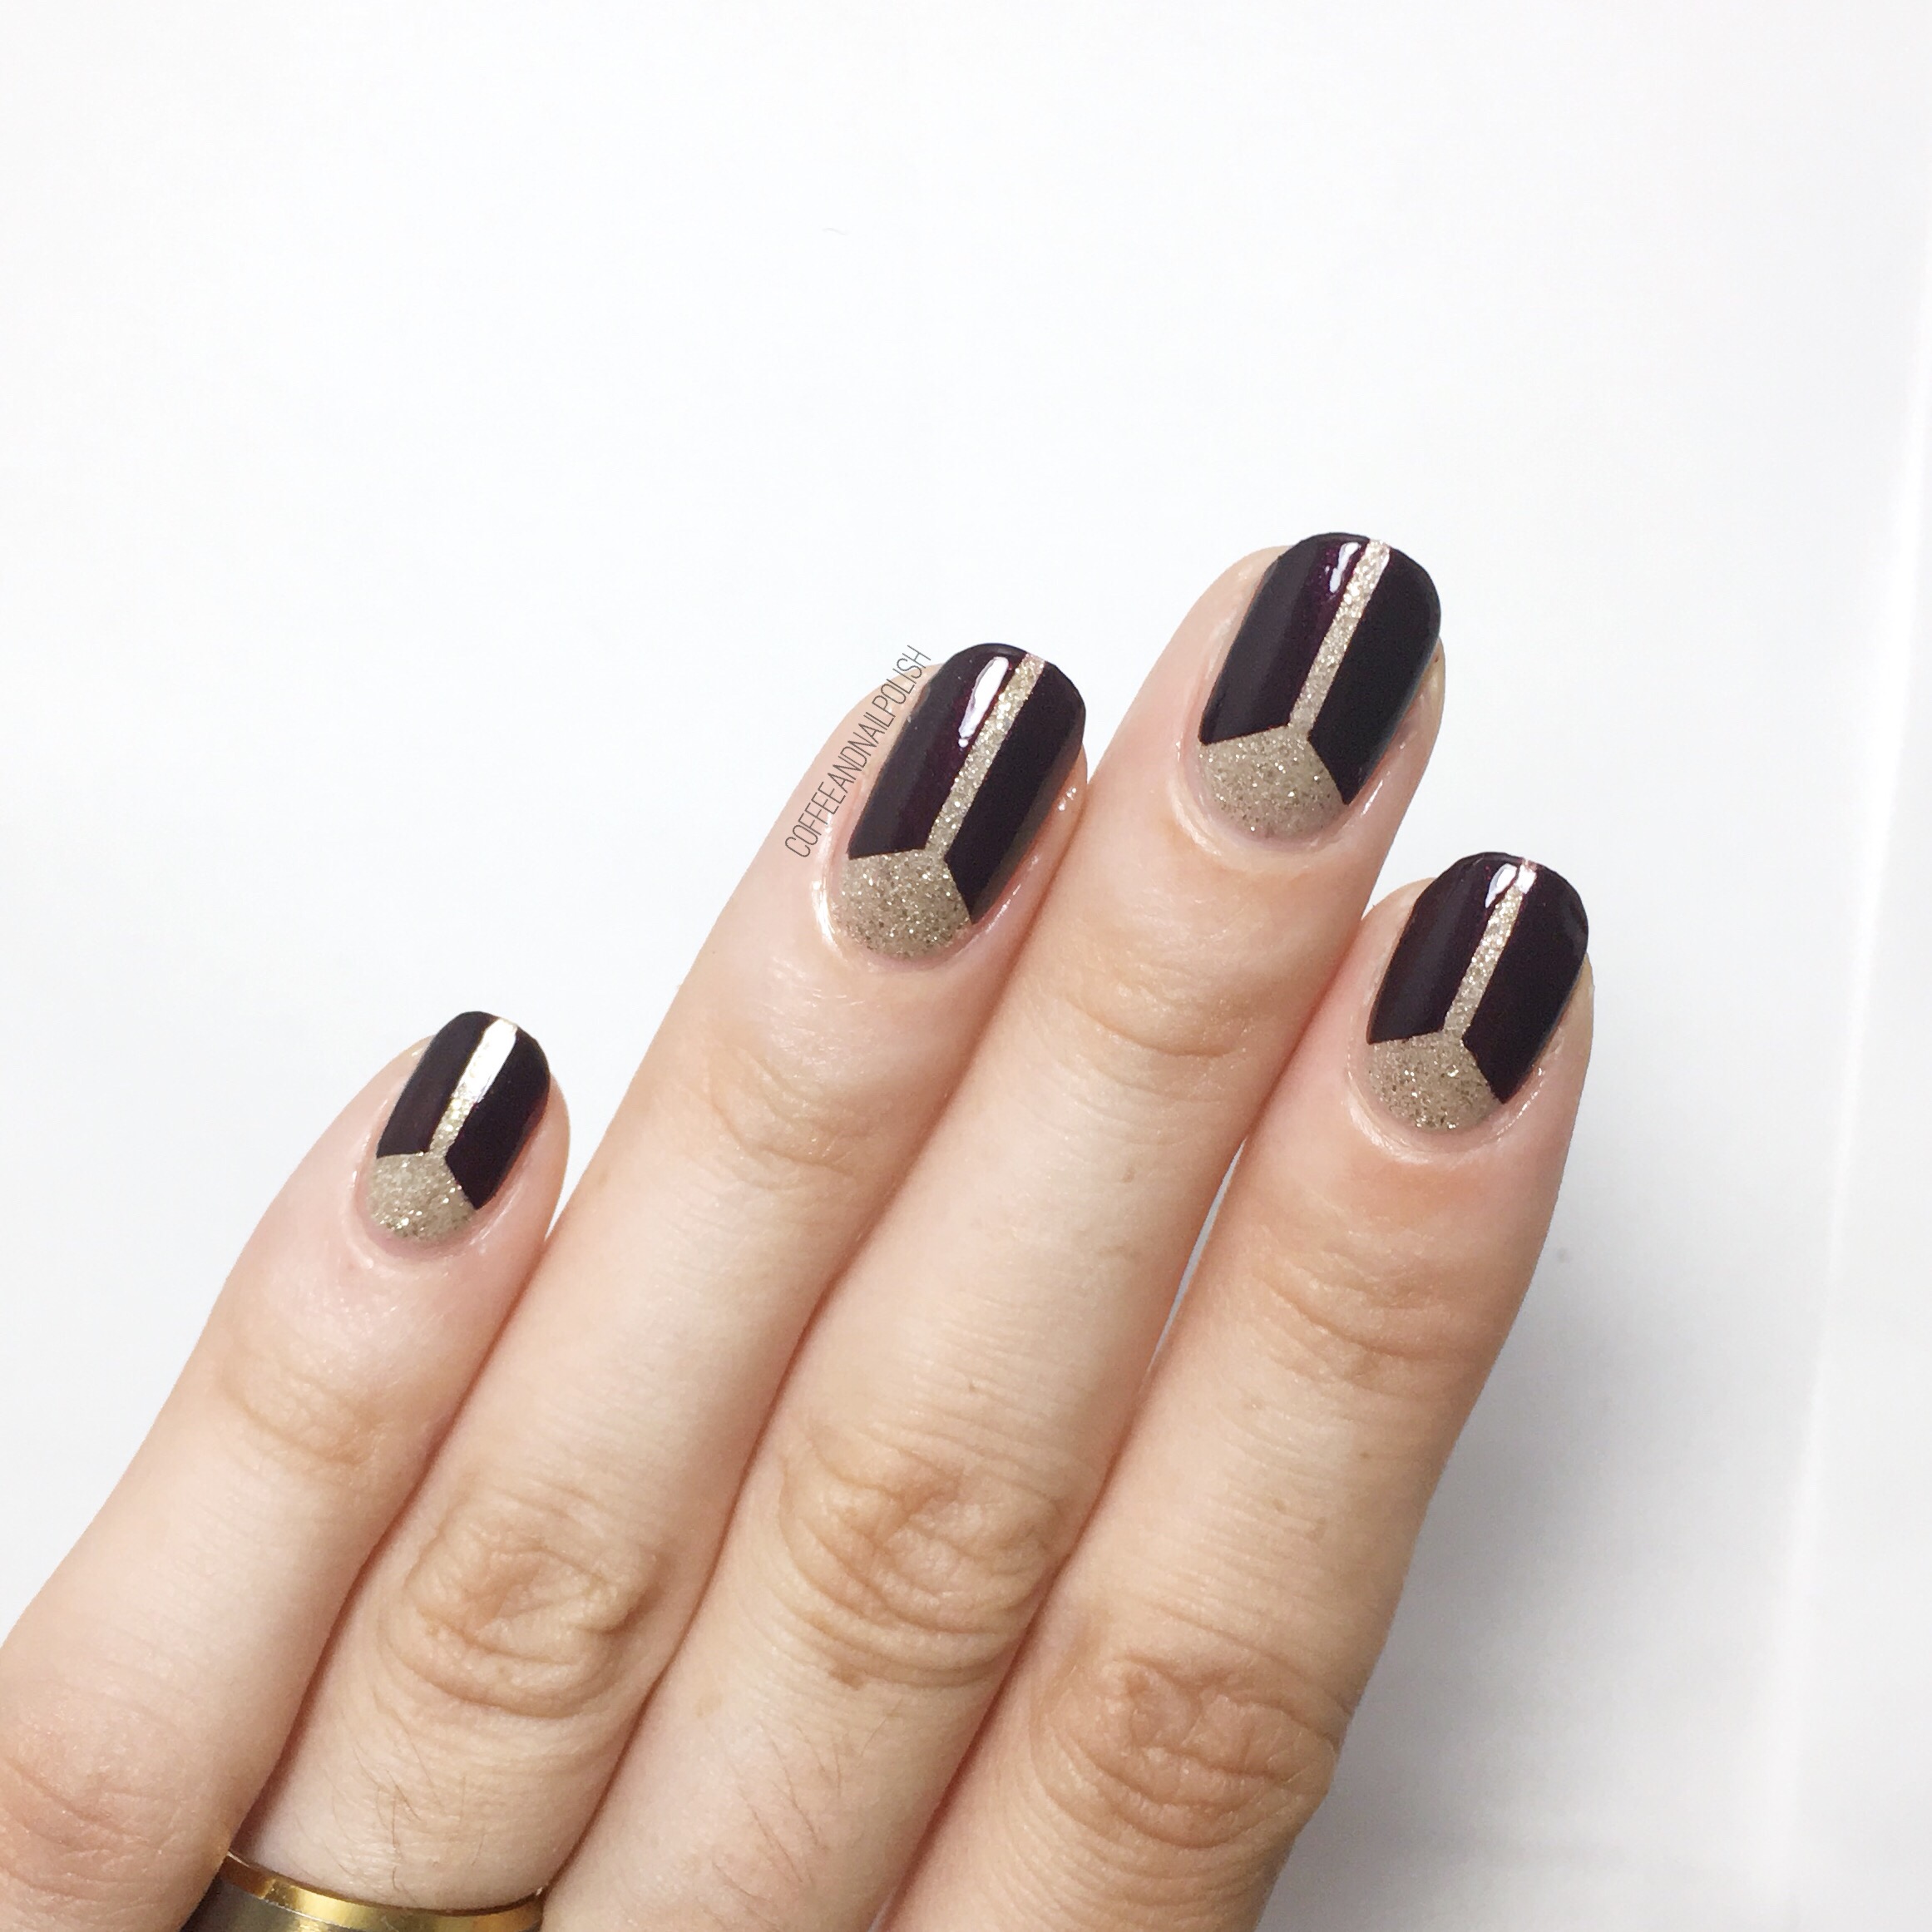
For this manicure, the polishes used were:

  • Base Coat: OPI Natural Nail Base Coat
  • Top Coat: Sally Hansen Diamond Flash
  • OPI My Favourite Ornament
  • OPI Lincoln Park After Dark 
  • Xroma Polish & Vinyls skinny Straight Vinyls
  • Xroma Polish & Vinyls X-stencil (inner pieces) 

There are lots of different tutorials for creating this look you can find online, but I chose to use nail vinyls to make it easiest. I applied my chevron vinyls first then added the straight vinyls down the middle—this was the easiest way to make sure everything was straight. For those who want to make this design even easier, I know What’s Up Nails has stiletto nail vinyls that would work perfectly for this design! 

I just love how these turned out—they feel super classy with the dark over the gold! This would be a great design to wear to any kind of fancy event… I know Fall is just beginning but it’s almost time for holiday parties, & these would look beautiful with a cocktail dress. 

What’s the last new design you tried? Let me know in the comments below! 
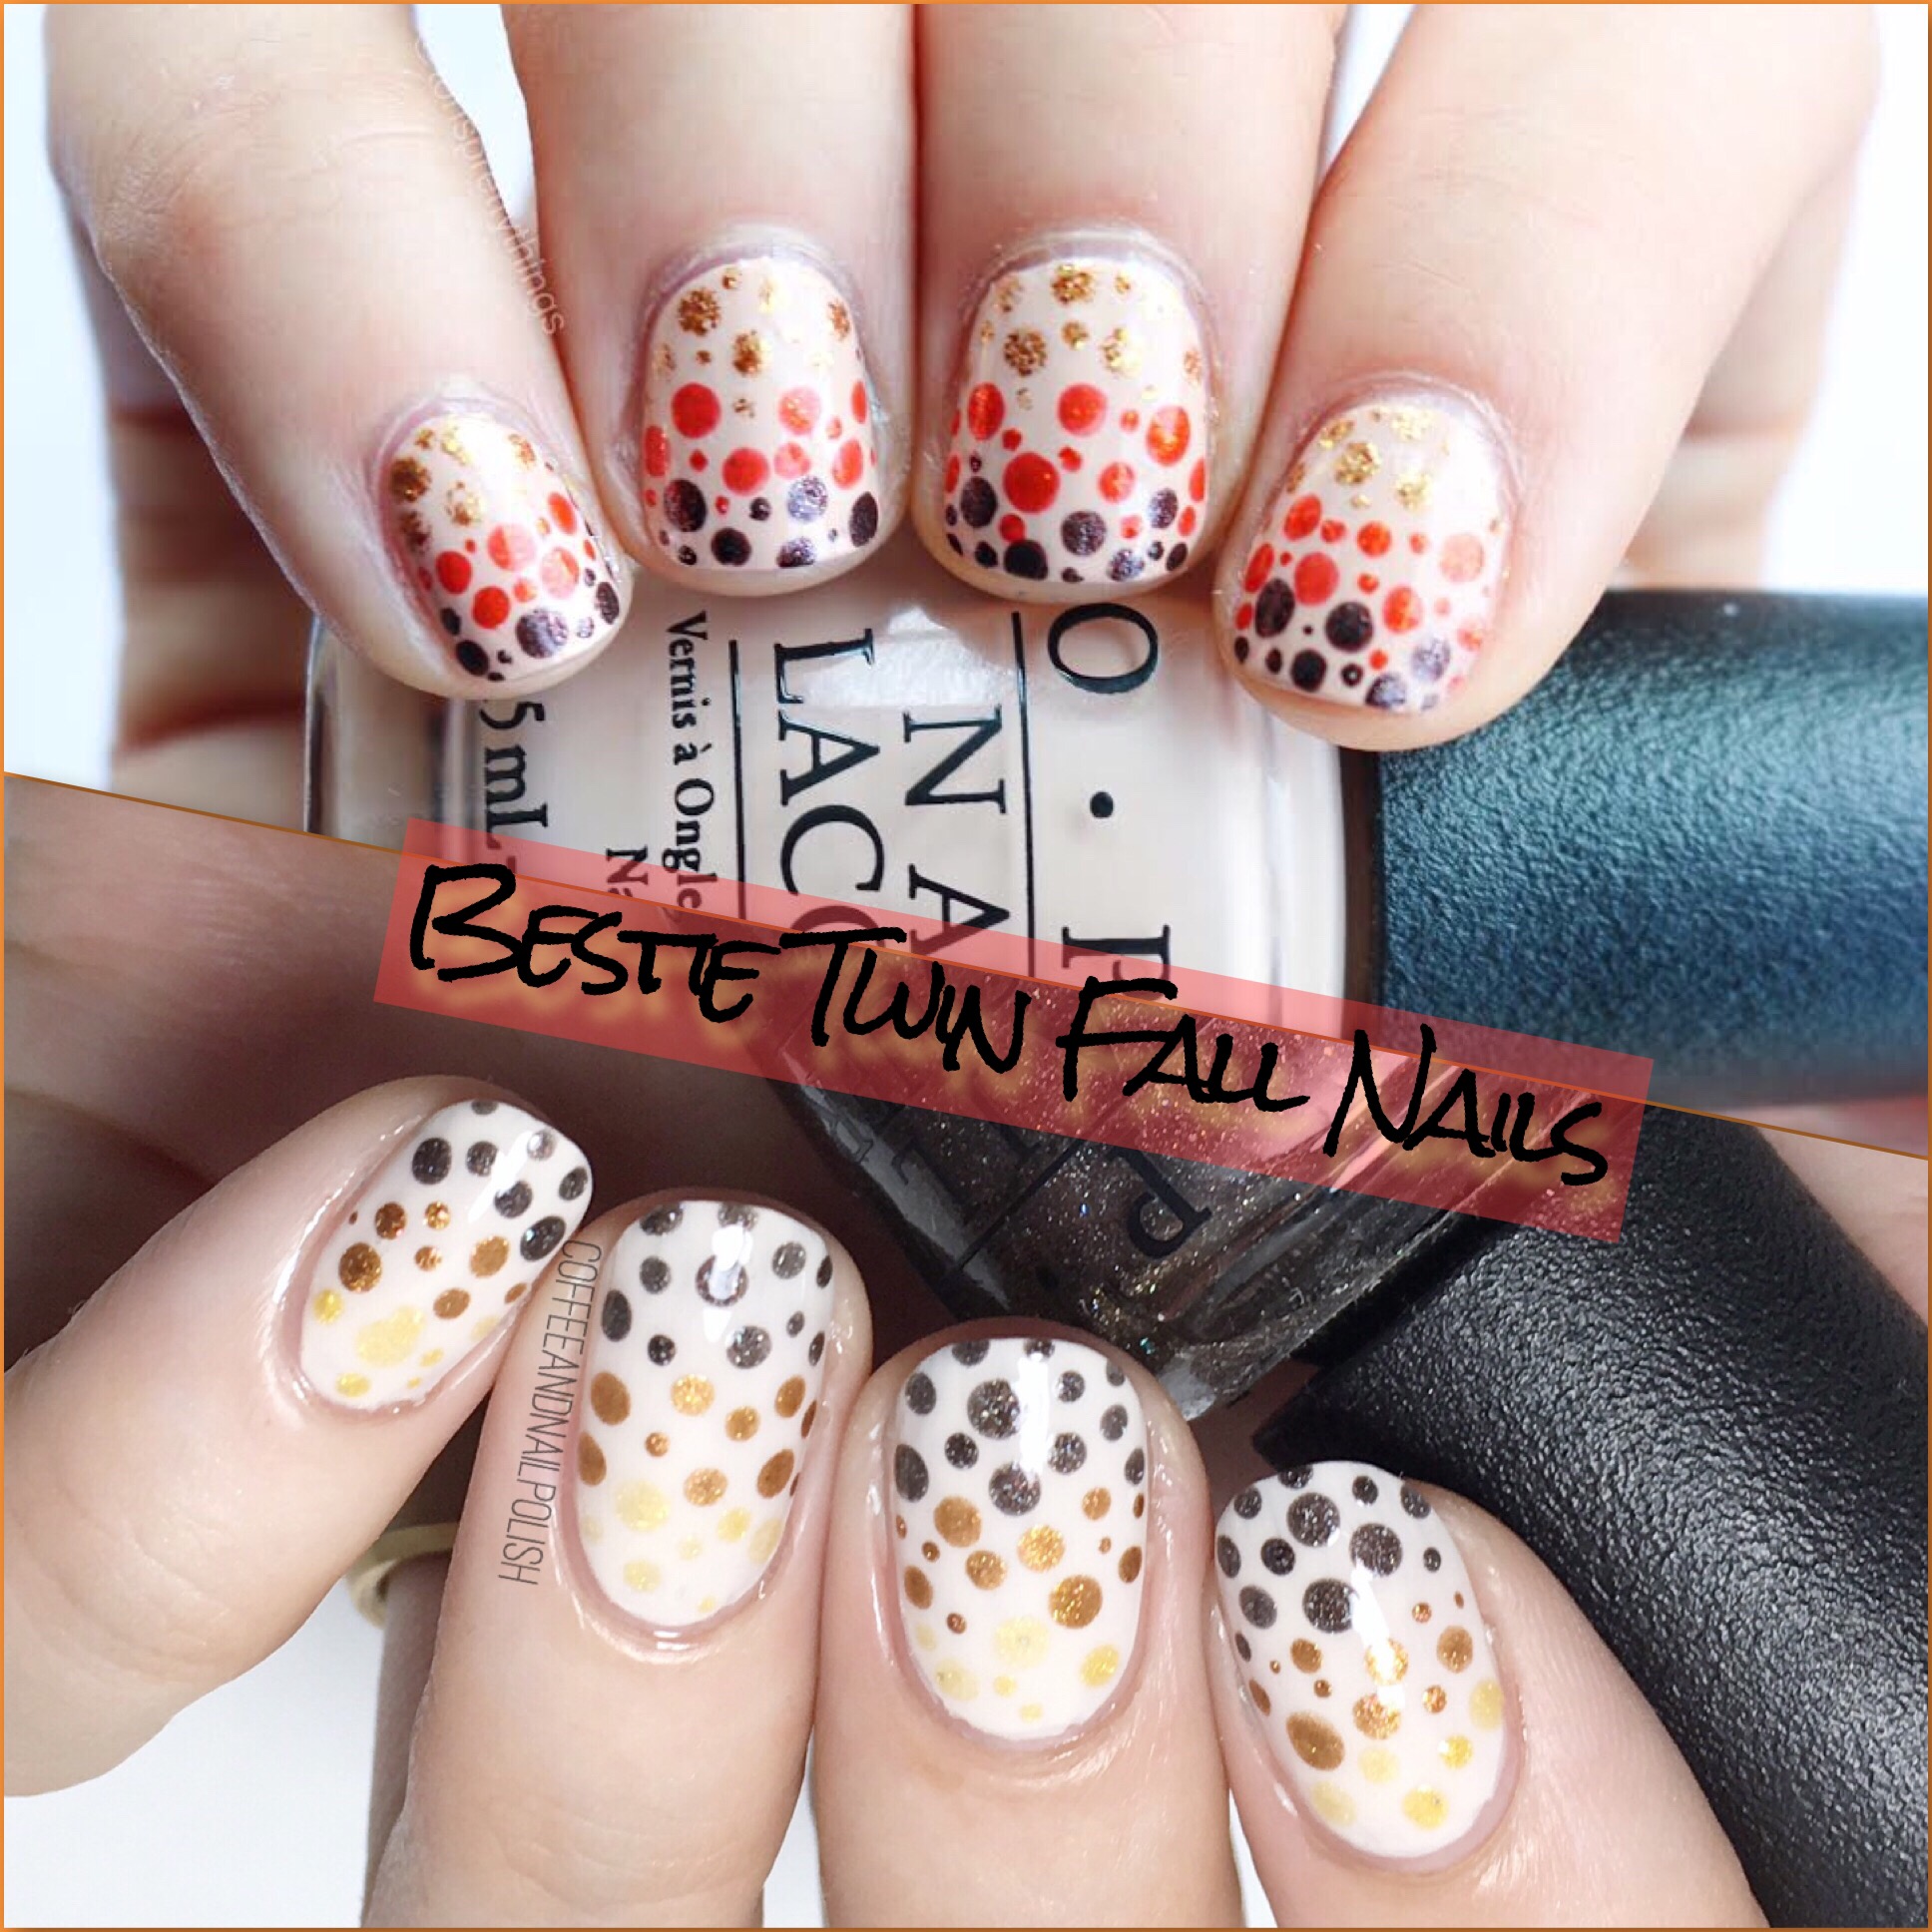
Bestie Twin Nails with @torisprettythings


I always get really, really excited when I can team up with fellow nail polish addicts I love, admire & am inspired by. So I was really excited when I had the opportunity to team up with Tori of @torisprettythings! 

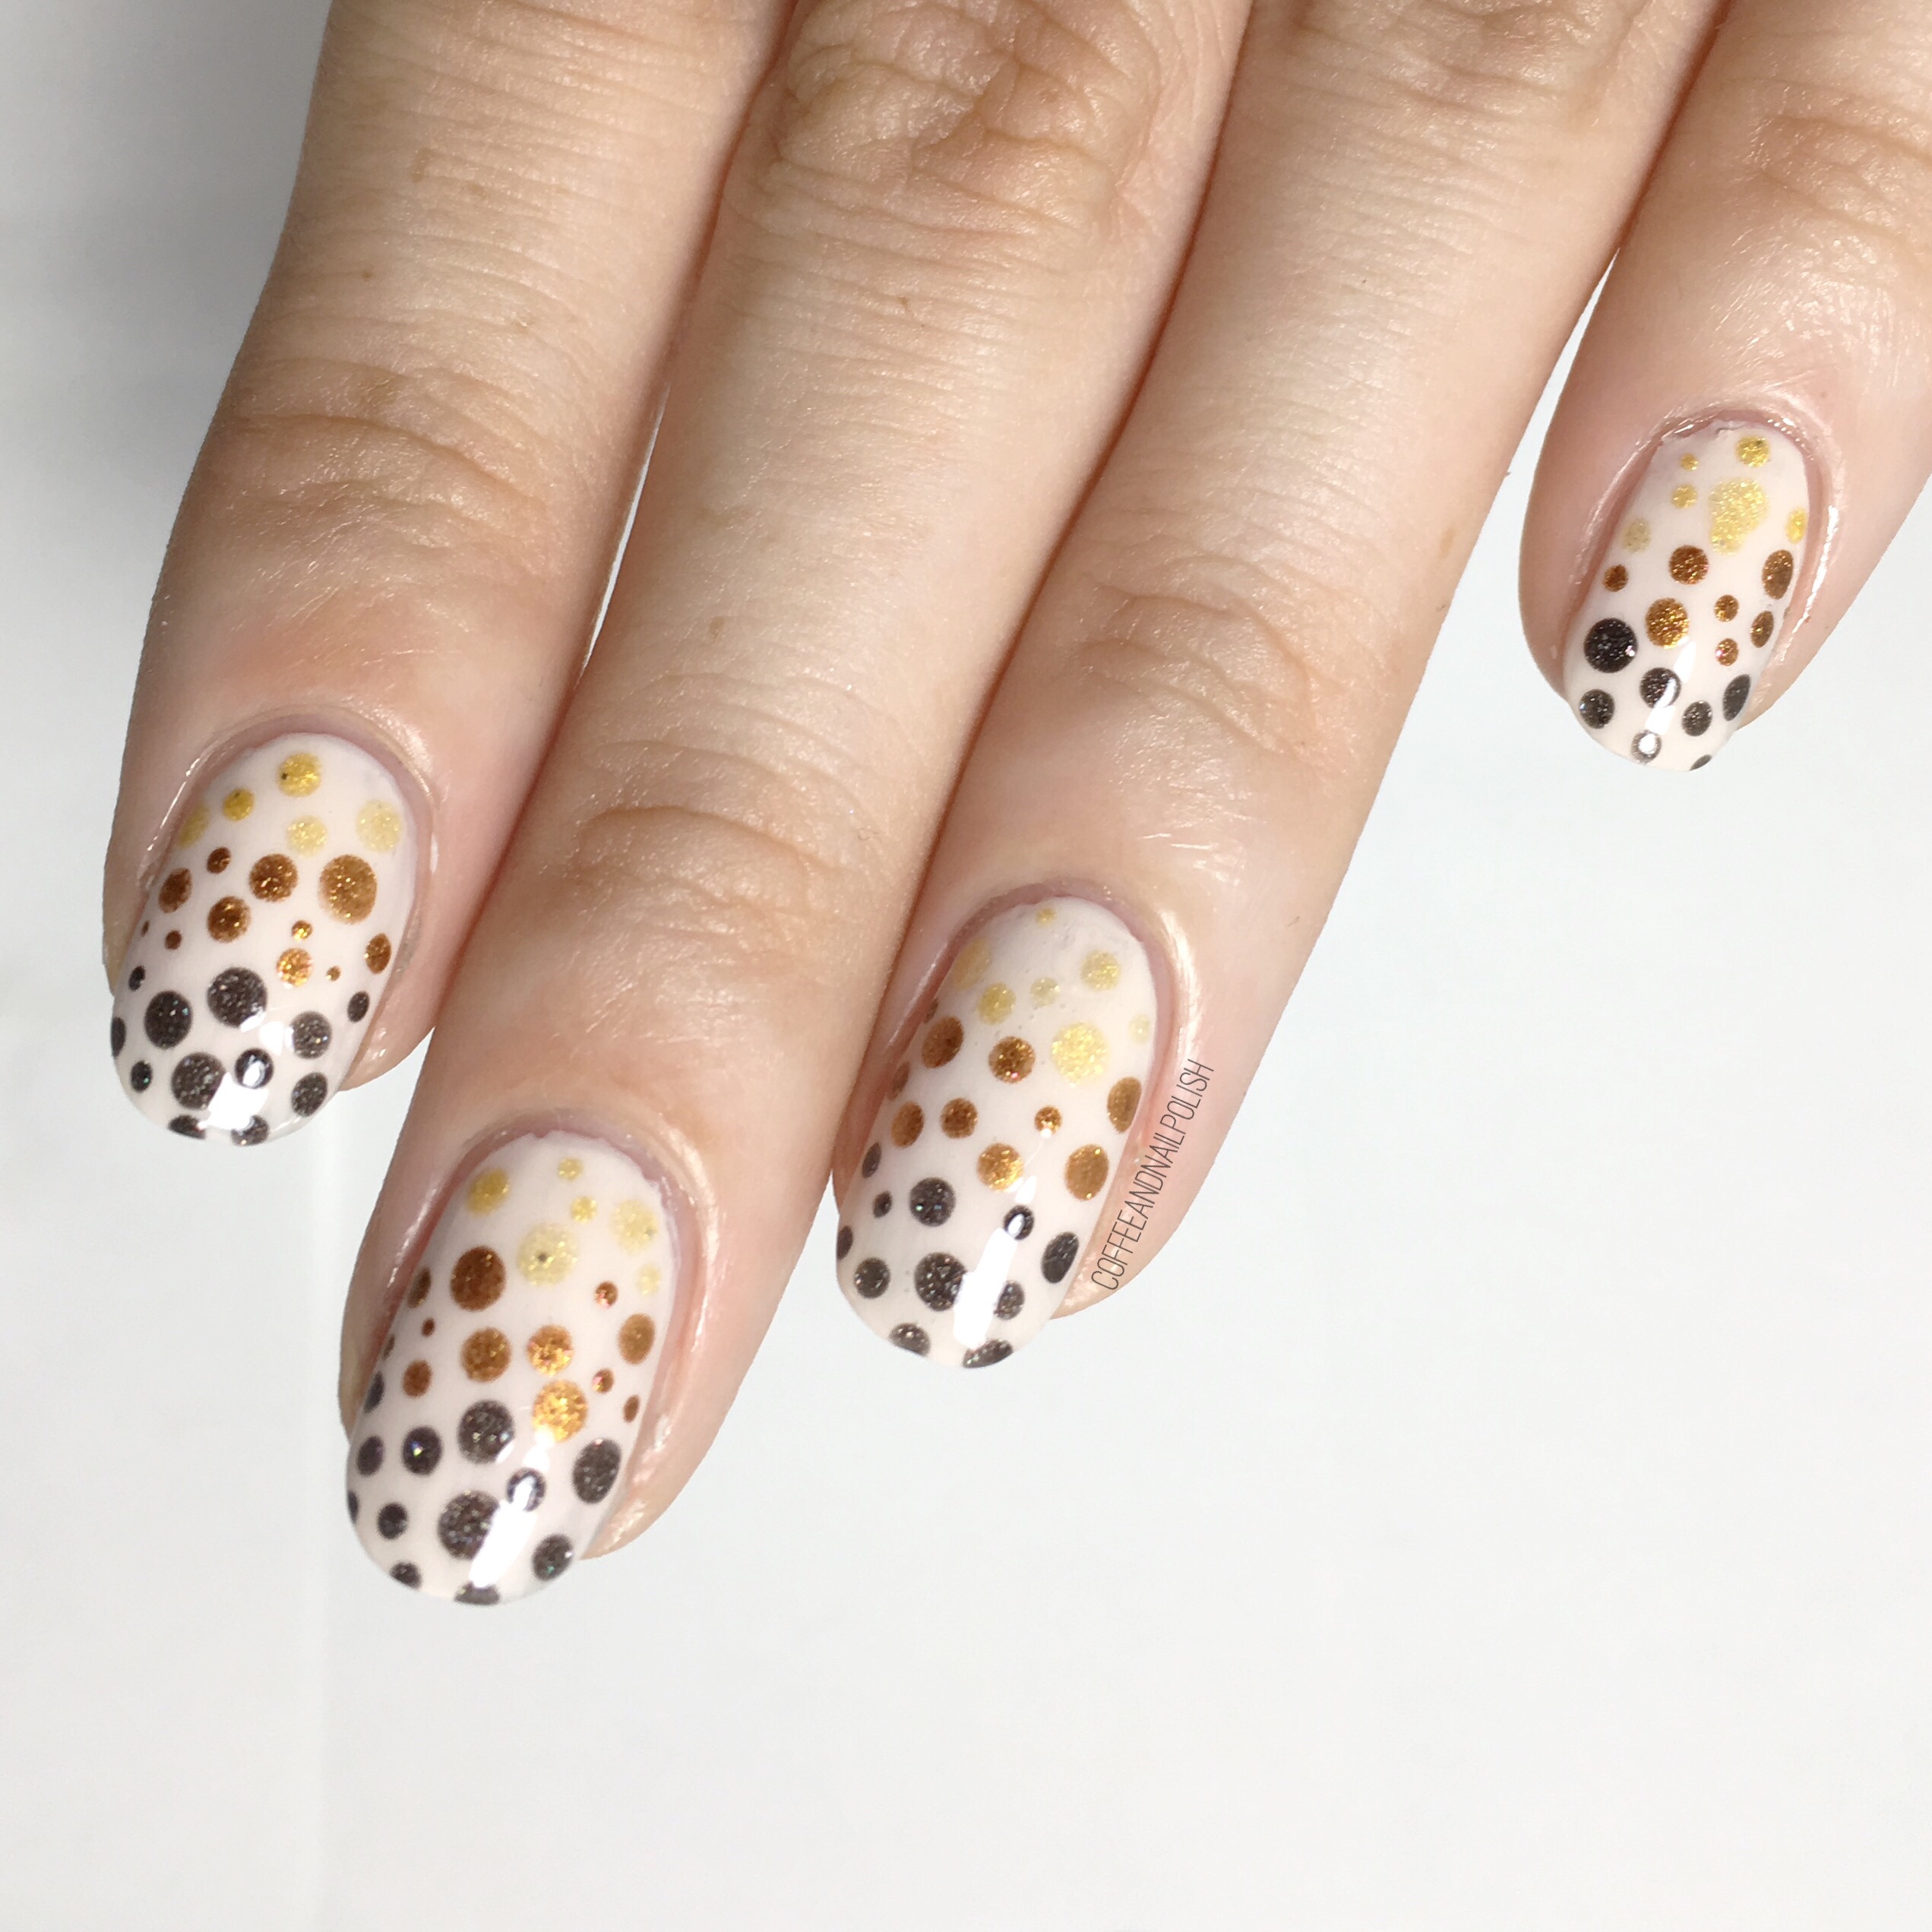
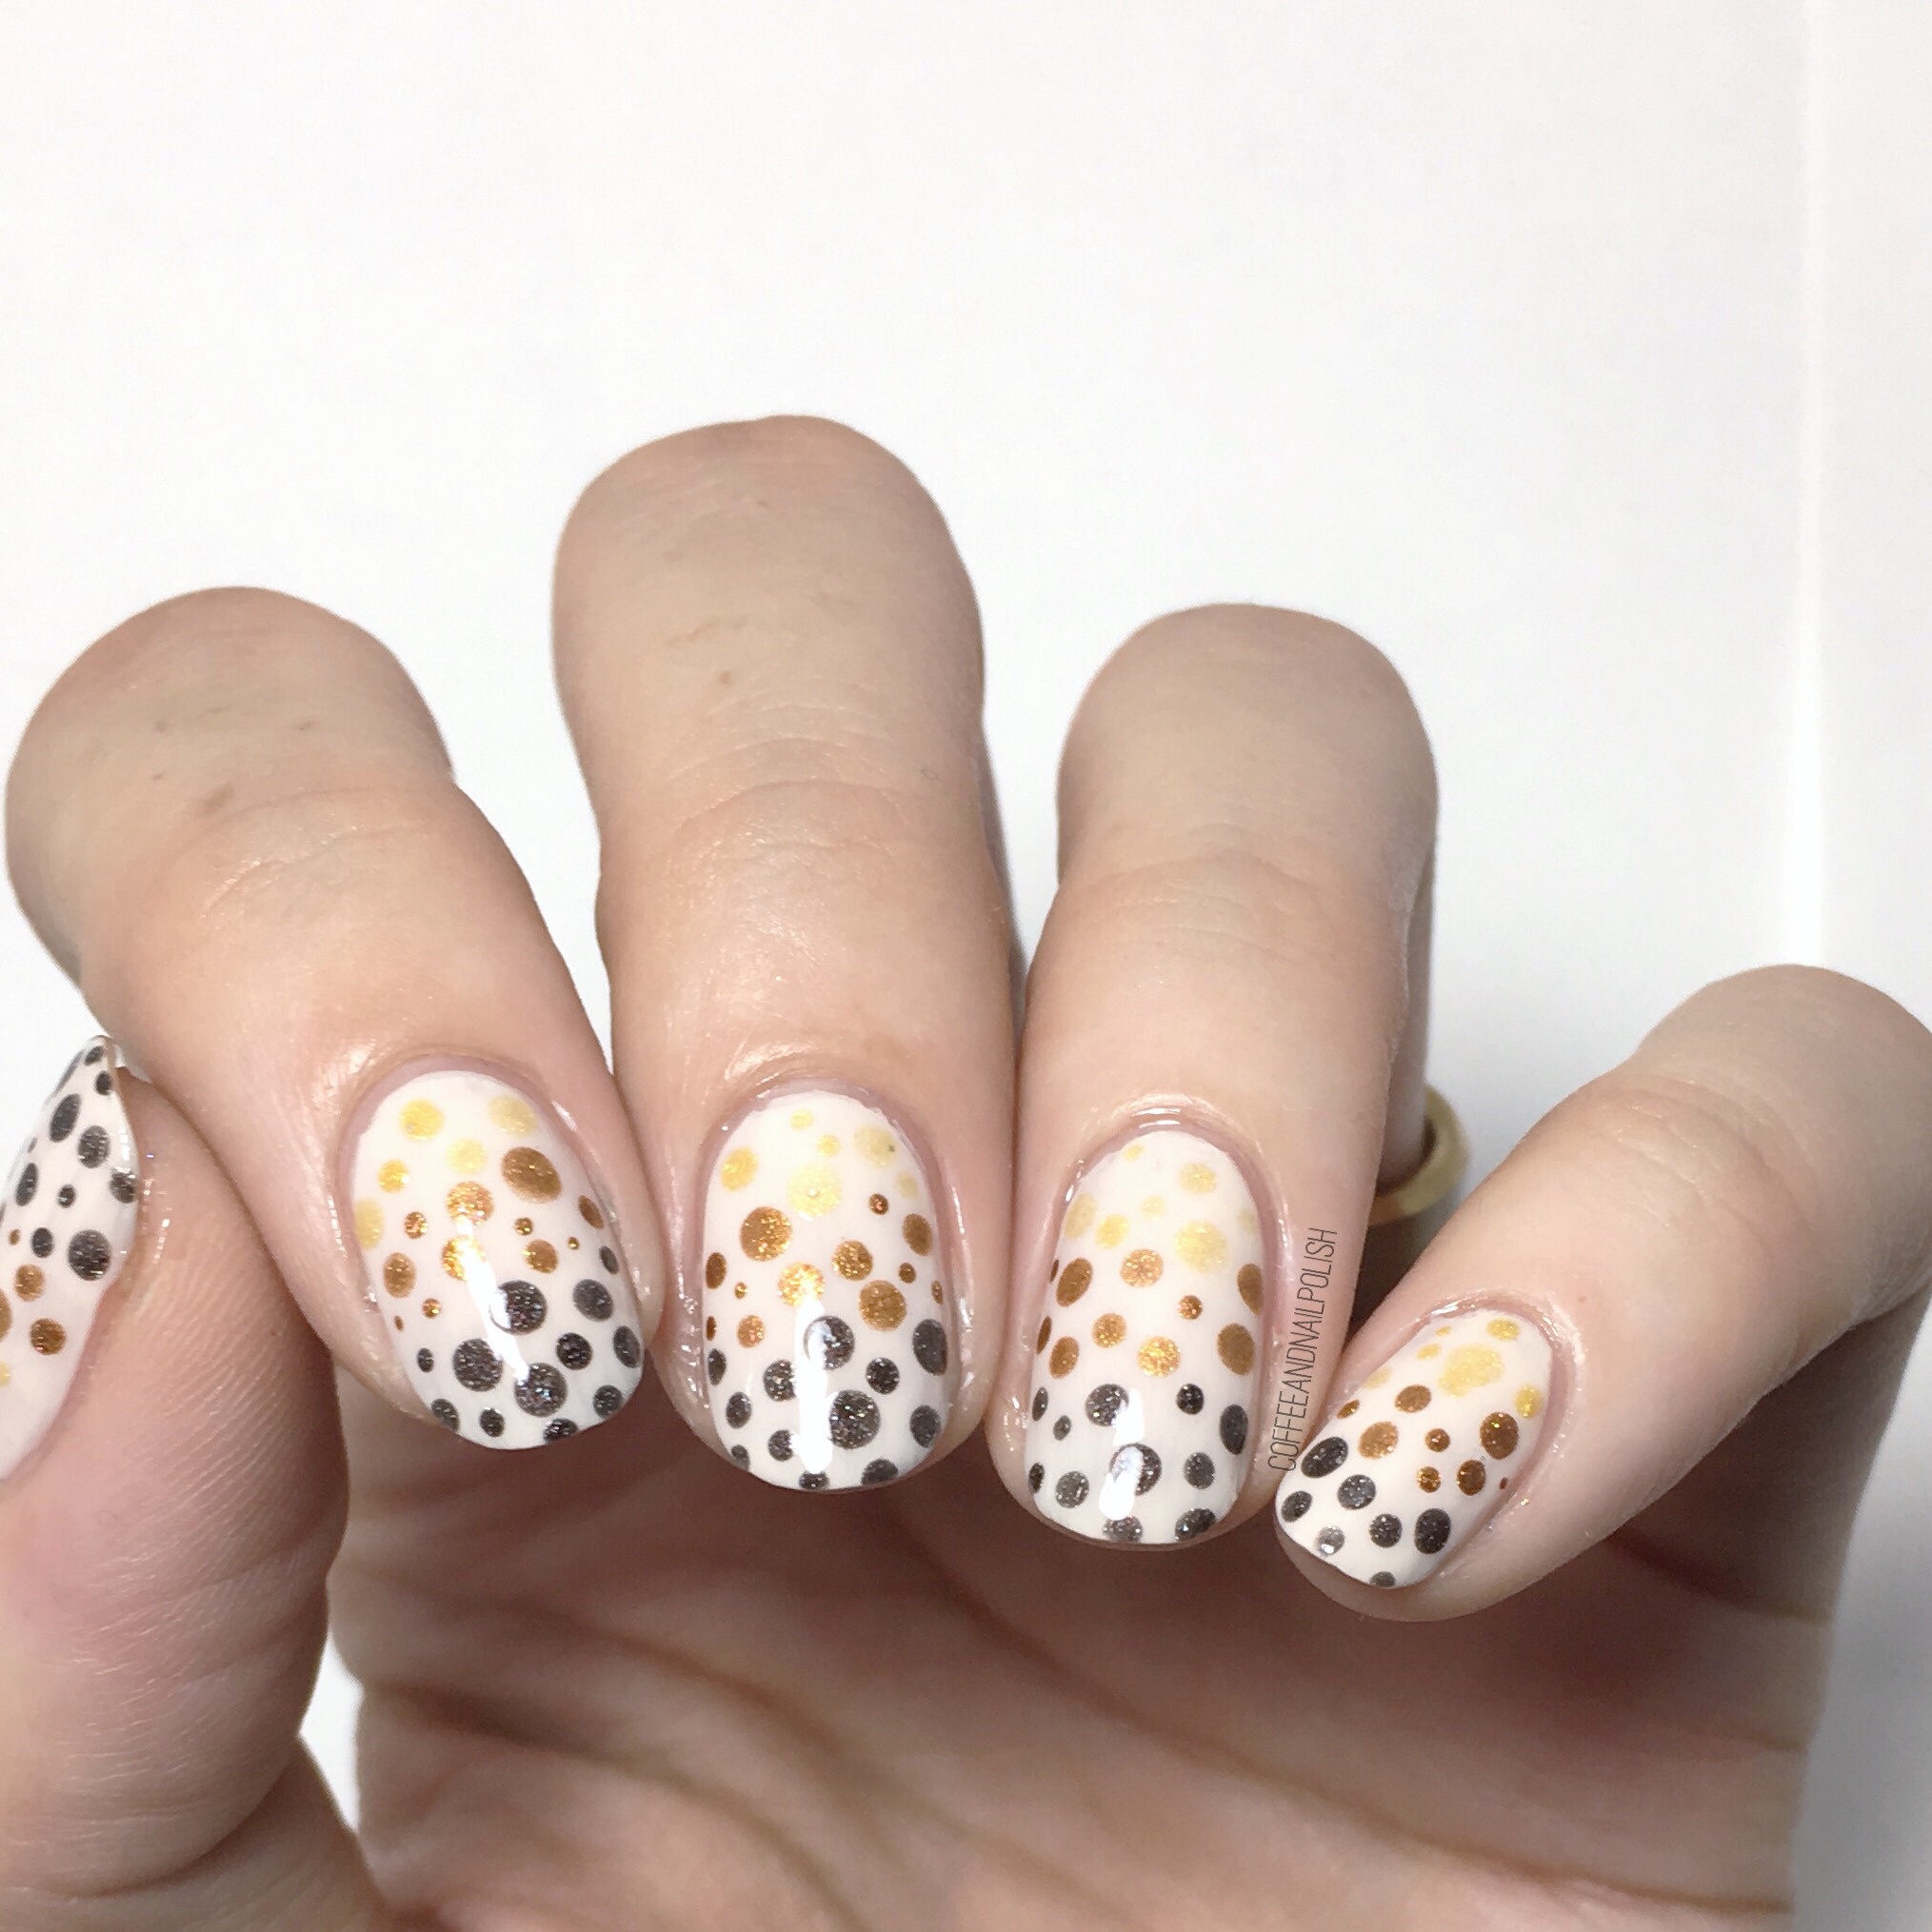
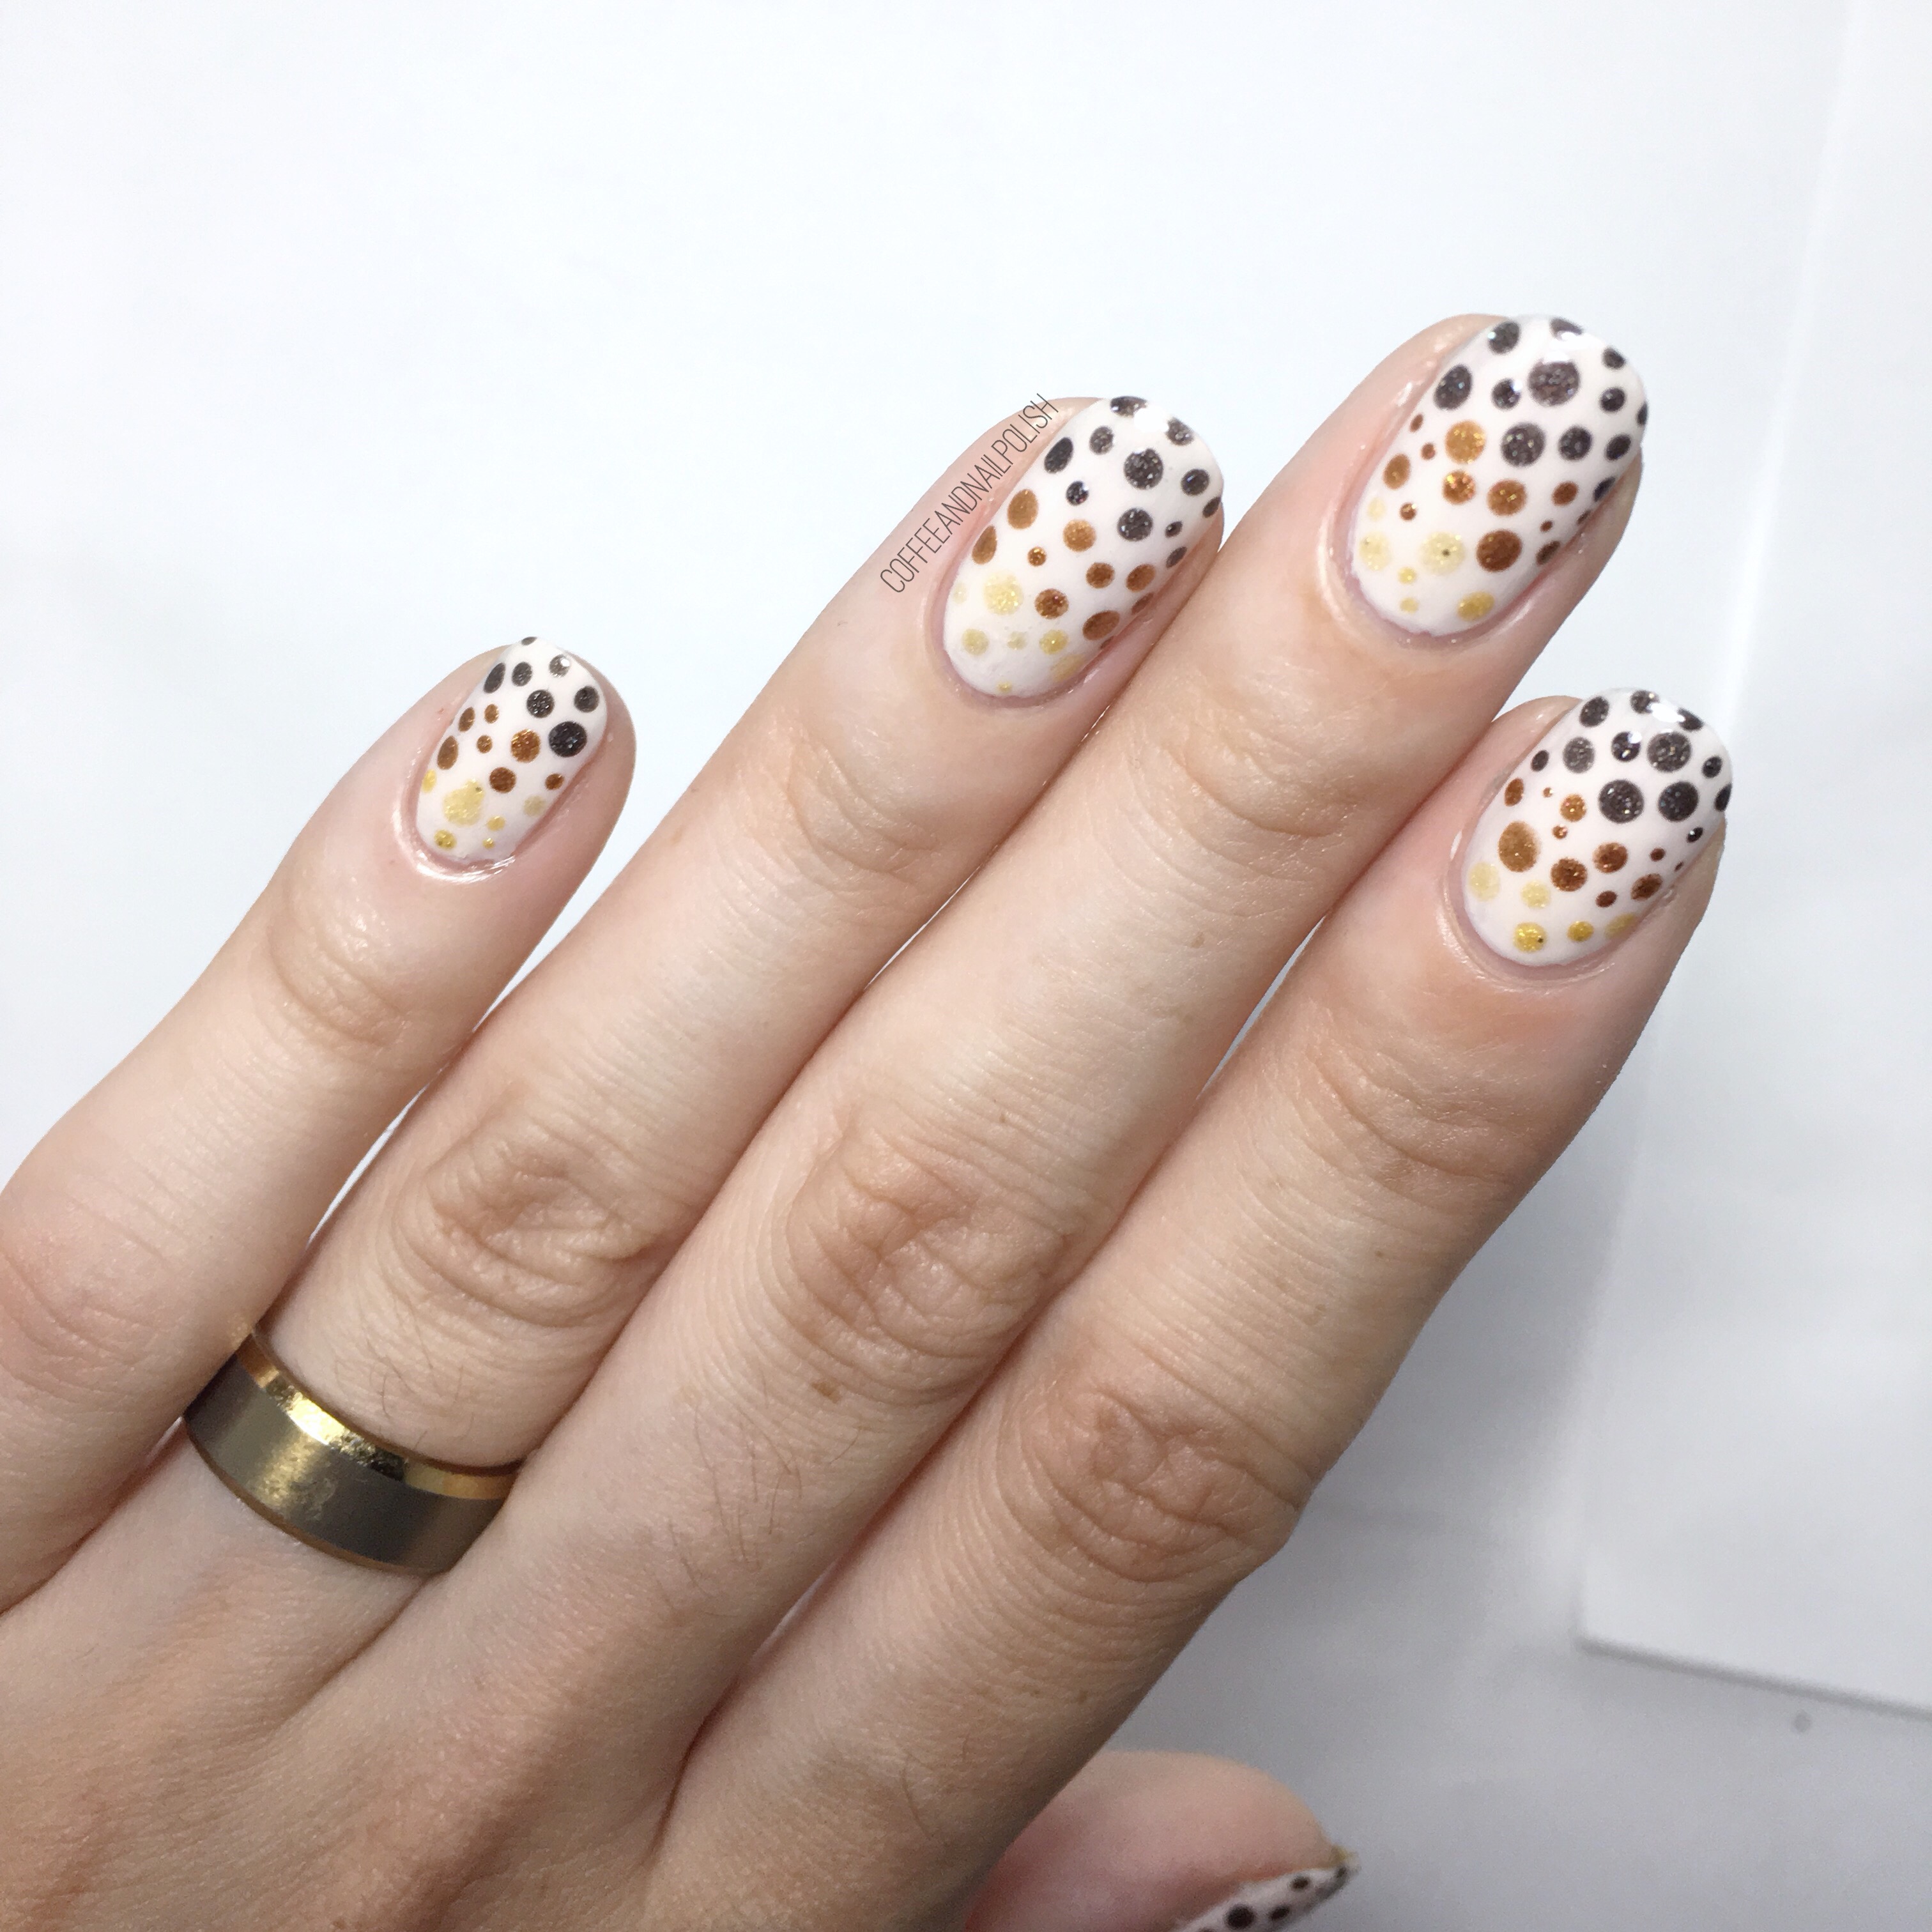
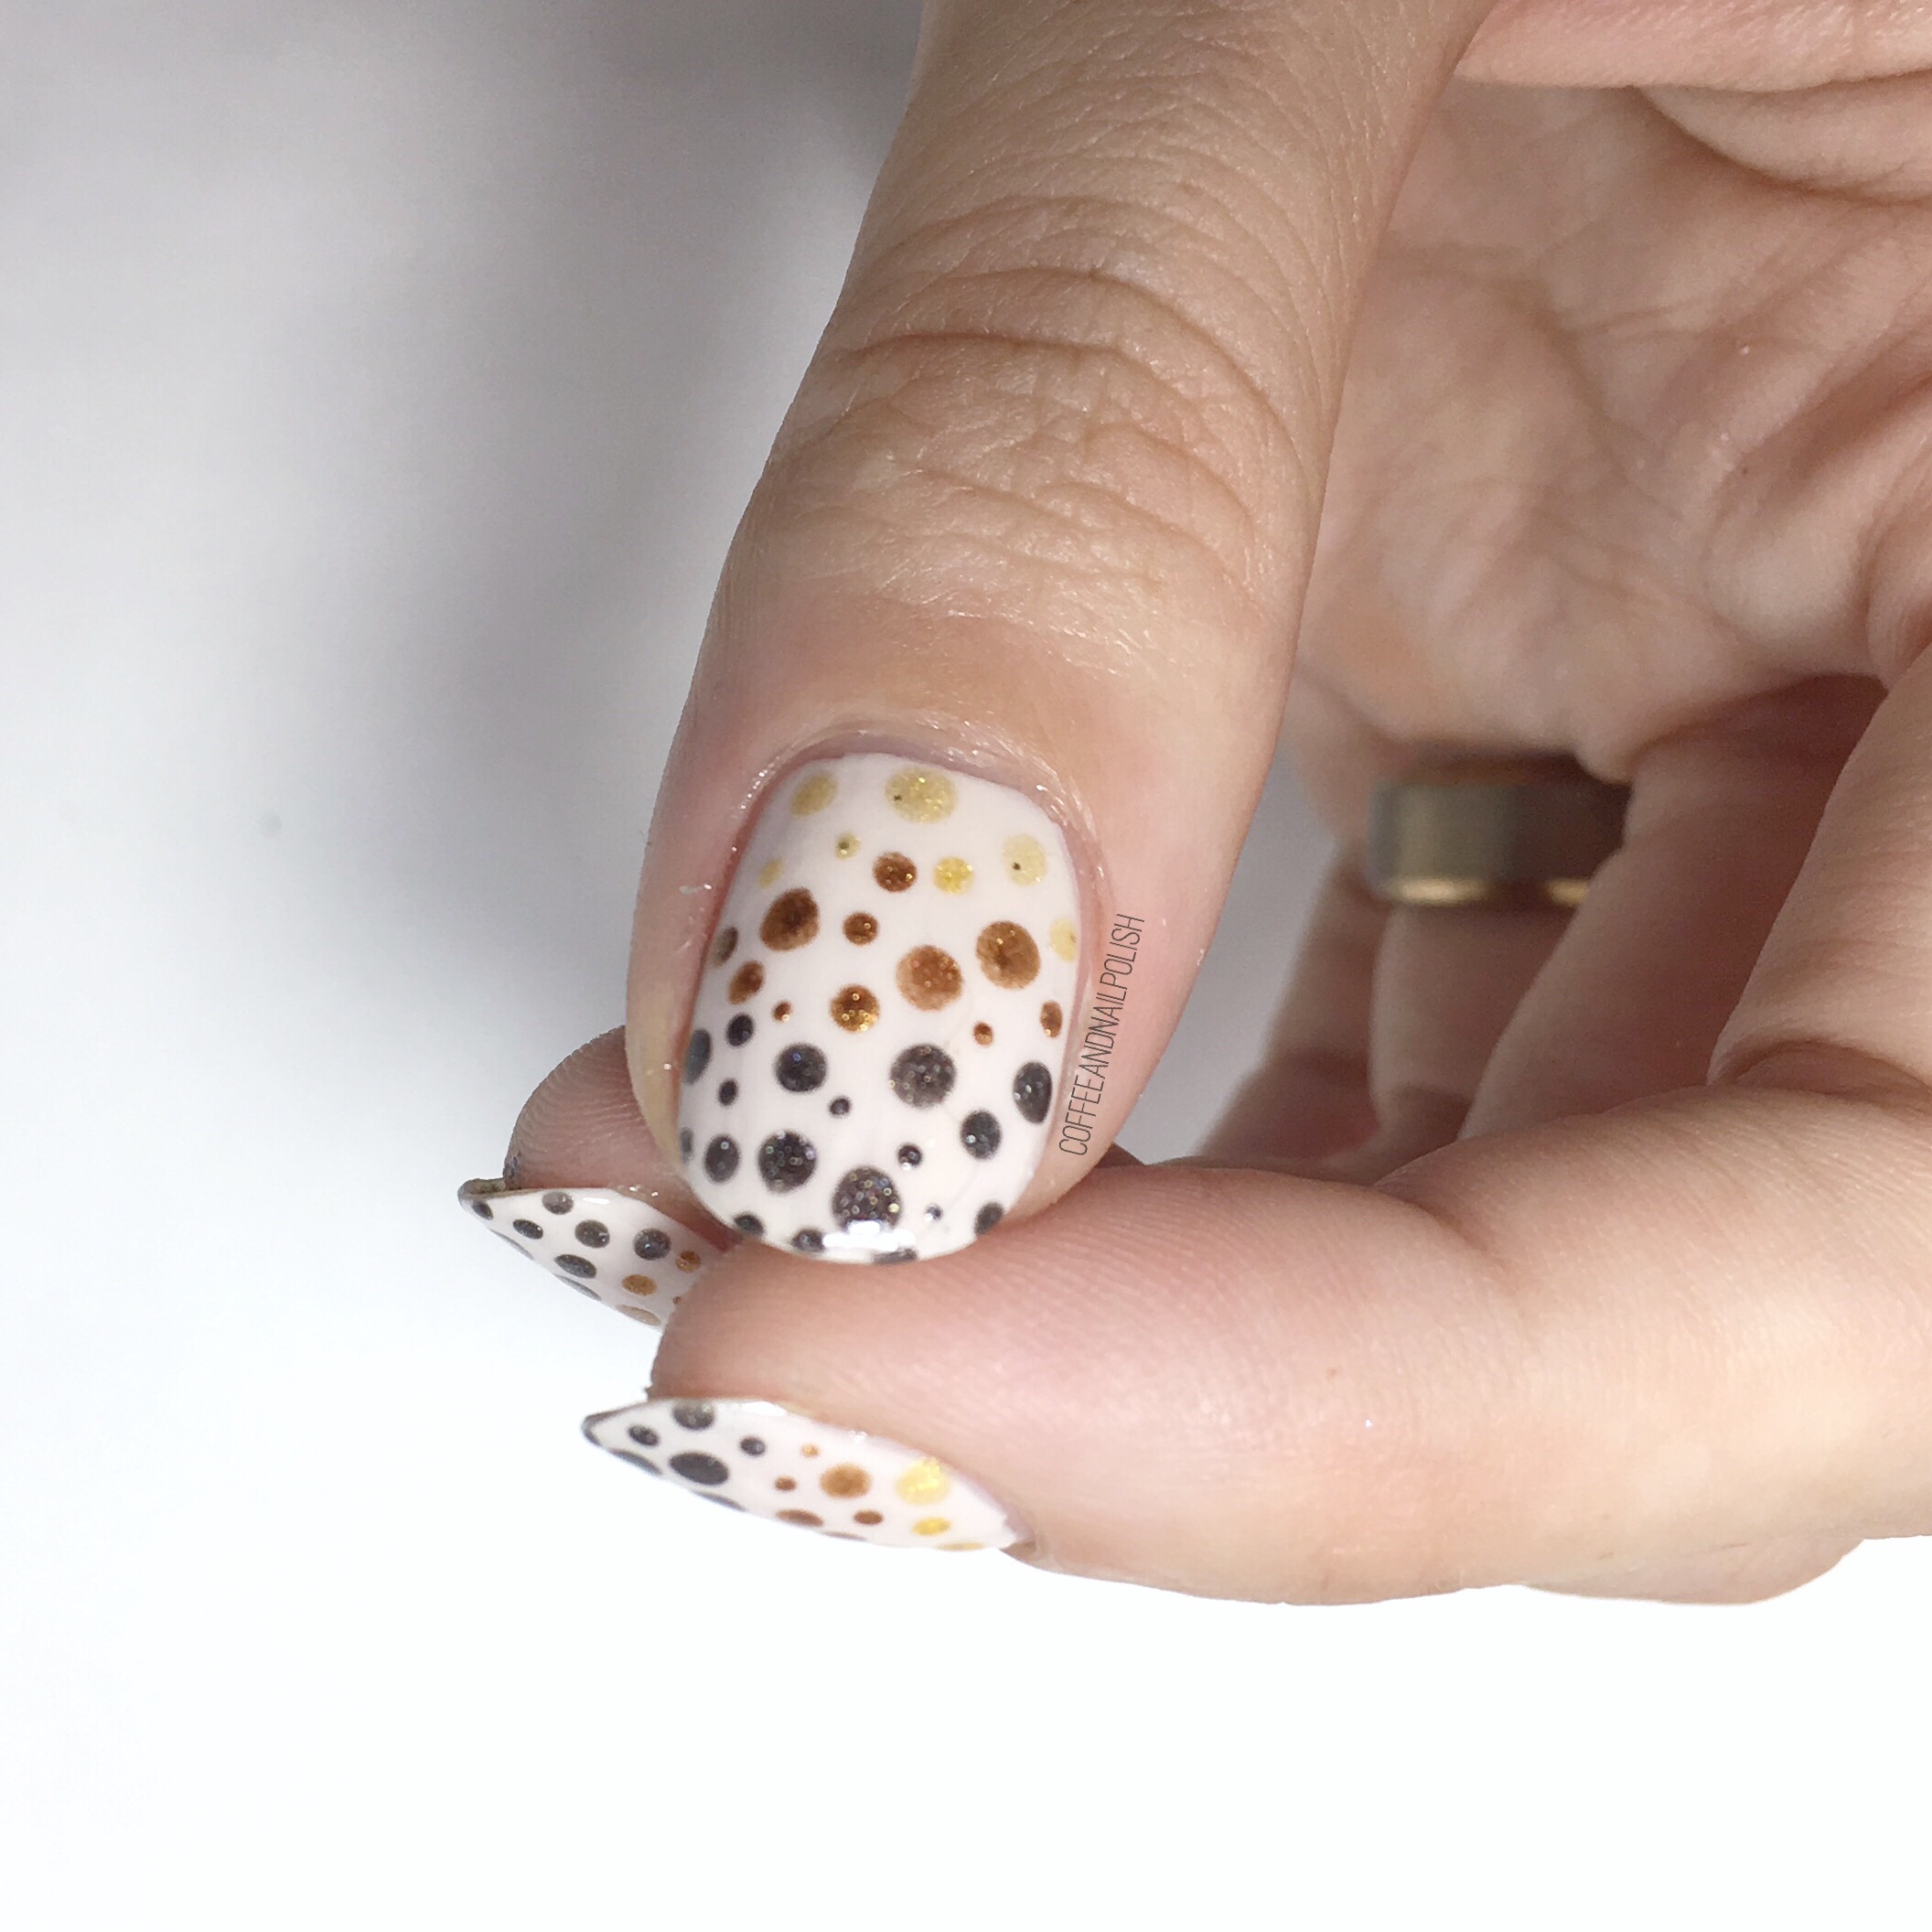
I’ve been friends with Tori on Instagram for a long time, but somehow we’ve never come together for a collaboration. 😳 Thankfully we’ve finally amended that with these fun Fall polka dot nails inspired by a mani she found on Pinterest originally by Oooh Shinies. 


For this manicure, the polishes I used were: 

  • Base Coat: OPI Natural Nail Base Coat
  • Top Coat: Sally Hansen Diamond Flash 
  • Essie Wrap Me Up
  • China Glaze Champagne Bubbles
  • Essie Leggy Legend
  • OPI My Private Jet
  • Small & tiny dotting tool. 

How perfectly Fall is this manicure? Both Tori & I are all about that Fall weather so we were pumped to team up on some Autumn inspired nails. I haven’t done a dotticure this fun in a while so it was really fun to sit down & play around. 

 Sometimes the simpler designs actually bring out your most creativity. This isn’t a super hard design & would be great for a nail art beginner! All you need is a dotting tool & some complimentary shades & people will be in awe of your nails. I am going to be doing a whole week of beginner nail art designs coming up (I’ve already been collecting & playing with manicure ideas) but this would definitely be on the list of great beginner designs. 

What do you think of this bestie twin nail collaboration? Don’t forget to check out Tori’s Instagram…. not just for all the beautiful nail art inspo she posts, but also her awesome OOTD & make up looks. 

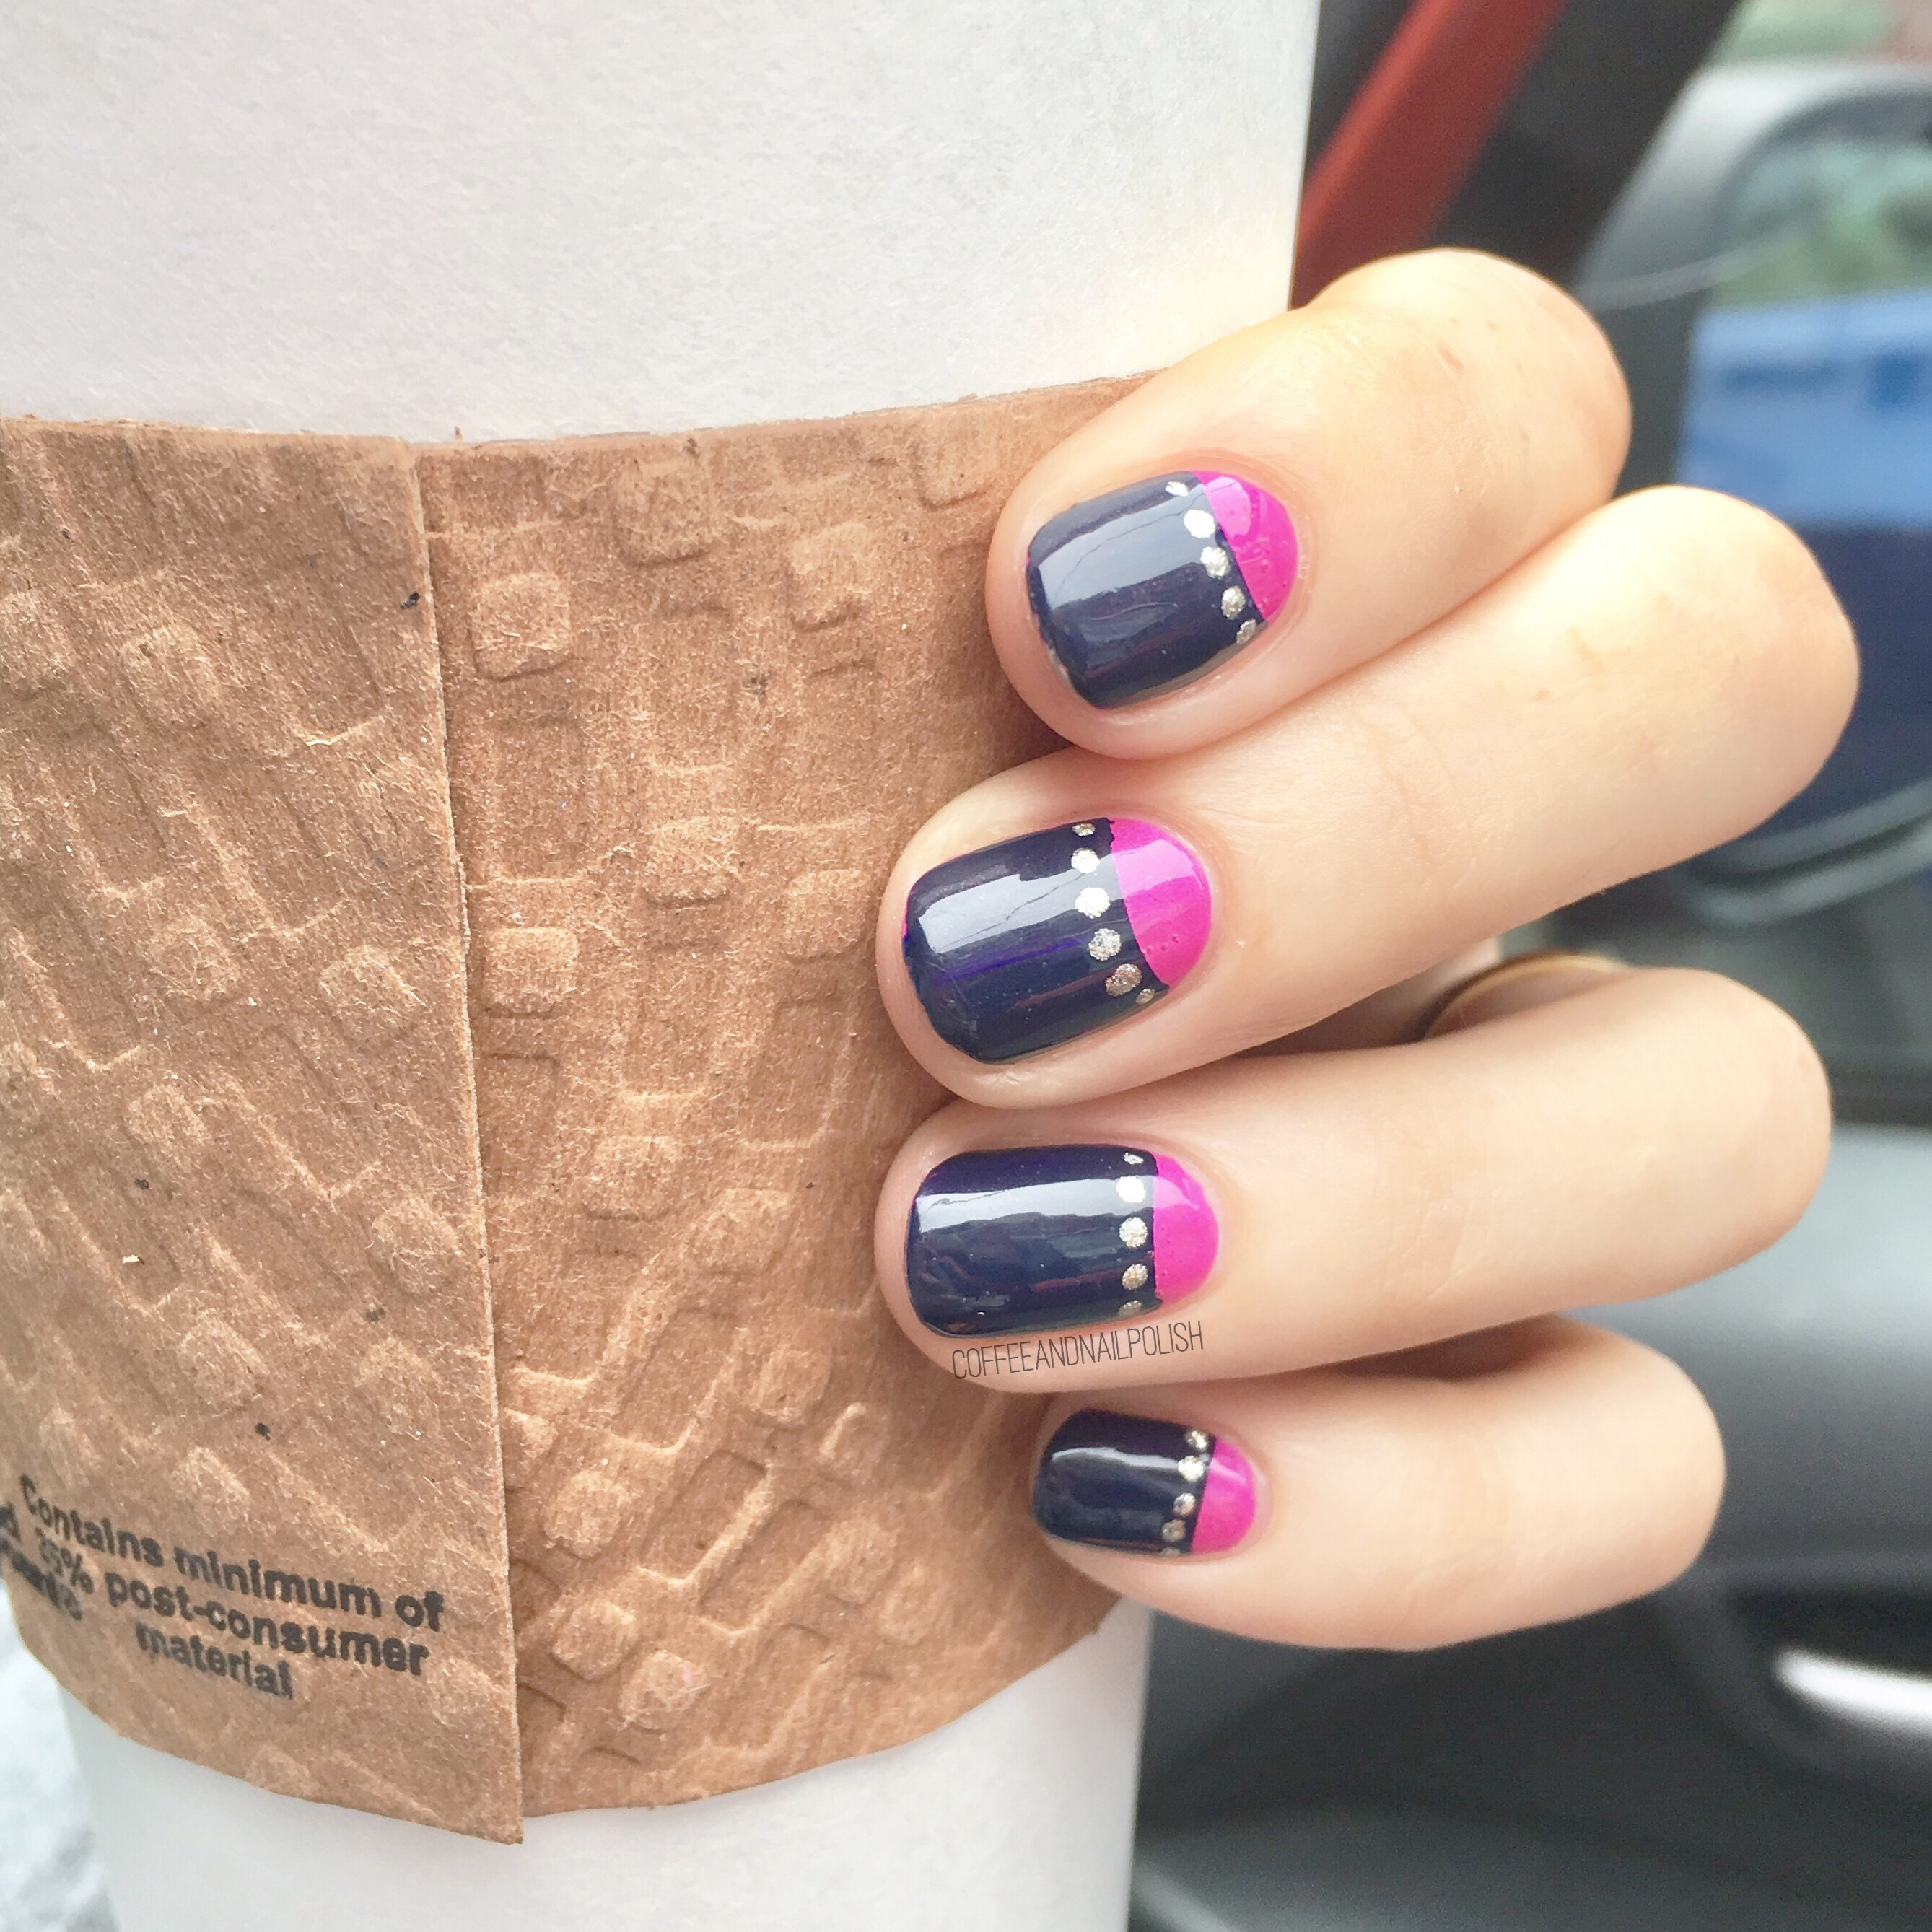
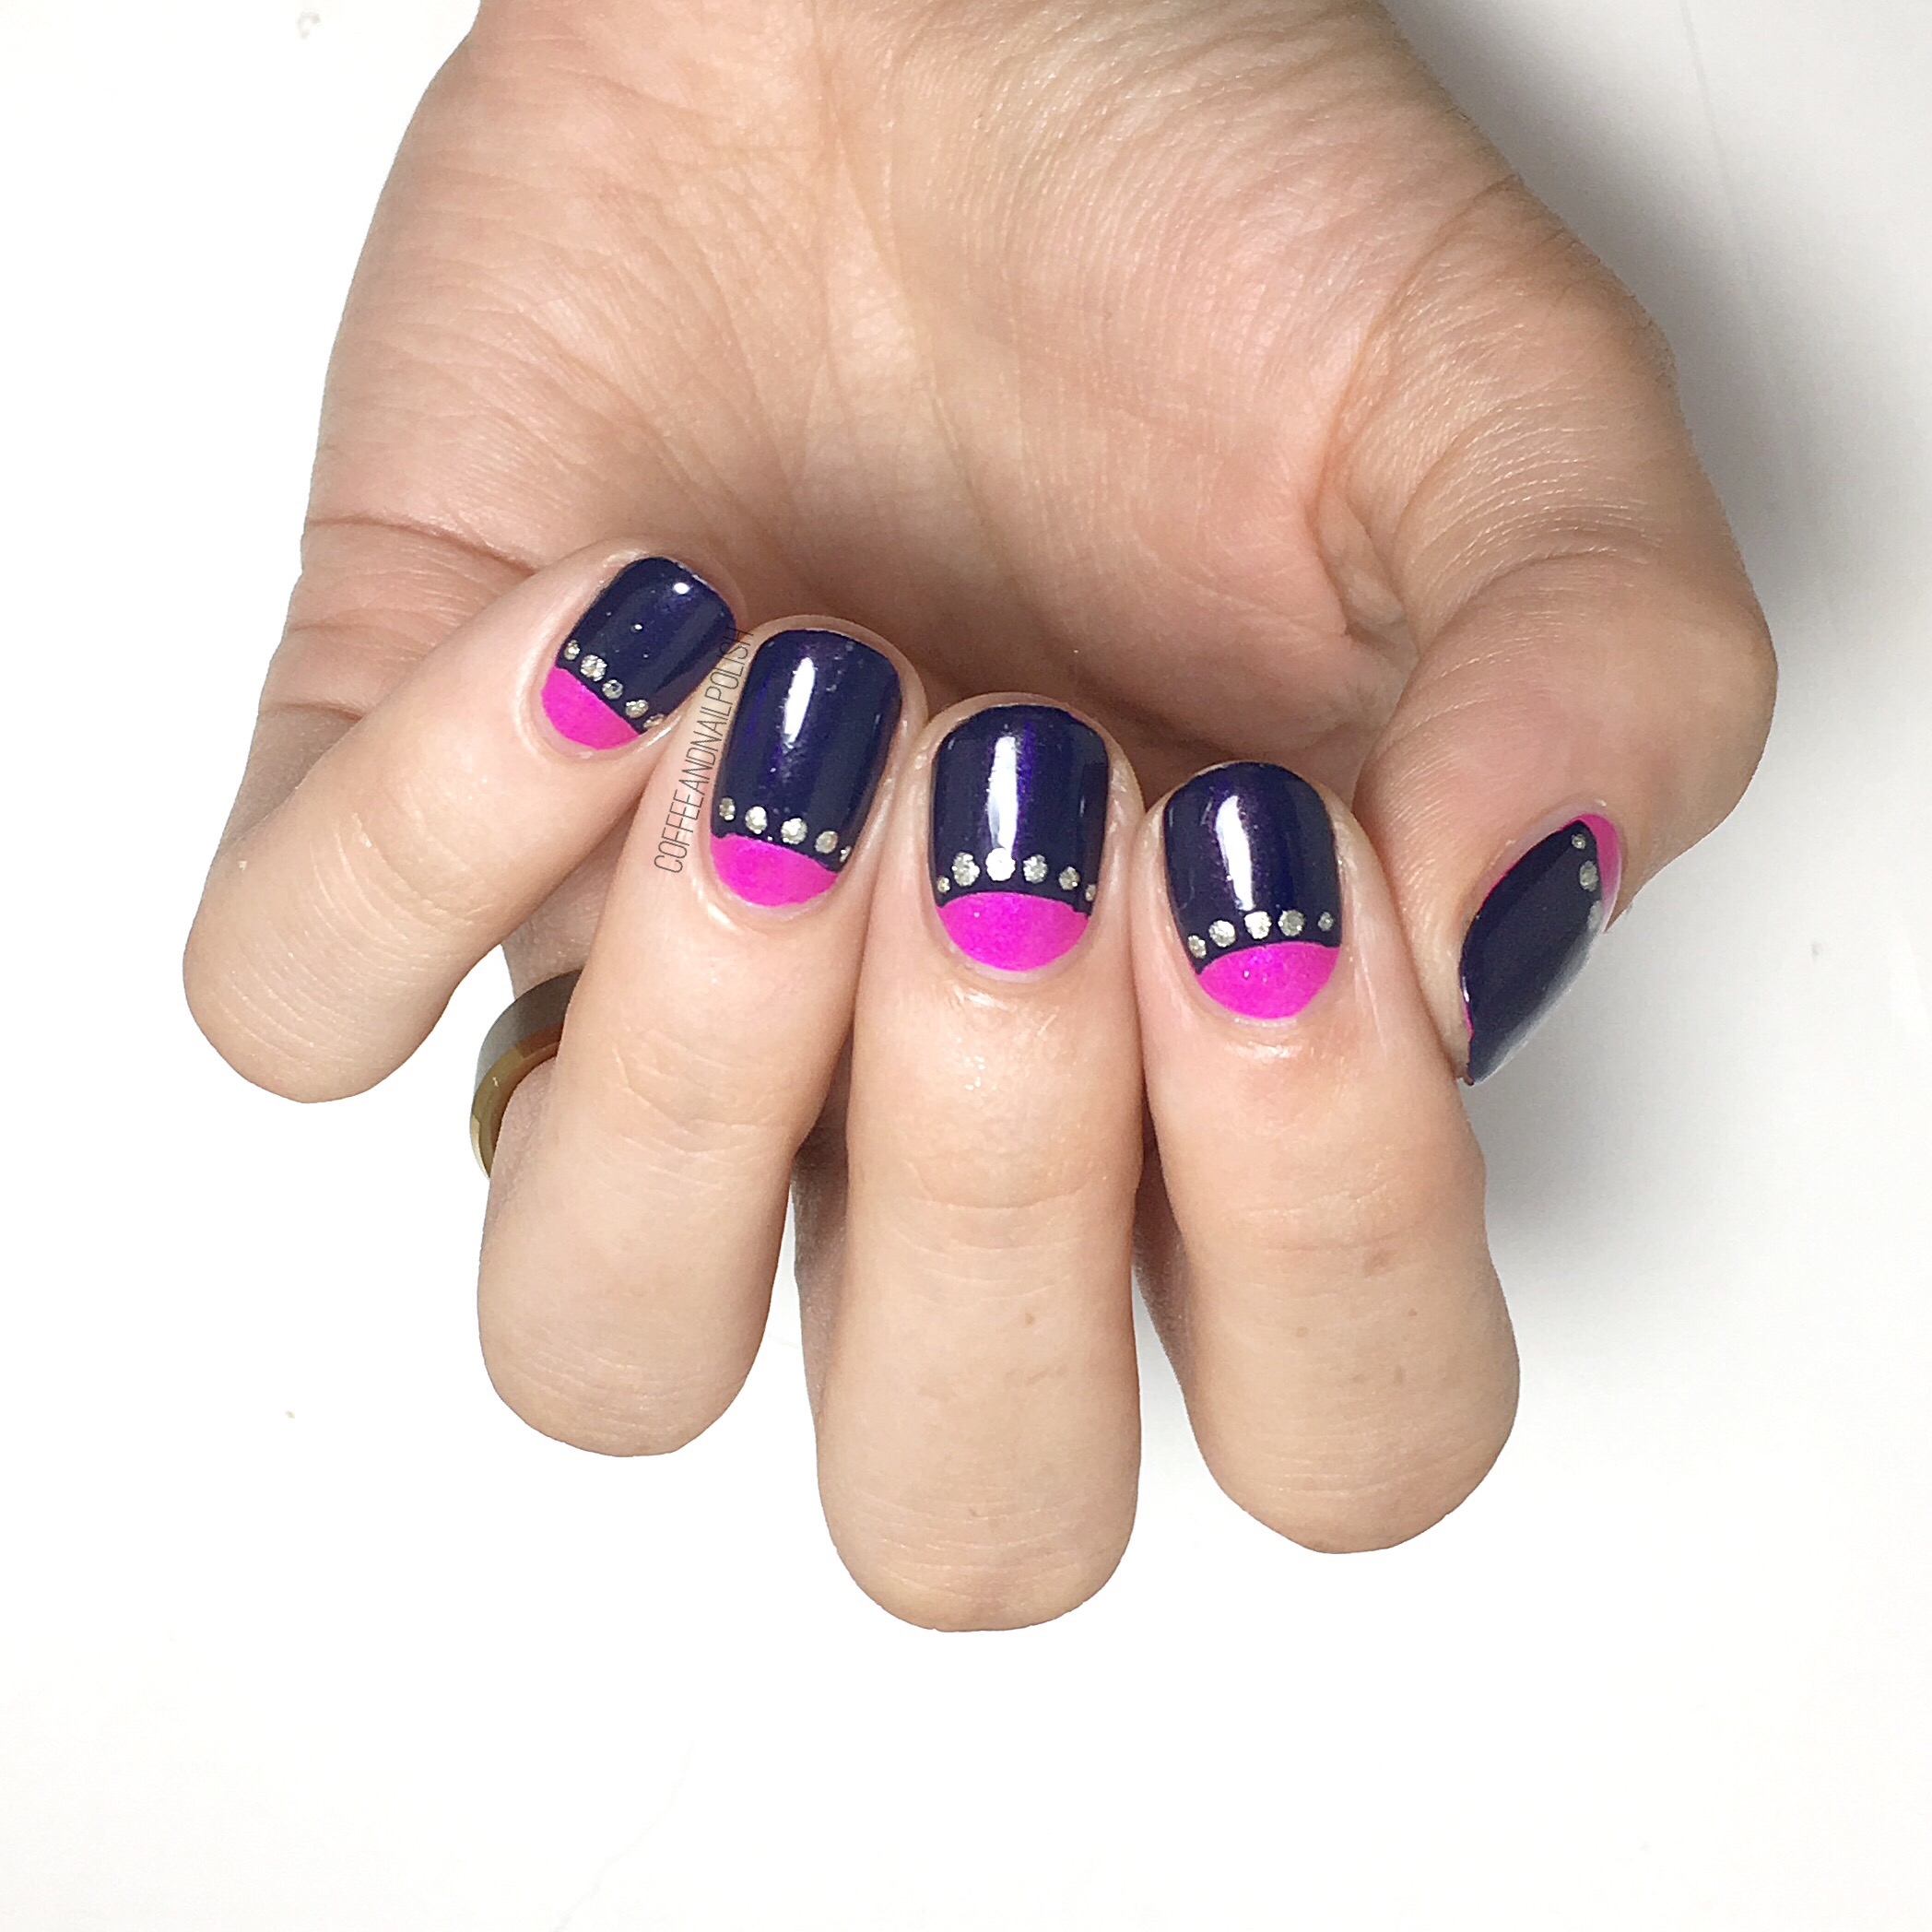
Easy Navy & Neon Half Moons 

I’m sure I’m not the only one whose first nail art involved those paper hole re-enforcements. This design is very reminiscent of those early nail art designs when all I had at my nail art disposal was those little sticky circles & a $1.99 dotting tool by Essence. & even though it’s a relatively simple design, I think it looks so classy & chic! 

For this manicure, I used:

  • Base Coat: Cutex Brittle Nail Fix
  • Top Coat: Cutex Quick Dry Top Coat
  • China Glaze Purple Panic
  • China Glaze Sleeping Under the Stars
  • Essie Jiggle Hi, Jiggle Lo
  • Paper Hole re-enforcements (I buy mine from the Dollar Store)
  • Small dotting tool (like this one from Essence!)  

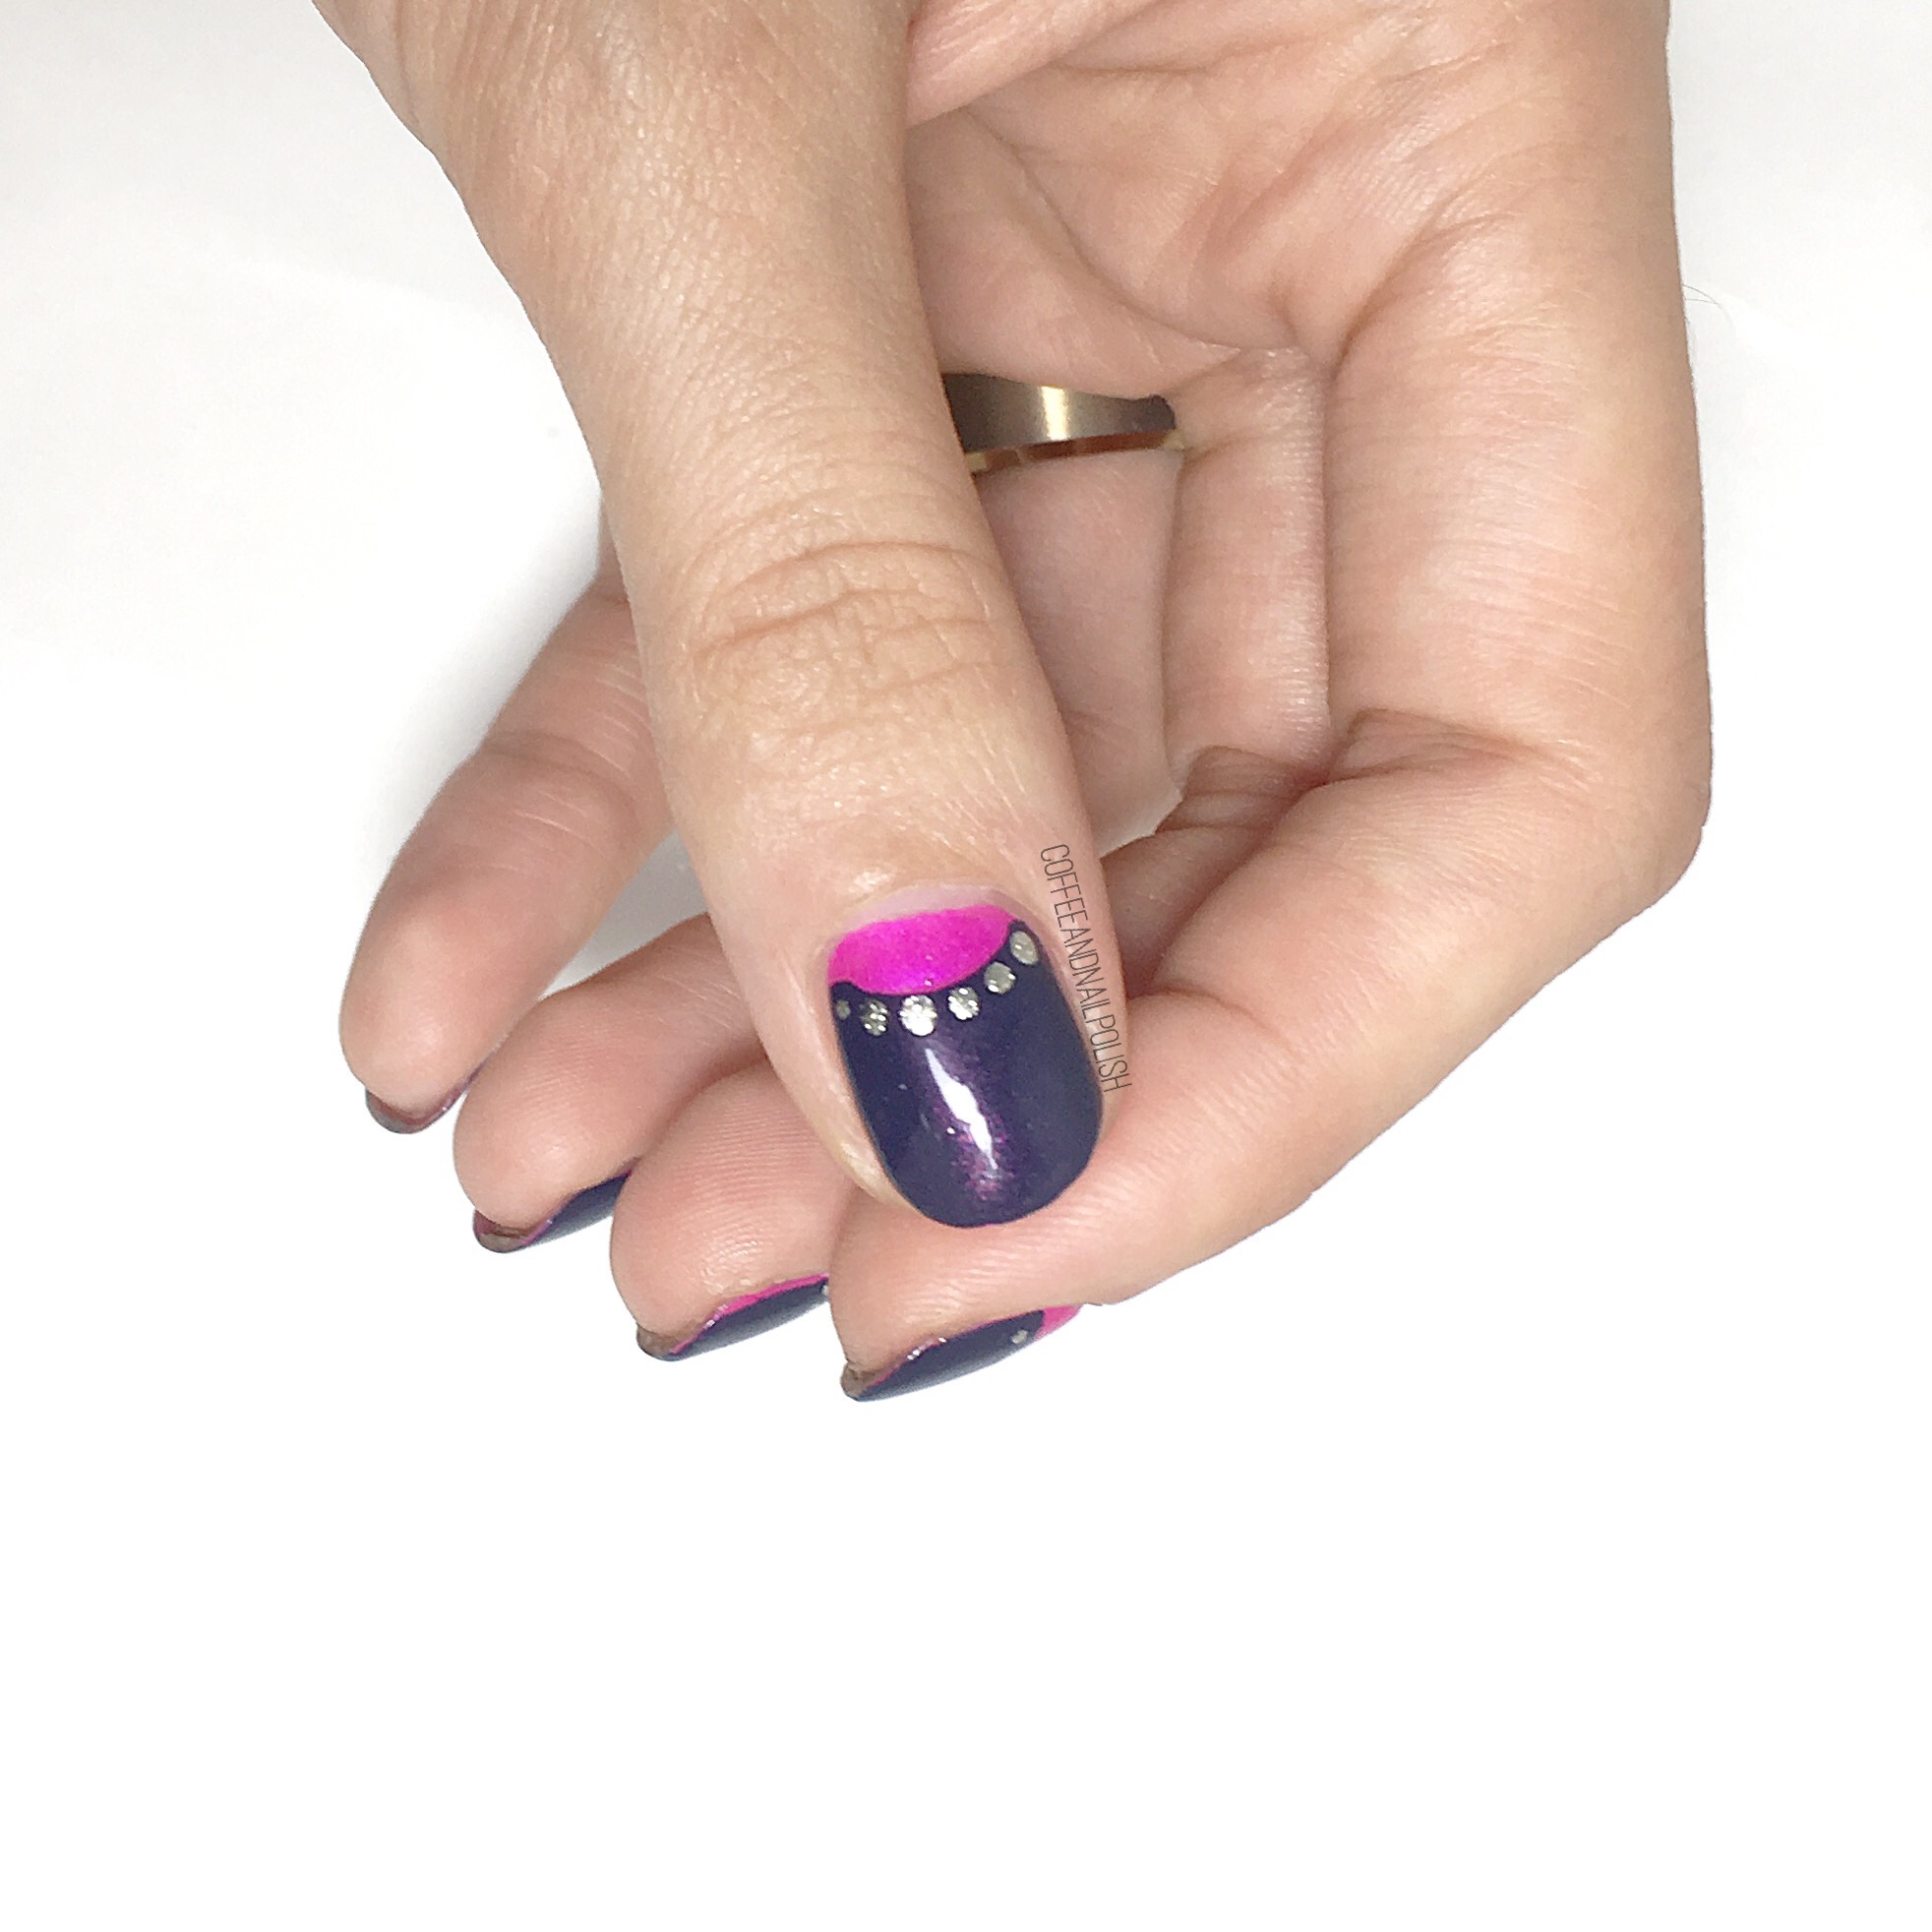
If you’re looking for an easy, simple nail art design this would be a great option! The hardest part is waiting for your base colour to dry (& thanks to quick dry top coat, even that comes pretty easy.) I really like this colour combination–you have Purple Panic with all its neon beauty topped with Sleeping Under the Stars which has that very pretty pink shimmer that compliments the neon pink really well. This is a great in-between mani. & a little more sparkle by adding those gold dots. 


What do you think of this mani? What is your favourite old school nail art technique? Let me know your thoughts in the comments below! 

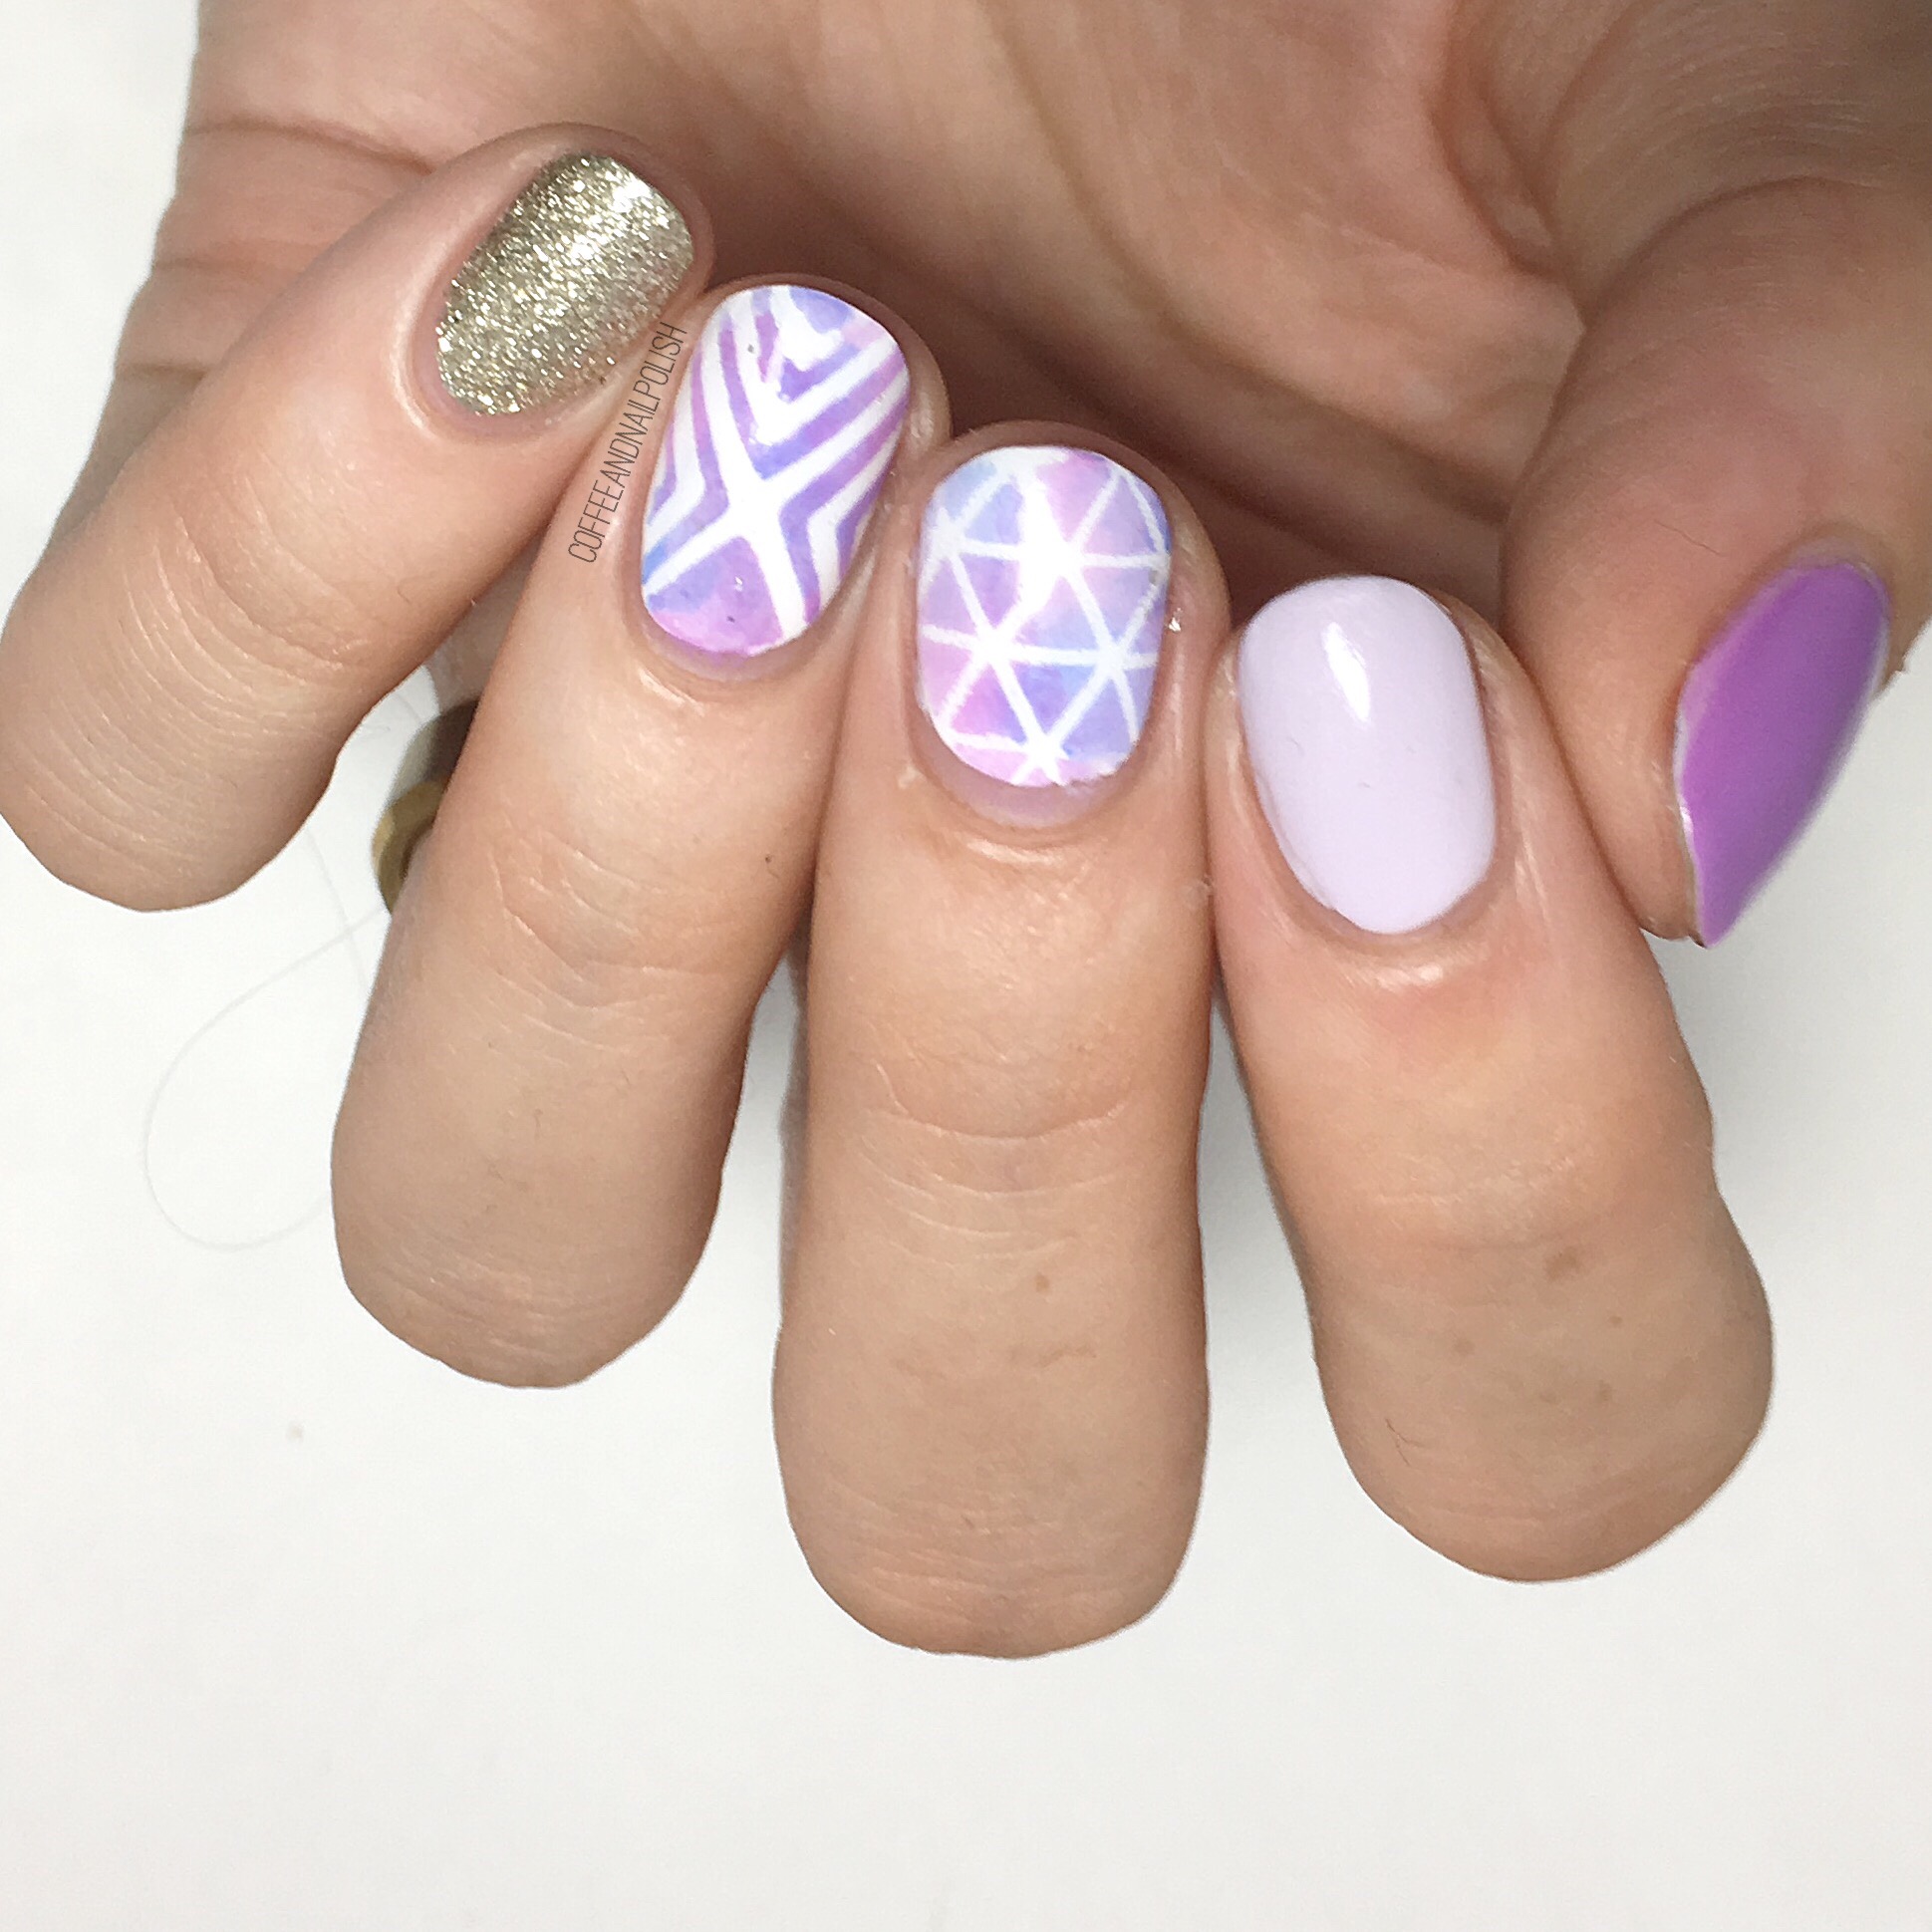
Patterned Watercolour Nails Inspired by @thesammersaurus

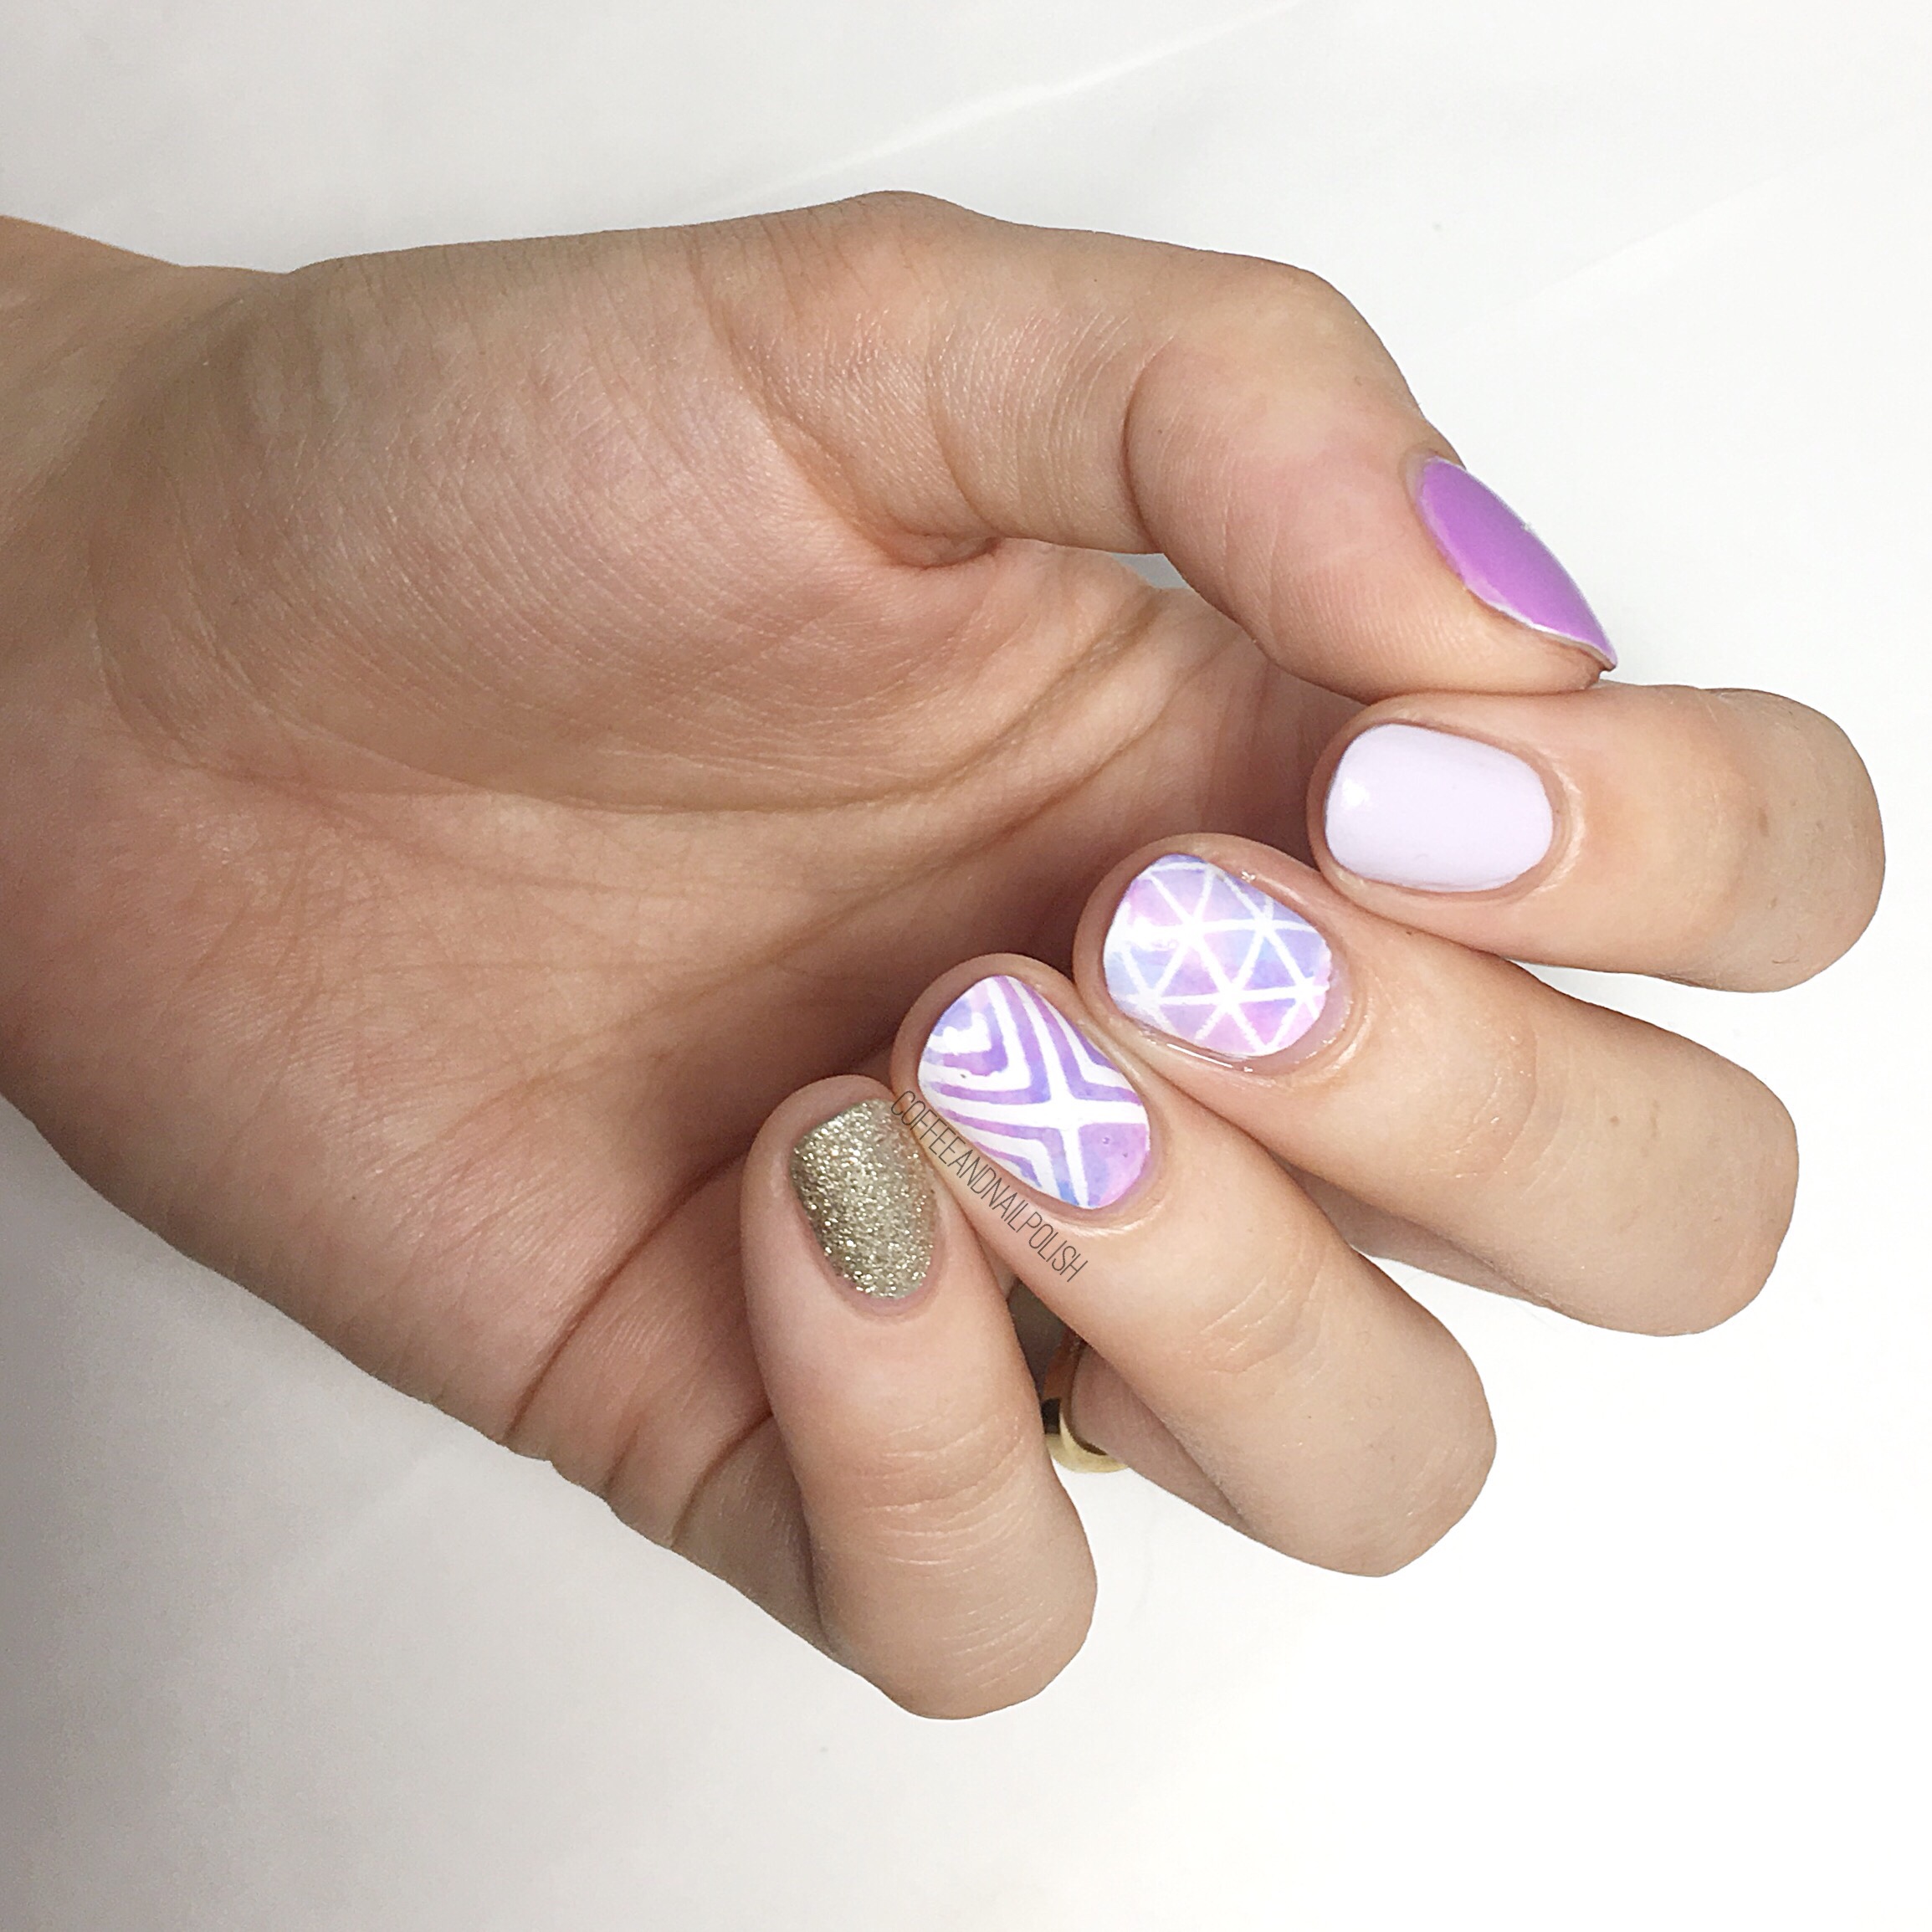
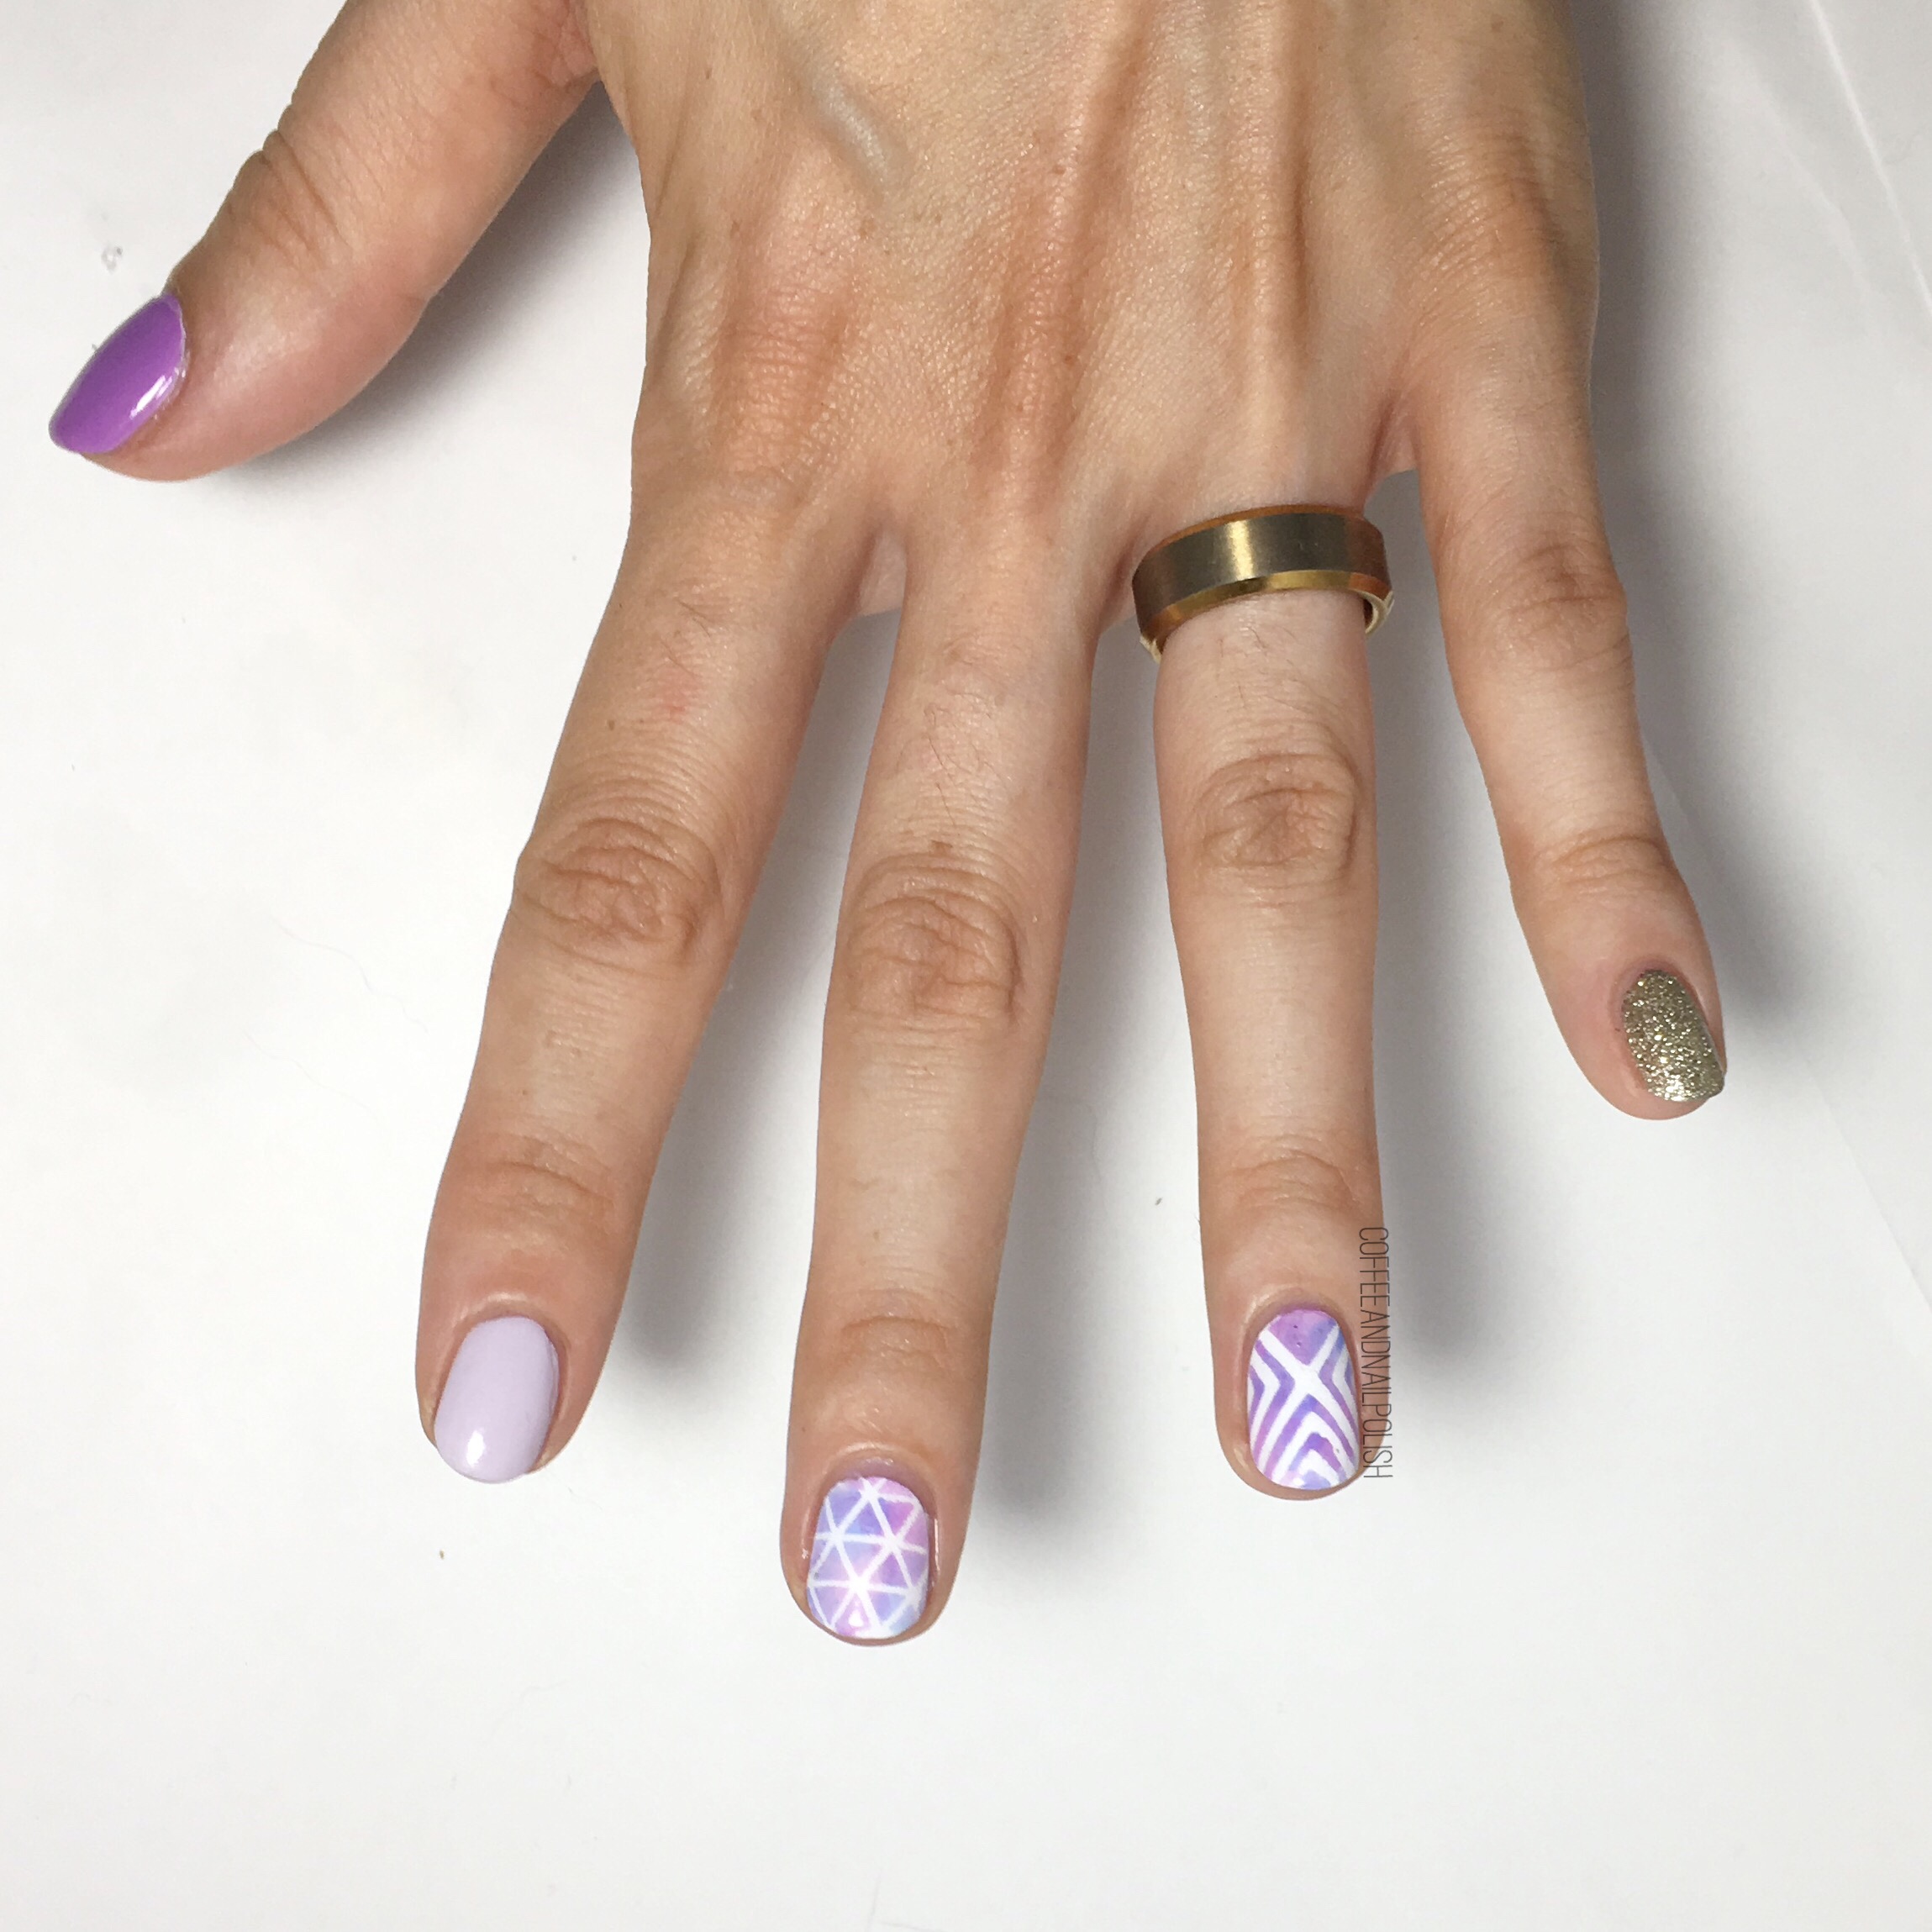
So I’ve been feeling a little stuck, inspiration wise, & when I feel lost for ideas I love browsing through the feeds of my favourite nail artists to see what catches my eye. I was scrolling through @thesammersaurus‘s instagram feed & came across a gorgeous geometric design from 3ish years ago. I’ve been a massive fan of Sammy’s for a long time–she was one of the first nail art blogs I discovered–& I love how she comes up with awesome, creative designs & rocks those shorter nails!  It gives hope to those out there who don’t have crazy long nails. So when I discovered this gorgeous design I loved, I popped over to her blog & found all the details of her design to make painting my recreation way easier! 

For the manicure, the products used were:

  • Base Coat: Cutex Brittle Nail Fix
  • Top Coat: Cutex Quick Dry Top Coat
  • Essie Go Ginza 
  • Essie Play Date
  • Sally Hansen Xtreme Wear Royal Hue
  • Sally Hansen Hard As Nails Hard To Get
  • OPI My Favourite Ornament 
  • Xroma Polish & Vinyls X Stencil (I cut off the bottom) 
  • The Base Coat Triangle Pattern Stencil
  • Latex Free Make Up Sponge 

Thanks to my vast collection of vinyls, I was able to cheat & skip having to place striping tape/skinny vinyls individually for a relatively easy to do manicure! (Thank god for that!) I also used a make up sponge instead of the Saran Wrap technique for my colour blending on the accent nails. But even though I didn’t follow her exactly, I feel like this recreation turned out Pretty on point. Just please ignore the shrinkage on my middle finger nail. 😂


Do you have a favourite nail art you love to turn to for nail art inspiration? Where is your favourite place to get nail art inspiration from? Let me know in the comments below! 💜

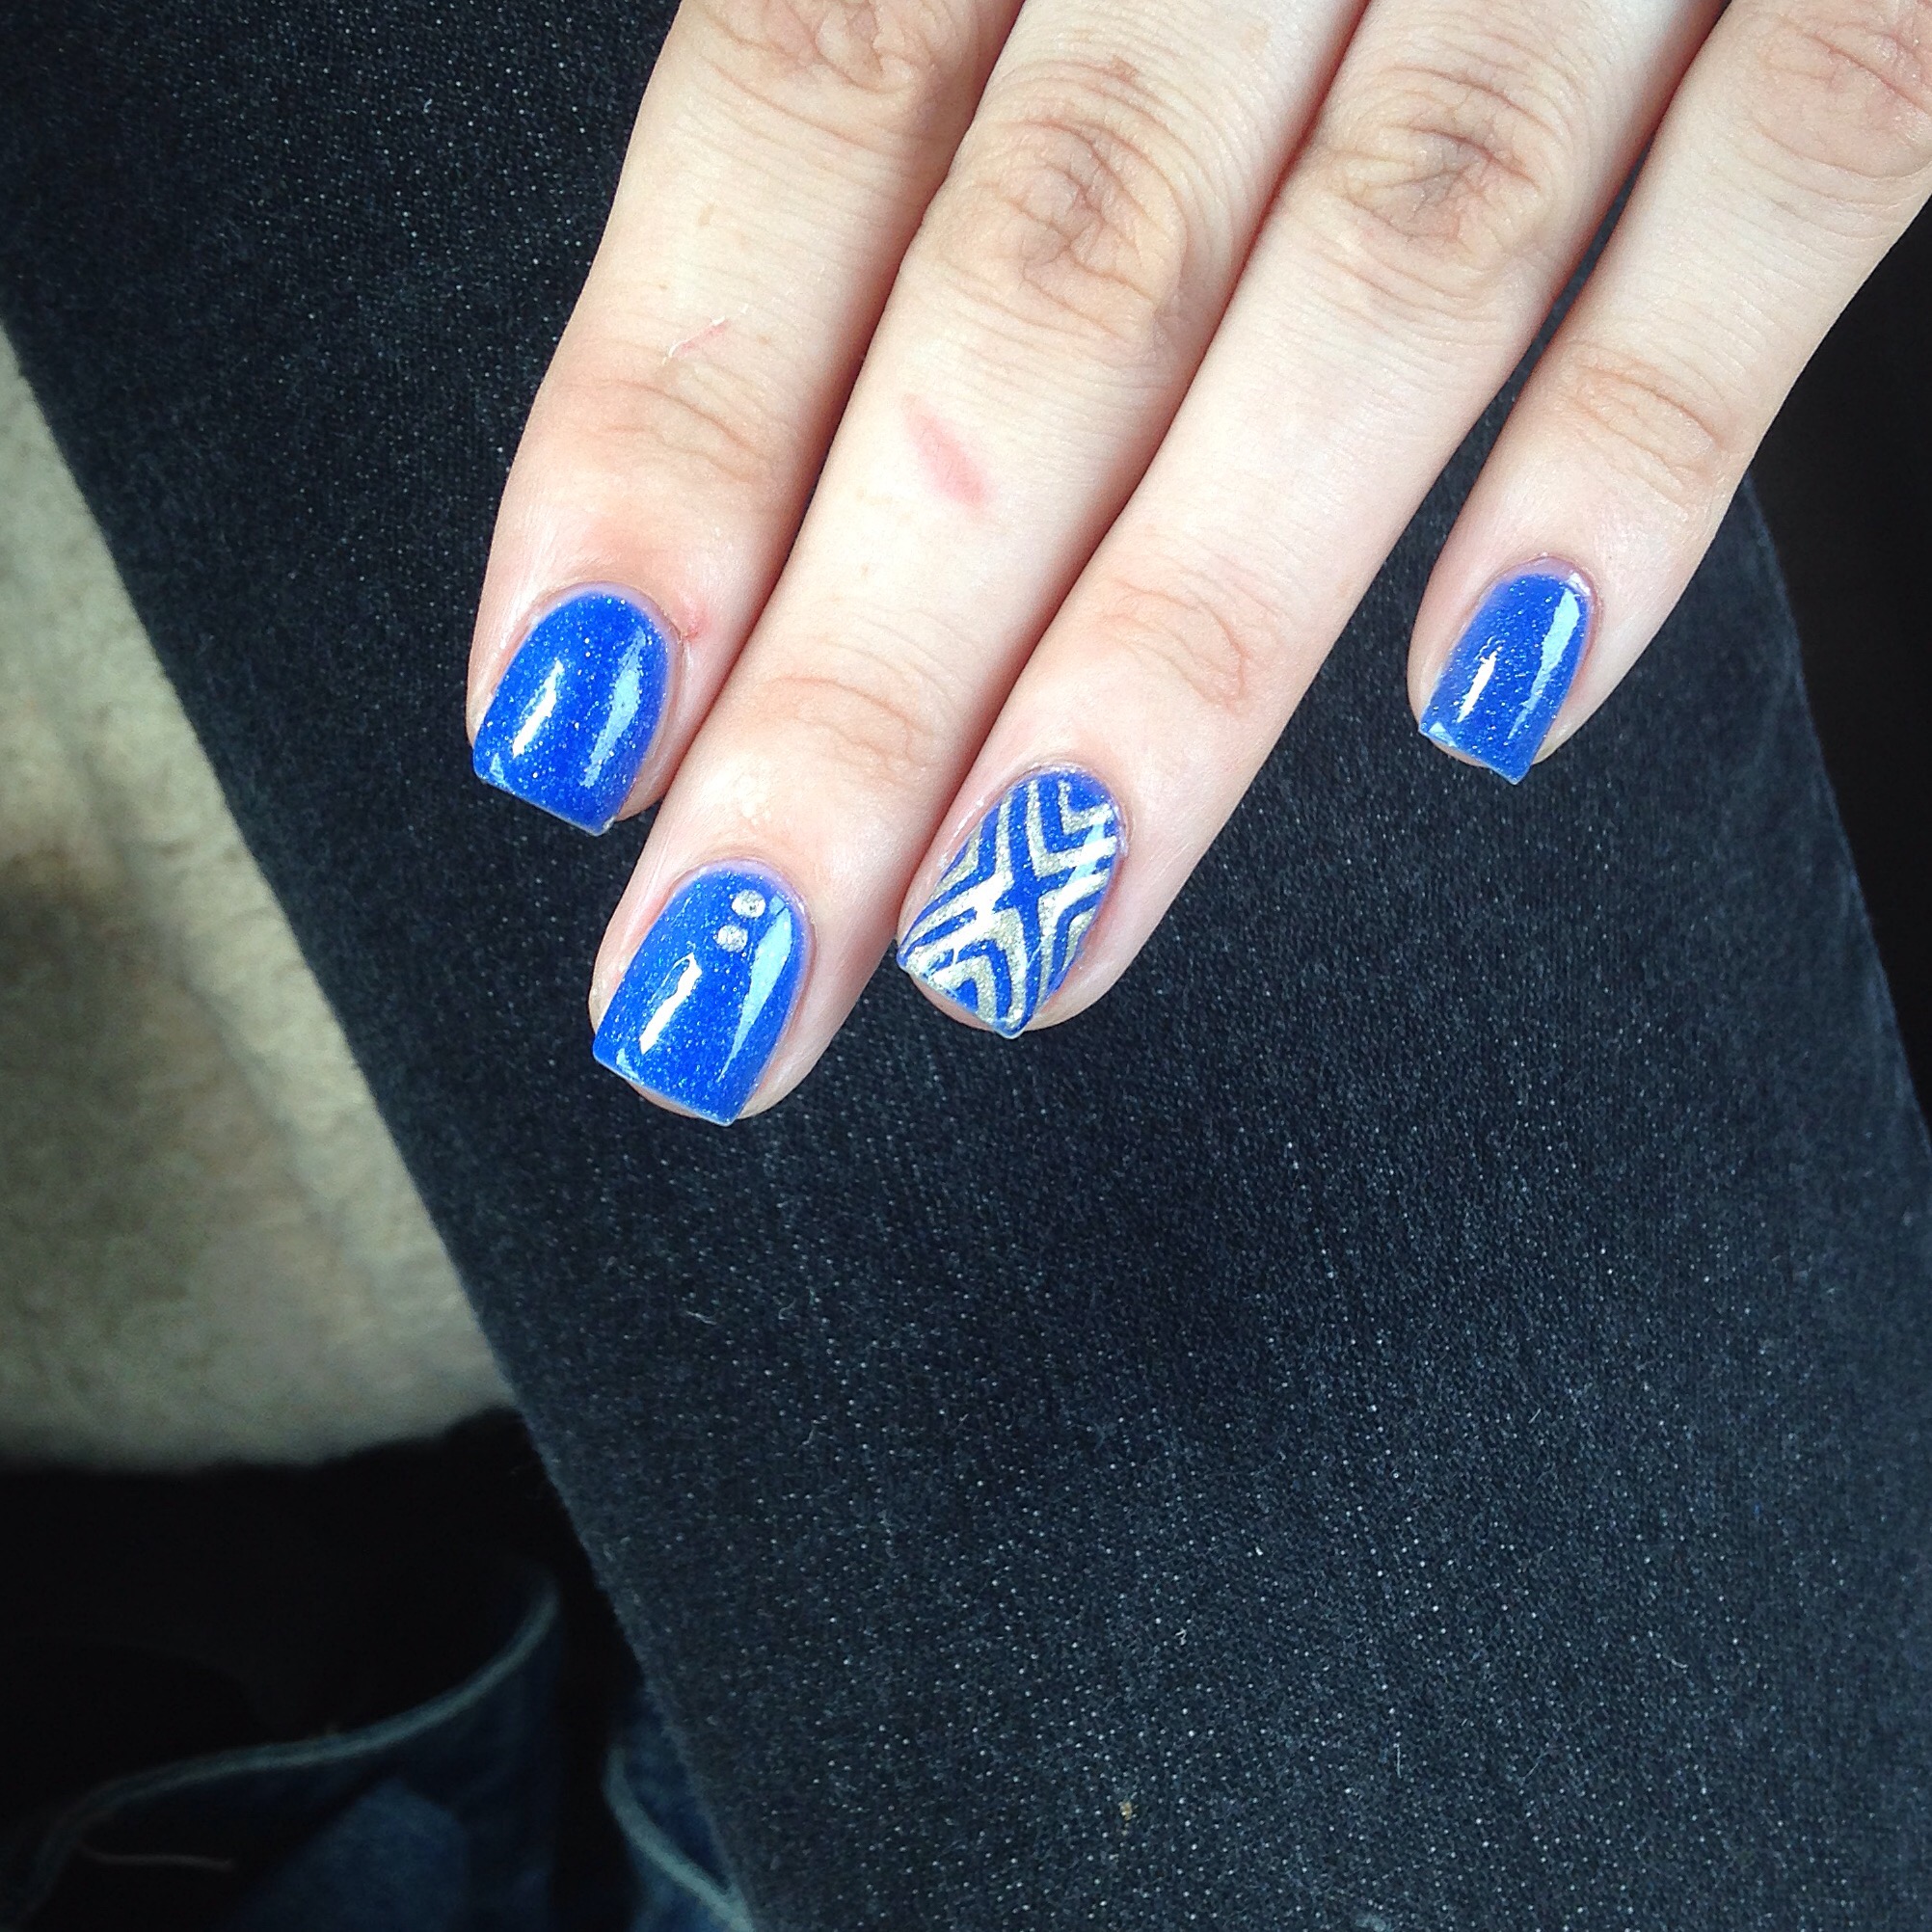
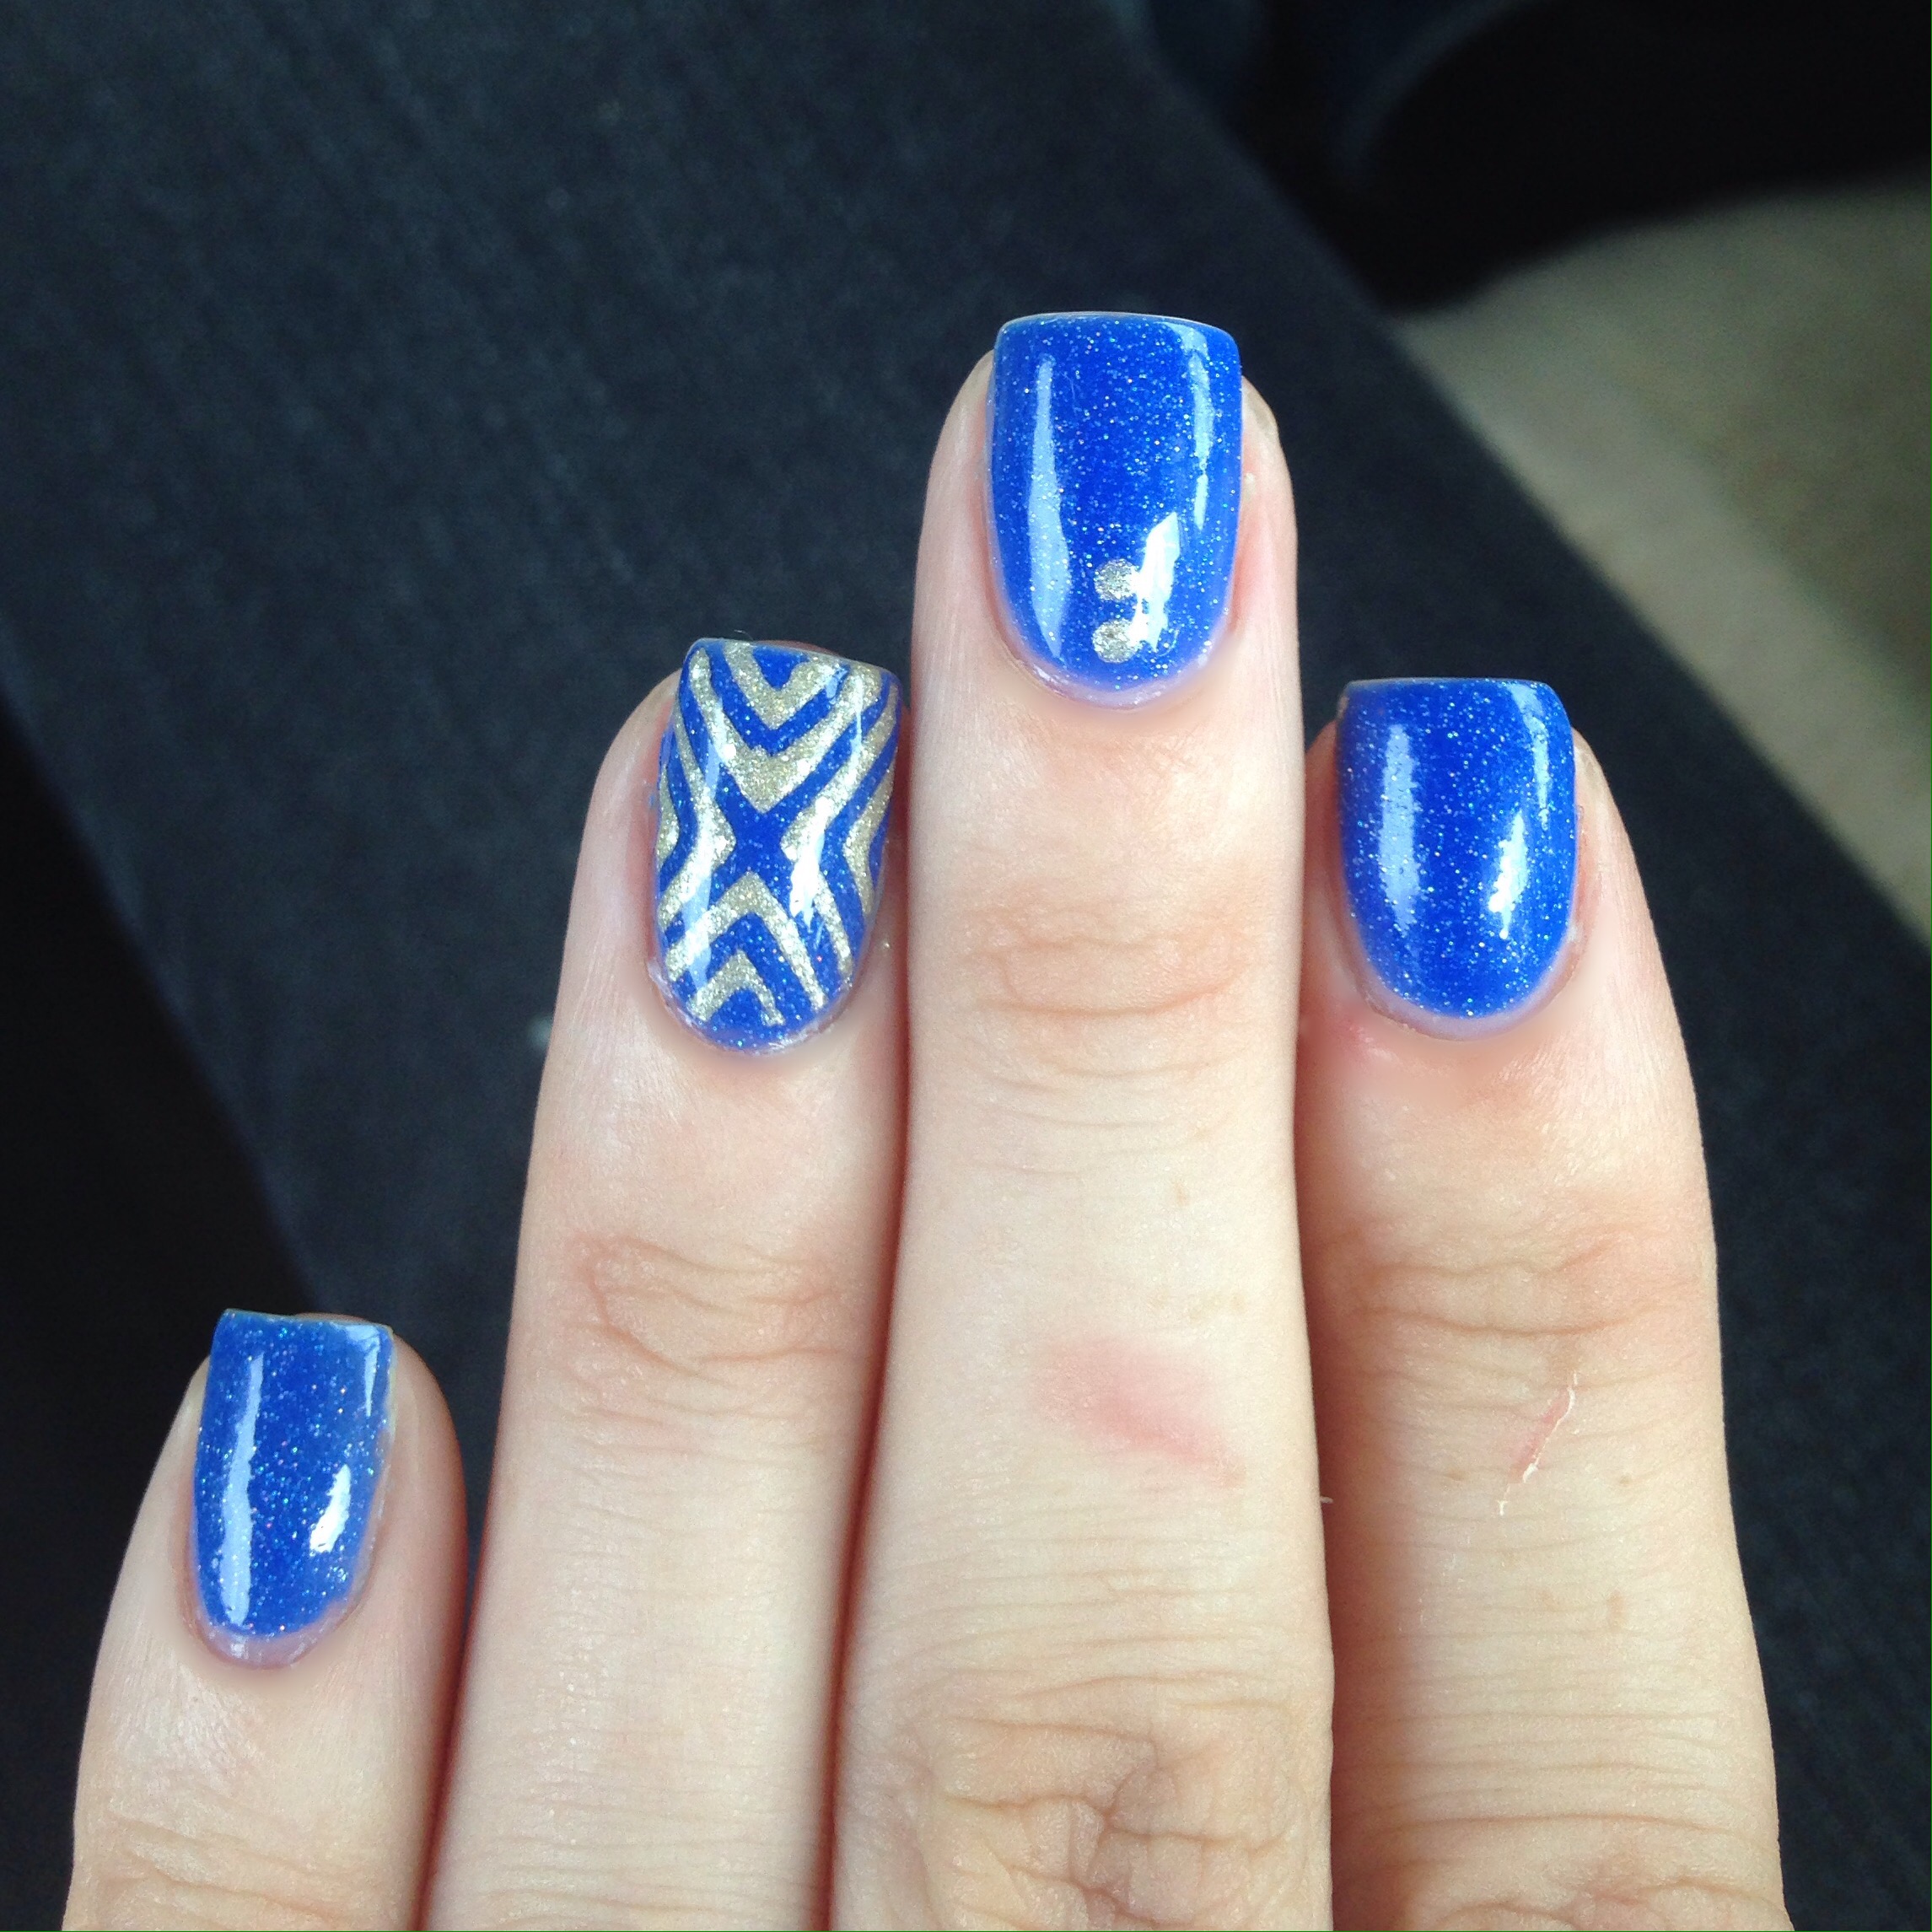
Gold & Blue Holo X-Pattern Nails

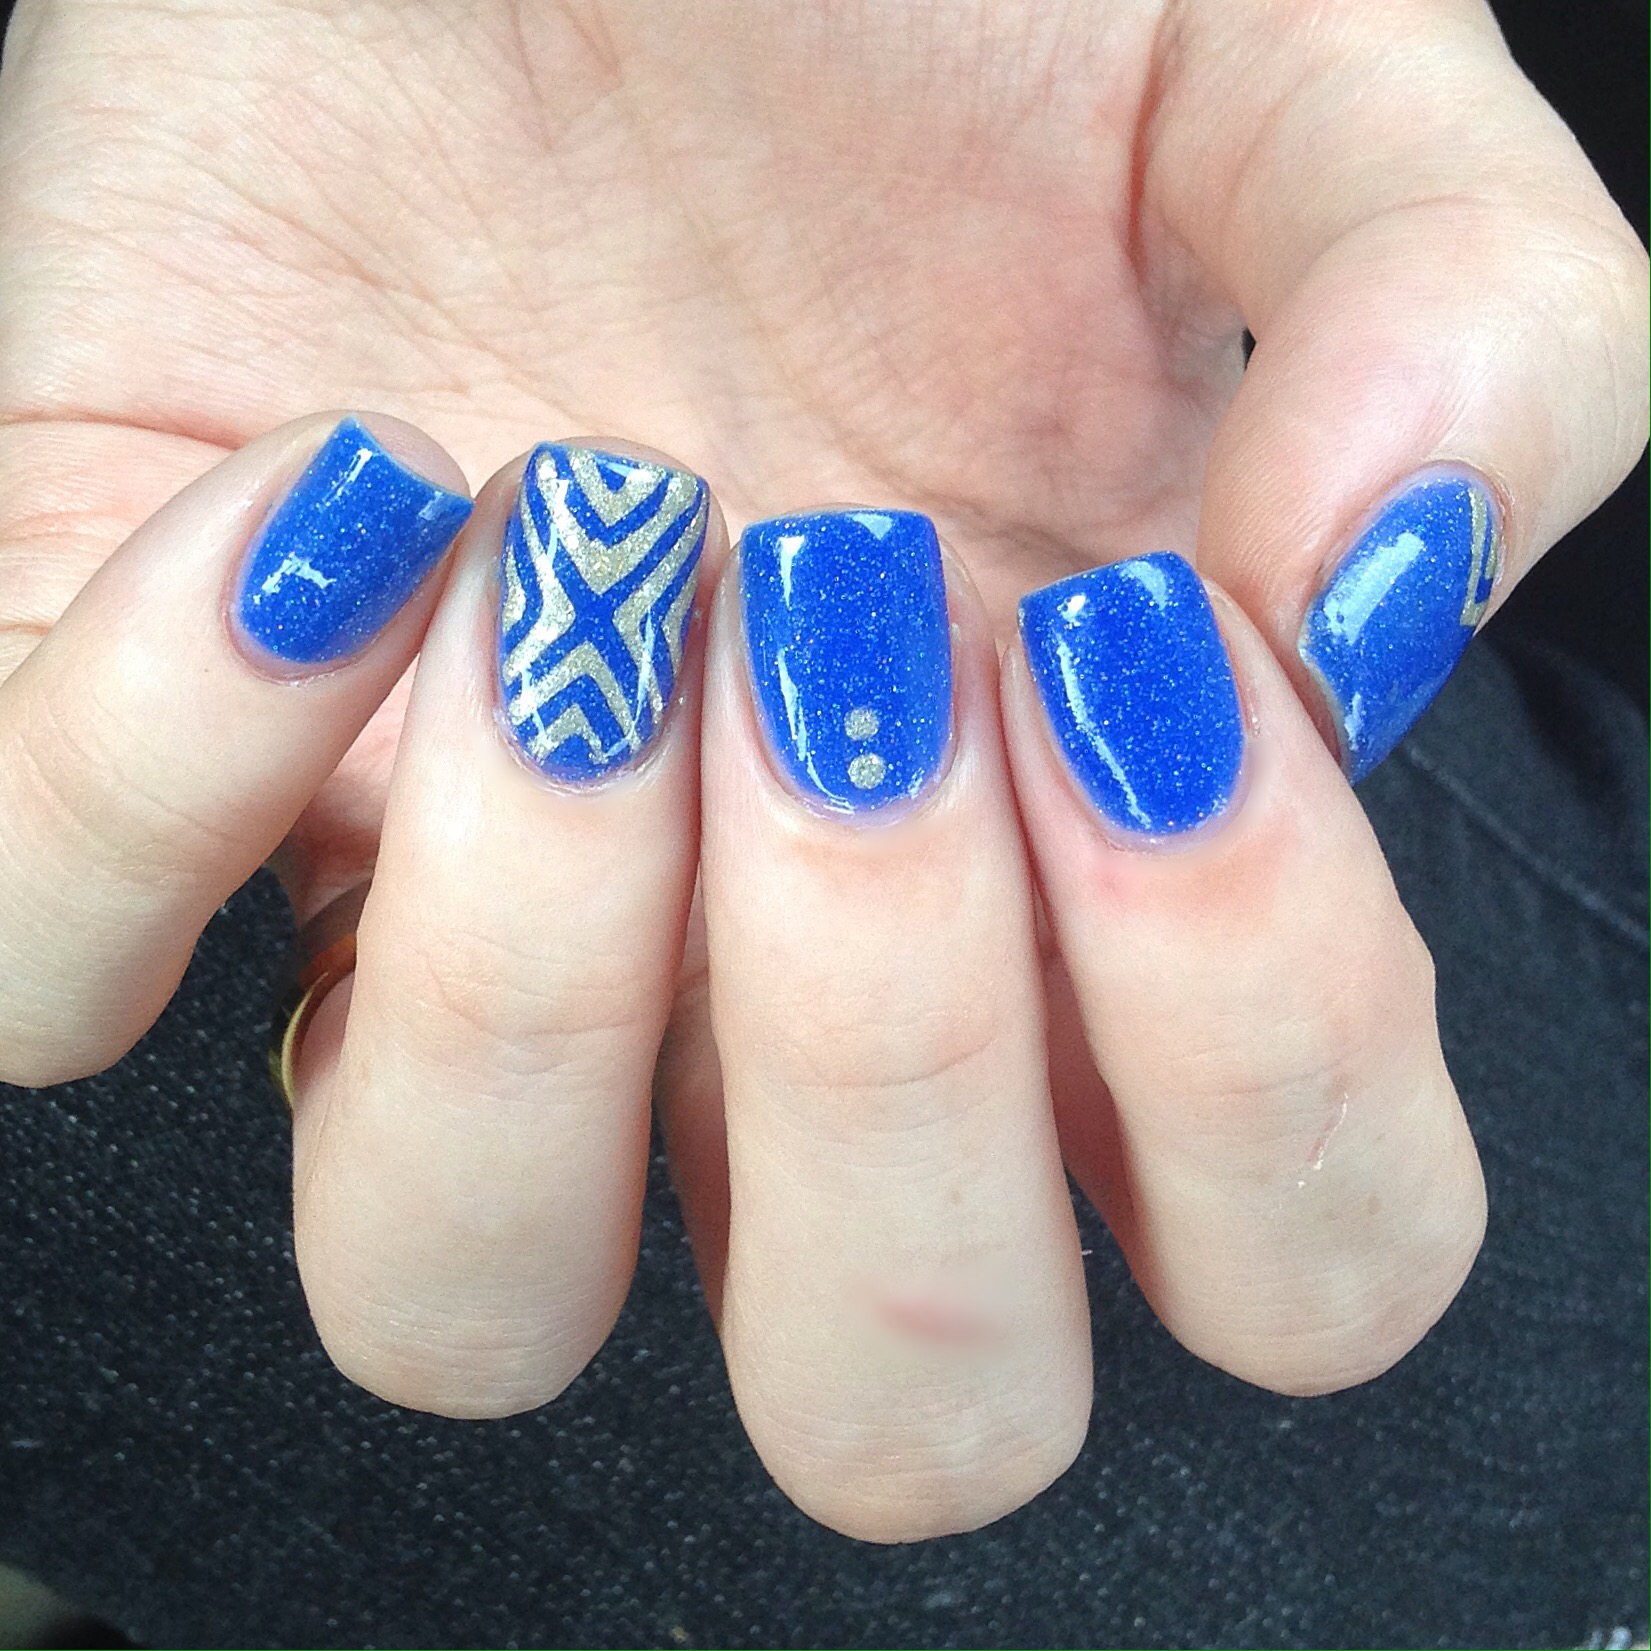
After a bit of an impromptu hiatus, I’m back with some new nails! Today I’m showing off these gold & blue holo nails featuring more of the great vinyls from Xroma Polish & Vinyls. 

For this manicure I used: 

  • Base Coat: Perfect Formulas Pink Gel Coat
  • Top Coat: Cutex Quick Dry Top Coat 
  • ACO by Ardene La Luna mixed with Nicole By OPI Make A Comet-ment
  • Color Club Dirty Money 
  • Xroma Polish & Vinyls ‘X’ Stencil
  • Small dotting tool from Bundle Monster 


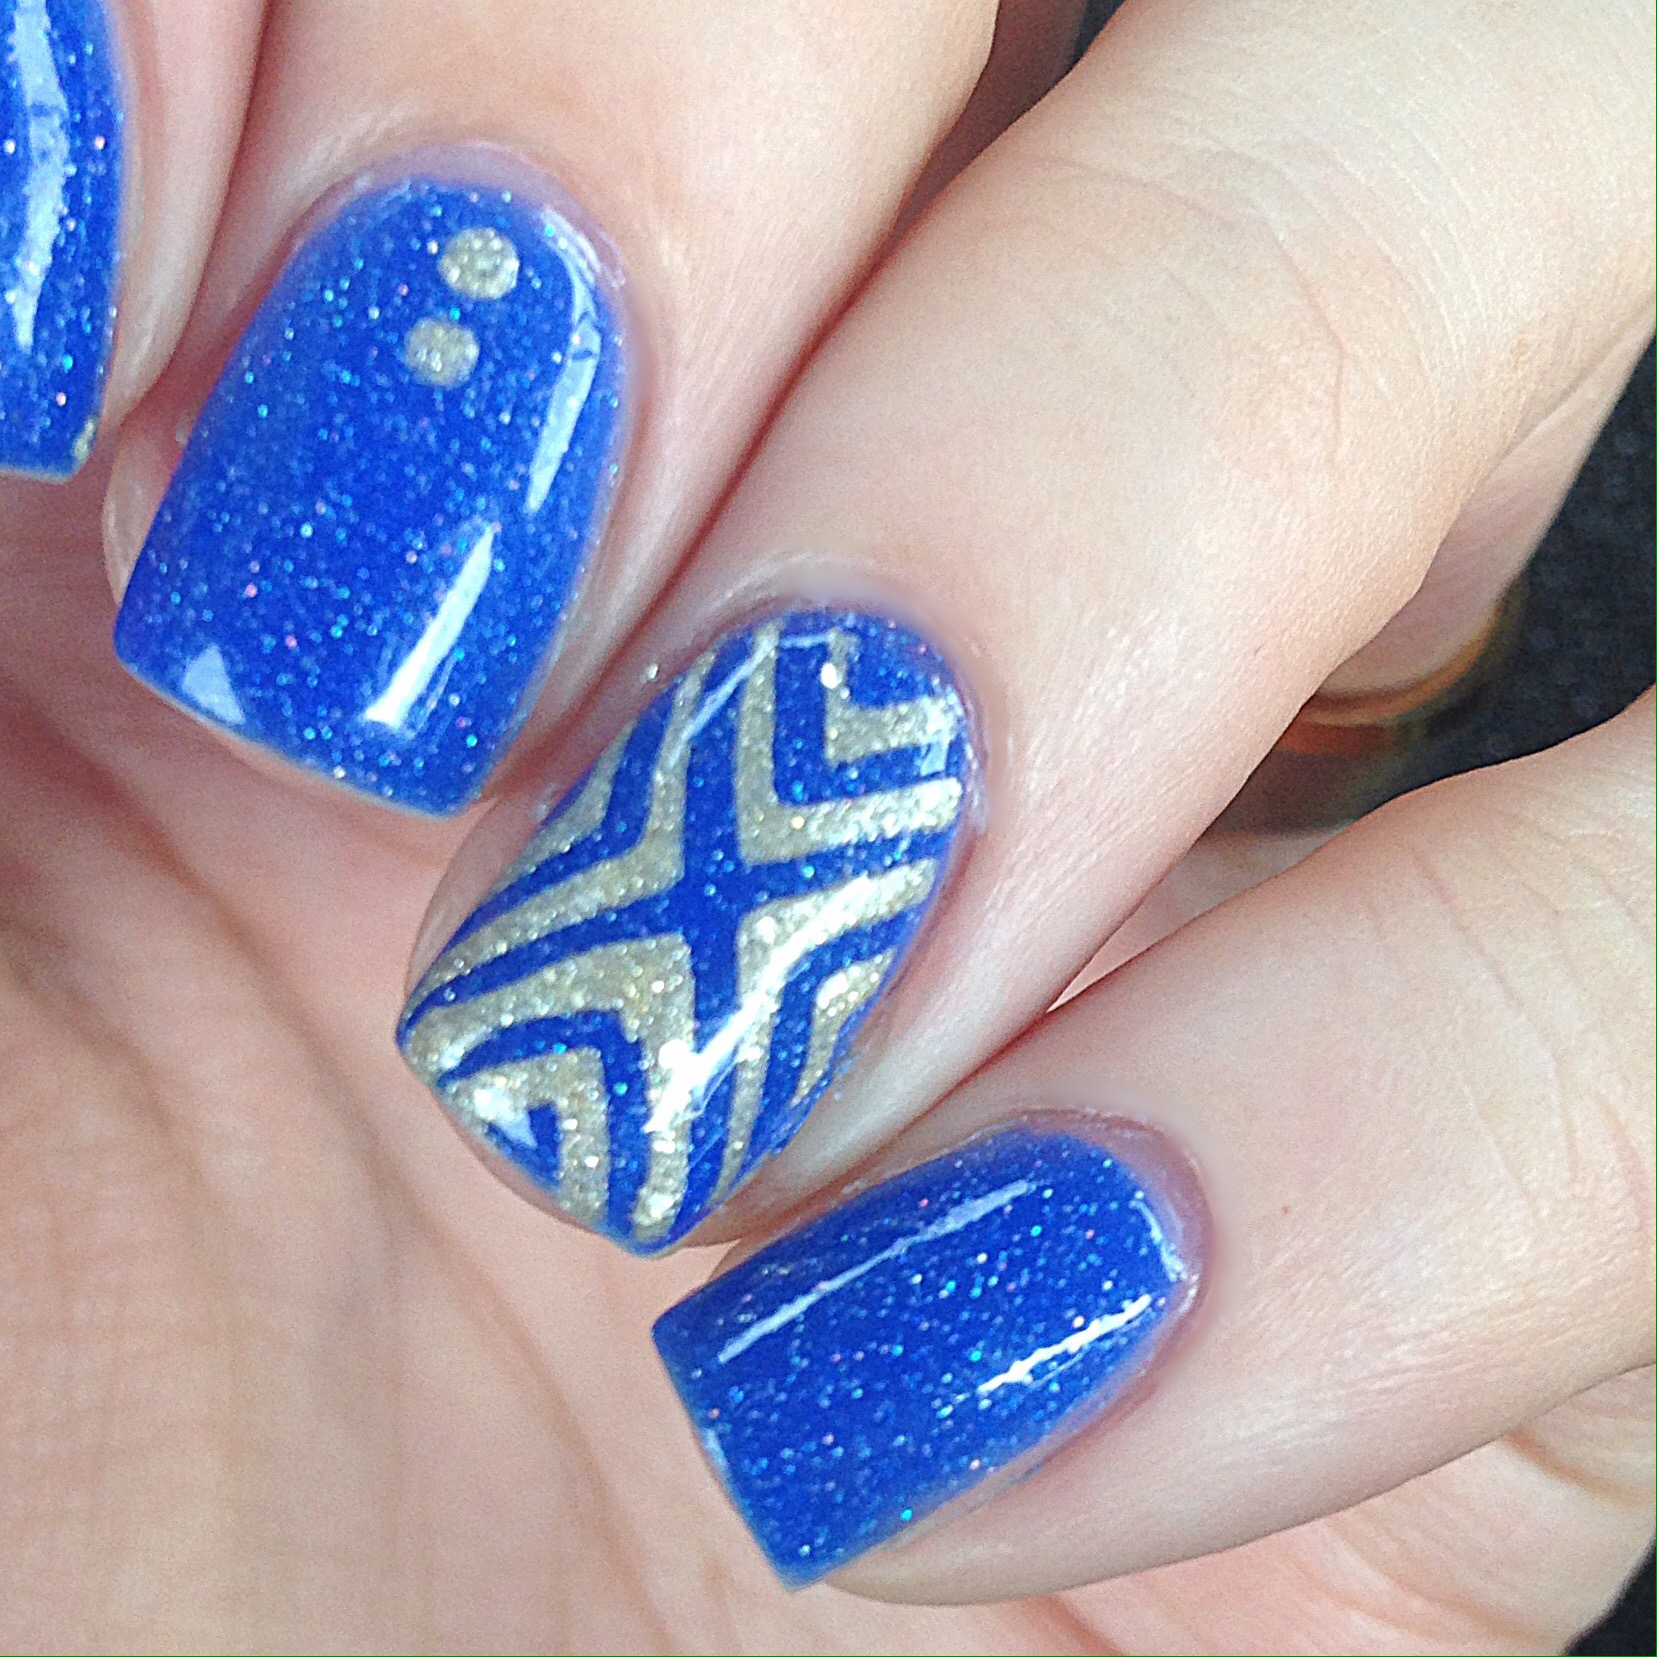
First can I mention how much I love this polish combination? ACO by Ardene La Luna is such a pretty cruelly, & it occurred that it would show off some holo really well so I took a risk & mixed it with some of my bottle of Nicole by OPI Make A Comet-ment. & it turned into an absolutely perfect blue scattered holo. I’m kind of in love. So I wanted to create a design that would compliment this colour & I think these x pattern stencils are perfect for that. 


I need to start coaxing myself into wearing colours other that blue. Maybe that will be my goal for June! Although I did just pick up Revlon To The Chapel which is… you guessed it! A pretty baby blue. Haha. But after I wear that it’s going to be a blue free month! Think I can do it? Guess we will have to see. 

What do you think of today’s design? What’s your favourite colour to wear? Let me know in the comments below! 💙