SWATCH SUNDAY — Butter London Pistol Pink

Good Morning & Happy Sunday. Or should I say storm day, as winter weather is currently starting in my neck of the woods. ❄️ Hope everyone that doesn’t have to go out in it, is cuddled up under a blanket with a big mug of coffee!

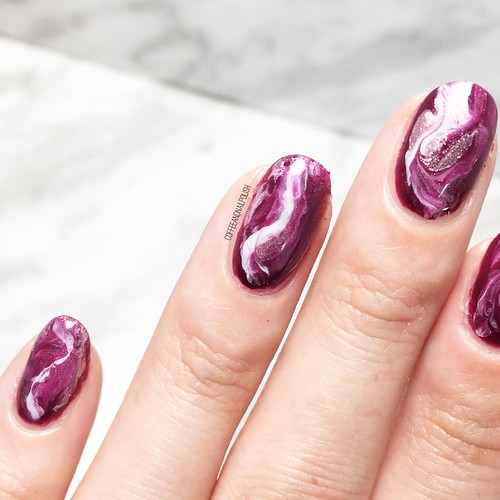
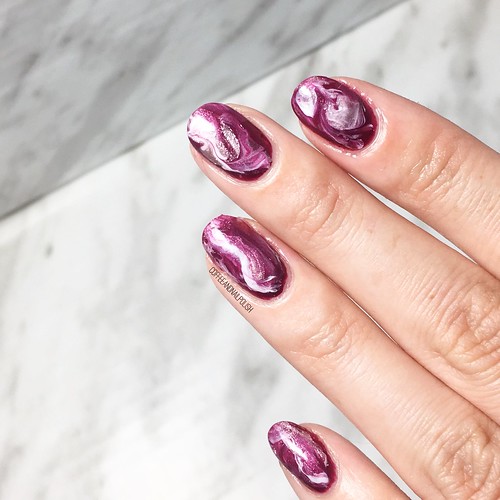
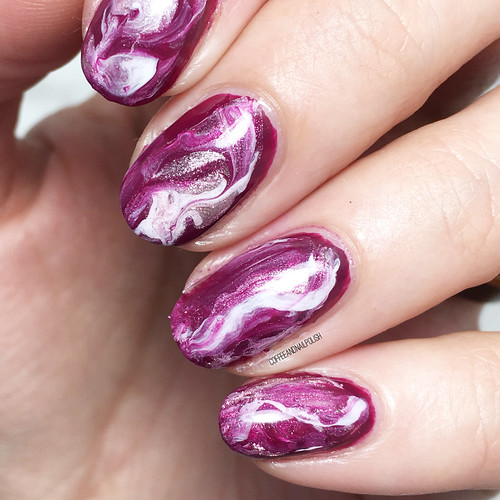
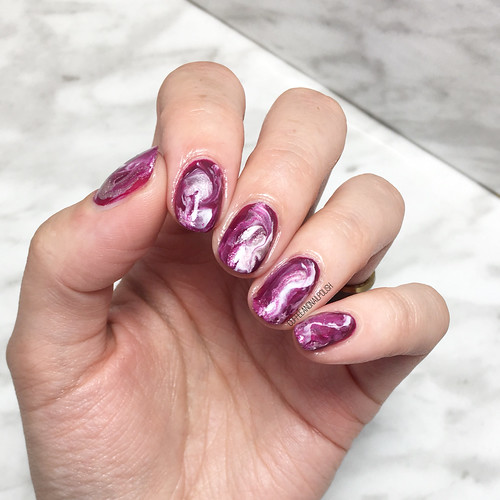
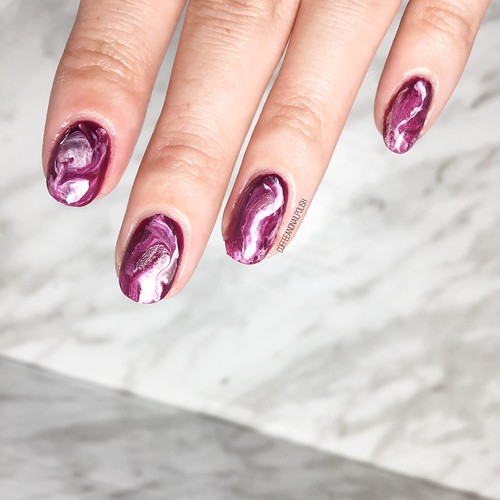
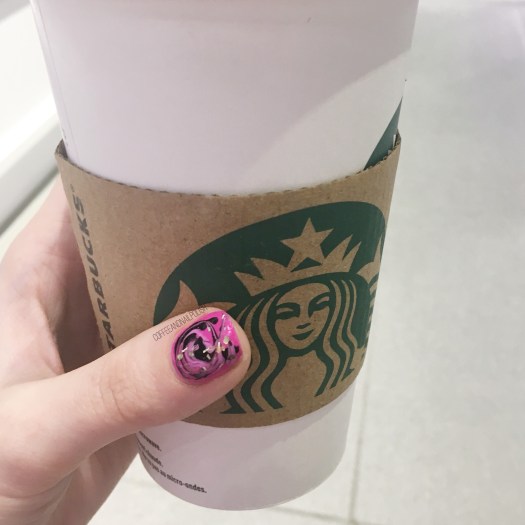
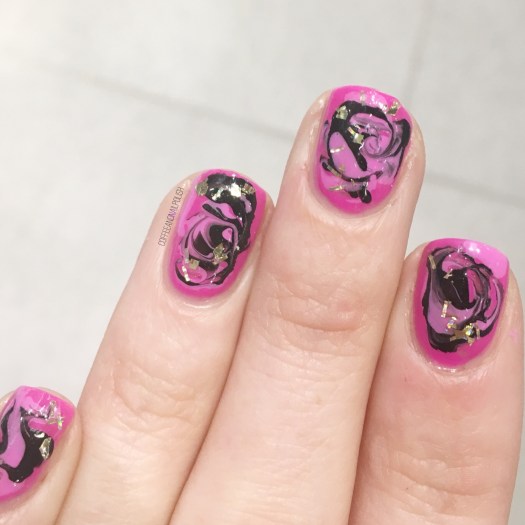
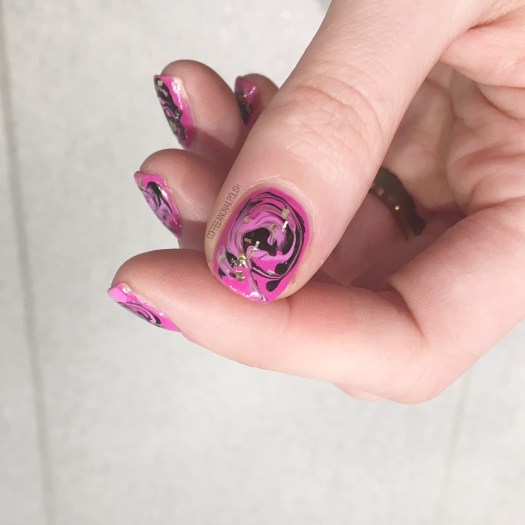
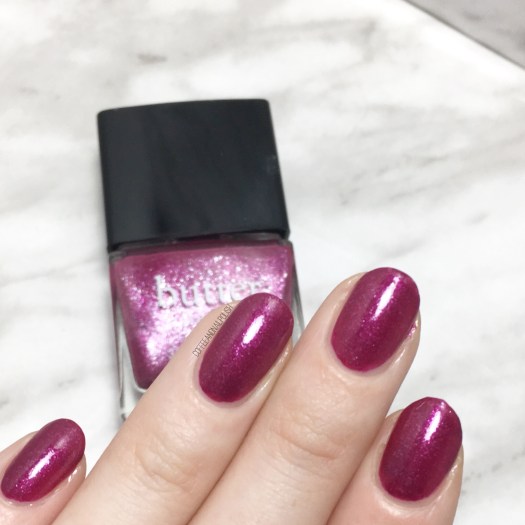
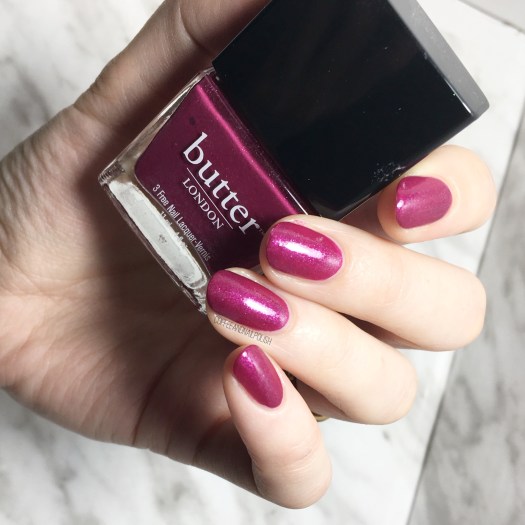
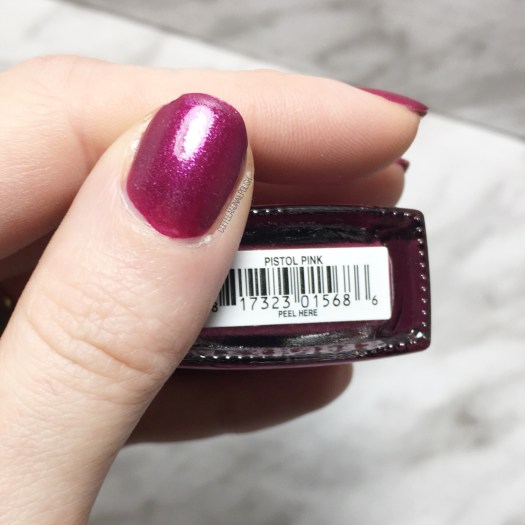
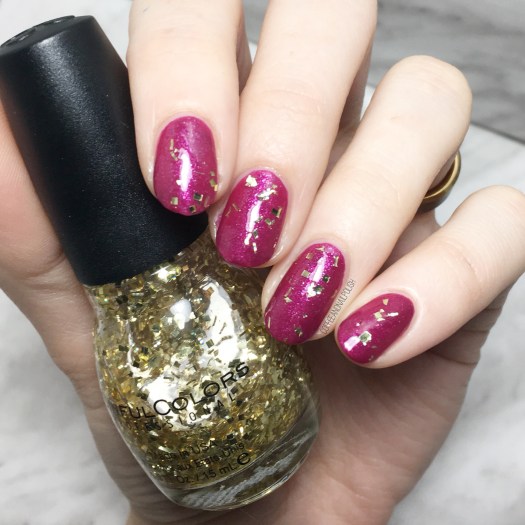
If you are lucky enough to be snoodled up on your couch, I have a pretty polish to share with you today! Today’s Swatch Sunday pick is Butter London Pistol Pink. This gorgeous deep fuchsia pink was originally released circa 2013 as part of the Rock Your Colour collection, but came to be in my stash a few years ago thanks to Winners. (Canadian version of TJ Maxx for my non-Canadian friends.)

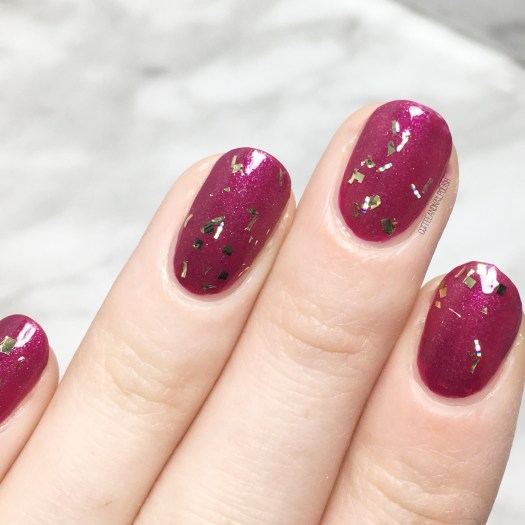
For my swatches, I did a base, two coats of polish & finished with top coat to seal it in as I was planning on wearing it for the day. The base is that deep fuchsia pink, & it’s scattered throughout with lighter pink shimmer that gives it a glowing effect. This is definitely the kind of pink that I adore I could wear for ages–I’ve always been more drawn to deeper & darker berry pinks more so than your brights or neons.

To me, this would be the perfect manicure shade for Valentine’s Day. Which is coming up very, very quickly so time to start brainstorming on looks now!

As I mentioned, I found this shade at my local Winners so I’m not too sure how available this shade is for purchase. I checked the Butter London website, but it doesn’t look to be available there or Amazon, so if you are looking for this shade you’re probably best off checking your own local Winners, Marshall’s or TJ Maxx or seeing if anyone on EBay has one for sale.

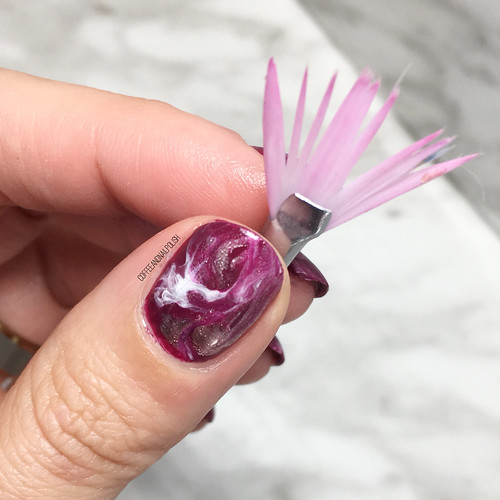
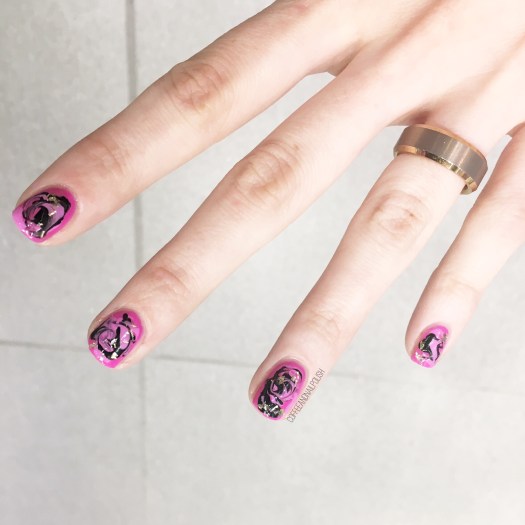
I decided since I was going to be rocking this manicure for the day, I needed someone to add on top–so I added a quick swipe of Sinful Colors Twilight Twinklies over top for a little golden glam!

So what do you think of today’s Swatch Sunday polish pick? Is Butter London Pistol Pink hiding away in your stash? Let me know your thoughts on this shade in the comments down below!

Red Plaid Holiday Nails

Good Morning Lovelies! Can you believe it’s only 13 days until Christmas… where has this year gone?! Even though I’ve been insane at work with Christmas coming, I’ve been trying to do my nails when I can–& trying to get in as many Christmas-y designs in as often as I can.

(Not going to lie… painting them has been a struggle, but having time to take pictures is another story all together!)

Today I have some pretty red plaid nails that are a combination of stamping & freehand. I LOVE plaid nails, but sometimes they can be time consuming depending on how many lines you have to free hand. By combining a plaid stamping pattern I had with a bit of freehanding, I managed to come up with a cute & relatively easy plaid look that’s perfect for this time of year!

For this look, the polishes I used were:

  • Base Coat: Essie Grow Stronger
  • Top Coat: Essie Gel Couture Top Coat
  • Sally Hansen Miracle Gel Good Cheer-y (from the Decadence collection)
  • Sally Hansen Hard As Nails Black Heart
  • L’Oréal Getting Kilty
  • NailStuff.ca Clear Stamper

I’m not going to lie–I’m a little rusty, & my nails & cuticles have seen better days. But it feels so good to be painting my nails again, & it always feels nice when people randomly compliment me on how pretty my nails are. Of course, then stock comes & they end up a mess… but still nice to have them done in the first place! (& more than just a since colour.)

Going to try & cram as many Christmas designs in as possible over the next week or so, since I’ve been so bad at actually posting the last few months. But January is coming… & things are going to slow way down so I’ll be able to get back into my regular posting life soon. For everyone who has stuck around (& continues to stick around!) thank you so much! It means so much to me.

Now the most important question remains… should I do Christmas tree, snowman or penguin nails next? Let me know in the comments below!

Leopard Print & Stripes

Happy Saturday lovelies! I know, a Saturday post… how crazy is that?! Today I’m sharing a super fun design I did a few days ago. First off, yes my nails are exact short again–the crack on my middle finger let go. BUT that’s okay, because I’ll just create fun designs that make me happy.

& this leopard print look makes me extra, extra happy!

For this manicure, the polishes I used were:

  • Base Coat: Witchcraft protein Hardener
  • Top Coat: Essie Speed Setter
  • China Glaze What’s She Dune
  • L’Oréal Feeling Kilty
  • Sally Hansen I ♥️ Nail Art pen in Black
  • Kiss Nail Art Striper in Black
  • Small dotting tool

I started off by doing the leopard print, & realized the blank base needed something extra, so I added the stripes. & I really think they completely the look! Kind of reminds me of something that @nailsbyarelisp or @badgirlsnails.

I love the look of leopard print, but I think this is my first time doing one in this colour combination–I’ve done rainbow & neon & pink & grey, but never such a neutral colour scheme. & I’m absolutely in love with this look!

This would be a cute look to wear with a cat costume for Halloween, although it’s not a Halloween look. But if you were going for a more “glam” kitty for Halloween, leopard print are totally appropriate. But in general I feel like this is a fun, not too crazy, look for this time of year. I rocked this design while doing interviews at work , so who says leopard print isn’t work appropriate!

What do you think of this leopard print design? Share your thoughts down in the comments below!

Born Pretty Store 3D Nail Art Stickers (item #40422) Review

Good morning beauties & happy Tuesday. Today I’m showing off some brand new nail art stickers I recently received in a review package from Born Pretty Store. They were so kind as to send me a few nail art goodies in exchange for my honest thoughts & reviews, & I couldn’t wait to break into the package!

These nail art stickers are item #40422 & come in both gold holo & silver holo. I picked both colours, but since I was feeling a purple base, I figured the gold would pop more over top. The stickers themselves come with a large sheet of different sizes & style, which is perfect when trying to pick what kind of look you want to do. For my nails, I decided to go more simplistic using the larger size stickers.

Application was super simple. All you need to do is paint your base colour (I picked Joe Fresh Gel Gothika Blue) & let dry some. To speed up the drying process, I did apply a quick dry top coat to my base, mostly because if my nails were fully dry, I could be more selective about sticker application. When my nails were dry, I then carefully peeled my stickers off their sheet with tweezers, & applied them onto my nail. I made sure to press them down really well, & flatten any possible air bubbles. Then, when I was happy with my look, I sealed everything in with top coat.

I wore these nails for a full day of work (stock day at that!) & they lasted pretty well. I did find that my nails where the sticker went close to the edge of my nail–like my middle finger & pinky nail–had some issues with the sticker lifting but that could be because I was not as precise with my top coat to fully seal the sticker in. The best bet is to aim to make sure that the stickers are placed more centrally on the nail, or you just make sure your sealing all the edges really well.

As you can see down below, my stickers definitely seemed to stand out a bit from its base–they were for the most part sealed onto my nail, but seemed raised against my base colour. I don’t know if this was because I had used a top coat already but when I use these again I will definitely try it over just the base colour & see if it helps the issue. These stickers are definitely not the first brand I’ve had this issue with, so I’m thinking it’s more an issue with my application.

I’m definitely a fan of these stickers & the easy way you can create a nail art look using them. I even had someone ask me where I got my nails done! As I mentioned above, you can find these guys at the Born Pretty Store website (item #40422) & they come in both silver & gold. I definitely want to try pairing both colours together the next time I use them, so see what kind of look I can create.

Don’t forget, you can use my Born Pretty discount code COFFK31 to save 10% off any regular priced items.

Recreating my Wedding Nails (Happy 3rd Anniversary to us!)

Happy Wednesday lovelies! Not only is today the middle of the week & halfway to the weekend, but today marks 3 years since I married my best friend. If you’ve been around originally, you may remember my original post featuring the nails on our special day.

Naturally, I wore a floral design–which is a surprise to no one. & in honour of this day, I decided I really wanted to recreate my original design. & spoiler: I love it just as much today as I did on this date 3 years ago.

For my recreation of this manicure, the polishes I used were:

  • Base Coat: OPI Nail Envy
  • Top Coat: Essie Speed Setter
  • Essie Suite Retreat
  • Sally Hansen Miracle Gel After Altar
  • L’Oréal Getting Kilty
  • Julep Vivien
  • Sally Hansen CSM Killer Heels
  • Sally Hansen CSM Red It Online
  • Sally Hansen CSM Rose To the Occasion
  • Sally Hansen CSM Blush Against The World
  • Quo by ORLY the Antidote
  • Essie Off Tropic
  • Quo by ORLY Diva
  • Essie Sew Psyched
  • Nailstuff.ca Mermaid Tail Nail Art Brush
  • Dotting Tools

I’ve written before how much I love going back to recreating my manicures, & I’m so glad I got to do the same for this one. I know some people go for more classic wedding & bridal manicures, but it just felt more “me” to do a full floral look (with something blue & a gold accent nail.) & no matter how much time passes, I don’t see myself ever getting “over” floral nail art. It’s just too perfect.

How did you wear your nails for your wedding day? Did you go more classic or a little more fun? (& for those planning to get married soon, do you know how you’re wearing your nail yet?)

& for fun, a few pictures from our wedding day ♥️