SWATCH SUNDAY — Color Club Wham! Pow!

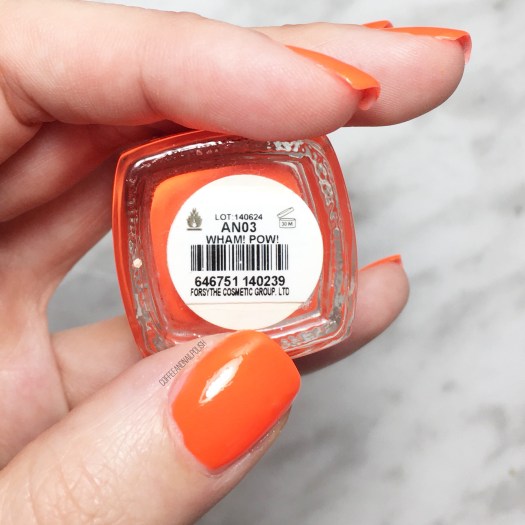
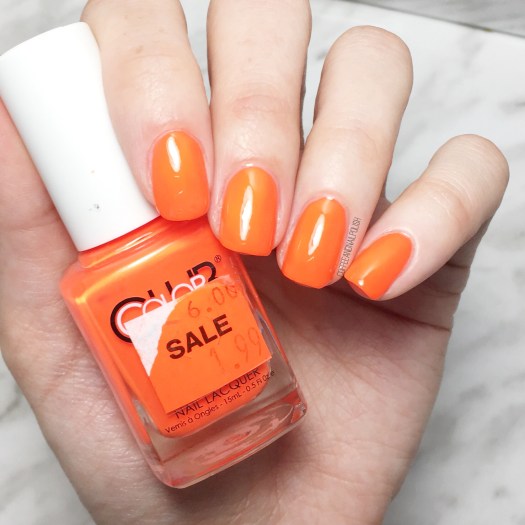
Good Afternoon lovelies & Happy Swatch Sunday! I know I missed last week, so I’m back this week with a colour totally out of my comfort zone–Color Club Wham! Pow!

According to NailPolishCanada, this shade was originally released as part of the Poptastic collection. I picked up my bottle in clearance at my favourite pharmacy, for only $1.99, but you can find this shade online for a mere fraction of its original cost.

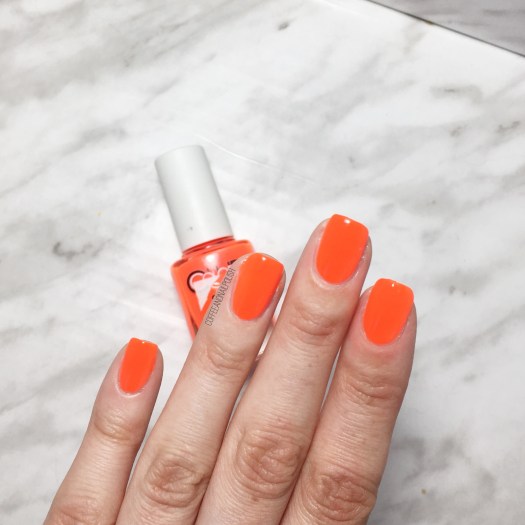
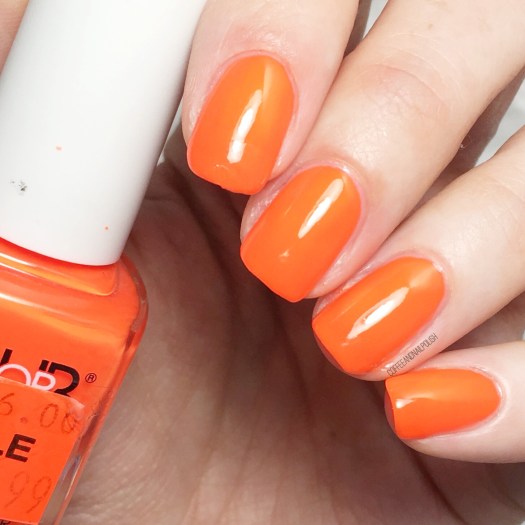
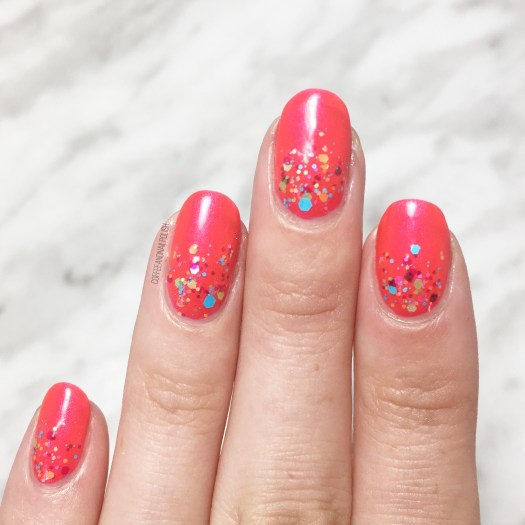
This shade is very neon, like highlighter orange neon, which obviously made for a difficult time while trying to photograph in my light box with my iPhone. For my swatches, I did 2 coats of base coat, 2 coats of polish & finished with a glossy top coat.

I was super impressed with the formula–sometimes Neons can be less than easy to apply with super thin formulas that need white undies, or they drag really bad, & need too many coats, but Wham! Pow! went on with only 2 easy coats. The first was kind of patchy, but the second coat filled everything in & levelled beautifully.

This colour is definitely out of my comfort zones–usually when I pick oranges I go for more coral shades as opposed to something so bright & neon, but I was feeling in the mood for something different! I do like how shades like this always make you look more tan than you actually are.

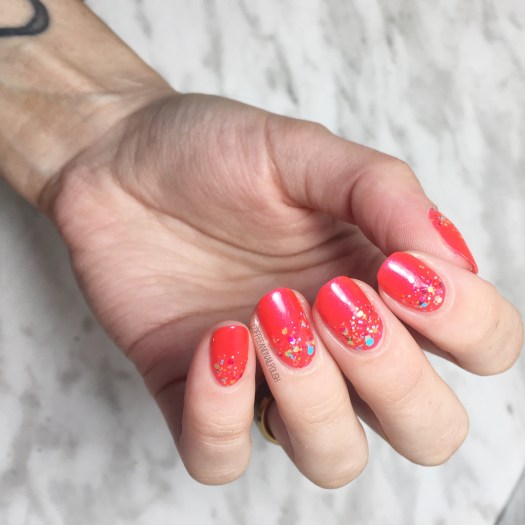
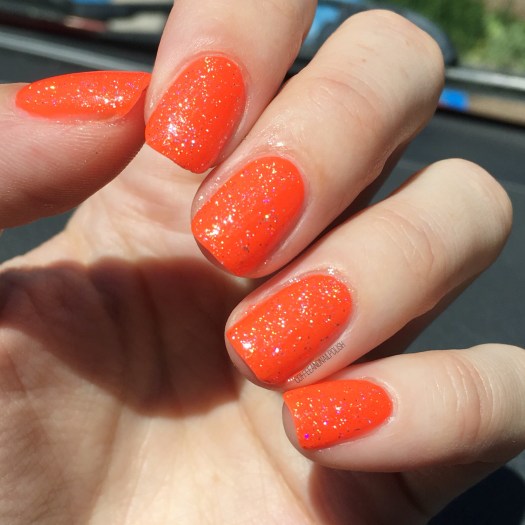
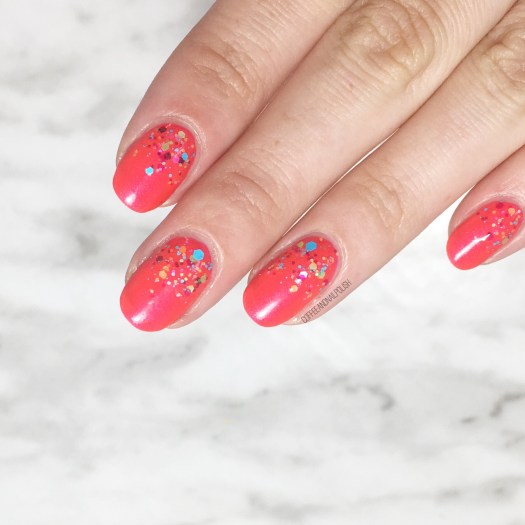
& below is what I did with my swatch: I added some holo glitter with both Sally Hansen Make It N-ice & Quo by ORLY Falling Star. You can also see how the colour shows more truly in the sunshine versus the photos in my light box.

what do you think of today’s Swatch Sunday pick? Would you rock this colour? Let me know in the comments below!

My Nails & My Cup — Holo Gradient Nails

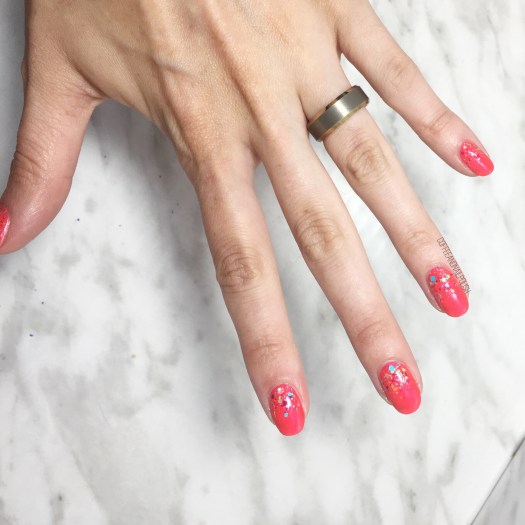
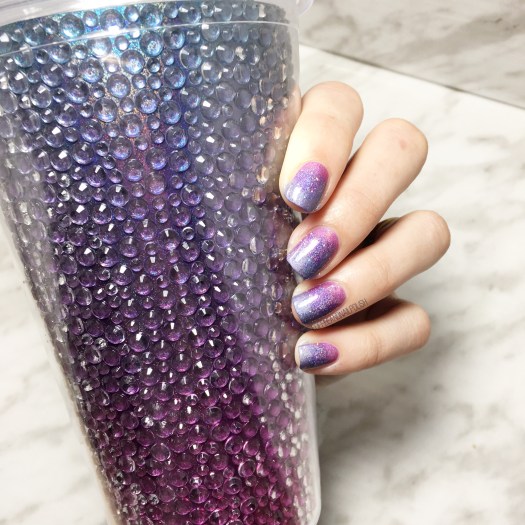
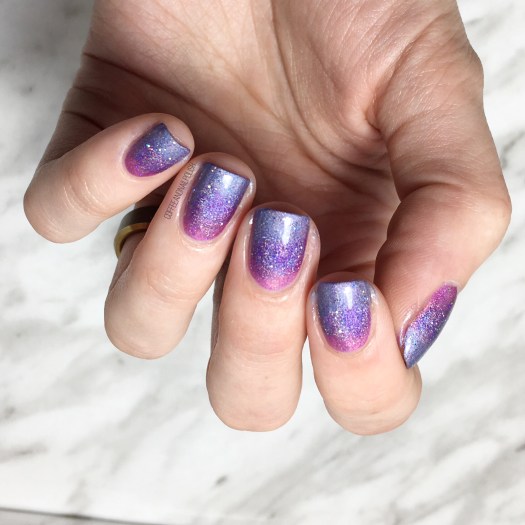
Are you guys sick of the holo yet? I certainly hope not because I have another mani to share–this time I created a Holo gradient to match my new-ish tumbler that I picked up at Claire’s on clearance for $2. It came with cute little manicure tools inside, so I had to have it!

I posted on Instagram the other day what nail art I should do on my naked nails, while holding the above cup, & received an overwhelming amount of responses saying I should match my cup… so that’s what I decided to do!

For this manicure, the polishes I used were:

  • Base Coat: Sally Hansen Green Tea & Bamboo Strengthener
  • Top Coat: Seche Vive
  • China Glaze BFF
  • Color Club Eternal Beauty
  • China Glaze 2Nite
  • Quo by ORLY Falling Star
  • Latex free make up sponge
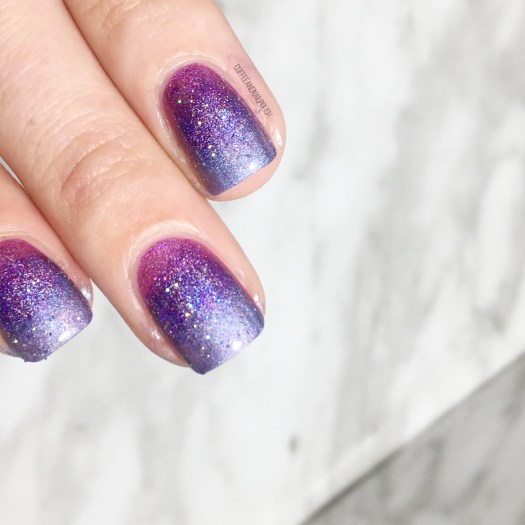
  • Creating the holo gradient may have been one of the easiest gradients I’ve ever done! I don’t know if it’s the sparkle or formula or what, but I was as to sponge on each colour separately (which kept from making a big old mess around my cuticles) & they blended together seamlessly!
  • I know the cup has a whole bunch of rhinestones, but I definitely did not have enough on hand to apply to my fingers (or enough colours that would match) so I decided a couple coats of a scattered holo top coat could give a similar look, so I grabbed Quo by Orly Falling Star because I find the glitters larger than some of my other holo toppers (like China Glaze Fairy Dust). Gave off just enough extra sparkle on the nail without being distracting!
  • so what do you think of the holo gradient? Which colour combination do you think I should try out next? Share your thoughts down in the comments below!

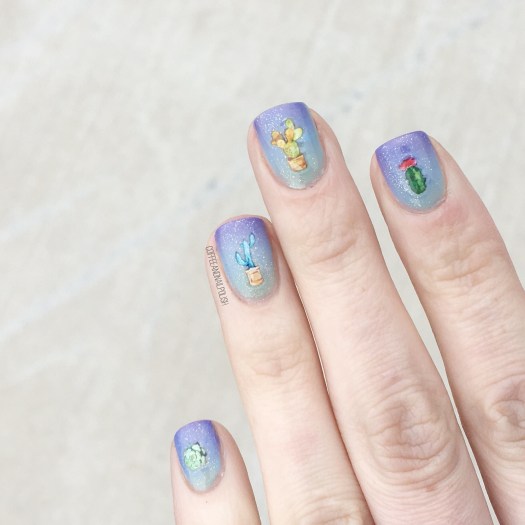
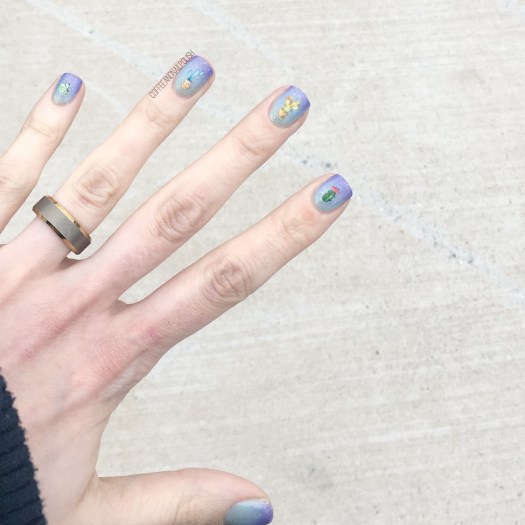
    Gradient Cactus Nails

    Good afternoon & happy May everyone! Who else excited for warmer days. I feel like I’m saying this every post, but I’m just. so. ready. This winter has felt just so darn long & I’m craving neons & brights.

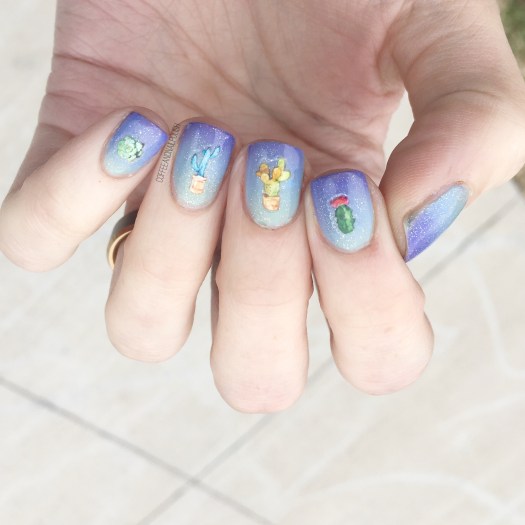
    I was also craving a gradient as it felt like absolute ages since I had created one, so I decided to go with a blue toned look. & to finish off the look I added these absolutely adorable cactus stickers that Victoria from NailStuff.ca sent to me because she knows my love for cacti! 🌵 Have you checked out her collection of nail stickers & nail decals? I’m obsessed. So many fun designs for easy nail art this Summer.

    For this manicure, the polishes I used were:

    • Base Coat: OPI Nail Envy
    • Top Coat: Seche Vive
    • Essie Fashion Playground
    • Sally Hansen Miracle Gel Sugar Fix {PR sample}
    • China Glaze I’ve Got A Blue Attitude
    • Sally Hansen MG Make It N-Ice {PR sample}
    • Edge Perfection Cuticle Barrier {PR sample}
    • Cacti Nail Stickers {gift from Nailstuff.ca}

    My gradient skills were a little rusty, but I love this look so much. The colours used almost give the gradient a thermal polish feel & obviously I couldn’t do a gradient without adding a little glitter. & finishing off the look with the stickers just made them a little more fun!

    What do you think of this look? Share your thoughts down in the comments below!
    Pink Drag Marble with Gold Glitter

    Hello lovelies & Happy Tuesday! Hope everyone is recovering from the time change this past weekend. I’m currently trying to recover from another fantastic cold, but I did manage to get my nails done before it struck me down this weekend! & it was so exciting to play around on my nails.

    & what was I feeling? A drag marble. & oh boy was I rusty!

    The polishes I used for this manicure:

    • Base Coat: OPI Nail Envy
    • Top Coat: Essie Speed Setter
    • Ardene ACO Dashing
    • Ardene ACO Road to Nowhere
    • Sally Hansen Hard as Nails Black Heart
    • Sinful Colors Twilight Twinkles
    • Nailstuff.ca dotting tool

    It’s been forever since I attempted any kind of drag marble design & my base shade (Ardene Dashing) was a little too quick drying which added some difficulty to my look. But the more I look at this design, the more it’s grown on me. I added a bit of gold glitter flakes which I’m not sure if it added to the design, but I was a little haphazard with my placement.

    & my favourite nails? My thumb & my pinky. The design on both definitely turned out be best. As you can see, the swirl on my thumb looked just perfect. If only every nail had turned out this amazing.

    What do you think of this look? Which nail do you think turned out best? Which colour combo do you think I should try next?

    Share you thoughts down in the comments below!
    SWATCH SUNDAY — Butter London Pistol Pink

    Good Morning & Happy Sunday. Or should I say storm day, as winter weather is currently starting in my neck of the woods. ❄️ Hope everyone that doesn’t have to go out in it, is cuddled up under a blanket with a big mug of coffee!

    If you are lucky enough to be snoodled up on your couch, I have a pretty polish to share with you today! Today’s Swatch Sunday pick is Butter London Pistol Pink. This gorgeous deep fuchsia pink was originally released circa 2013 as part of the Rock Your Colour collection, but came to be in my stash a few years ago thanks to Winners. (Canadian version of TJ Maxx for my non-Canadian friends.)

    For my swatches, I did a base, two coats of polish & finished with top coat to seal it in as I was planning on wearing it for the day. The base is that deep fuchsia pink, & it’s scattered throughout with lighter pink shimmer that gives it a glowing effect. This is definitely the kind of pink that I adore I could wear for ages–I’ve always been more drawn to deeper & darker berry pinks more so than your brights or neons.

    To me, this would be the perfect manicure shade for Valentine’s Day. Which is coming up very, very quickly so time to start brainstorming on looks now!

    As I mentioned, I found this shade at my local Winners so I’m not too sure how available this shade is for purchase. I checked the Butter London website, but it doesn’t look to be available there or Amazon, so if you are looking for this shade you’re probably best off checking your own local Winners, Marshall’s or TJ Maxx or seeing if anyone on EBay has one for sale.

    I decided since I was going to be rocking this manicure for the day, I needed someone to add on top–so I added a quick swipe of Sinful Colors Twilight Twinklies over top for a little golden glam!

    So what do you think of today’s Swatch Sunday polish pick? Is Butter London Pistol Pink hiding away in your stash? Let me know your thoughts on this shade in the comments down below!