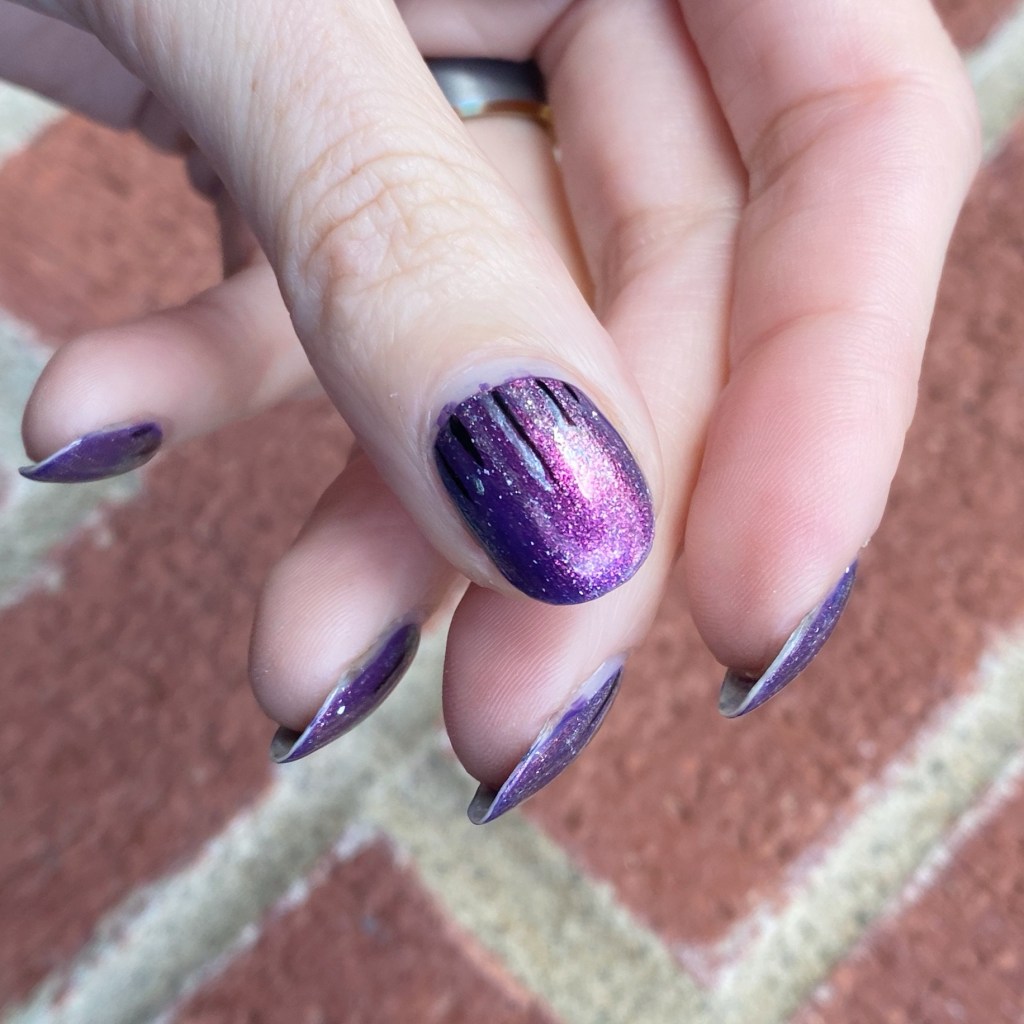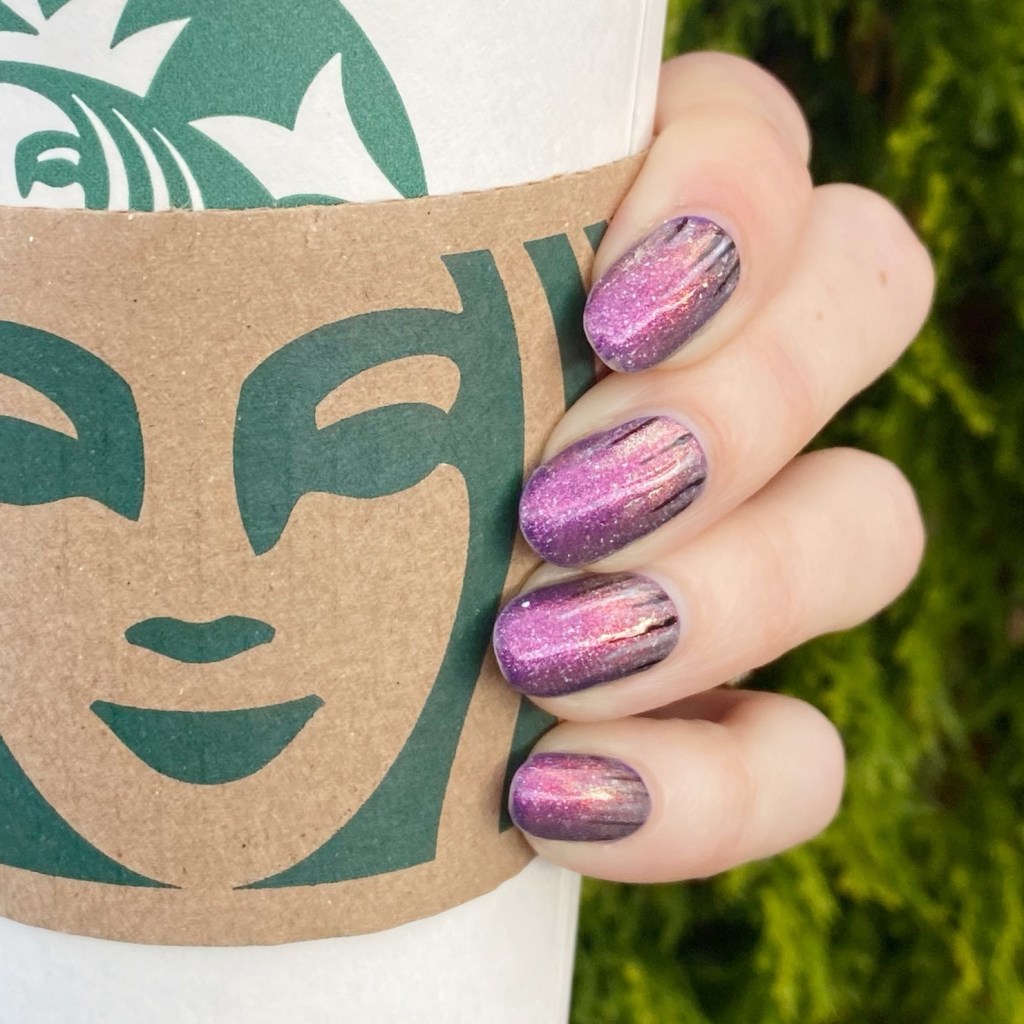
Happy Birthday Waterfall Nails 💖🧁💅

*includes PR

Hello lovelies & happy Tuesday. & happy day after Canadian Thanksgiving. I’m sure my fellow Canadians are also feeling the post-holiday food coma.

Today is my birthday, so I wanted to do some special nails for the occasion. & when thinking about what nail polish I wanted to wear, there was only one that came to mind: Cadillacquer Lavender Sunset — the NailStuff exclusive shade released earlier this year. & I finally tried layering it over a darker base, which I’ve been meaning to try for a while & it looks absolutely spectacular!
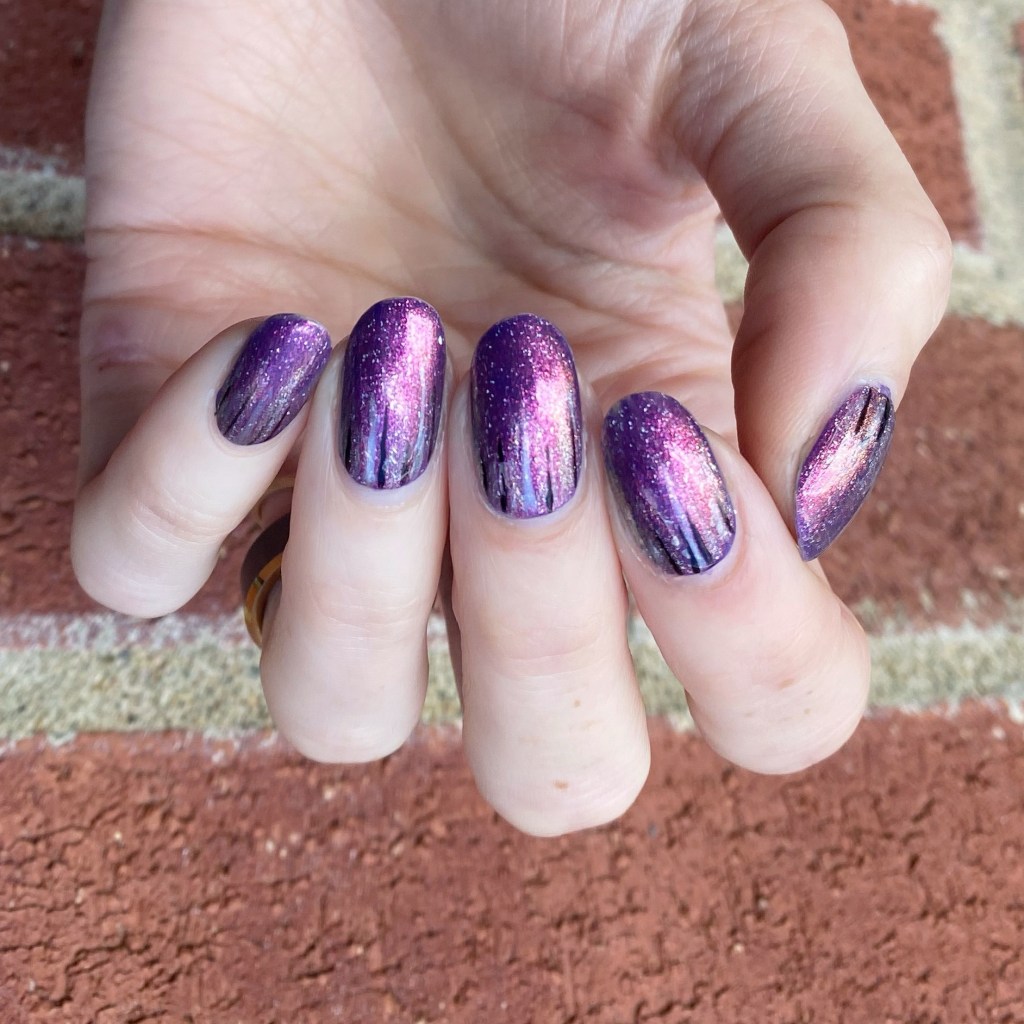
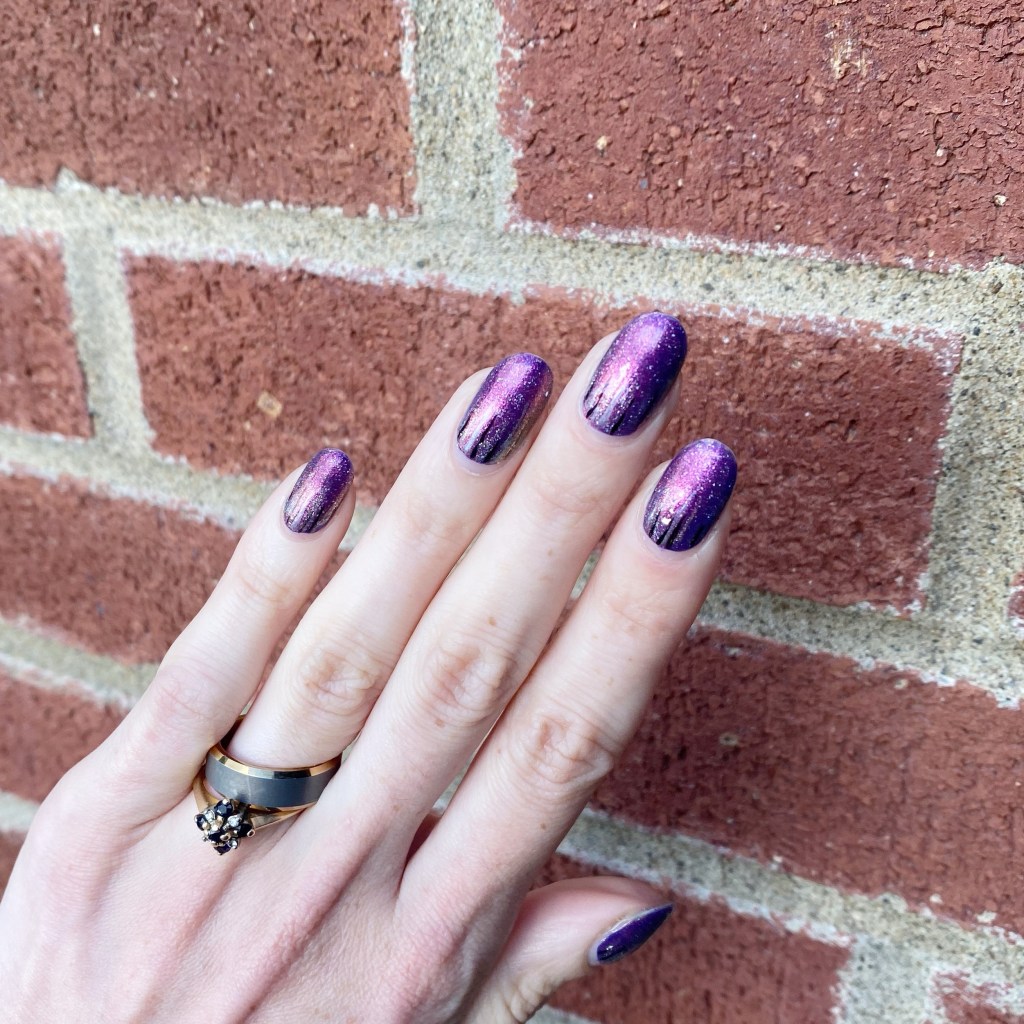
The polishes I used for this manicure are: 

  • Base Coat: NailStuff Essentials Base Coat
  • Top Coat: Nail Stuff Essentials Quick Dry Top Coat
  • Cadillacquer Lavender Sunset
  • OPI Infinite Shine Mariachi Makes My Day (layered under Lavender Sunset)
  • NailStuff Essentials Holographic Top Coat
  • Essie Nail Art Studio Cosmic Chrome
  • Essie Separated Starlight
  • Essie Birthday Girl
  • Quo by Orly Black Striper
  • Nailstuff Mermaid Tail 7mm liner brush
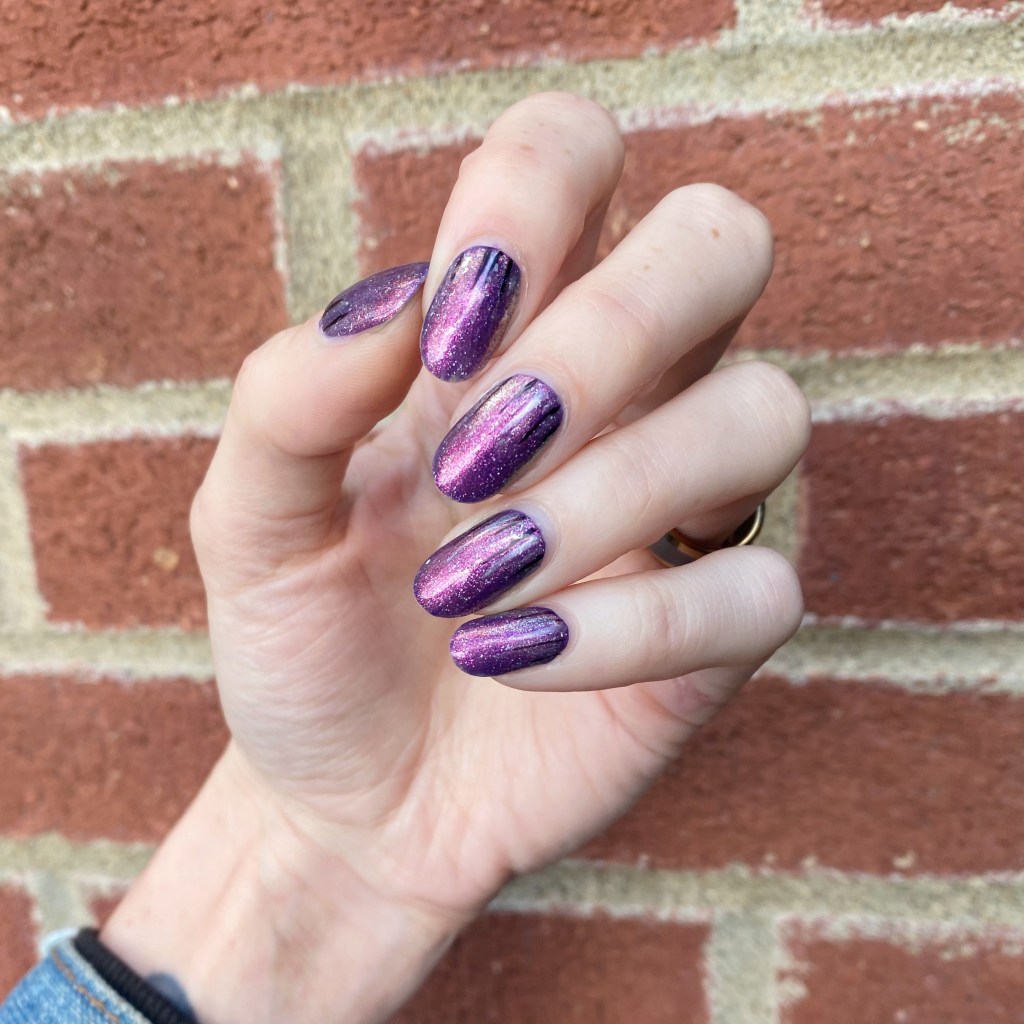
So, with full disclosure, this was not originally the design I had planned for my birthday nails. I saw a cool manicure online that I loved, but apparently when I went back to find it… I had forgotten to save it. So when I attempted it from memory… things did not turn out the way I planned.

This was actually design attempt #4… maybe #5. I’ll be honest… I lost count.

But you know after all the hassle & frustration, I actually love how these ended up looking! So I guess it was all worth it. When all else fails, pull out some sparkly polishes & create a fun waterfall look!
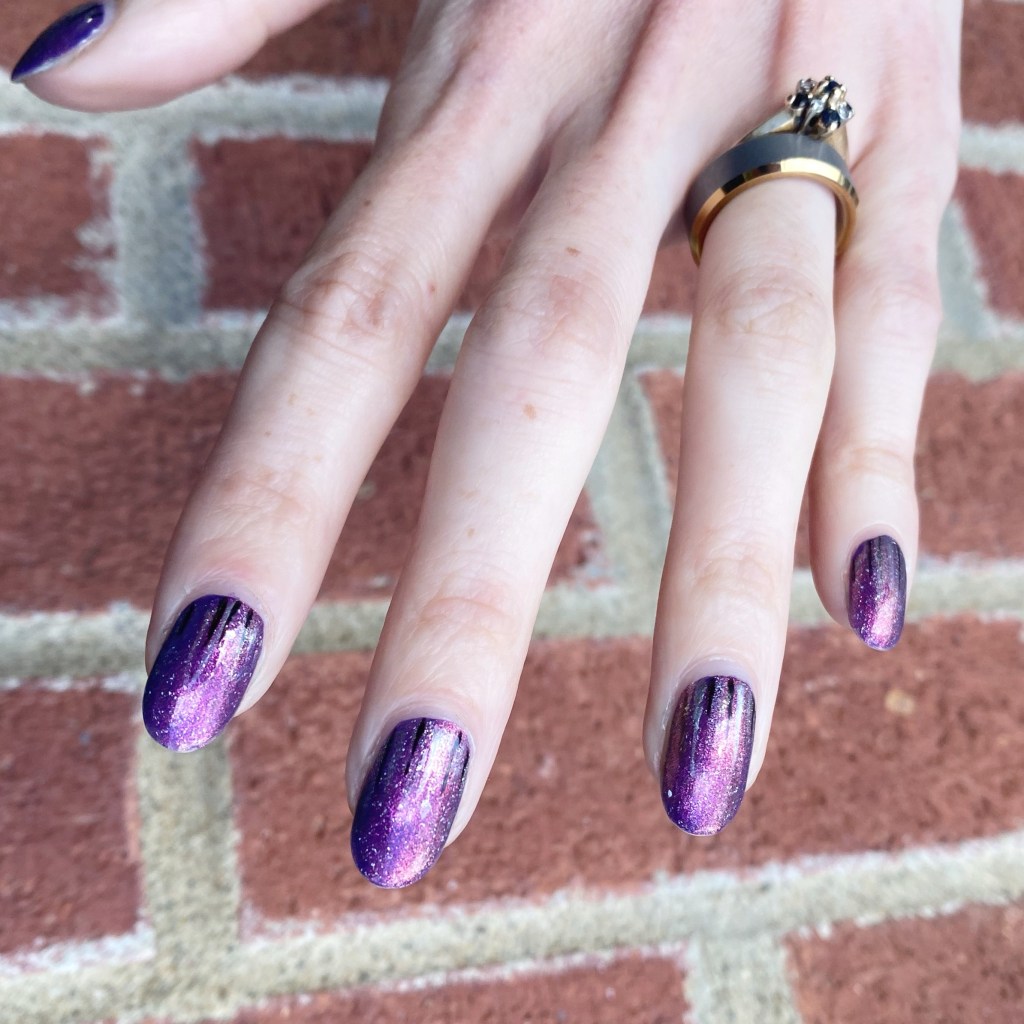
What do you think of these birthday nails? Would you wear this sparkly waterfall look?

Let me know what you think! & have a beautiful day.

🖤
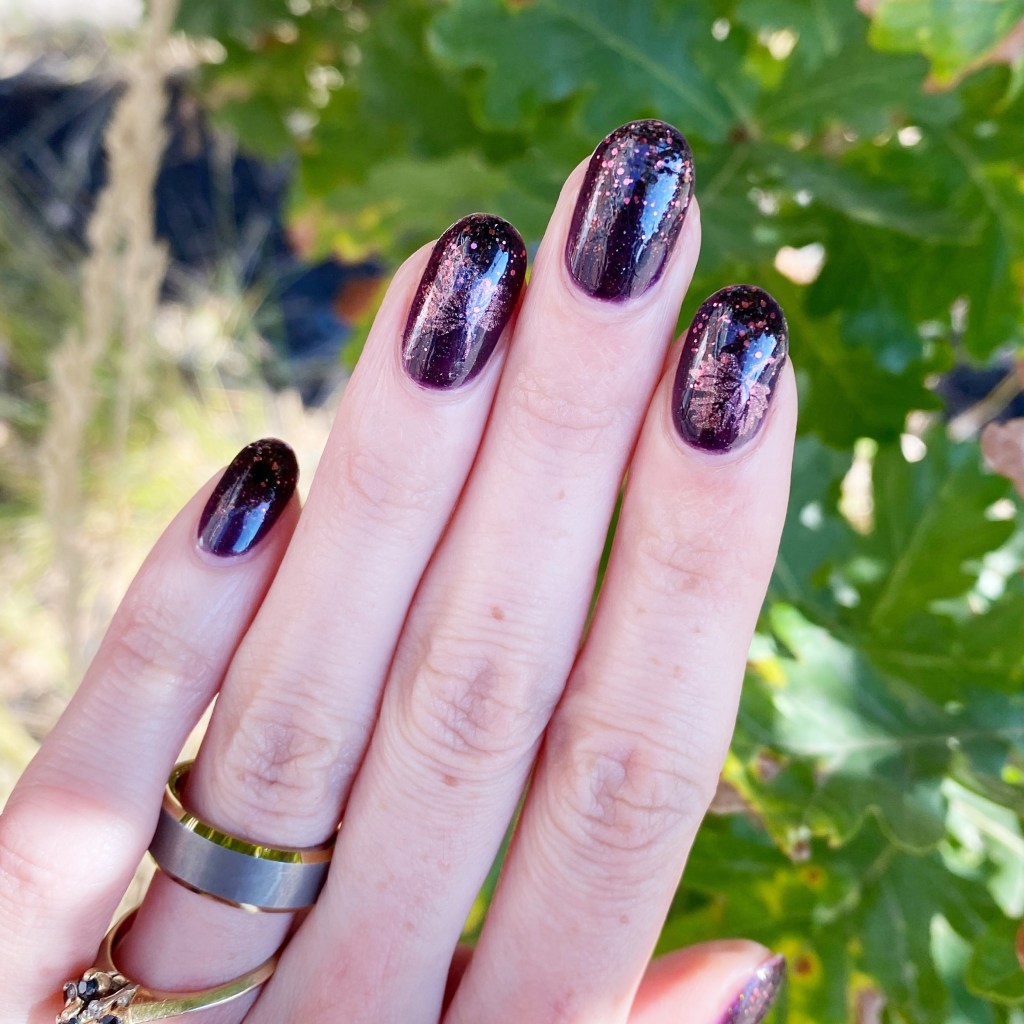
Autumn Gradient Nails 🍁

Hello lovelies & happy Wednesday! & happy October!

I know what you’re thinking — no Glam Nails Challenge? As much I’ve had fun the last couple months, I decided to take this month off because I have so many Fall/Halloween designs brewing in my head, I didn’t want to feel restricted!

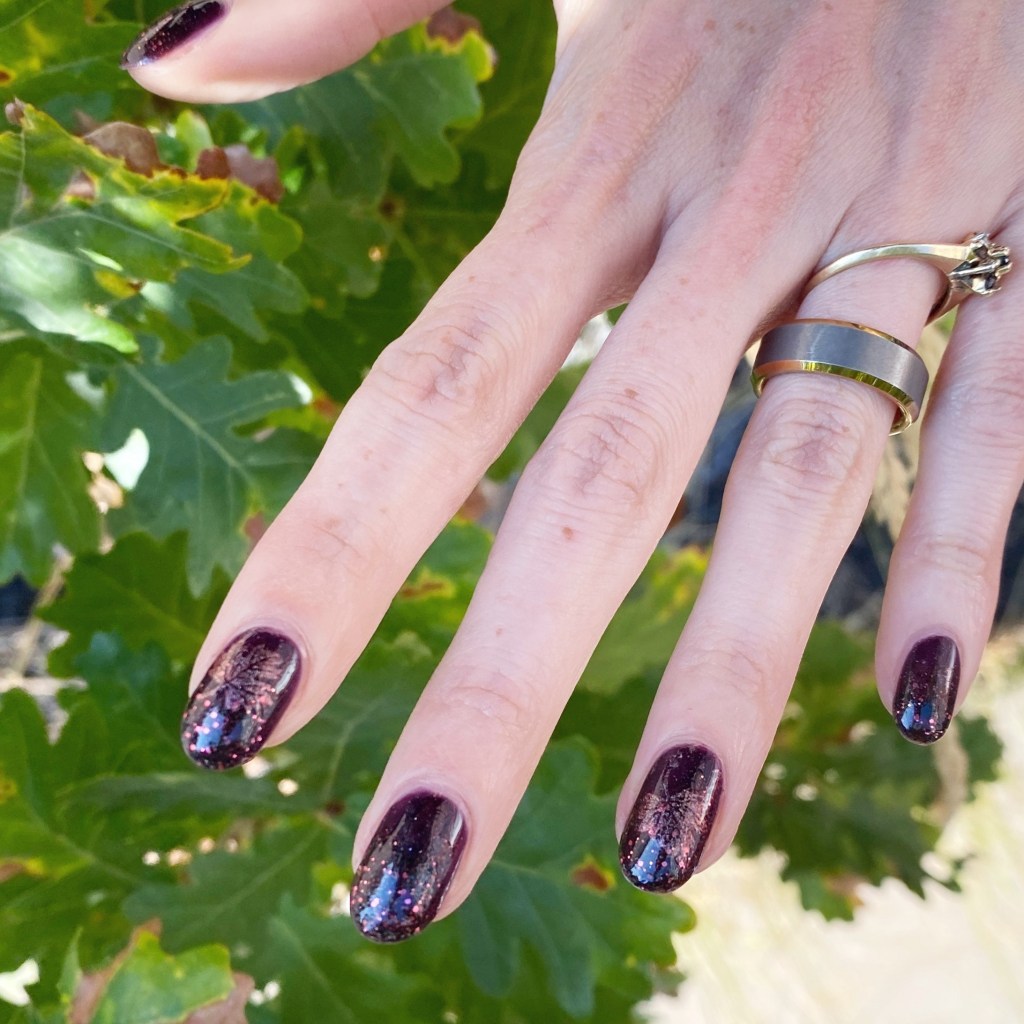
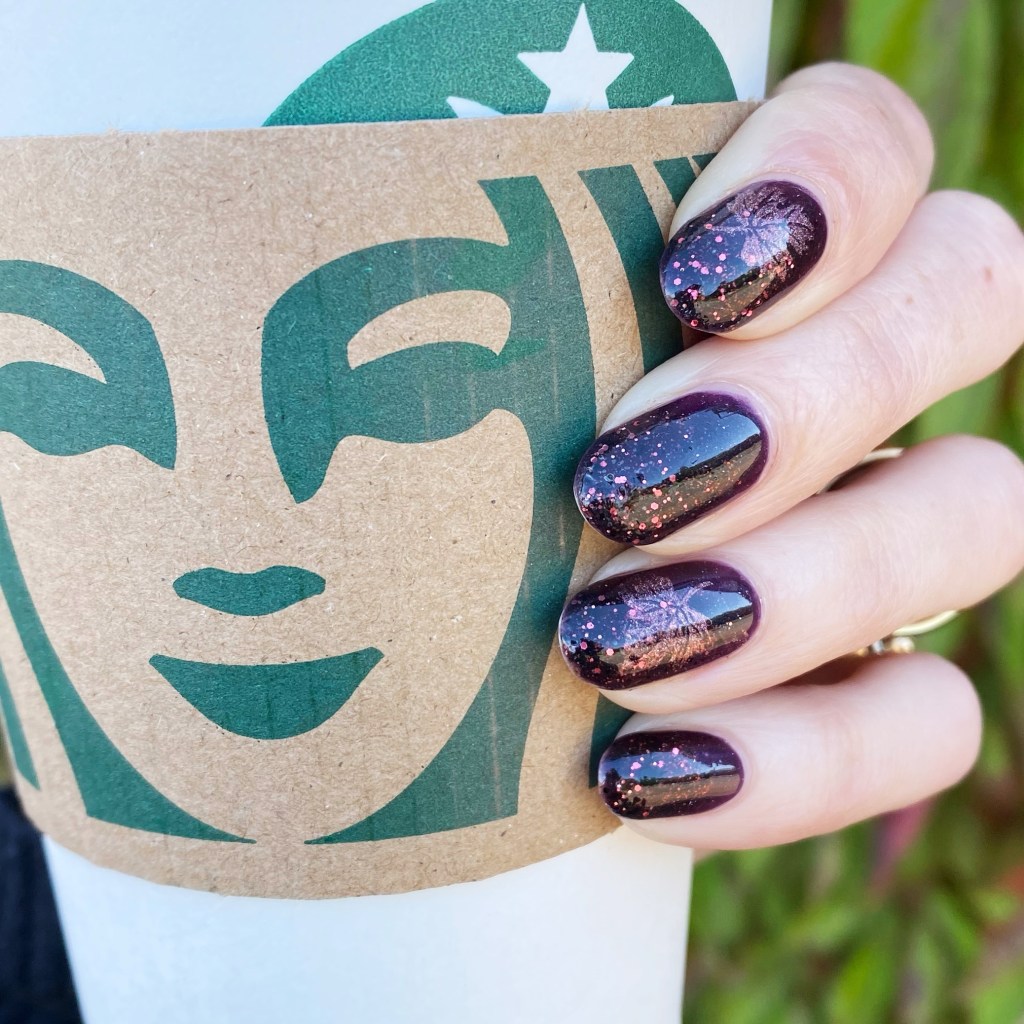
First design of October is pure Autumn vibes. I created a beautiful subtle gradient using a few of the China Glaze Halloween 2019 shades & then added a little bronze leaf accent on a few nails. I just love how this design came together.

The polishes I used for this manicure are: 

  • Base Coat: Essie First Base 
  • Base Coat: LA Colors Mega Grow Treatment 
  • Top Coat: Essie Speed Setter
  • China Glaze Private Side-eye
  • China Glaze Arrest in Peace
  • China Glaze Get Off My Cold Case
  • Color Club Sidewalk Psychic
  • NailStuff.ca Clear Stamper
  • Born Pretty Store Stamping Plate BP-L026

So originally I was just planning on wearing this Gradient, but even though it’s beautiful it felt like it was just missing something! The addition of a few stamped maple leaves brought everything together! & I think it looks so beautiful. It looks perfect paired with my cosy scarf — which was a necessity on a chilly day like today!

Fall is definitely in the air! 🍂🍁

What do you think about this Autumn inspired Gradient? Do you have favourite colours/designs to wear during October? Let me know all your thoughts down in the comments below, & stay tuned for lots of fun & spooky October designs to come!

🖤

SWATCH SUNDAY — Sally Hansen InstaDri HoloGlow Holo-Back

Hello lovelies & happy Sunday! The last Sunday of September, which is absolutely mad!

Sorry for missing out on Swatch Sunday last week — I’ve been dealing with absolutely horrendous allergies lately, & I was full on wrote off last Sunday. I could barely think, let alone write a blog post! So I hope a brand new (still in stores) nail polish pick for this week’s Swatch Sunday will make up for my absence last week.

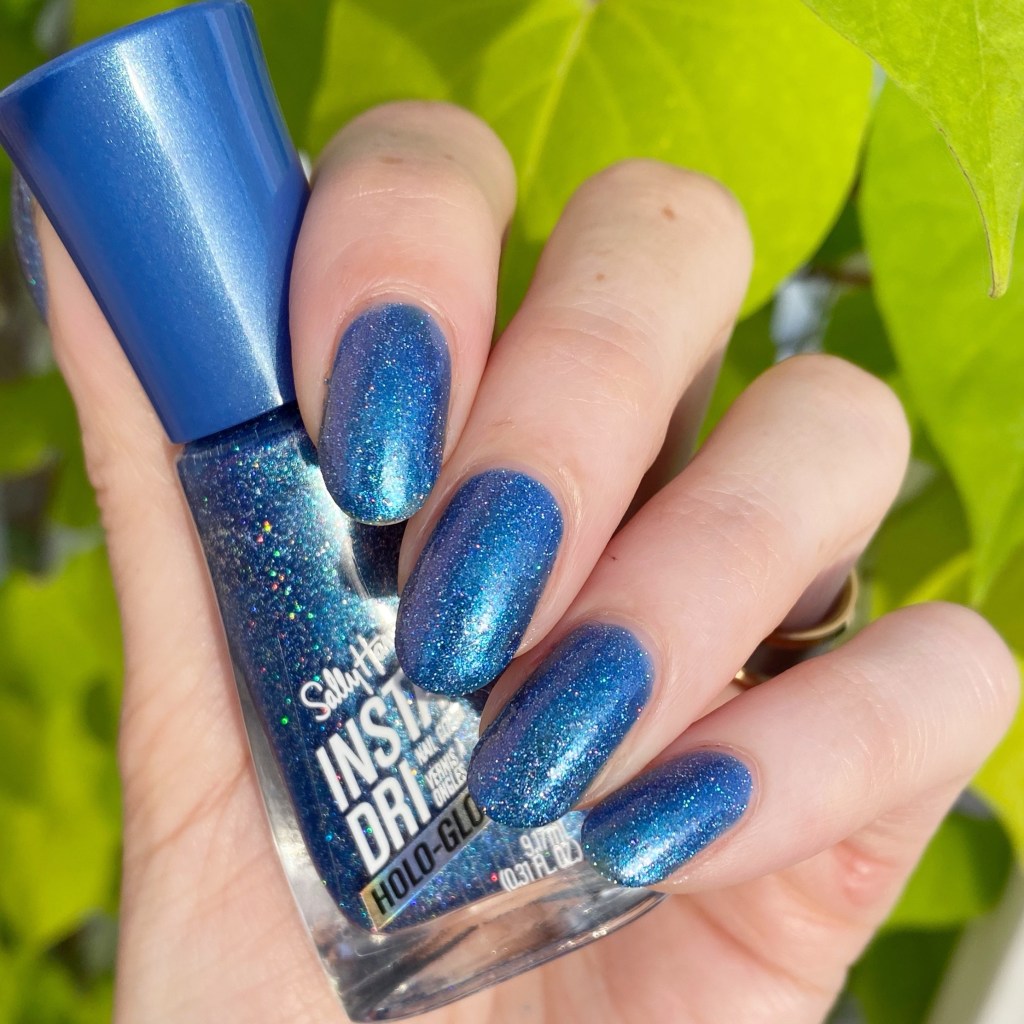
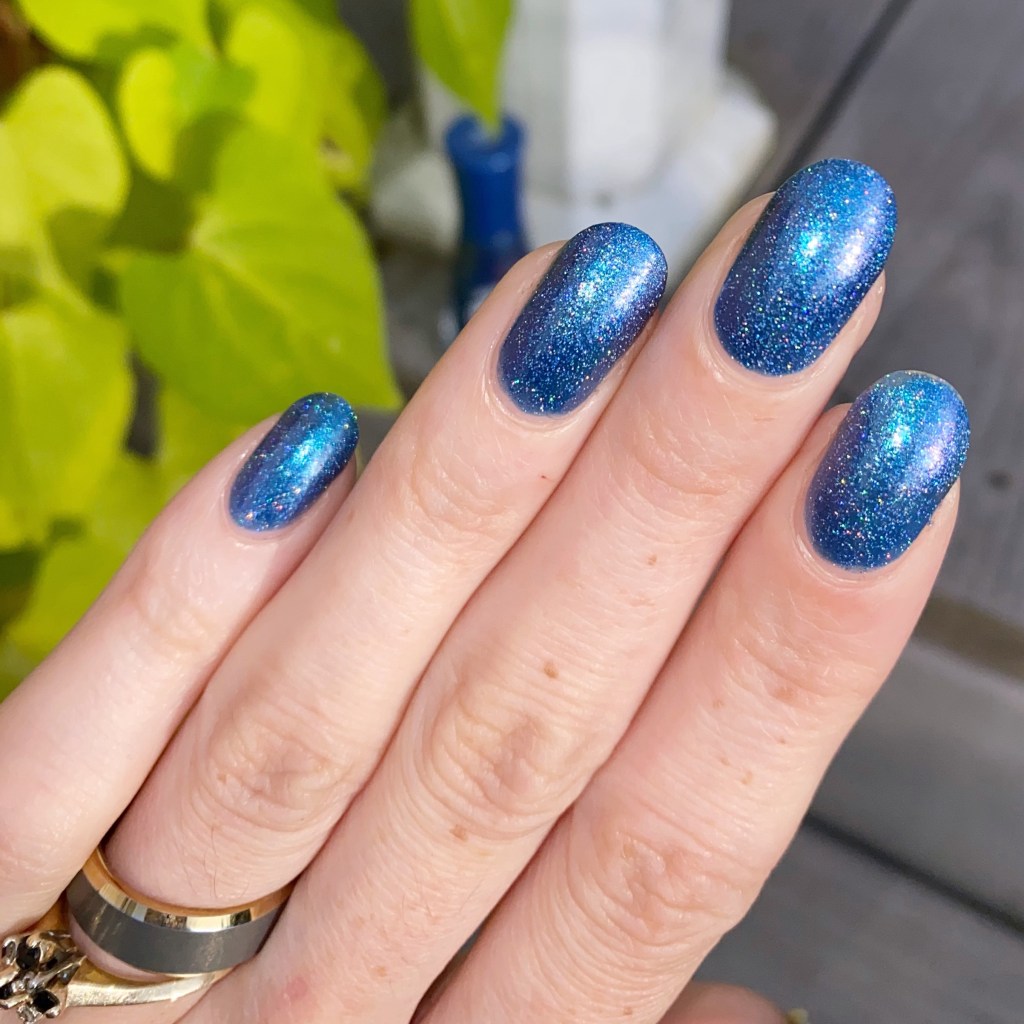
This is Sally Hansen InstaDri HoloGlow in Holo-back.

2 coats + top coat

I’ve been seeing these Sally Hansen InstaDri HoloGlow shades in store lately, & absolutely obsessed with them. so when I needed a new polish to cheer myself up I was immediately was drawn to this new collection. Because… you know: holo. & when you can find holographic nail polish at your local drug store, you need to try it out!

The Sally Hansen InstaDri line boasts a 60 sec dry time. For application, I did need to have 2 coats, so I feel like that adds a little time. While it did dry quicker, I’m not sure if it was only 60 seconds. I will say, I could see it drying down to a kind of textured finish (I’m assuming because of the scattered holographic glitters) but I don’t know if I would say it was only 60 seconds.

I did end up adding some top coat to smooth out (& glossy up) the finish. I’ve read online about people complaining that top coat removes the holographic finish but the top coat I used (Essie Speed Setter) didn’t cause any issues like that, as you can see.

Lots of scattered holographic glitters!

Obviously, I was drawn to this beautiful darker blue shade but the collection does boast 8 holographic shades in the line–although, I think my local Shoppers Drug Mart was sold out of a few of them. I was torn between this shade & Chrome Zone, which was a dark almost black holo. I would definitely pick of that one next!

The Sally Hansen InstaDri HoloGlow shades can be found whenever you buy your Sally Hansen polishes. I picked up this bottle at my local Shoppers Drug Mart on sale for $5.99 CAD though they’re regularly $10.99 CAD.

What do you think about this beautiful Sally Hansen InstaDri shade Holo-back? Do you love being able to find holographic nail polish in mainstream stores? Have you tried the Sally Hansen InstaDri HoloGlow shades — which one is your favourite? Let me know all your thoughts down in the comments below.

Happy Sunday

♥︎

GLAM NAILS CHALLENGE SEPTEMBER (2024) — Owl 🦉

Hello lovelies & happy Wednesday! Can you believe that we only have 2 more Glam Nails Challenge September prompts for this month? We’re very quickly approaching October & full blown spooky season, & I’m very excited. but we still have a few more days of September, & a couple more fun designs to share!

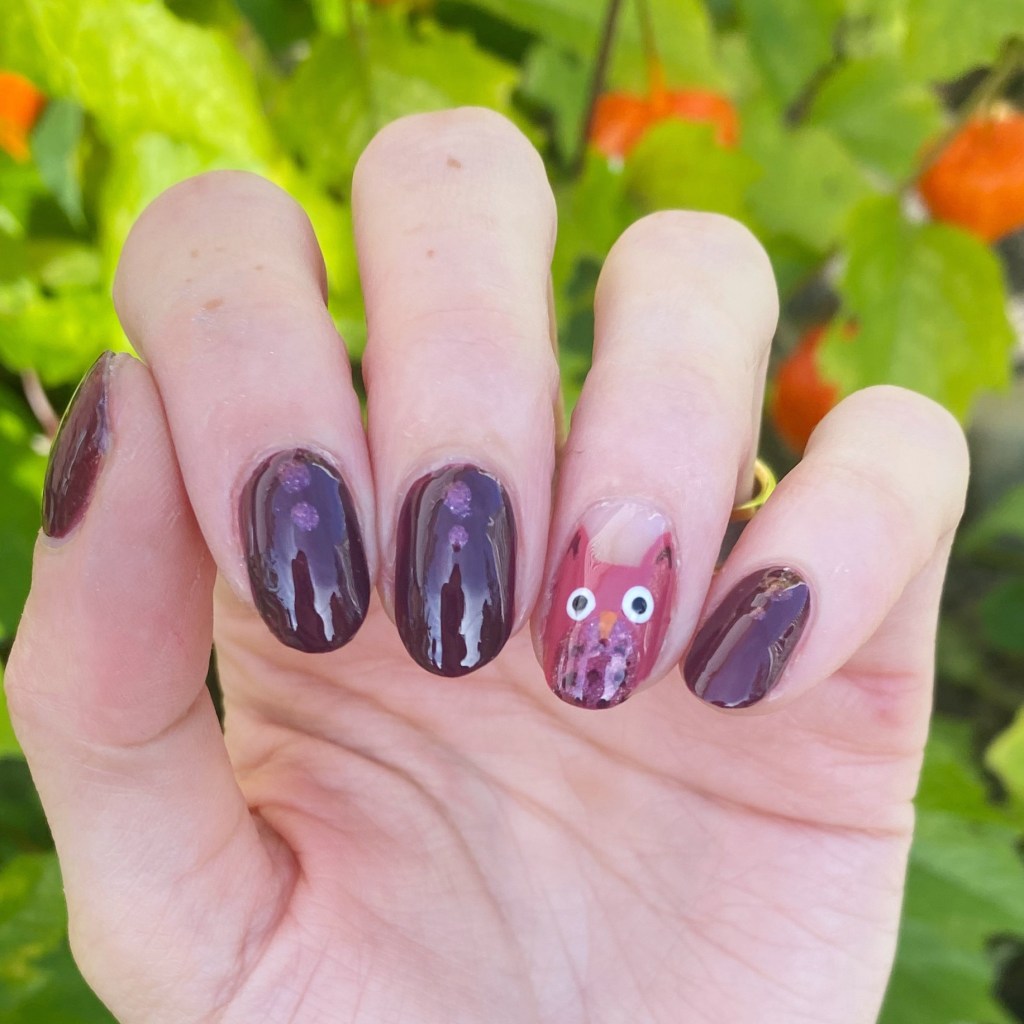
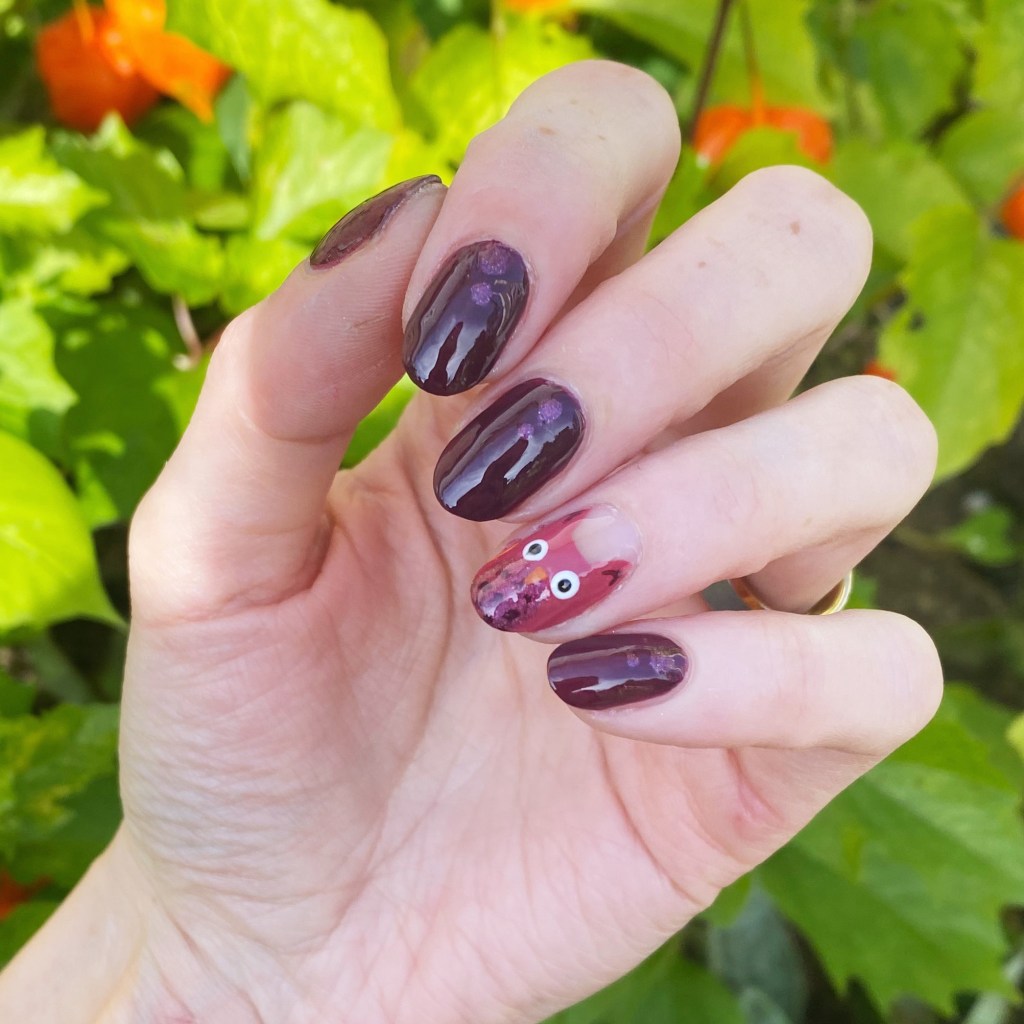
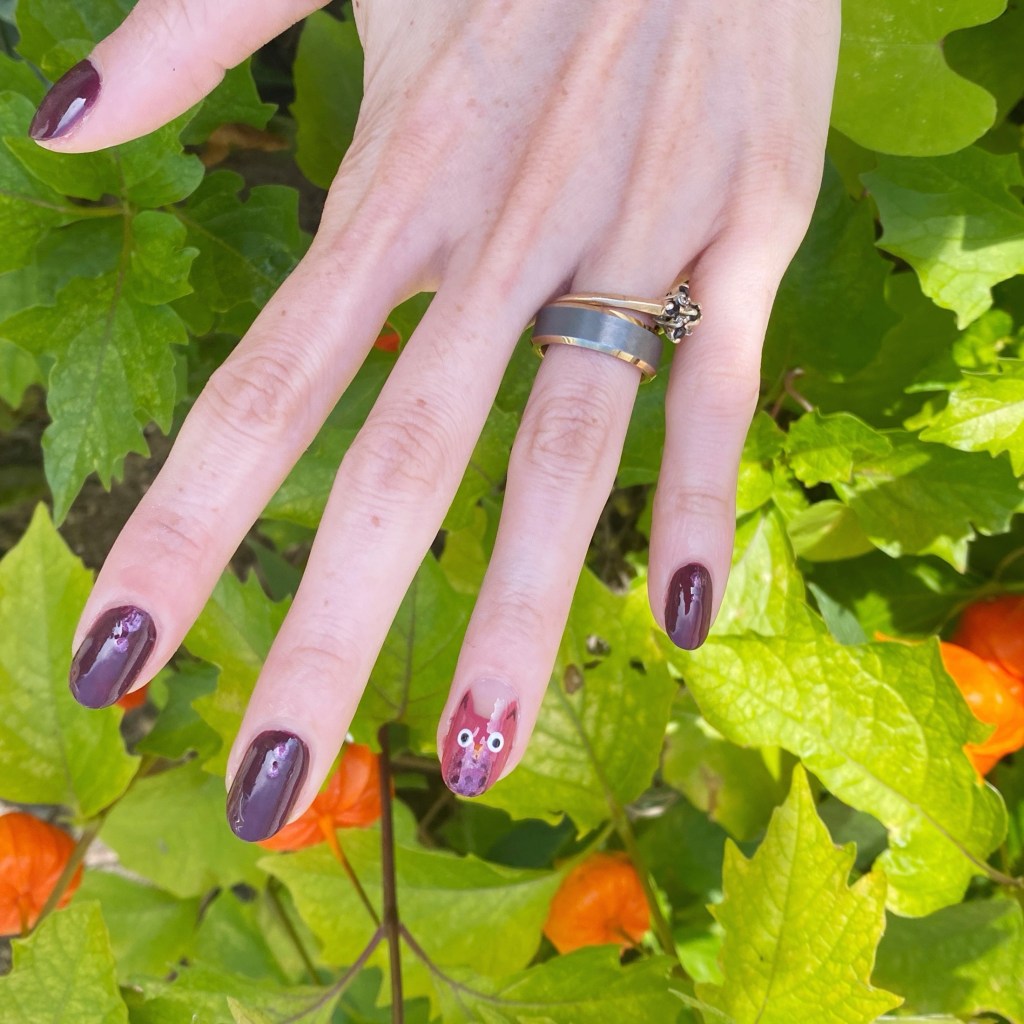
Today’s prompt is Owl & I decided to create this cute little owl accent nail.

The polishes I used for this manicure are: 

  • Base Coat: Essie First Base 
  • Base Coat: LA Colors Mega Grow Treatment 
  • Top Coat: Essie Speed Setter
  • Sally Hansen Good. Kind. Pure. Beet It.
  • Sally Hansen Good. Kind. Pure. Eco Rose.
  • Sally Hansen InstaDri Burnished Wine
  • Sally Hansen Complete Salon Manicure Let’s Snow
  • Sally Hansen InstaDri Up To Snuff
  • Sally Hansen InstaDri Ghouls Night Out
  • Nailstuff.ca Mermaid Tail 7mm liner brush
  • NailStuff.ca dotting tool from Dotting Tool Trio

I’m actually super surprised I’ve never attempted an owl accent nail before, but I think it turned out pretty cute! These colours just scream Autumn vibes too, which I’m here for. Over all, a cute easy little owl that fits the prompt perfectly! & I couldn’t be happier with it.

Sometimes all you need is just a cute little accent nail.

What do you think about my cute owl accent nail? Do you like how he turned out? Would you wear this design? Let me know what you think in the comments!

Are you following along with the other nail art designs for this month’s Glam Nails Challenge September? Don’t forget, you can check out #glamnailschallengesept24 on Instagram, & see all the other beautiful designs being shared!

Happy Wednesday!

♥︎

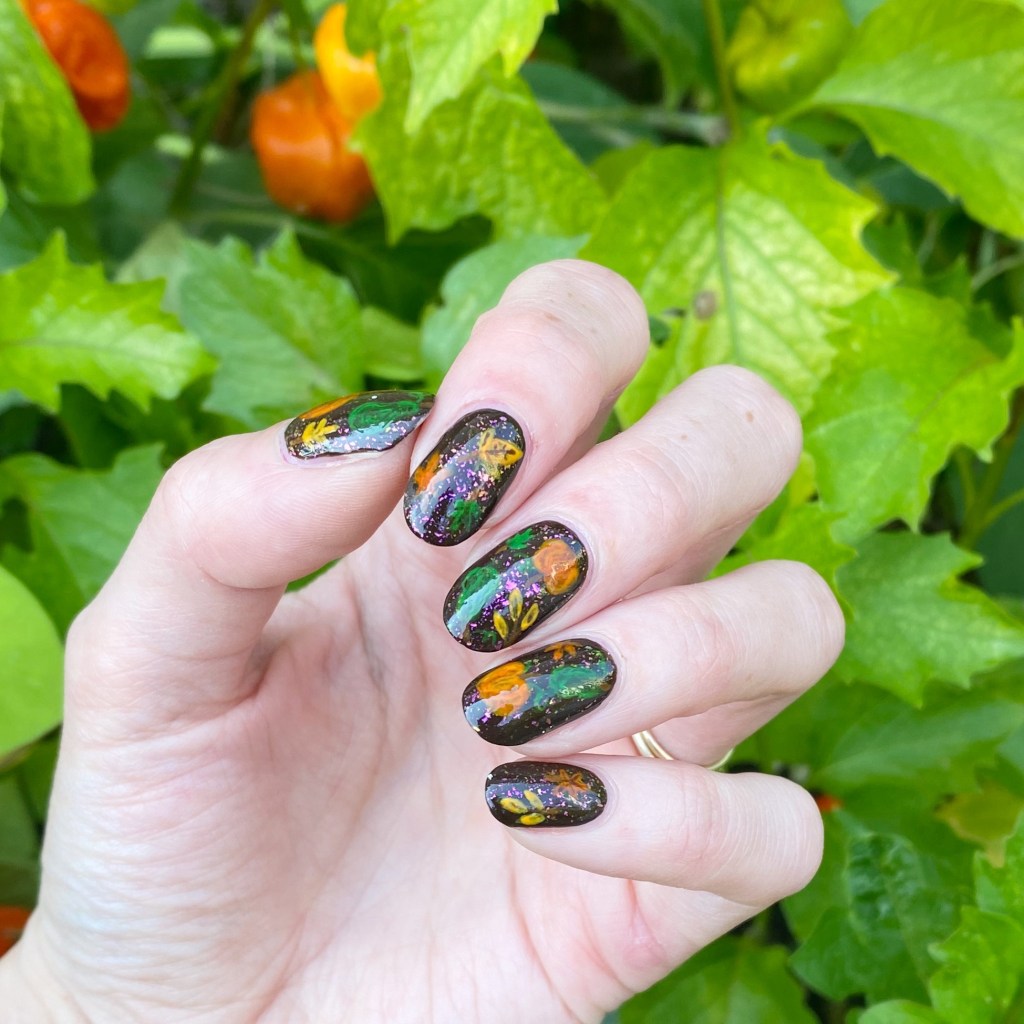
GLAM NAILS CHALLENGE SEPTEMBER (2024) — Autumn Harvest

Hello lovelies & happy Wednesday! Today is a balmy not-so-Autumm day here on the East Coast, not Fall-like at all. But that’s okay because we’re continuing on with our Fall inspired manicures for Glam Nails Challenge September with the next prompt which is Autumn Harvest. & I won’t lie, this one had me a bit stumped at first! So I decided to pull out some acrylic paint & get creative.

The polishes I used for this manicure are: 

  • Base Coat: Essie First Base 
  • Base Coat: LA Colors Mega Grow Treatment 
  • Essie Expressie Cold Brew Crew
  • Sally Hansen Miracle Gel Moonlight Top Coat
  • Acrylic Paint
  • Nailstuff.ca Mermaid Tail 7mm & 11mm liner brushes

So I don’t know if you can tell, but I handprinted some pumpkins & squash, & then filled into the space with some Fall foilage. I feel like maybe using such a dark base colour might have been a detriment to my design, but it looks very pretty up close. & the colours just scream Autumn, which I love!

& you can never go wrong with flakies.

What do you think about these Autumn Harvest nails? Are you getting the prompt from this design? Let me know all your thoughts down in the comments below, & how you think I did.

Are you following along with the other nail art designs for this month’s Glam Nails Challenge September? Don’t forget, you can check out #glamnailschallengesept24 on Instagram, & see all the other beautiful designs being shared!