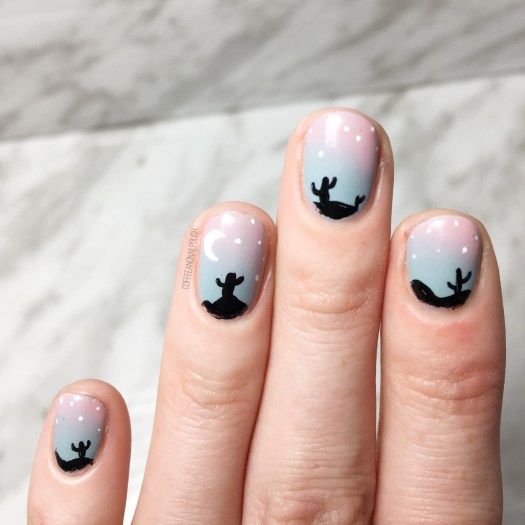
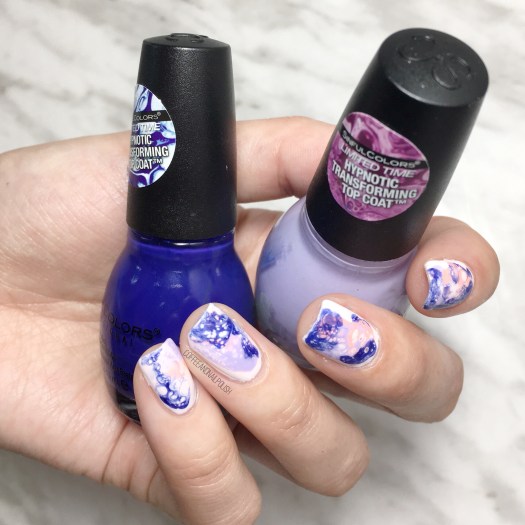
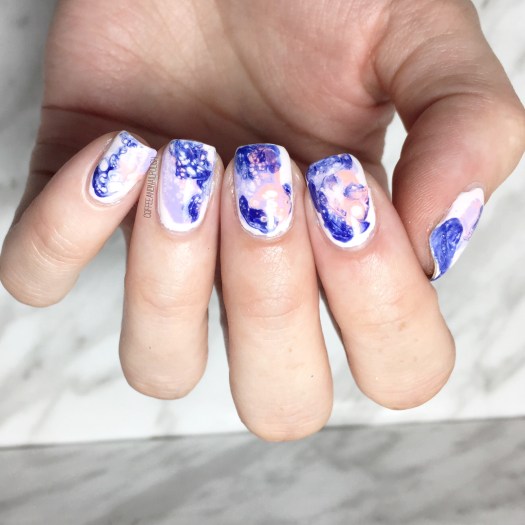
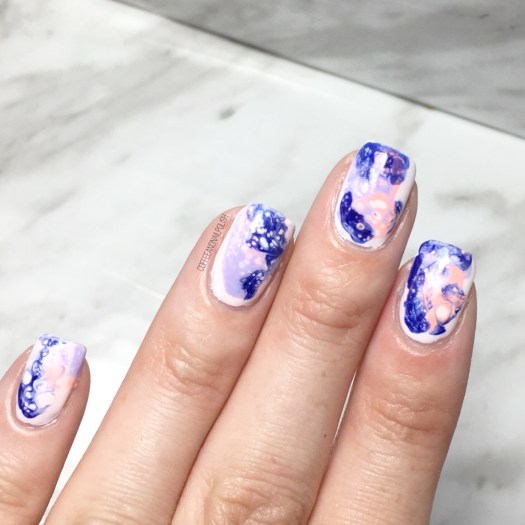
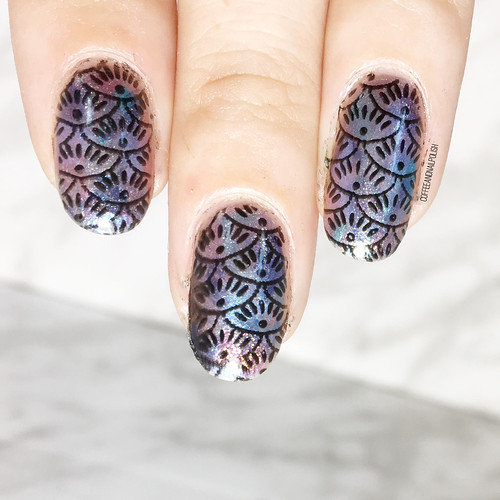
Hello lovelies & happy Wednesday! Today I have another manicure to share with you for the August Glam Nails Challenge! Today’s prompt is Mermaid, which is always a fun design to do. Sadly, I’ve run out of my mermaid pattern nail vinyls, so I decided to stamp my scale pattern onto my nail, since I was pretty sure I wouldn’t be able to freehand them.
I had a pretty specific idea in my mind of what I wanted this manicure to look like, & unfortunately I didn’t have an actual mermaid scale stamping plate, so I went through the plates I do have to find the one which would work best!

For this manicure, the polishes I used were:
- Base Coat: Sally Hansen Complete Salon Manicure Strengthening Base Coat
- Base Coat: Quo by ORLY Bonder
- Top Coat: Essie Gel Couture Top Coat
- Essence Across the Universe
- Essence Mermaid of the Galaxy
- Essence Guardians of the Unicorn
- Essence Space Glam
- Essence Intergalactic Adventure
- Essence Black in Black
- NailStuff.ca Clear Stamper & Scraper (gifted)
- BornPrettyStore stamping plate BP-LO32 (item #23268)


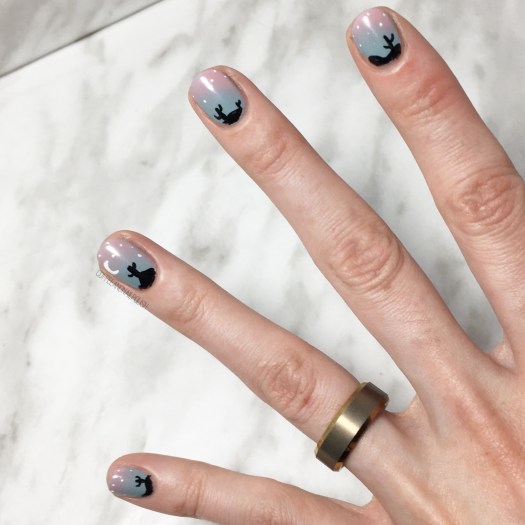
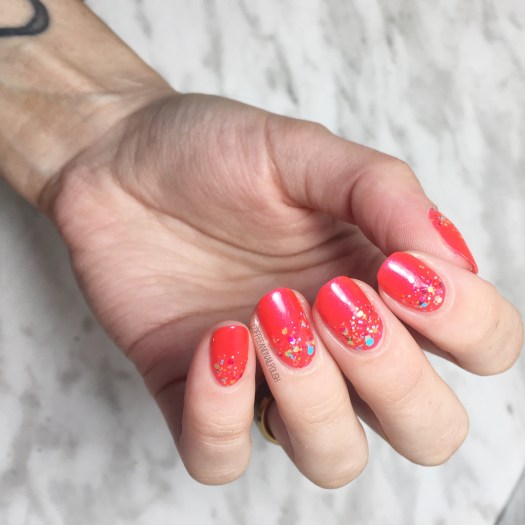
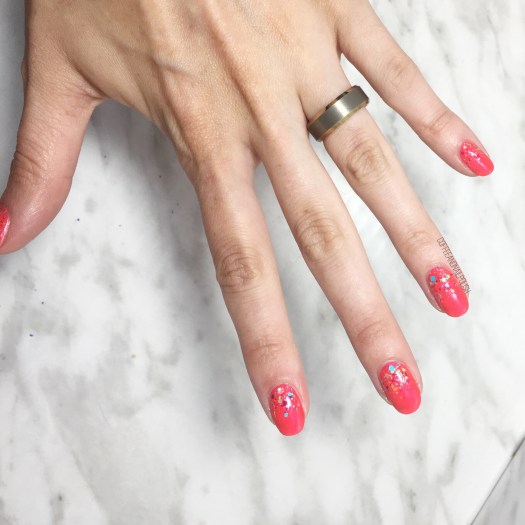
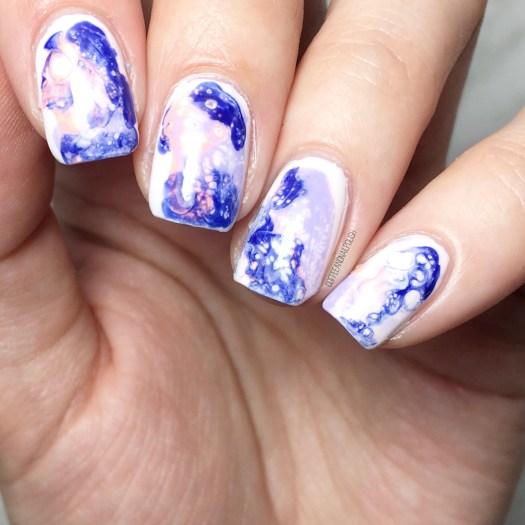
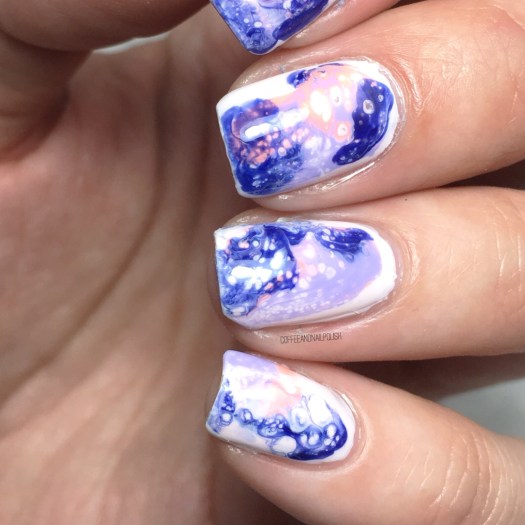
Please excuse the remaining mess around my cuticles. I forgot to use my cuticle barrier because I was rushing, & trying to clean up the polish on my fingers was tricky. That’s what you get when you try for a nap time manicure & want to get your nails done before the babes wake up!
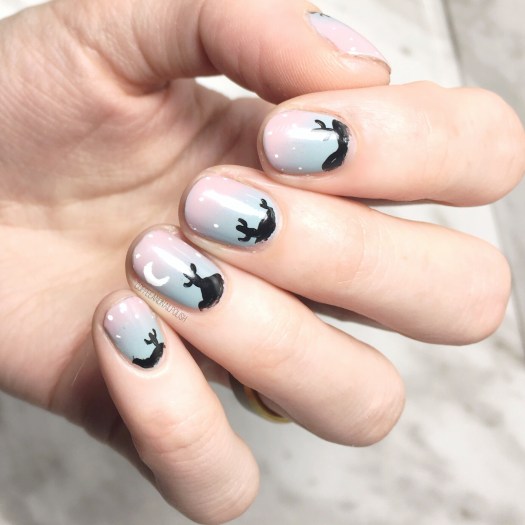
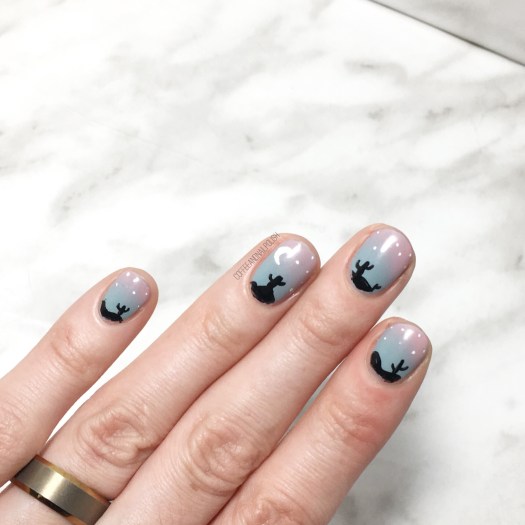
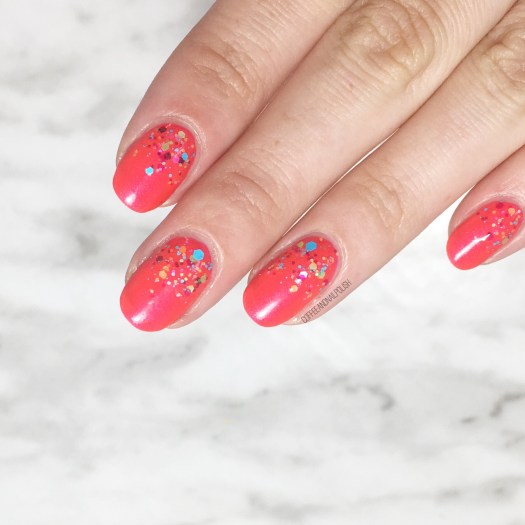
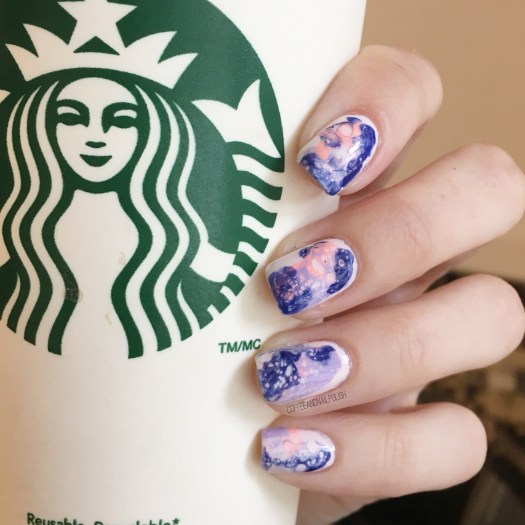
But even if my cuticles aren’t perfect, I’m still so in love with how this manicure turned out! The Essence Out Of Space Stories polishes work so well for this fantasy type design. Especially with the duo/multichrome finishes they have.

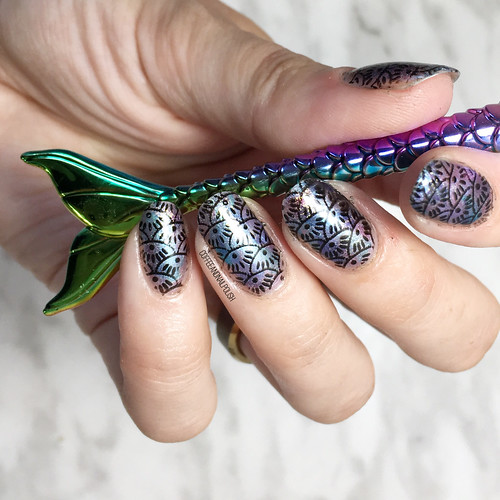
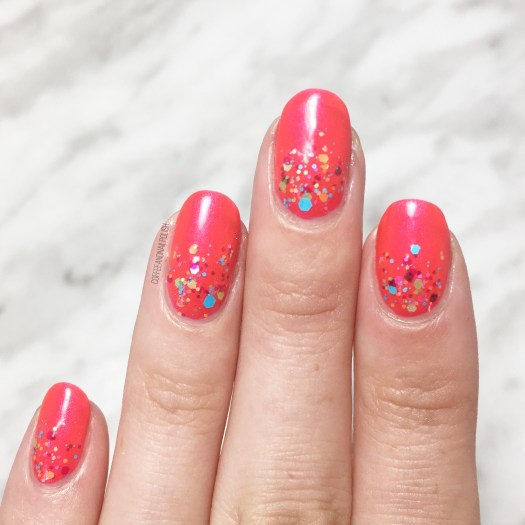
Posing with my mermaid nail art brush because it’s the only mermaid-y item I think I own. I feel like even though I didn’t use a traditional mermaid image, they still came out very mermaid-esque. I actually think I like this pattern even better!

What do you think about these mermaid pattern nails? 🧜🏼♀️ share your thoughts down in the comments below!