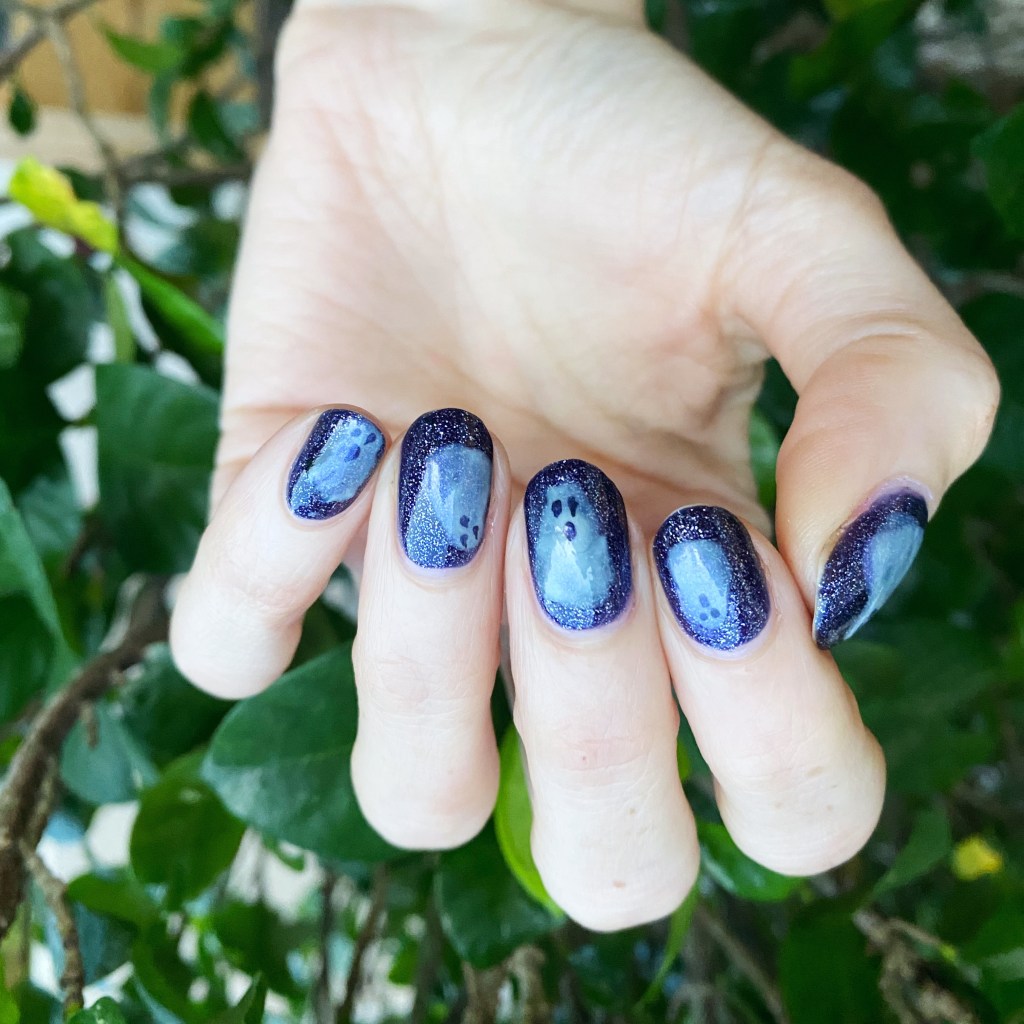
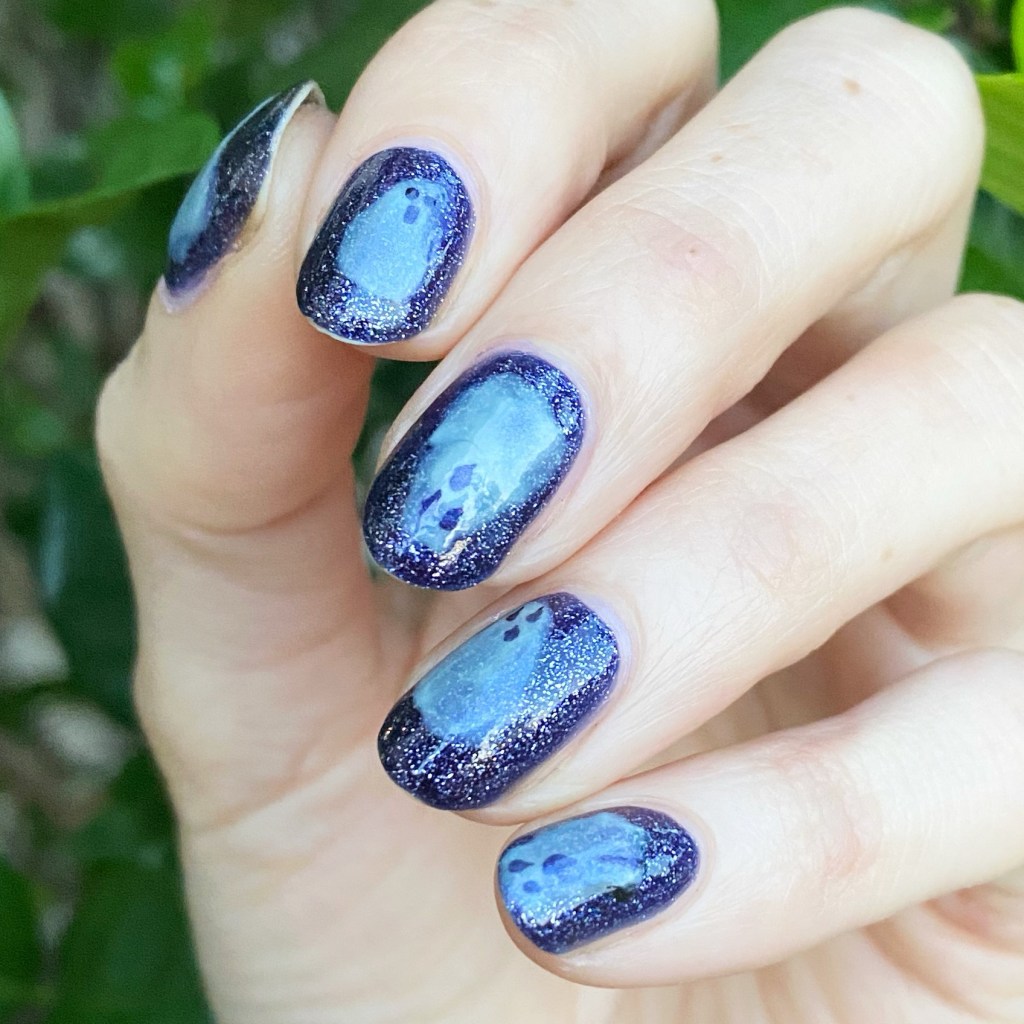
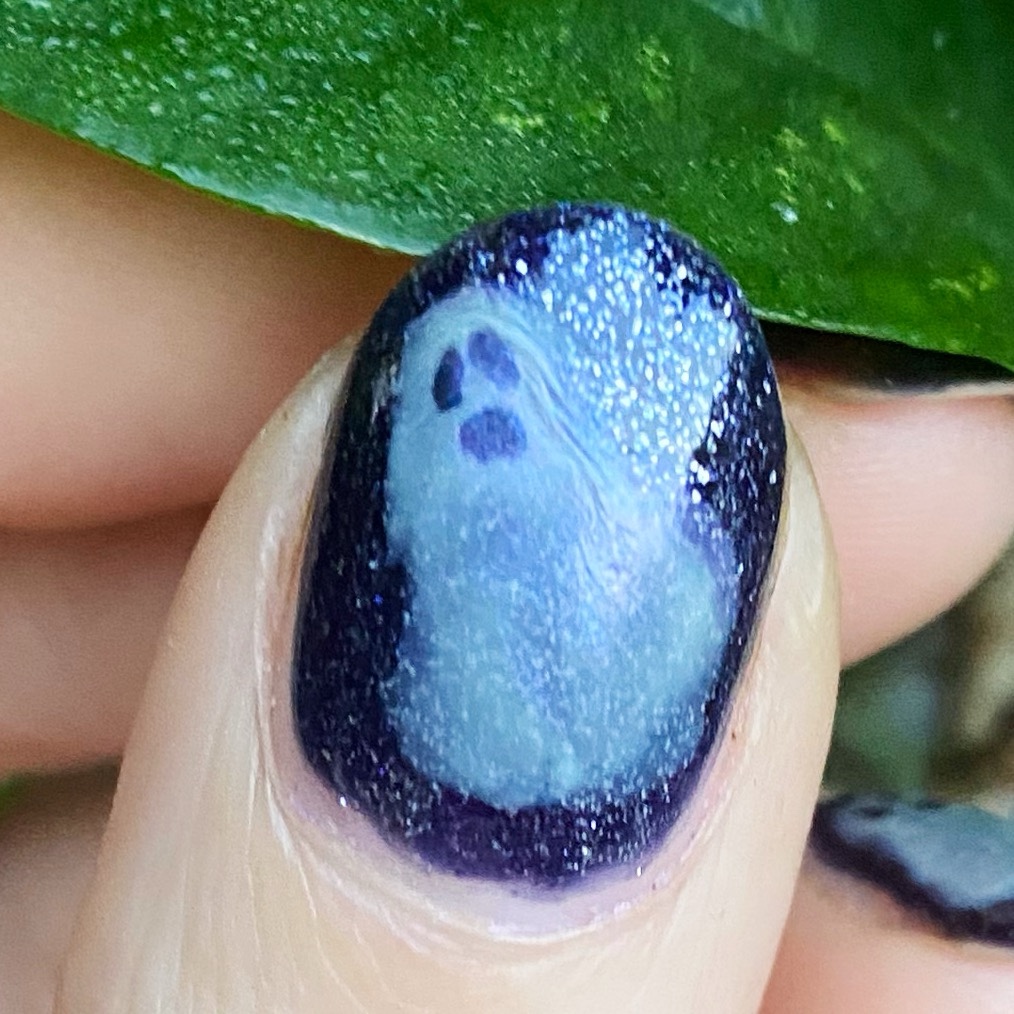
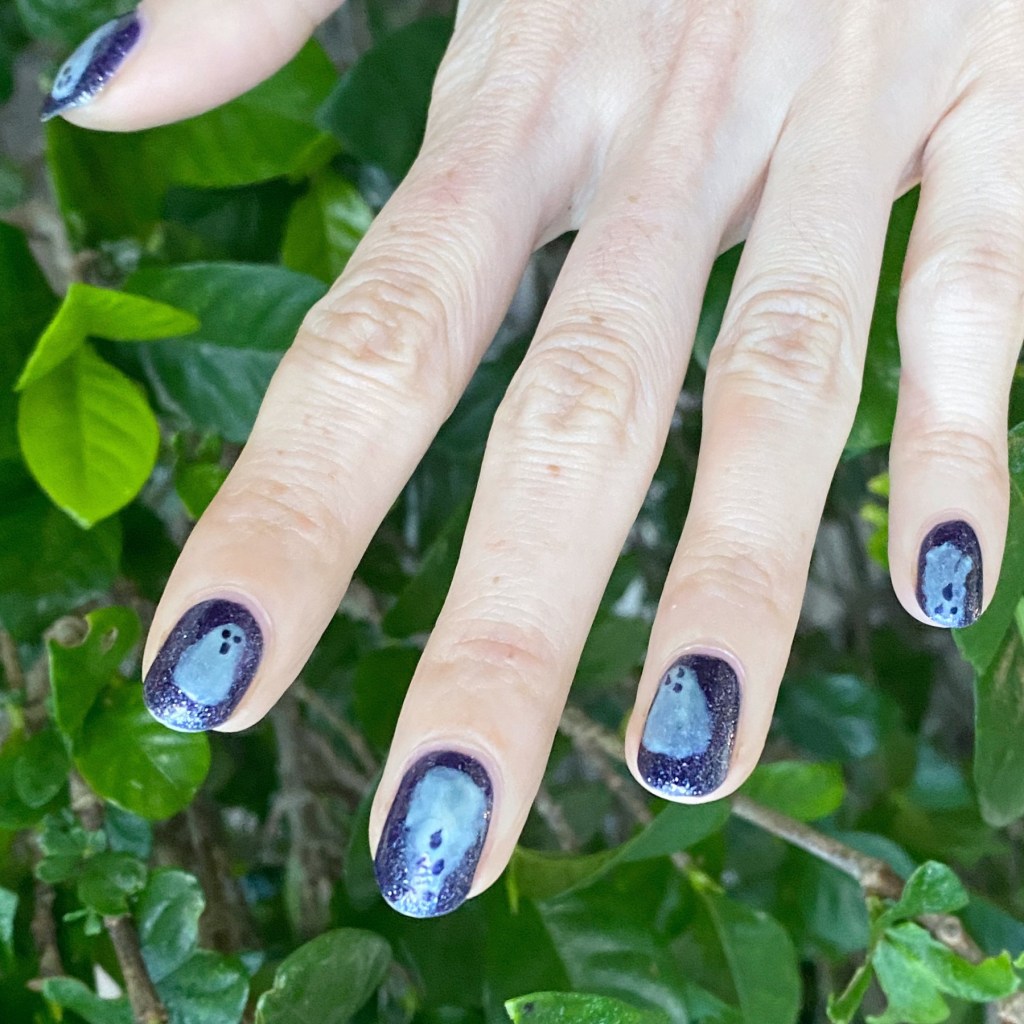
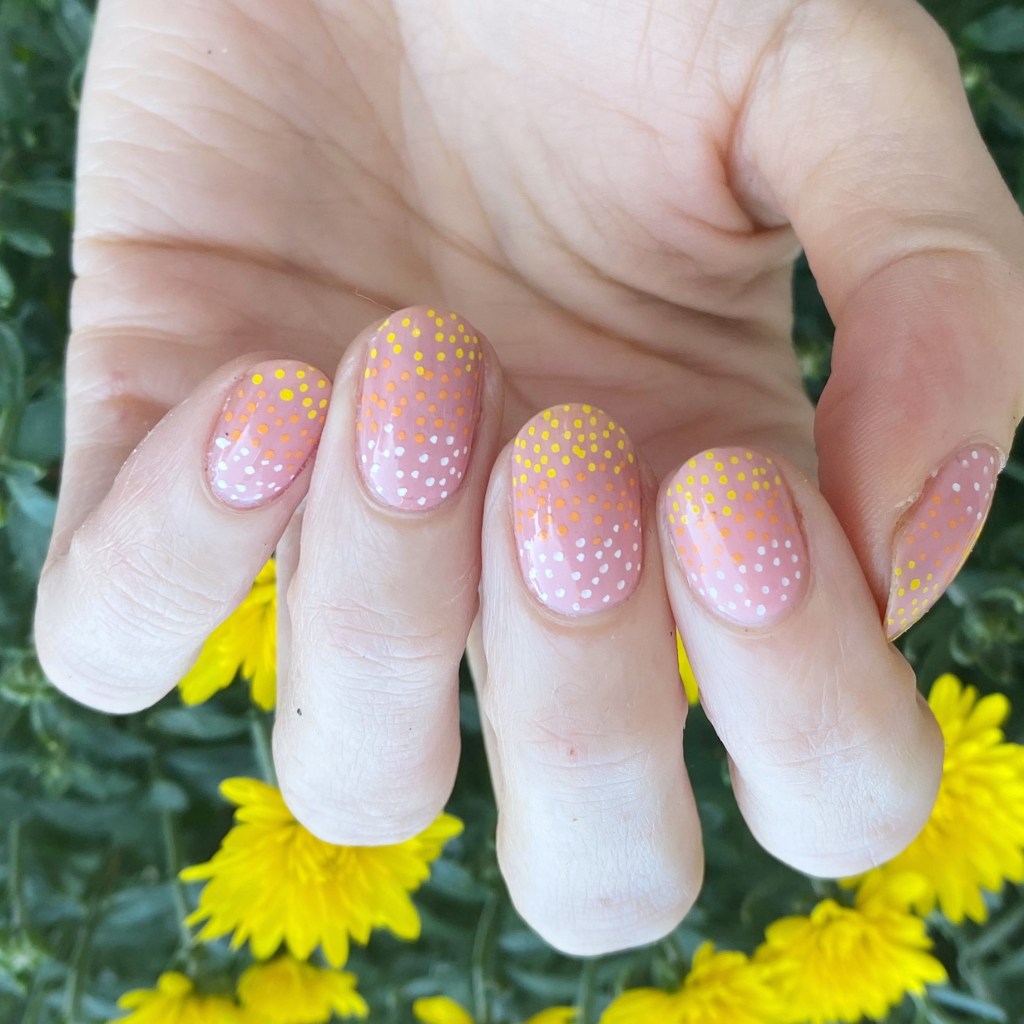
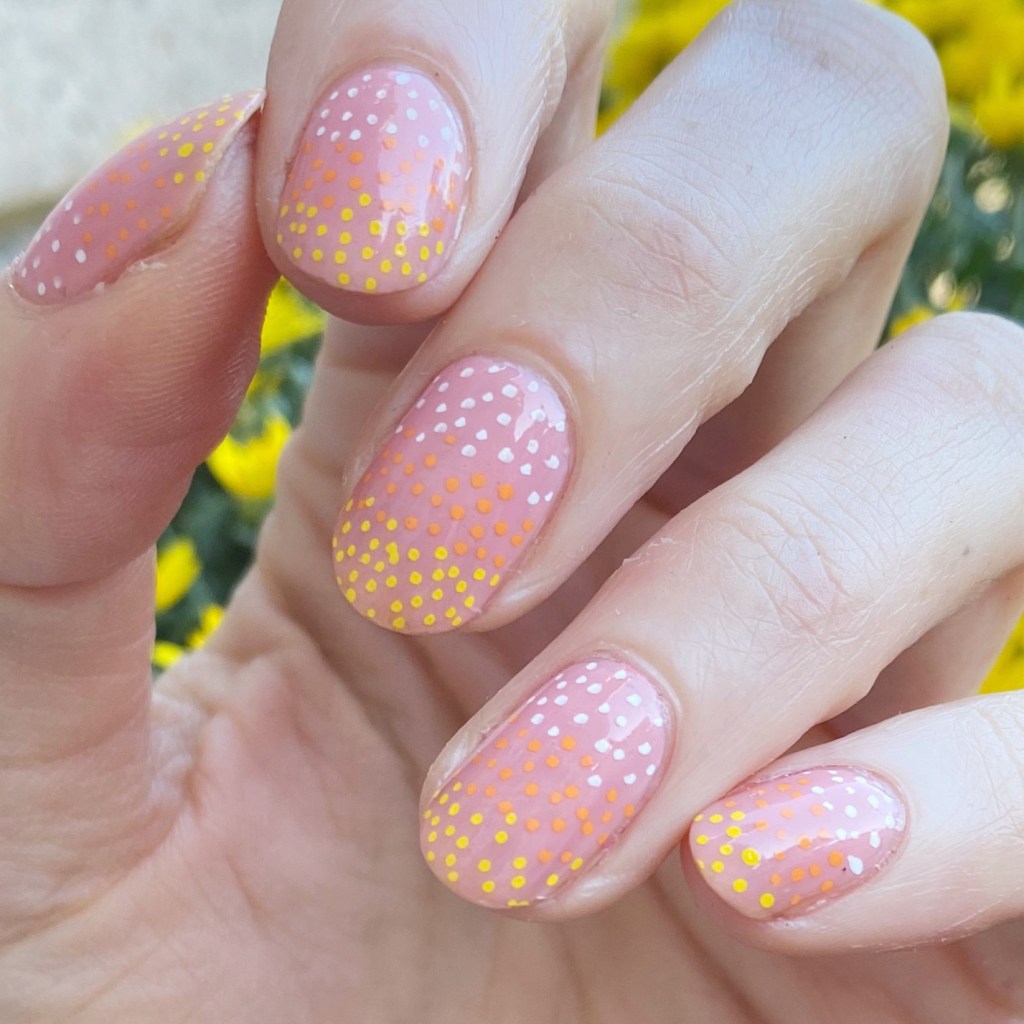
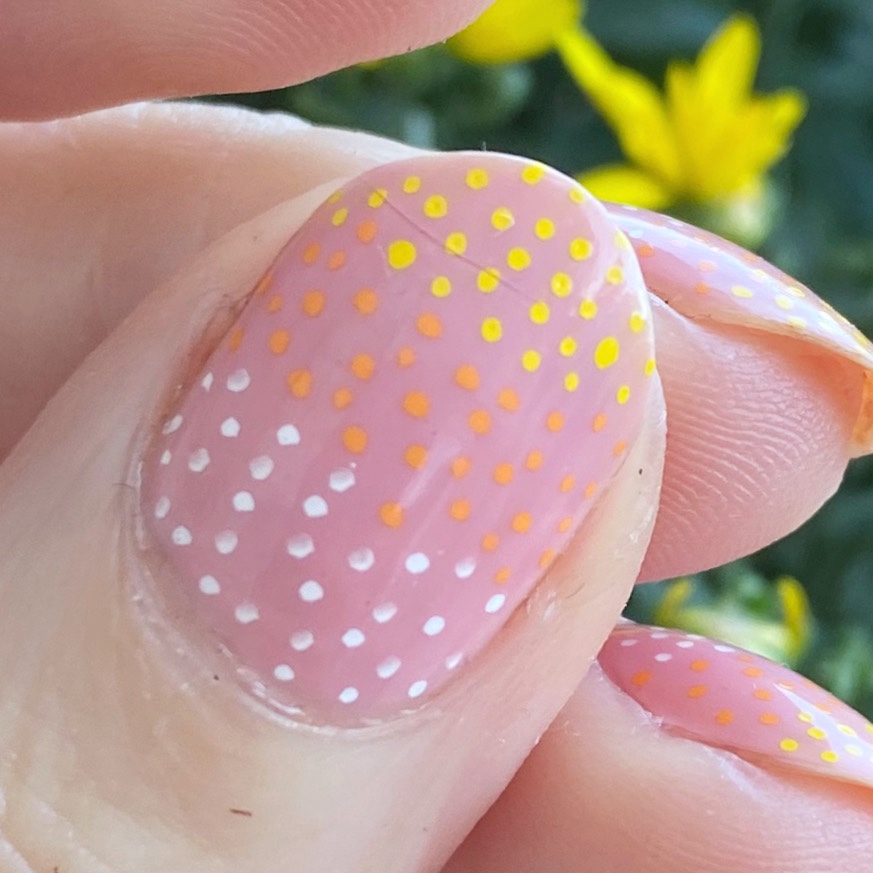
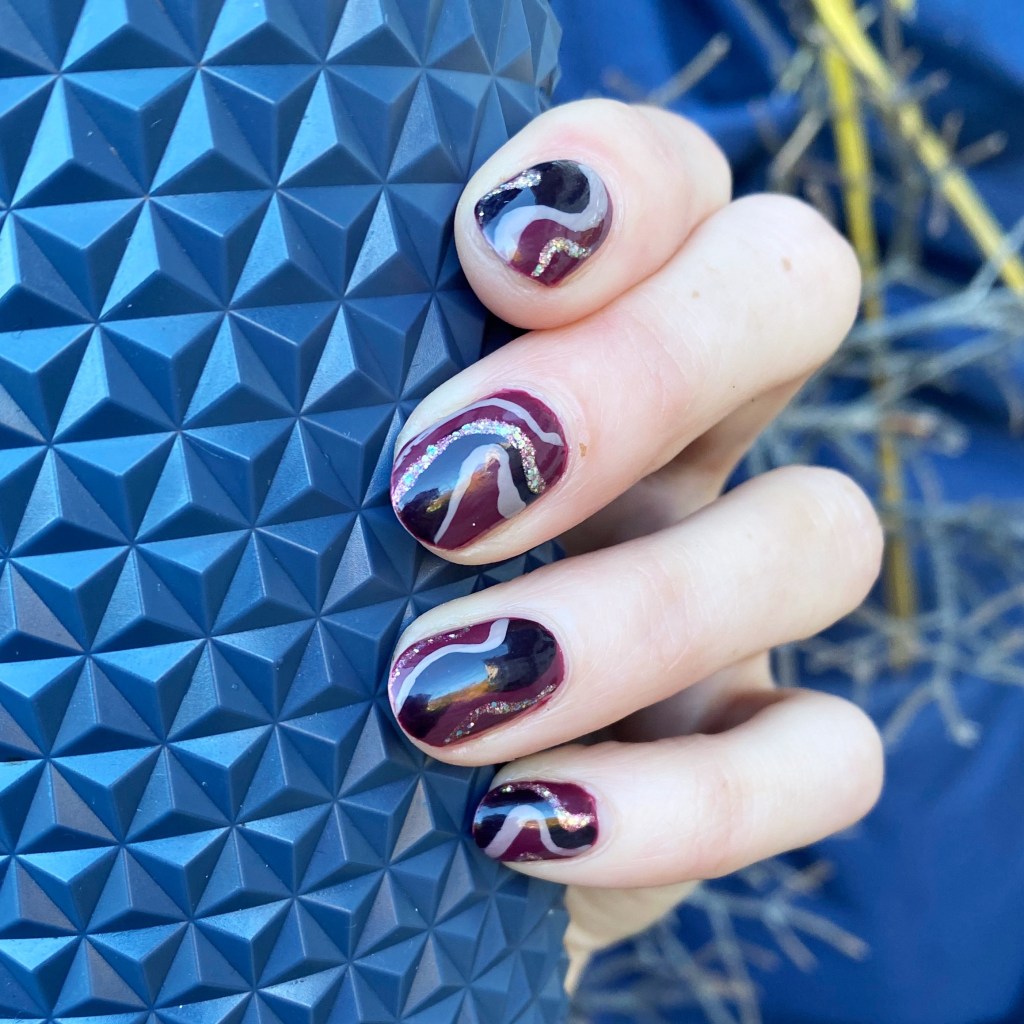
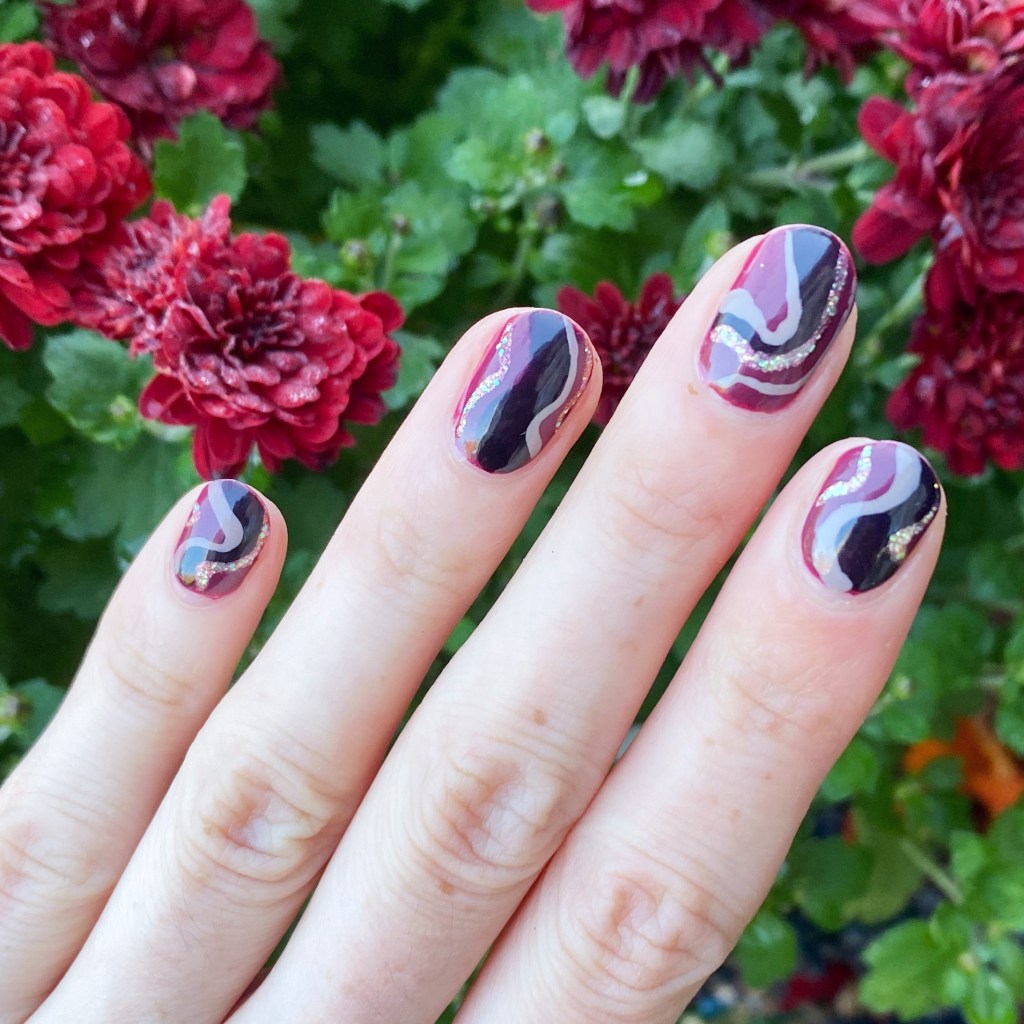
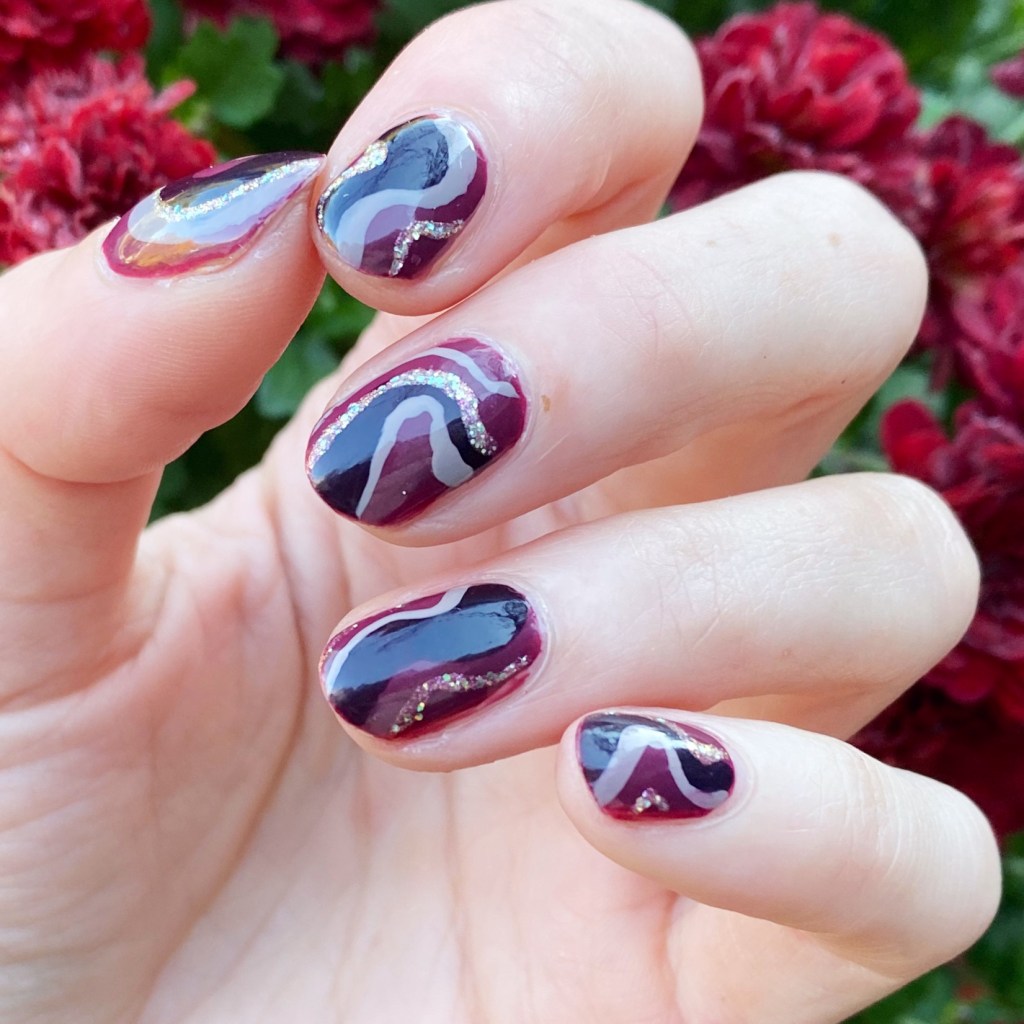
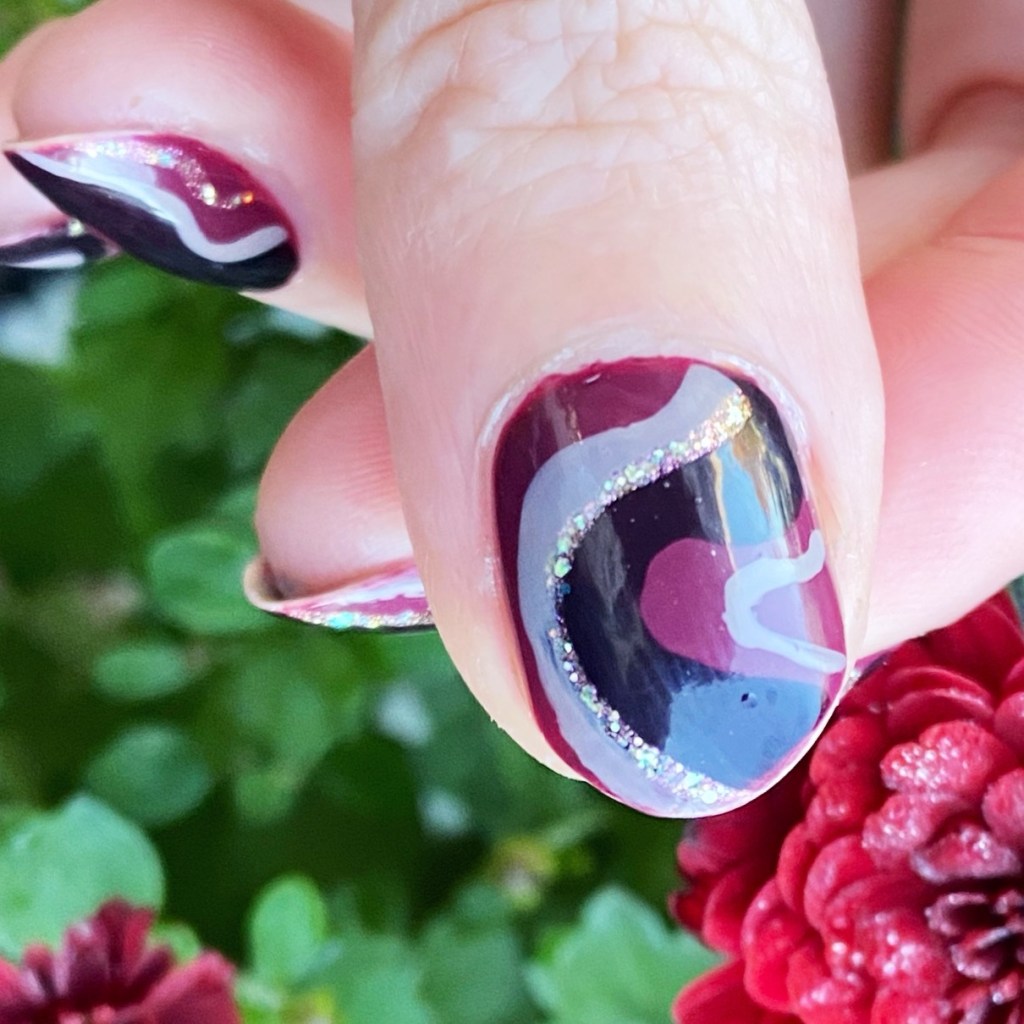
Autumn Abstract Stripes

Hello beauties & happy Monday.

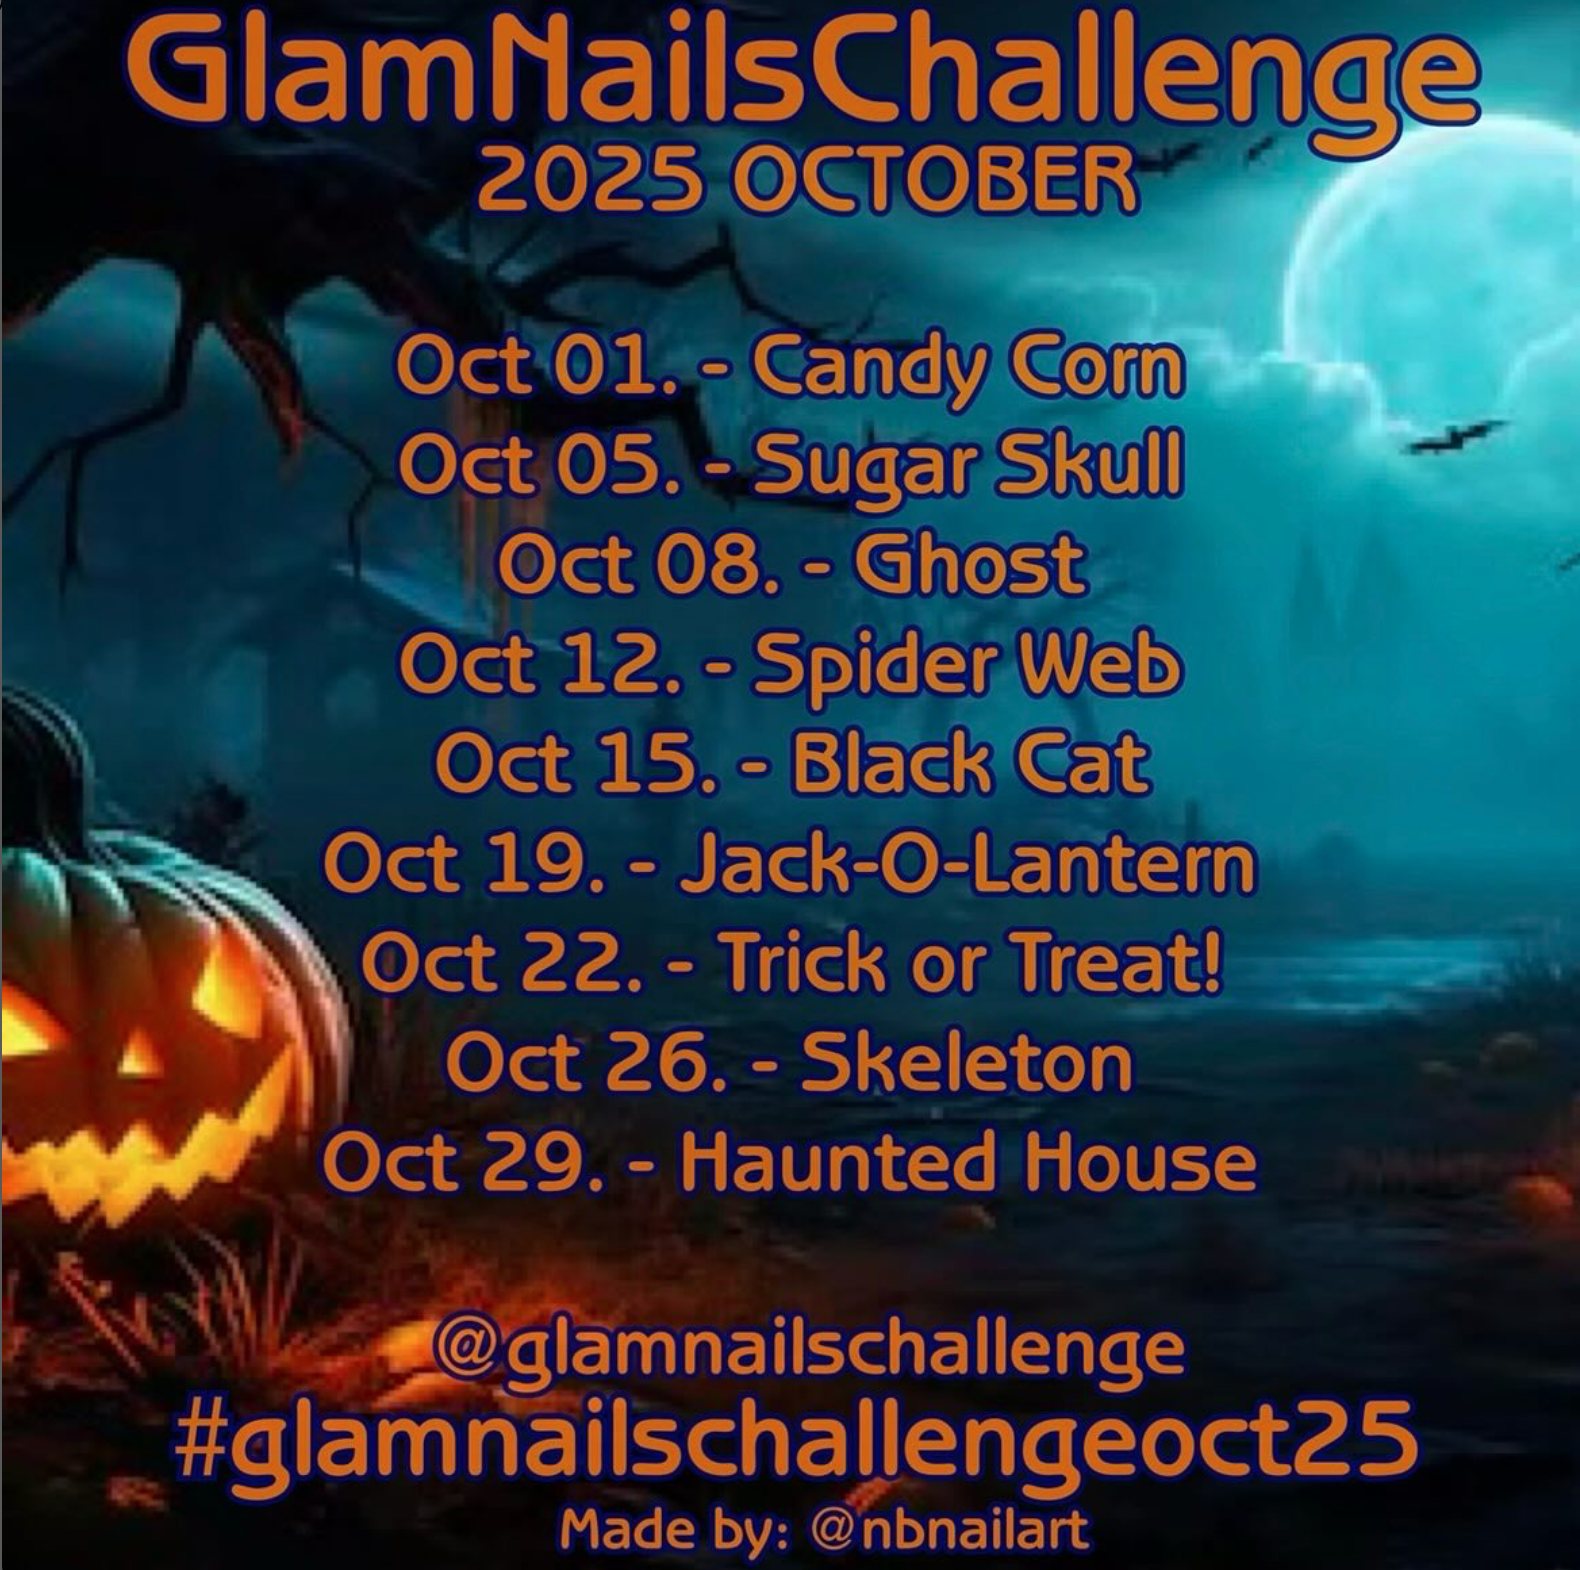
I know — two posts in two days, who is she? But after a rough month with little nail painting motivation, I’m really trying to get back into doing it again. Nail art is my antidepressant, & my brain is so much calmer when I’m regularly creating beautiful designs! I plan on starting Glam Nails Challenge October on Wednesday as well, so prepare for a month of fun prompts & even more fun designs!

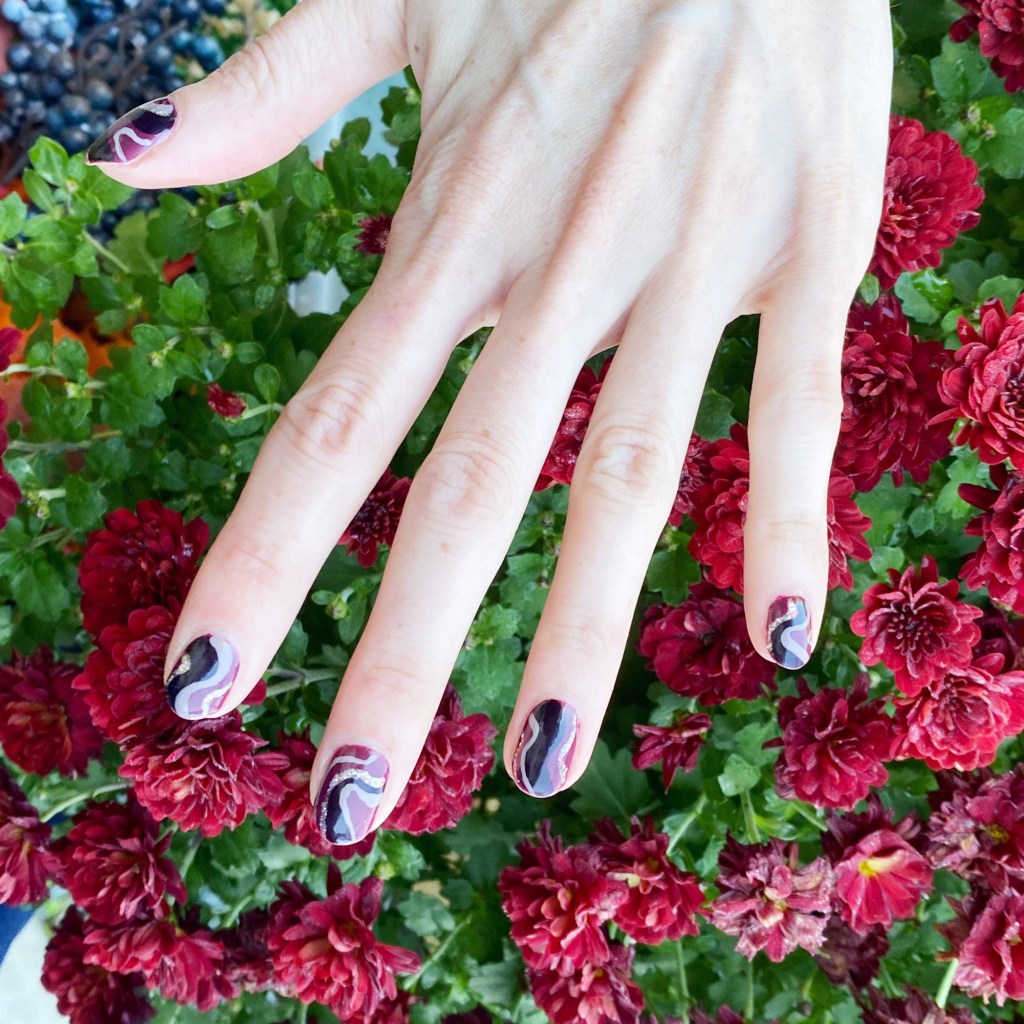
Today’s look — a favourite: abstract stripes. But with an Autumnal flair.

The polishes I used for this manicure are: 

  • Top Coat: Essie Good To Go Top Coat
  • Base Coat: Essie Hard to Resist (purple)
  • Sally Hansen Complete Salon Manicure Berry Fancy
  • Revlon Black Cherry
  • OPI Icelanded a Bottle of OPI
  • Quo Beauty Shimmer & Shine
  • Nailstuff.ca Mermaid Tail 7mm liner brush

At first, I thought about doing classic (straight) stripes — but there is something about abstract stripes that just feel fancier to me. Especially now that my nails are feeling so short. They just look way fancier (& complicated!) than they actually are, which I love.

What do you think of my Autumnal abstract stripes? Are you a fan of these designs? Also, are you excited for October & Halloween designs?! Let me know in the comments below.

Happy Monday

🖤

Neutral Sparkle Colour Blocking

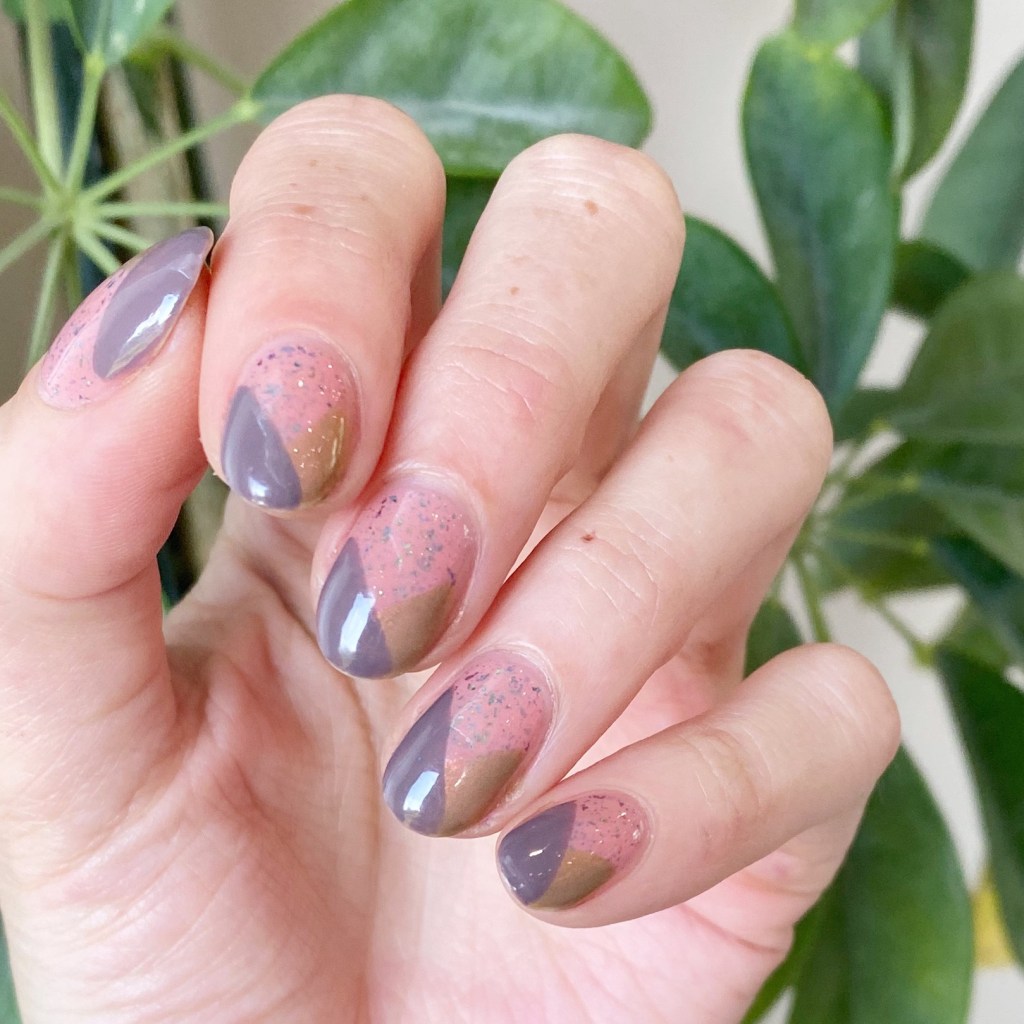
Hello loves & happy Friday. I’ve been pretty quiet this week on the blogging front — end of Summer kind of does that to me. But I didn’t want to end this week without posting at least one nail art look, & I think this particular design is perfect.

The polishes I used for this manicure are: 

  • Top Coat: Essie Good To Go Top Coat
  • Base Coat: Essie Hard to Resist (purple)
  • Beyond The Nail Glistening Fairy Nails
  • Essie Merino Cool
  • Essie Light as Linen

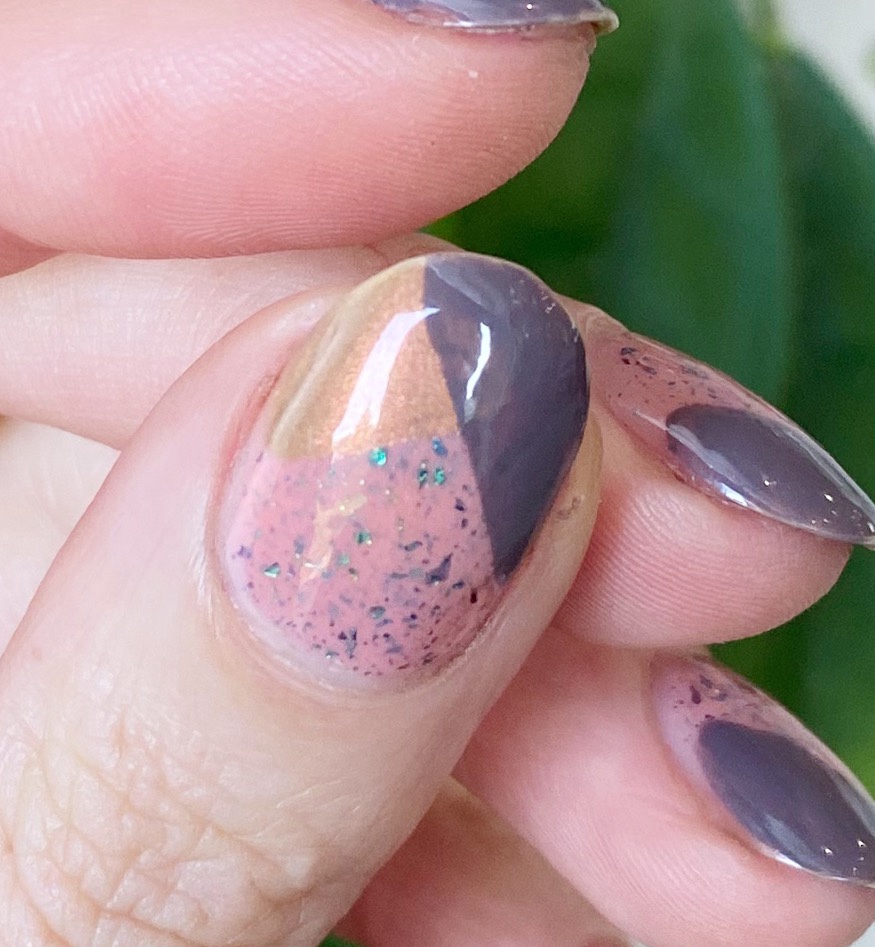
I love the mixed finished of this colour blocking look. You have the flakie look of Glistening Fairy Wings, the shimmer of Light as Linen & the cream finish of Merino Cool. Usually when I do my colour blocking, I stick to one — sometimes two — finished but I’ve never done anything so contrasting before (I don’t think, at least). I also really like the neutral colour palate— it’s not as eye catching as some colour blocks I’ve done, but it is so beautiful in its cooler tones.

I just really love how this looks, & I got so many compliments on them when I wore them to work.

What do you think about this neutral colour blocking look, with a touch of sparkle? Do you like how I mixed up the polish finishes? Would you wear this design?

Let me know all your thoughts down in the comments below & share what you’re wearing on your nails right now!

Happy Friday

🖤

Pink Glitter Placement 🩷✨

Hello lovelies & happy Wednesday! How is everyone’s week going so far? Enjoying the balmy weather? Our days have been hot hot hot which means the grass is crunchy & the fire risk is extremely high. I don’t usually wish for rain, but we could definitely use some.

Today, though, let’s share some pretty nails.

& you know what’s pretty — a flakie glitter placement. Especially when it is as easy as this one was to do!

The polishes I used for this manicure are: 

  • Top Coat: Essie Good To Go Top Coat
  • Base Coat: China Glaze Calcium Gel Fortifier
  • China Glaze Glow With The Flow
  • ‘Ard As Nails Fairy Flakes

Look at those pretty sparkles! They’re just so pretty, & girlie & sparkly. I love it. This was also a super simple design to do, with no tools needed. & it’s just the right amount of sparkle — especially over a vibrant base like Glow With The Flow.

What do you think about my pretty pink glitter placement? Do you like this glittery combination? I’m still on the hunt to add more glitters to my collection for glitter placement looks — especially come to Autumn months. So please let me know your favourites!

Happy Wednesday.

♥︎

Pink Roses & Baby’s Breath Bouquet Manicure

Hello loves & happy Friday! I hope everyone is enjoying their week so far. It’s been a beautiful week here so far, but honestly I won’t like — the nights have been giving Autumn. It’s been cool, & nice, & has me craving pumpkin everything. I’m just such a basic girl, & I’m okay with that.

But, I won’t jump into the Autumn vibe nails quite yet — I’ll wait until Starbucks releases their PSL at least. So I have some pretty floral nails to share with you.

The polishes I used for this manicure are: 

  • Top Coat: Essie Gel Setter Top Coat 
  • Base Coat: China Glaze Calcium Gel Fortifier
  • Essie Gel Couture Electric Geometric *pr
  • Essie Shine of the Times
  • Essie Princess Charming
  • Essie Mrs. Always Right
  • Essie Gel Couture Gossamer Garments *pr
  • Essie Wind in the Willow *pr
  • Essie Bustling Bazaar
  • OPI I Cannoli Wear OPI
  • Nailstuff.ca Mermaid Tail 7mm liner brush
  • NailStuff.ca Dotting Tool 

I absolutely love these. I love the base with the glitter. I love how my roses turned out. I love the little bit of babies breath. I just think the whole design came together beautifully, & I truly adore them.

Also, my 10 year wedding anniversary is coming up this September, & I think I’m going to recreate my wedding nails (again) 10 years later. I did it back in 2018 so I thought it would be fun to do now… what do you think? Would you like to see me do another recreation of my original wedding nails, or maybe what I would do now if I were to paint my nails to get married?

Let me know what you think!

Do you love these romantic roses? Let me know all your thoughts down in the comments below. Happy Friday!

♥︎

Throwback Blue Dotticure

Good morning lovelies & happy Wednesday. I feel like it’s been a while since I did a Wednesday post. The last couple months have thrown my usual posting schedule all out of whack, but I’m really trying to get back to regular programming. (That includes regularly painting nail art on my nails instead of just wearing a single colour.)

Today’s look is another throw back to the early days of my blog, when I didn’t know much about nail art (or how to do it) but I did love polka dots. You can never go wrong with a polka dot design, so that’s what we’re rocking today!

The polishes I used for this manicure are: 

  • Top Coat: Essie Gel Setter Top Coat 
  • Base Coat: China Glaze Calcium Gel Fortifier
  • Essie Bikini So Teeny
  • Madam Glam Nail Art Pen Black *pr
  • Madam Glam Nail Art Pen White *pr
  • Madam Glam Nail Art Pen Silver *pr

Look how cute these perfect little polka dots turned out! It’s been a few months since Madam Glam so graciously sent me their nail art pens, & I just adore how easy they make polka dots nails. I’m still trying to perfect other nail art with them, but I can’t recommend them enough for creating perfect little polka dots like for this gradient dotticure. Plus — you don’t have to worry about cleaning off your dotting tool between colours.

What do you think of my gradient dotticure look? Do you love the throwback as much as I do? Do you remember when polka dot designs were the most popular look I would show off on my blog? Let me know all your thoughts down in the comments below!

♥︎