Glam Nails Challenge March — Geometric

Hello lovelies & happy Wednesday! It’s officially half way through the week, & honestly it feels like it’s speeding by. Maybe because this week has had hints of Spring, not just Winter storm after winter storm.

Today I have a fun & funky nail art look to share for Glam Nails Challenge March. Today’s prompt is Geometric, & it’s definitely been a while since my last geometric design, so I was definitely excited to get creative! I used to love coming up with designs like this, so it was fun to get a little old school with my nail art.

The polishes I used for this manicure are: 

  • Base Coat: Sally Hansen Good. Kind. Pure Hardener 
  • Top Coat: Seche Vive
  • OPI Where Did Suzi’s Man-go
  • Dimensions Nails Blue Morpho Butterfly
  • Quo Beauty Flash Dry Loud & Proud
  • Sally Hansen Xtreme Wear Lacey Lilac
  • Starrily Vantablack
  • NailStuff.ca 7mm detail brush

How much fun are these? I love them because the colours aren’t necessarily ones that I would normally pair together, but they’re so much fun! It’s definitely a more striking look than I’ve been wearing lately, & just felt so much fun on my nails. Plus the black looks really good as the outline.

Honestly, when I was doing these I really wasn’t sure if I was going to like them, which happens sometimes, but when they were all finished, they made me so happy. Does that ever happen to anyone else? You’re in the middle of your mani & you’re like “I’m not sure I’m going to like these…” but then when you’re finished, you’re just so in love. Maybe I’m the only one.

What do you think of this geometric look for Glam Nails Challenge March? Would you wear this design? Are you fan of bold nail art looks like this? Let me know down in the comments below!
GLAM NAILS CHALLENGE MARCH — Sweets

Hello lovelies & happy Wednesday! I’m super excited — not only is it the beginning of a brand new month, but it’s the beginning of another month of GlamNailsChallenge! & I decided it would be fun to participate this month since the prompts are all so much fun!

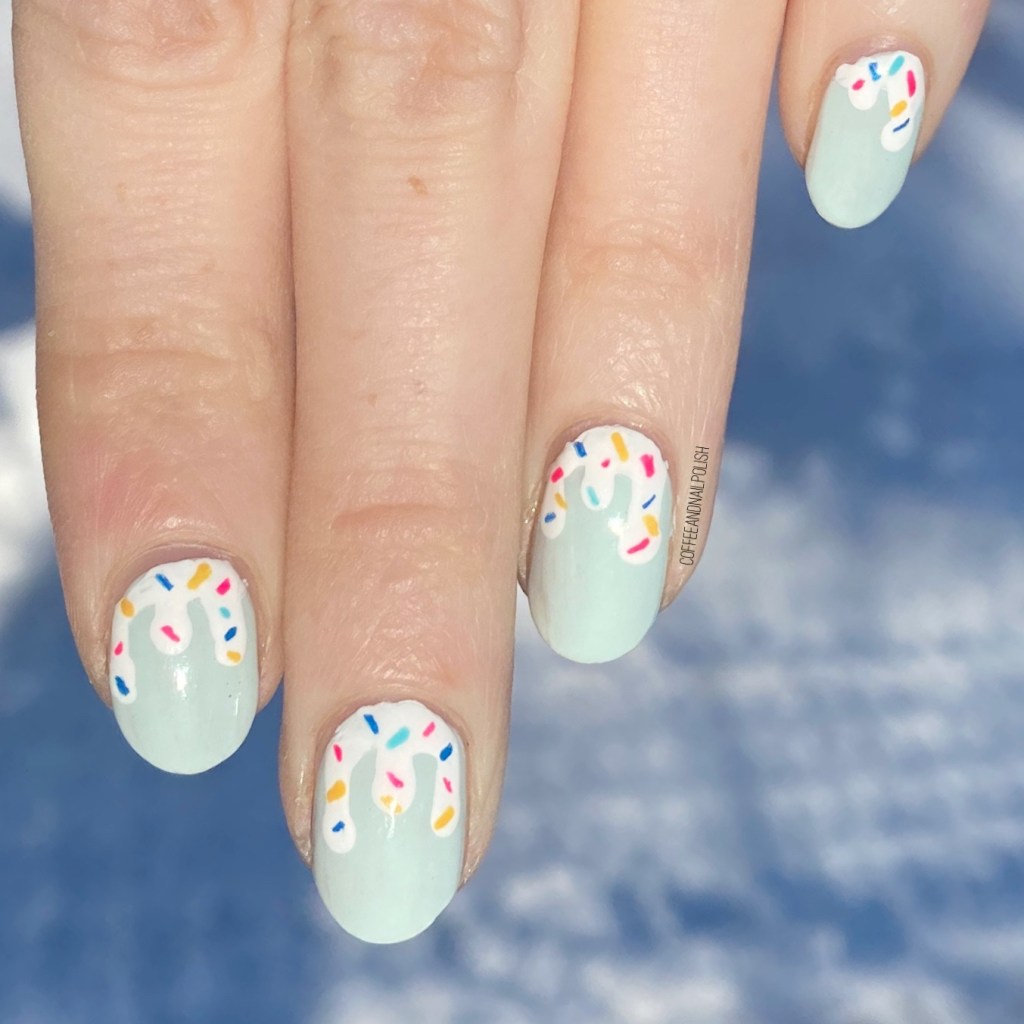
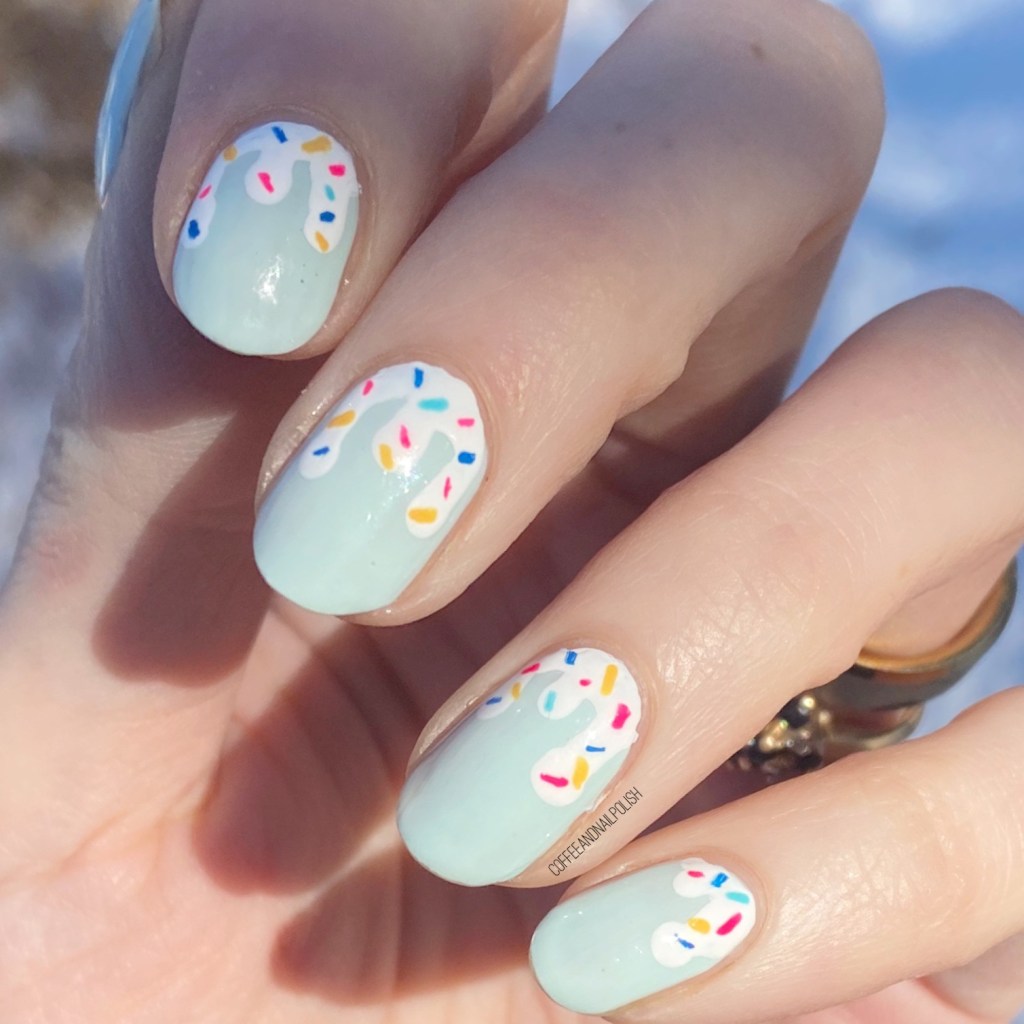
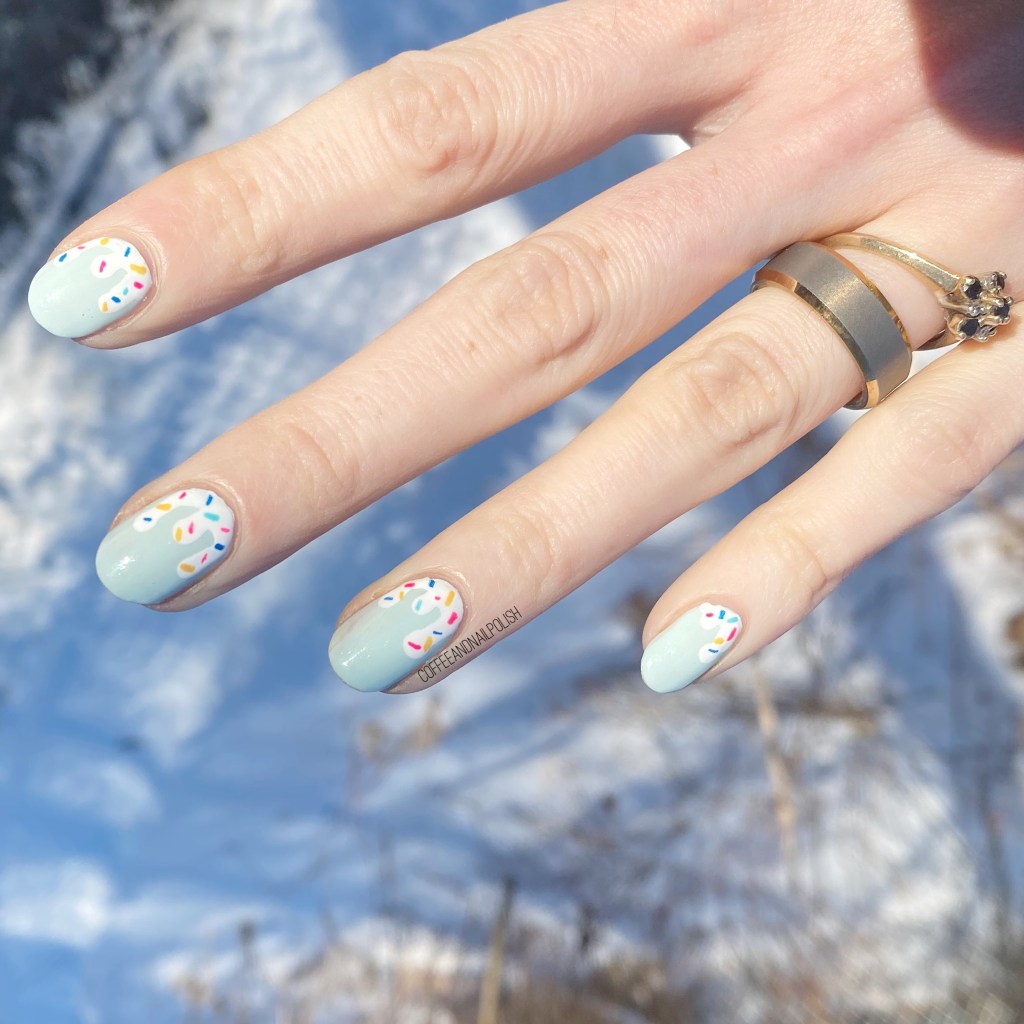
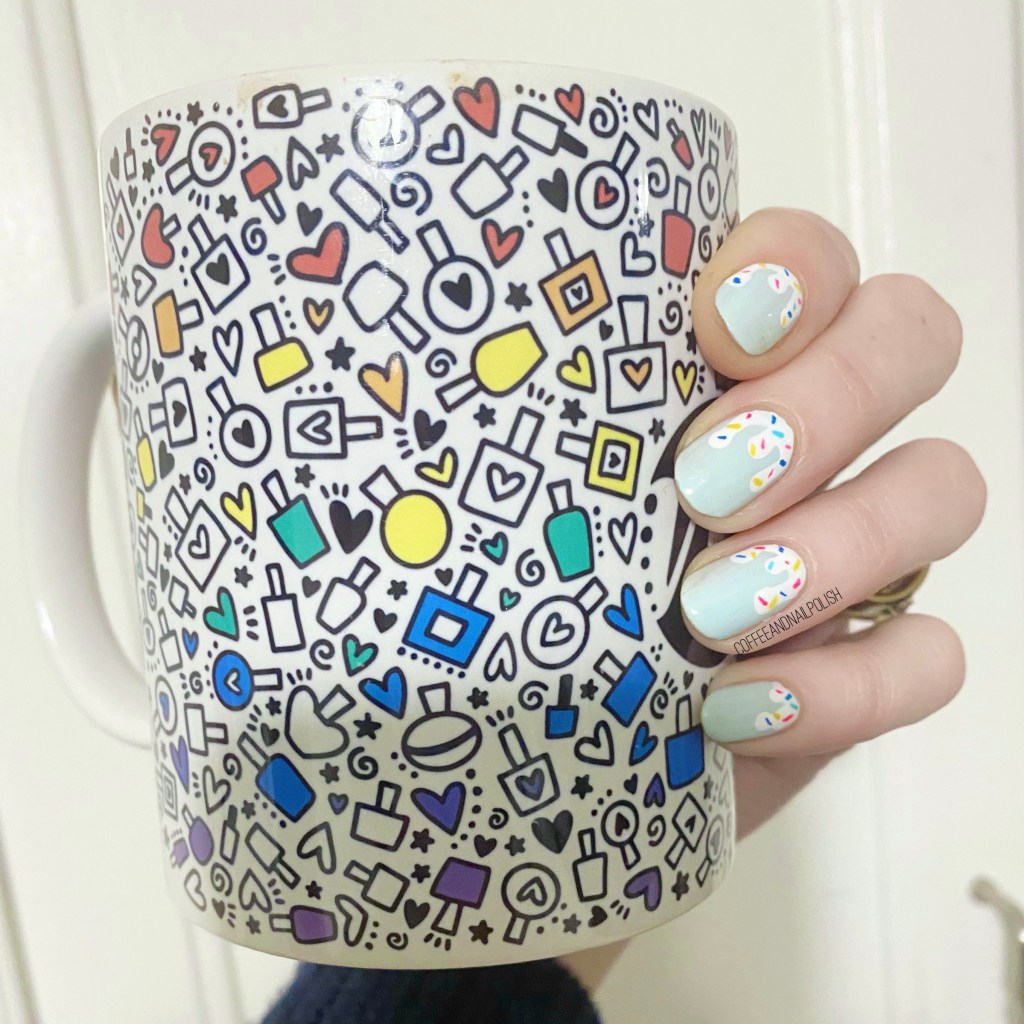
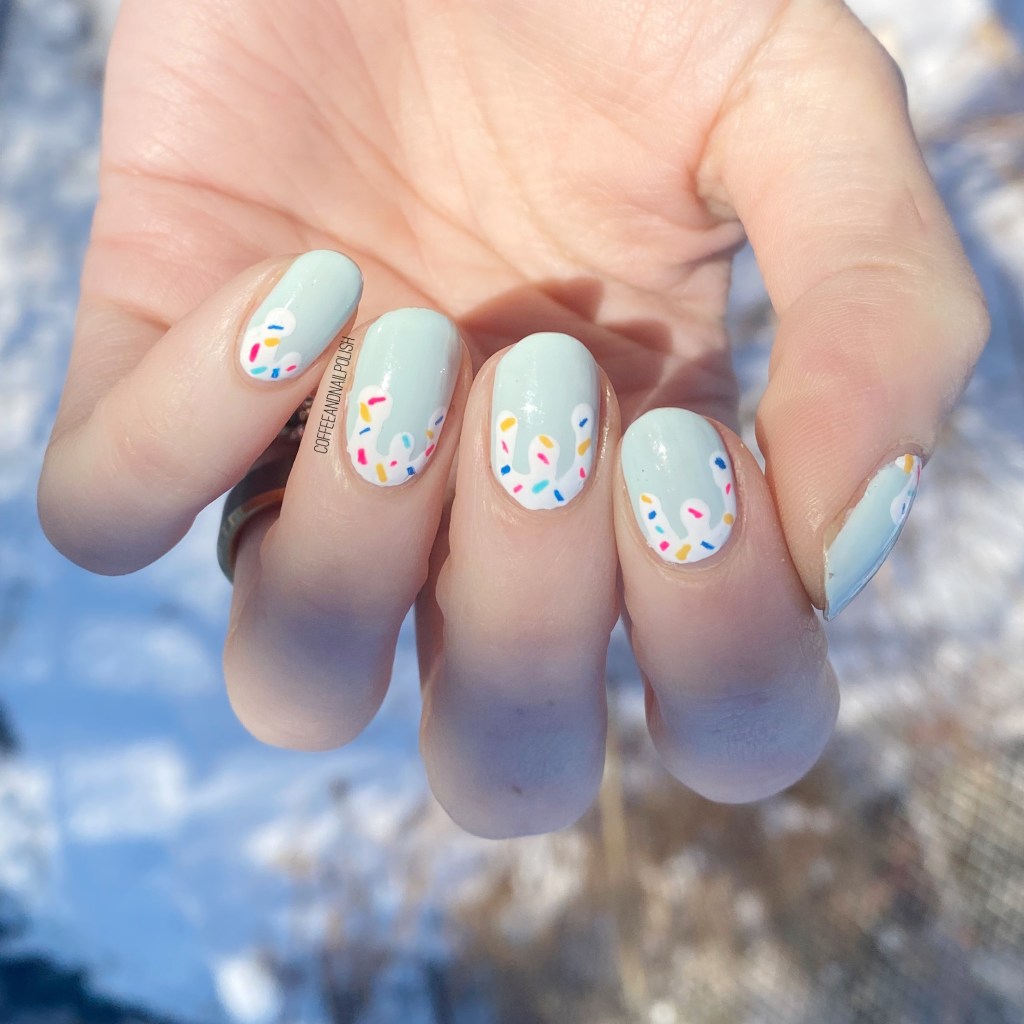
First prompt of the month is Sweets! & I decided to go with a fun dripping ice cream/icing inspired look.

The polishes I used for this manicure are: 

  • Base Coat: Sally Hansen Good. Kind. Pure Hardener
  • Top Coat: Seche Vive
  • Quo Beauty Breathable Tint of Mint
  • Essie Blanc
  • Quo Beauty Flash Dry Loud & Proud
  • Dimension Nails Blue Morpho Butterfly
  • Sinful Colors Wonder Mint
  • Essie Check Your Baggage
  • NailStuff.ca 7mm detail brush
  • NailStuff.ca Dotting Tool Trio

How absolutely adorable did these turn out? Please excuse the very annoying snow in the background, & focus on the cute & spring-y vibes this design is giving off! I am so ready for Spring, even though Mother Nature doesn’t seem to be participating. We’re getting another 10cm of snow today, & I just really, really want to pull my cute floral dresses out again. & the snow is really impeding on that.

Also, this look was super easy to do, but oh man, I don’t know how people get their drips so perfect. That was the one place where I was kind of struggling. But after a bit of work, I’m pretty how with how they turned out. & I love my little rainbow sprinkles!

What do you think about this adorable nail design? Are you ready for all the Spring colours. I’m really, really loving pastels right now, & looking forward to wearing them a lot more frequently. I’m also really, really excited for this month’s Glam Nails Challenge, because it’s been a few months since I last participated, & there are so many fun prompts to get me feeling creative!

Juicy Abstract Stripes

Hello lovelies & happy Thursday. It’s almost the weekend… who else is excited?! Of course, they’re calling for (another) big Winter storm Friday night into Saturday. So that’s… fun. I’m so over Winter & snow it’s not even funny! But you know what I’m not tired of–fun, bright nails!

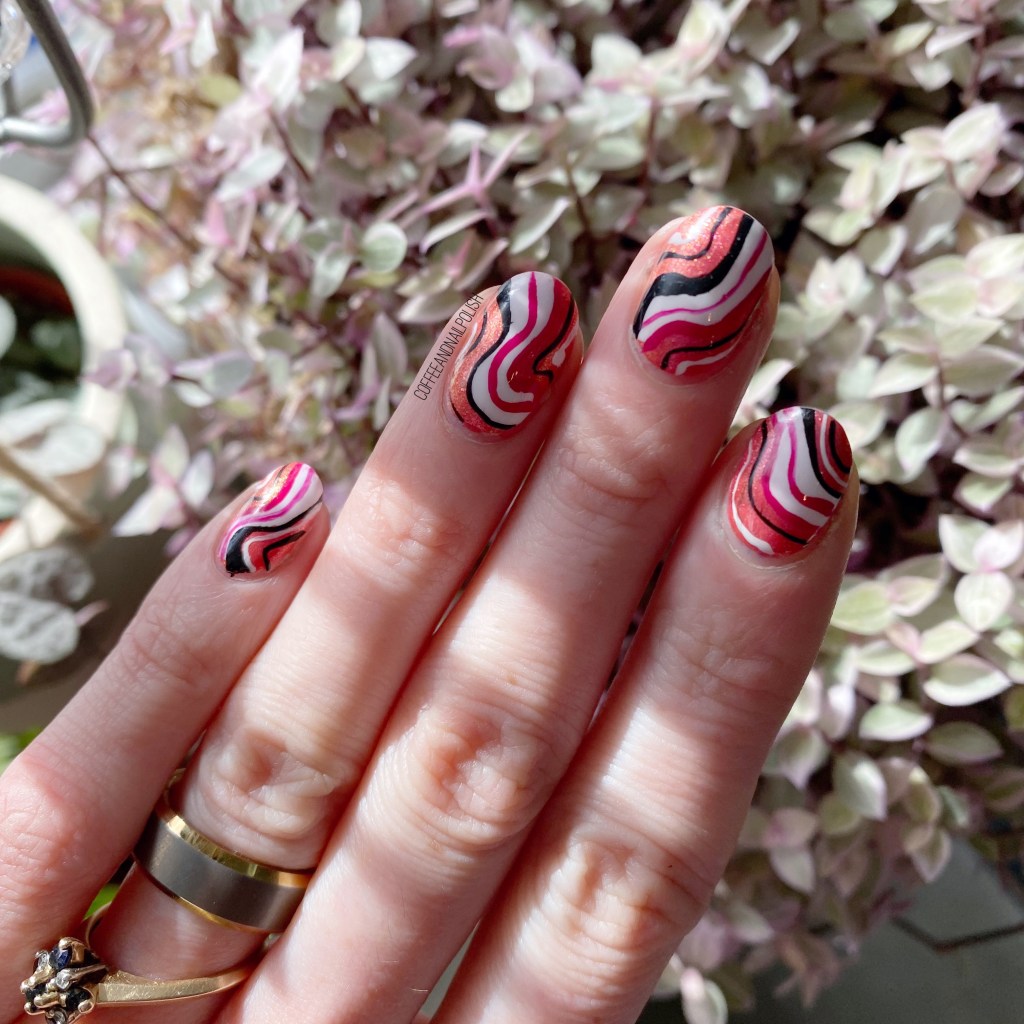
This time, I was feeling some colours I haven’t worn in ages. Coral used to be a go-to nail polish shade for me, & I’m not sure when that changed. So when going through my stash, I was feeling some coral-y shades, & this is what I ended up with. Also, yes, more abstract stripes because they’re just so easy to do.

The polishes I used for this manicure are: 

  • Base Coat: Essie Millionails
  • Top Coat: Seche Vive
  • OPI I Eat Maine-ly Lobster
  • OPI Can’t Hear Myself Pink
  • Essie Blanc
  • Starrily Vantablack
  • OPI Koala Bear-y
  • NailStuff.ca 16mm Striper Brush

I actually ended up wearing these nails for 4 days, which is unheard of for me. Usually I’m changing my nails after day 2, maybe day 3. But I loved these so much I couldn’t actually bring myself to change them until they were really actually chipped.

These nails remind me of nails I did years ago, that I was equally in love with. Those were definitely the inspiration for this look. I know these kind of manis are super popular on Instagram right now, & some people might be slightly sick of them, but to me they will never get old. They’re just so easy, & funky. You have no idea how many compliments I got for this look! It definitely made my nail art loving heart happy.

What do you think about this design? Do you enjoy these abstract stripes?

Leave a comment down in the comments below, & let me know which colour combination you would love to see as an abstract stripe design like this?

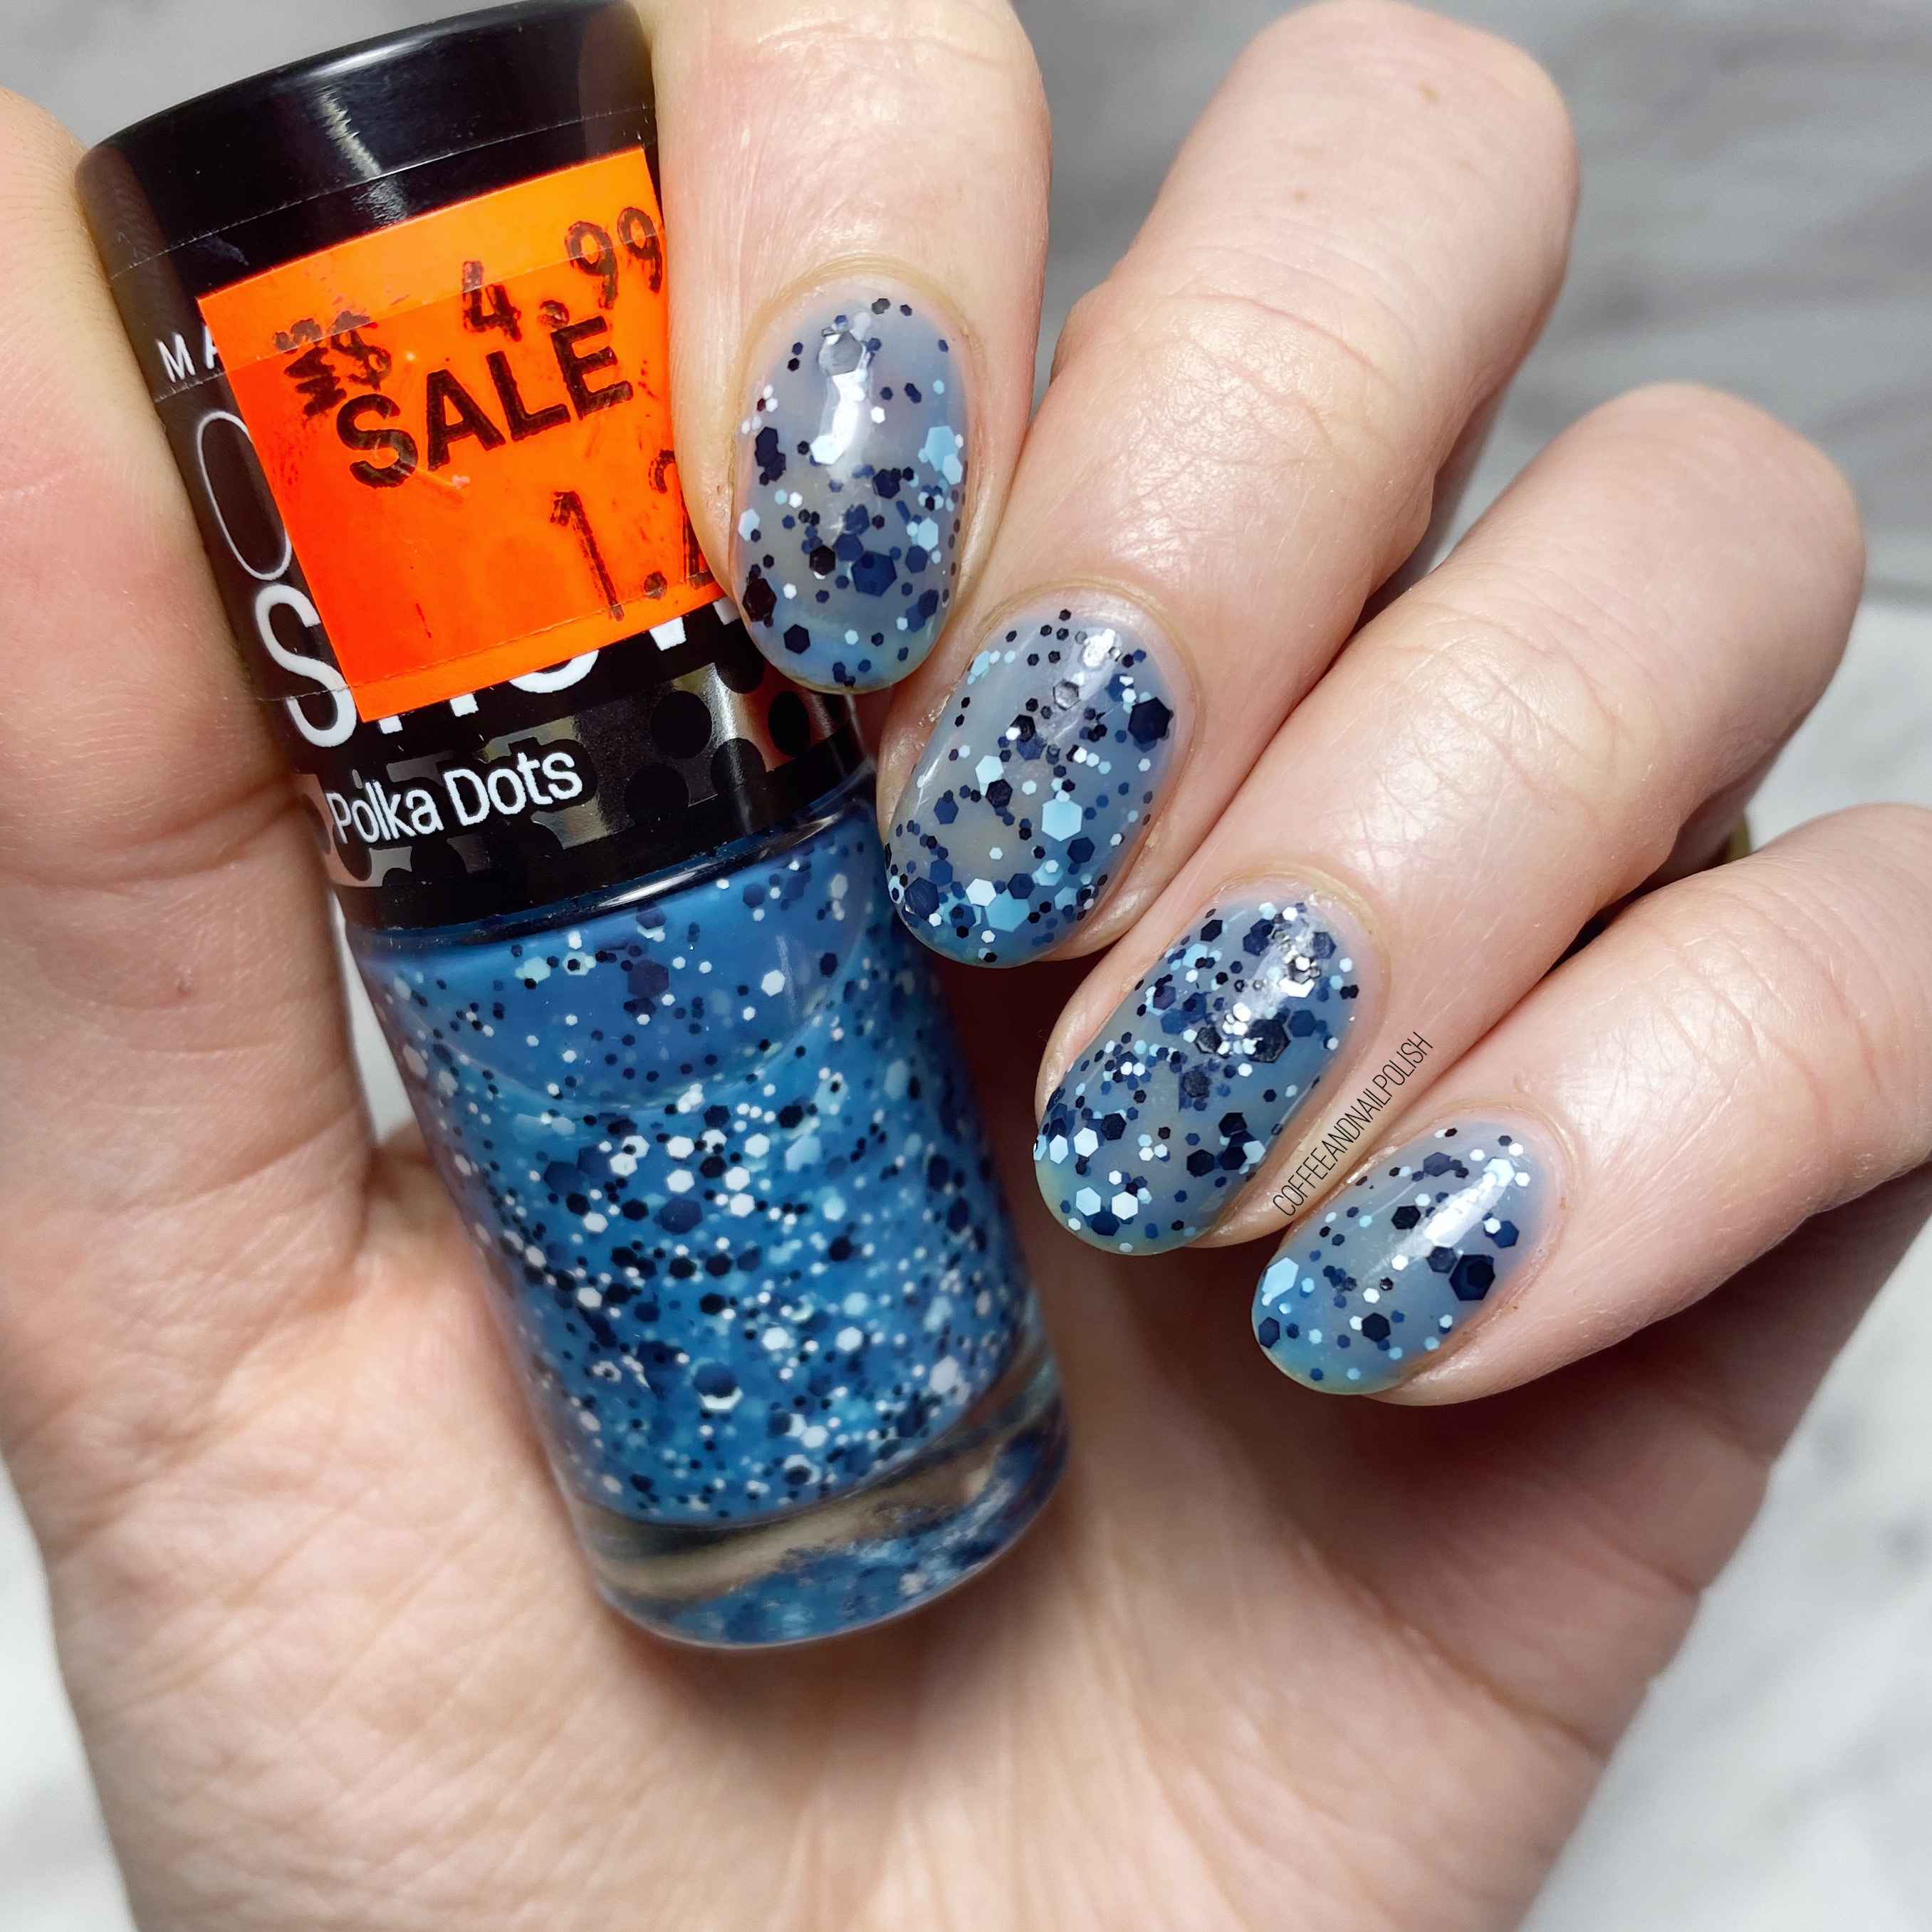
SWATCH SUNDAY — Maybelline Color Show Blue Marks The Spot

Hello lovelies & happy Sunday!

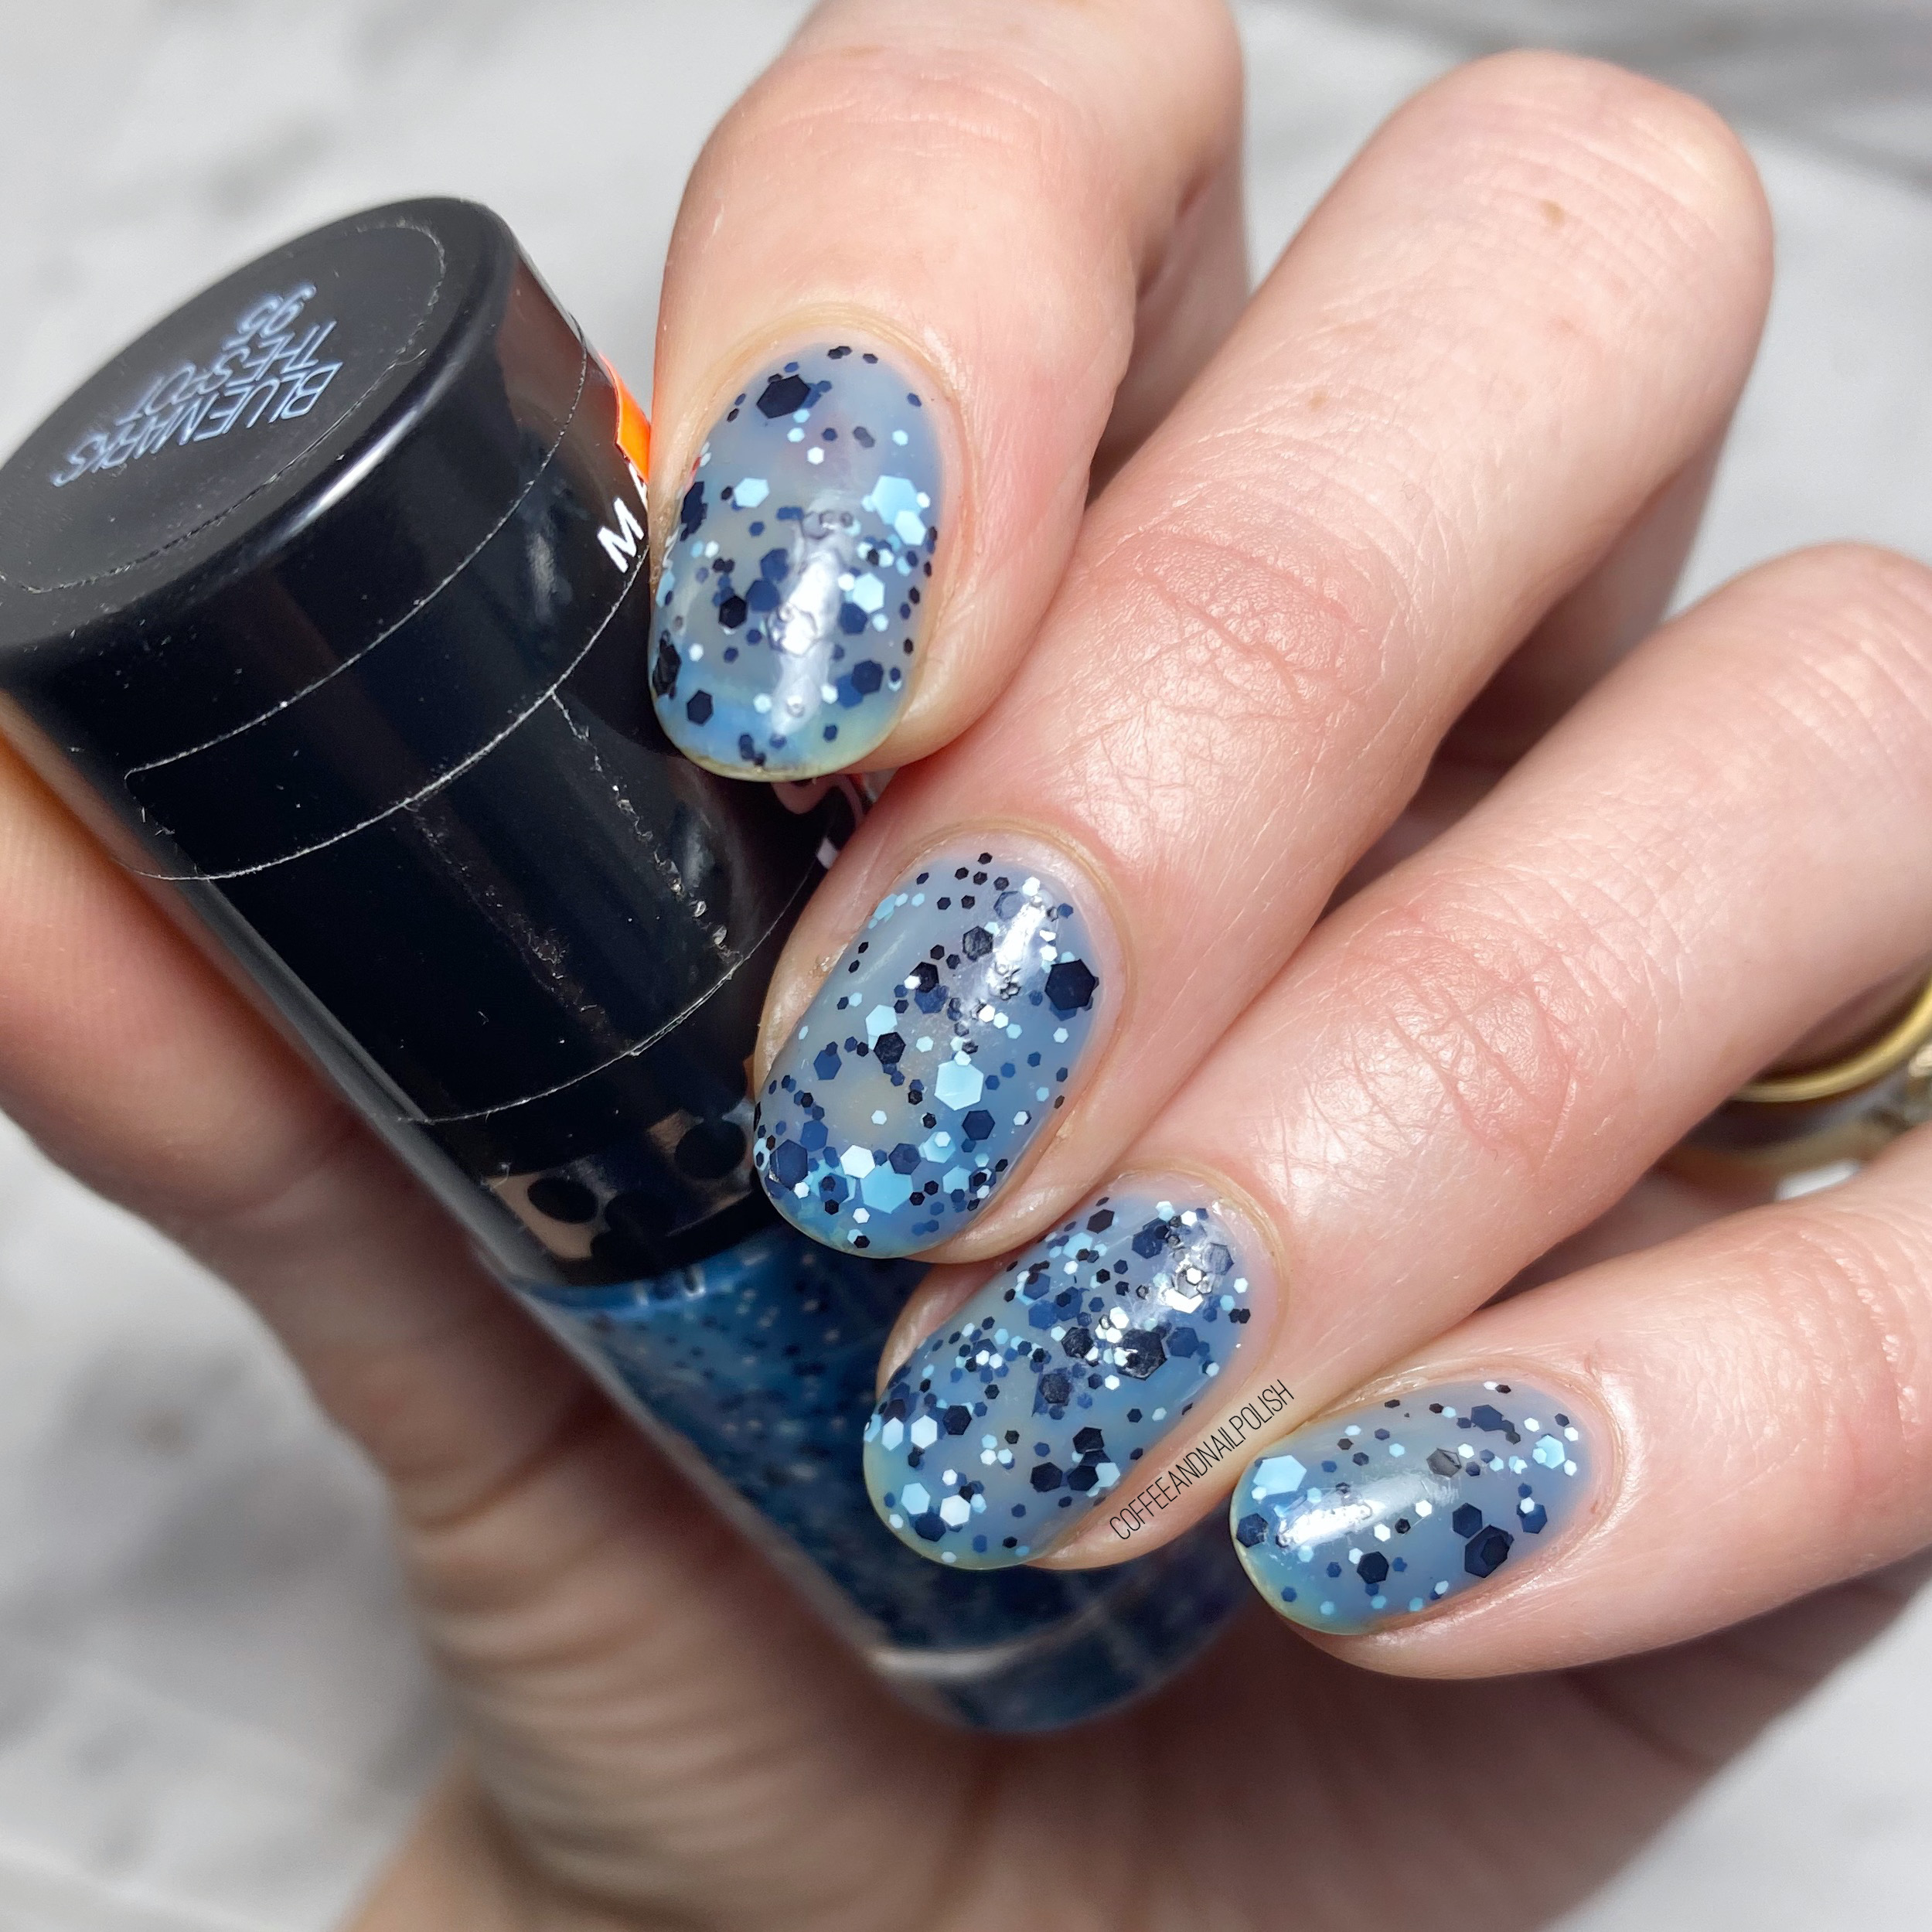
It’s another snowy Sunday here, which is not what I was hoping for. But it matches well with the nail polish I picked for this week’s Swatch Sunday pick: Maybelline Color Show Blue Marks The Spot. This shade is actually a super oldie, going back to (I think) 2013! I picked my bottle up on Clearance a few years ago, after Maybelline had stopped making the Color Show brand.

3 coats, no Top Coat.

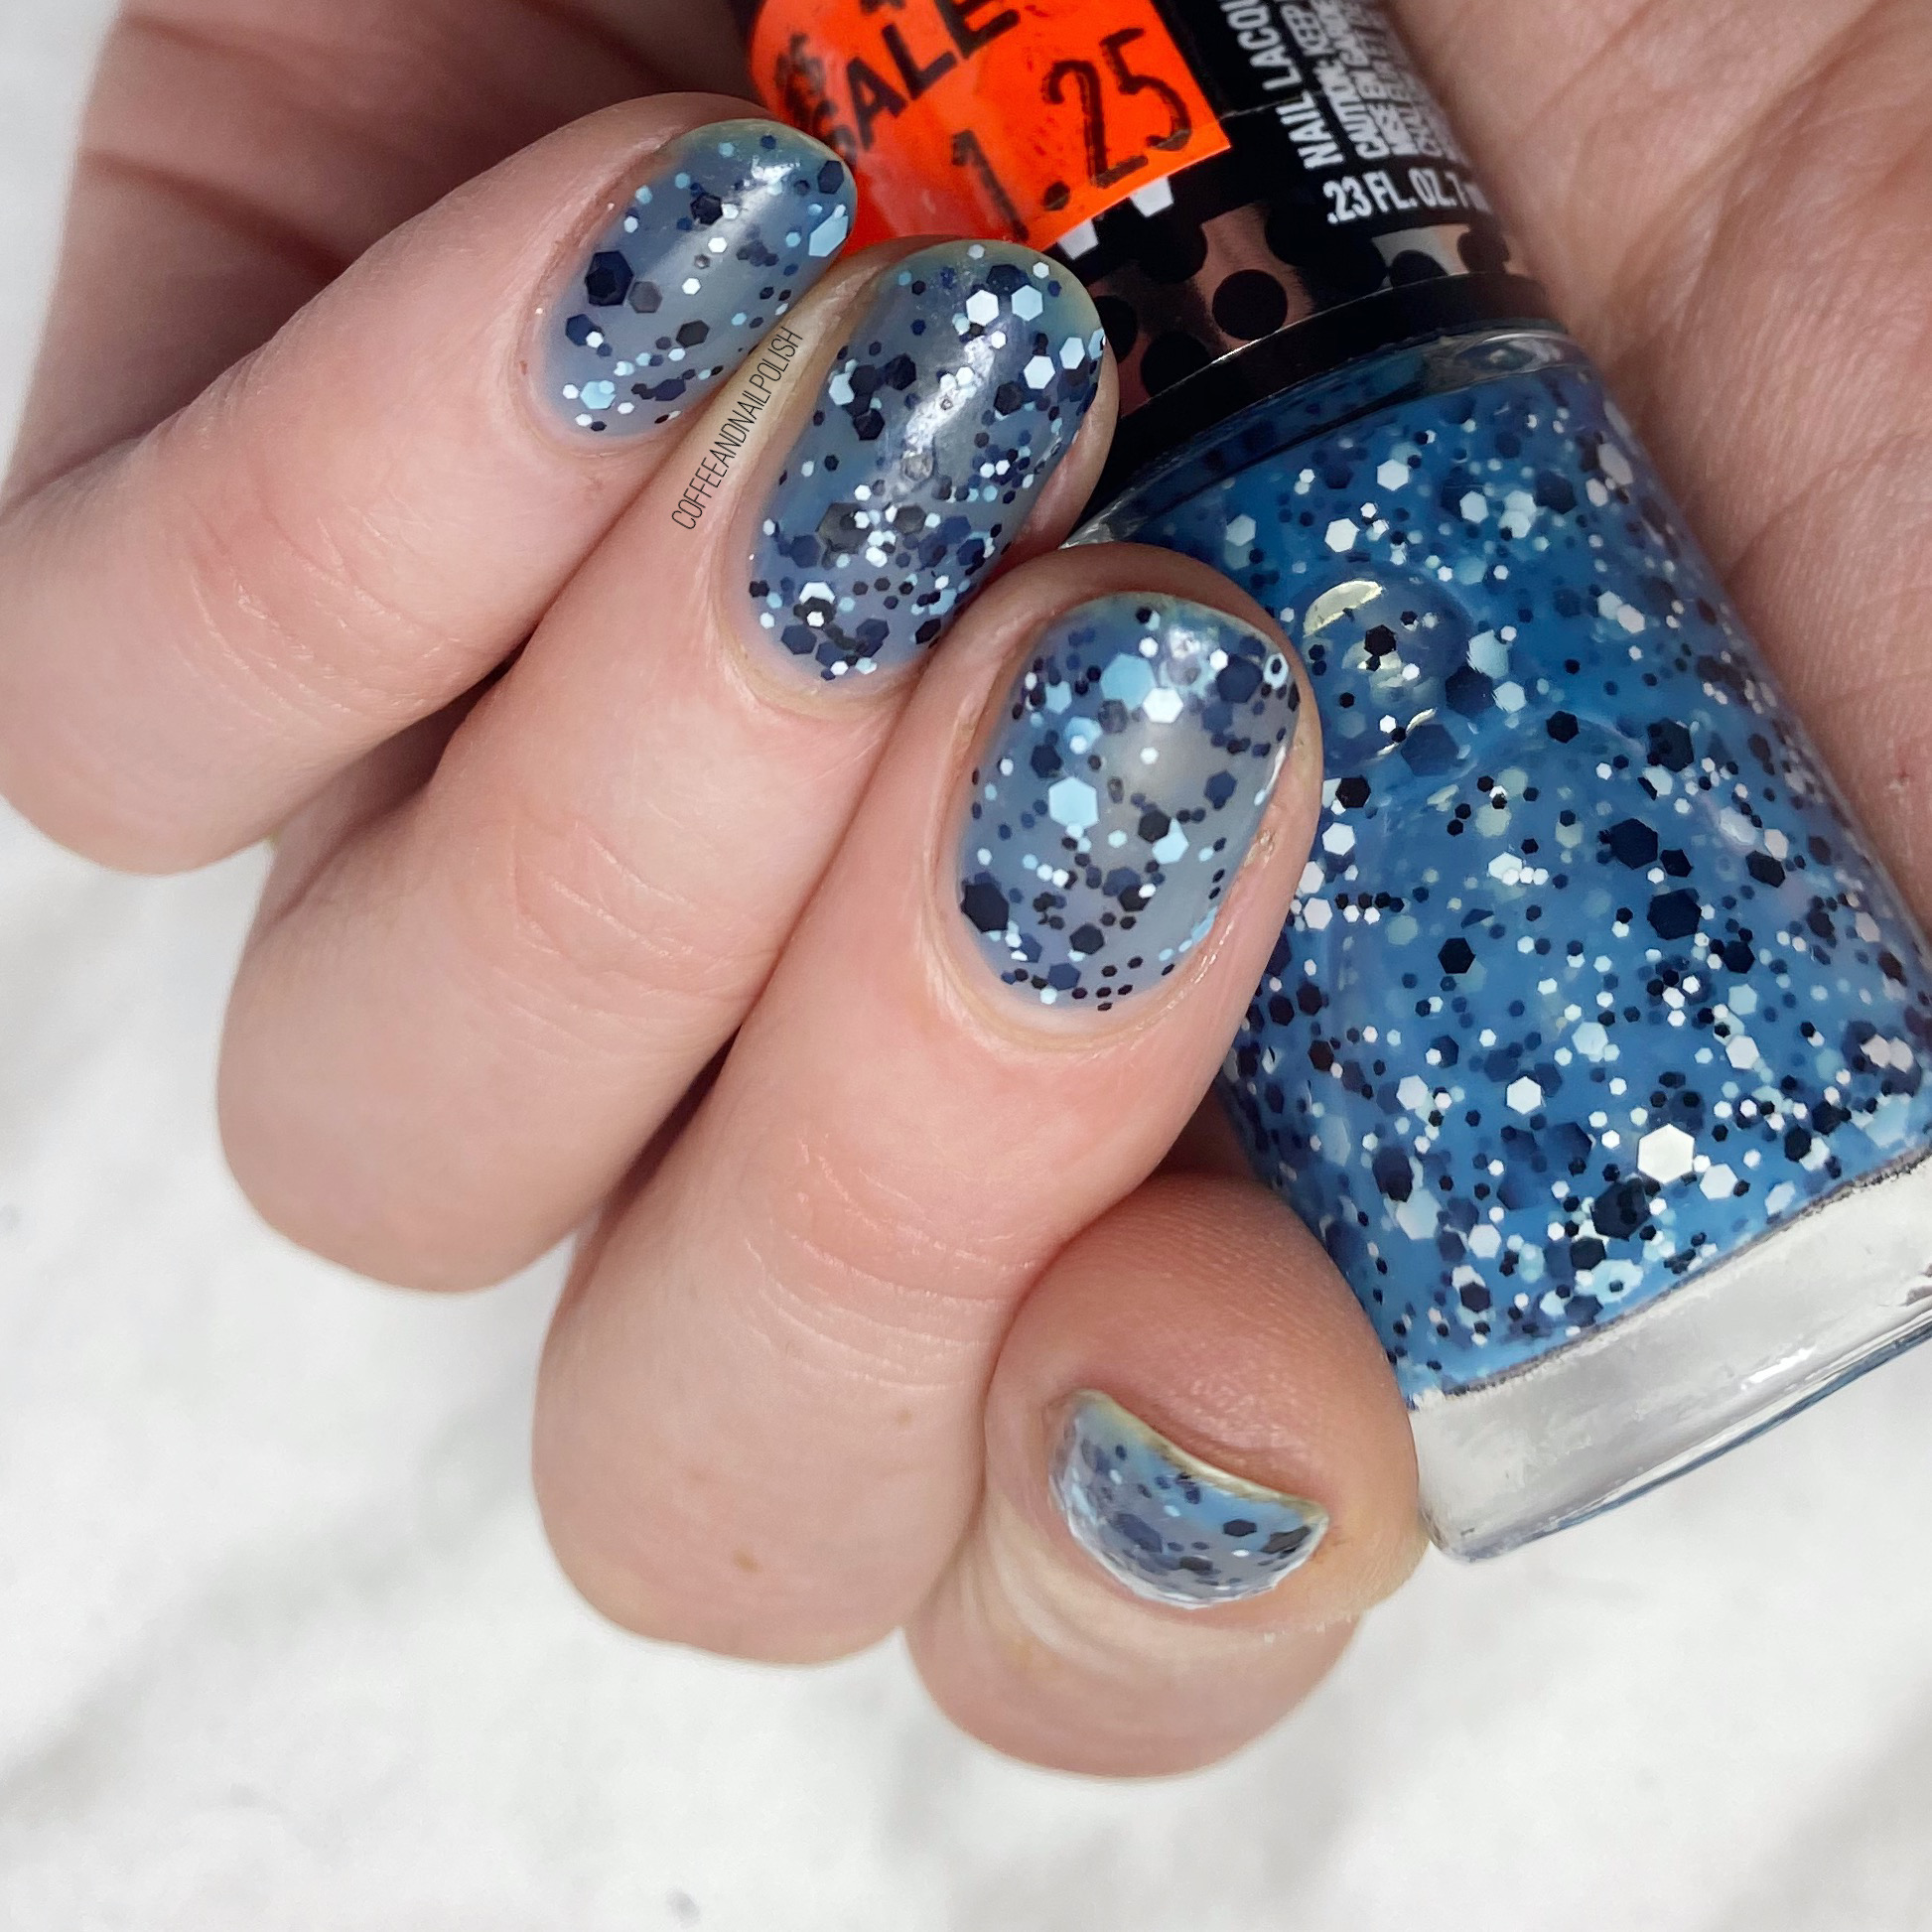
The first thing about Blue Marks The Spot is that it is very, very thin. This is 3 coats of polish, & you can still see the nail below. I’m not sure how many coats you would actually need for full opacity, but I’m going to guess it’s more than I would want to do haha. You could definitely do a white or blue base, though, if you wanted to the sheerness.

The formula is sheer, like I said, but other than that it’s not too hard to work with. The coats dry quickly, & the glitters are very well dispersed so you don’t have to worry about digging around trying to find them.

Obligatory macro shot.

I used to be so, so scared of glitter nail polishes & never want to wear them because removal would be impossible. Obviously, taking off glitter polish isn’t my favourite thing, but I’m not quite so scared of wearing my glitters like I used to be. Which, is good, because I love, love, love these spotted polishes & have quite a few in my stash from different brands.

What do you think about this fun spotty nail polish? Do you remember the Maybelline Color Show line, & these spotted polishes in particular. I also have the green one, Drops of Jade, I’m kind of sad I didn’t get the whole range of these shades were they were out, but maybe some day I’ll discover more in the bottom of a clearance bin to complete my collection haha.

Have a lovely Sunday!

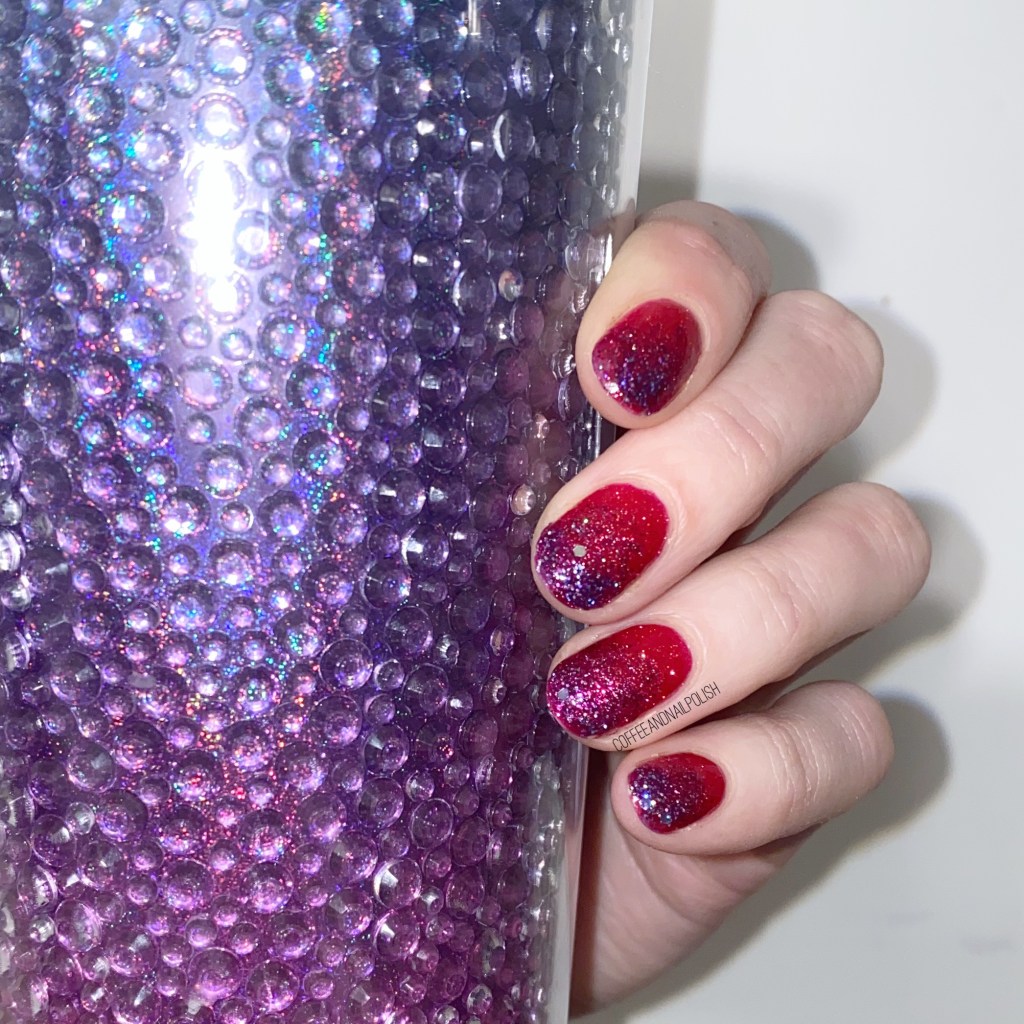
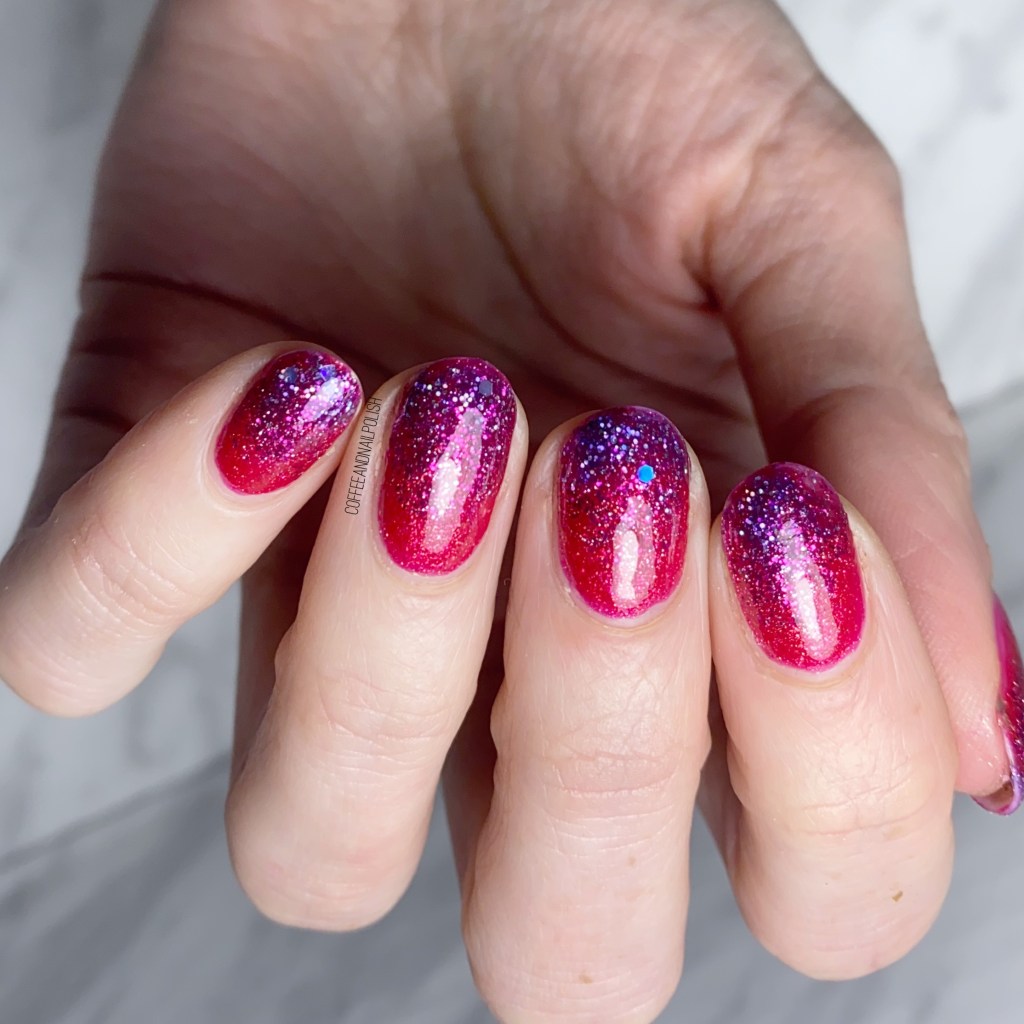
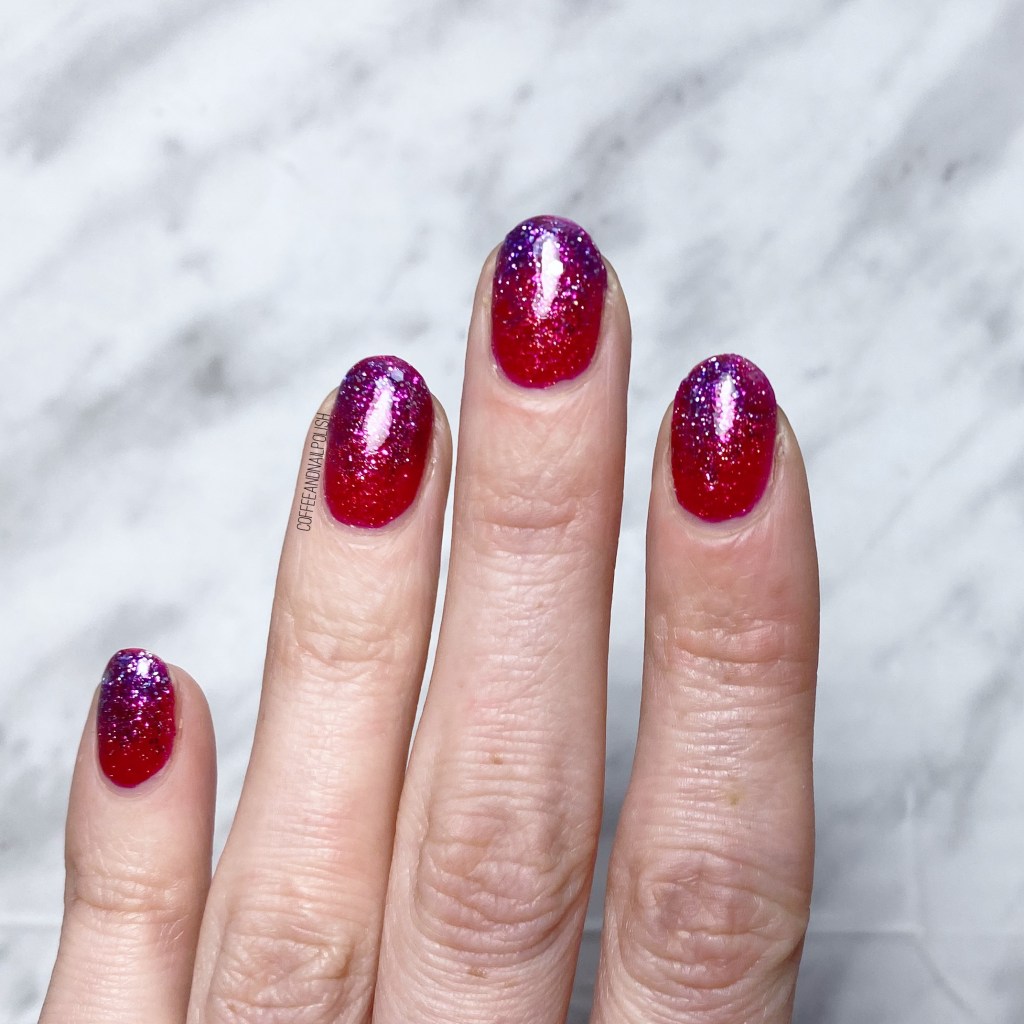
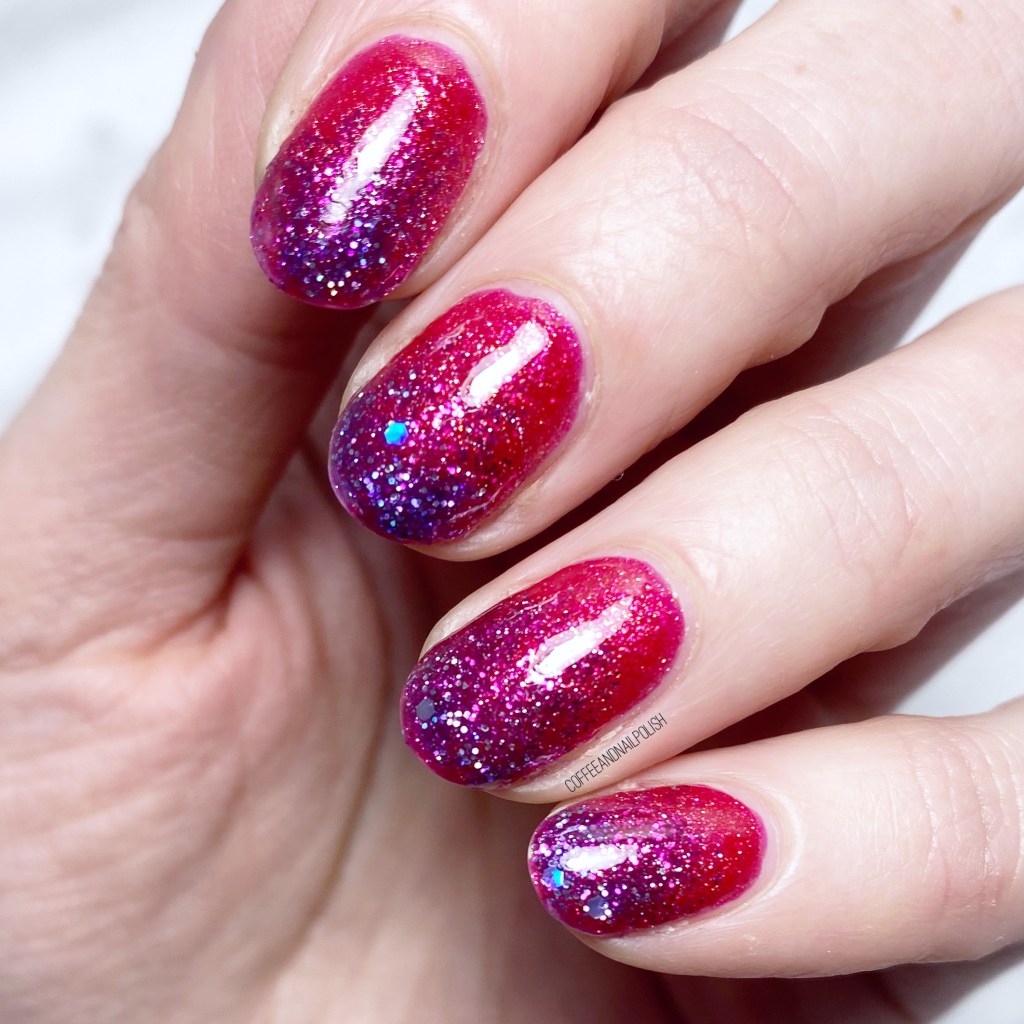
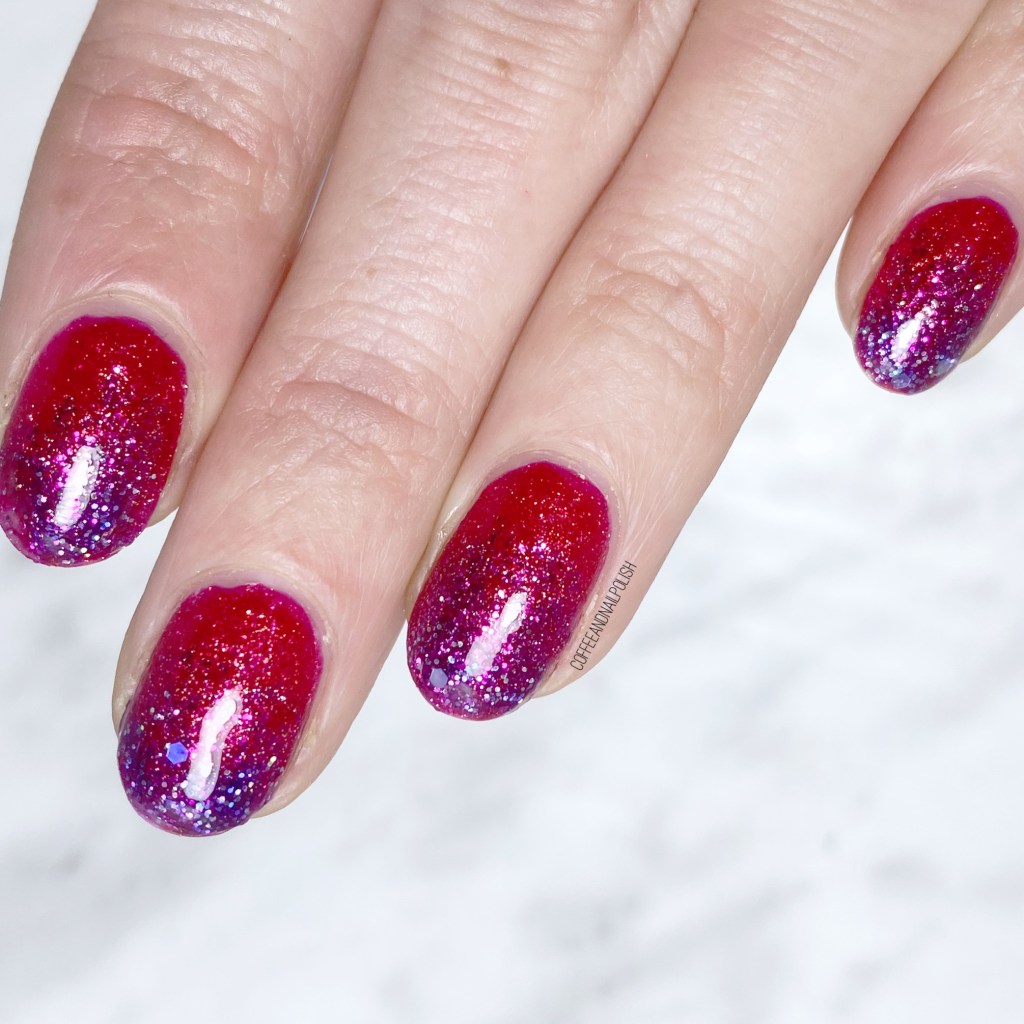
Red Pink & Purple Sparkly Glitter Gradient ✨

Hello lovelies & happy Tuesday! It was feeling like Spring here this weekend, but now we’re officially back in Winter mode with about 30cm of snow that fell yesterday. I’m just so over Winter. It’s cold, & slushy, & I miss wearing cute dresses. I can’t wait for us to officially defrost.

But in the meantime, I guess I’ll distract myself with some pretty nails.

It’s been a long while since I did a gradient on my nails that wasn’t just some glitter. Honestly, I find the clean up–even with liquid latex!–a pain, & I don’t have time for it. But I was really, really feeling a sparkly gradient after putting on my Swatch Sunday pick Essence Me & My Lover, so I decided to give it a try.

The polishes I used for this manicure are: 

  • Base Coat: Essie Millionails
  • Top Coat: Seche Vive
  • Essence Me & My Lover
  • Aco by Ardene Boudoir
  • Aco by Ardene Wish
  • Latex free make up sponge

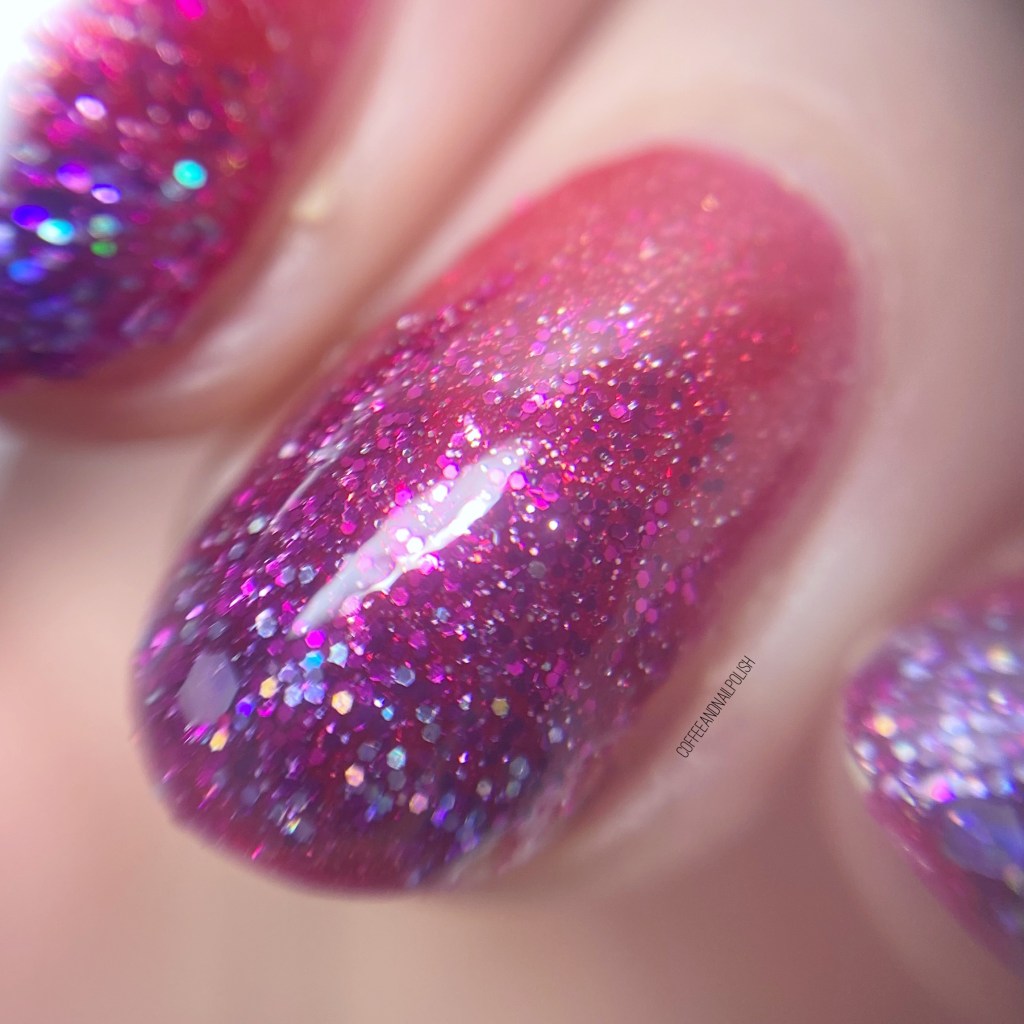
Check out those layers of glitter! It’s been a long time since my last gradient like this with lots of glittery shades, but I’m obsessed with how it turned out.

Instead of doing the classic gradient sponging where you apply all three colours onto the sponge & then apply it to the nail, I sponged each layer of glitter on the nail instead… which still gave me the same effect without having to worry about the clean up! I find it’s easier to do that with glittery shades like these, because they blend into each other easier, & you don’t have those unblended lines you might get with a cream polish. & of course, sealing it all in with top coat also helps blend things.

What do you think of these glittery gradient nails? Would you wear a super glittery gradient like this on your nails? Let me know what you think down in the comments below, & what colour combination you would wear!