Sparkly Glitter Gradient ✨

Good morning lovelies & happy Monday! A beautiful, sunny & warm Monday. It’s feeling like Summer today, & I’m loving every moment of it.

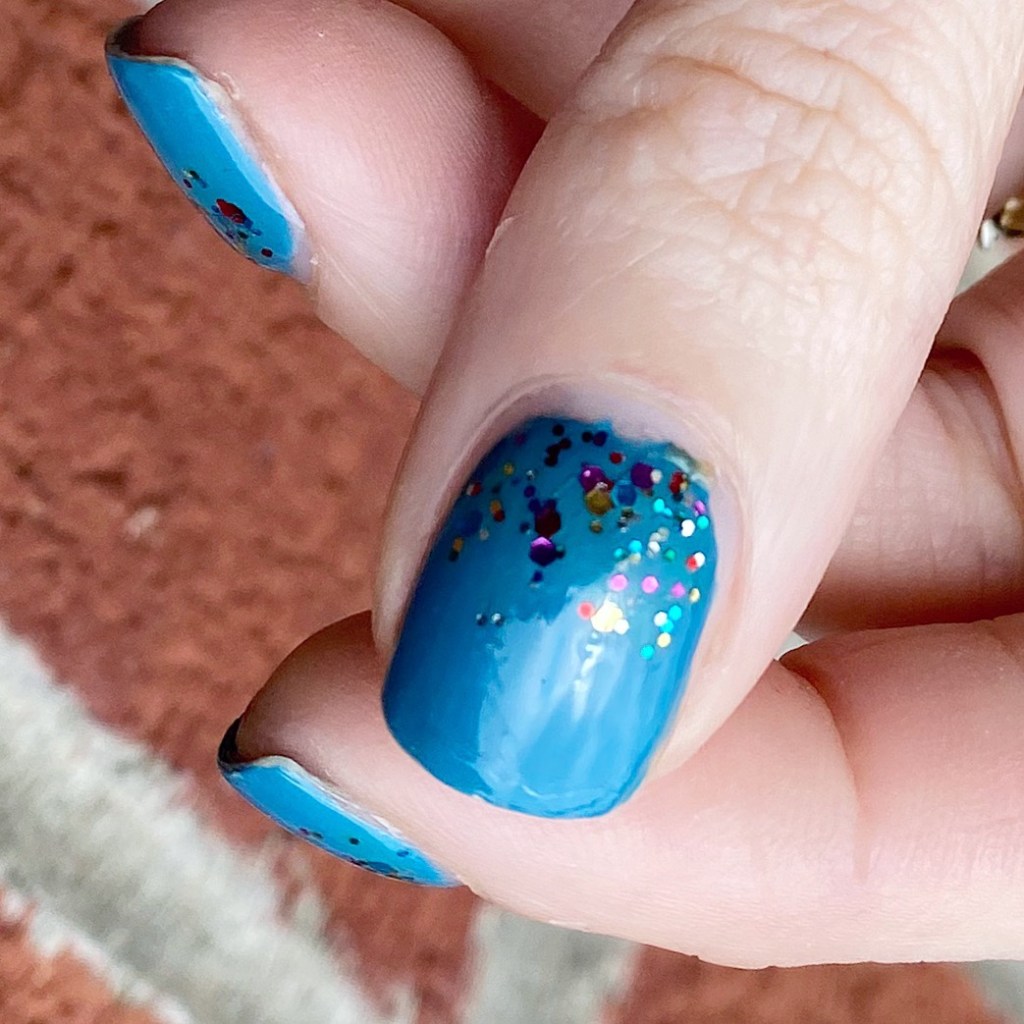
Today I gave a super simple, easy nail art look that anyone can do! I love a good glitter gradient, & it is such an easy way to spruce up a relatively plain manicure.
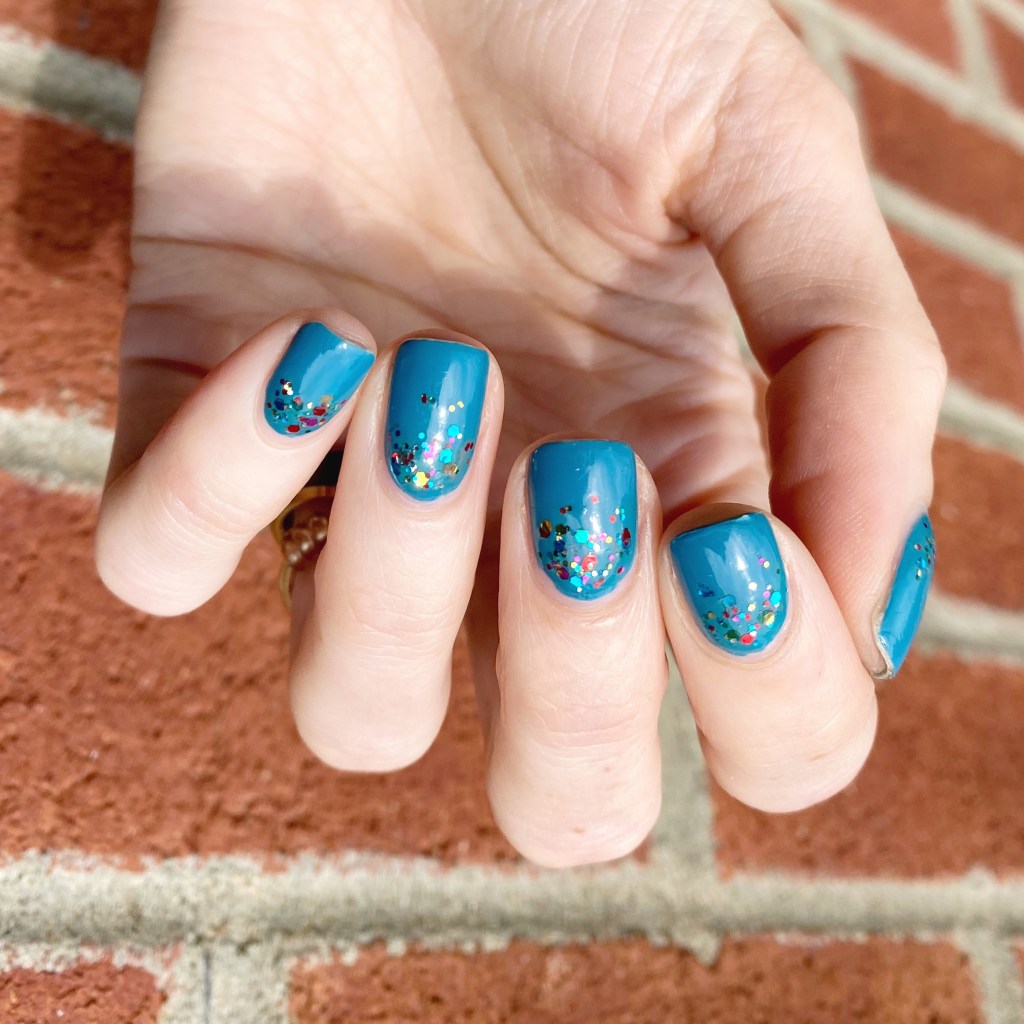
The polishes I used for this manicure are: 

  • Base Coat: Londontown KUR Nail Hardener & Base Coat 
  • Top Coat: Seche Vive Fast Dry
  • Essie Revenge’s A Beach
  • Sinful Colors Pride

What I love most about a glitter gradient is you don’t really need any tools. Obviously, you can sponge on the glitter, but I usually just apply it using the brush as I find it easiest (& least messy).

These are definitely the look you need to do if you have a special occasion you want fancy nails for, but aren’t too comfortable with nail art. I swear, anyone can rock this look easily! In fact, I’m already planning another one in my head featuring a few glitters I don’t use too often — stay tuned!
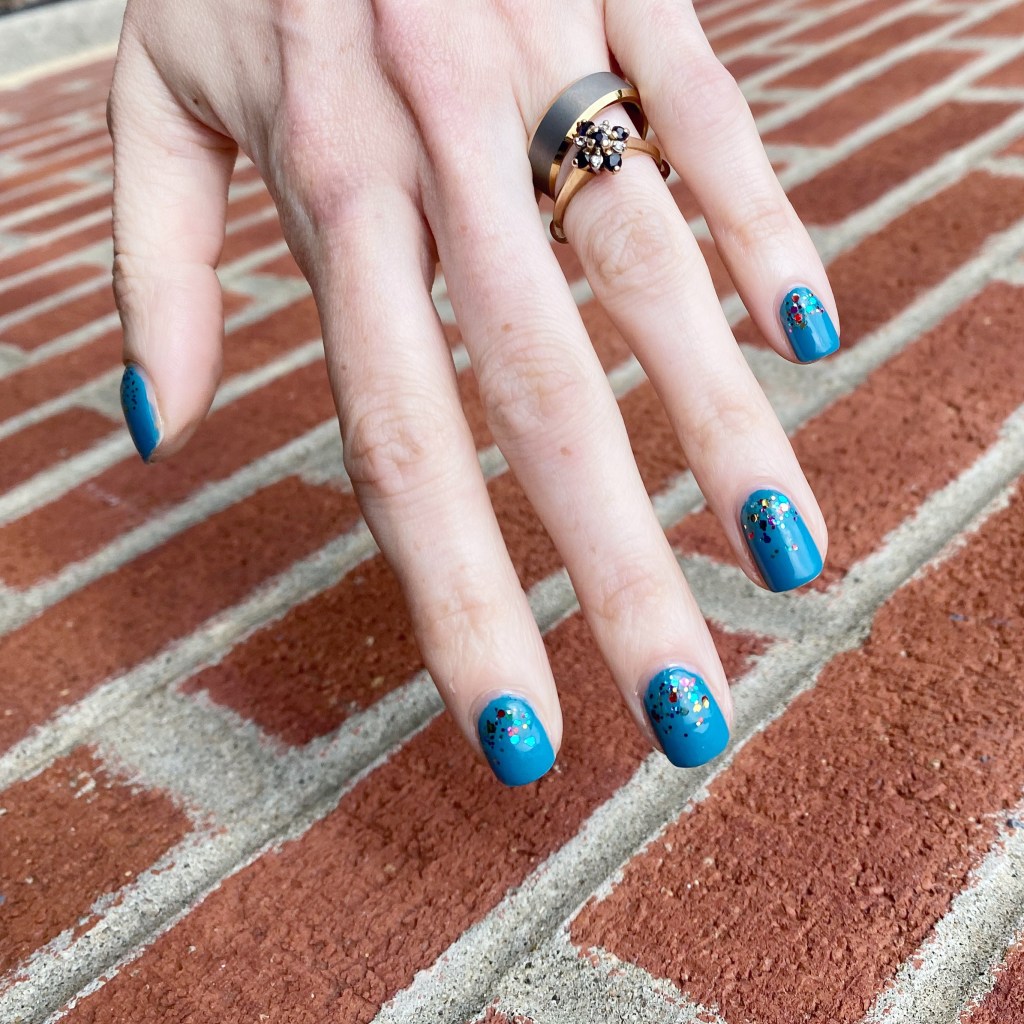
What do you think about this fun glitter gradient? Also yes — that is the same polish from yesterday’s Swatch Sunday post. Crazy how different lighting can make it look different! Natural light vs Light Box.

Have a fantastic beginning to your week loves! 🖤
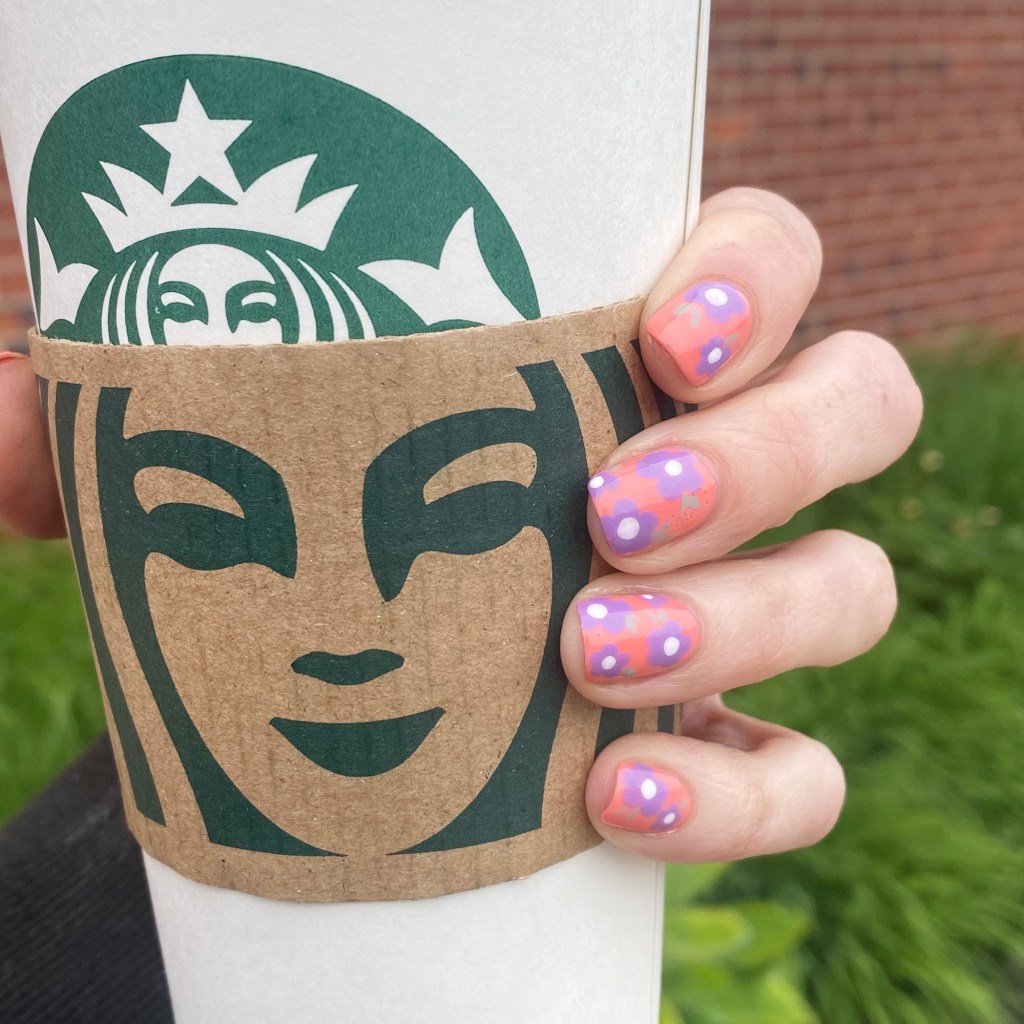
Throwback Floral (Using Just a Dotting Tool)

Hello lovelies & happy Friday! I hope it’s a beautiful day wherever you are. It’s supposed to be sunny, & slightly warm today, so I’ll take it.

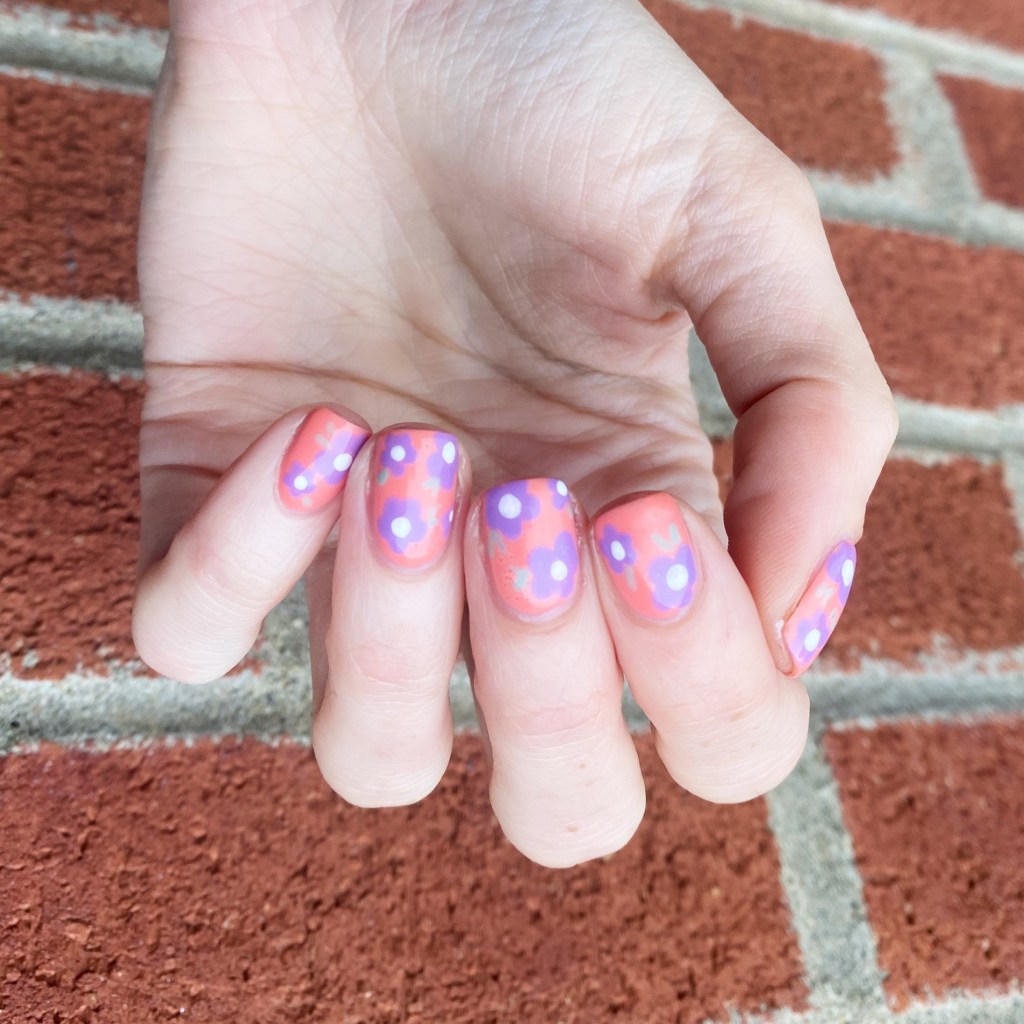
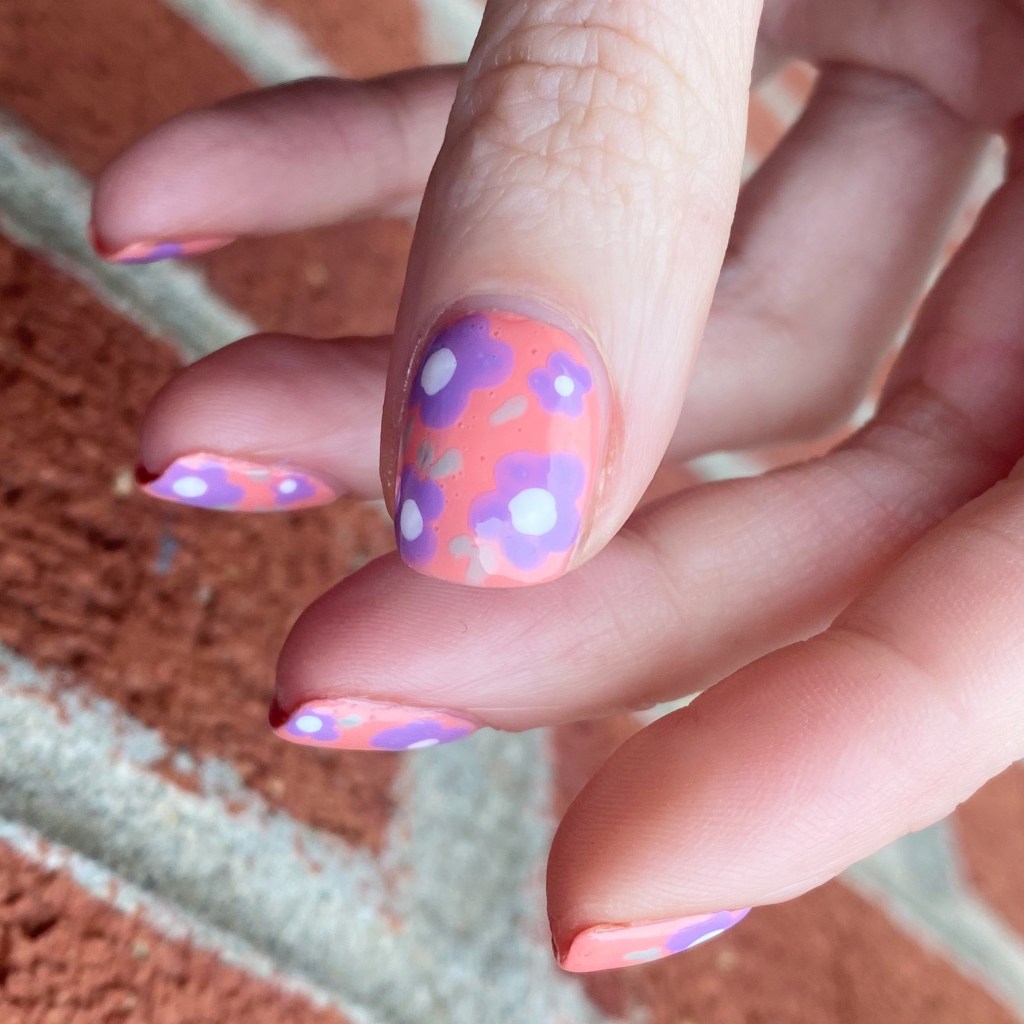
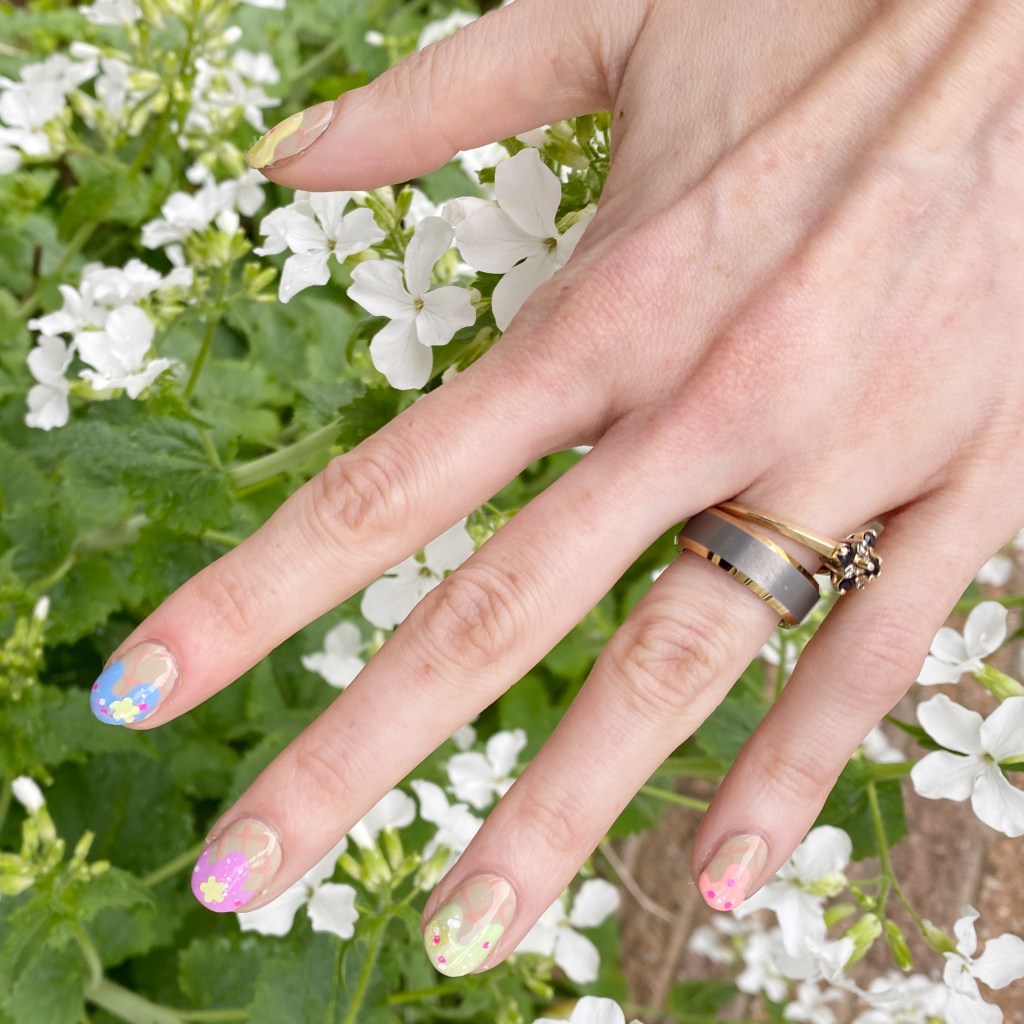
Today I’m sharing a design which is a recreation of a design I did many moons ago—like… 2013 at the beginning of my nail art journey & before this blog. I just always love revisiting old designs, & when this one popped up on my Facebook memories, I knew I needed to do an updated version!

2013 version
2023 version

The polishes I used for this manicure are: 

  • Base Coat: Londontown KUR Nail Hardener & Base Coat 
  • Top Coat: Seche Vive Fast Dry Top
  • Essie Peach Side Babe
  • Essie Worth the Tassel
  • Essie Blanc
  • Essie Turquoise & Caicos
  • Small & Large Dotting Tool (NailStuff.ca Dotting Tool Trio)

I didn’t have a list of the original polishes I used for my design, so I tried to go with what looked the closest to the colours — which was hard because my original photo is pretty poor quality. I think, though, I did a pretty good job on recreating the original look!

I know that was my first jump into “real” nail art after getting my first dotting tool. It was an Essence brand one that I found at Shoppers Drug Mart, & I got very excited to find something to do legit nail art.

What do you think of this floral nail art recreation? Do you remember what nail designs first got you into nail art? Let me know down in the comments below!

Have a fantastic Friday!

Easy Holo Ocean Themed Nails

Hello lovelies & happy Monday! It’s the beginning of a brand new week, & I’m sharing a super easy look with you.

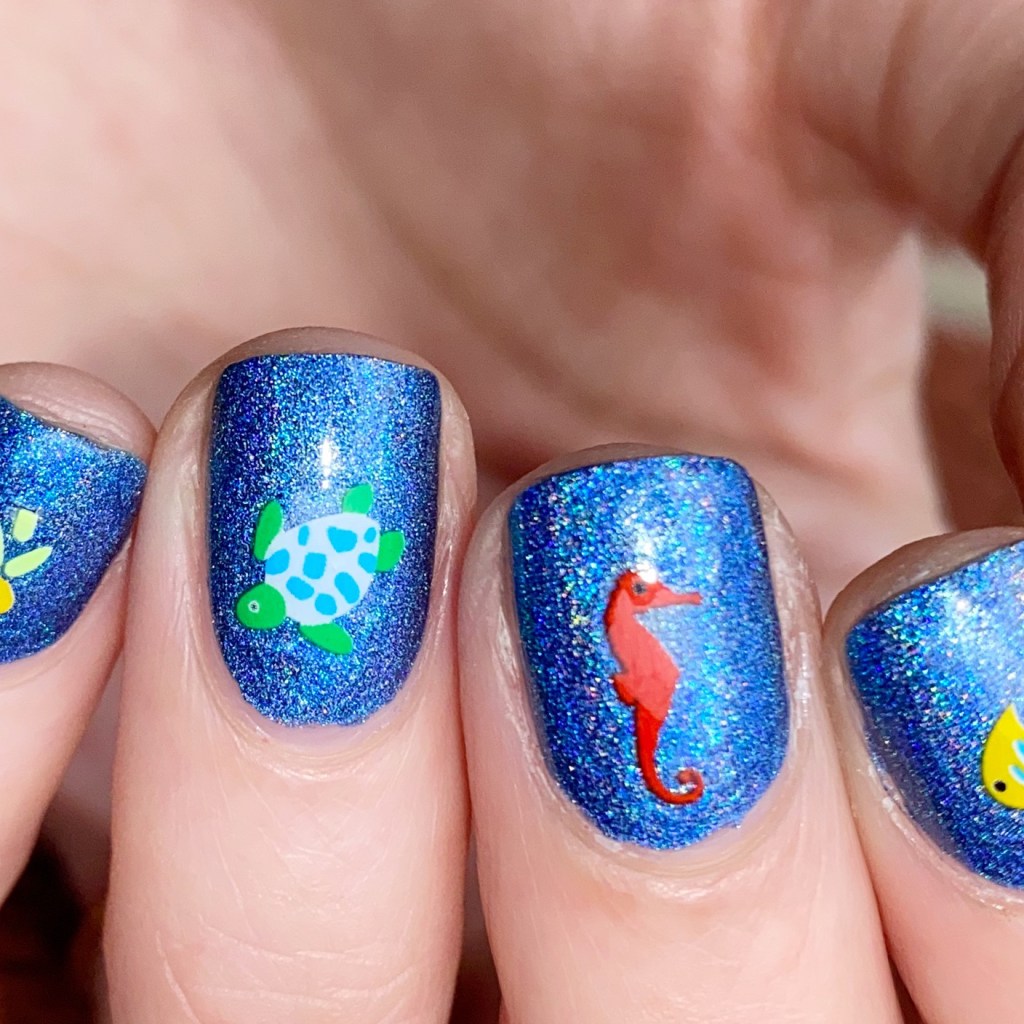
This was a super quick & easy look I did the end of last week, inspired by a request by my little girl. I had these cute ocean themed nail art stickers I picked up from Icing circa 2014-2015, though I thought they would be super cute paired with an ocean-y blue nail polish for some easy nail art.

The polishes I used for this manicure are: 

  • Base Coat: Londontown KUR Nail Hardener & Base Coat 
  • Top Coat: Seche Vive Fast Dry Top
  • Superchic Lacquer Throwing Shade
  • Icing Nail Art Stickers — can find similar styles on Etsy.

I’ve raved before about my love for nail art stickers for easy nail art, especially when time is an issue. You can use a whole bunch on the nail, or one on each nail for a simple look. I have quite the collection myself, so they’re fun to grab when I’m lacking time (or inspiration).

& there are some great brands out there to choose from.

What do you think about these simple holographic ocean nails? Are you a fan of simple nail art like this? Have you ever tried any nail art sticker brands that you absolutely love? Let me know your favourites down in the comments below!

Have a fantastic Monday!

Instagram Summer Treats Nail Art Collab 🍦

Hello lovelies — happy Friday. We have a weekend of rain in the forecast, which I’m so happy for because my entire province has basically been on fire this week, & we’re in desperate need of a reprieve from the heat. So everyone send rain vibes. 🌧️

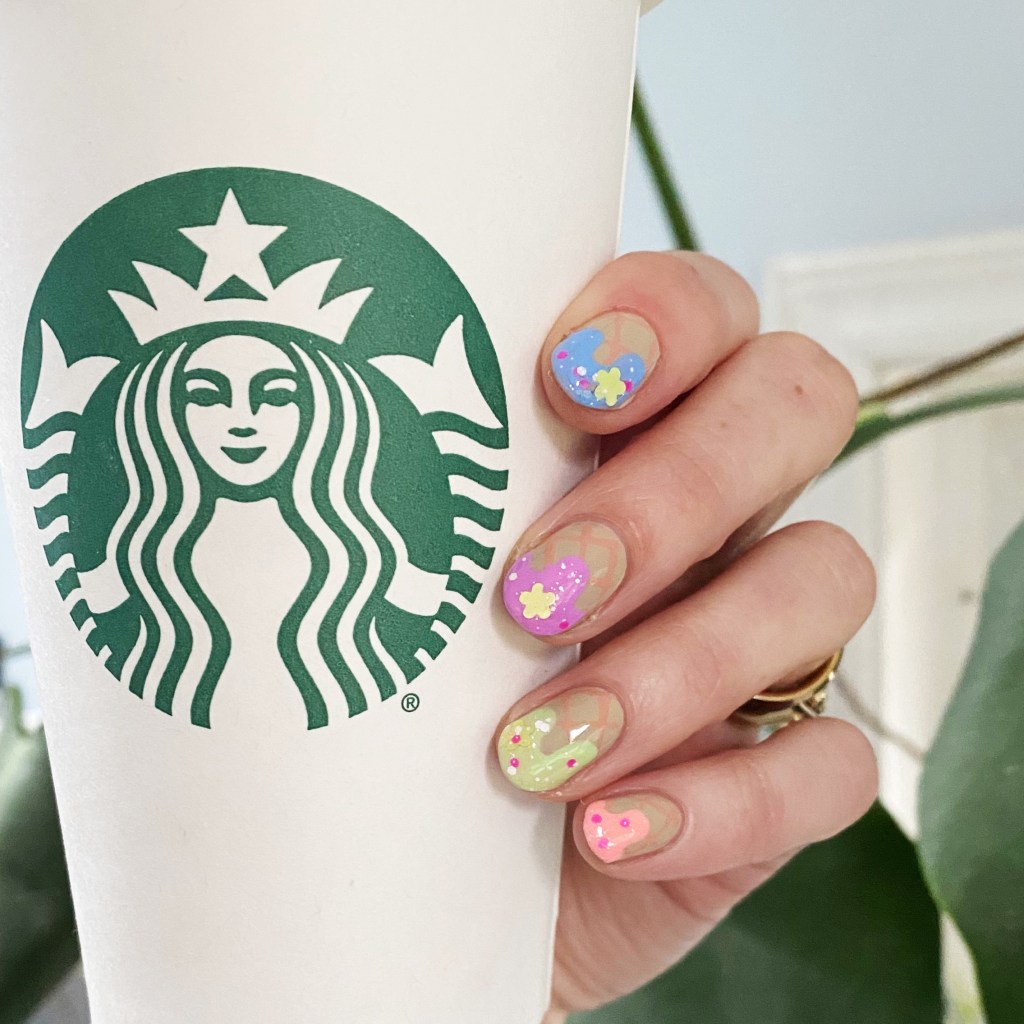
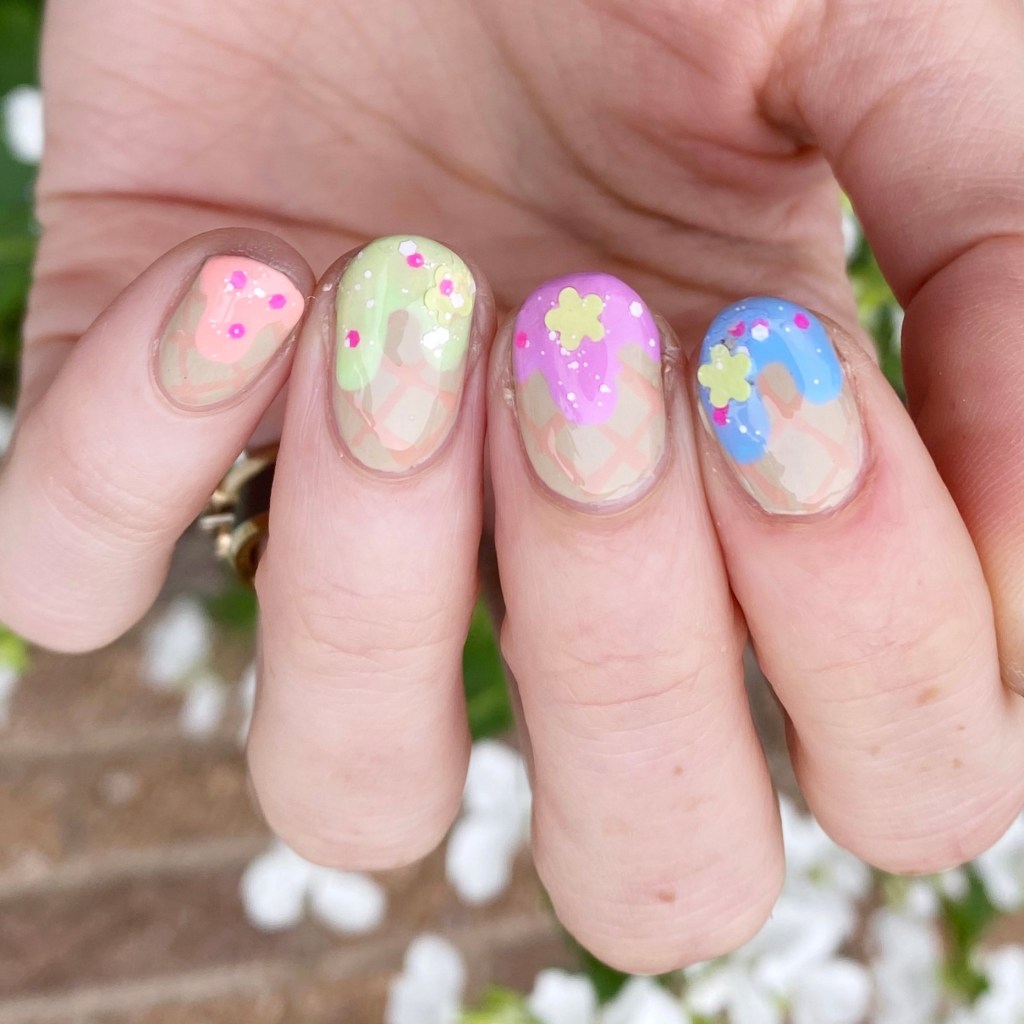
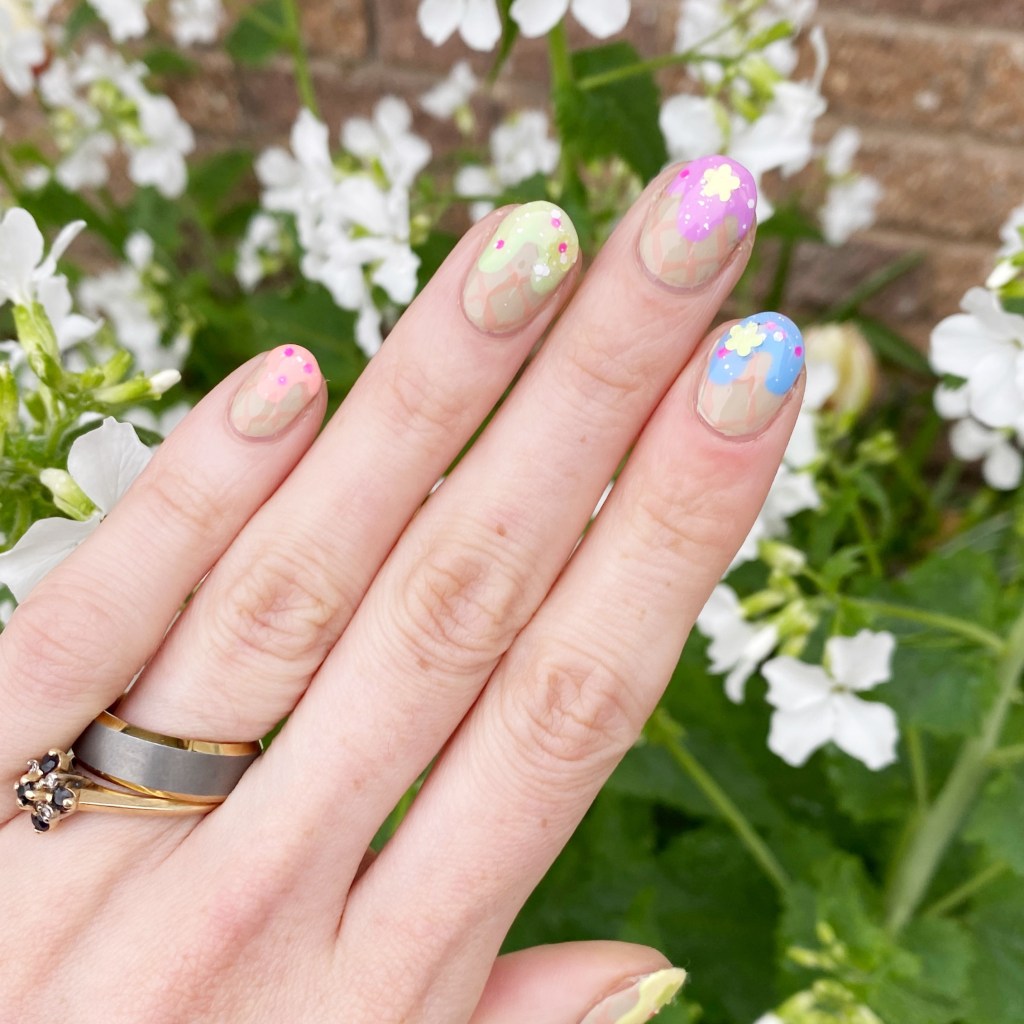
Today, though, I’m sharing a look I did a week or so back for a nail art collab I joined! You might remember I did another one last month, & it was so much fun I thought I’d do it again! This time the theme was Summer Treats. & my favourite treat of the Summer: ICE CREAM!

The polishes I used for this manicure are: 

  • Base Coat: Londontown KUR Nail Hardener & Base Coat 
  • Top Coat: Seche Vive Fast Dry Top
  • Sally Hansen Good. Kind. Pure. Almond Tan
  • Sally Hansen G.K.P. Rock Steady
  • Sally Hansen Miracle Gel Neons Peach Please
  • Sally Hansen MG Neons Electri-Lime
  • Sally Hansen MG Neons Violet Voltage
  • Sally Hansen MG Neons Lemon Chillo
  • Sally Hansen MG Sugar Fix
  • Claire’s Melon Mania
  • NailStuff.ca 16mm Striper Brush
  • Large Dotting Tool (NailStuff.ca Dotting Tool Trio)

This is actually a recreation of a design I did all the way back in June 2016. I loved it so much the first time, I thought it would be perfect for this nail art collar — with some updates! I love the neon ice cream, I love my glitter “sprinkles”. I just think this whole look turned out too, too cute!

Don’t forget to check out all the beautiful designs on Instagram by checking out the hashtag #summertreatsnailartmanicollab2023 & see all the other beautiful designs that my fellow nail artist created! There are so many cute one!

Have a fantastic Friday! ♥︎

Shimmery Mermaid Vibes 🧜‍♀️

Hello loves! It’s Monday again.

It’s also 3 days away from June, which just blows my mind. I mean, I’m happy for Summer weather — although, we could use some rain here so send rain vibes! — but also this year is speeding by & it’s kind of unbelievable. How is it even possible that we’re almost half way through this year?

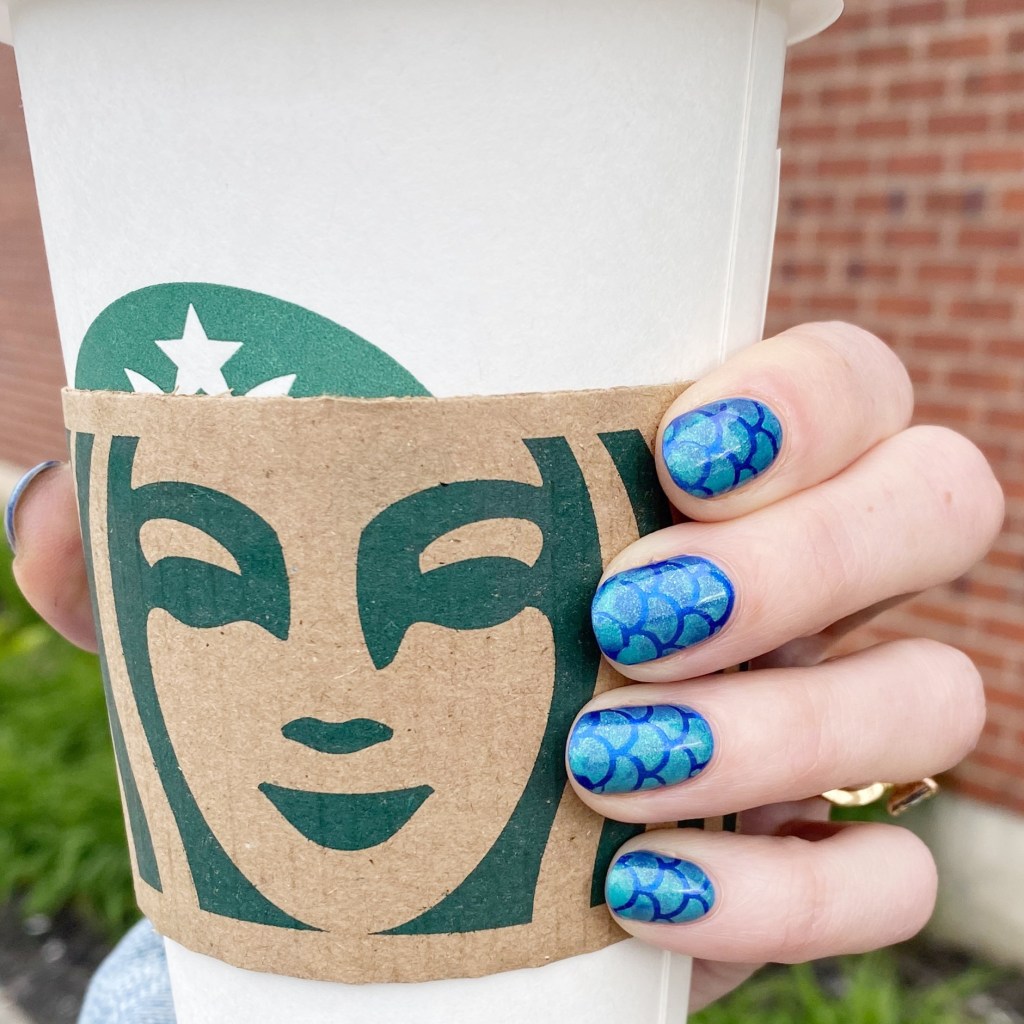
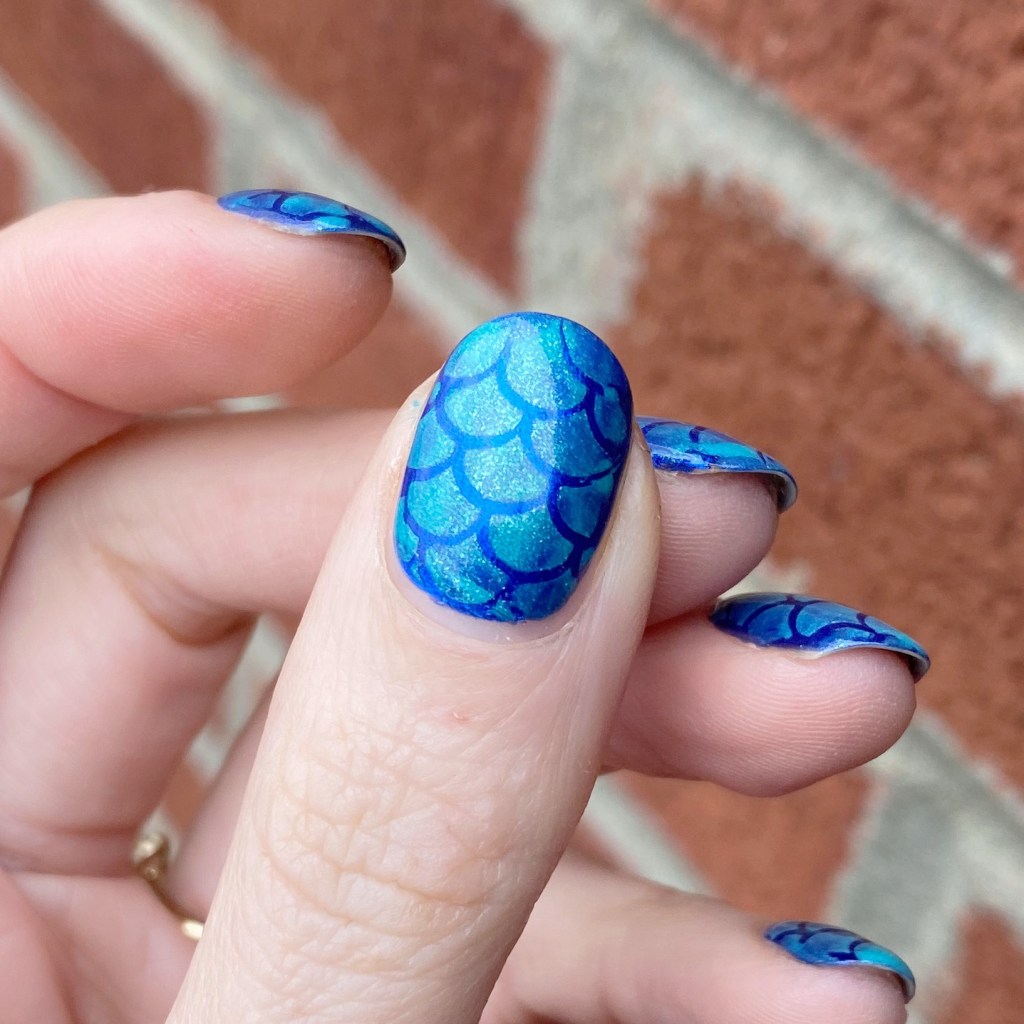
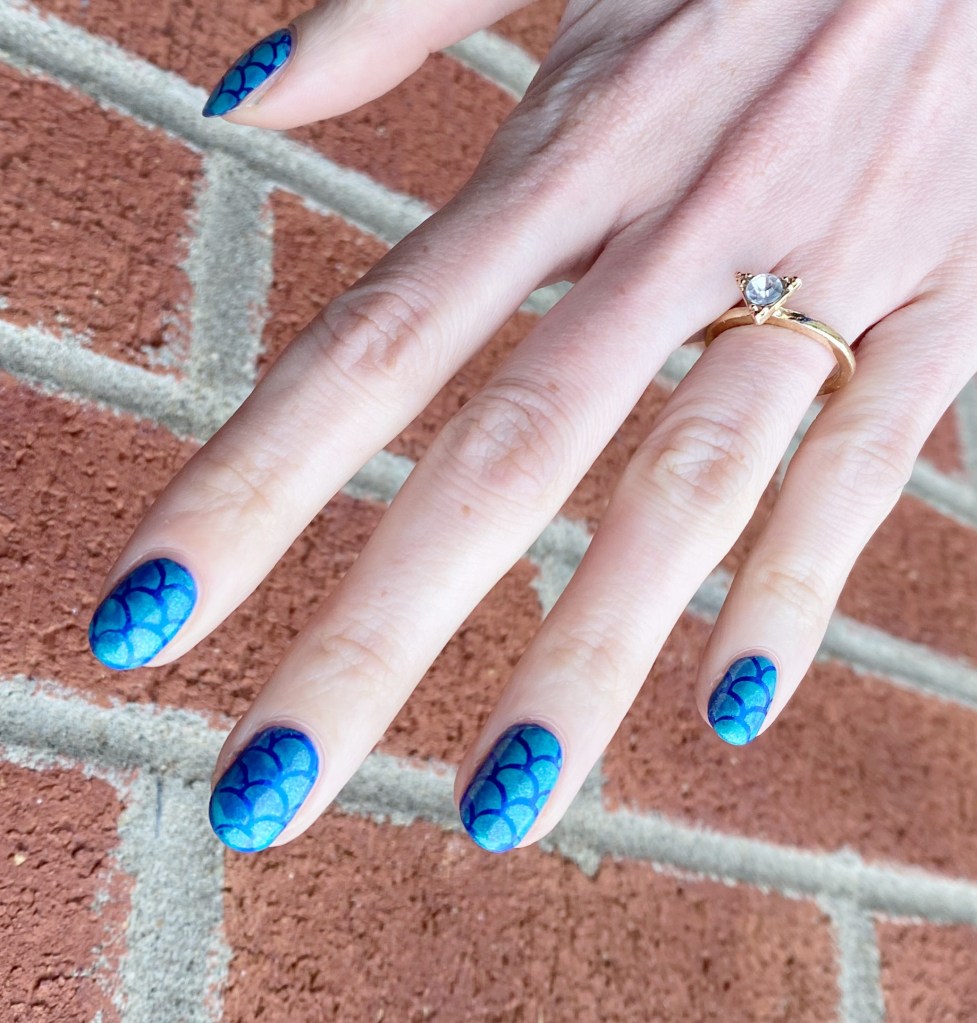
But I digress; you’re here for nails, so let’s talk nails! Today’s look was what I promised in yesterdays swatch post. I knew that OPI Blue My Mind would be a beautiful base from some nail art, & I knew I was feeling mermaid nails. So naturally, I knew what I had to do.

The polishes I used for this manicure are: 

  • Base Coat: Londontown KUR Nail Hardener & Base Coat 
  • Top Coat: Seche Vive Fast Dry Top
  • OPI Blue My Mind
  • Essie Viva Antigua!
  • Beyond the Nail Mermaid Scale Vinyls

My little girl is absolutely obsessed with all things mermaids right now, so this was the perfect manicure to impress her! This was also super easy to do. I only applied one coat of Viva Antigua! over my base, so it’s kind of spotty in some spots, but I like it because it gives a more watery scale look (if that makes sense). You can kind of see the base showing through, & I like that. Over all, it’s a very pretty look.

In fact, I’ve been wearing this manicure since Thursday, & it’s still holding up very well. I usually wear a manicure maybe 3 days max (& that’s if I’m really busy) but I’ve just loved this look so much, & it’s barely even showing tip wear, it felt like a shame to remove it. Of course, I will probably change my nails today, but it’s been fun to wear. I almost wish I had gone to see the Little Mermaid this weekend, as it would have been the perfect manicure for it. But I’ll have to redo one when I take my little girl in a few weeks.

What do you think of my mermaid nails? Are you feeling all the mermaid vibes? Let me know all your thoughts on this look down in the comments below!