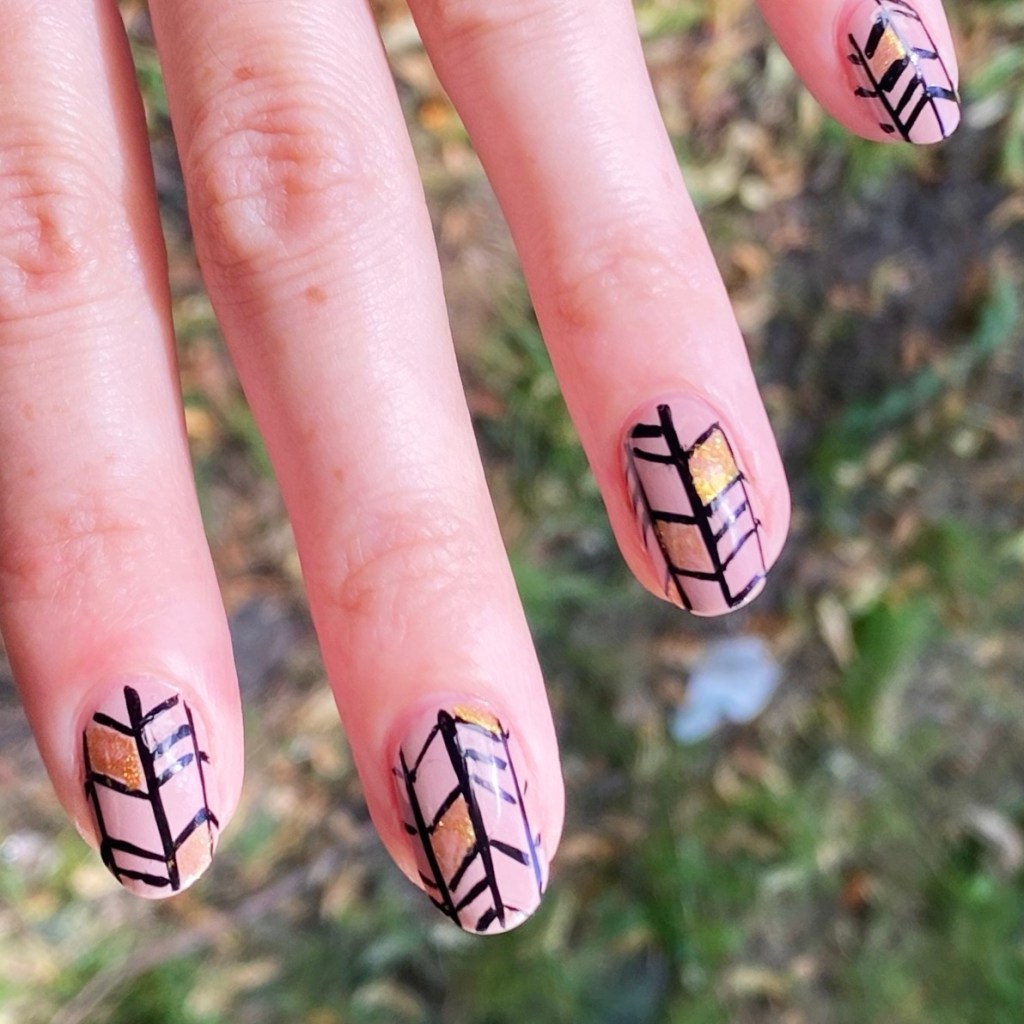
SWATCH SUNDAY — Nicole by OPI Scarlett || Happy 12th Birthday Coffee & Nail Polish 🎂

Hello lovelies & happy Easter Sunday! I hope everyone is having a wonderful weekend, celebrating however they celebrate. But it’s not just Easter Sunday — 12 years ago today I made my very first post on Coffee & Nail Polish! So I thought it would be fun, & for this week’s Swatch Sunday I would share the first very nail polish I ever used for a manicure: Nicole by OPI (RIP) Scarlett from the Selena Gomez collection.

2 coats + top coat

This beautiful metallic pink was originally released as part of the Nicole by OPI Spring Collection which was Selena Gomez themed. I picked up this beauty at my local Lawton’s Drugs (which was one of my favourite places for clearance nail polish) for the stellar price of $2.50.

The formula on this one was slightly thin, but not too thin it made it hard to apply. 2 coats built to this perfect opacity. The finish though — the finish is my favourite. It’s this gorgeous glass fleck finish. Also I love that it sort of looks pink, but also sort of looks red.

Stunning.

Close up of this beautiful finish. I love the shimmer, the pinkish glow; all of it. It really does glow on the nail which just adds to the beauty.

& obviously, since today is the anniversary of my very first blog post, I had to do a recreation of my very first design — a red on red leopard print. Base is Scarlett & my spots were done using Nicole by OPI Basking in Gloria (from the Modern Family collection).

Unfortunately I did forget to matte-ify my design & didn’t realize until after the fact, but I still love my recreation.

What do you think about this throwback shade! I feel like the NOPI shades were definitely ahead of their time for drugstore brands. I really miss them, & cherish the shades I still have.

Happy Sunday!

Happy Easter!

🖤

Bright & Funky Abstract Stripes (2000s Inspired)

*contains PR/gifted items

Hello loves & happy Monday!

I am still over here desperately craving Spring weather — while the actually weather does not cooperate. You would think I would be used to it by now (after all these years), & yet every year I get enraged when Spring doesn’t come quick enough. But… I digress. You’re here for nails, & I absolutely love today’s design!

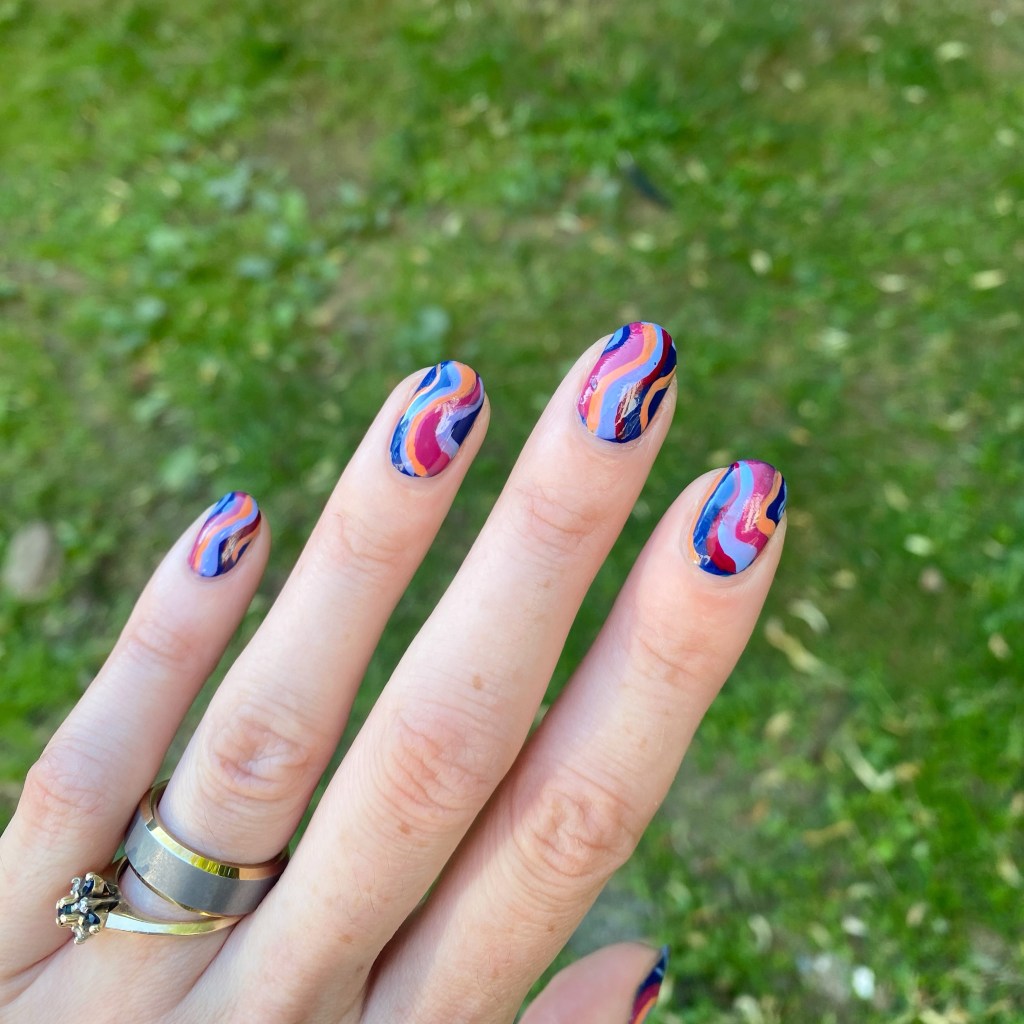
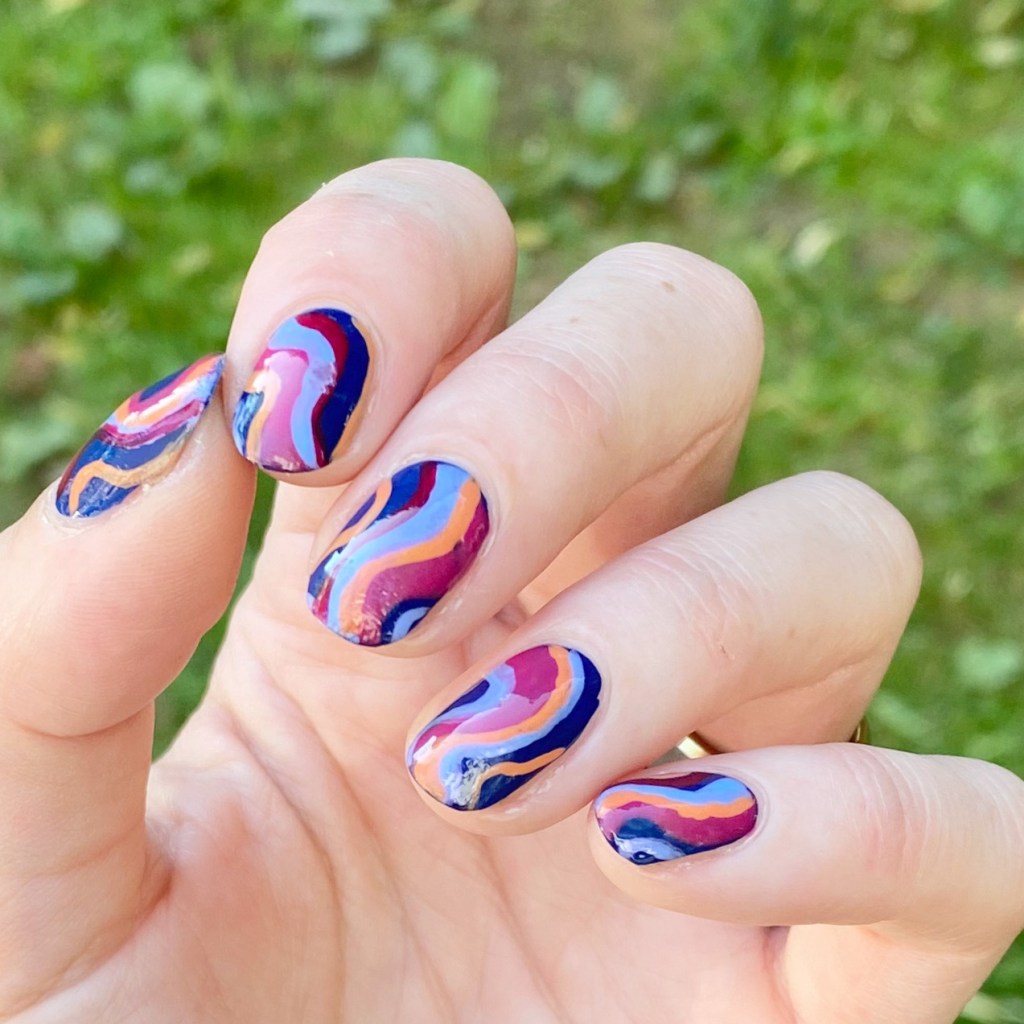
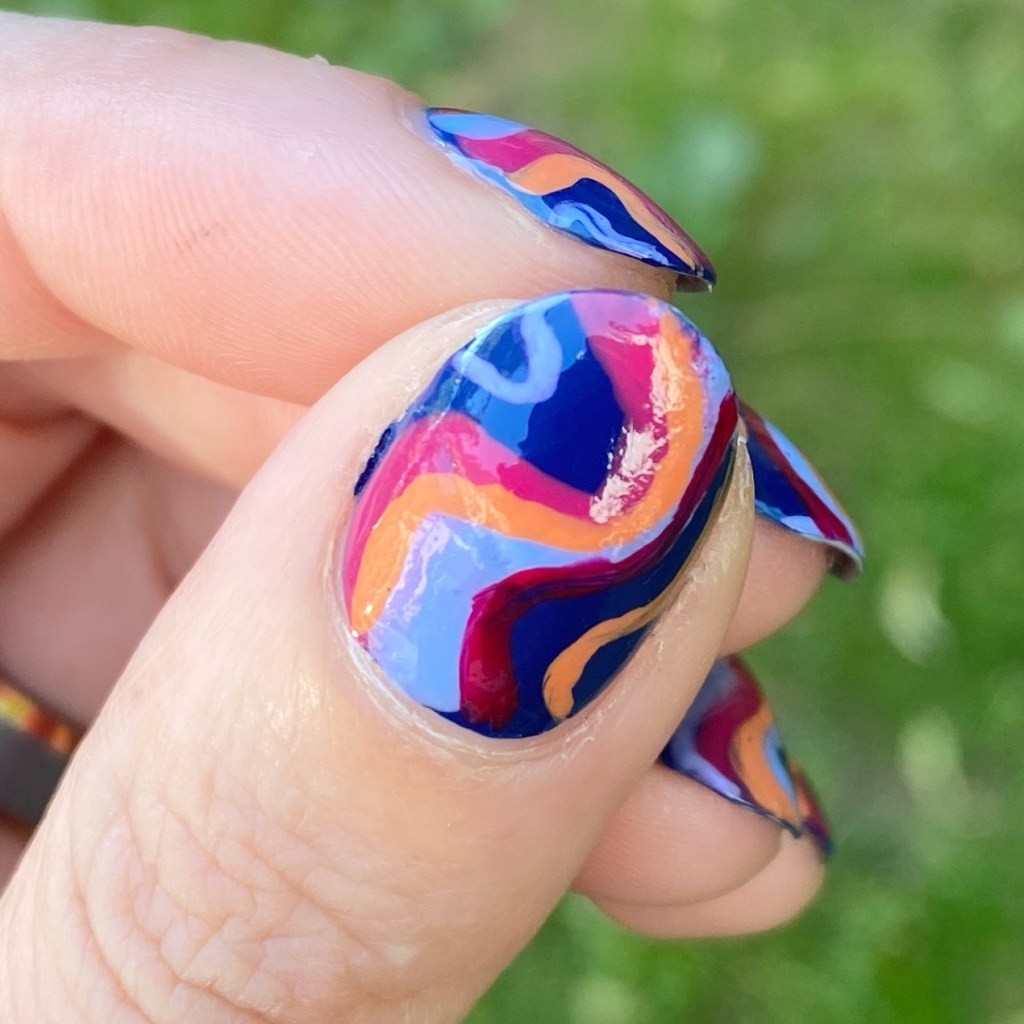
I’m calling these Pucci-esque–not to be confused with Color Club Pucci-licious–& they’re giving me mid-2000s vibes. Specifically: Emilio Pucci’s Spring 2005 collection. I wanted something absolutely bright & colourful, that just screamed Spring, & this combination delivered.

The polishes I used for this manicure are: 

  • Base Coat: Sally Hansen Maximum Growth
  • Top Coat: Seche Vive Gel Like Top Coat
  • Butter London Pure Colour 21X Bloomsbury
  • Essie You Do Blue
  • Sally Hansen Good. Kind. Pure. Peony Origins
  • Essie Willow in the Wind
  • OPI I Cannoli Wear OPI
  • Quo by Orly Nail Art Striper in black
  • NailStuff.ca Mermaid Tail 7mm Liner Brush

Okay — how gorgeous & fun are these nails? I love the combination of colours & how they pop on the nails. They’re just so sunny, & bright which is exactly what my days need when it’s quite a bit below freezing today. I need a little hit of Spring, even if it’s only on my nails (while I stare wistfully at the Spring dresses hanging in my closet, just waiting for me.)

What do you think of these bright & colourful nails? Do you love the colourful combination as much as I do? Let me know all your thoughts down in the comments below, & if you would rock this look on your own nails!

Happy Monday

♥︎

Spring Robin’s Egg Nails

Hello lovelies & happy Monday.

Starting off this full first week of Spring… with a snowstorm. & oh, how I wish I were kidding. But it isn’t going to stop me from rocking some Spring inspired nails! & what is more Spring like than some robin’s eggs? I recently score a killer deal on an Essie shade at my local Shoppers ($1 clearance!), & it was the perfect Spring-y blue, so I knew it would be perfect for some speckled egg nails.

The polishes I used for this manicure are: 

  • Base Coat: Sally Hansen Maximum Grow
  • Top Coat: Seche Vive Gel Like Top Coat
  • Matte Top Coat: NailStuff Essentials Matte Top Coat
  • Essie You Do Blue
  • OPI That’s What Friends Are Thor
  • Small nail art brush

I won’t lie, these nails are actually super super easy to do. All you need to do is create some messy specks using a nail art brush — the messier the better. But the real trick to this look is obviously the matte top coat to give it that eggshell finish. & bam! Instant Spring inspired Robin’s egg nails.

&, obviously, if you paint you nail a selection of pale pastel shades, you could create Mini Egg inspired nails easily (as I have done in years past).

What do you think of my Robin’s Egg nails? Would you wear a simple nail art like this to channel Spring? Let me know all your thoughts in the comments below!

♥︎

Navy Freehand Snowflake Accent Nails ❄️

Hello lovelies & happy Monday! & happy Holiday week. Sending lots of beautiful wishes to everyone preparing for Christmas, or celebrating Hanukkah, or whatever brings you joy this time of year. The crunch is on right now to finish up this year, so I apologize for my sporadic posting schedule.

Today I’m sharing a freehand nail art Winter look I recently did. It’s not December/Christmas until I paint some freehand snowflakes, & I’m very proud of this design!

The polishes I used for this manicure are: 

  • Base Coat: Sally Hansen Miracle Cure
  • Top Coat: Essie Speed Setter
  • Sally Hansen Complete Salon Manicure Dark Hue-mor
  • Sally Hansen Miracle Gel It’s a Moo Point
  • Sally Hansen Xtreme Wear Strobe Light
  • NailStuff.ca 4mm Micro Detail Brush

I always get scared to freehand something delicate like this, because in case you didn’t know — I can be kind of a perfectionist. But I’m trying to work on that, & challenge myself, & I’m really proud of my snowflakes. They’re dainty, & cute, with just the right amount of glitter.

These are just such fun winter-y Holiday nails. I love how they turned out. Also I’ve been really, really feeling blue lately which is funny, because it’s not the most Christmas heavy colour. But I think for a design like this it’s perfect. & I got lots of compliments when I wore these nails to work, which always makes my whole day when someone notices them.

What do you think about these blue snowflake nails? Do you think it’s a fun, pretty design for the holidays? Are you all ready for the holidays? Let me know what you think down in the comments below.

& good luck to all my fellow last minute shoppers out there! I’ll be right out in the crowds finishing up my shopping, just like you.

♥︎

Kiss Products Voguish Fantasy Press On Nails — Christmas Party Ready Nails

•contains pr/gifted items

Good morning lovelies & happy Tuesday!

Kiss once again spoiled me, & recently sent me a box of Christmas cheer in the shape of their Press On Nails & False lashes! The perfect thing to help me get Holiday ready quickly.

Sunday night I had a get-together with my former Candy Store coworkers, so I thought a set of nails would be perfect for the occasion — & who can say no to candy cane inspired nails!

These nails were fairly easy to apply. The trick is to make sure you pick out the size/style you need for each nail prior to starting your application, & laying them out in order. Then, start from your pinky nails & work your way to your thumb. I find this especially important to do when you’re doing nails with any significant length — like these ones!

Now for these nails I was only planing on wearing them for the night, so instead of using the included glue, I chose to use sticky tabs to apply them which I find a better option for shorter term wear. Each pack does come with the Kiss Nail Glue, which from my previous experience does last really well & holds up against every day use.

What do you think about these Kiss Voguish Fantasy nails? Would you rock press on nails like this for a super quick & easy party look? Let me know all your thoughts in the comments below!

🖤