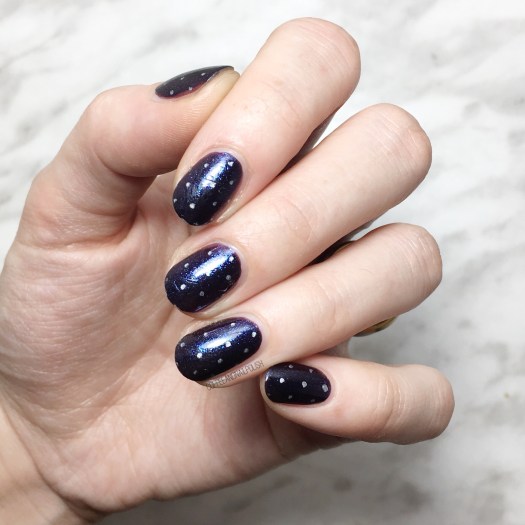
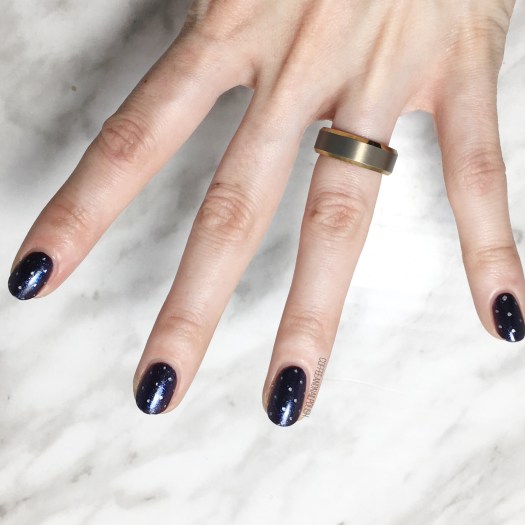
Good morning lovelies & happy Wednesday! Today’s look is one of my favourite easy nail ideas–a simple dotticure. Seriously, is there any easier way to add a little fun to other wise boring nails then with a few carefully placed dots? (Especially when you stay up too late binge watching Netflix & forget all about doing your nails…)
For this manicure, I pulled out one of my beloved Sally Hansen nail art pens. I’m not sure if you can still purchase these (I haven’t looked in a while) but a few years ago I picked them up & they’re one of my favourite & easiest ways to create polka dots! There is something so easy about using a pen instead of a dotting tool for creating teeny, tiny polka dots.
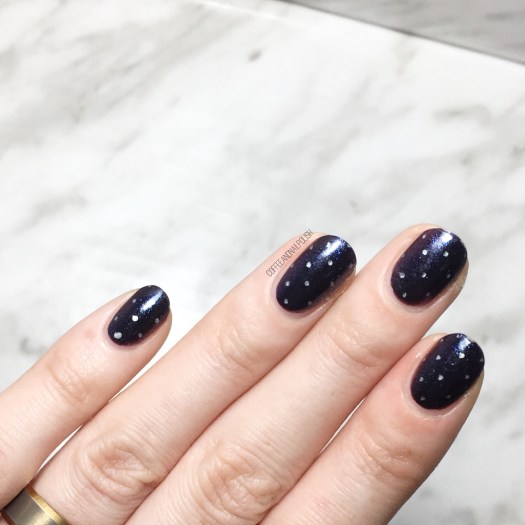

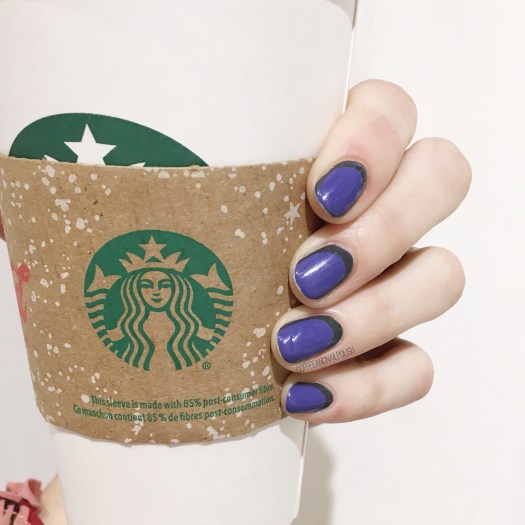
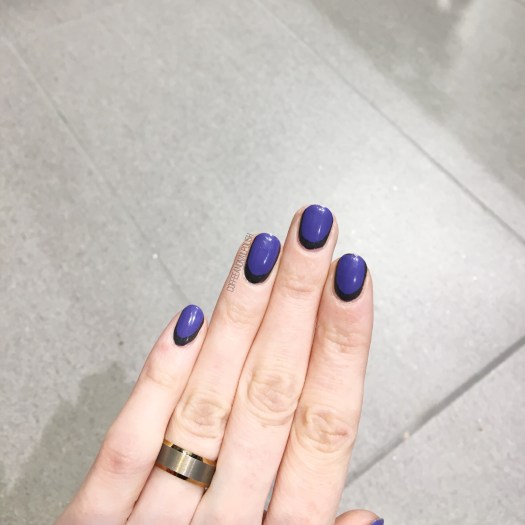
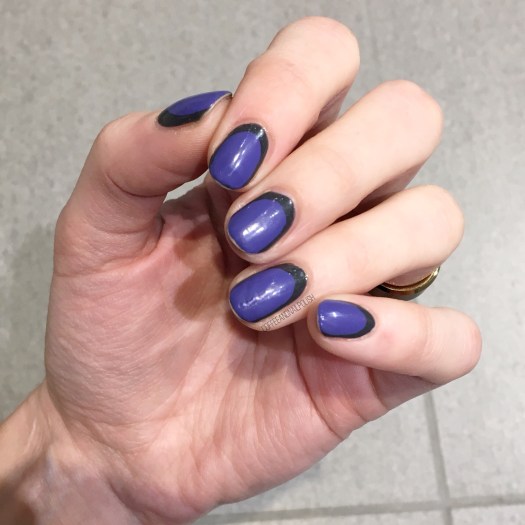
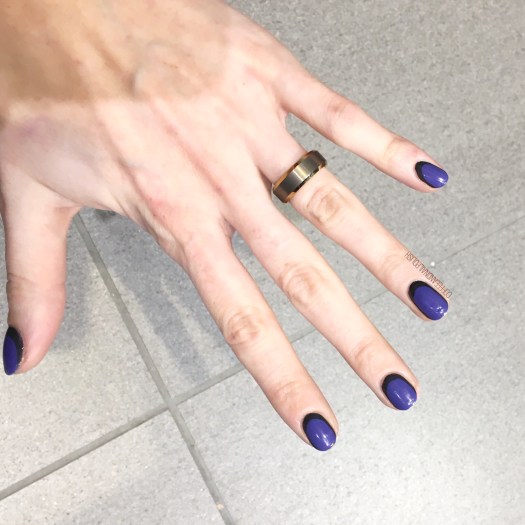
For this manicure, the polishes I used were:
- Base Coat: Essie Grow Stronger
- Top Coat: Essie Speed Setter
- OPI Cosmo With A Twist
- Sally Hansen I ♥️ Nail Art pen in Silver
What I love about this look is how easy it is. Paint nails. Let dry a few minutes. Dot with nail Art pen & seal with top coat. Bam, done! No tools even needed. & you don’t even need to worry about cleaning off your dotting tool & then re-dipping it into the polish, so finishing your nails is a whole lot faster. & the dots seem to end up being more similar than when I try to do the same look with a dotting tool.
so what do you think of this look? Are you a fan of dotticures? Share your thoughts down in the comments below! ♥️