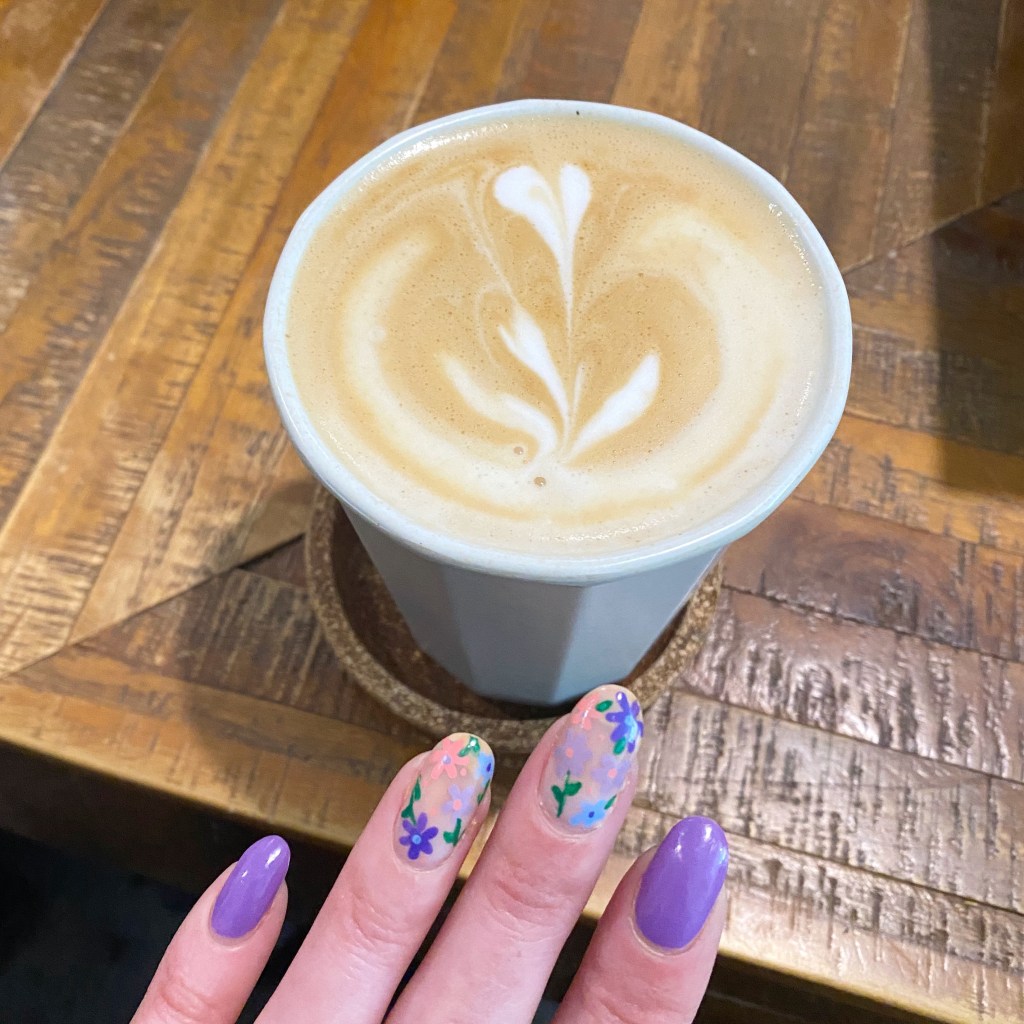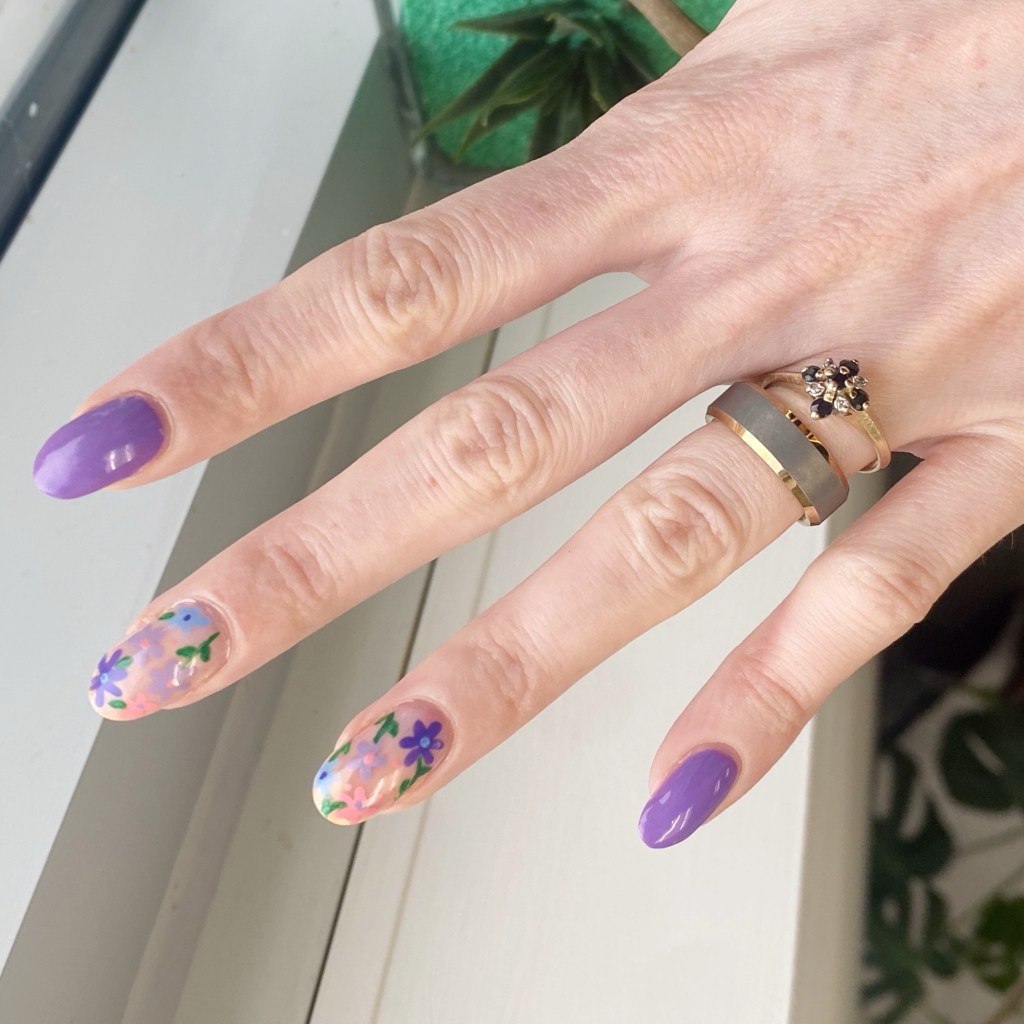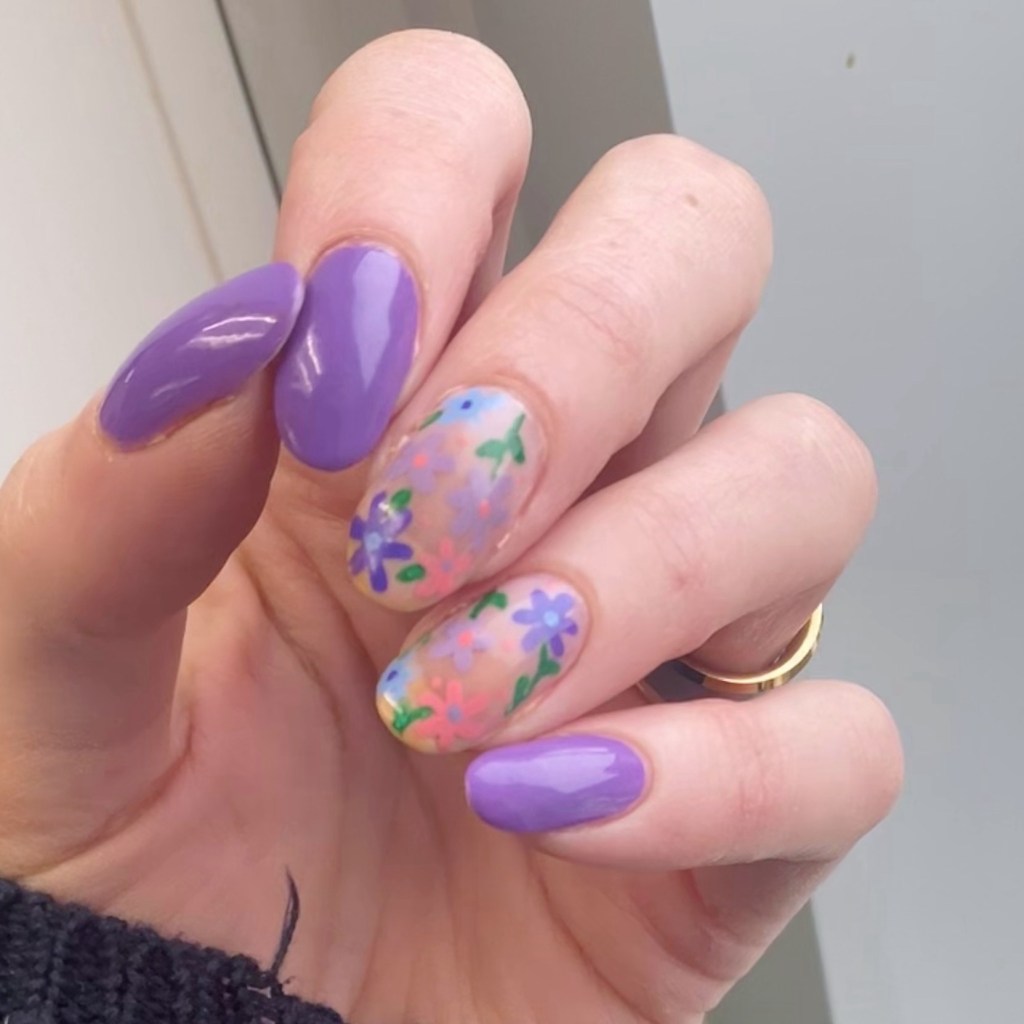
Hello lovelies & happy Easter Monday (to those who celebrate!) It’s a brand new week, & the first full week of April. Maybe we’ll finally feel some more Spring-like temperatures, or — then again — maybe we won’t. But what I can definitely confirm is that I’m going to have some Spring-y nail art designs to share!
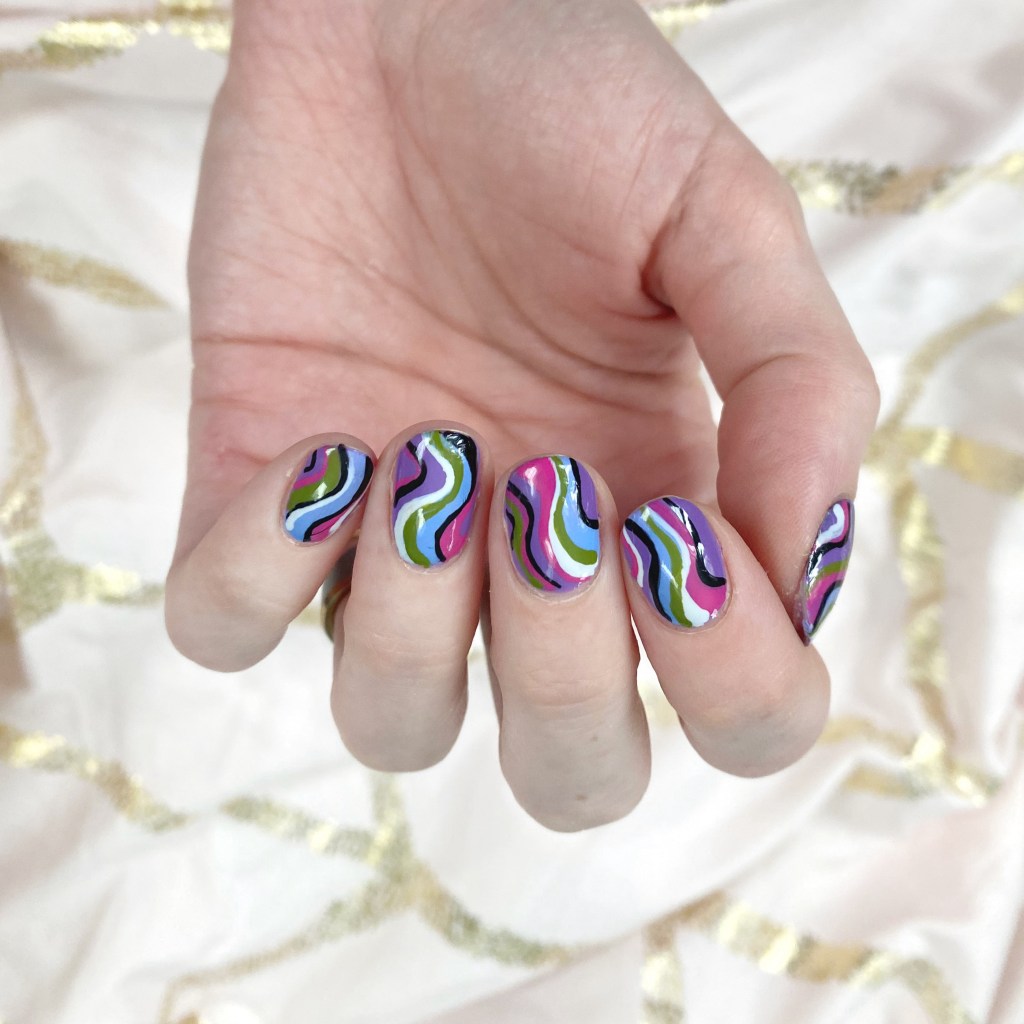
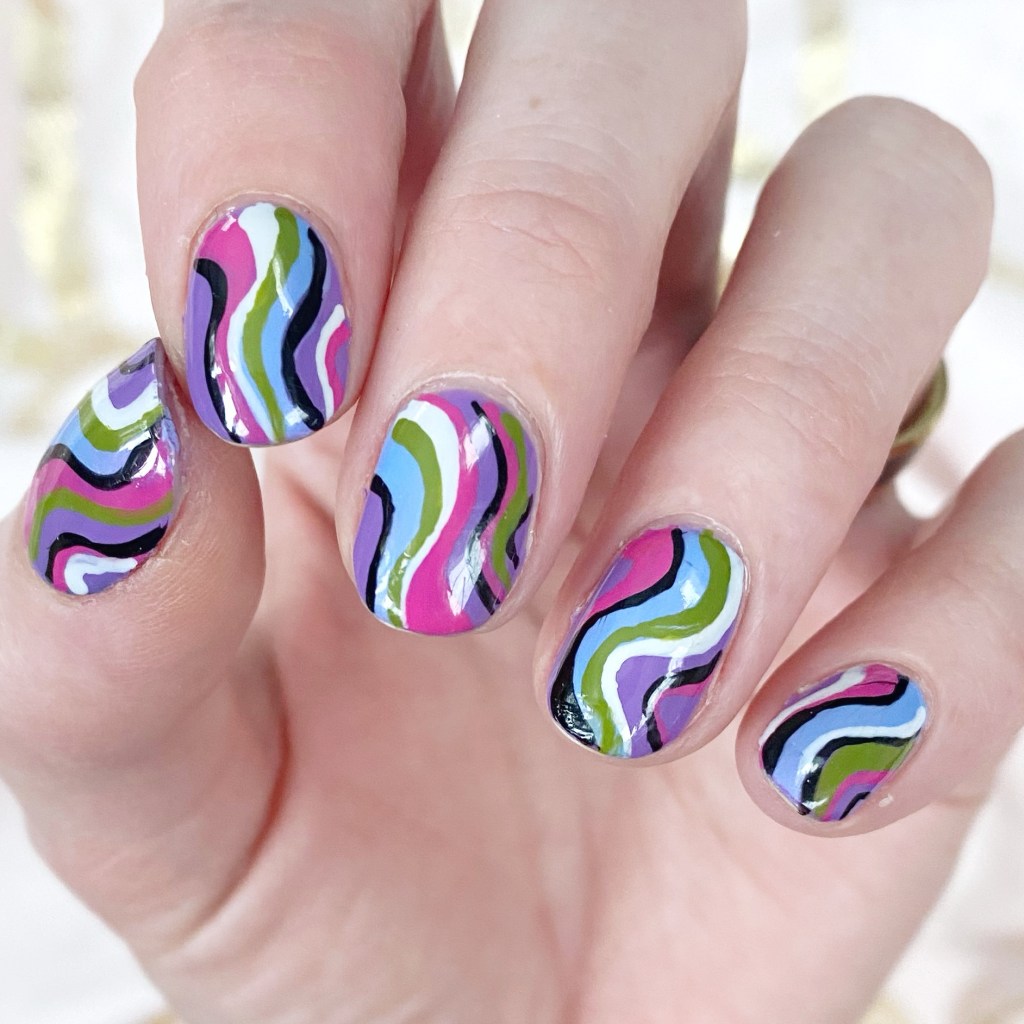
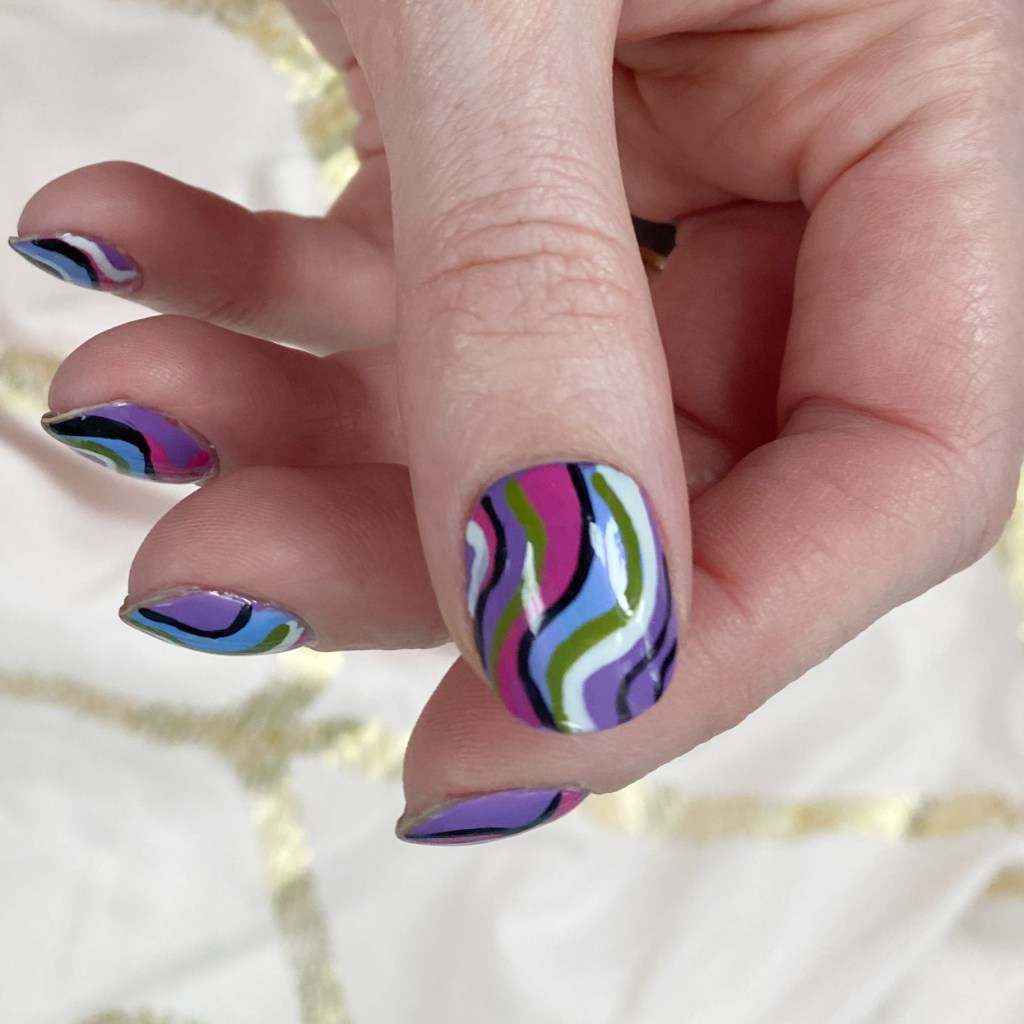
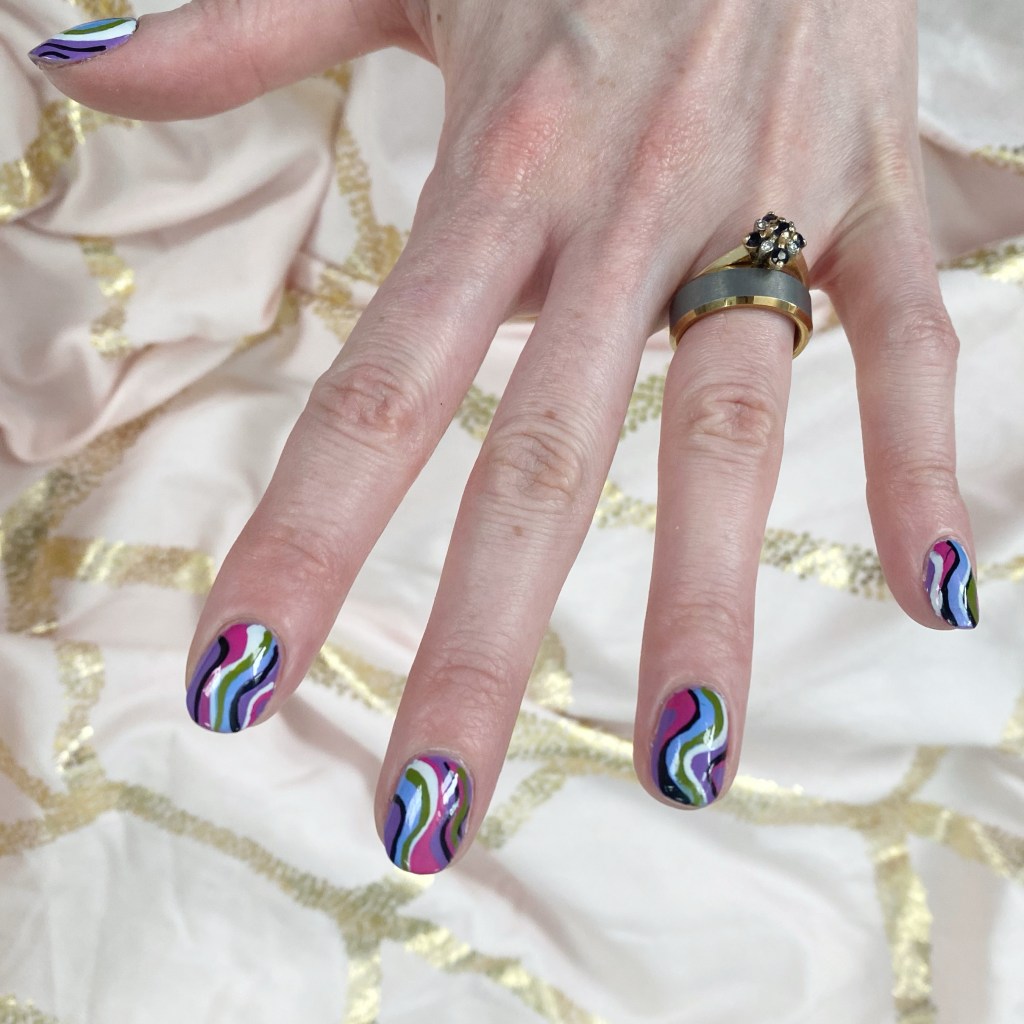
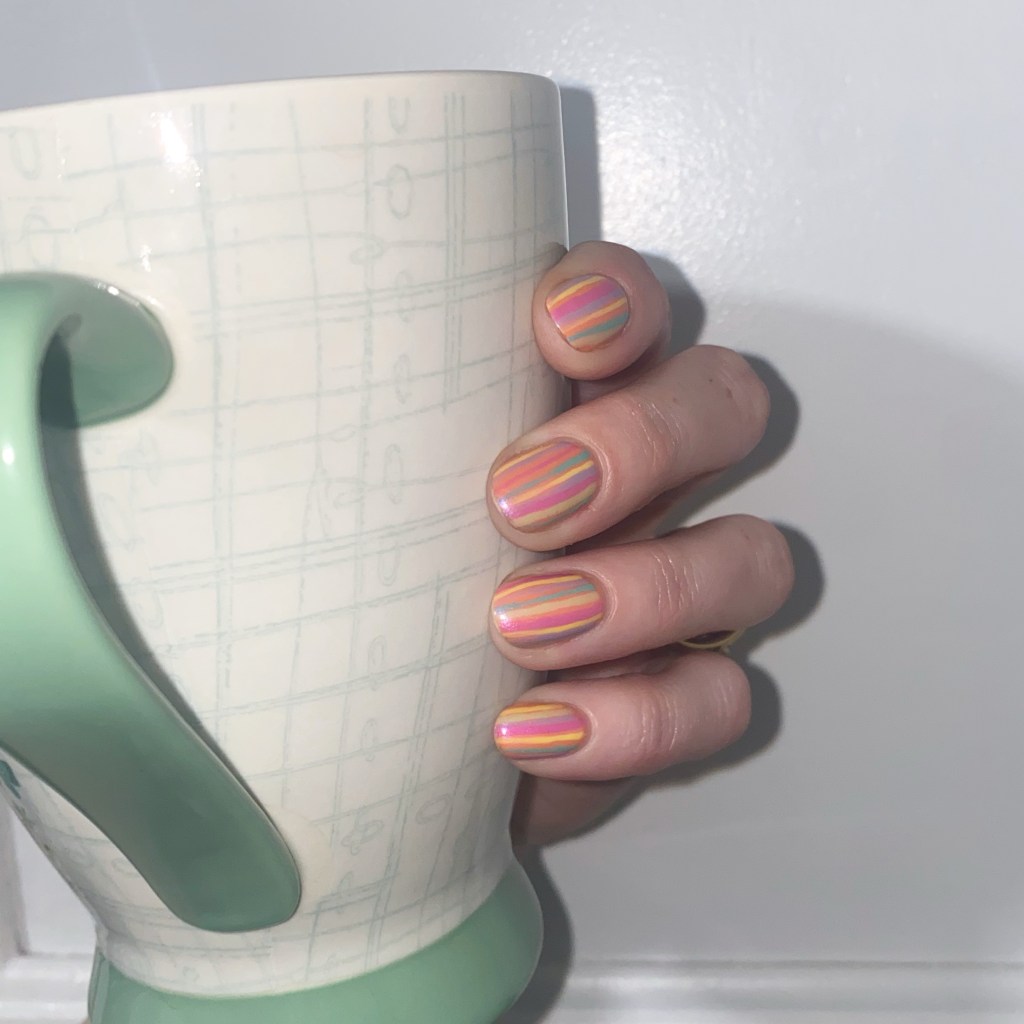
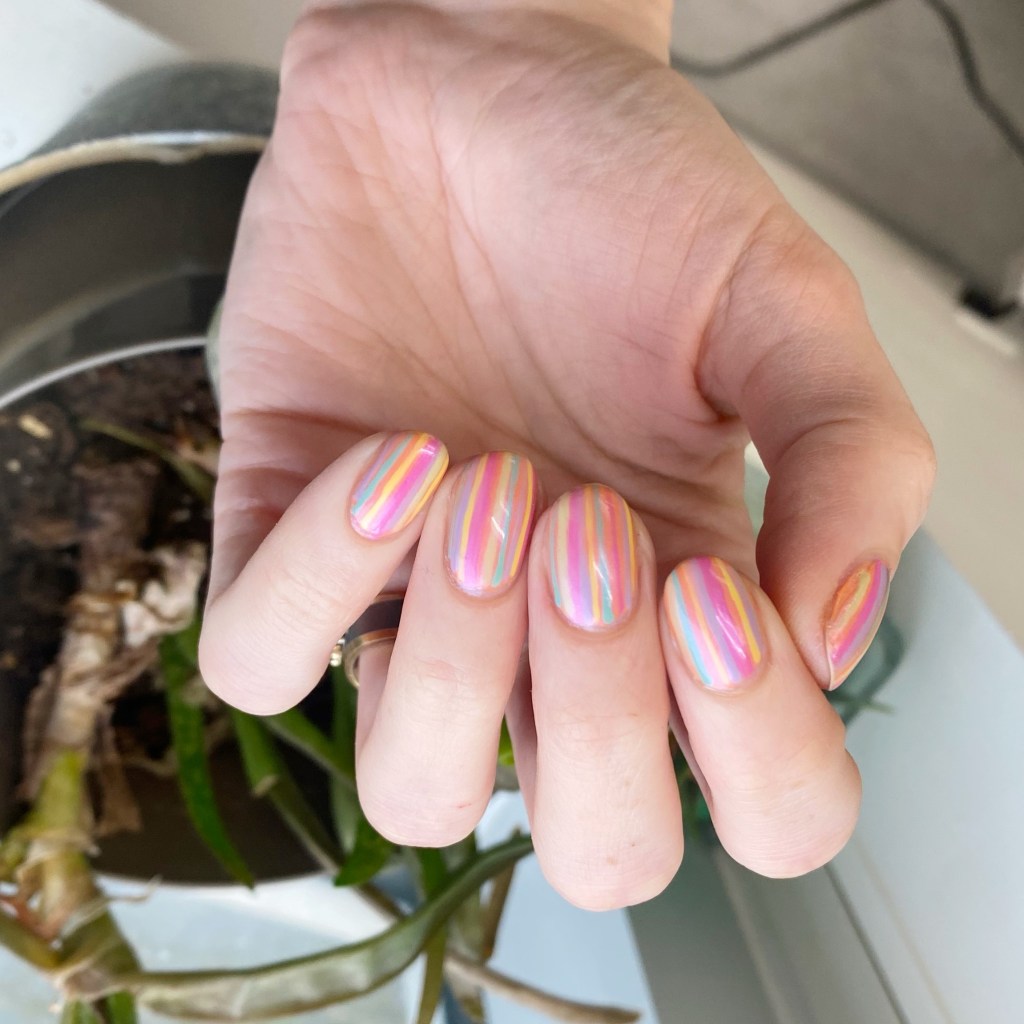
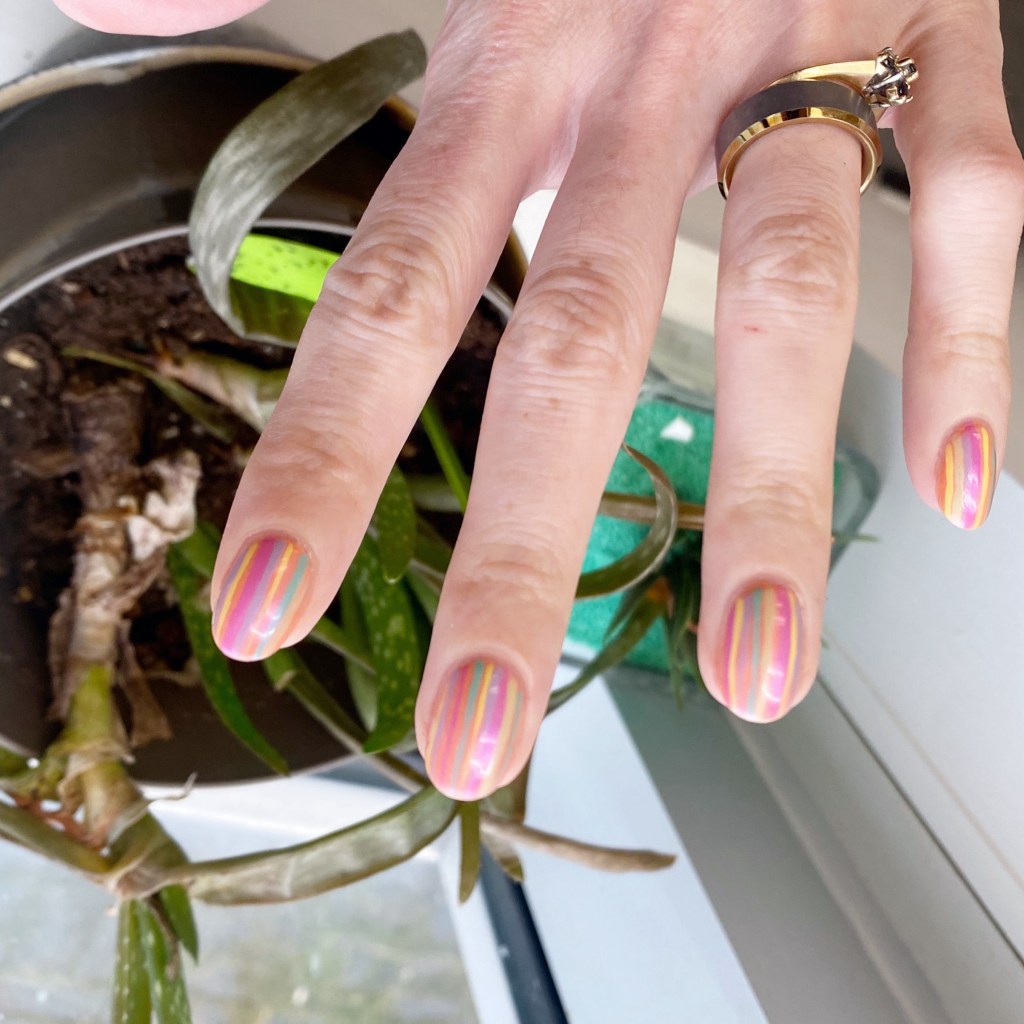
Starting with some fun Easter-esque Spring stripes. These kind of feel Easter egg adjacent, but I think the colours themselves are the just right amount of brightness for this time of year.

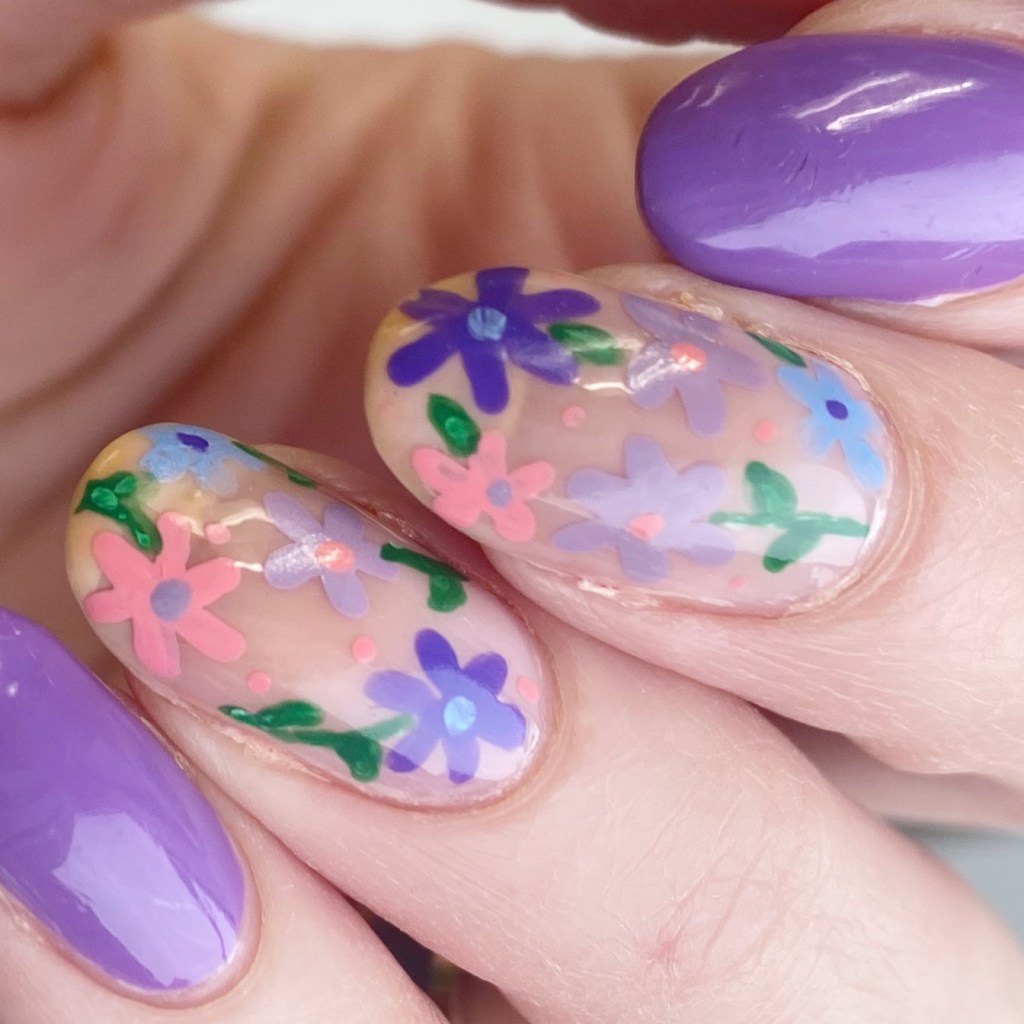
The polishes I used for this manicure are:
- Base Coat: Sally Hansen Maximum Growth
- Top Coat: Seche Vive Gel Like Top Coat
- OPI Where’s Suzi’s Man-go
- OPI Gargantuan Green Grape
- OPI Nature Strong Emflowered
- OPI Nature Strong Cactus What You Preach
- OPI Nature Strong Make My Daisy
- OPI Sickeningly Sweet
- OPI Altar Ego
- NailStuff.ca 16mm Striper Brush
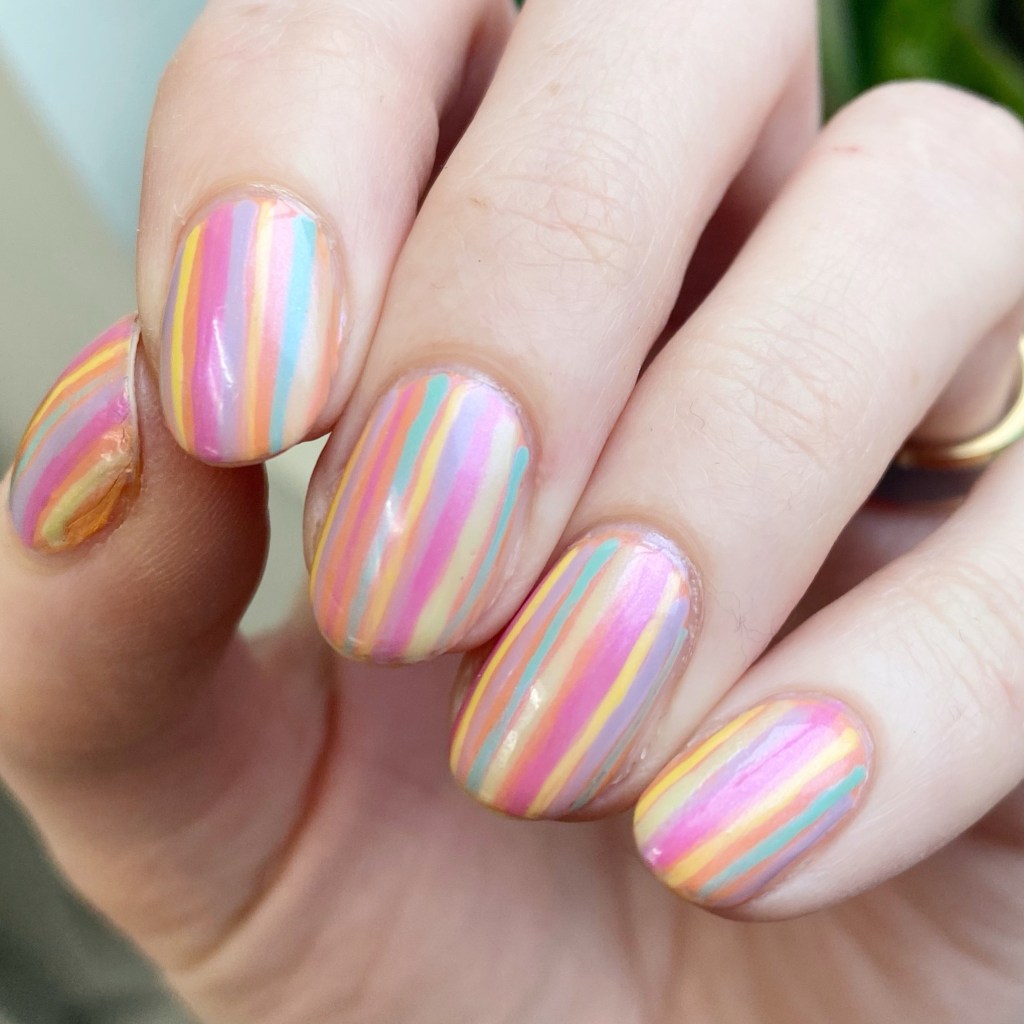

So many pretty colours paired together. I ended up adding a swipe of OPI Altar Ego over my stripes to give it a bit of a muted, subdued look which I think added to the over all look of everything & gave it that more subtle Spring colour effect (if you know what I mean.)
Do you think these stripes are giving Spring/Easter? Do you like the muted effect I created using Altar Ego over top? Would you wear this look? Let me know all your thoughts down in the comments below!
Enjoy your Monday!
♥︎