Abstract Colour Blocking (& covering up a chipped mani!)

Hello lovelies & happy Thursday. This week is speeding by quickly, isn’t it? Crazy! Today I’m showing off a fun look I did earlier this week.

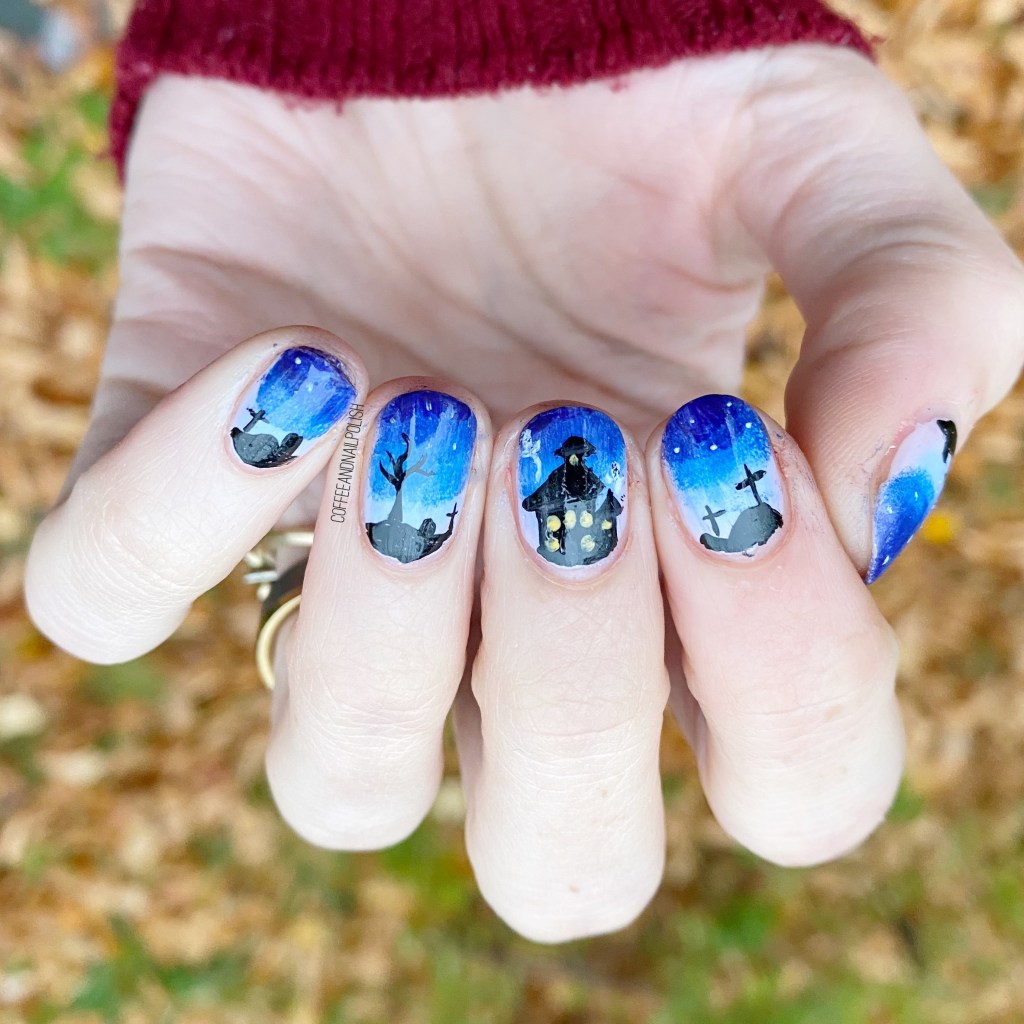
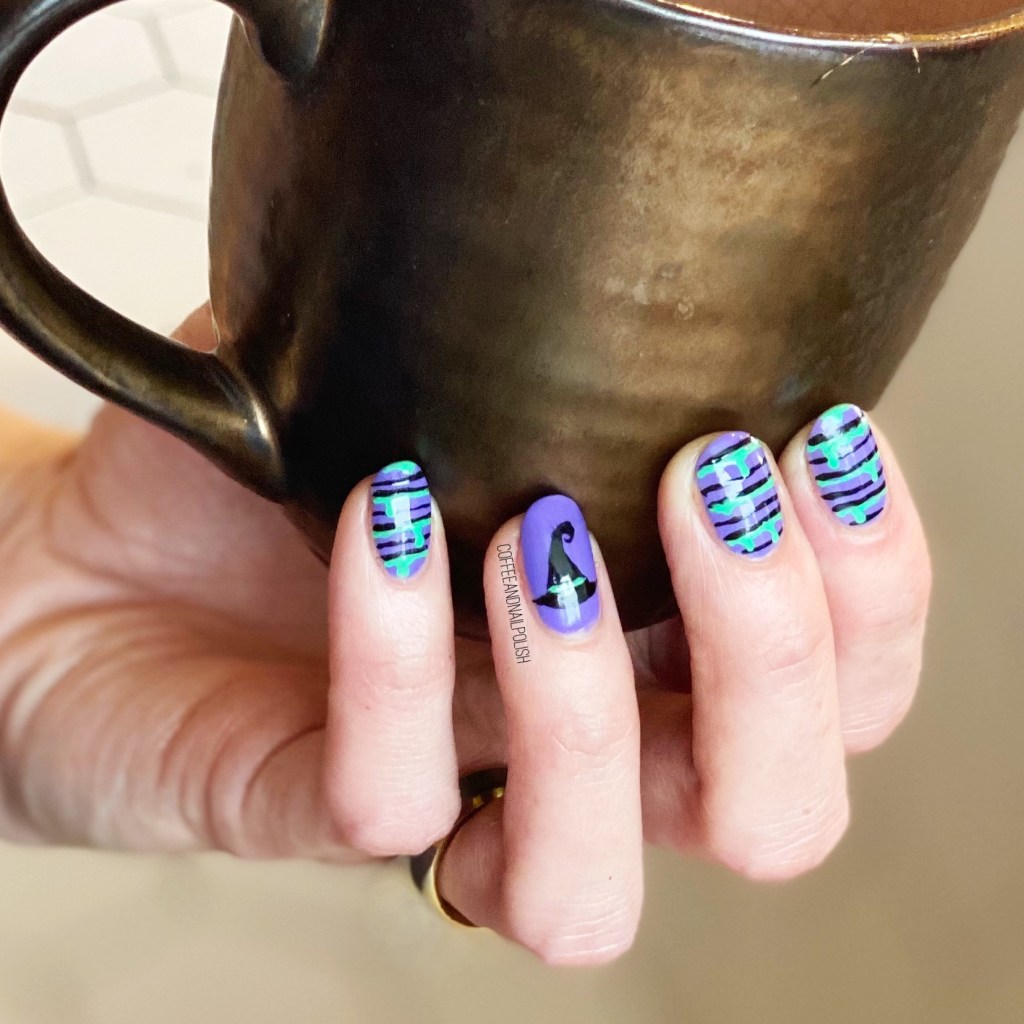
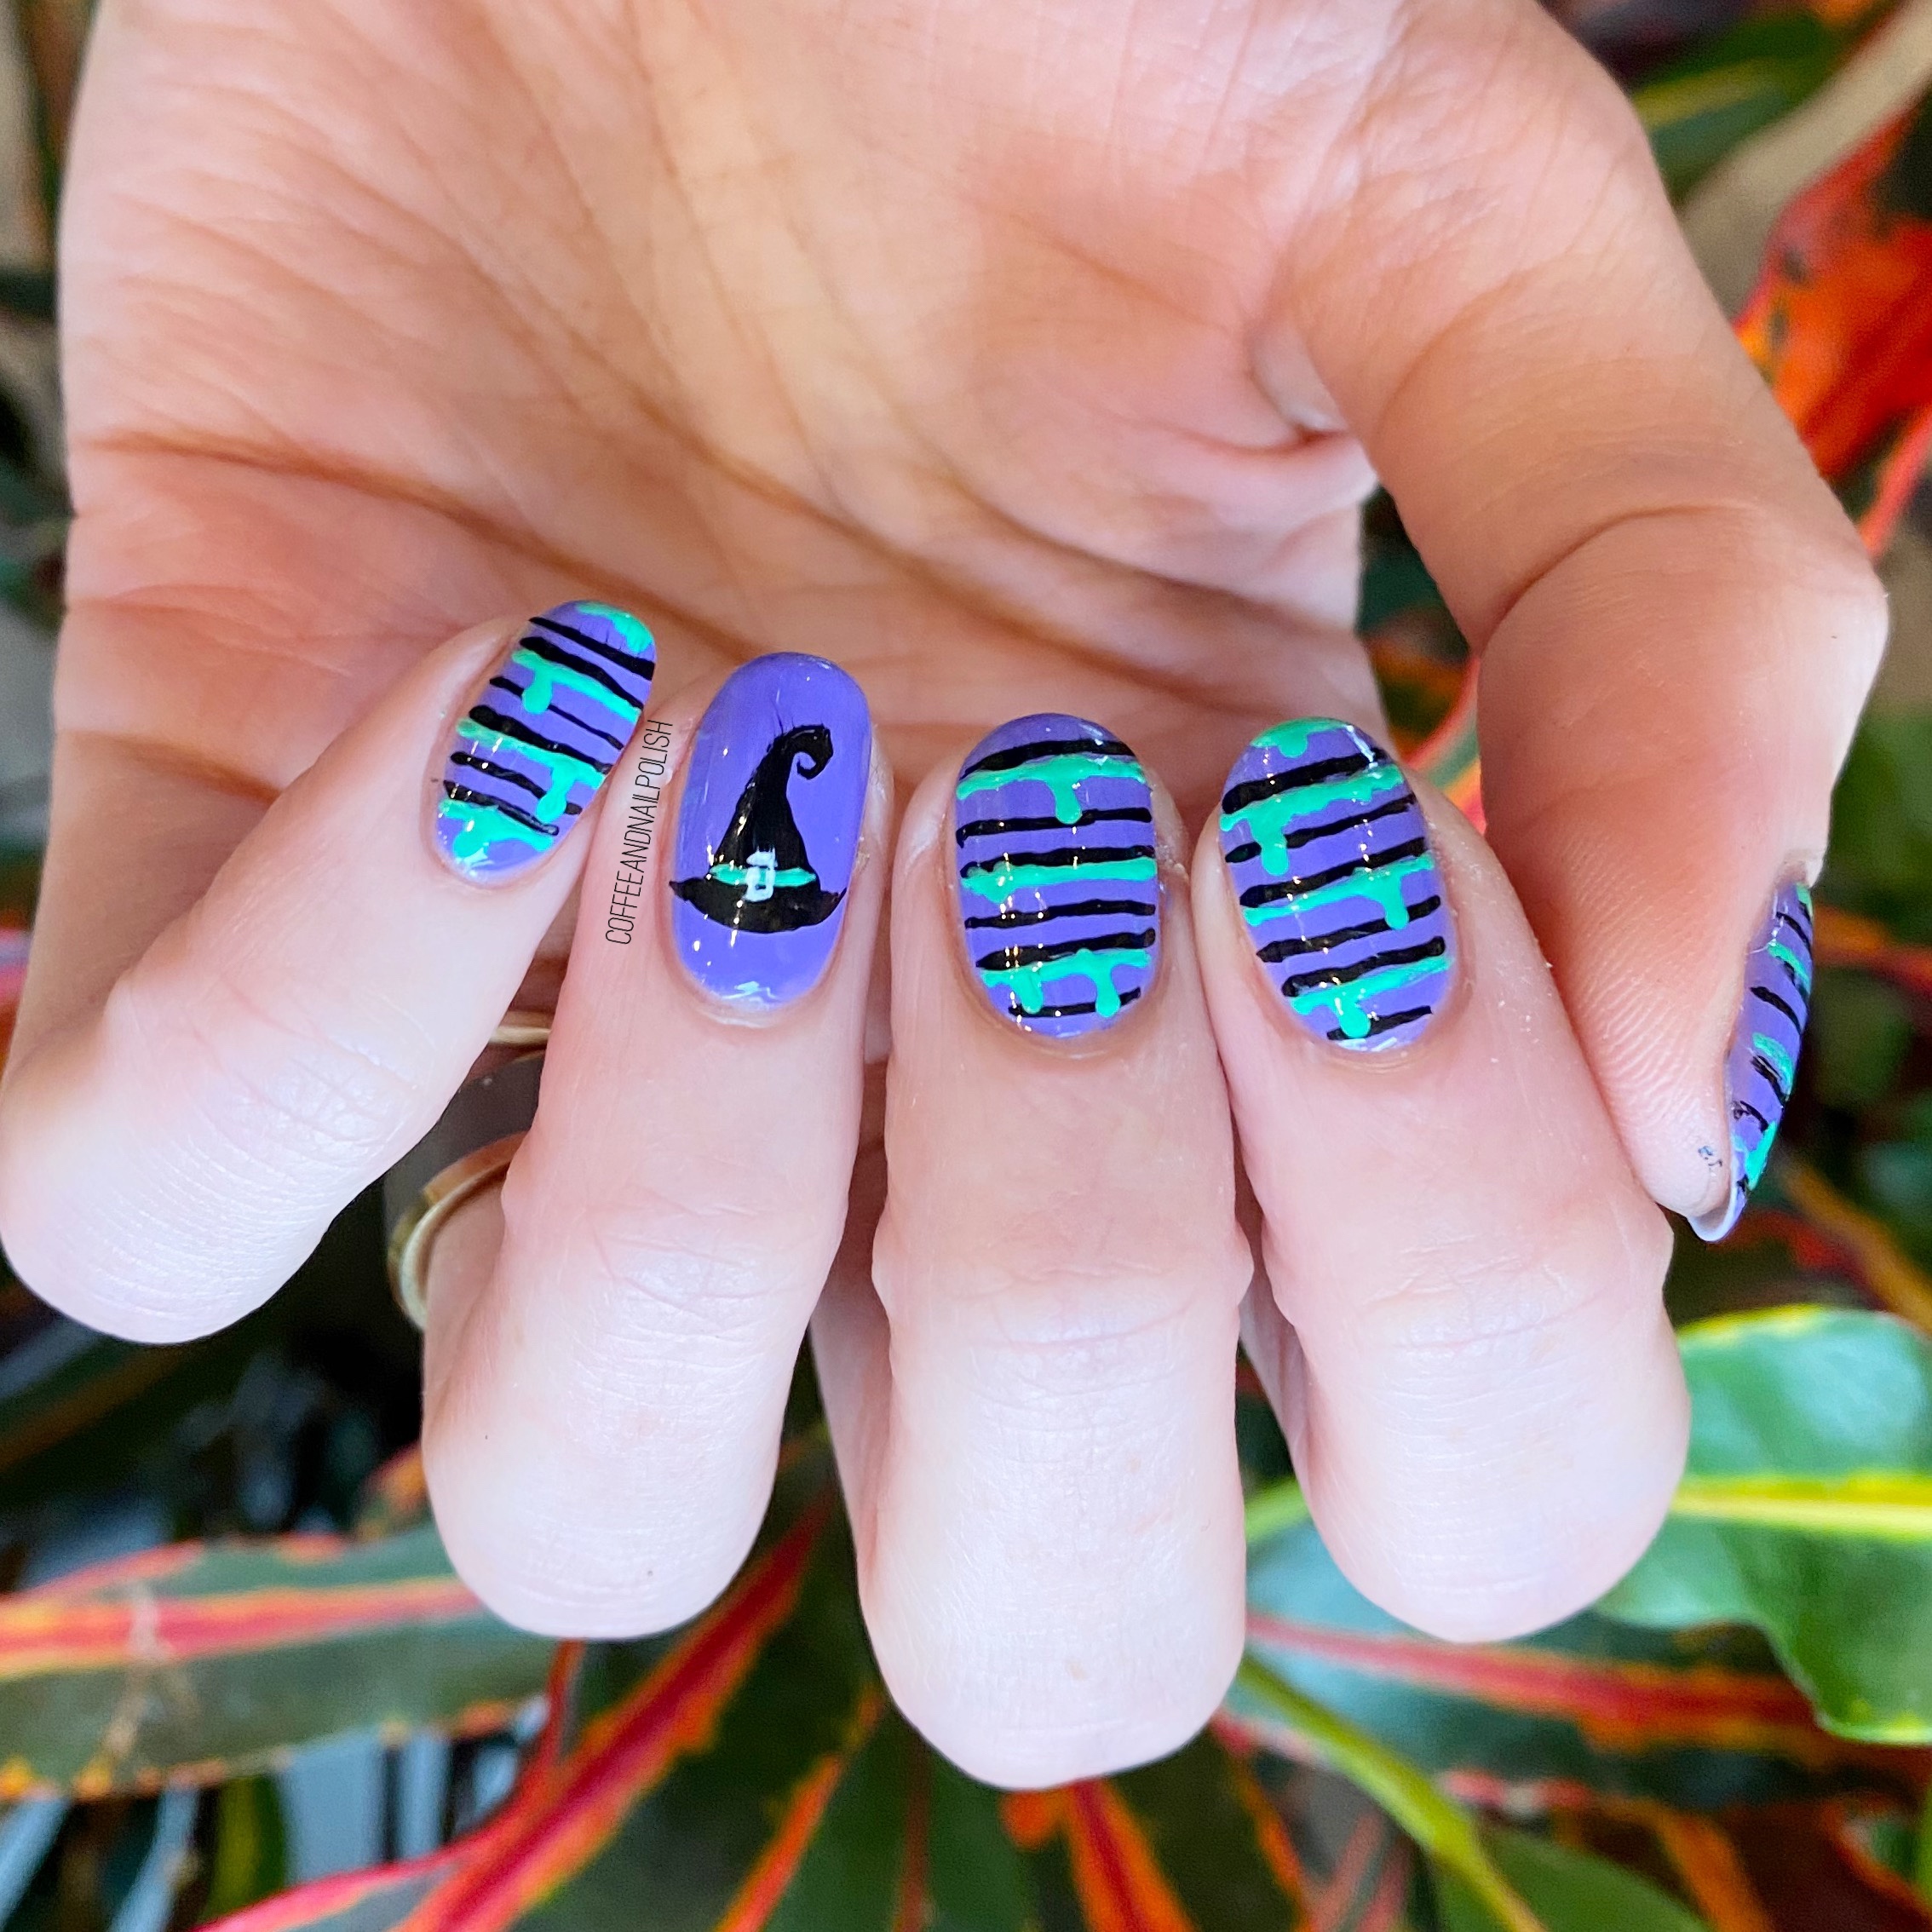
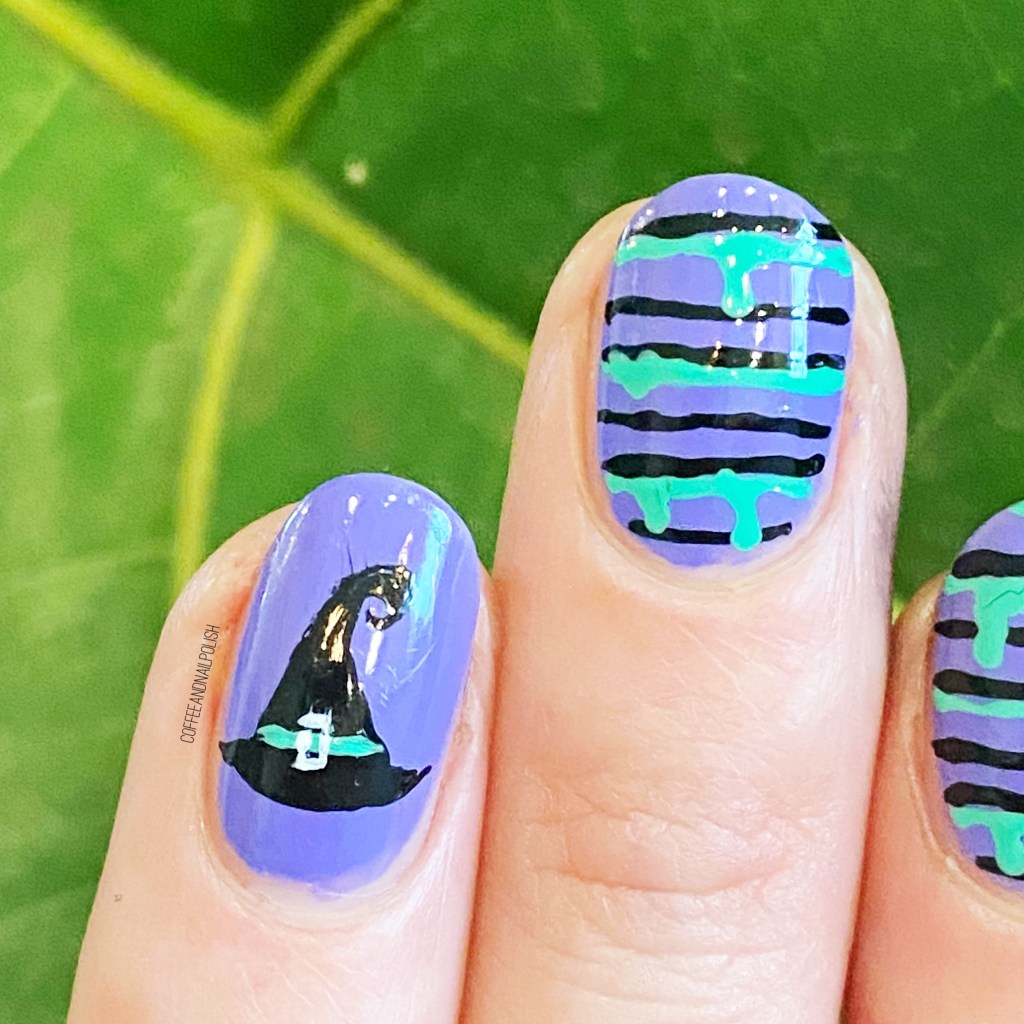
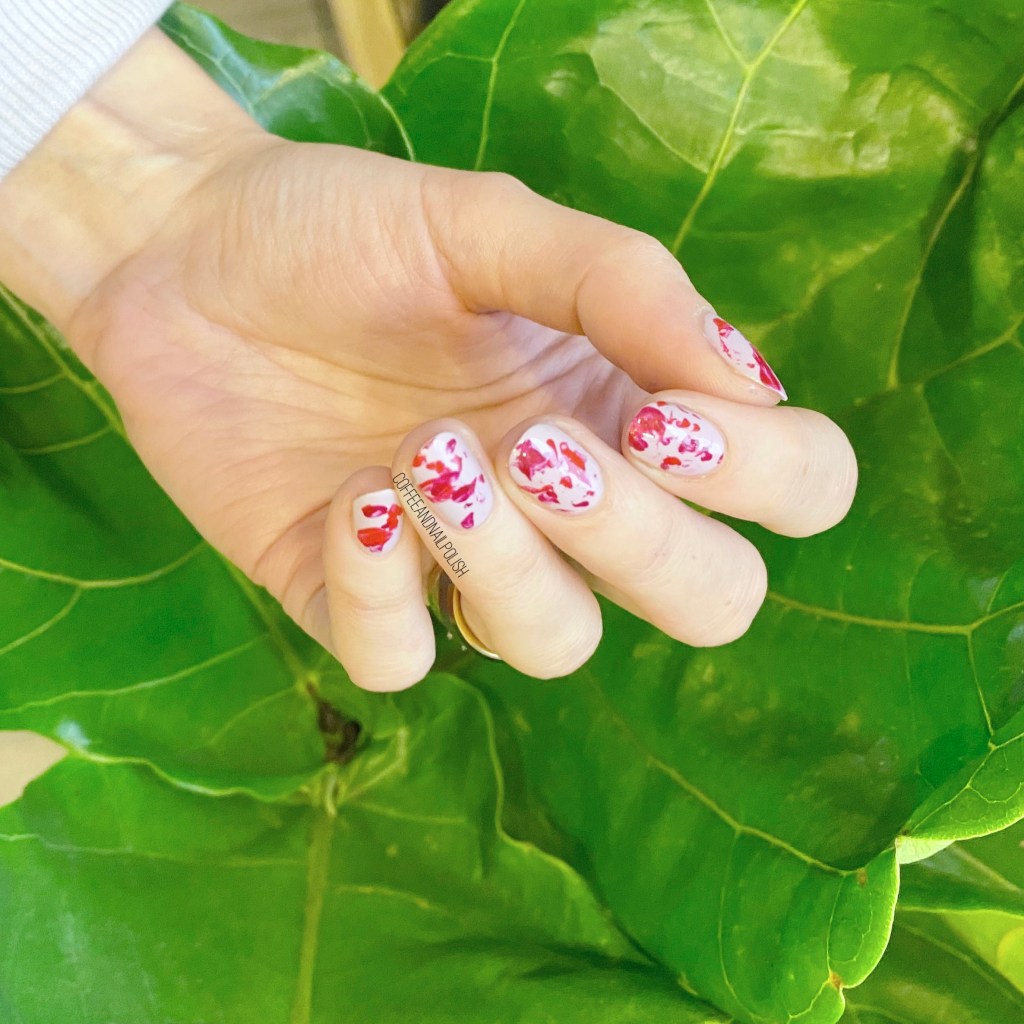
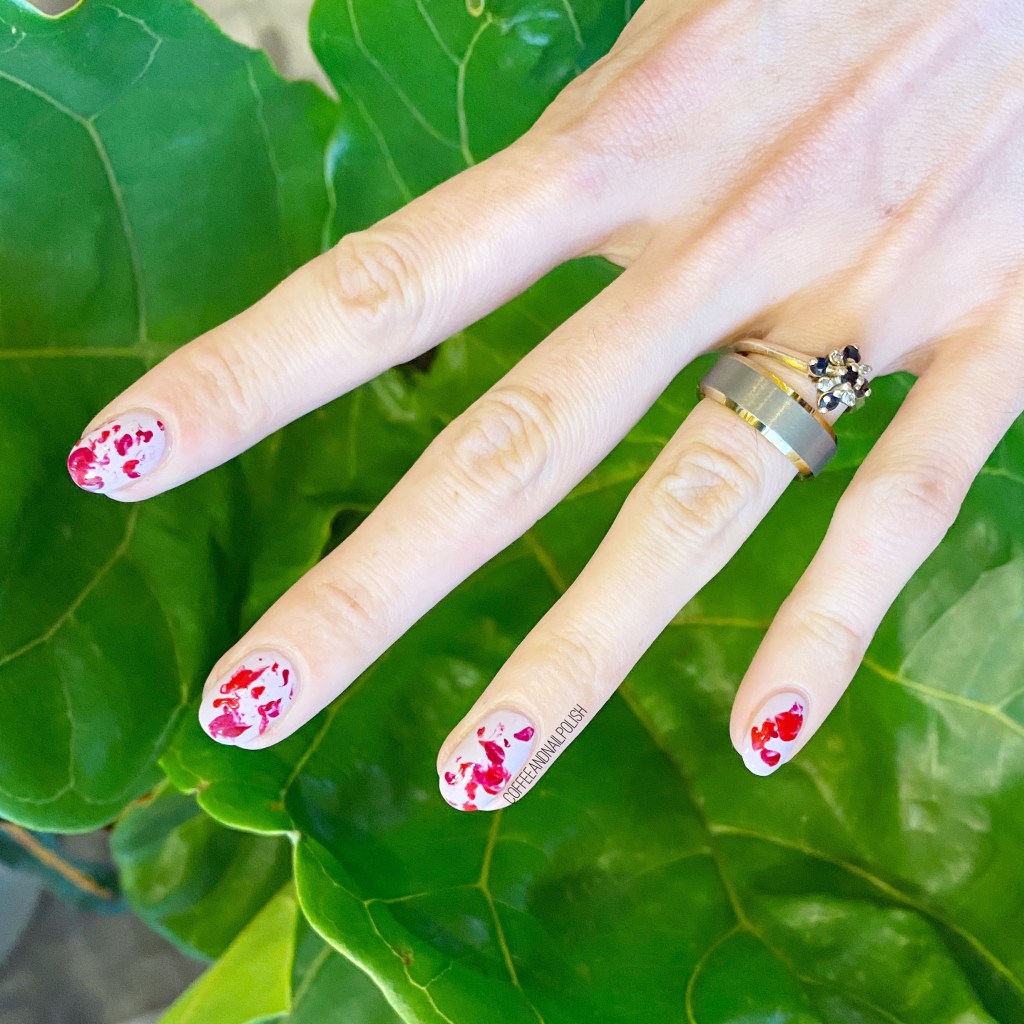
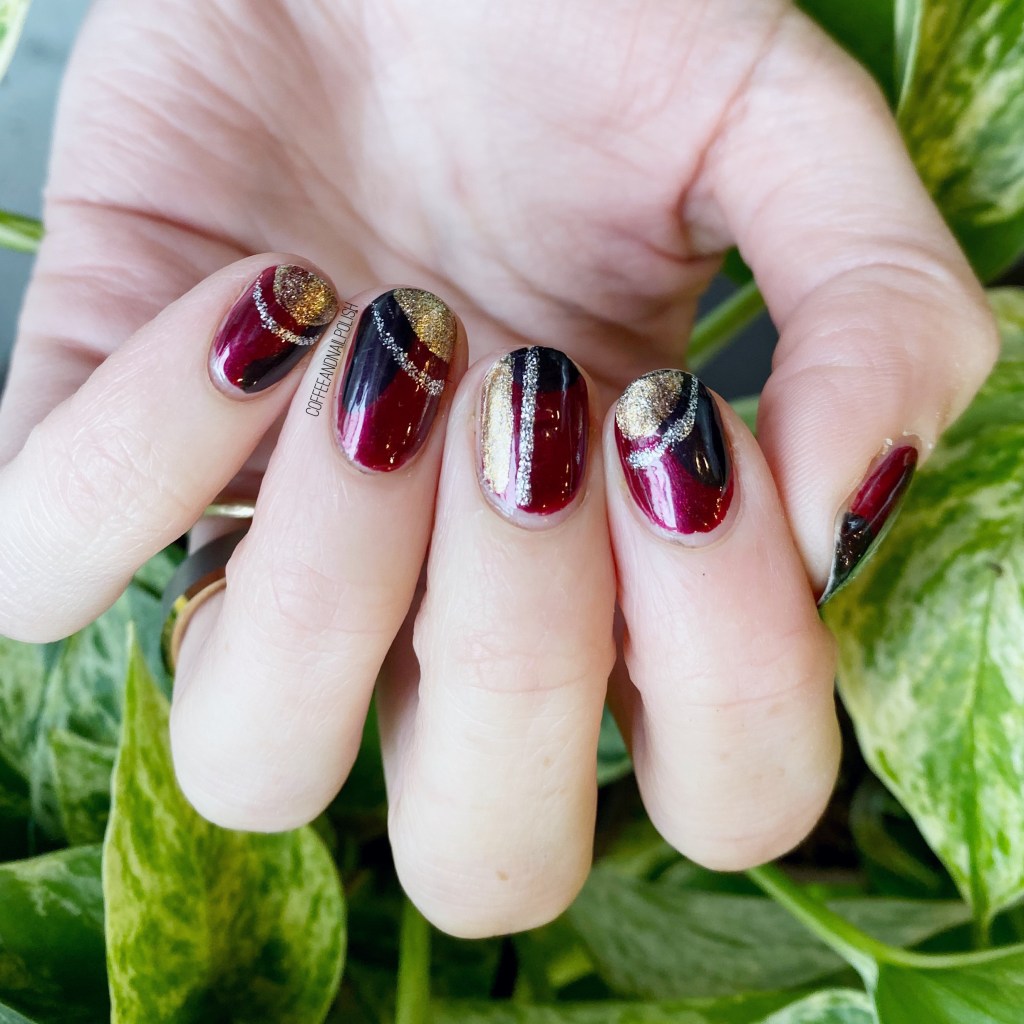
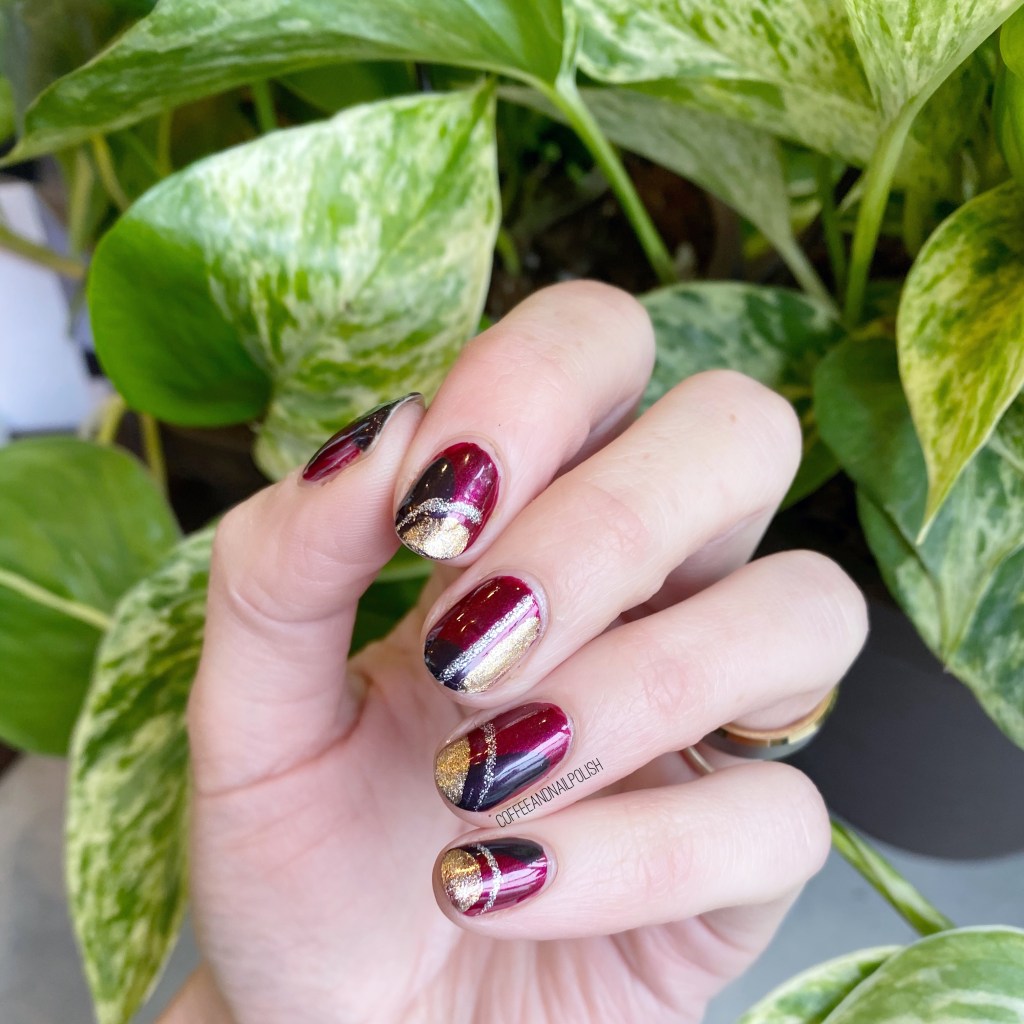
Full disclosure: I had painted my nails, went to work, chipped the hell out of them, & had ever intention of repainting them. Then I fell asleep at 7pm. When I woke up the next morning, I didn’t want to go to work with still chipped nails, so I thought of the easiest way I could cover up the “damage”, & decided to create this almost abstract colour blocking. & I think it turned out pretty cool for something that was painted on the fly. Haha.

For this manicure, the polishes I used were:

  • Base Coat: Sally Hansen Hard As Nails
  • Top Coat: Seche Vite
  • Sally Hansen Miracle Gel Frosted Berries
  • China Glaze Glamcore
  • Essie Mosiac On Down
  • Kiss Products Nail Art Striper in Silver

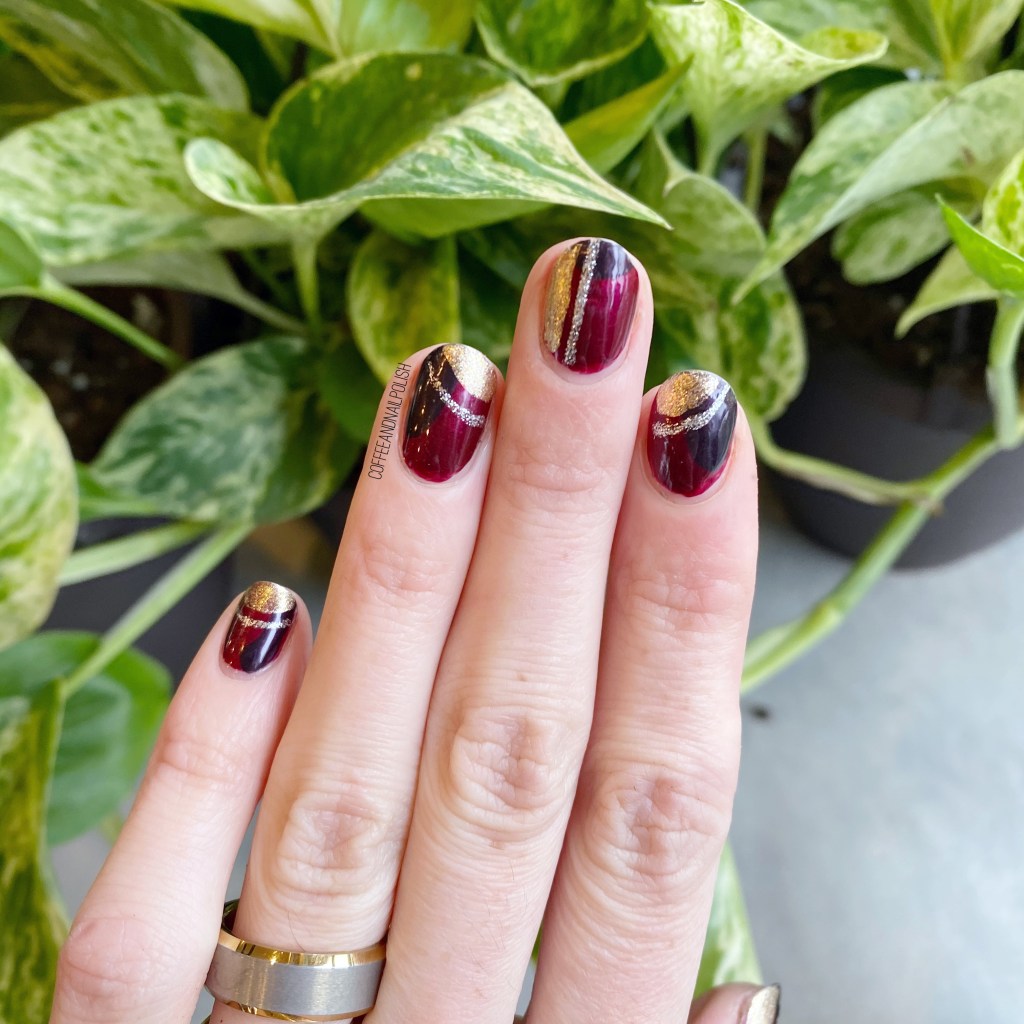
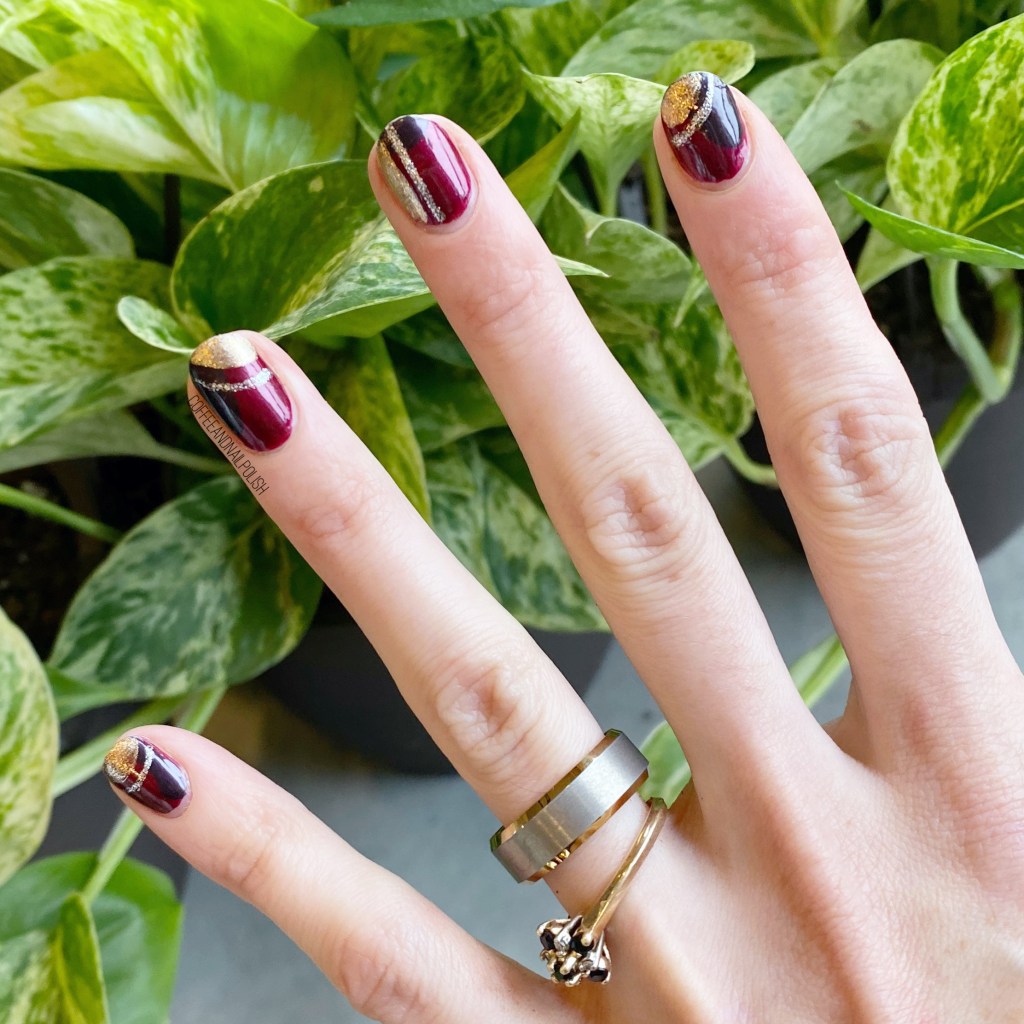
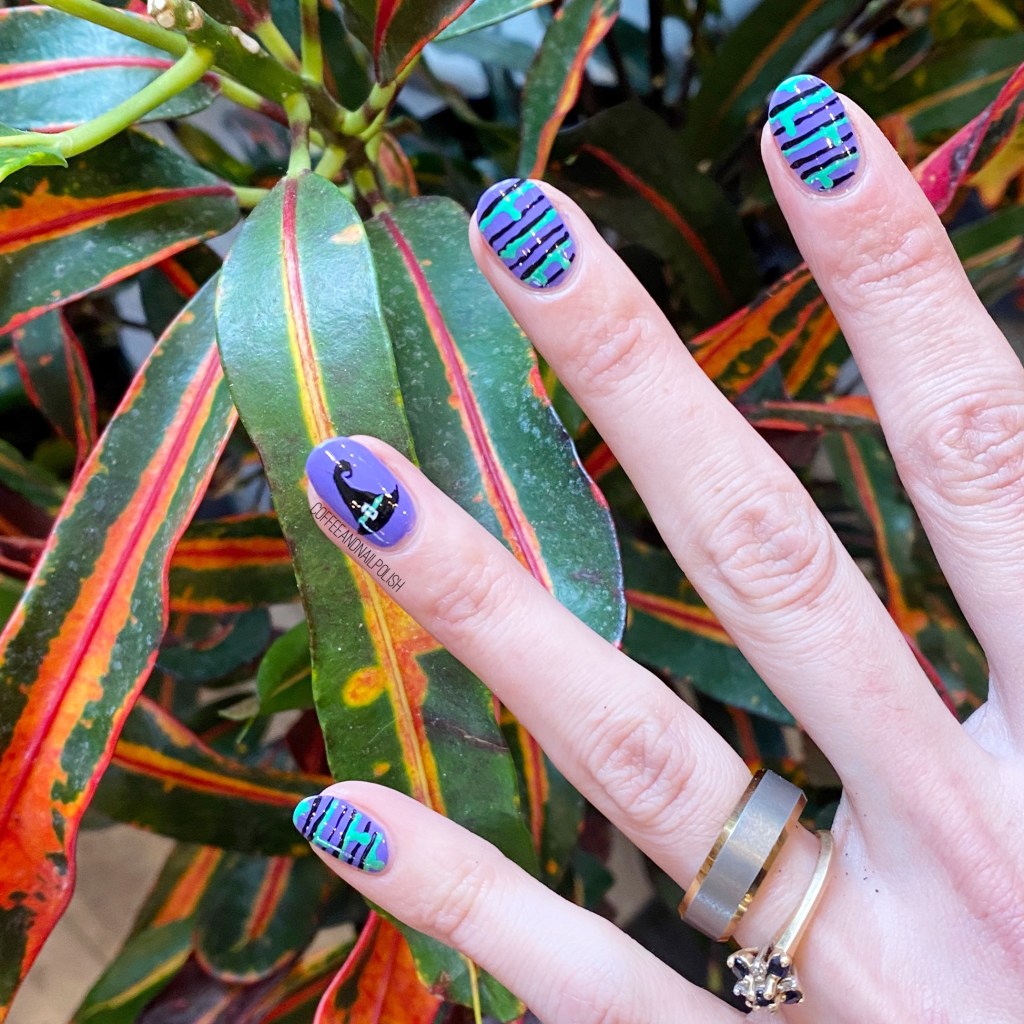
The colour choices — especially that silver — is giving me a bit too much of a holiday vibe, but I really do think this is a fun quick design. It was way easier than taking everything off, & repainting from scratch.

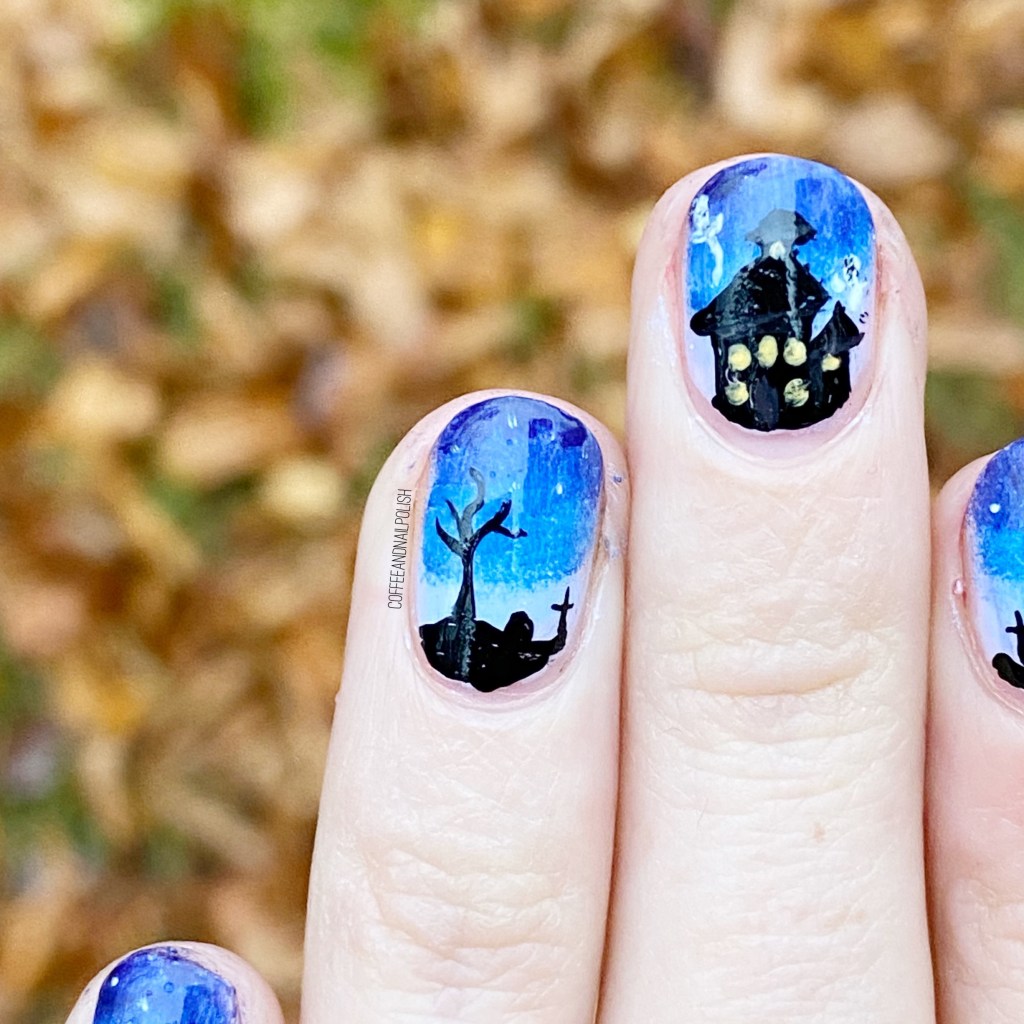
What I did was paint some base coat on the sections that a chipped, to protect the naked parts of my nails, then swiped the polishes over to cover up the chipping. I also used my bottle of Seche Vite, because I wanted to make sure they dried quick. & it turned out pretty neat! Also, in a weird way in kind of reminds me of argyle, or at the very least makes me want to do some argyle sweater print nails ASAP. Already playing the colour combination in my head as we speak.

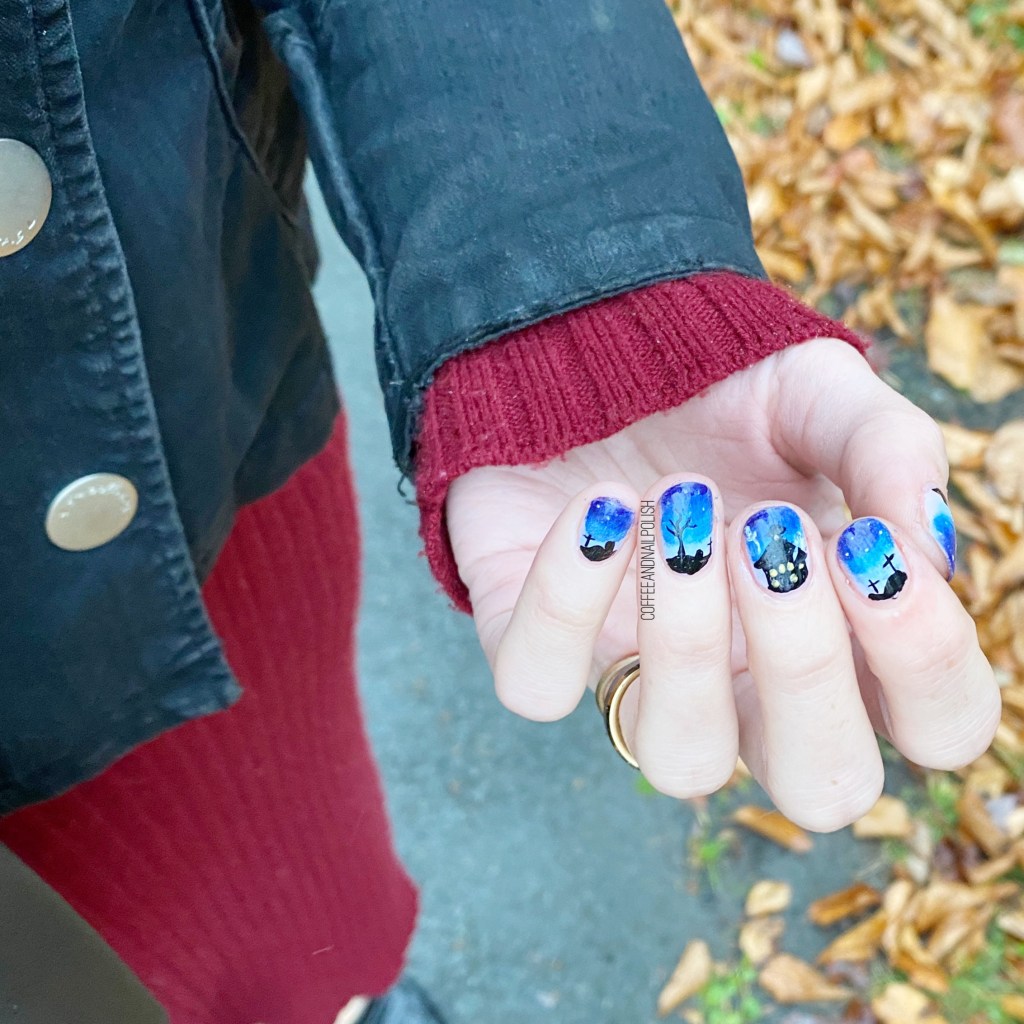
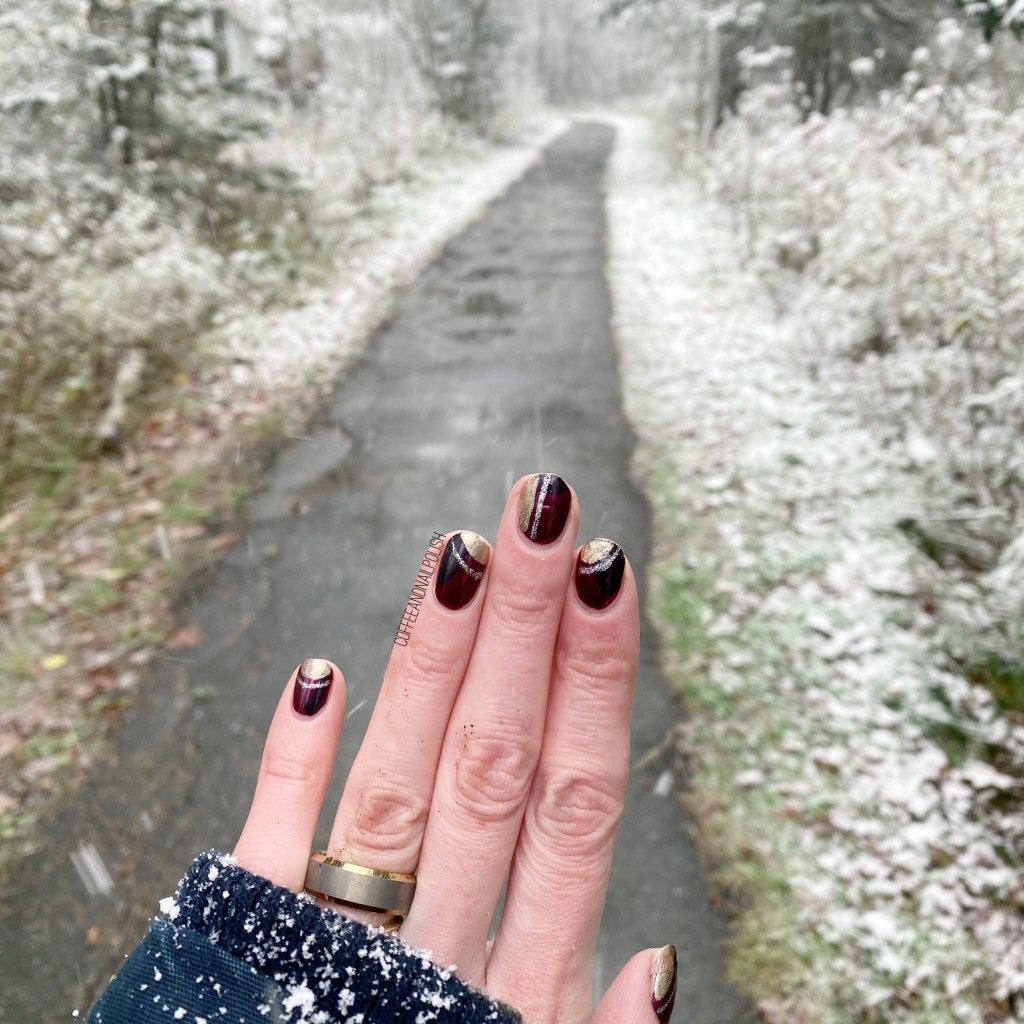
Also, we totally got hit with a early winter storm, so I’m in full winter knit sweater nail mood when it comes to my nails. So that is your early warning there will probably be A LOT of sweater inspired nail art to come!

Have you ever tried to save a manicure or cover up some chipping to extend your nails another day? Any tricks you want to share? Let me know in the comments below!

#GlamNailsChallengeOct — Haunted House

Oh my gosh, we’ve made it! Today is the last prompt of GlamNailsChallengeOct & I can’t believe that October is almost over! It’s crazy.

The last prompt for this month’s challenge is Haunted House. I wasn’t 100% sure how I wanted to approach this prompt, but I decided a darkened sky haunted house landscape was the way to go. Just the right level of spooky, plus it gave me a chance to practice my freehand skills some more.

For this manicure, the polishes I used were:

  • Base Coat: Sally Hansen Hard As Nails
  • Top Coat: Essie Gel Setter
  • Essie Go Ginza
  • Essie Bikini So Teeny
  • Essie All The Wave
  • Essie Under The Twilight
  • Essie Blank Page
  • Essie Check Your Baggage
  • Starrily Vantablack
  • NailStuff.ca 4mm Micro Detail Brush (COFFEE10)
  • Latex free make up sponge

This look was actually so much fun to paint! I started off by sponging on my colours one on top of each other, then topped everything with top coat. Next, I freehanded my design over top, one nail at a time. I was sort of inspired by this look, originally by @lieve91, but obviously I went with a blue background instead of the orange-y shades. I also added some ghosties flying around my haunted house, just cause I thought it would cement the whole haunted idea.

I’m actually really happy with how these turned out! They’re not perfect, but I’m definitely proud of hand painting these little details. & my spooky little tree might be my favourite part!

What are you pandemic Halloween plans. Because our province is doing pretty well, cases wise, our health authority has said that as long as we remain careful & distance, we can trick or treat. So we’re going to do some kind of trick or treating with the kids, & maybe settle in after bedtime for some scary movie watching!

What do you think about this manicure? Let me know in the comments below!

#GlamNailsChallengeOct — Witches

Hello lovelies & happy Wednesday.

Today I have another fun design I created for #GlamNailsChallengeOct, which are quite possibly my most favourite Halloween nail art of all time! The prompt for today was Witches, so I decided to go with a witchy hat & some witchy stripes. & I absolutely adore how everything came together! The combination of my accent nail with the witchy hat & the drippy stripes are just so much fun. & everything was totally freehanded.

For this manicure, the polishes I used were:

  • Base Coat: Sally Hansen Hard As Nails
  • Top Coat: Essie Gel Setter
  • Color Club Pucci-licious
  • Ardene Jungle Green
  • Starrily Vantablack
  • Sally Hansen Miracle Gel Get Mod
  • NailStuff.ca 7mm detail brush(COFFEE10 to save 10%)

First off, Starrily VantaBlack is officially my favourite black nail polish for nail art. It freehands so well, & makes drawing so easily (almost as easy as using acrylic paint!) I even found it so easy to use for drawing my black stripes, which makes me so happy. Secondly, look how cute that little witch hat is! I love it so much. I actually didn’t want to take this manicure off at all, but it started to chip (& I have other Halloween manicures to plan!) so I did. But seriously, I am so in love with this look!

What do you think about this Halloween design? Do you love it as much as I do? Share all your thoughts down in the comments below!

#GlamNailsChallengeOct — Blood

Hello lovelies & Happy Monday! Hope everyone is having a lovely start to their week. Can you believe how quickly October is speeding along?

The countdown to Halloween is officially on, & I’m fully embracing spooky season. Which means we have another fun design to share for #GlamNailsChallengeOct! Our next prompt is Blood & I decided to go with a blood splatter look using my favourite Saran Wrap Splatter technique!

For this manicure, the polishes I used were:

  • Base Coat: Sally Hansen Hard As Nails
  • Top Coat: Essie Gel Setter
  • ACO by Ardene Tea Party
  • Sally Hansen CSM Cherry Delightful
  • Sally Hansen CSM Red Over Heels
  • Crinkled Saran Wrap

I absolutely love when people rock those blood splatter nails, using a straw, for Halloween, but I never have enough time for clean up, so I decided to take a shortcut & use my Saran Wrap Splatter technique to get a similar effect that still gives off the blood splatter look. I decided to go with a pretty pastel base (ACO by Ardene Tea Party) because I loved the contrast between the pretty & the gruesome.

Halloween always makes me feel extra creative when it comes to nail art. Even if I don’t have a lot of time, I can still come up with a fun look!

What do you think about this blood splatter look? Would you rock these Halloween nails? Let me know down in the comments below, & stay tuned because the next manicure I have to share for this challenge might be my favourite Halloween nail art I’ve ever done!!

#GlamNailsChallengeOct — Sugar Skull 💀

Hello lovelies & happy Wednesday! Hope everyone’s week is going okay so far. Here is Halifax the weather is very, very, VERY wet — it’s a very good day for a snuggly sweater & a lot of hot tea!

Today I’m sharing another look created for this month’s #GlamNailsChallenge. The next is prompt is Sugar Skull, which was one I was quite nervous about. I’ve seen lots of tutorials for how to create a sugar skull look, but they’re not as easy to do as they let on. Haha.

For this manicure, the polishes I used were:

  • Base Coat: Sally Hansen Hard As Nails
  • Top Coat: Essie Speed Setter
  • Sally Hansen CSM Belle Of The Ball
  • Essie White Page
  • Starrily Vantablack
  • Color Club Nail Art Club Duo pens in assorted colours (green, pink, blue)
  • Sally Hansen I ♥️ Nail Art pens in fuchsia & purple.
  • NailStuff.ca 7mm detail brush(COFFEE10 to save 10%)
  • NailStuff.ca Dotting Tool Trio

This was my second attempt at a sugar skull design, since my first one was a little wonky. It’s not perfect, but I do like how it turned out. I decided to go a more Jack Skellington direction for my initial face, then added the colourful details. I feel like it gets the Sugar Skull theme across nicely!

What do you think about this sugar skull look? Do you like accent nail designs like this, or full nail designs? Let me know in the comments below!