Hello beauties & happy Tuesday!
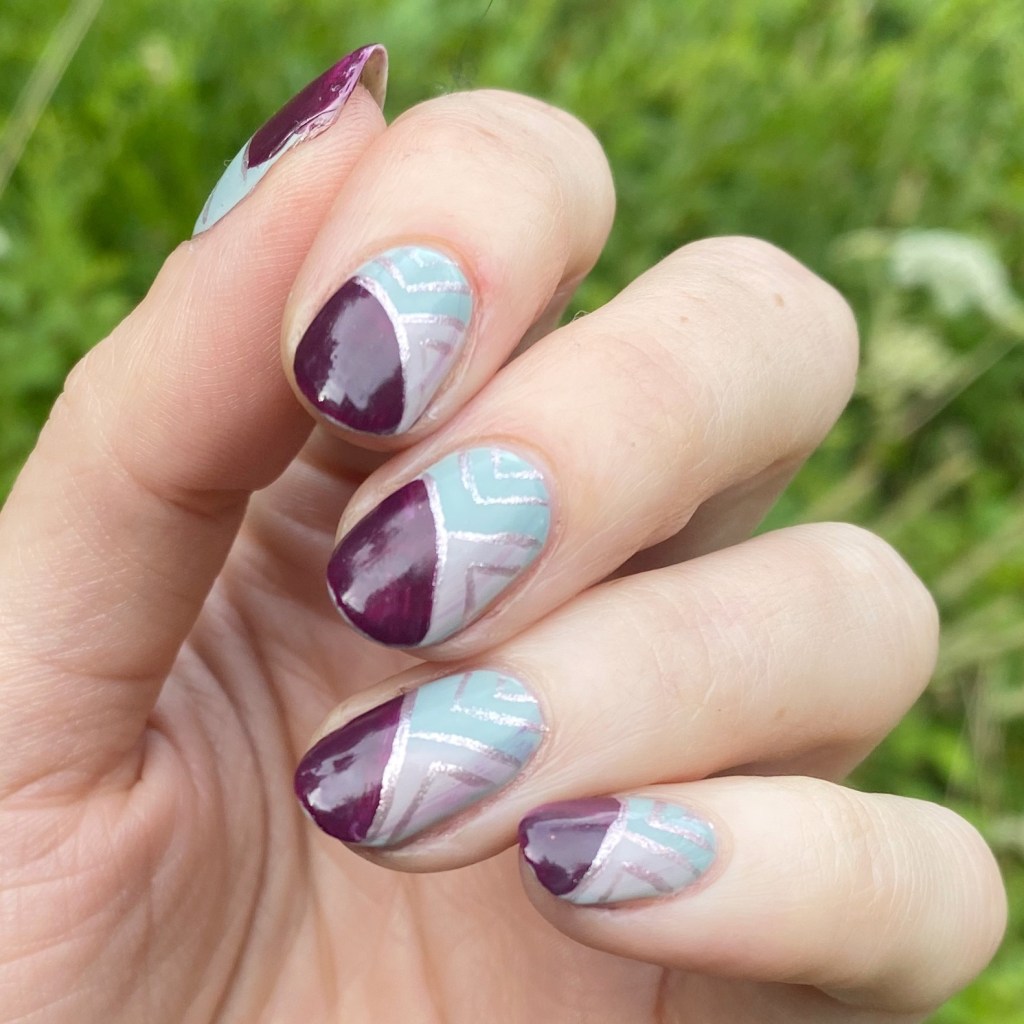
& happy Starbucks PSL release day for my fellow pumpkin spice lovers. I don’t care what anyone says, I feel like once the PSL is released, Fall is officially on its way. So honour of that, I thought why not go really hard on the Autumn colour scheme… & what is more Autumn than burgundy & gold?

The polishes I used for this manicure are:
- Base Coat: Essie Hard To Resist Glow & Shine
- Top Coat: Essie Gel Setter
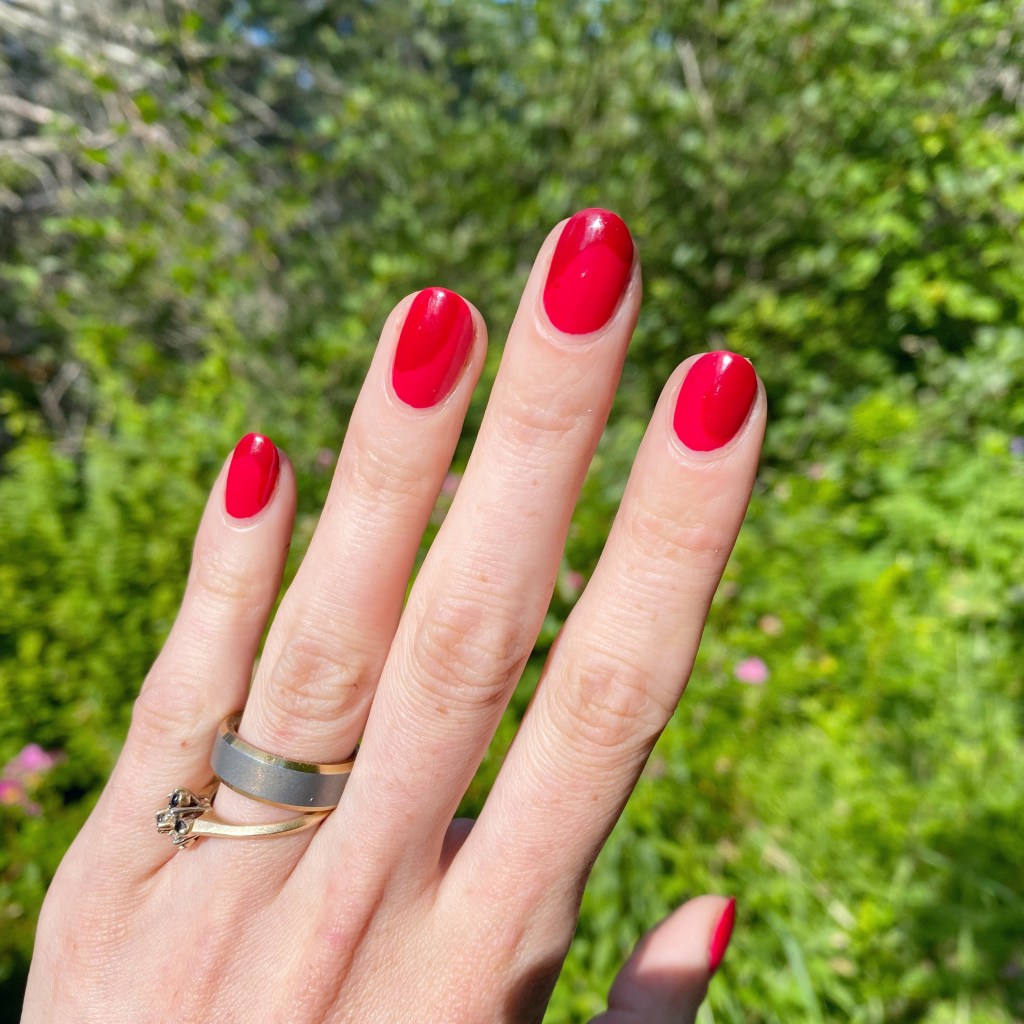
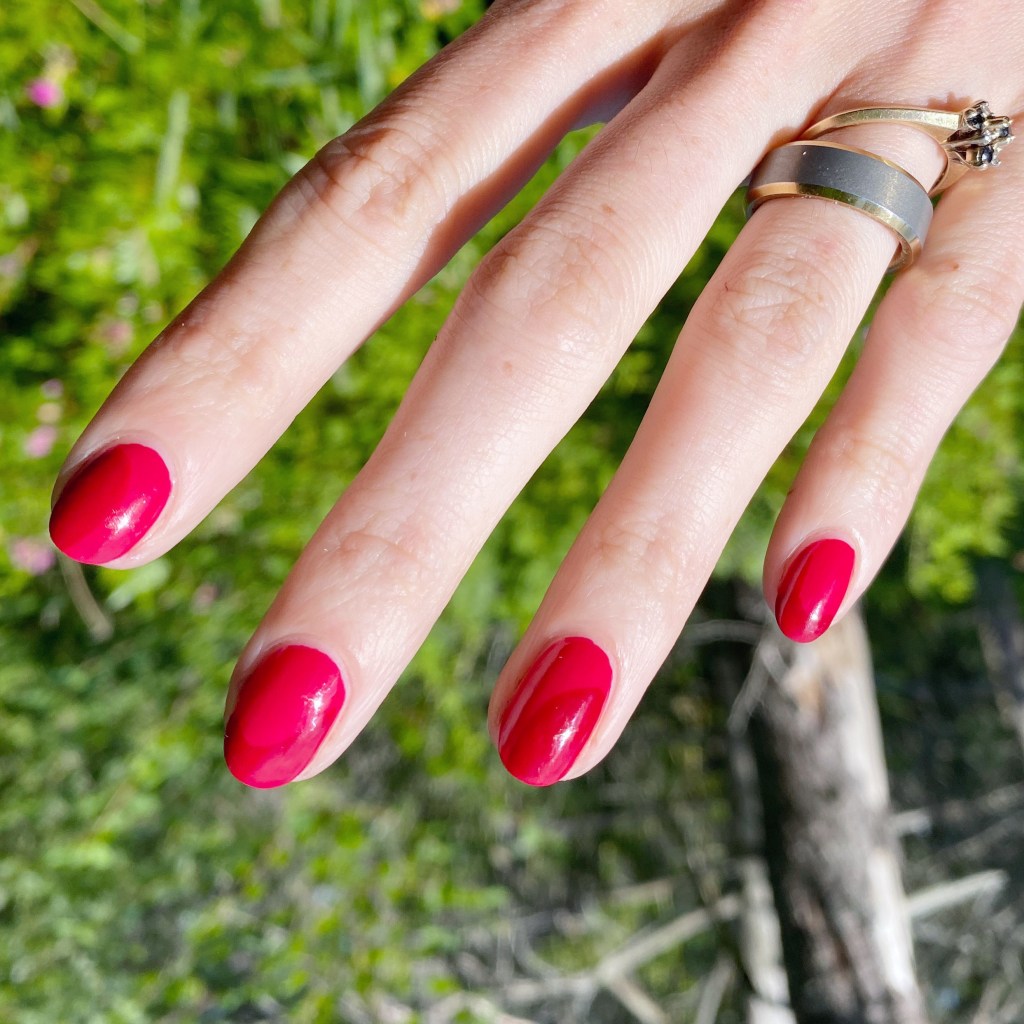
- Revlon Color Stay Gel Envy Heartbreaker
- L’oreal Feeling Kilty
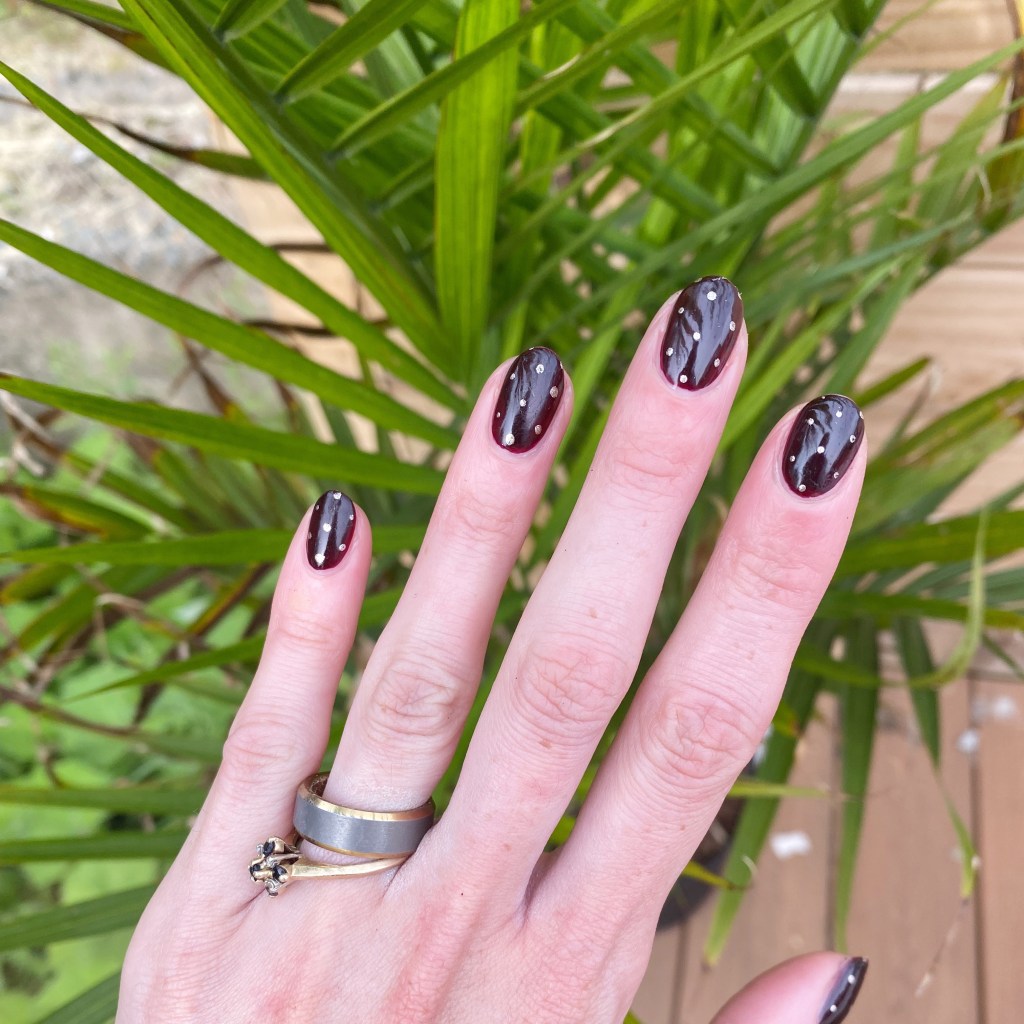
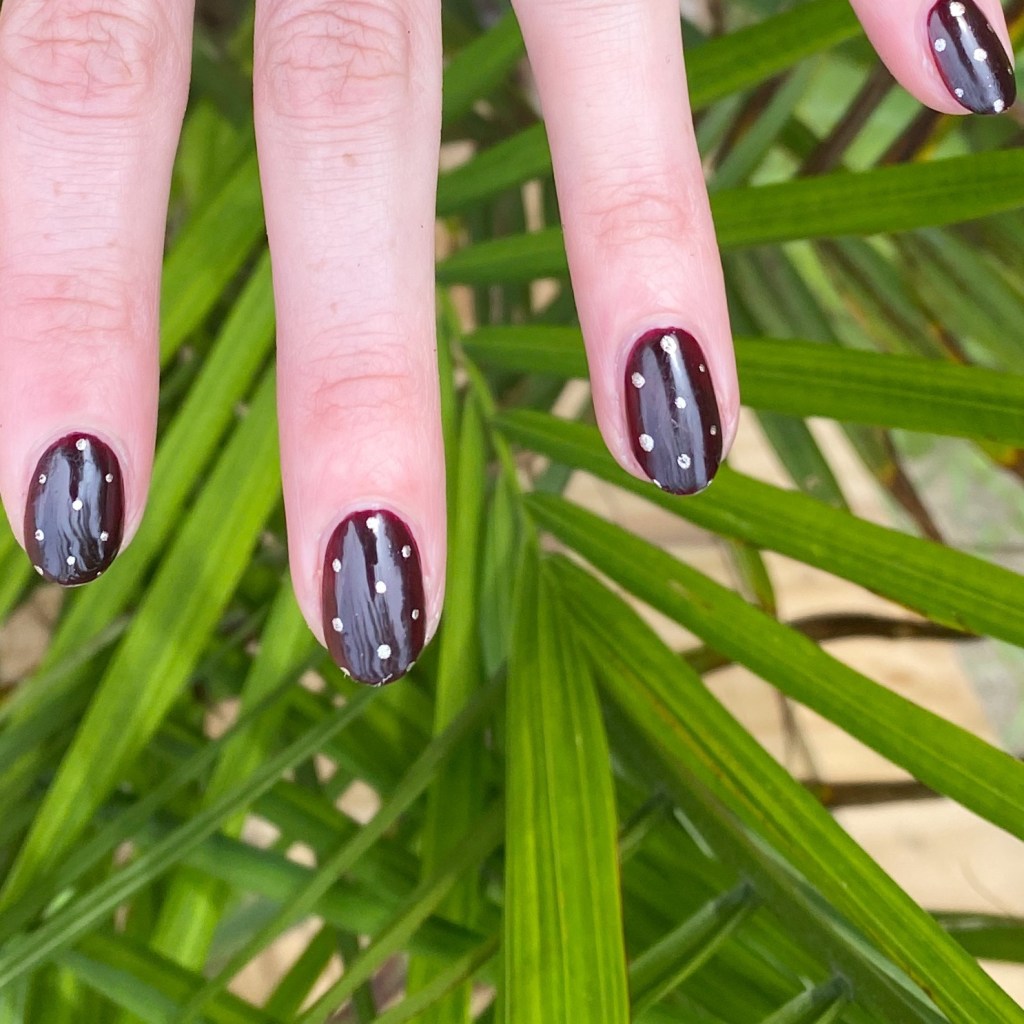
- NailStuff.ca Dotting Tool Trio


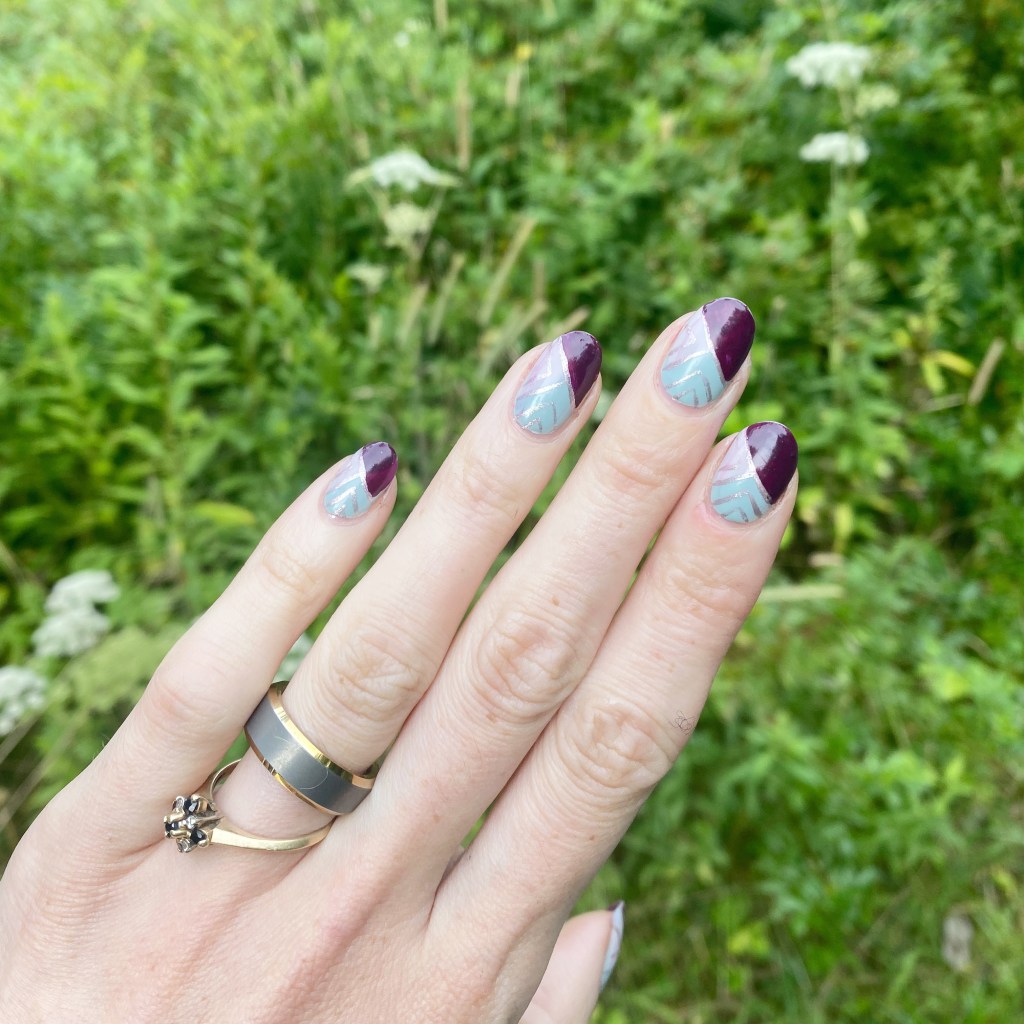
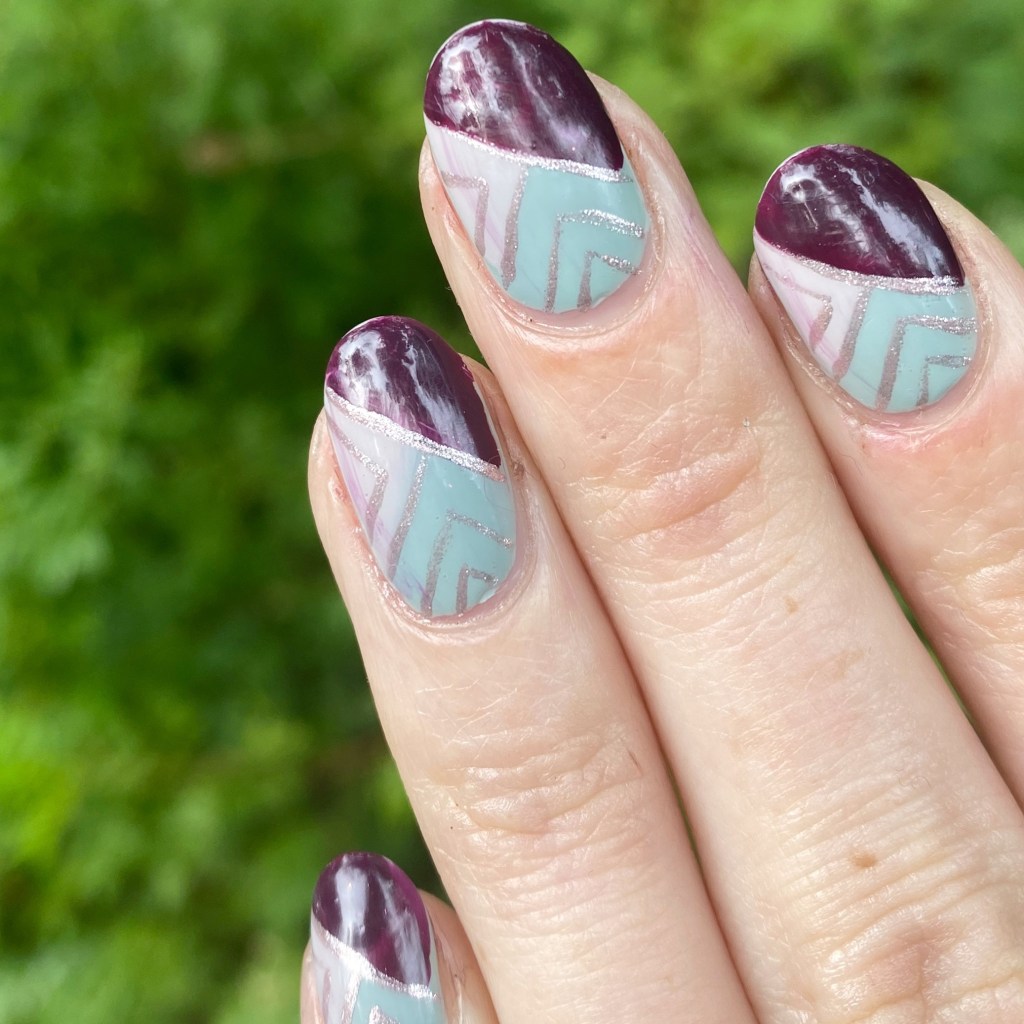
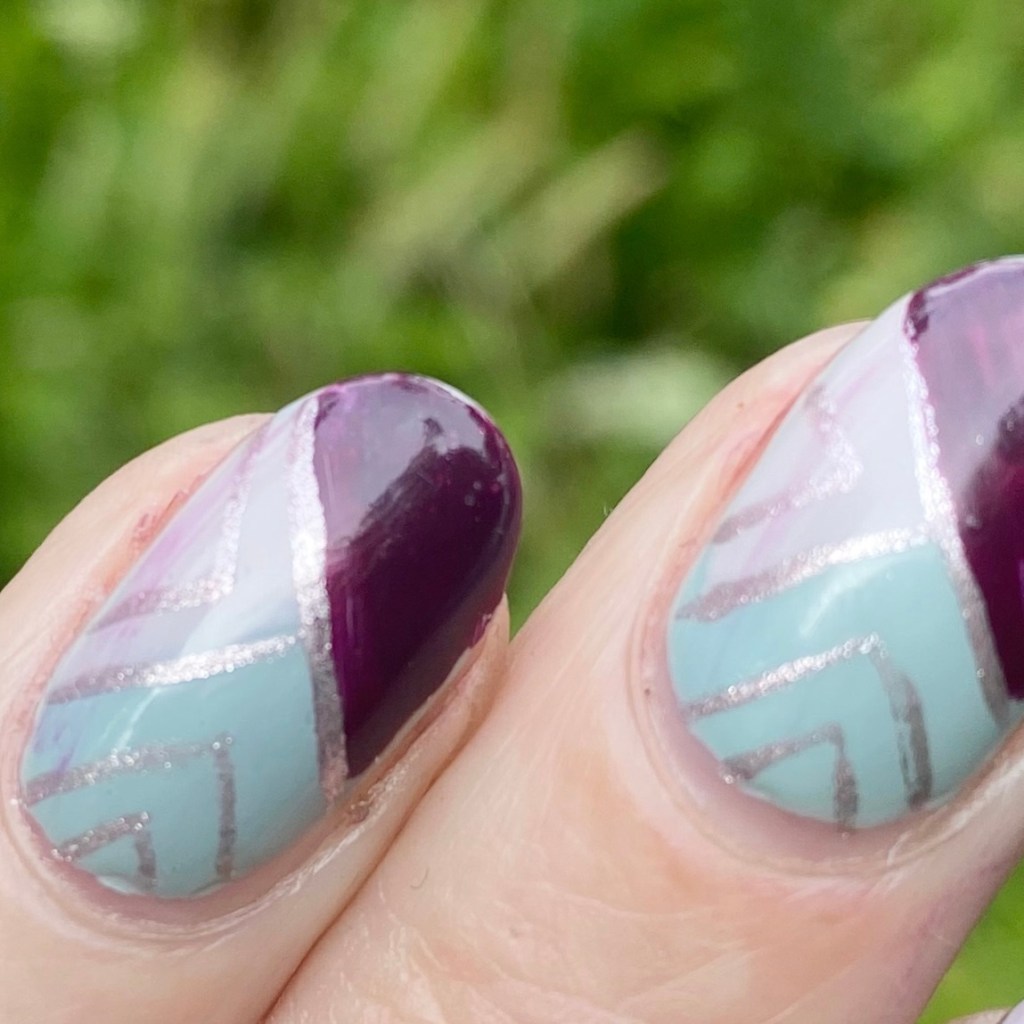
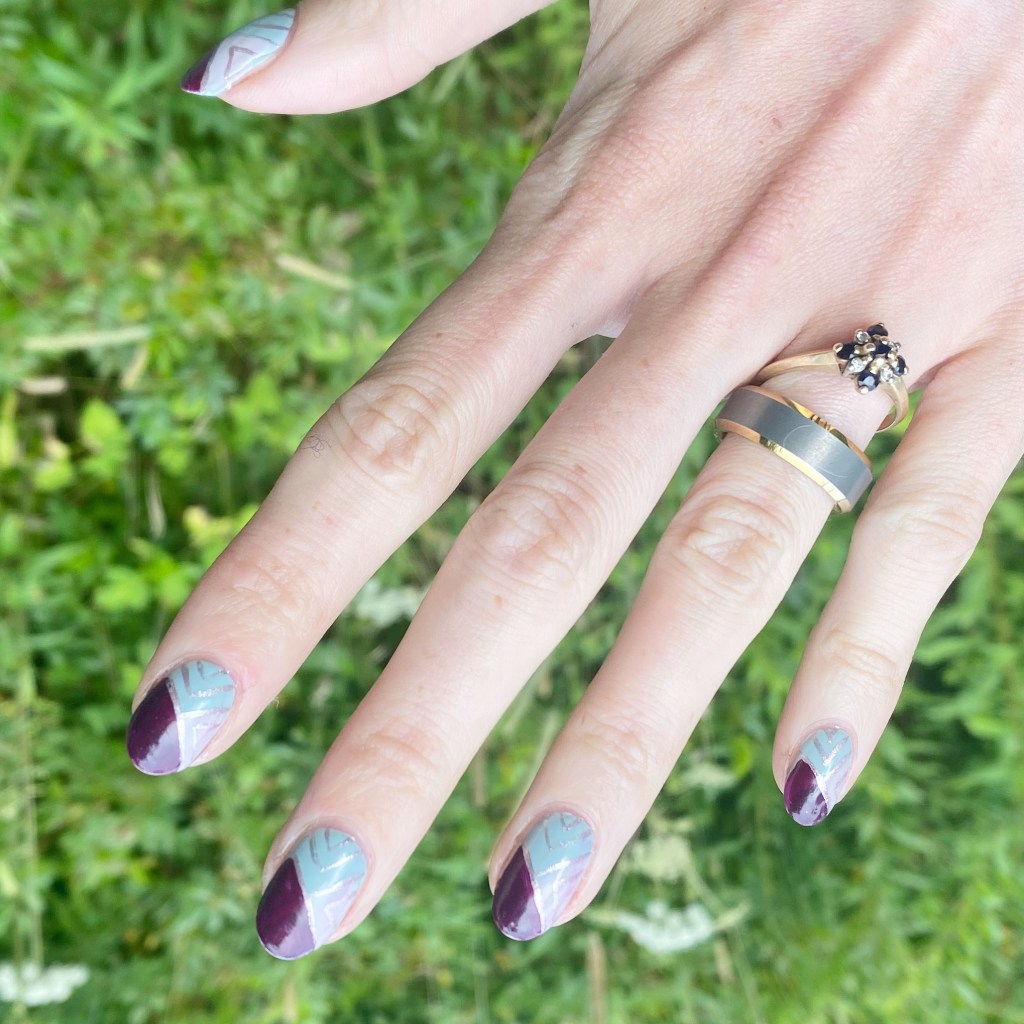
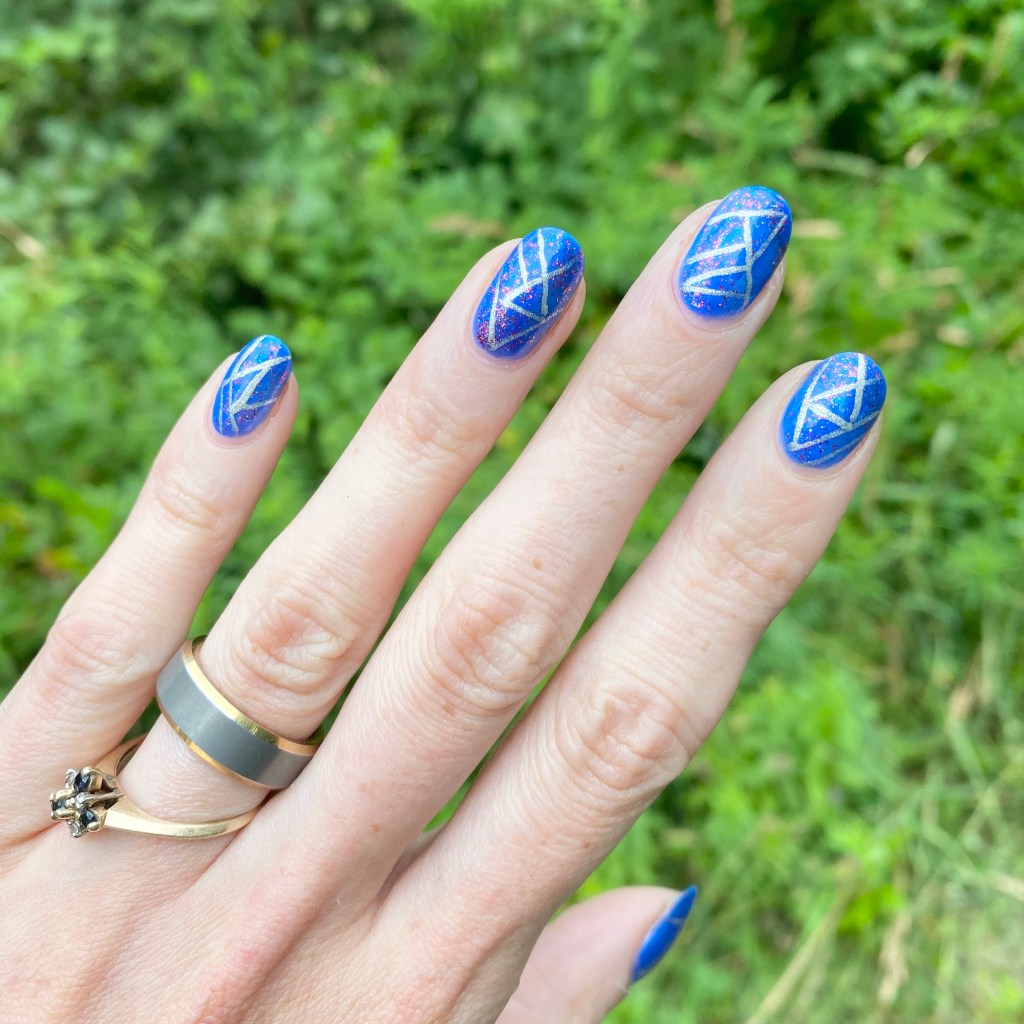
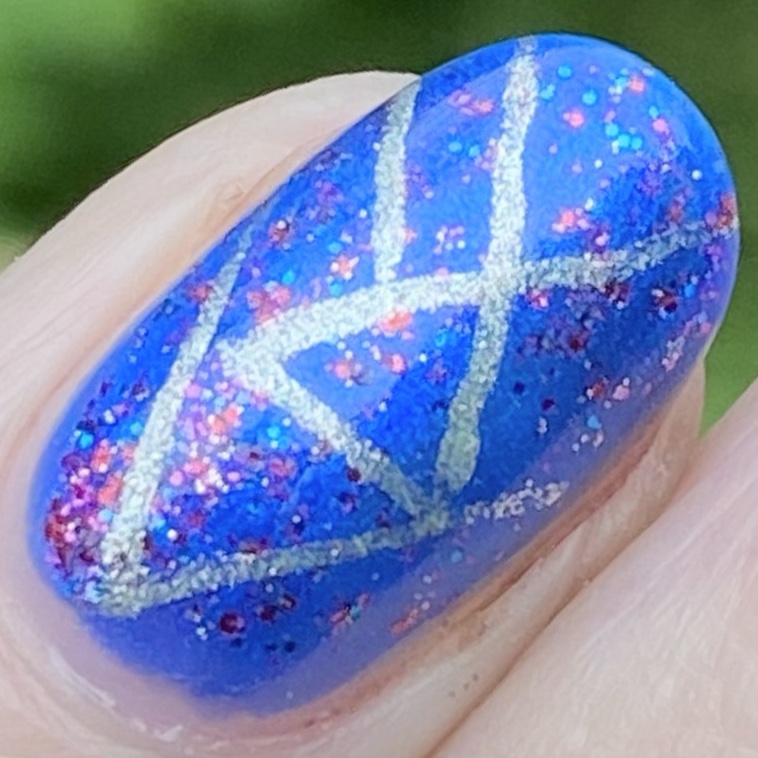
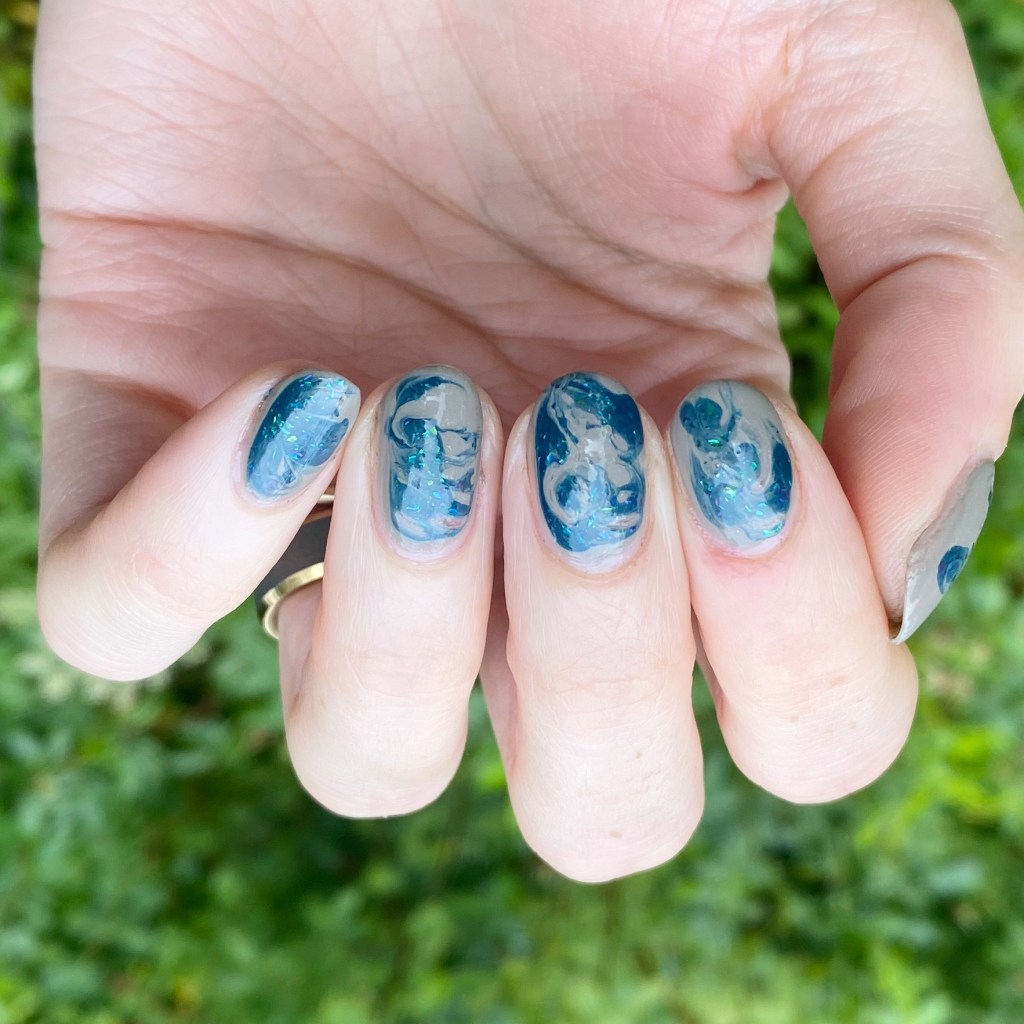
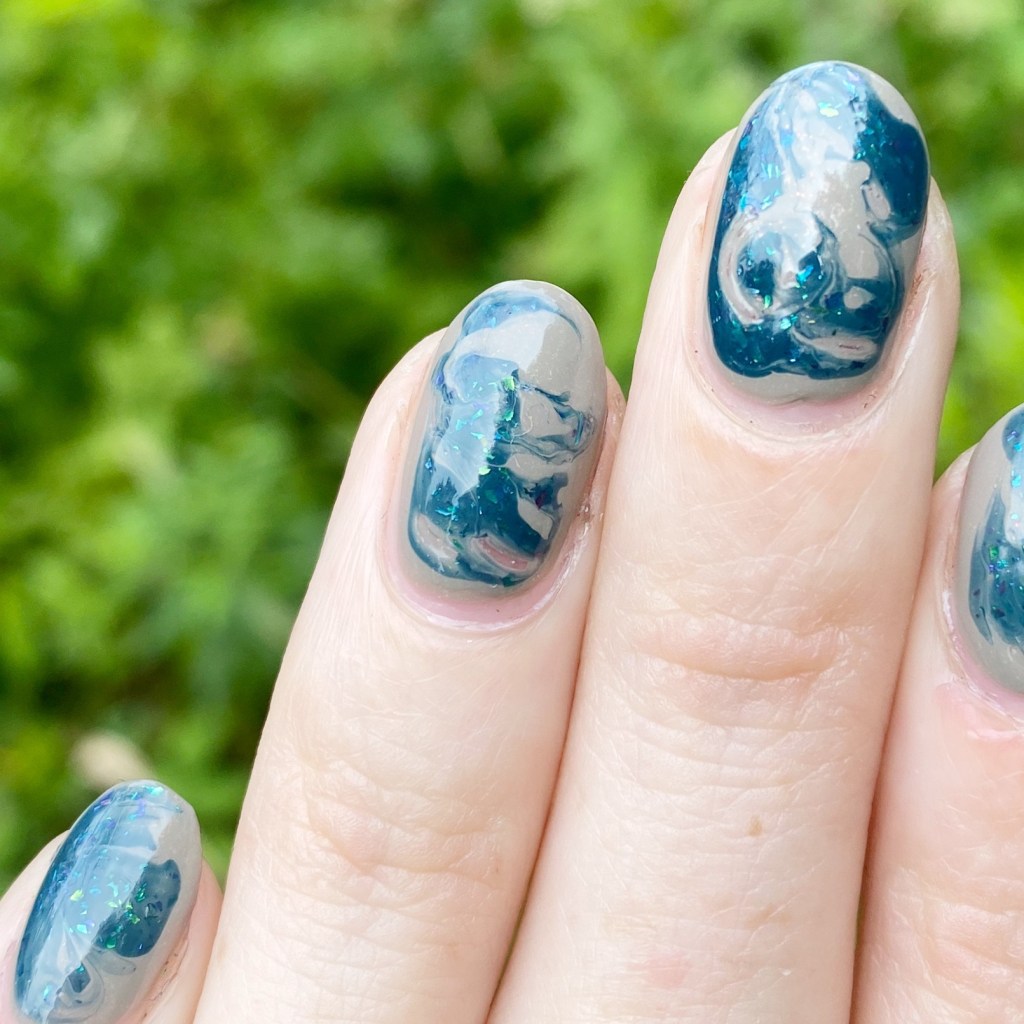
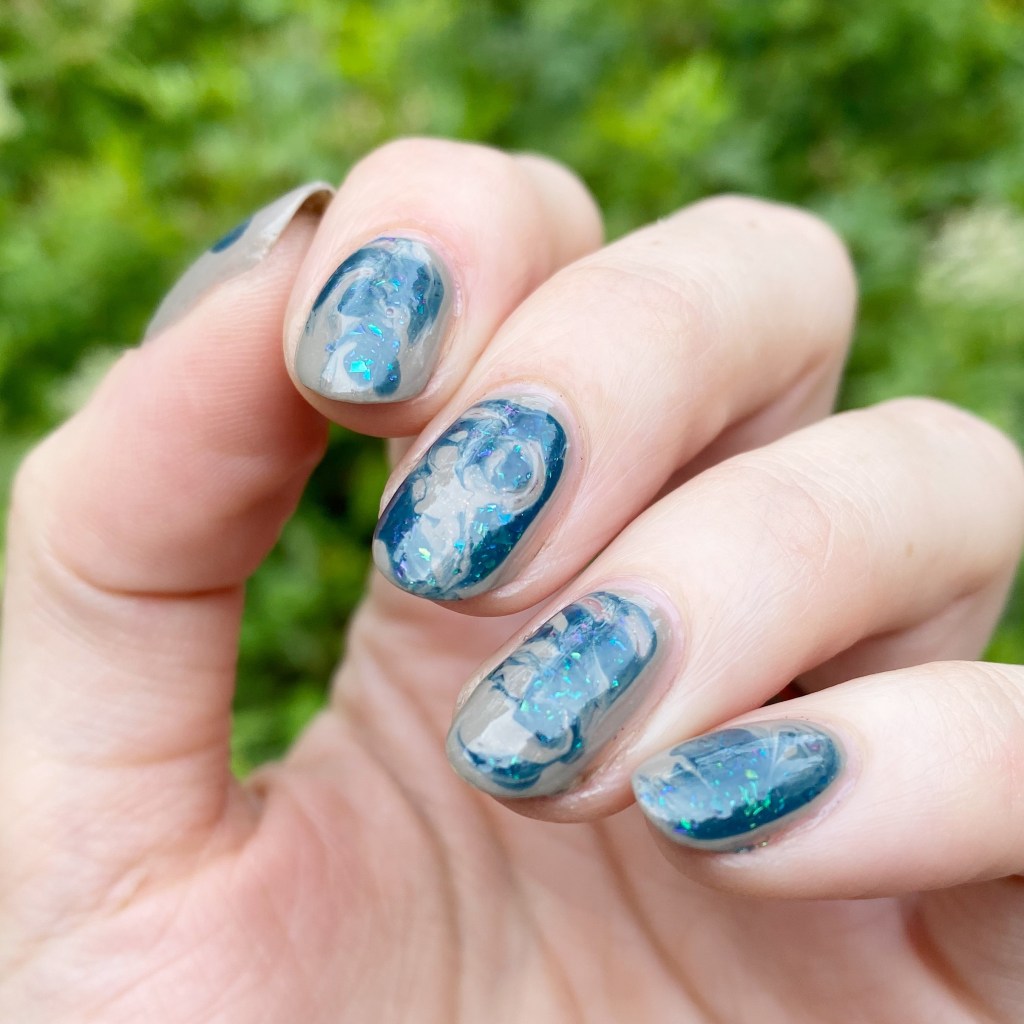
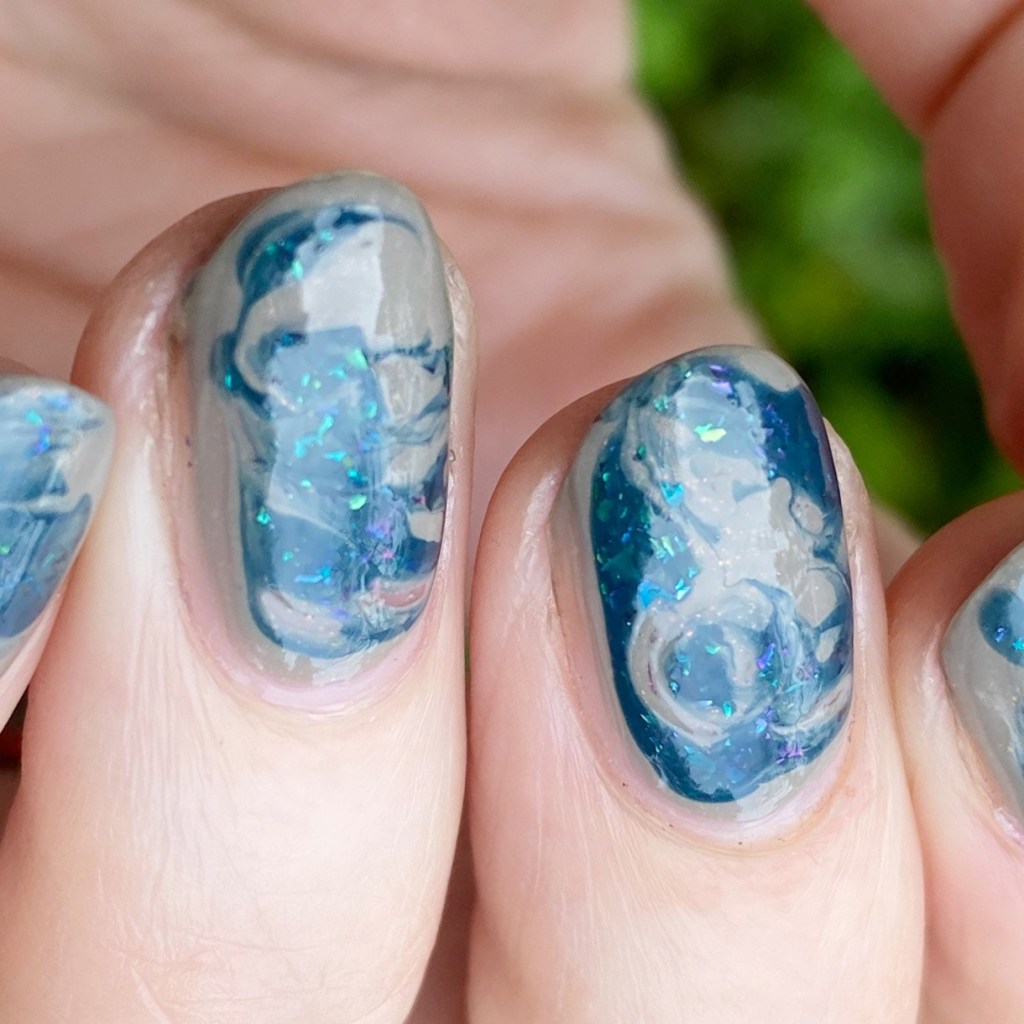
Nothing like a little dotticure action to welcome a new season. I love a dotticure all year round, but especially in the cooler months, & especially when it involves a dark vampy base like this oxblood shade. Doesn’t this just make you want to curl up with a big infinity scarf & cosy knee high socks? I know it’s definitely making me excited to pull out all my Fall fashion favourites.
& there is just enough of a chill in the air to let me know it’s coming very soon!
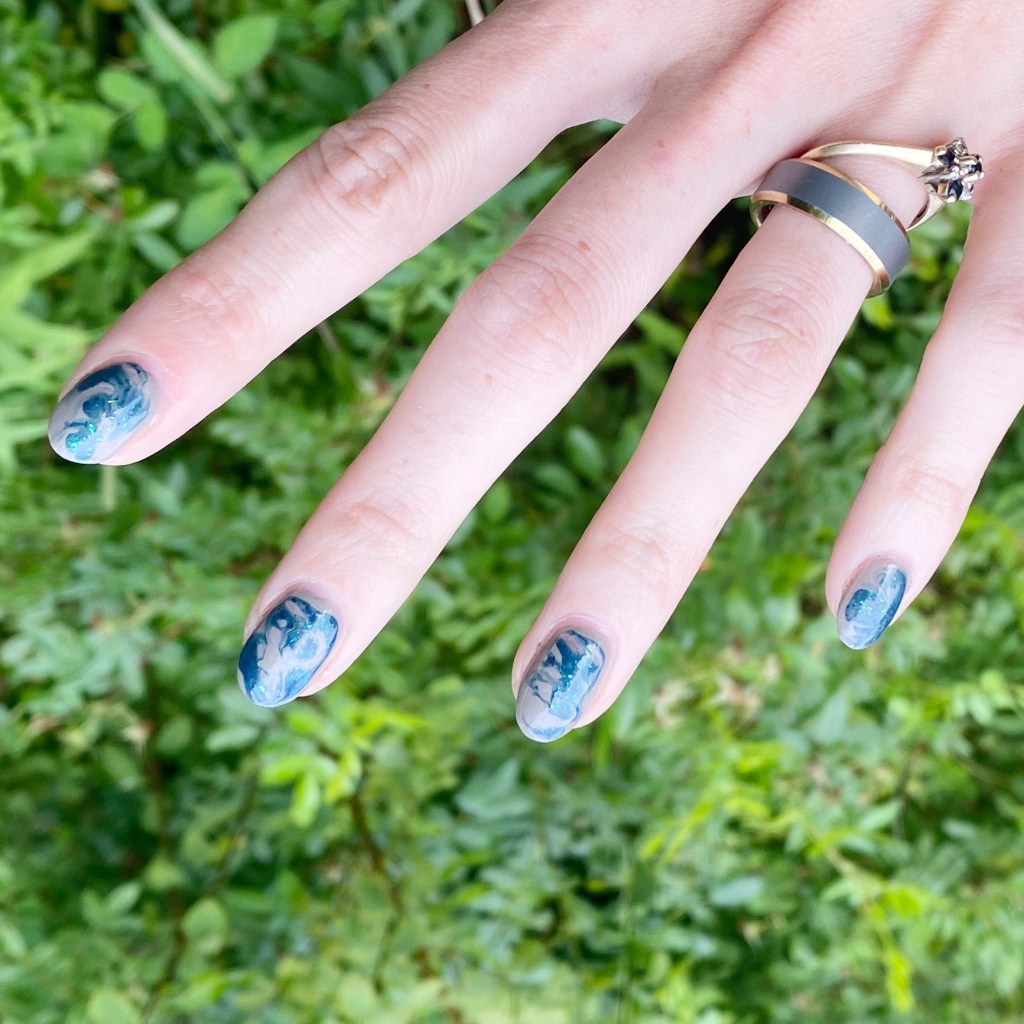
What do you think about this vampy dotticure? Are you as ready for Fall as I am? Did you stop by Starbucks for a Pumpkin Spice latte today? Let me know all your thoughts down in the comments below!