Jewel Toned Stained Glass Nails 💎

Hello my loves! I hope everyone is having a fantastic week so far. It has been absolutely freezing here on the East Coast of Canada. I’ve been wearing legging under my jeans & over the knee socks just to keep warm — crazy! Winter is definitely just around the corner, & I’m never ready for it when it comes.

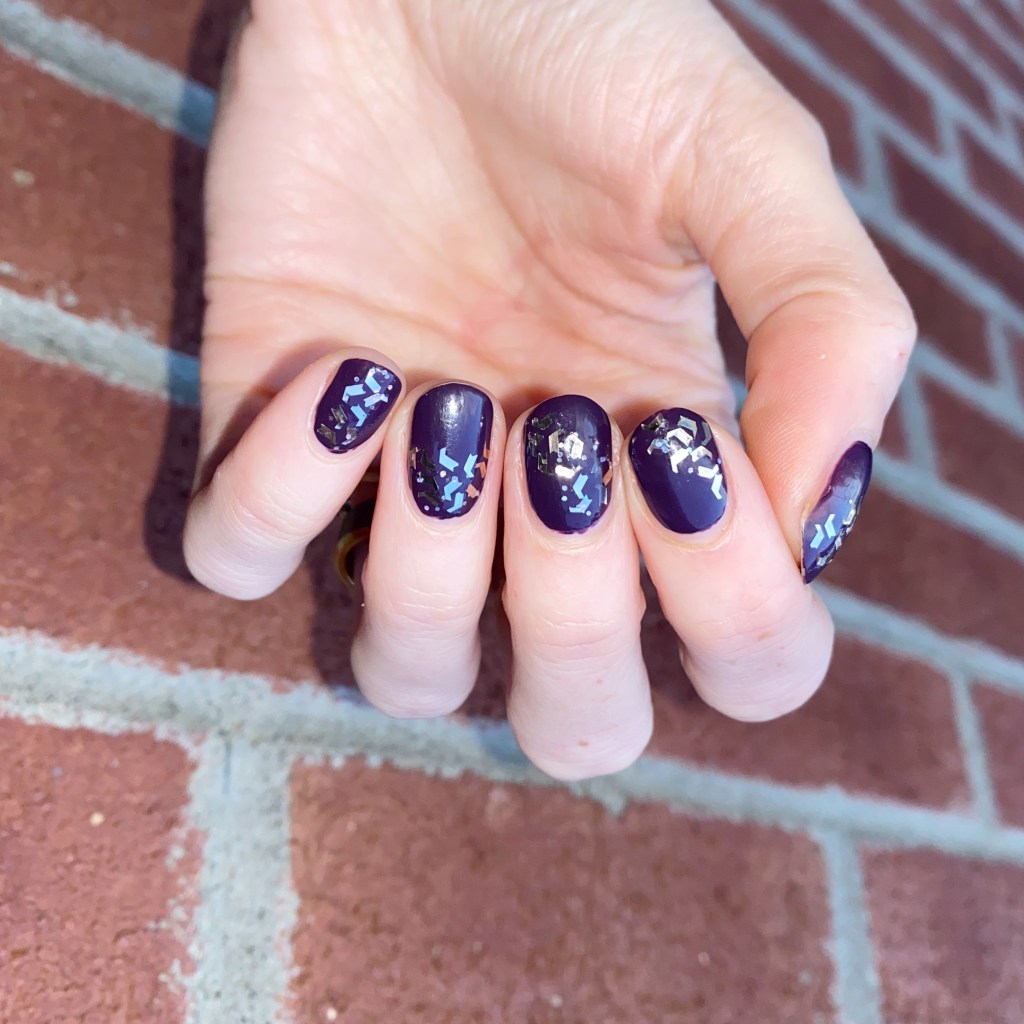
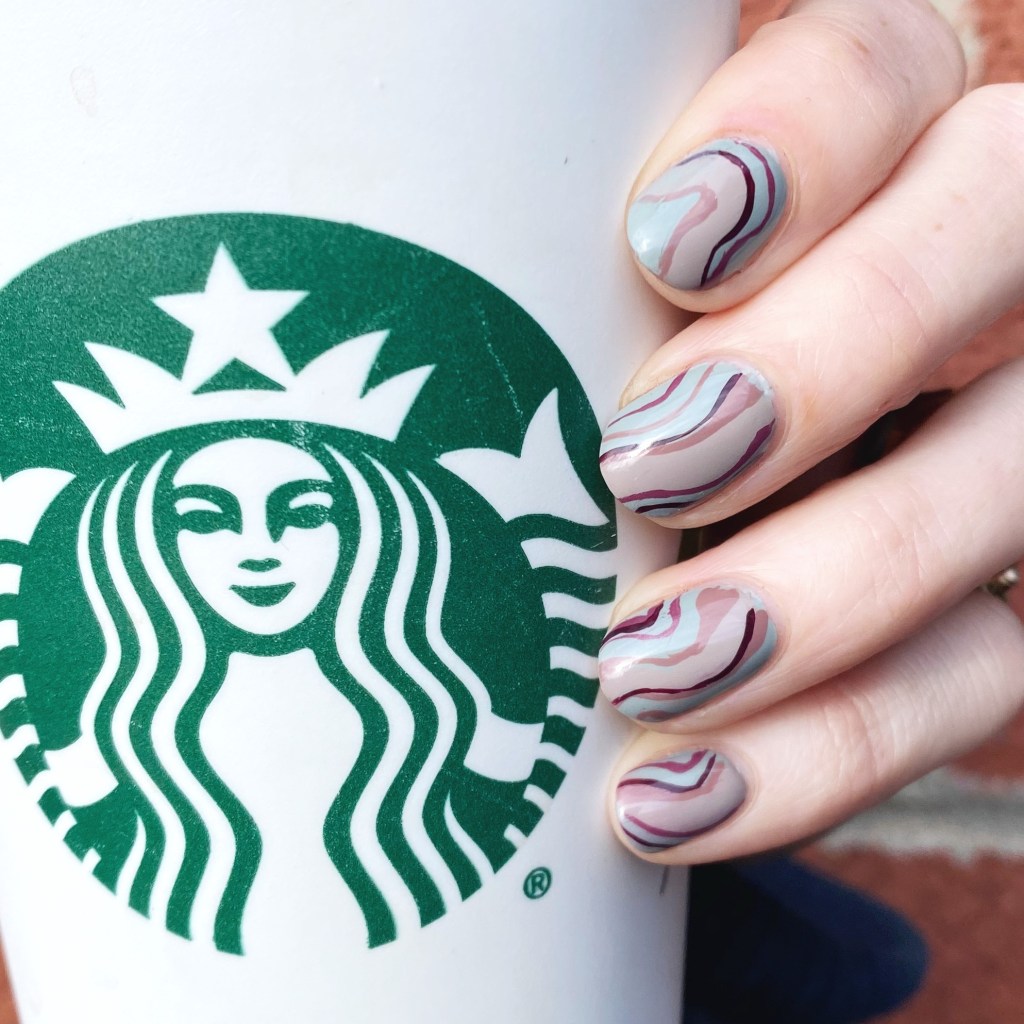
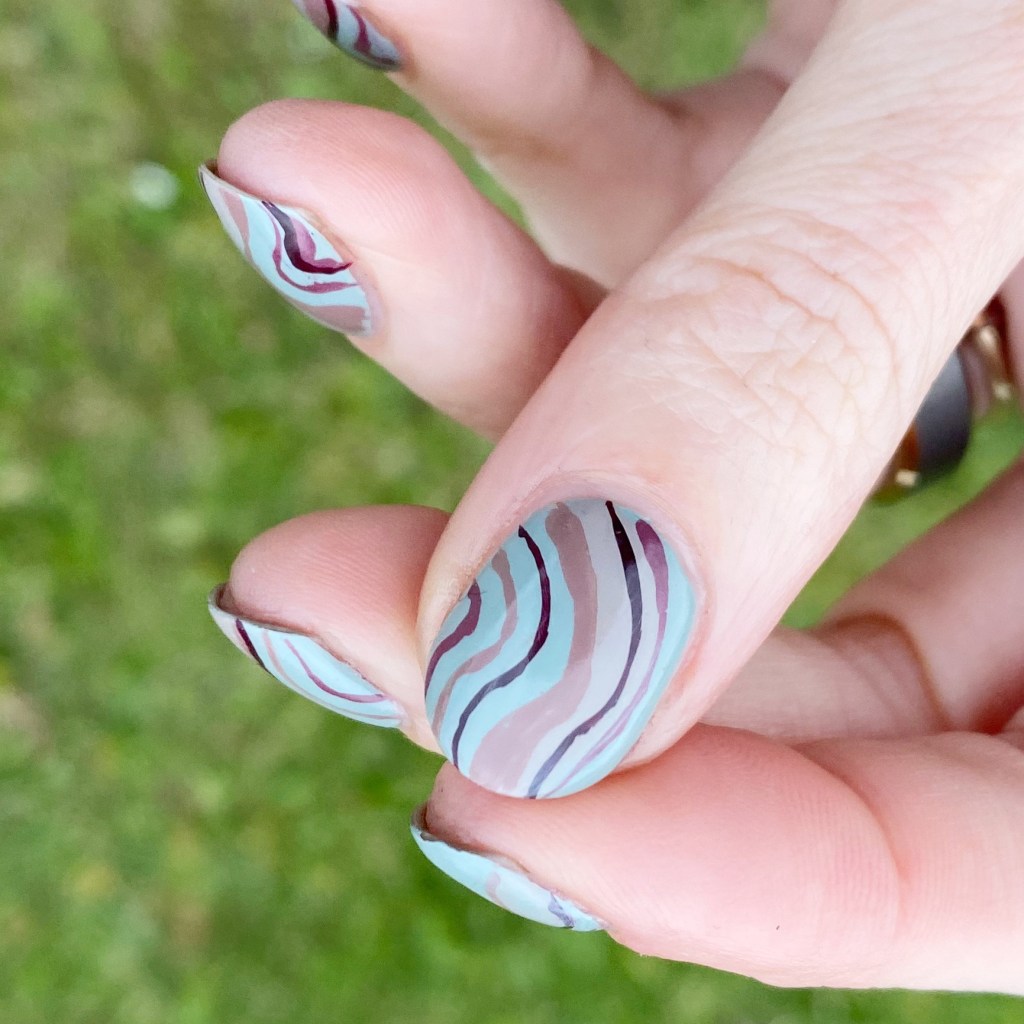
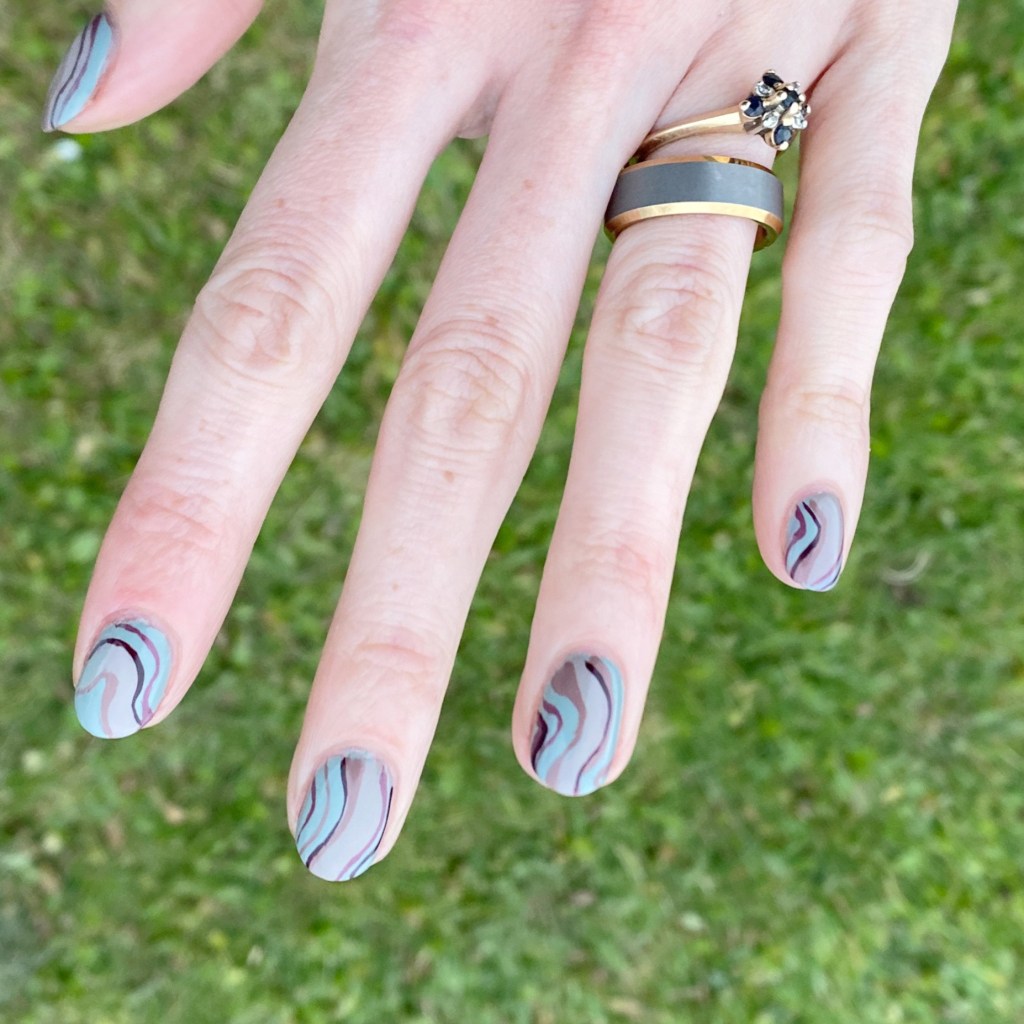
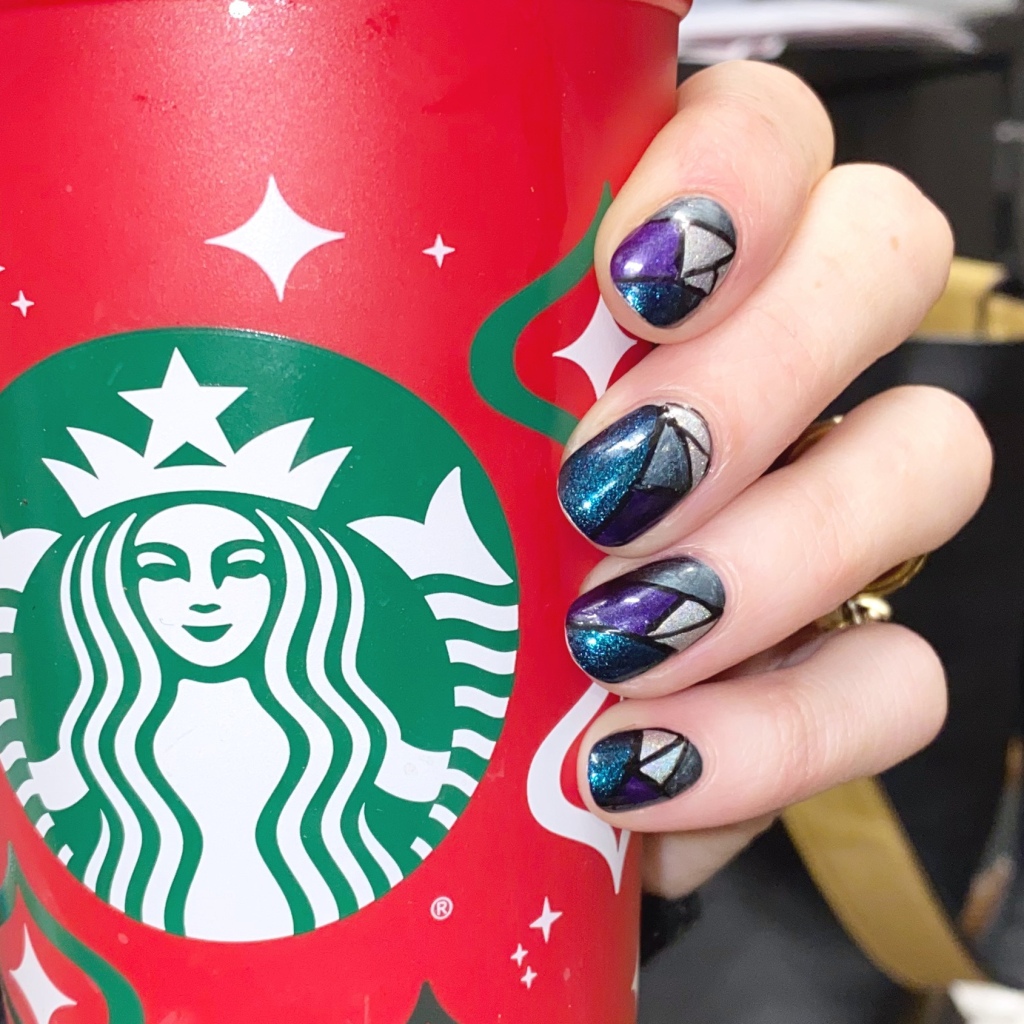
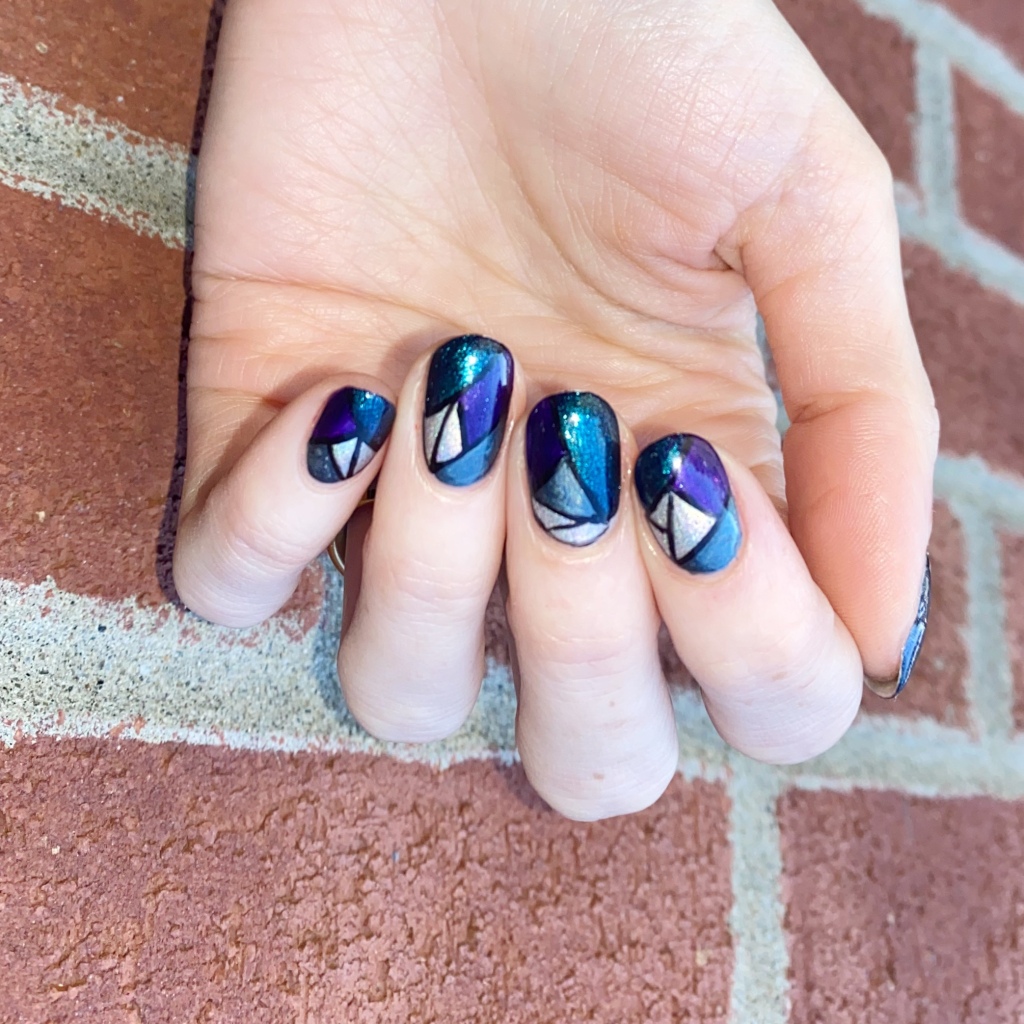
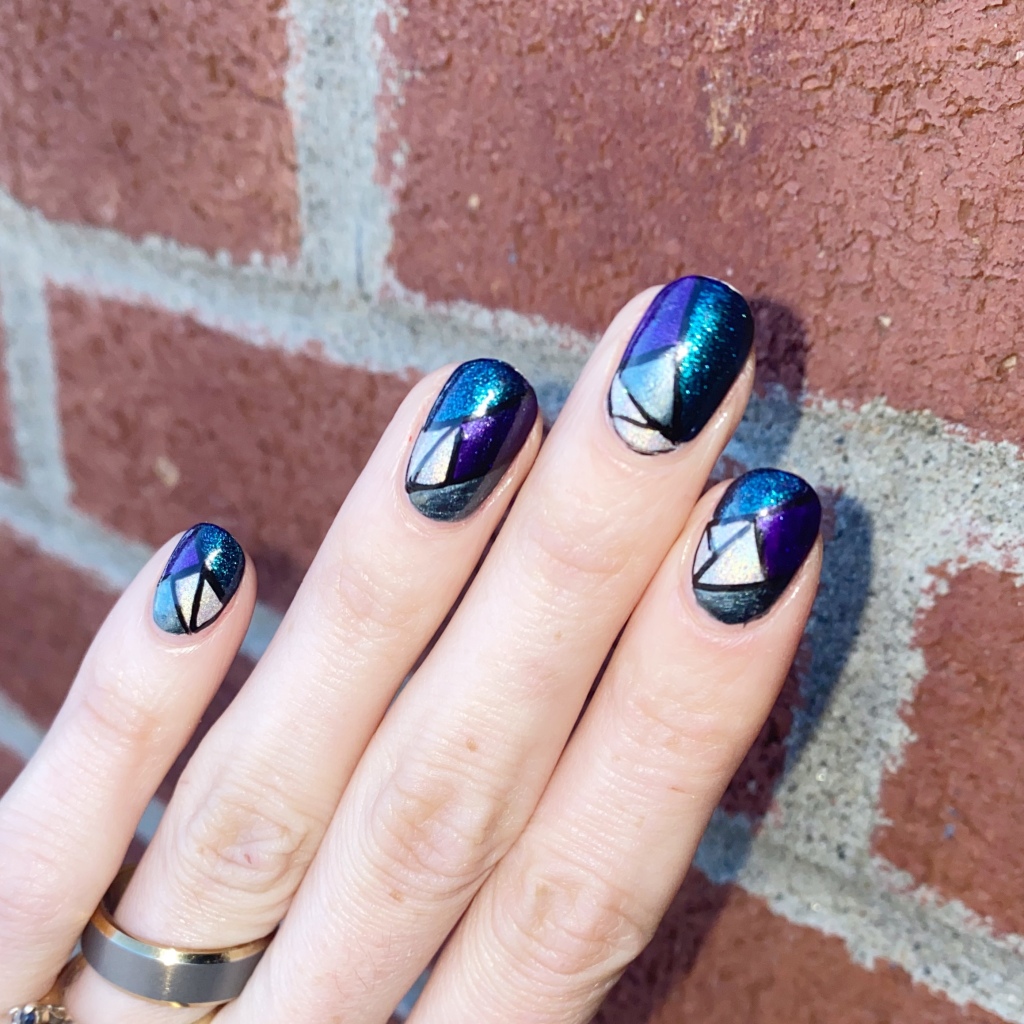
Today though, I have a beautiful jewel toned design to share with you. I used to do stained glass nails a lot when this blog first started, but it’s been a while since the last time. After finding a few beautiful China Glaze polishes I haven’t worn in a while, I knew I wanted to pair them together in a stained glass look.

The polishes I used for this manicure are: 

  • Base Coat: Sally Hansen Miracle Gel Colour Grip Primer Base Coat 
  • Top Coat: Seche Vive
  • China Glaze OMG
  • China Glaze Fairy Dust
  • China Glaze First Class Ticket
  • China Glaze Don’t Get Elf’d Up
  • China Glaze Pull Me Close
  • Sally Hansen Ghouls Night Out
  • NailStuff.ca 9mm Mermaid Tail Liner Brush

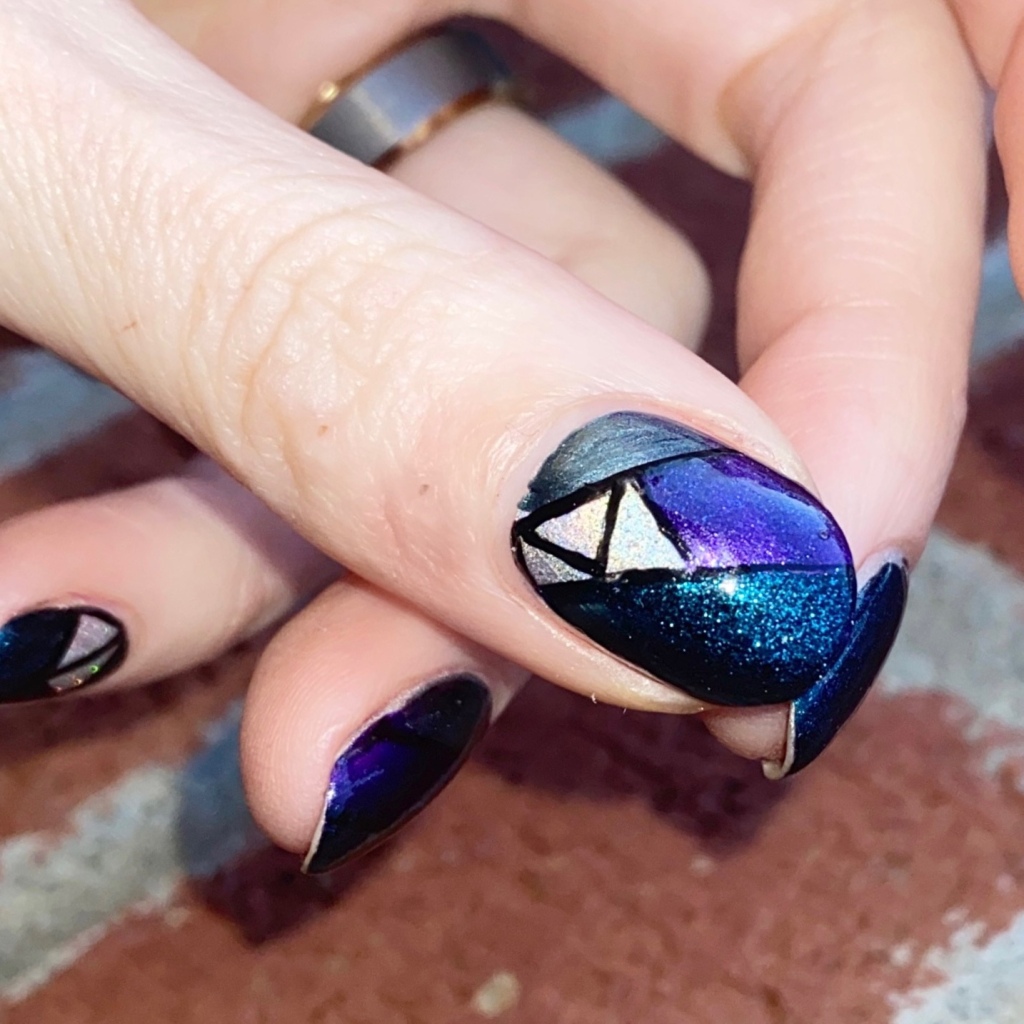
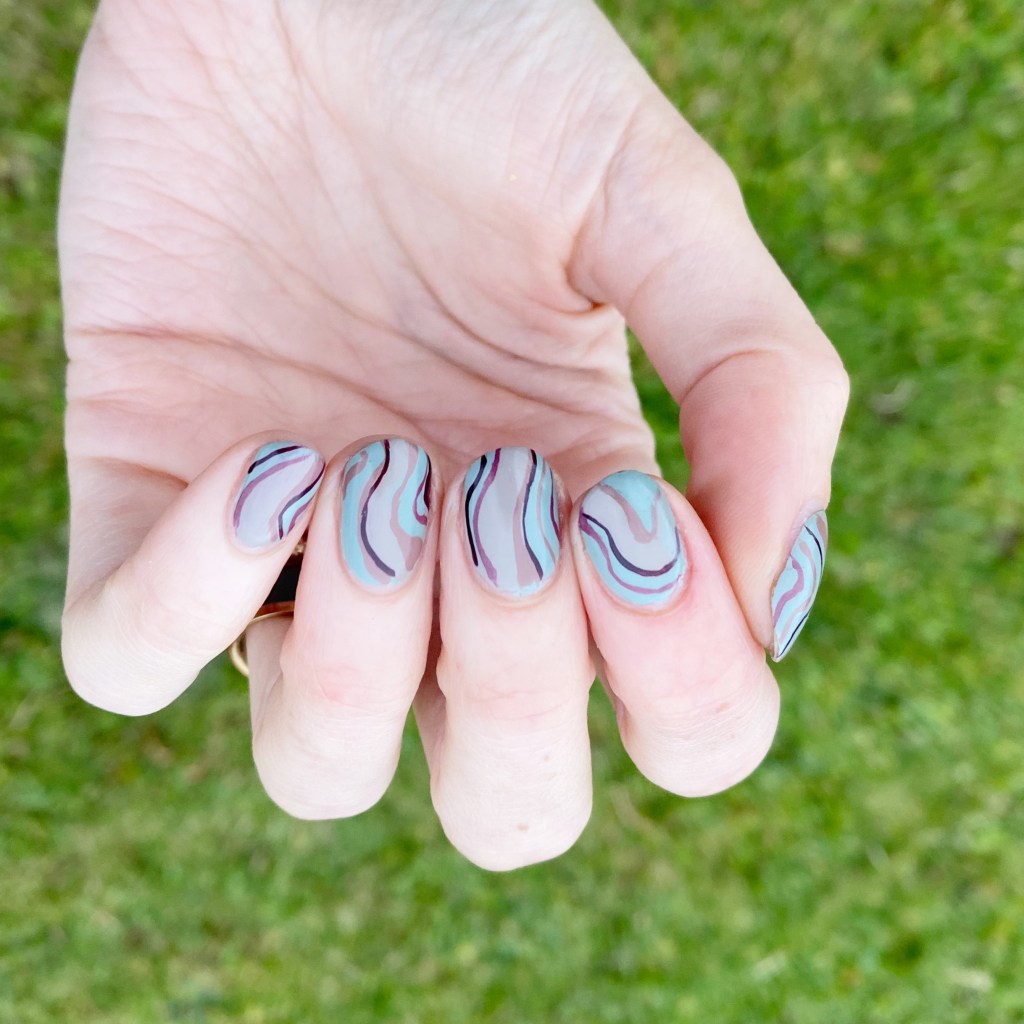
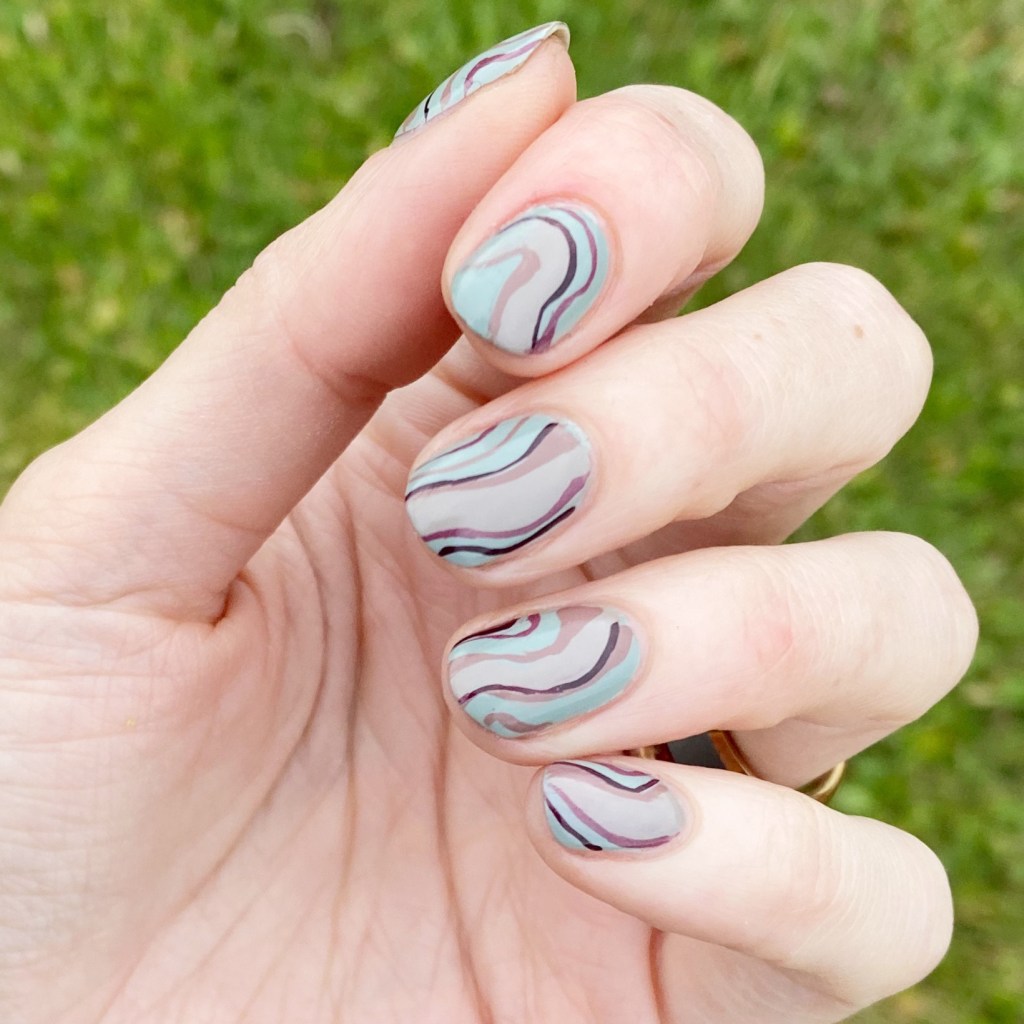
How freaking pretty is this! These shades juts compliment each other so well… it makes me so happy! Originally I had just started with a simple colour block, but it really felt like I was lacking in something, so I decided to add on another colour (Pull Me Close) & the black outlining, & it just brought everything together perfectly.

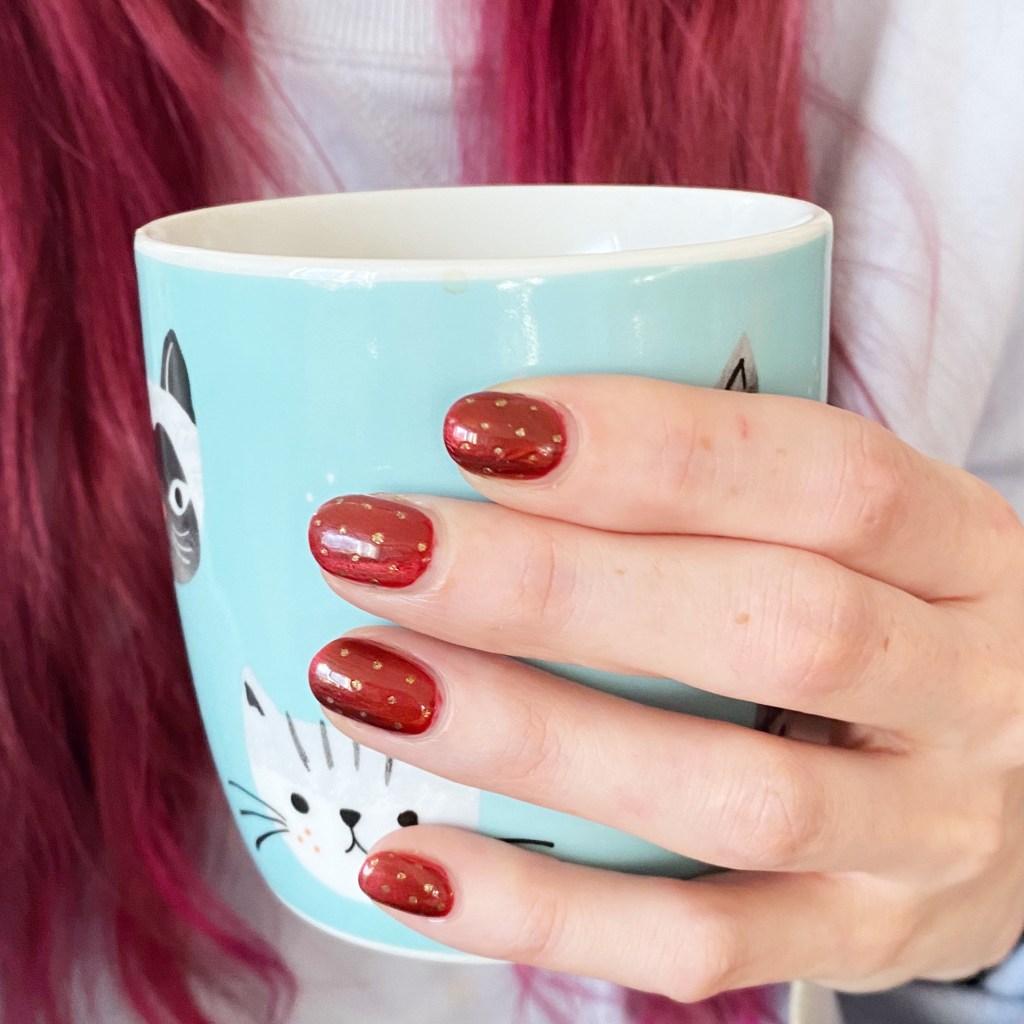
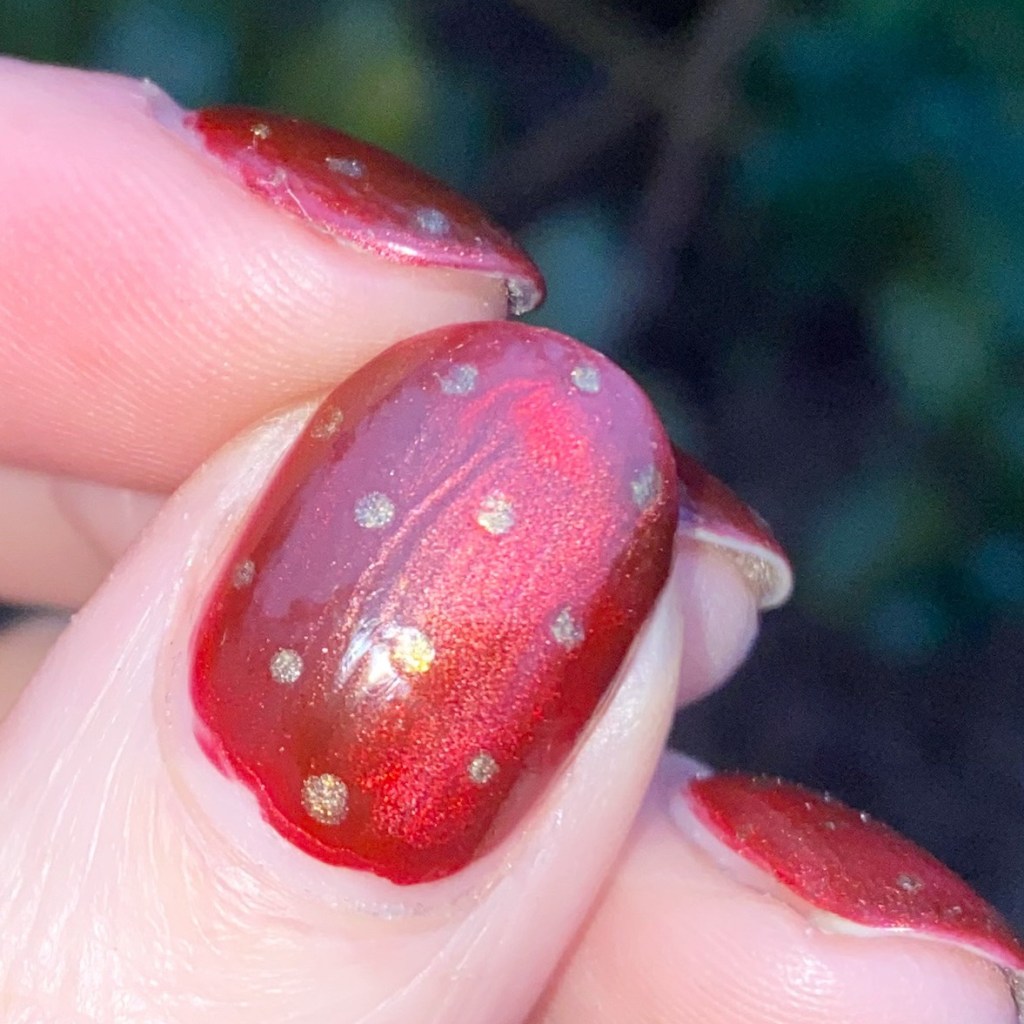
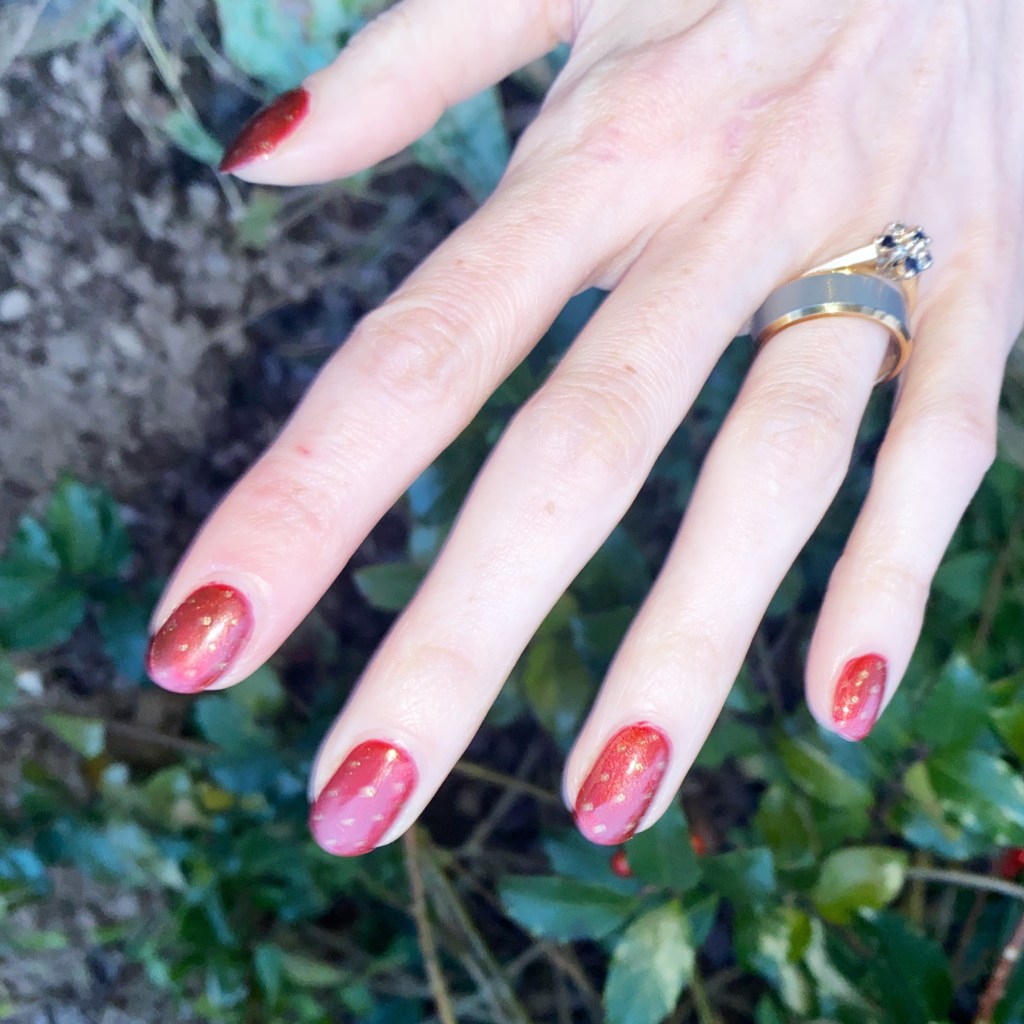
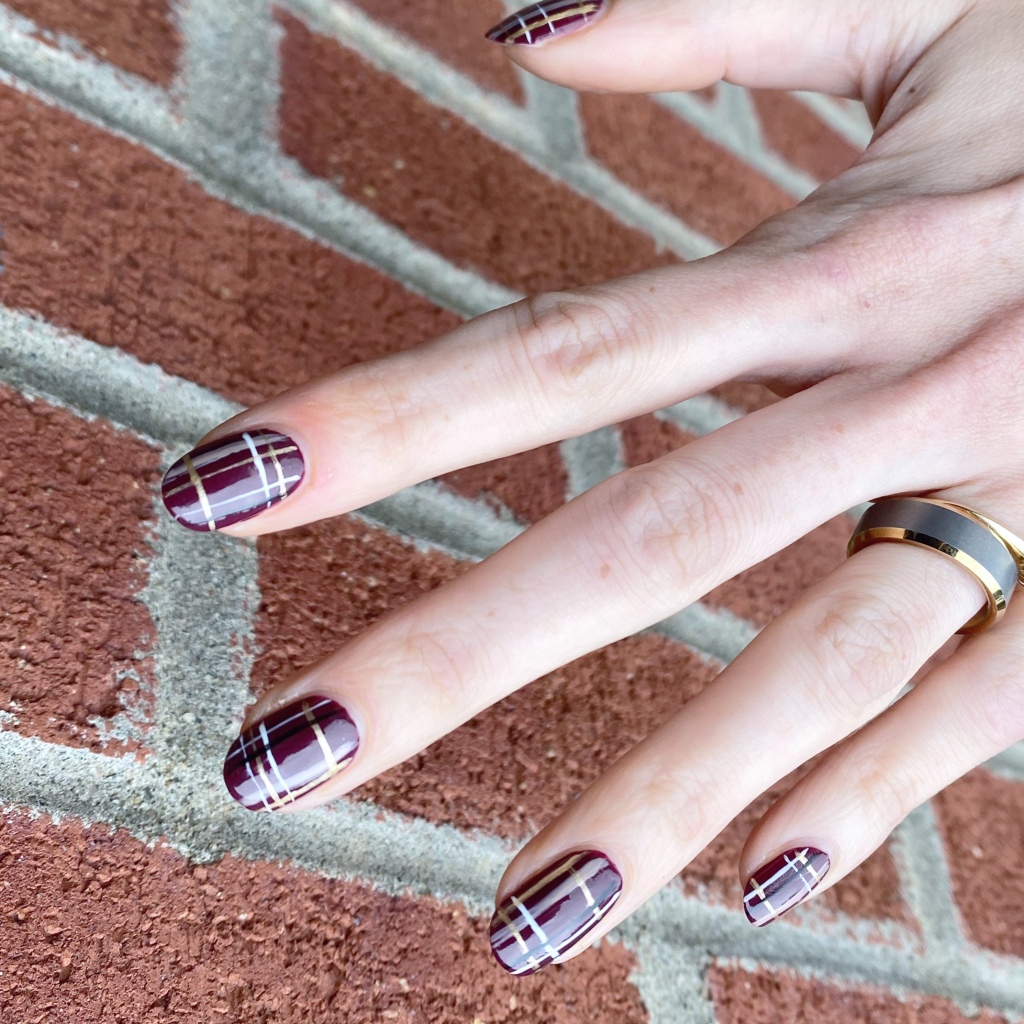
Even though I’ve been wearing a lot of red nails just on their own, I’m trying really hard to not go too hard on the Christmas nail art\ quite yet. A little sprinkling here & there, but I know that December will be Christmas nail art heavy (I’m doing Glam Nails Challenge December again!), so I’m trying my best to get in everything else in the meantime.

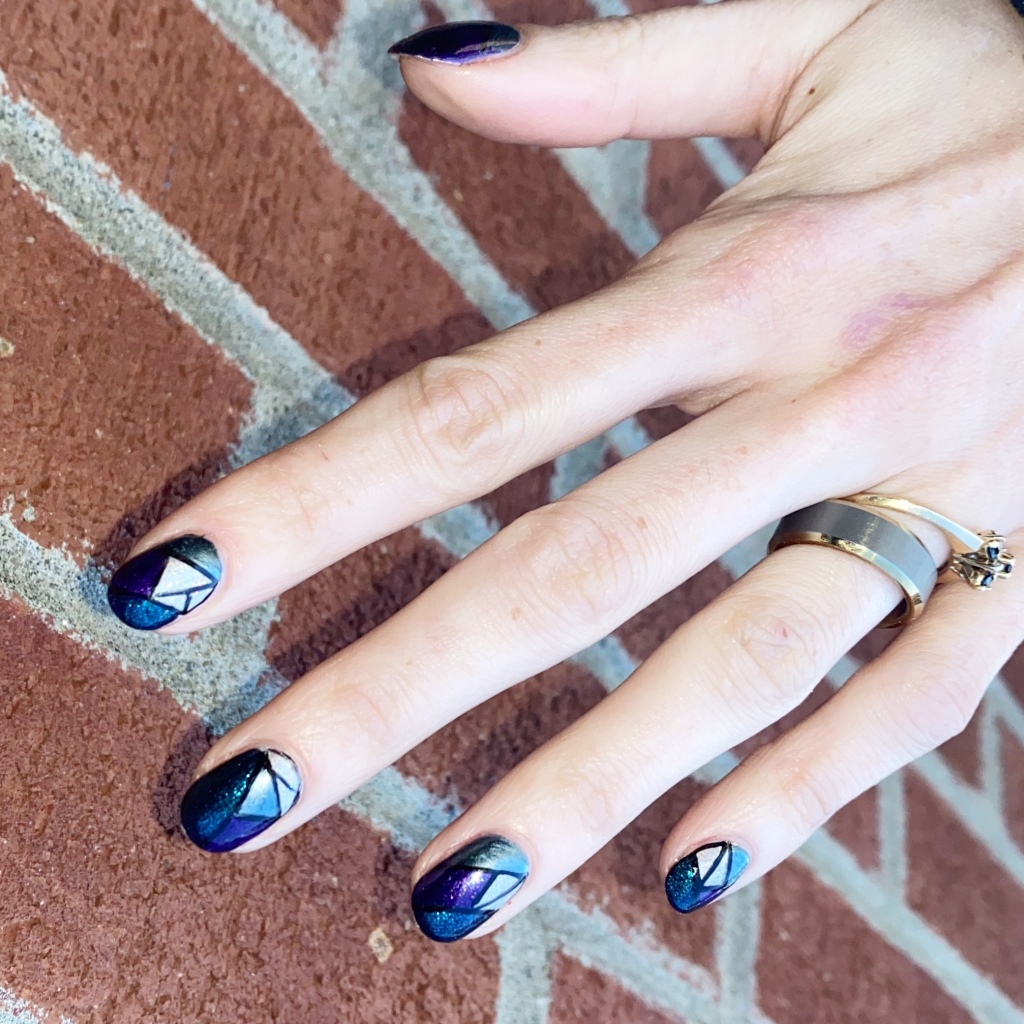
What do you think of this beautiful jewel toned stained glass design? Do you think this is a fun look or do you prefer more simple nail art? Let me know all your thoughts down in the comments below.

&, to all my American followers, Happy Early Thanksgiving!

Enjoy your Wednesday lovelies ♥︎

Holiday Inspired Red & Gold Velvet Dotticure

Hello loves & happy Friday!

It’s officially (pretty much) the weekend which means I’m in full holiday haze. It also means, I have been thinking about holiday manicures a lot. Even though I no longer attend many holiday parties — I’m more of a homebody these days — that doesn’t mean I don’t mind if my nails have somewhere special to go.

Today’s look is totally something I would wear to a fun holiday party, paired with the perfect little black dress.

The polishes I used for this manicure are: 

  • Base Coat: Sally Hansen Miracle Gel Colour Grip Primer Base Coat 
  • Top Coat: Seche Vive
  • Santee Magnetic 04 Metallic Tropical Rose
  • Starrily Magnetic Wand
  • Santee Magnetic 21 Sand Burst
  • Smallest sized dotting tool (NailStuff.ca Dotting Tool Trio)

First off, I apologize for how difficult these were to photograph. Apparently using flash on these particular magnetic base gave it almost this blurry effect in some pictures.

I’ve had these magnetics in my stash for… a while haha. Apparently I picked them up for 99 cents at my local Lawton’s on clearance… & just never tried them out! I used my Starrily Magnetic Want, & it gave this red base the coolest crushed velvet effect. It’s absolutely gorgeous! I wish I had pulled them out sooner.

What do you think about these holiday nails — are they giving you Christmas vibes? We have our first Tax Free Event this weekend at work, & it’s going to be crazy, so I need all the festive spirit I can get! I would much rather be drinking egg nog & nibbling on Christmas cookies with my pretty nails.

Enjoy your weekend loves, however whatever you’ve got planned. 🖤

Broken Mirror Glitter Placement

Hello lovelies & happy Wednesday! It’s already midweek, isn’t that crazy? I feel like it’s going to be New Year’s Eve before we even realize.

Today’s look is a favourite of mine, that I’ve repeated a few times over the years, but never gets old to me. I love a good shattered glass glitter look, & so naturally when I painted my nails with this beautiful dark purple, I knew I wanted to add something glitter placement. I decided to grab a glitter I haven’t used in forever, & I’m glad I did because they turned out perfect!

The polishes I used for this manicure are: 

  • Base Coat: Sally Hansen Miracle Gel Colour Grip Primer Base Coat 
  • Top Coat: Seche Vive
  • Essie Kimono Over
  • OPI Infrared-y to Glow
  • Medium sized dotting tool (NailStuff.ca Dotting Tool Trio)

I tried to capture the little holo glitters that accompany Infared-y To Party, but for whatever reason my phone & my nails were not cooperating to really show it off. I thought this glitter was a nice alternative to the usual gold glitters I create this look with, & gives off more of a shattered mirror design because the glitters are silver.

I definitely do miss my bottle of Color Club Diamond Drops as it was perfect for this kind of design thanks to the holographic shards of glitter. I anyone knows a similar glitter topper, let me know, because I really need to expand my glitter collection for these kinds of looks!

What do you think of this broken glass/mirror design? Have you ever tried one of these designs before? If not, I definitely recommend giving it a try! It’s a bit time consuming, obviously, but other than that it’s super easy to do & is such a fun effect! I guarantee you’ll get lots of comments & compliments on your nails too!

Happy Wednesday ♥︎

Autumn Abstract Stripes

Hello lovelies & happy Friday! I hope everyone has had a lovely week so far. I’ve been busy with work, but I did managed to get some cute new short nail art done this week. I found a set of Color Club shades I bought at Marshals last year (no names on them) & really wanted to combine the colours into a pretty nail art look.

The polishes I used for this manicure are: 

  • Base Coat: Sally Hansen Miracle Gel Colour Grip Primer Base Coat 
  • Top Coat: Seche Vive
  • Color Club blue-ish grey
  • Color Club grey
  • Color Club dusty rose
  • Color Club wine
  • Color Club dark rose
  • 16mm Striper (from NailStuff.ca)

I did a previous skittlette design using these back in August, but I really wanted to combine them in another look. Originally I had wanted to do something with nail vinyls, but after mucking that up, I decided on this cute look. Abstract stripes never do me wrong.

What do you think about this Autumn inspired abstract stripes. I think the grey base gives that frosty feeling, so it works for a November design. I’m still feeling a bit of lack of inspiration lately, being between holiday seasons, but I feel like I’ll be back into my groove in no time!

Have a fantastic Friday loves! 🖤

Chic Red & Gold Plaid

Hello lovelies & happy Wednesday! It is a very, very chilly Wednesday at that. It is officially creeping into Winter, & not at all slowly. Guess I’ll need to do some snowflake nails soon!

Today though, I’m sharing a design I did last month, & it’s the last big of nail art I have featuring my longish nails. Time to jump into short nail nail art again! Today’s look, though, is perfect for these in between holidays days.

The polishes I used for this manicure are: 

  • Base Coat: Sally Hansen Miracle Gel Colour Grip Primer Base Coat 
  • Top Coat: Sally Hansen Insta-Dri Top Coat
  • OPI Just Be-Claus
  • OPI Rolling in Cashmere
  • Essie Lady Like
  • Sally Hansen Miracle Gel Get Mod
  • Sally Hansen InstaDri Ghouls Night Out
  • NailStuff.ca 16mm striper brush

I absolutely adorable all things plaid — in fact I’m wearing my favourite plaid leggings to work today. Plaid nails are no exception. I’m not sure if it’s because they’re so easy, or if it’s because there is endless colour combinations, but they really are one of my favourites, especially this time of year.

& I’m sure this won’t be the last plaid nail art design I share this season. In fact, I can pretty much bet on it.

What do you think about this chic plaid design? Would you wear this on your nails? Let me know all your thoughts in the comments below, & let me know what short nail designs you’d like me to create & share!

Enjoy your Wednesday! 🖤