Autumn Floral 🌼

Hello lovelies & happy Monday!

I hope everyone is having a lovely start to their week. I’m feeling all the Autumn vibes. I had my first pumpkin spice latte, I found my favourite Halloween candy in store; I am ready for Fall to begin. So naturally, that means I’m ready for Fall manicures & nail art to begin.

The polishes I used for this manicure are: 

  • Base Coat: Sally Hansen Miracle Gel Colour Grip Primer Base Coat 
  • Top Coat: Sally Hansen Miracle Gel Glossy Top Coat
  • J Cats Beauty PNP105
  • Essie Check Your Baggage
  • Essie Chocolate Cakes
  • Sally Hansen InstaDri Up to Snuff
  • Sally Hansen InstaDri Thyme is Money
  • NailStuff.ca Mermaid Tail Brush Trio (11mm liner brush)

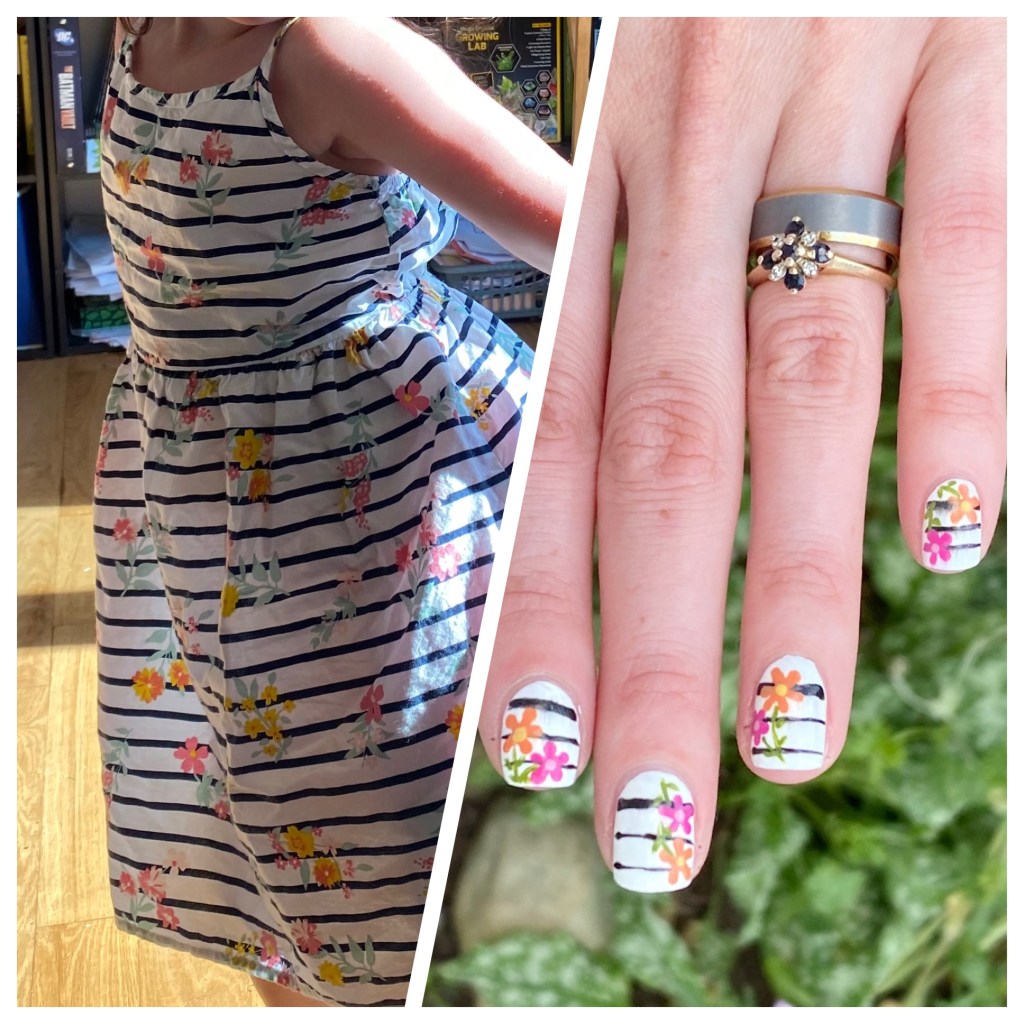
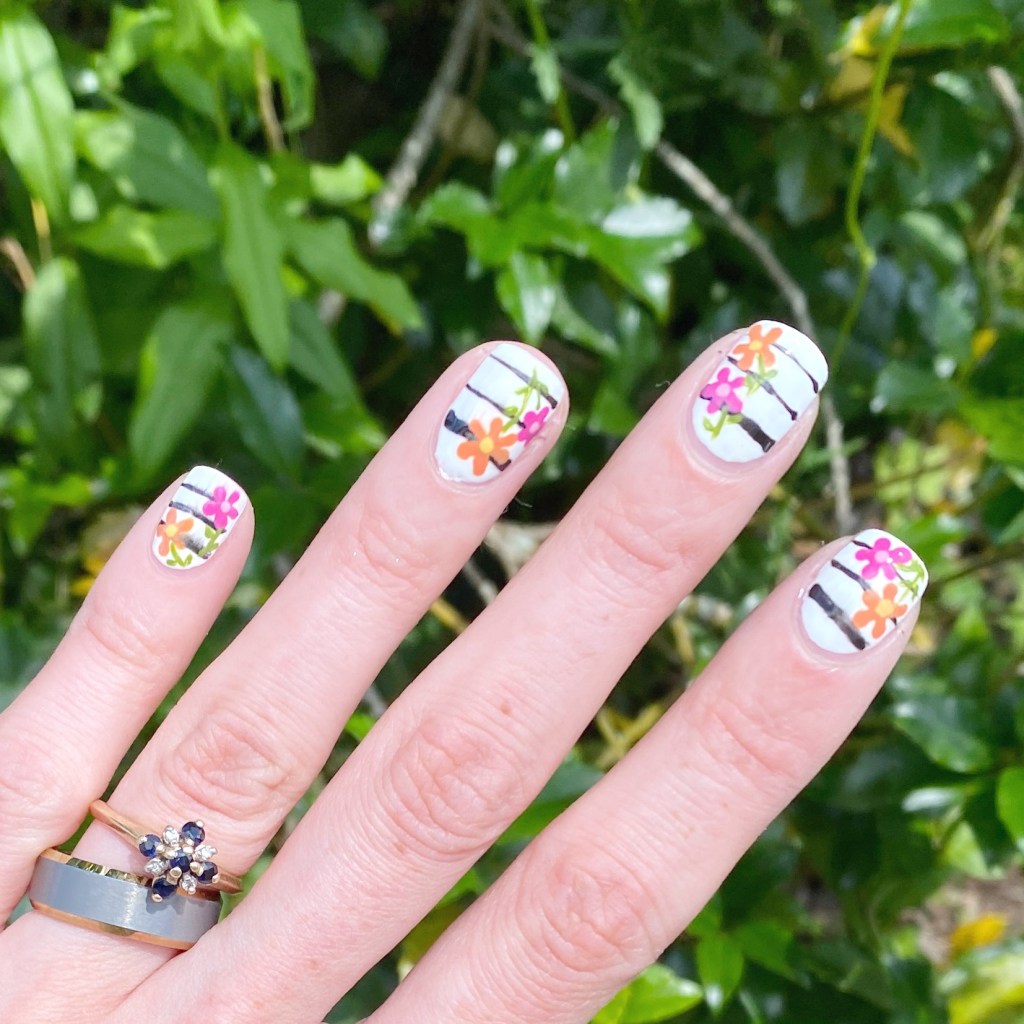
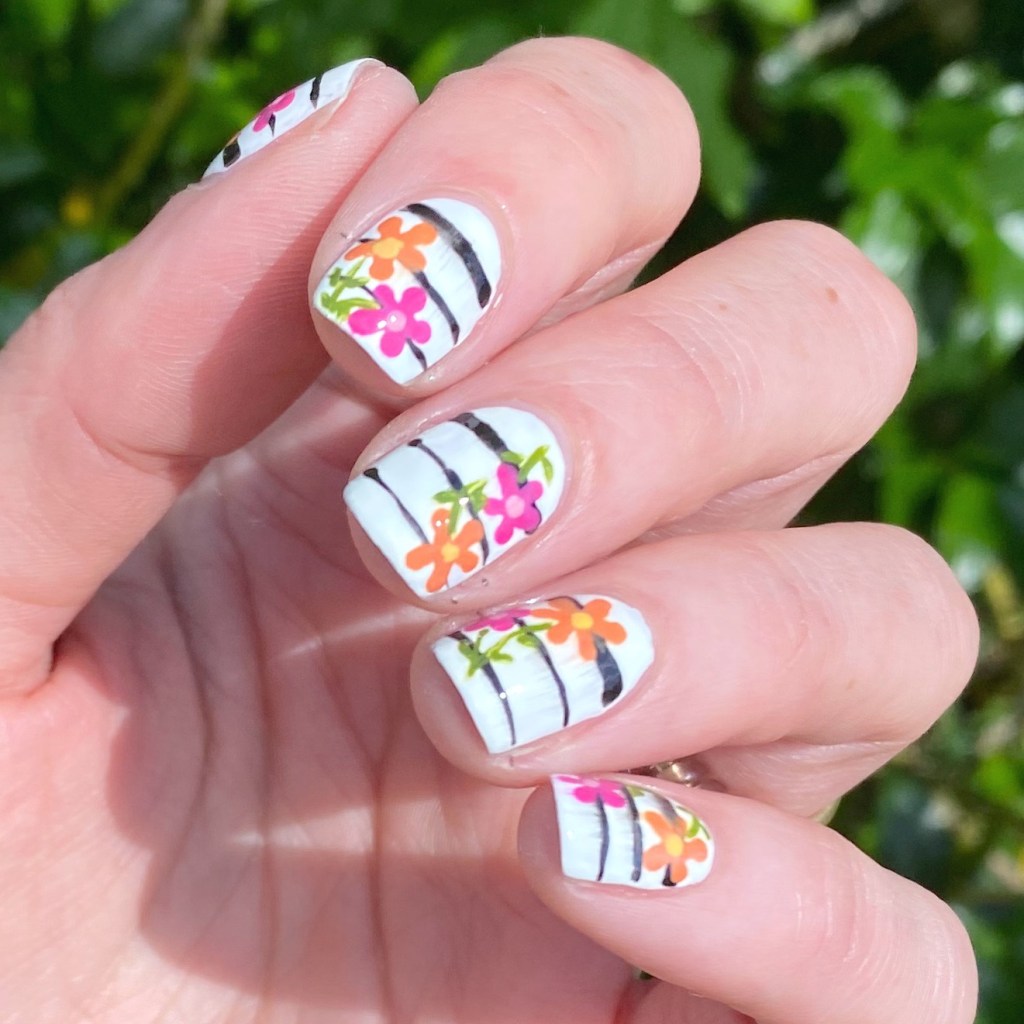
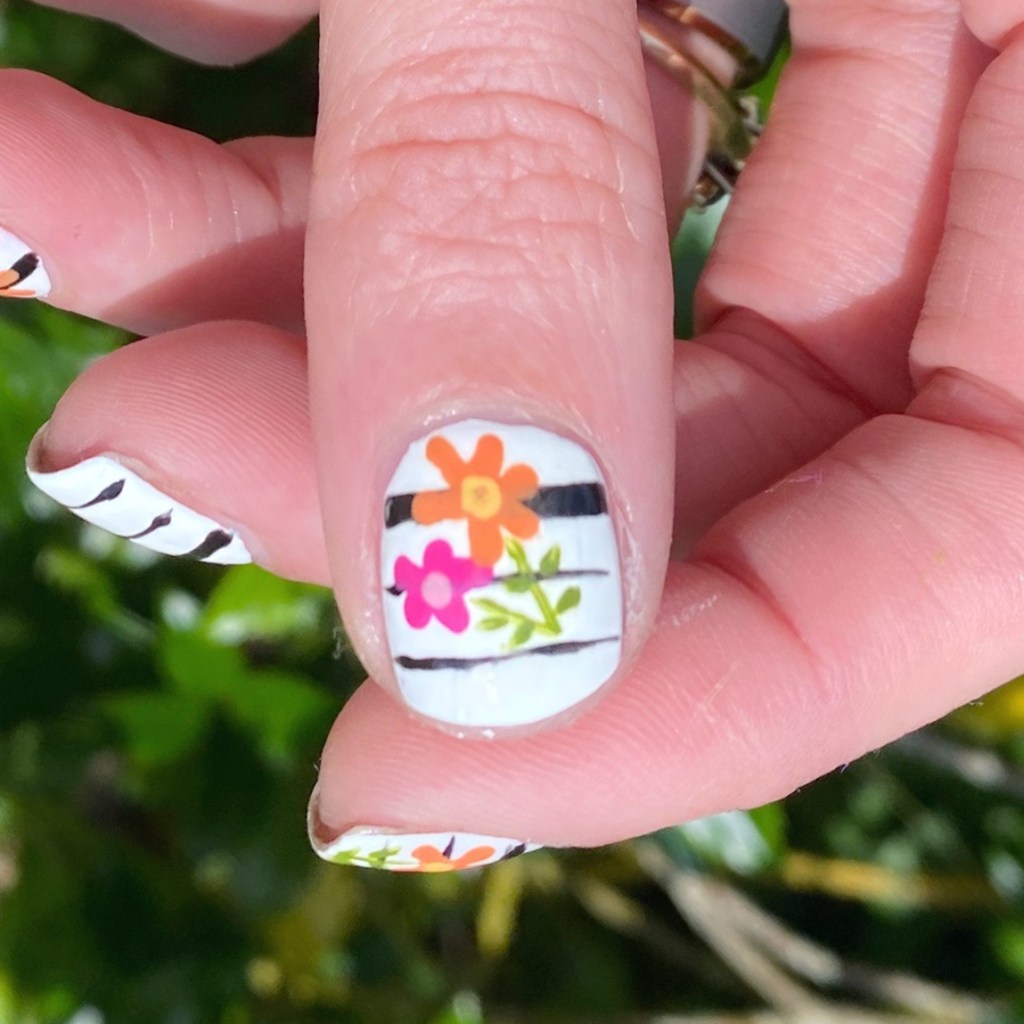
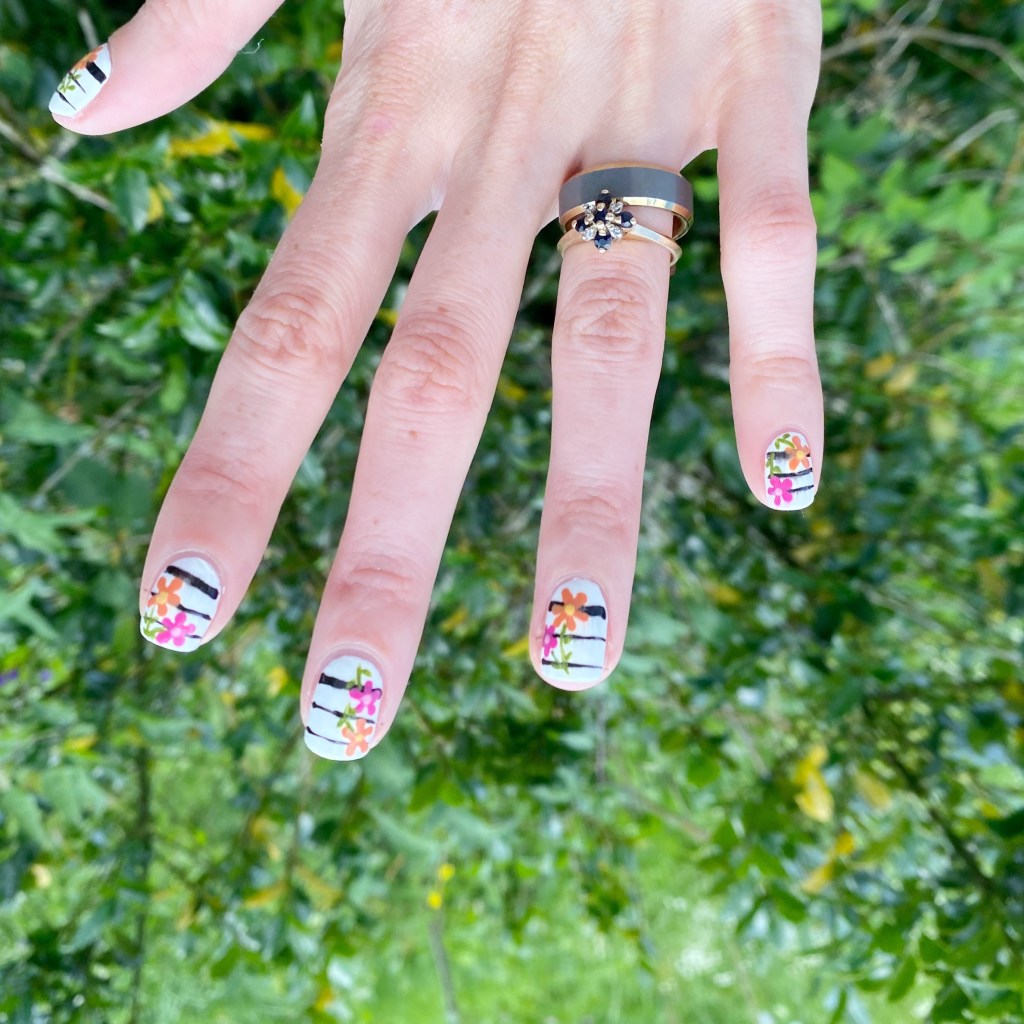
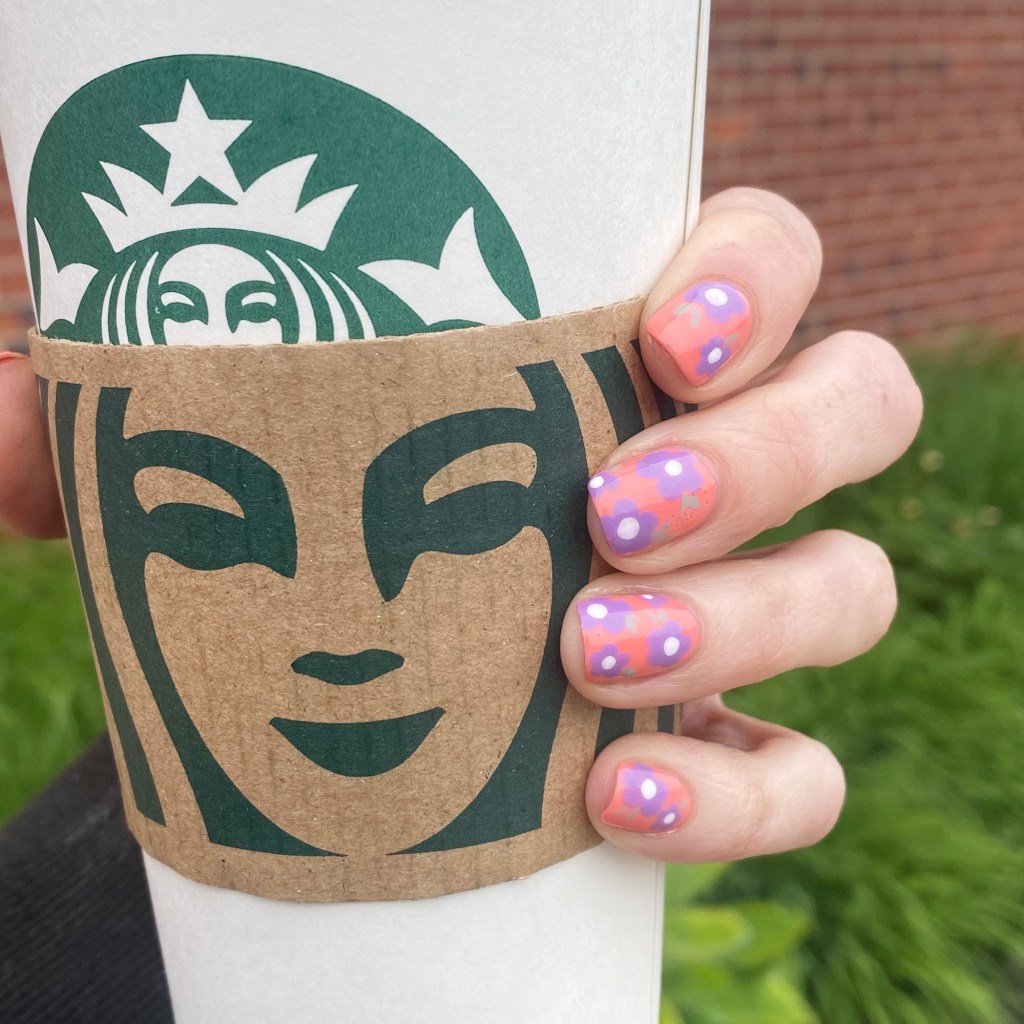
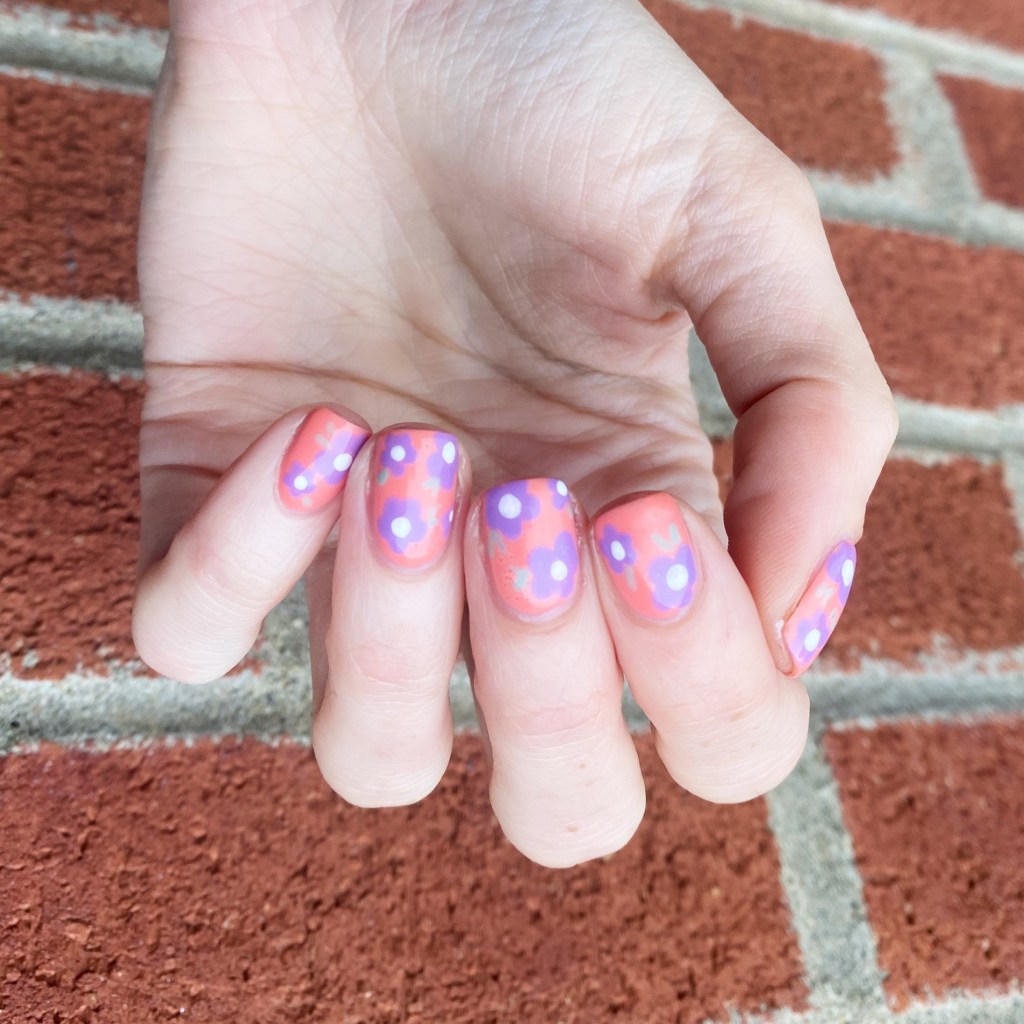
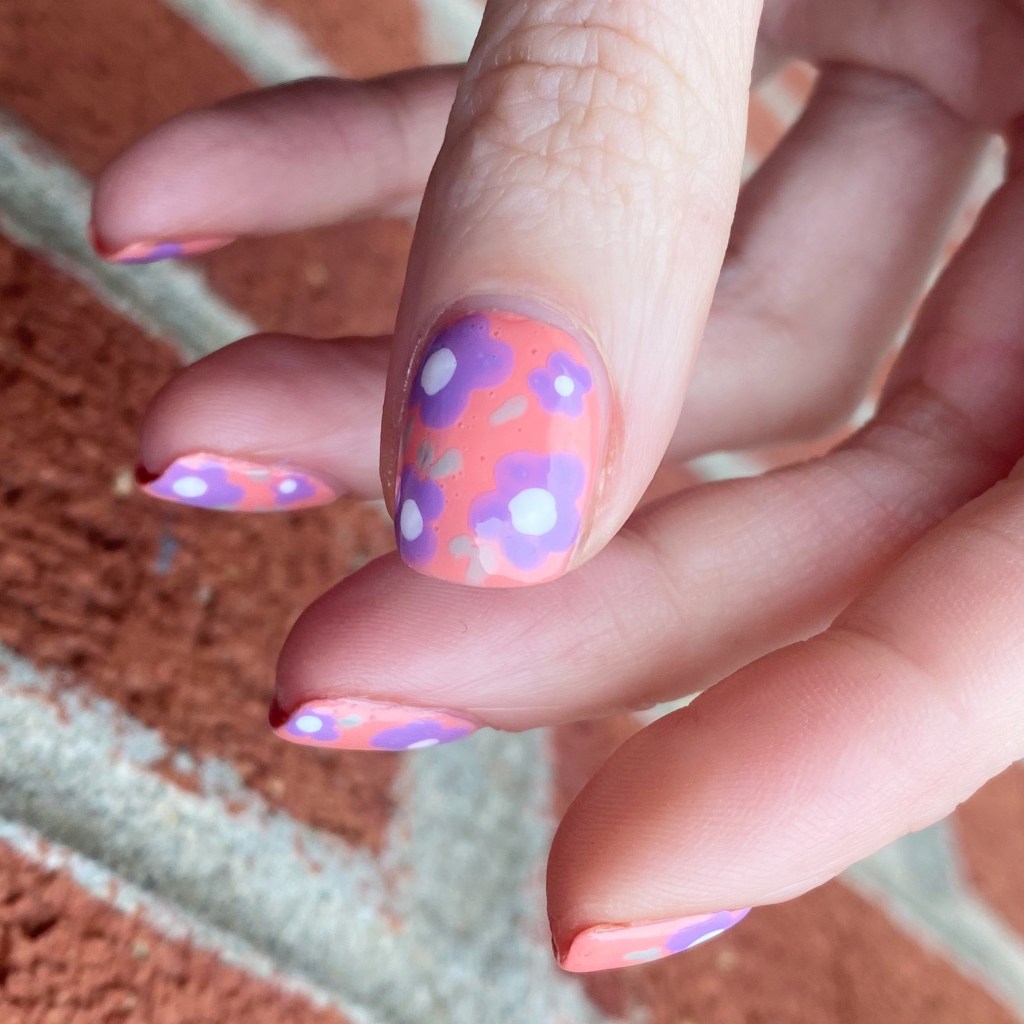
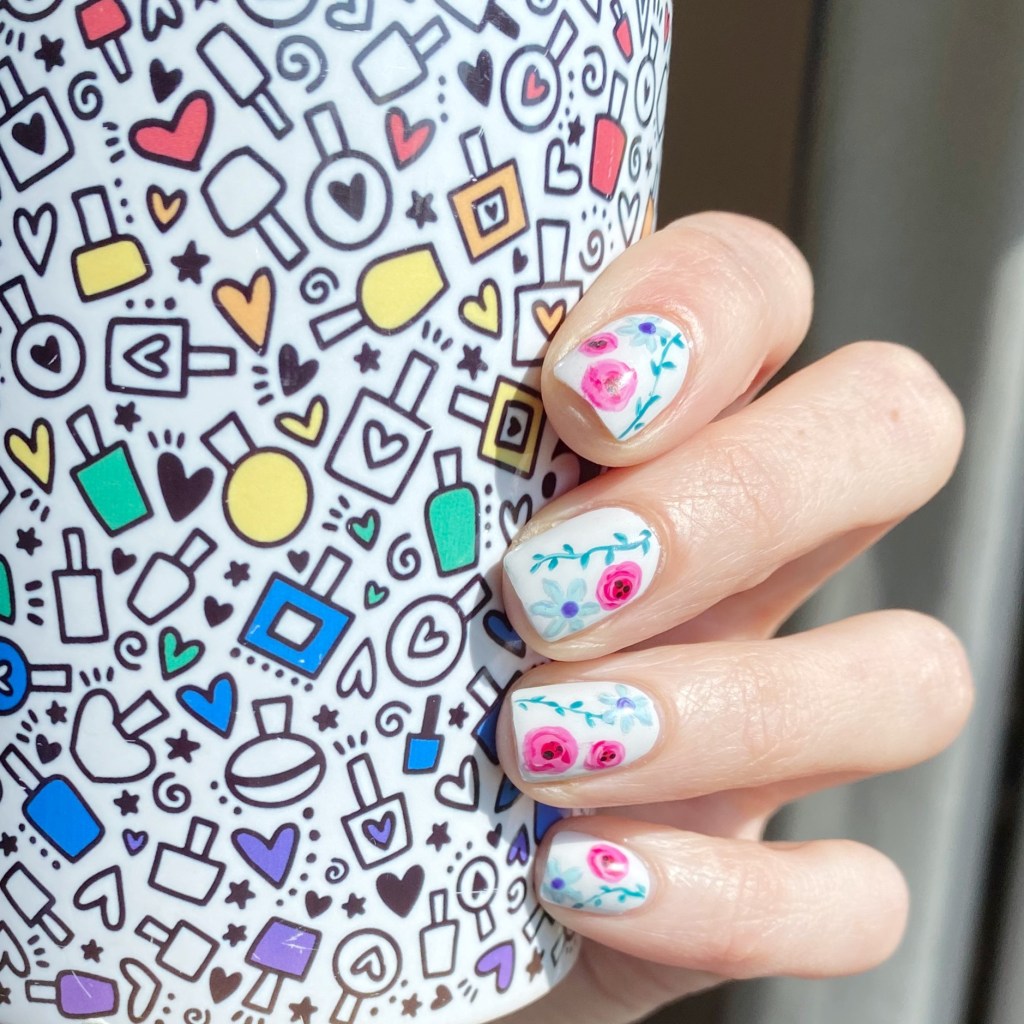
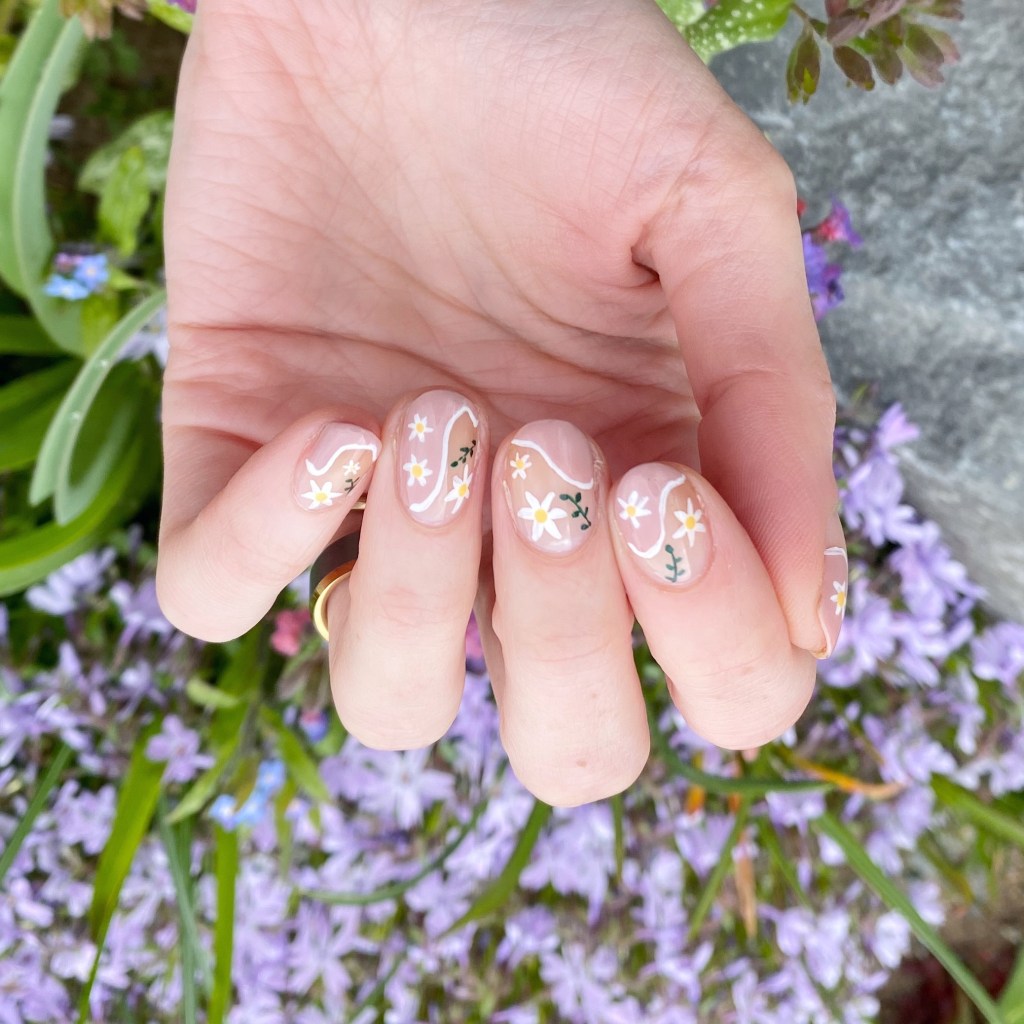
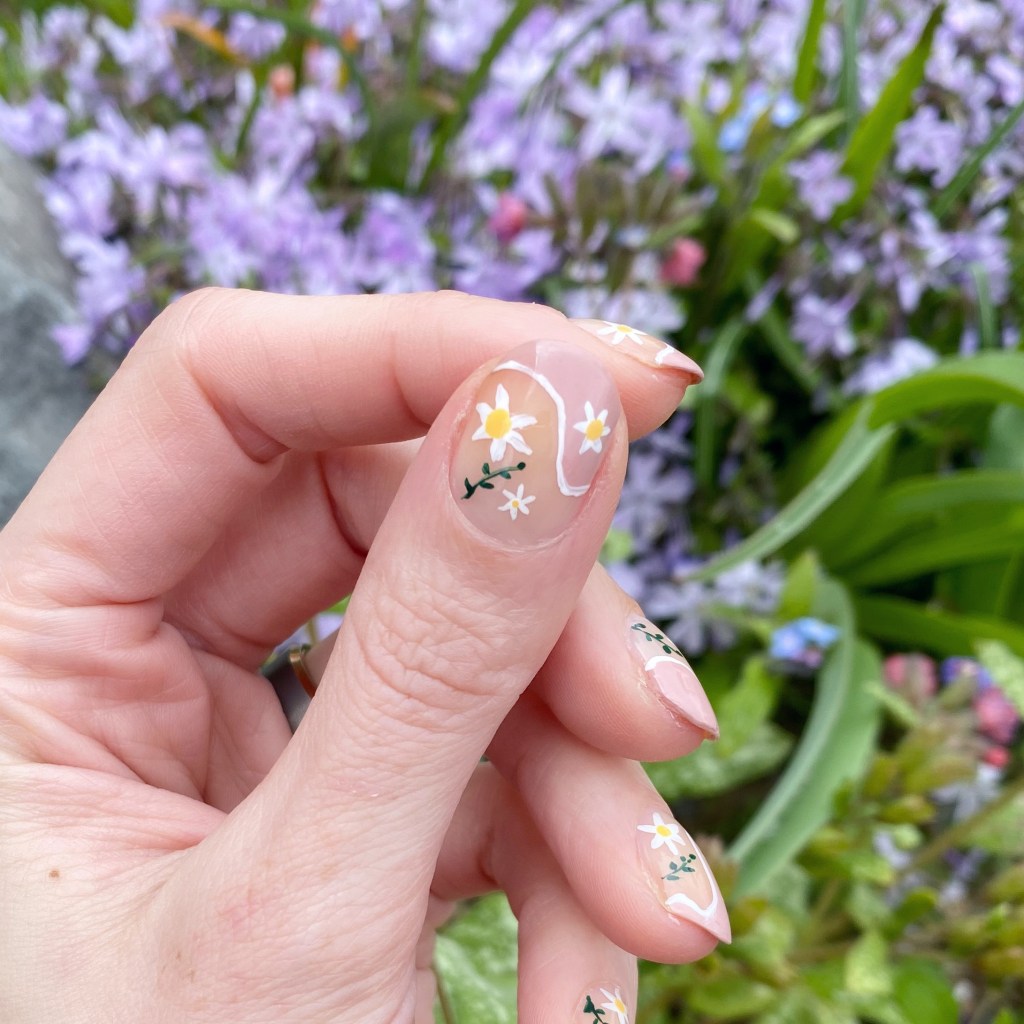
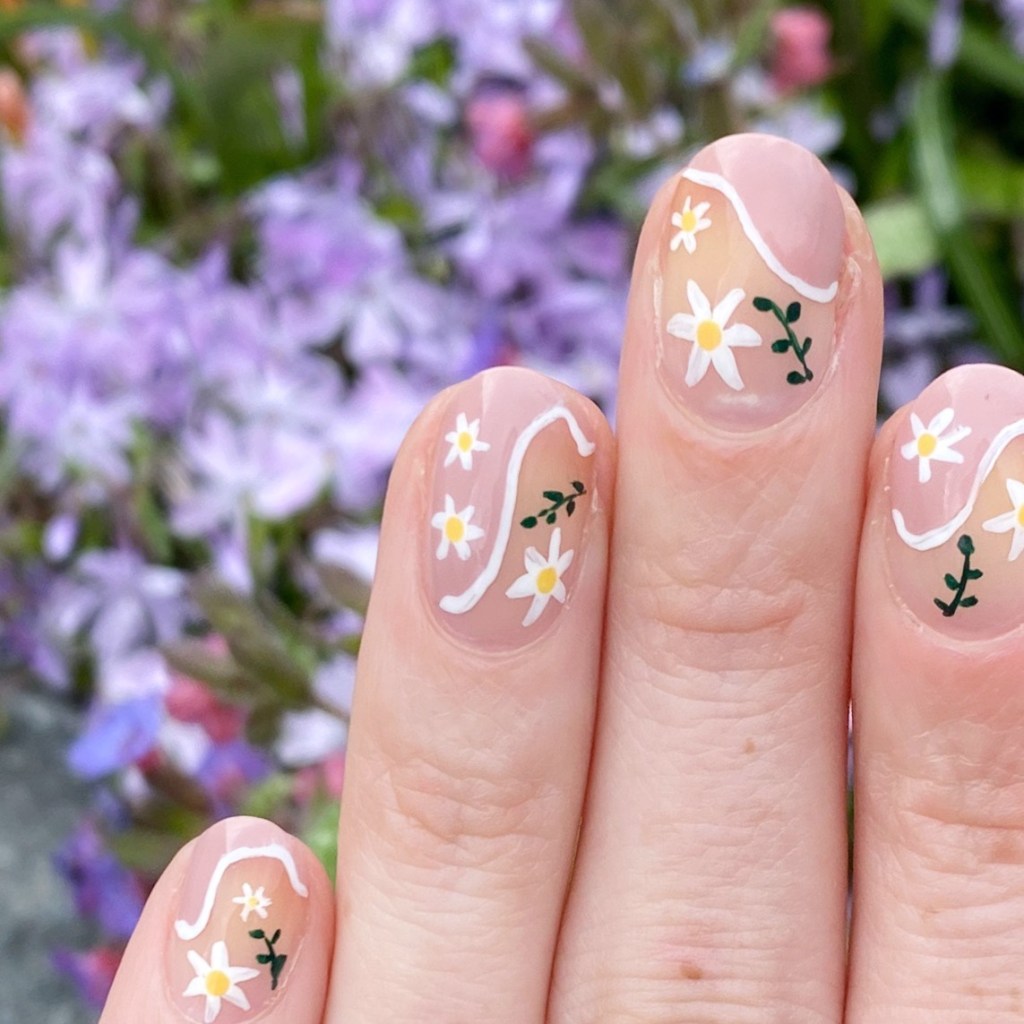
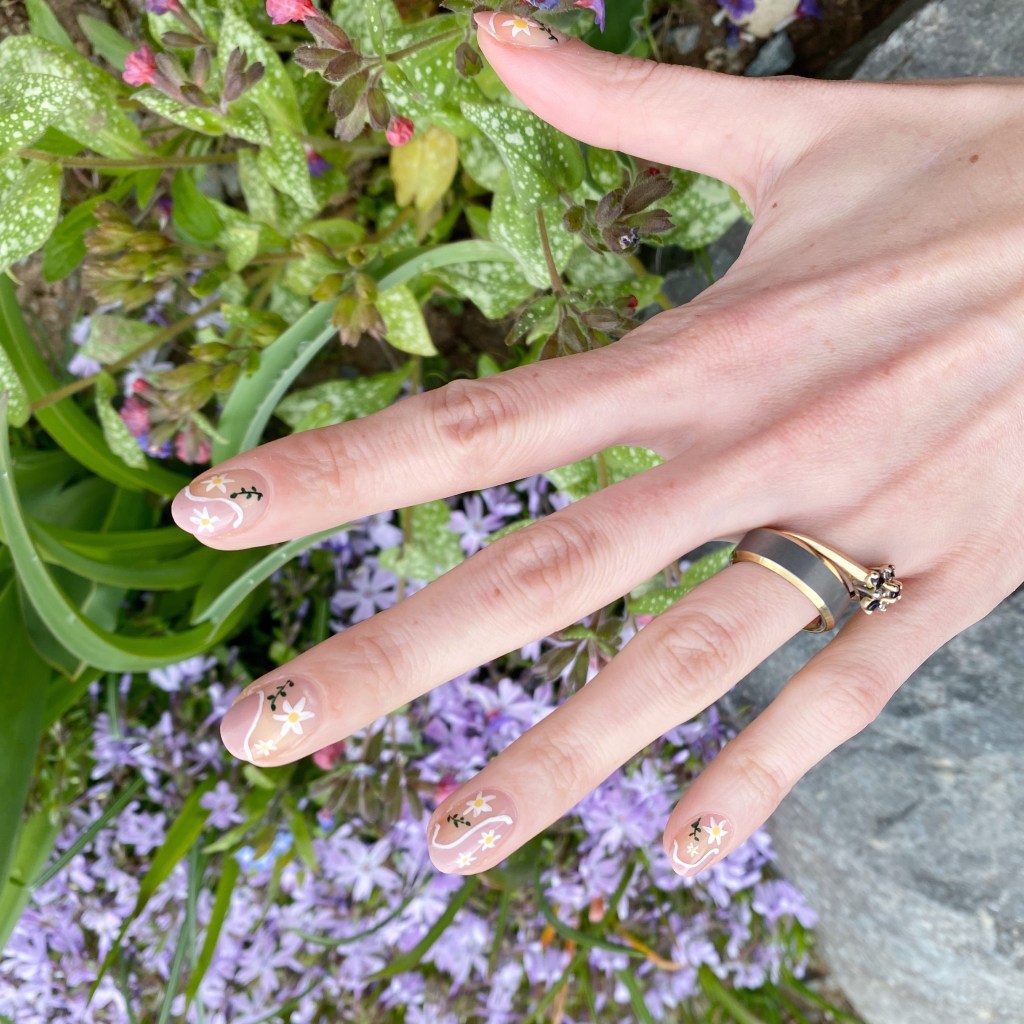
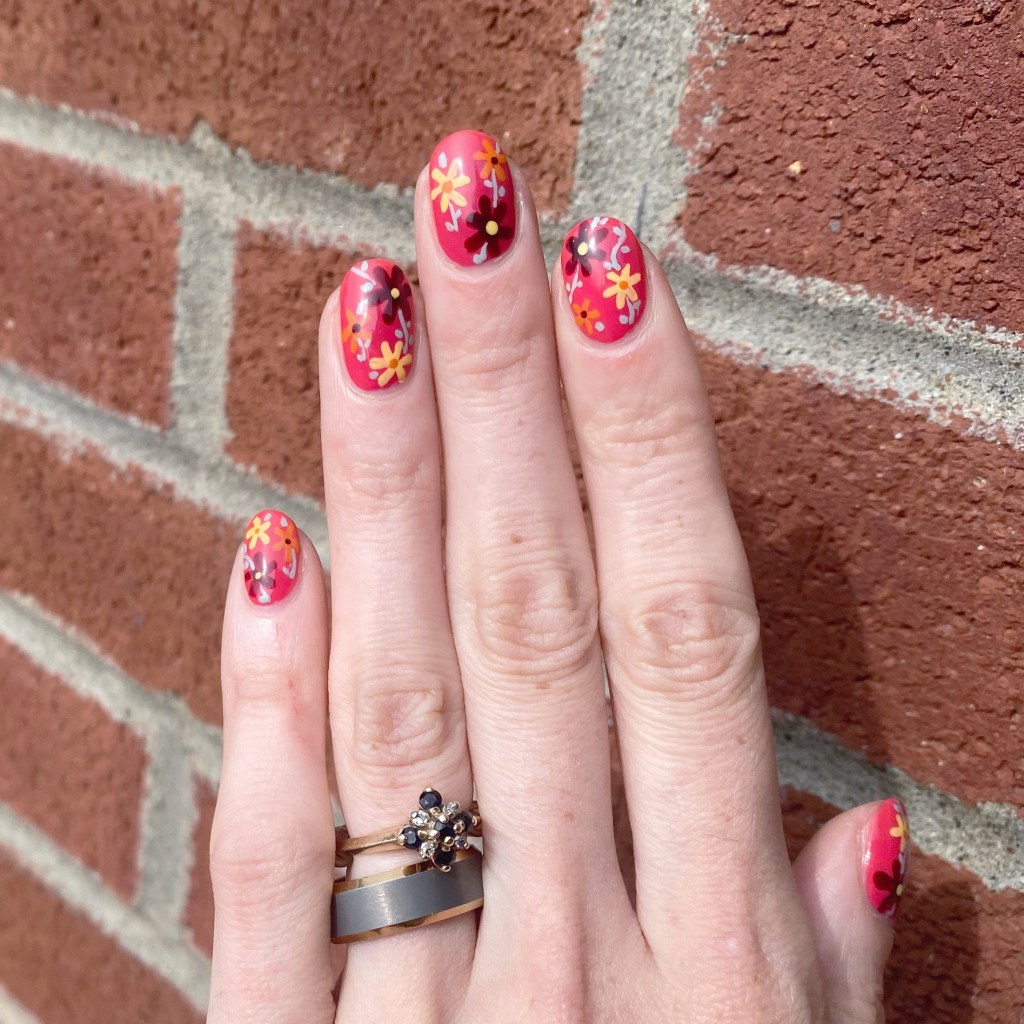
It’s been way too long since I last wore some floral on my nails, & this colour combination feels perfectly Fall inspired. It even compliments my coffee cup. The base shade has been sitting in my stash for a while — I think I scored it for like 99 cents at a random pharmacy — but I’m glad I decided to randomly pull it out to wear. The colour is very, very pretty.

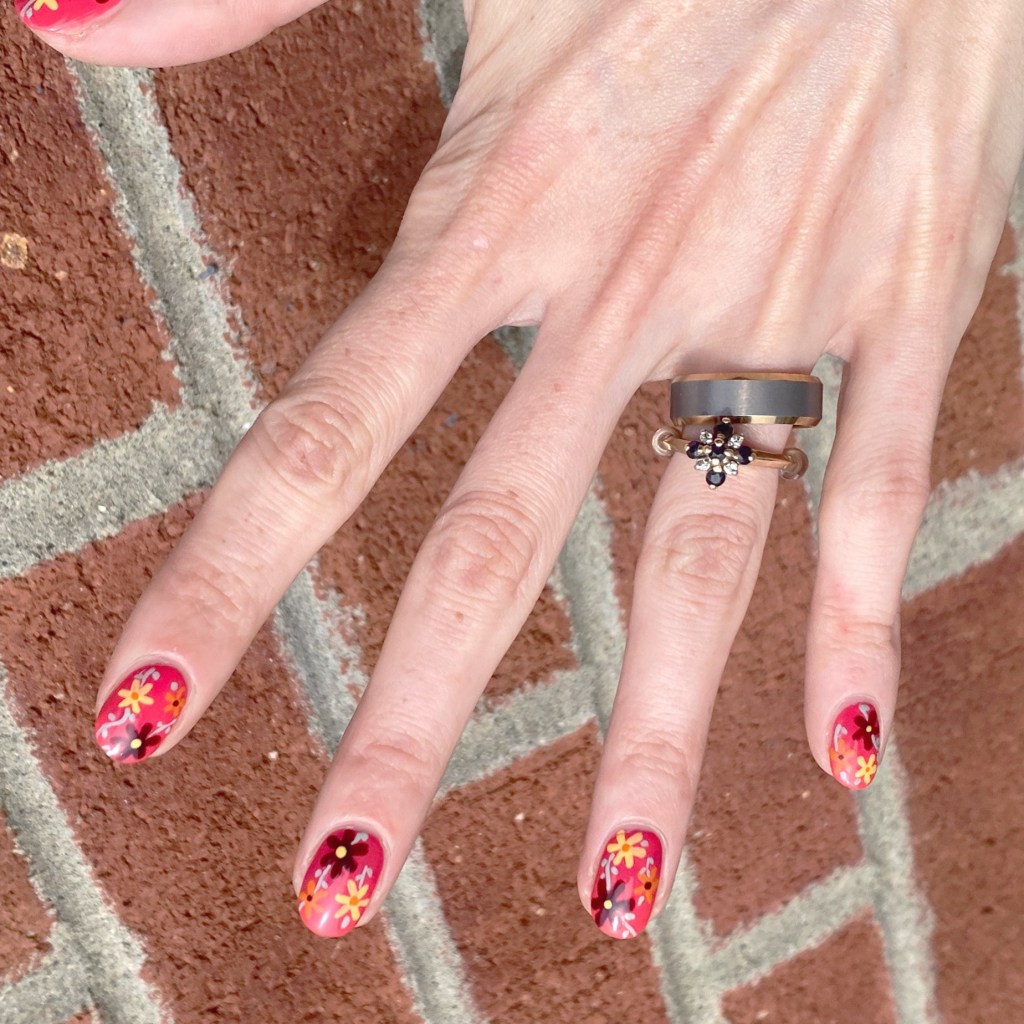
What do you think about this Fall floral design? Do you like this colour combination, & does it scream Autumn to you? Let me know all your thoughts down in the comments below.

Summer Dress Inspired Floral 🌸

Hello lovelies & happy Wednesday! I hope everyone is enjoying their week so far. What is the weather doing where you are? We’ve been hot & balmy on the East Coast, a big difference from the torrential rainstorm we had on the weekend. I’m definitely happy for brighter weather.

I’m also super excited to show off today’s nail art look. You know the saying “nail art inspiration can come from anywhere”? Well I definitely took that to heart with this nail art look. Recently, I took my daughter thrifting & found the sweetest Summer dress for her, & the second I saw it, I knew I was going to need to do some nail art inspired by it. I’m a sucker for anything floral, & the simple sweet pattern was too cute not to do on my nails!

The polishes I used for this manicure are: 

  • Base Coat: Sally Hansen Miracle Gel Colour Grip Primer Base Coat 
  • Top Coat: Sally Hansen Miracle Gel Glossy Top Coat
  • Essie White Page
  • Sally Hansen Instadri Ghouls Night Out
  • Essie Frilly Lillies
  • Essie Check Your Baggage
  • Essie Willow in the Wind
  • Sally Hansen Good Kind Pure Peony Origins
  • Sally Hansen GKP Love You Lotus
  • NailStuff.ca Mermaid Tail Brush Trio (11mm liner brush)
  • Dotting Tool (NailStuff.ca Dotting Tool Trio)

How cute is this look! I’ll be honest, this wasn’t a super complicated design to paint, but it was a little time consuming… especially trying to make sure my horizontal stripes were straight. &, as you can see from my pointer, I wasn’t completely successful in that regard. But I think this design turned out just like my inspiration, so that’s a win in my books! Such a sweet, pretty design to match my sweet little girl.

What do you think about this floral design? Do you like this line & floral design? Where do you find inspiration for your own nail art looks? Let me know down in the comments, & enjoy your Wednesday!

Throwback Floral (Using Just a Dotting Tool)

Hello lovelies & happy Friday! I hope it’s a beautiful day wherever you are. It’s supposed to be sunny, & slightly warm today, so I’ll take it.

Today I’m sharing a design which is a recreation of a design I did many moons ago—like… 2013 at the beginning of my nail art journey & before this blog. I just always love revisiting old designs, & when this one popped up on my Facebook memories, I knew I needed to do an updated version!

2013 version
2023 version

The polishes I used for this manicure are: 

  • Base Coat: Londontown KUR Nail Hardener & Base Coat 
  • Top Coat: Seche Vive Fast Dry Top
  • Essie Peach Side Babe
  • Essie Worth the Tassel
  • Essie Blanc
  • Essie Turquoise & Caicos
  • Small & Large Dotting Tool (NailStuff.ca Dotting Tool Trio)

I didn’t have a list of the original polishes I used for my design, so I tried to go with what looked the closest to the colours — which was hard because my original photo is pretty poor quality. I think, though, I did a pretty good job on recreating the original look!

I know that was my first jump into “real” nail art after getting my first dotting tool. It was an Essence brand one that I found at Shoppers Drug Mart, & I got very excited to find something to do legit nail art.

What do you think of this floral nail art recreation? Do you remember what nail designs first got you into nail art? Let me know down in the comments below!

Have a fantastic Friday!

Floral Shorties

Hello loves & happy Wednesday!

& Happy last day of May!

I swear, you’re in the right place. I just decided to switch things up a bit. I’ve been humming & hawing on Instagram for a while about going to square nails, & I finally decided to take the plunge–just in time for a new month! I know, crazy. But it’s been about 2 years since the last time I rocked some squares, so I thought why not try them out again for a while.

They’re pretty short right now, but that’s okay. I’m excited to grow them out to a nice square shape. & in the meantime, we’ll rock some fun shortie nail art. Naturally, the first manicure I did on my new short squares is floral! I mean, were you expecting anything else.

The polishes I used for this manicure are: 

  • Base Coat: Londontown KUR Nail Hardener & Base Coat 
  • Top Coat: Seche Vive Fast Dry Top
  • Franken white shade (I mixed a few whites I own with a little black to grey it)
  • OPI Is That A Spear in Your Pocket
  • OPI Living On The Bula-vard 
  • OPI Two Timing The Zones 
  • OPI Do You Have This Color in Stock-holm? 
  • OPI Getting Nadi on My Honeymoon 
  • OPI Koala Berry
  • OPI Who You CallinBossy?
  • OPI Gelato On My Mind
  • OPI Check Out The Old Geysirs
  • NailStuff.ca Dotting Tool Trio
  • NailStuff.ca 4mm Micro Detail Brush

Obviously, I had to use my garden for a backdrop as it’s been thriving with these Summer-y temperatures. This floral is pretty simple — although it used a ton of different polishes — but I think it turned out beautiful & I’m really in love with the final look. I went with a white base, even though I’ve been iffy on wearing white lately thanks to the VPR drama & Scandoval, but I think this white base looks so pretty with the floral over top.

What do you think about this floral look & my return to square nails? This was the nail shape I had when I first started my blog, so I always return to it, even though I do love round nails as well. Sometimes, you just need a change, you know?

Let me know what you think & what nail art you’d like to see next! I have one manicure coming on Friday that I did earlier in the month for a nail art collab, but I’m excited to start Summer off with these new square shorties.


Happy Wednesday ♥︎

Dainty Negative Space Floral 🌿🌸

Hello lovelies & happy Monday!

Today I’m starting off this week with another floral look. At this point, you can pretty much expect that I’ll be posting a floral design at least once a week for the foreseeable future. I’m kind of obsessed. Today’s look was another one of those random designs I kind of came up with in my head, & was beyond happy to bring to life on the nail. I really just wanted something dainty, & I think was successful in creating that.

The polishes I used for this manicure are: 

  • Base Coat: Londontown KUR Nail Hardener & Base Coat 
  • Top Coat: Seche Vive Fast Dry Top
  • Essie Gel Couture Princess Charming
  • Essie Blanc
  • Essie Check Your Baggage
  • Essie Off Tropic
  • NailStuff.ca Mermaid Tail Brush Trio
  • NailStuff.ca Dotting Tool Trio

I’m kind of obsessed with how this turned out. I decided to go minimal on my floral — I usually use multiple polishes for each flower & my leaves — & I love how it looks. It’s clean & simple, which is exactly the look I was craving. A nice palate cleanser for the nail. I also really like that Princess Charming is quite neutral, so it doesn’t stand out too much on the nail & keeps that naked look I was going for.

What do you think about this dainty negative space floral design? Do you like simpler cleaner looks like this, or more bright & colourful nail art designs? Let me know all your thoughts in the comments below!

You know you can count on me to do a nice mix of both.

Have a super amazing Monday. ♥︎