Hello loves & happy Friday. The weekend is finally here — isn’t that exciting?
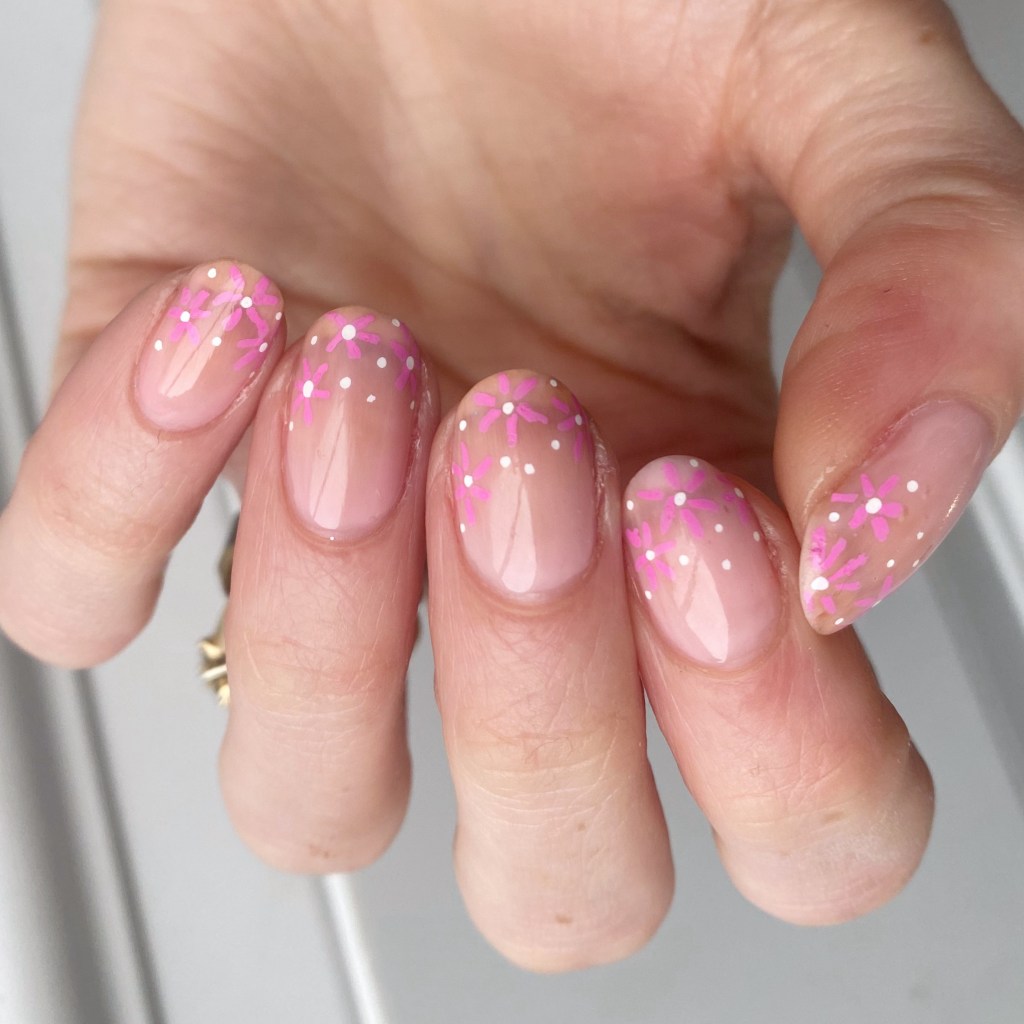
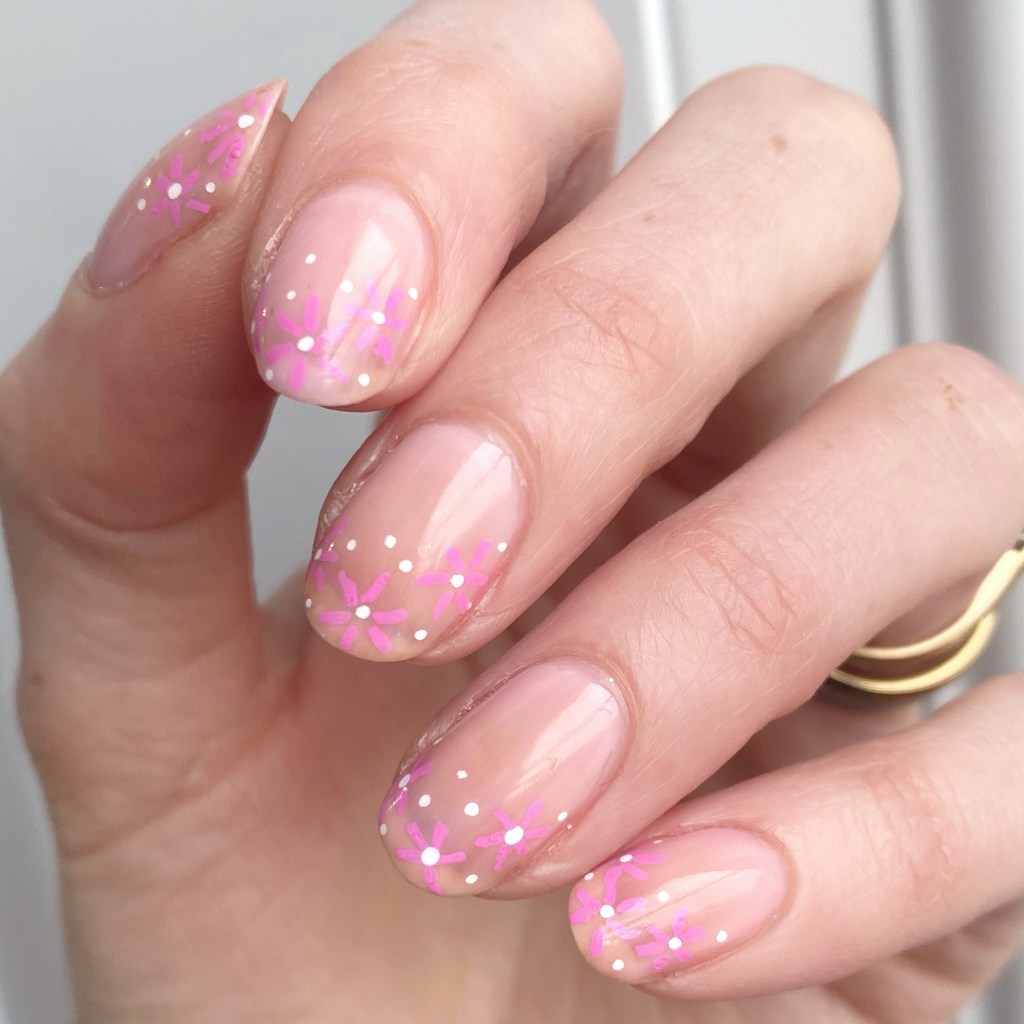
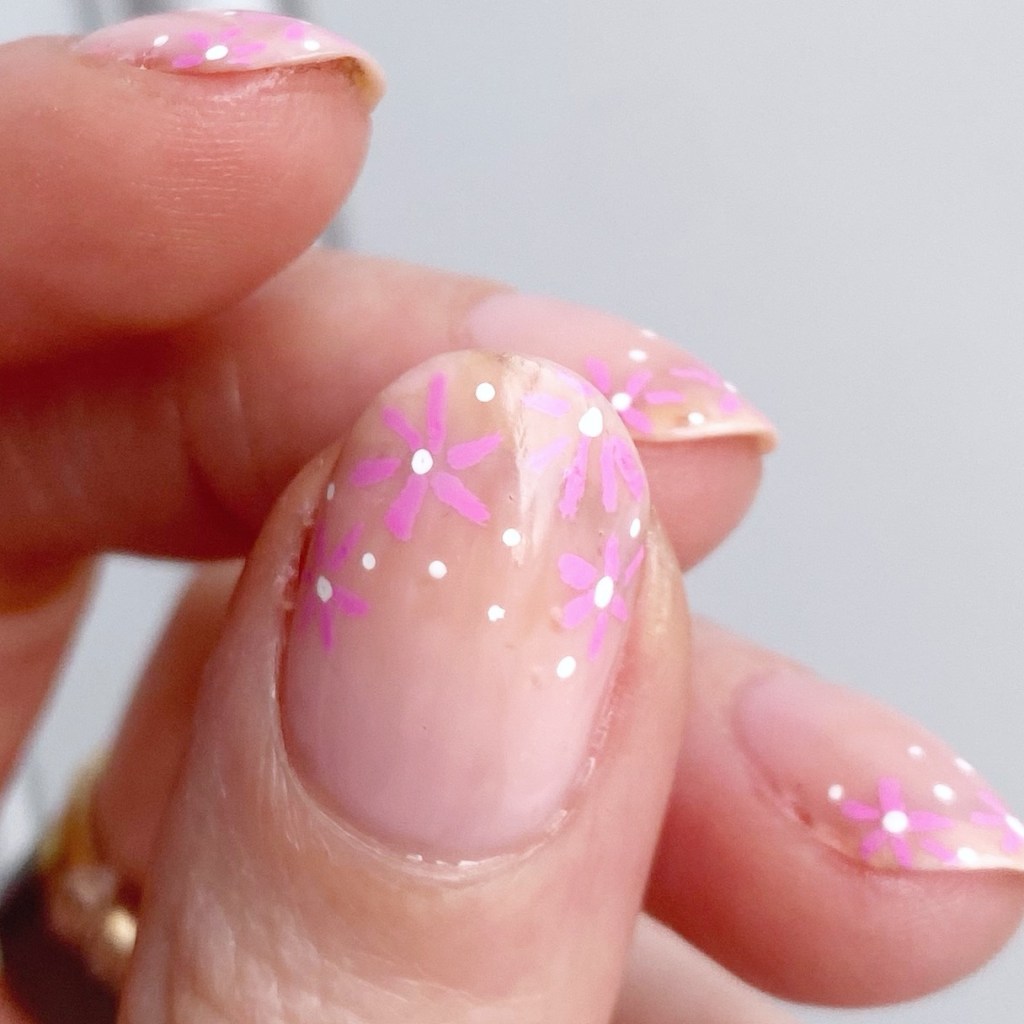
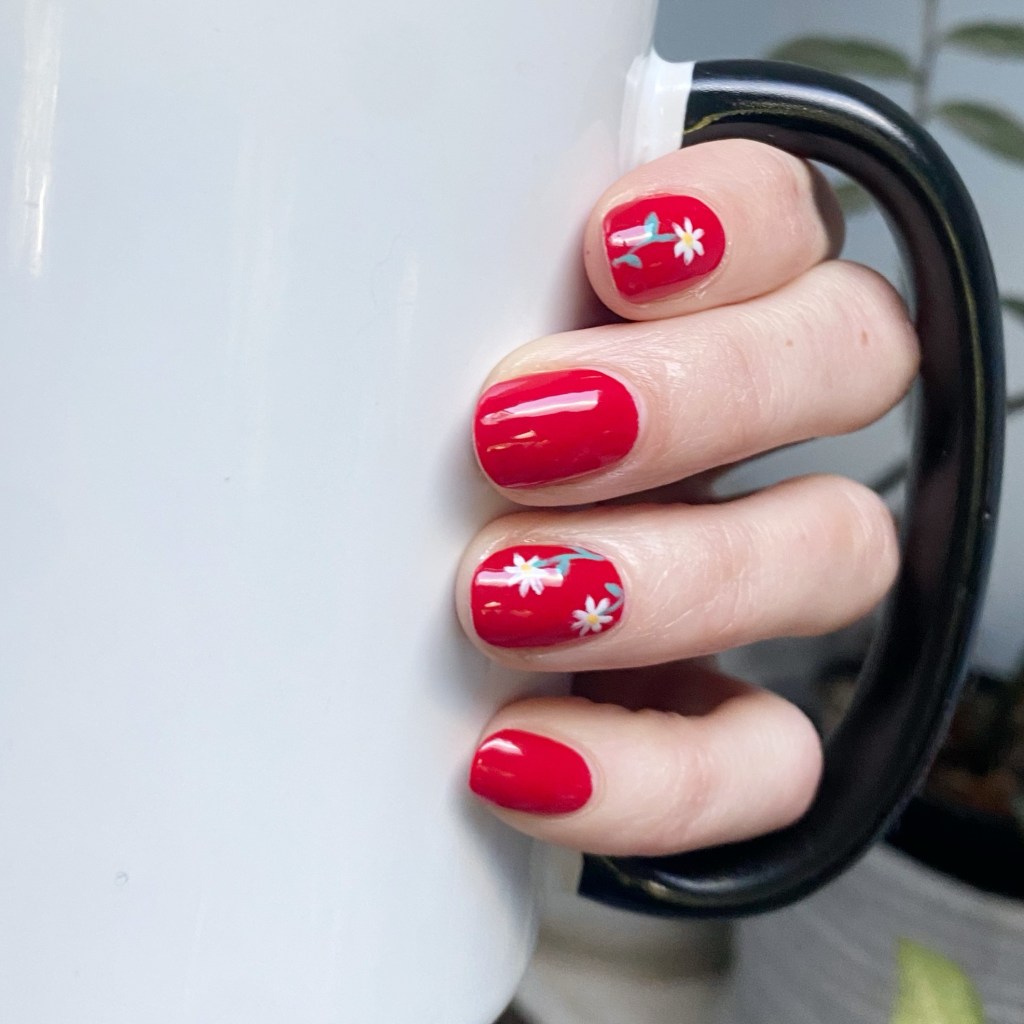
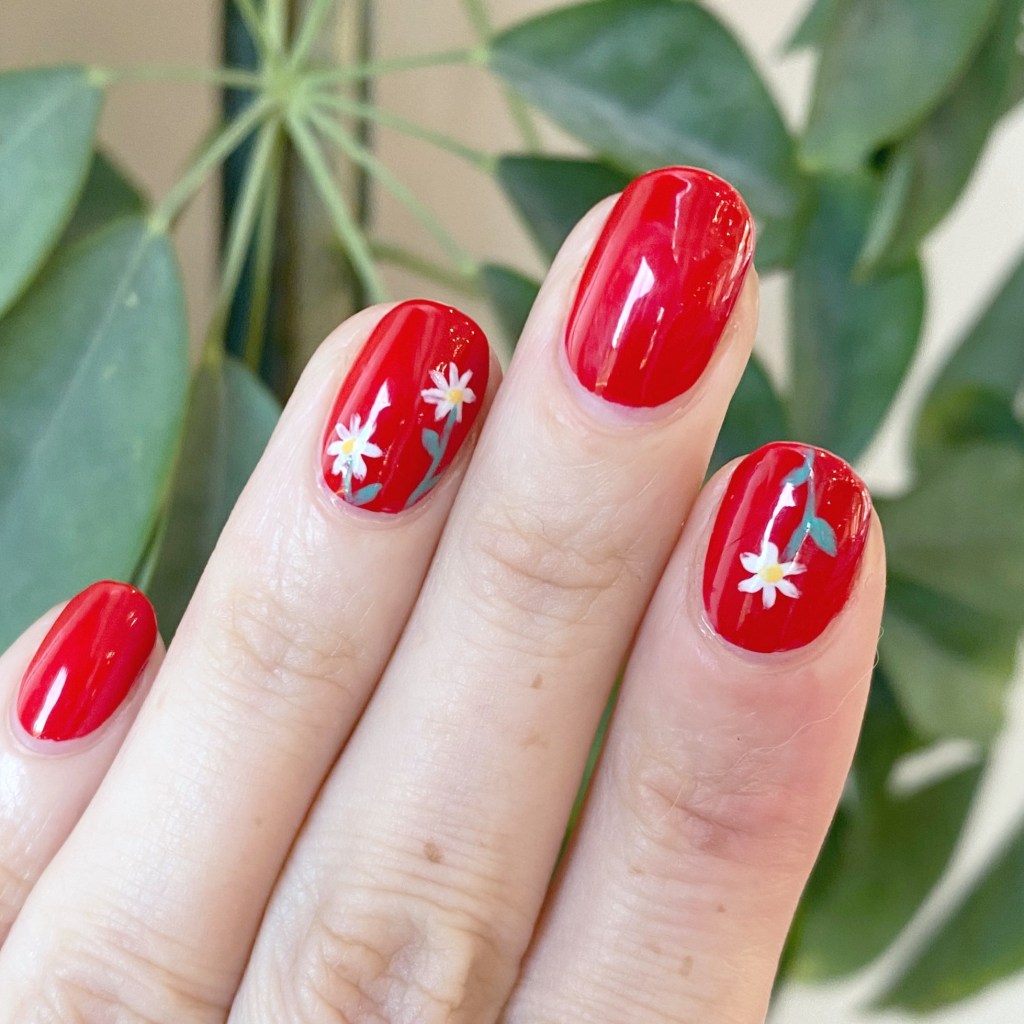
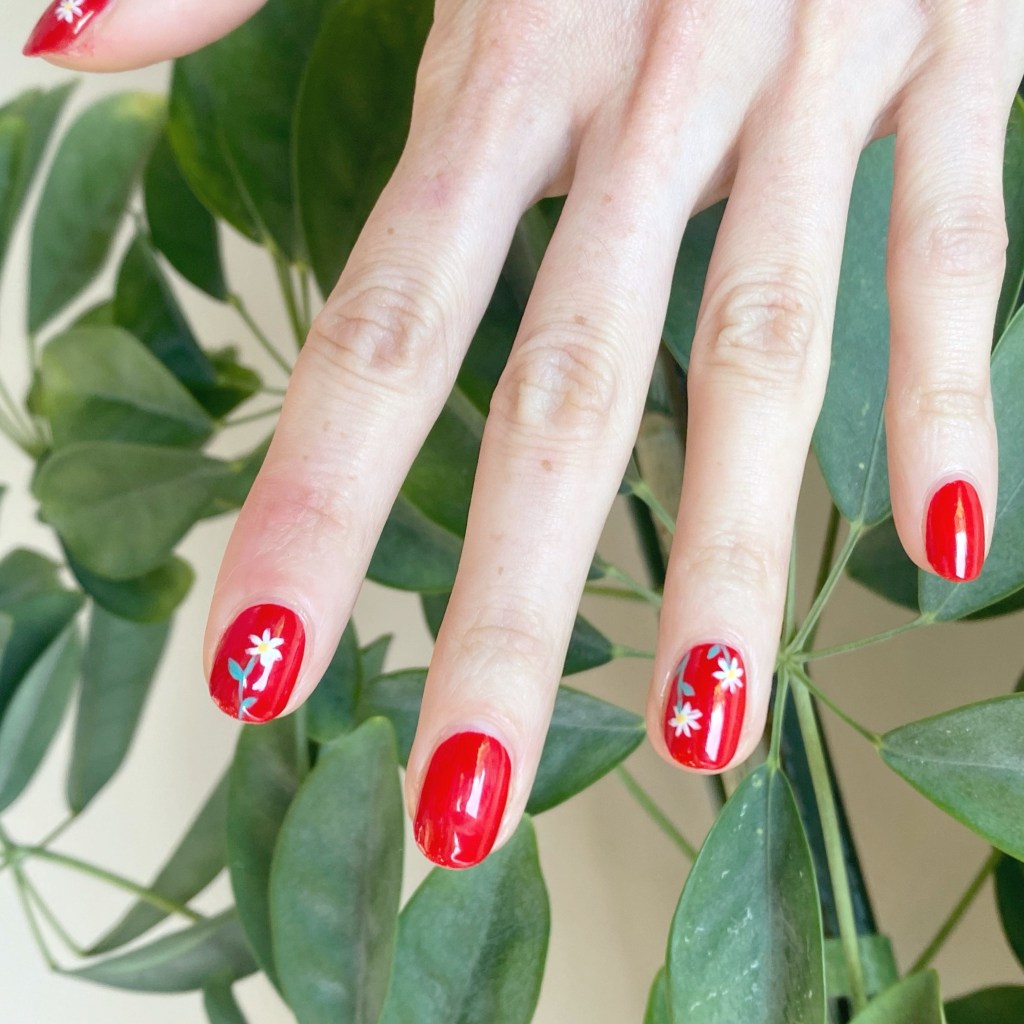
Today I have a simple & beautiful nail art look to share with you, featuring just a few of my favourite things. I had this idea for a simple red manicure with a few floral accents. & what is my favourite flower of all time? Daisies of course. So I painted a few miniature daisy accent flowers, which turned. out super dainty & beautiful.
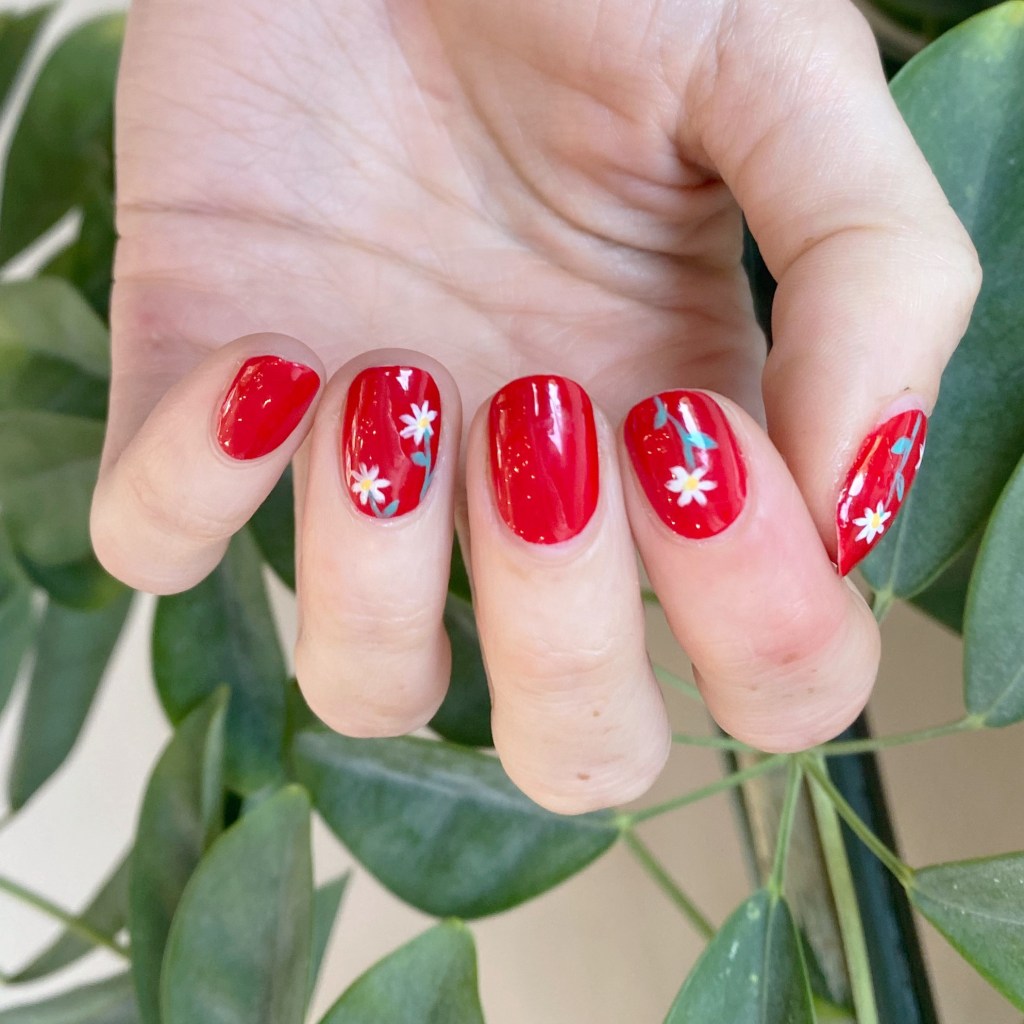
The polishes I used for this manicure are:
- Top Coat: Essie Gel Setter Top Coat
- Base Coat: China Glaze Calcium Gel Fortifier
- NailStuff Essentials Cardinal *pr
- OPI I Cannoli Wear OPI
- Essie Bustling Bazaar
- Essie Fall For NYC
- NailStuff.ca 4mm Micro Detail Brush
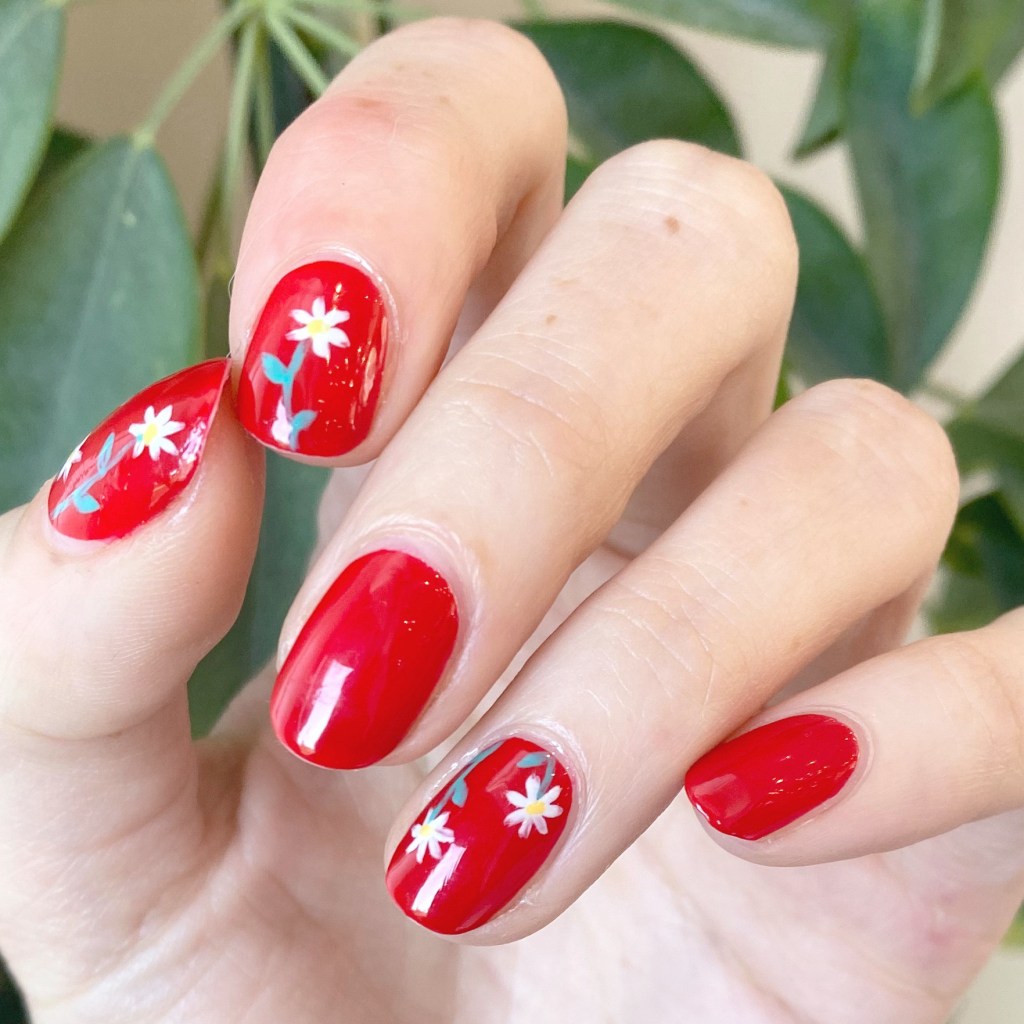
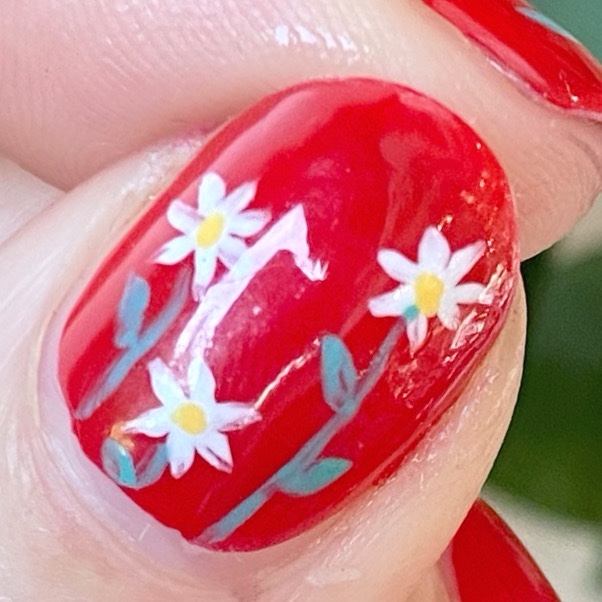
Oh how cute are my little daisies.
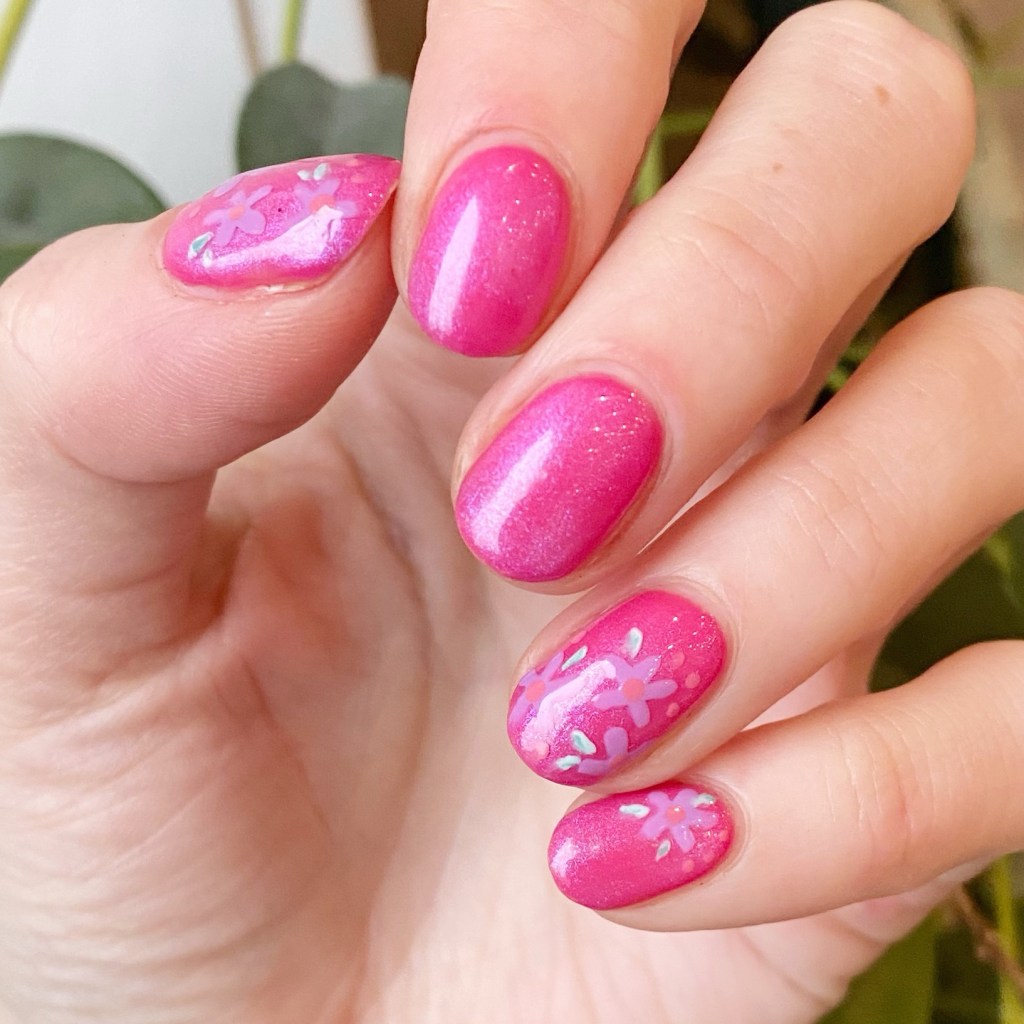
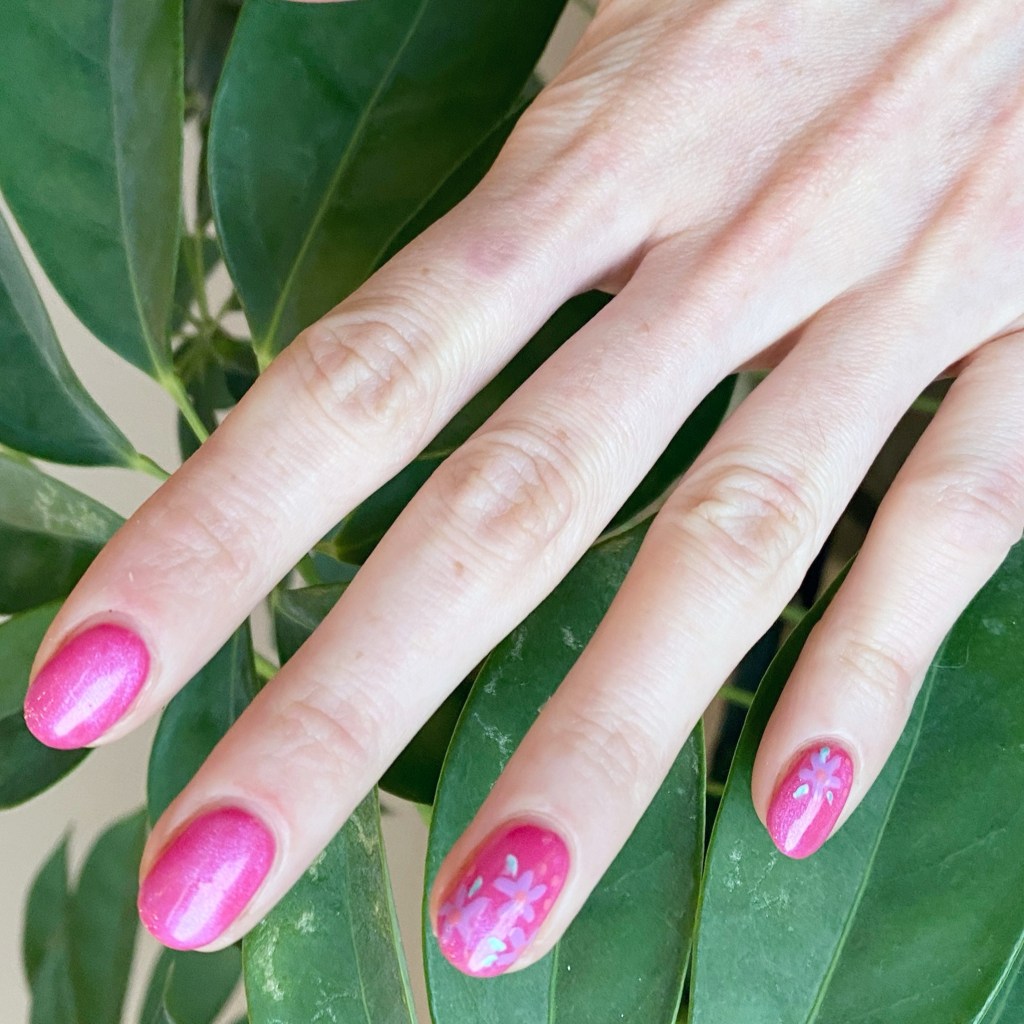
My whole vision was I wanted a floral look that you didn’t notice at first glance, because it was small & dainty. & I think I captured that. We know, I love love love a red manicure — it’s the colour you can catch me wearing most often when I’m just doing a “quick” manicure — but sometimes I want to add something a little special.
& these daisies turned out special.
What do you think about my hand painted dainty daisies? Do you like small nail art features like these?
Let me know all your thoughts in the comments below — I’d love to know what you think!
Happy Friday
🖤