Good morning loves & happy Tuesday. A chilly, cold, wet January Tuesday. But crazily enough, this month is almost over! So hard to believe that February is almost here, & in turn, lots of Valentine’s Day looks. Well, at least a few.
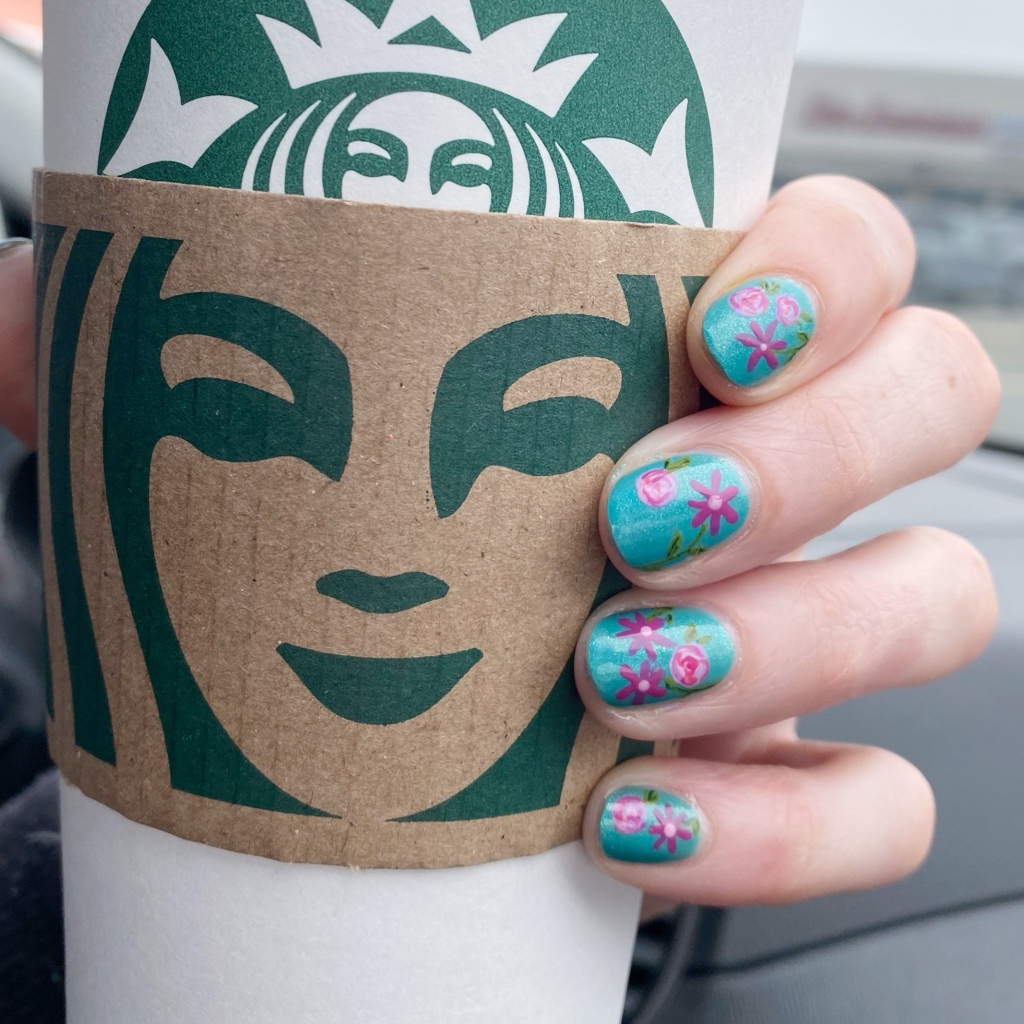
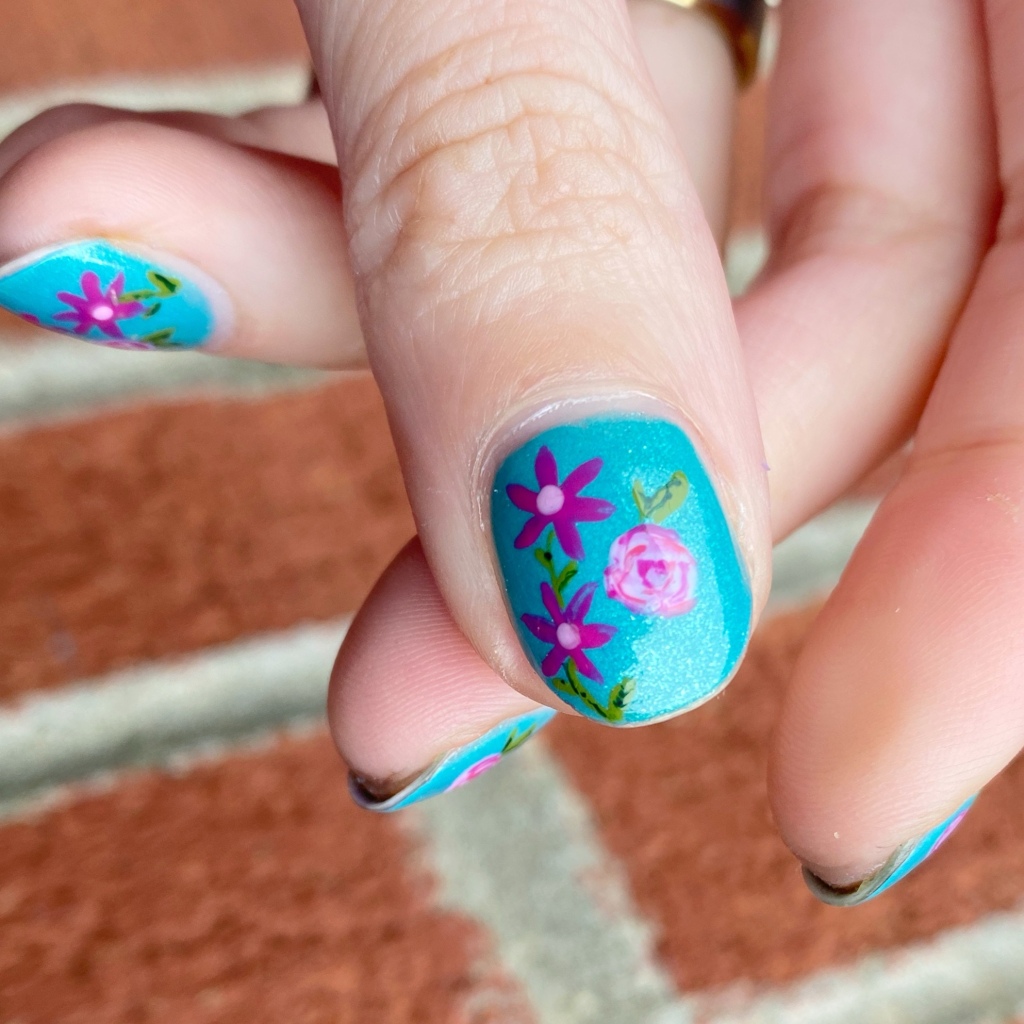
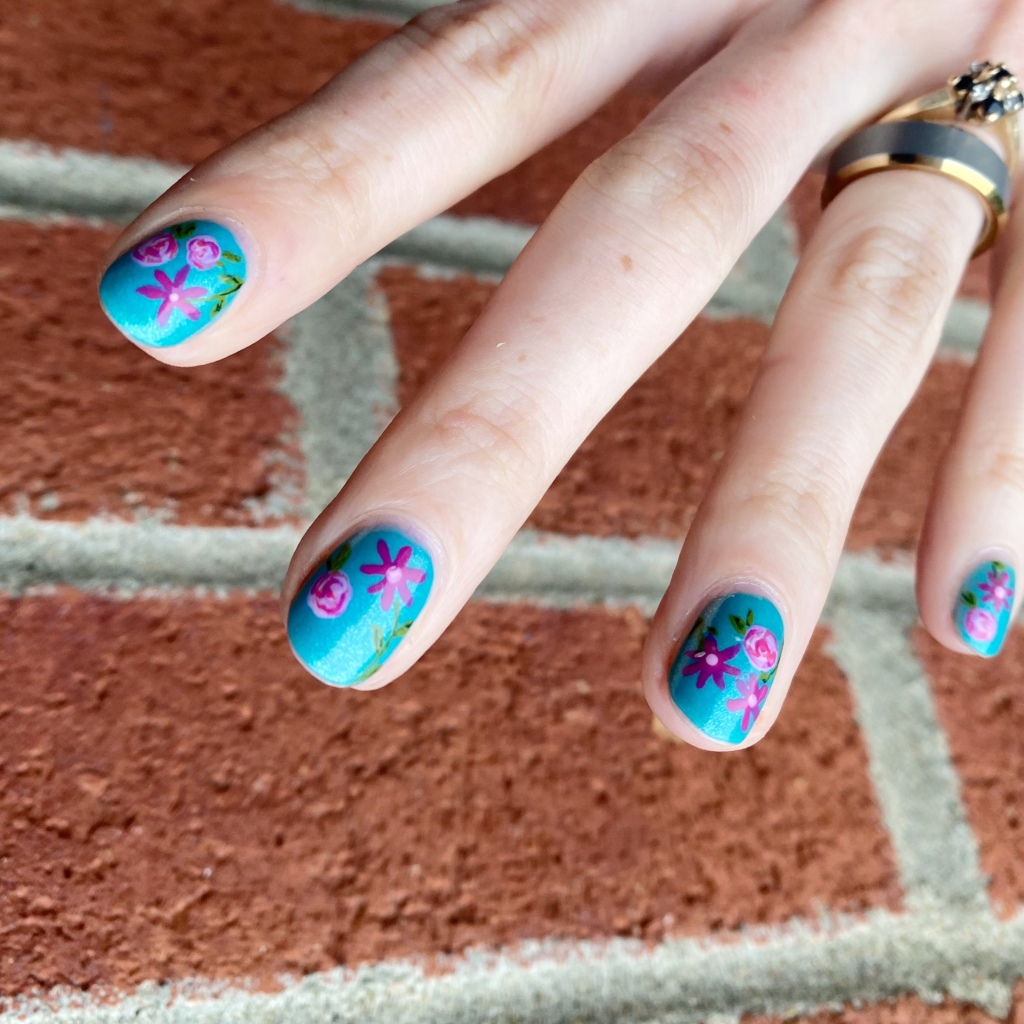
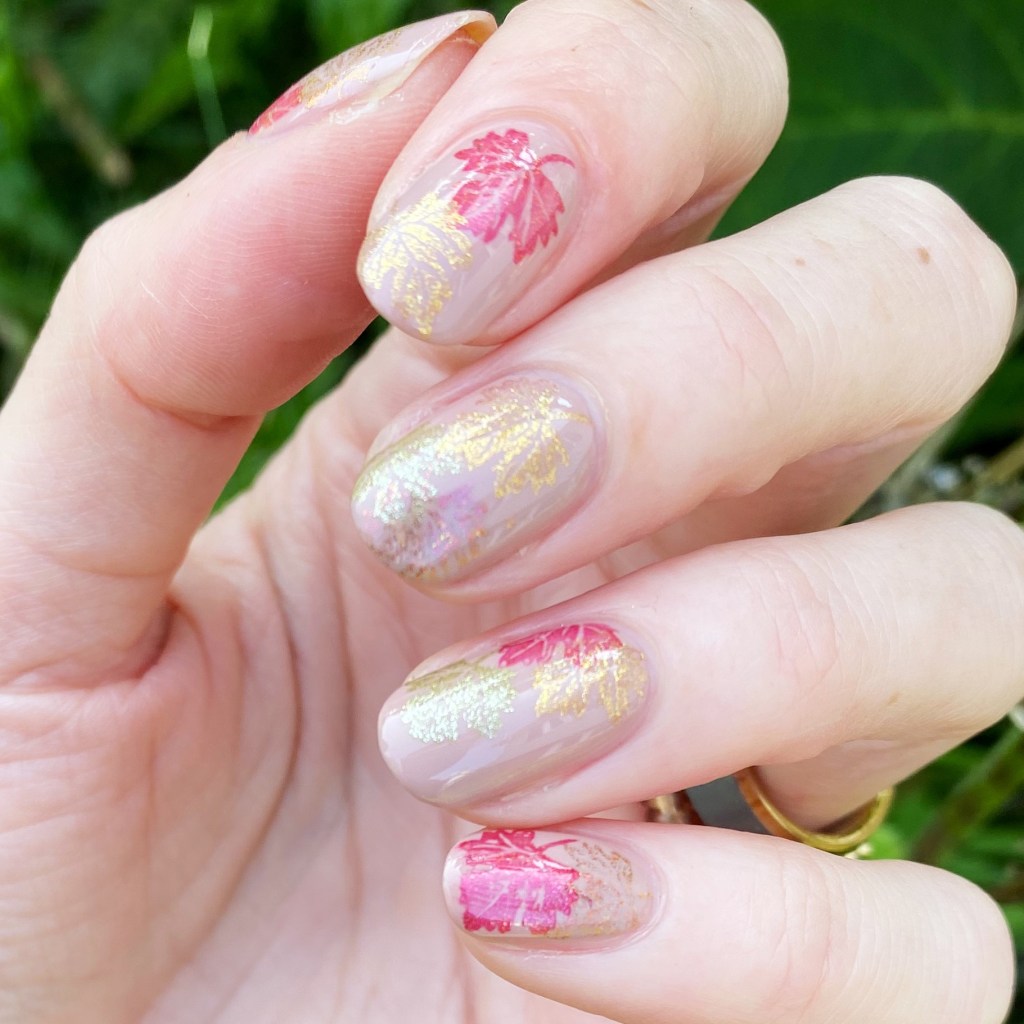
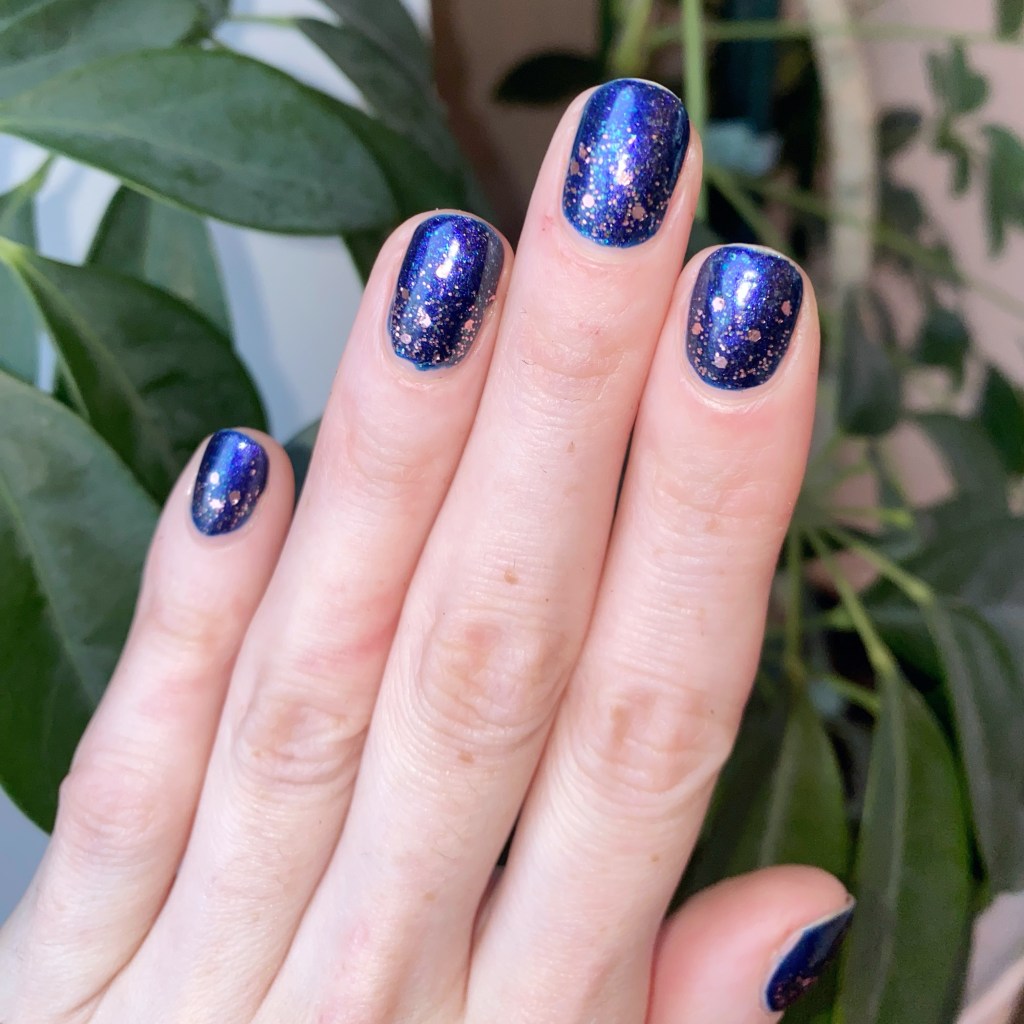
Today though, I’m keeping with the bit of a blue trend I’ve been feeling this month with a quick & easy glitter gradient. Working two jobs has meant less time for fun nail art, & I’m still working on finding a good balance so I have “Me time” for nail art! (I’m desperately craving some floral on my nails, I just need the time & energy.)

The polishes I used for this manicure are:
- Base Coat: NailStuff Essentials Base Coat *
- Top Coat: Essence Colour Shield Top Coat
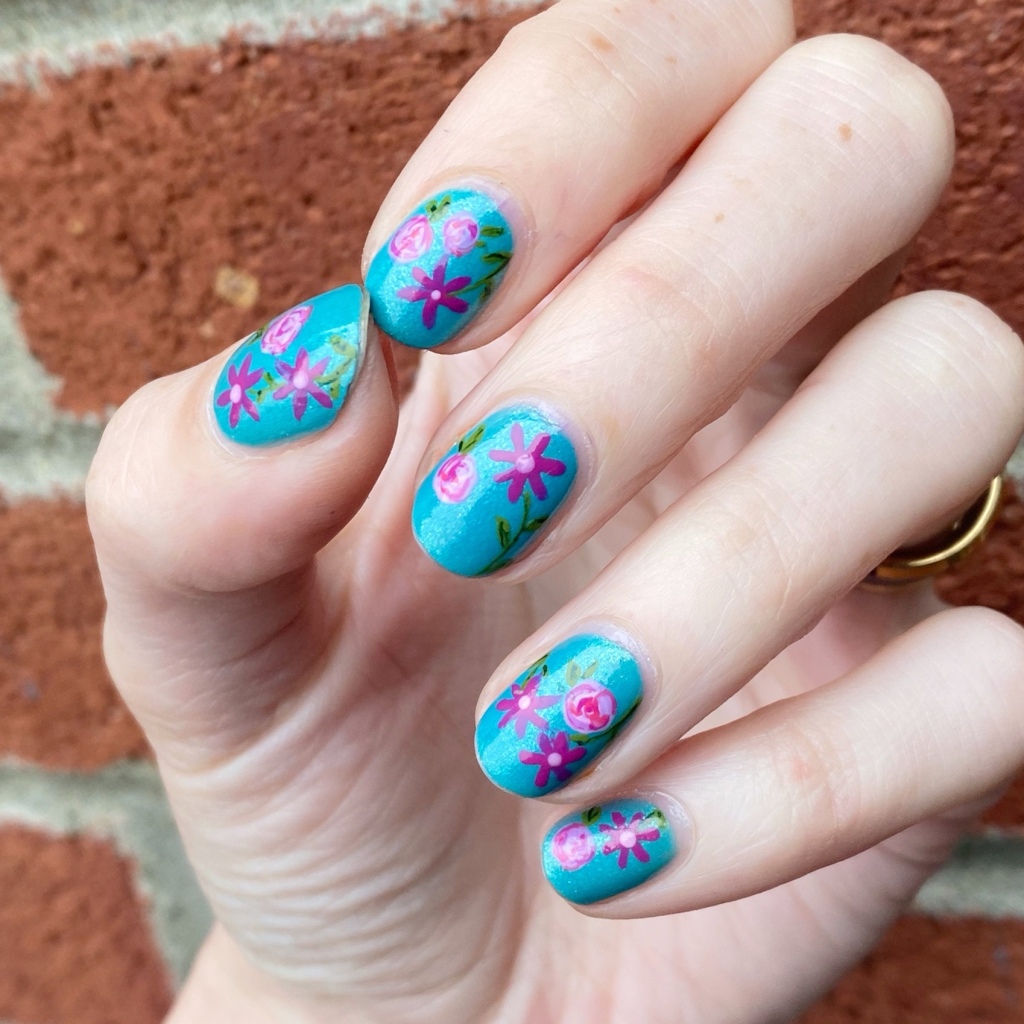
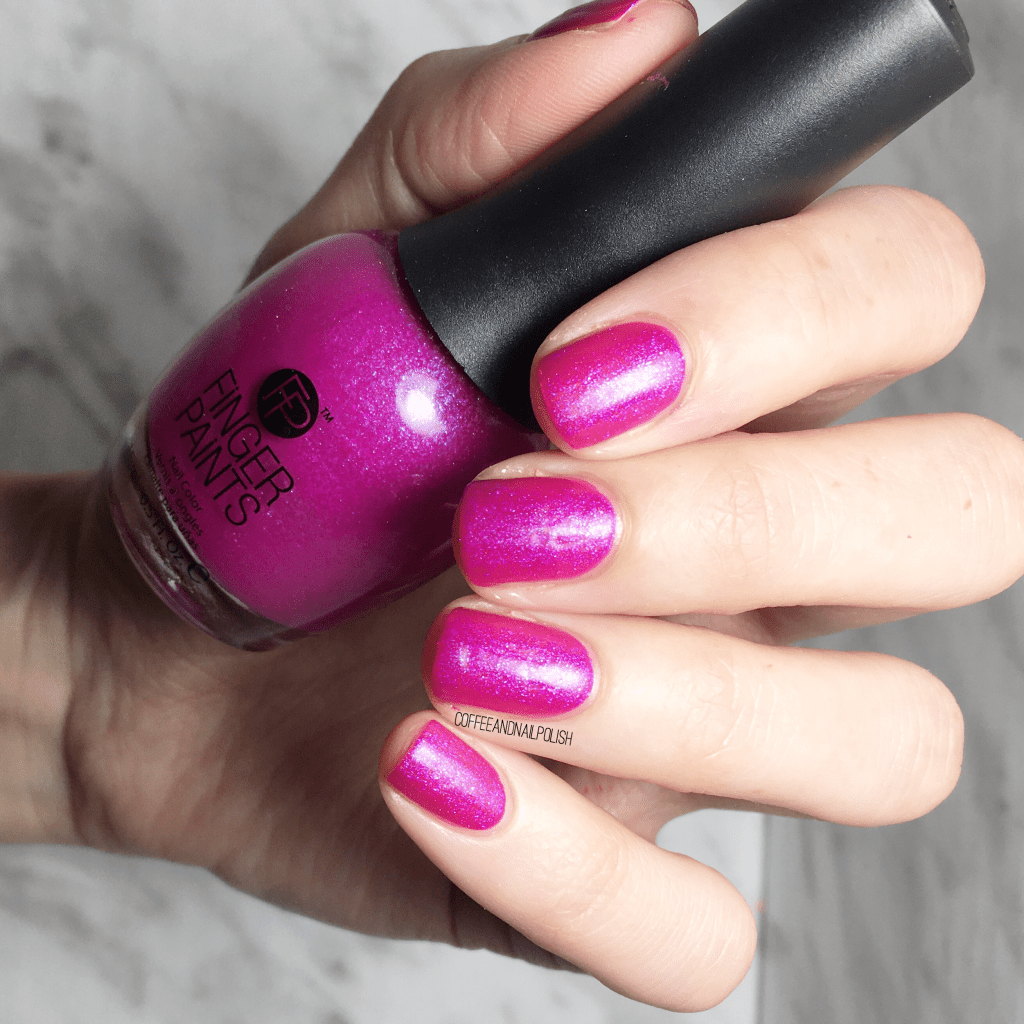
- Finger Paints Queen for a Night
- Revlon Nail Art Duo 350 Ulterior Motif (just the side with the pink glitter)


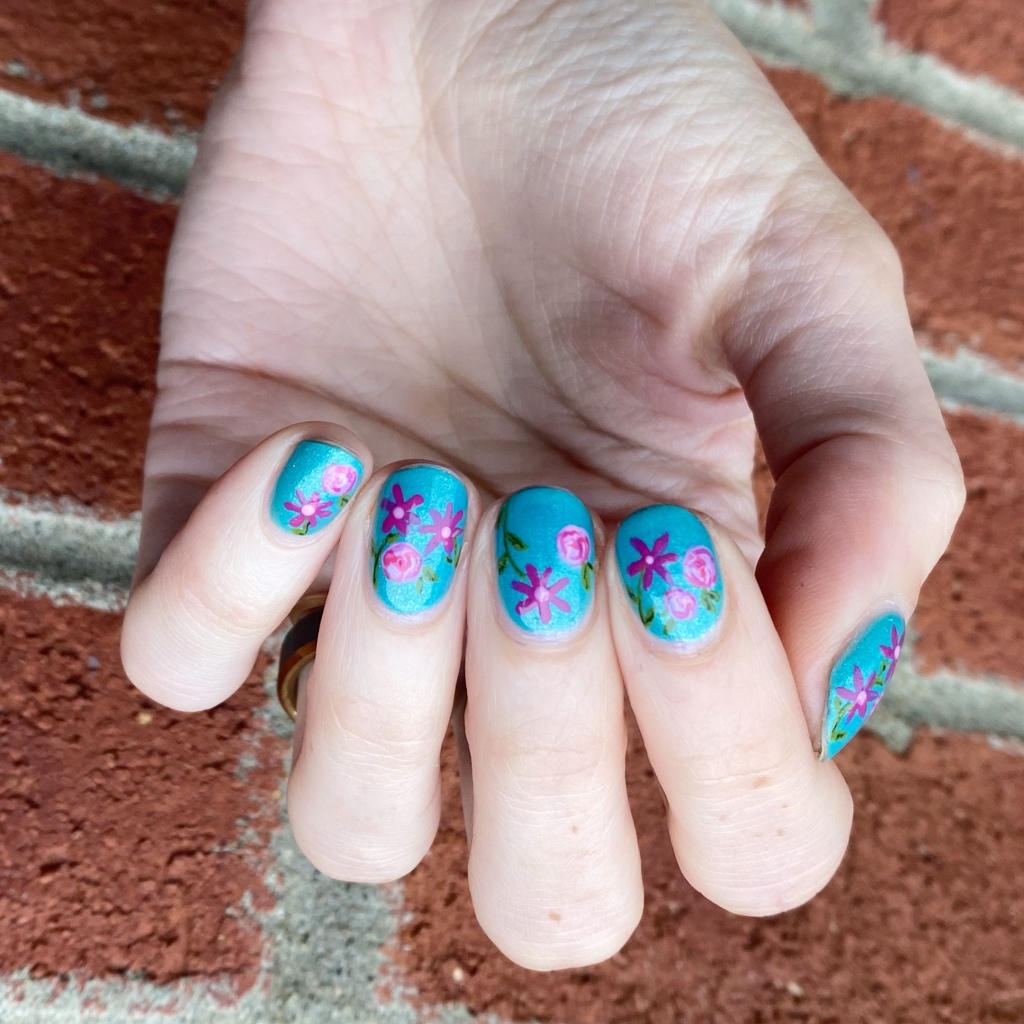
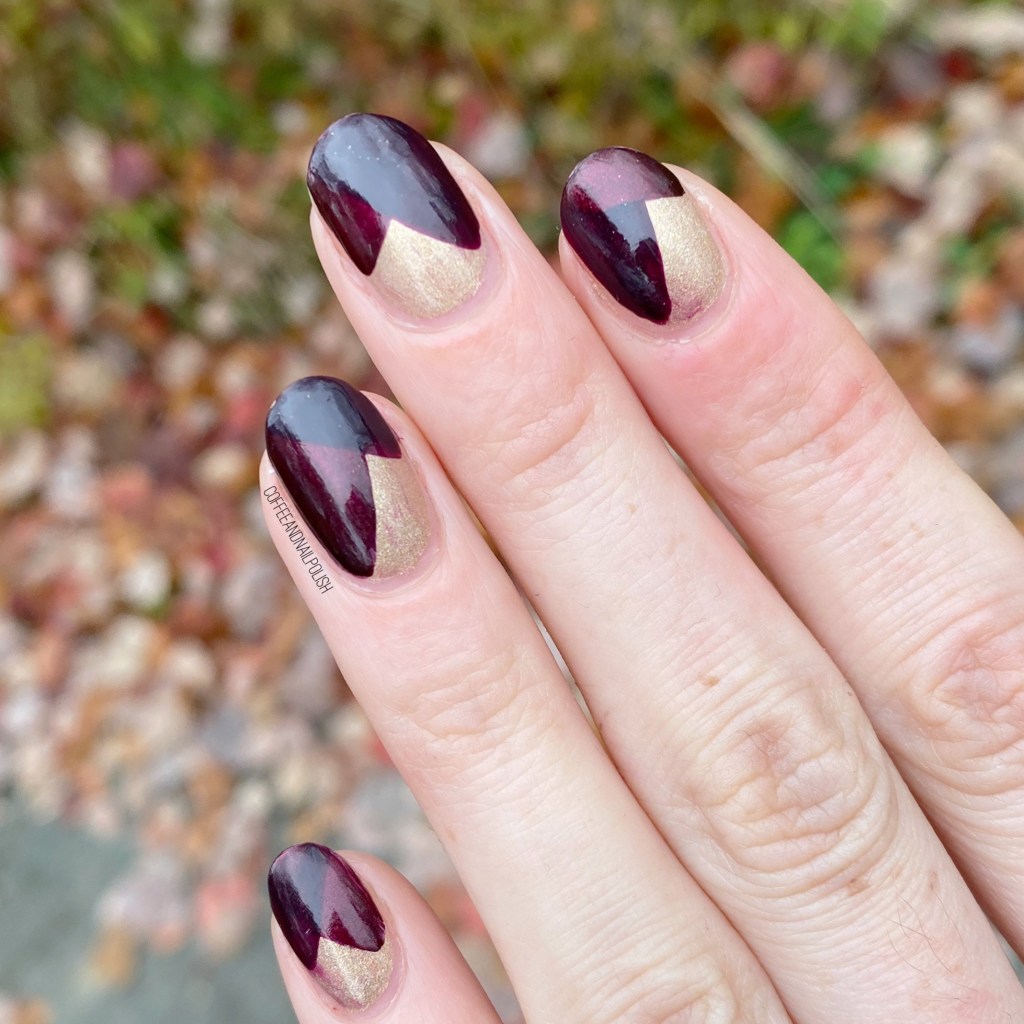
I really forgot how pretty Finger Paints Queen for a Night was. I just love a beautiful jewel toned blue on my nails. While purple is my favourite colour in regular life, & red is my go to I-Don’t-Know-What-to -Wear nail polish colour, blue has always been one of my favourite colour to grab in general. Next to red, it’s probably the colour I own the most shades of! & I always love how it looks on my nails.
Also I swear that I used to buy Finger Paints polishes every time I went to Sally Beauty. Does Sally’s still sell Finger Paints? I’ll have to go check.

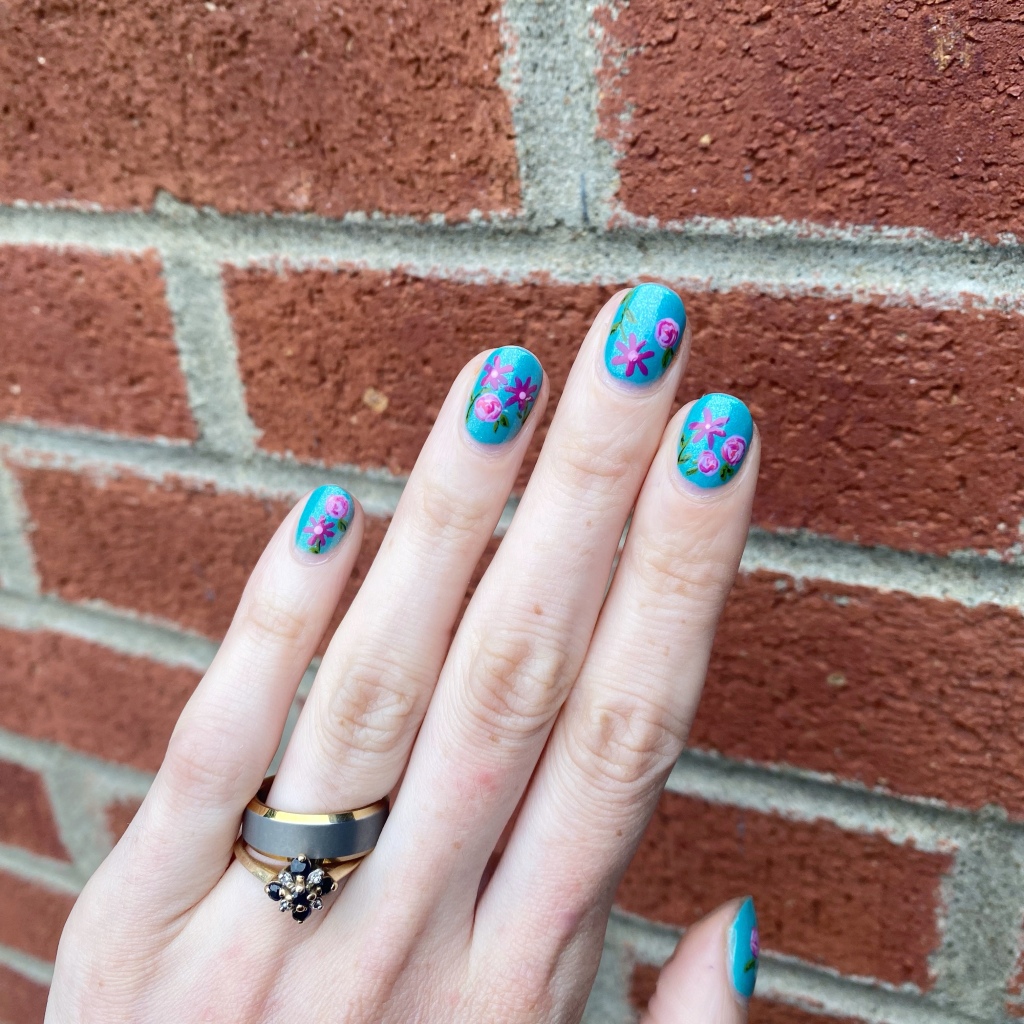
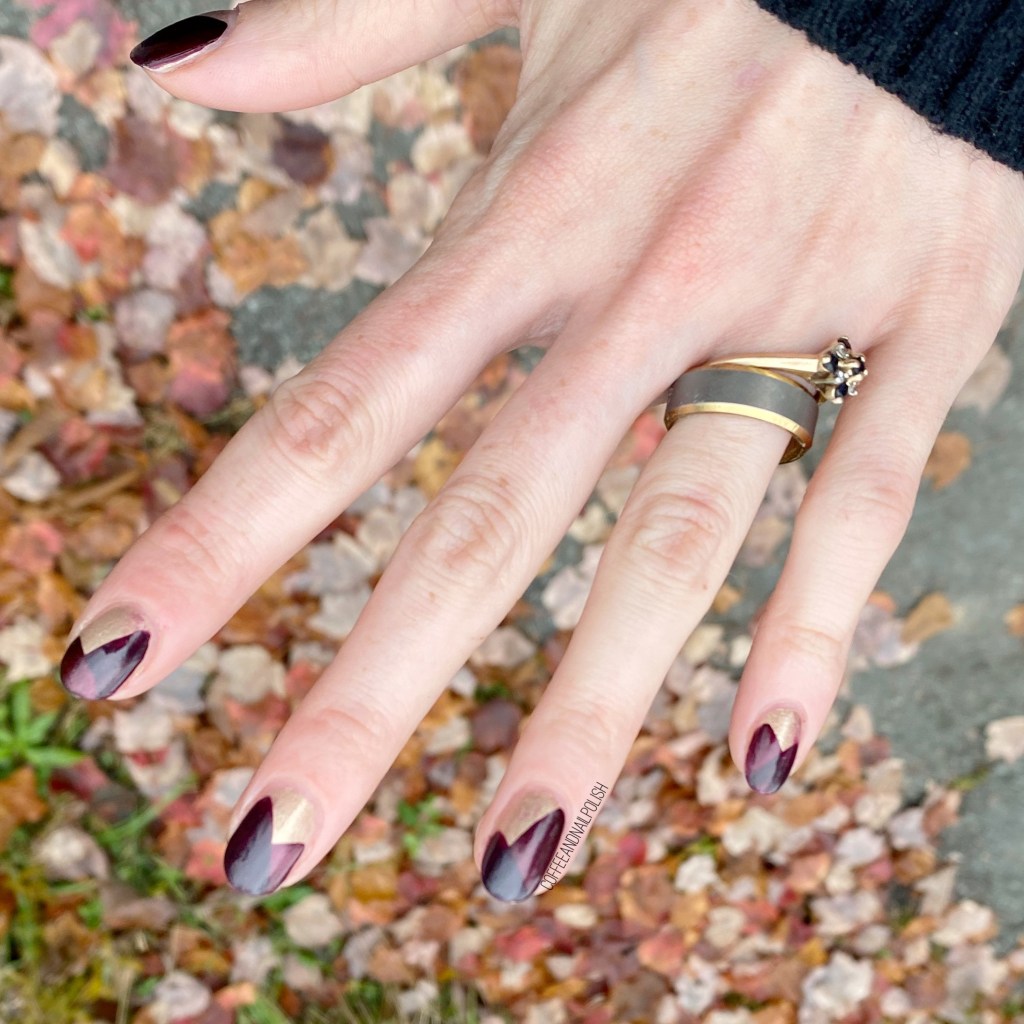
What do you think of these glitter gradient nails? I feel like we all need a little extra glitter in our lives during these dark winter months — jazz up the moody days. It may not solve all of the problems in the world, but it certainly makes me feel better!
Happy Tuesday
🖤