Good morning lovelies & happy Thursday! Yes… it’s Thursday already! & Halloween is only 3 days away.
Is everyone ready?
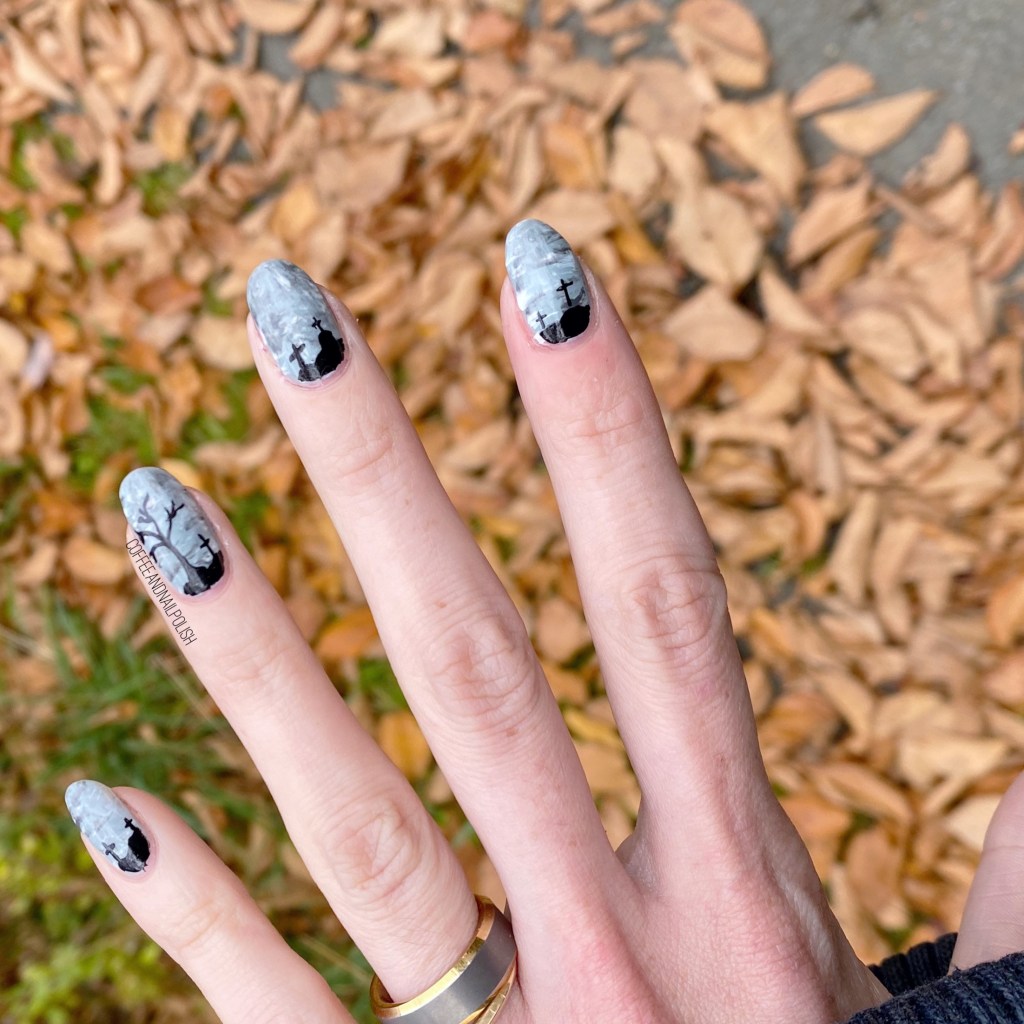
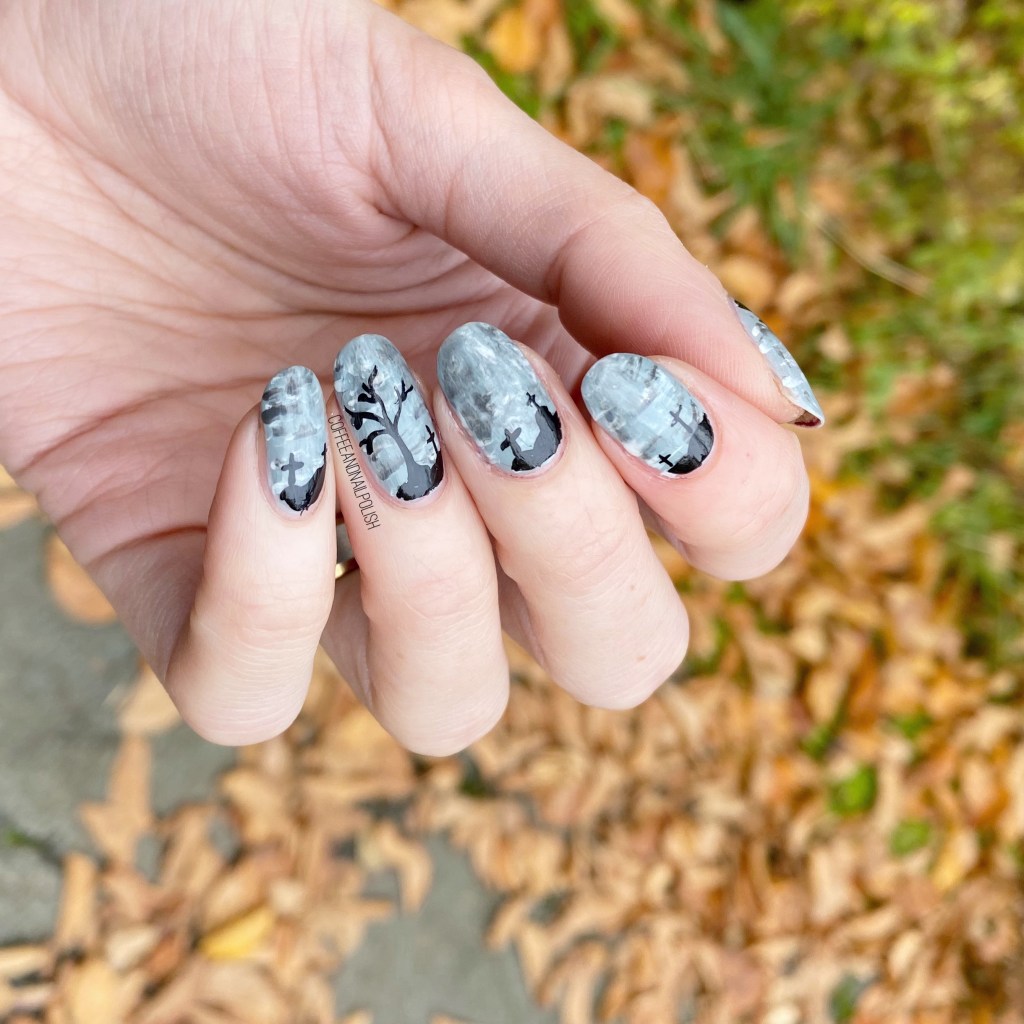
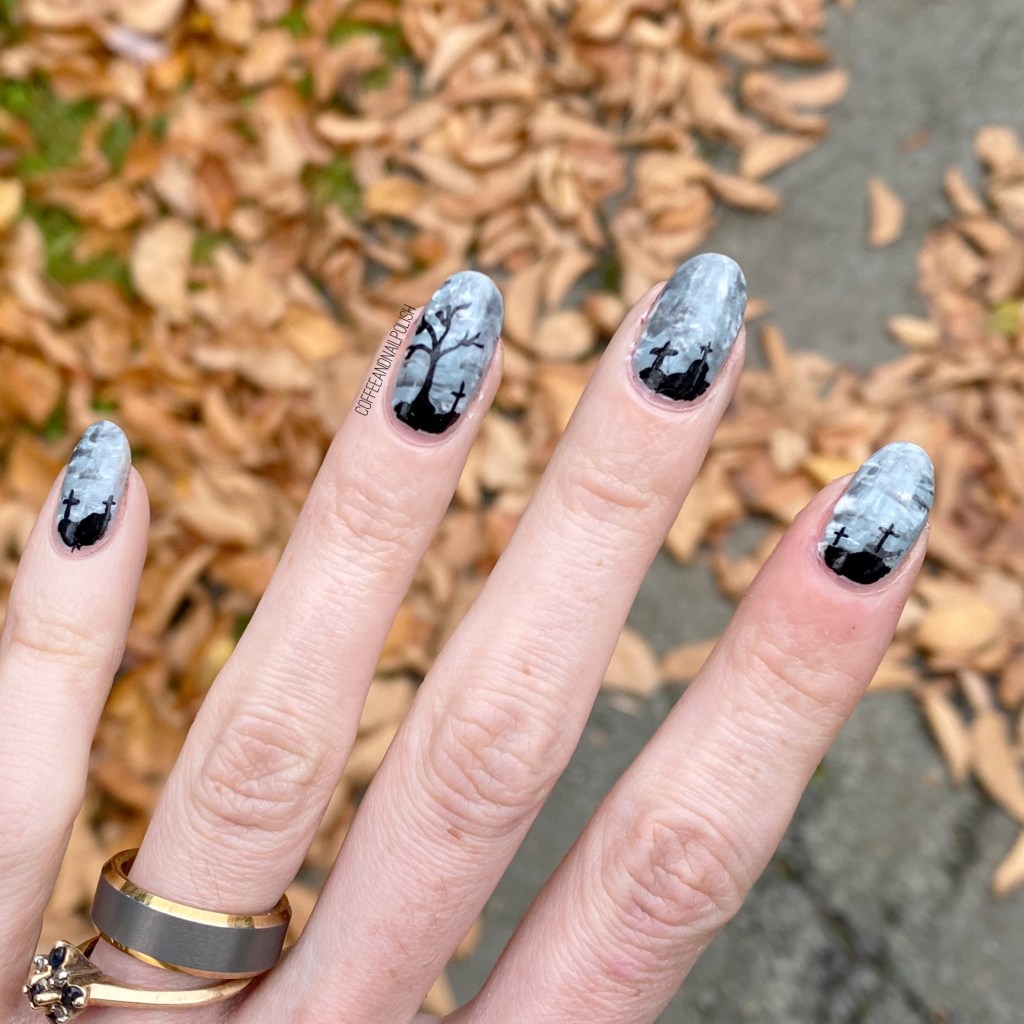
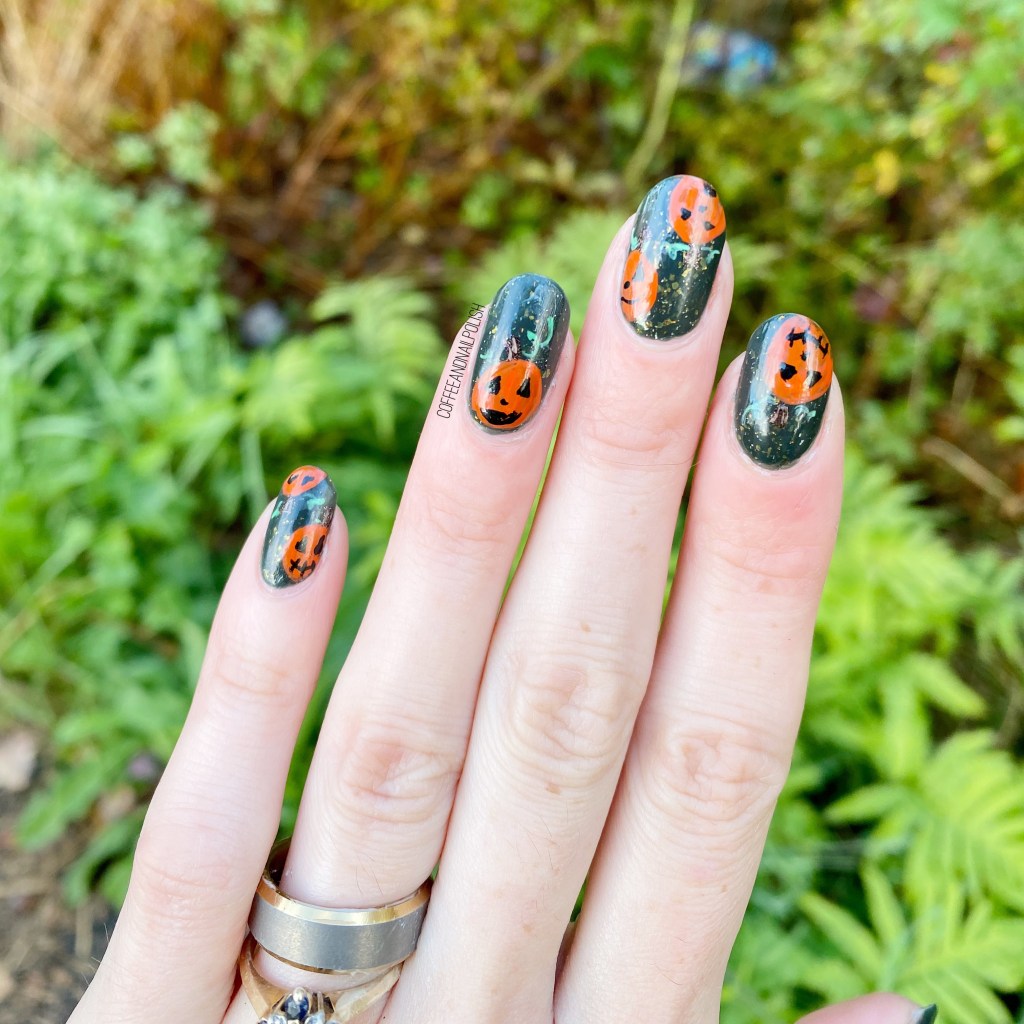
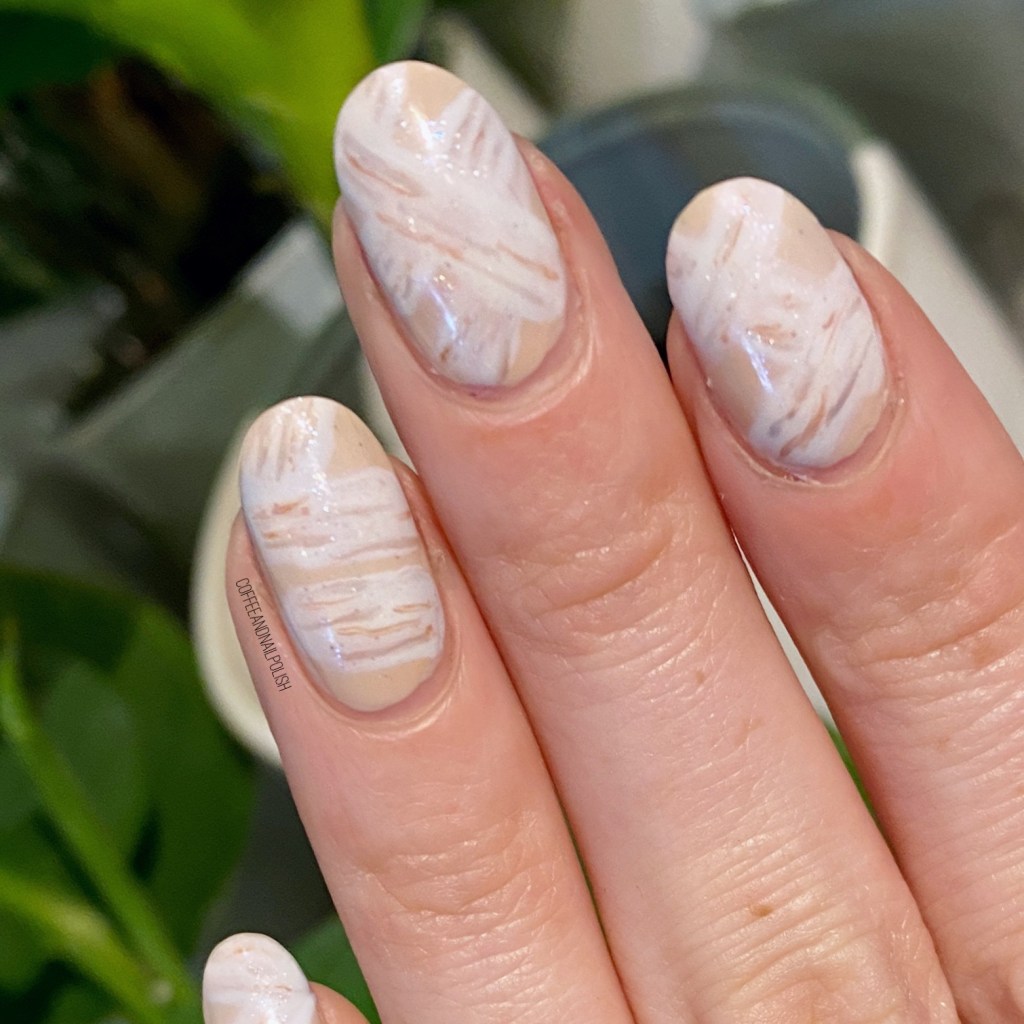
I don’t know about where you are, but stores around here are almost cleared out for Halloween & it’s like Christmas exploded in every store. But I’m still here for Halloween & have a few more Halloween looks to share! First up, the next prompt for GlamNailsChallenge October: Mummy.

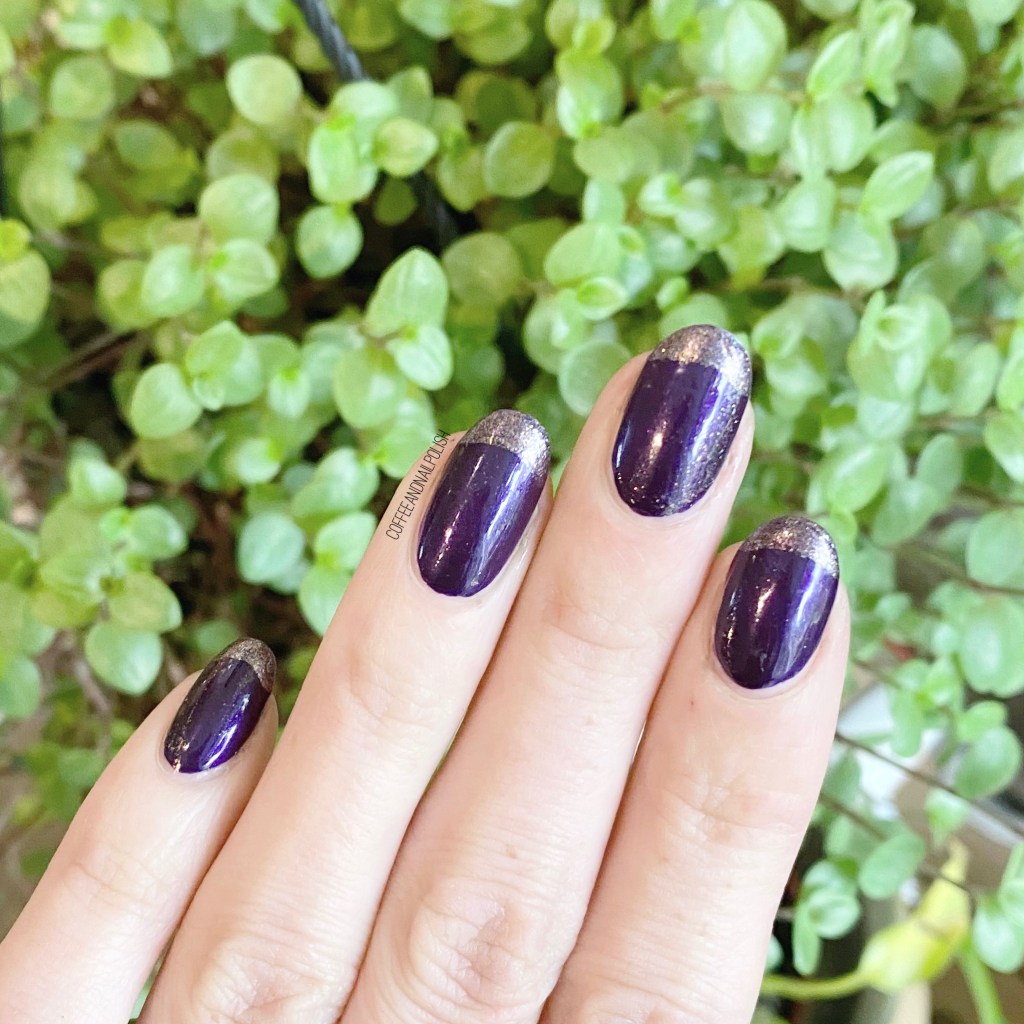
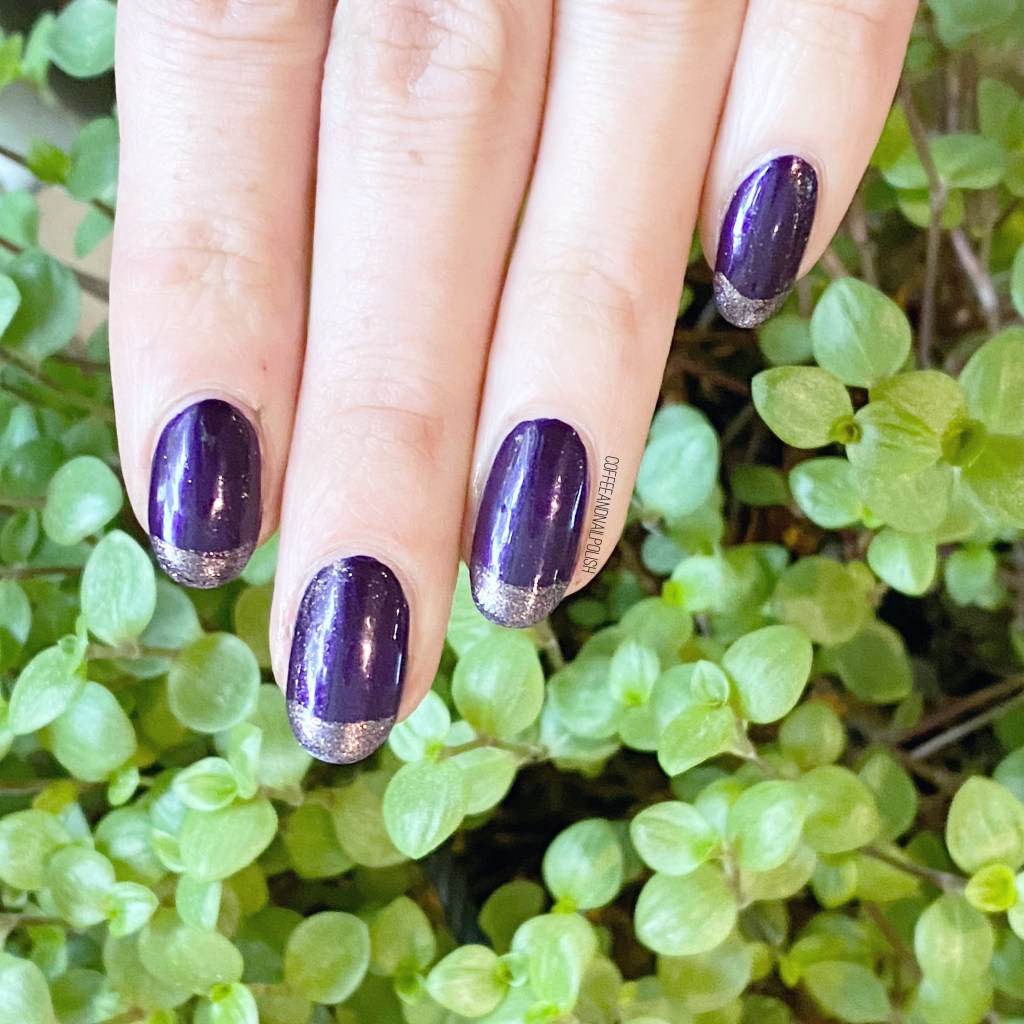
The polishes I used for this manicure are:
- Base Coat: Essie First Base
- Top Coat: Seche Vive
- Sally Hansen CSM Off The Shoulder
- Sally Hansen Miracle Gel Get Mod
- Essence Dare It Nude
- China Glaze The Snuggle is Real
- OPI Chiffon My Mind
- NailStuff.ca 7mm detail brush


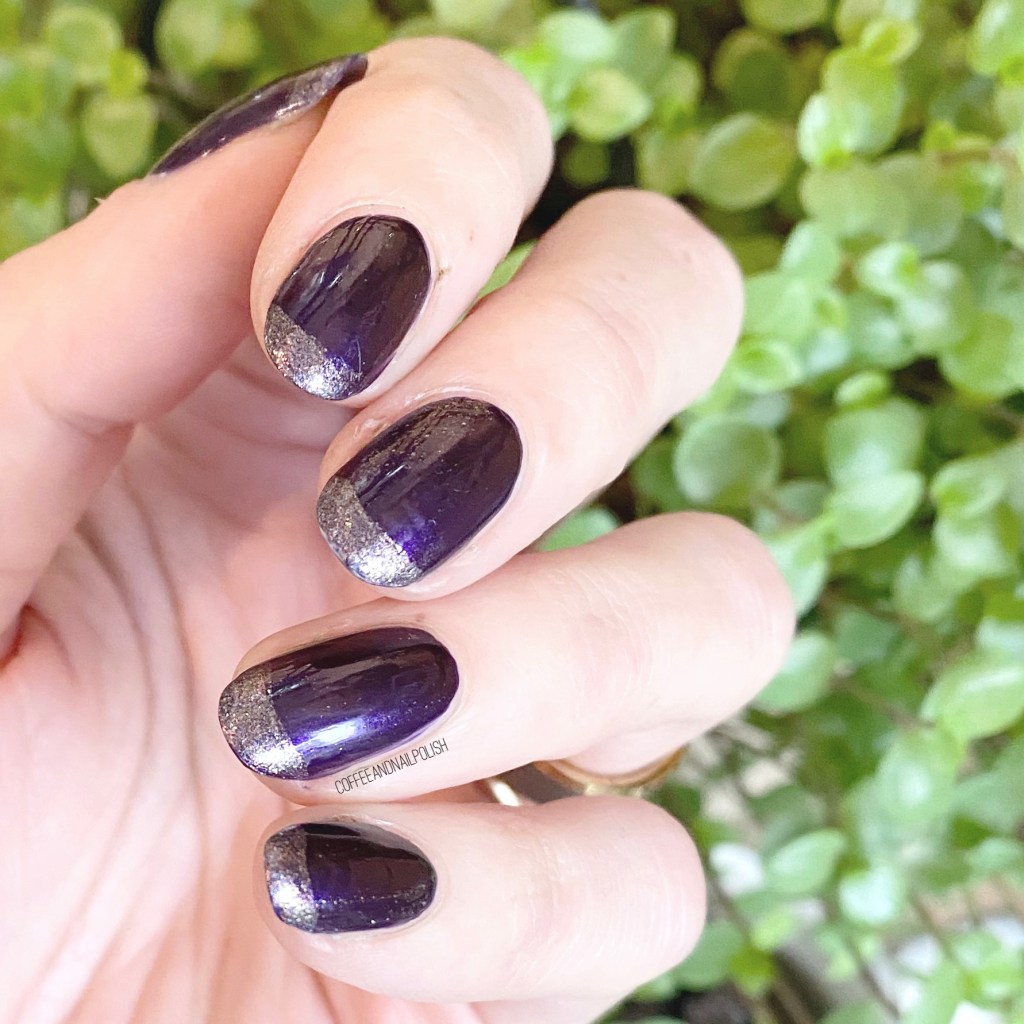
Please excuse the cruddy lighting — it was a rainy miserable day when I was attempting to take these pictures. The joys of late October in Nova Scotia, haha.
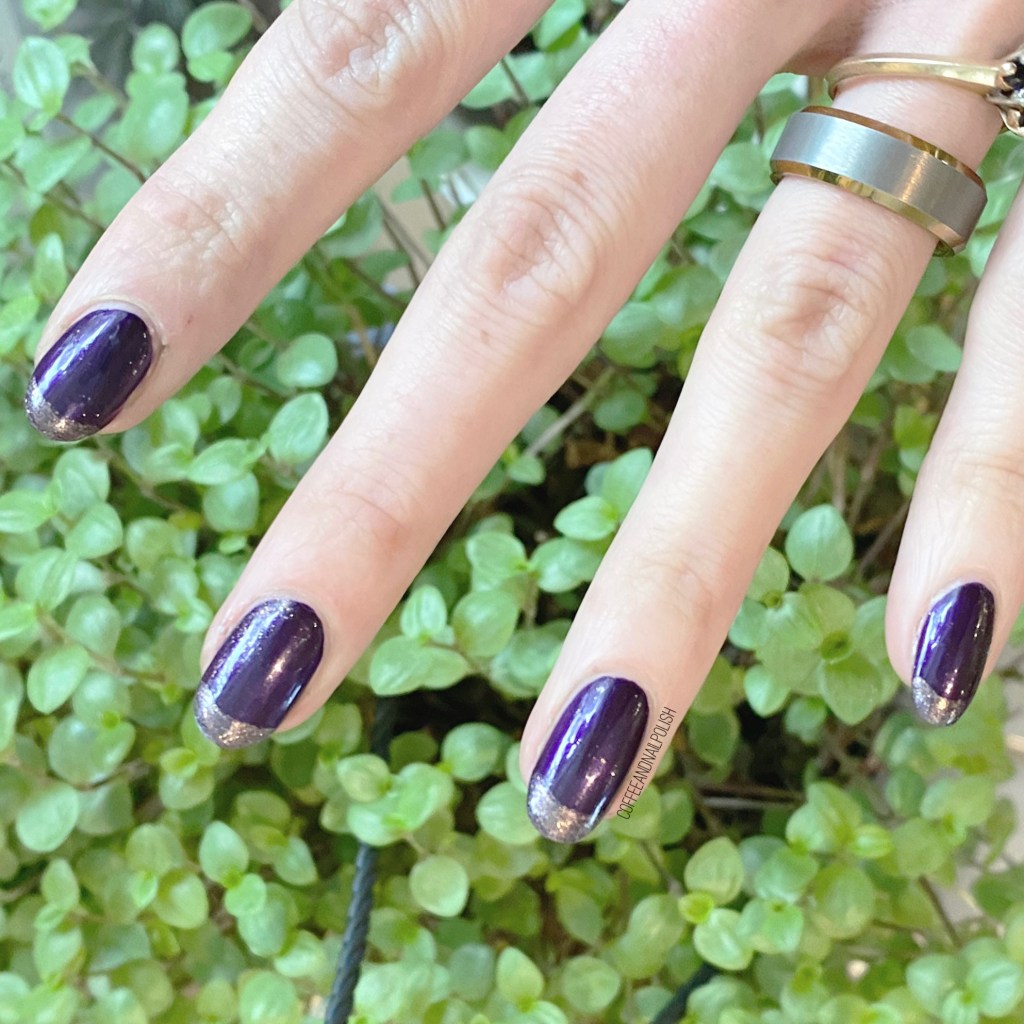
For my mummy look, I wanted to go with a more subtle mummy look — like if an Egyptian princess was being mummified & wanted her nails to be featured. Haha. My look definitely ended up a bit more subtle than I had originally wanted, but that was a lot to do with my base shade. I feel like I might have wanted a bit more of a contrasting colour. But I’m still really happy with how they turned out.

What do you think about this “mummy” look? Can you believe that Halloween is almost here (& over!) What is your favourite Halloween candy? L
et me know in the comments below!