Red Pink & Purple Sparkly Glitter Gradient ✨

Hello lovelies & happy Tuesday! It was feeling like Spring here this weekend, but now we’re officially back in Winter mode with about 30cm of snow that fell yesterday. I’m just so over Winter. It’s cold, & slushy, & I miss wearing cute dresses. I can’t wait for us to officially defrost.

But in the meantime, I guess I’ll distract myself with some pretty nails.

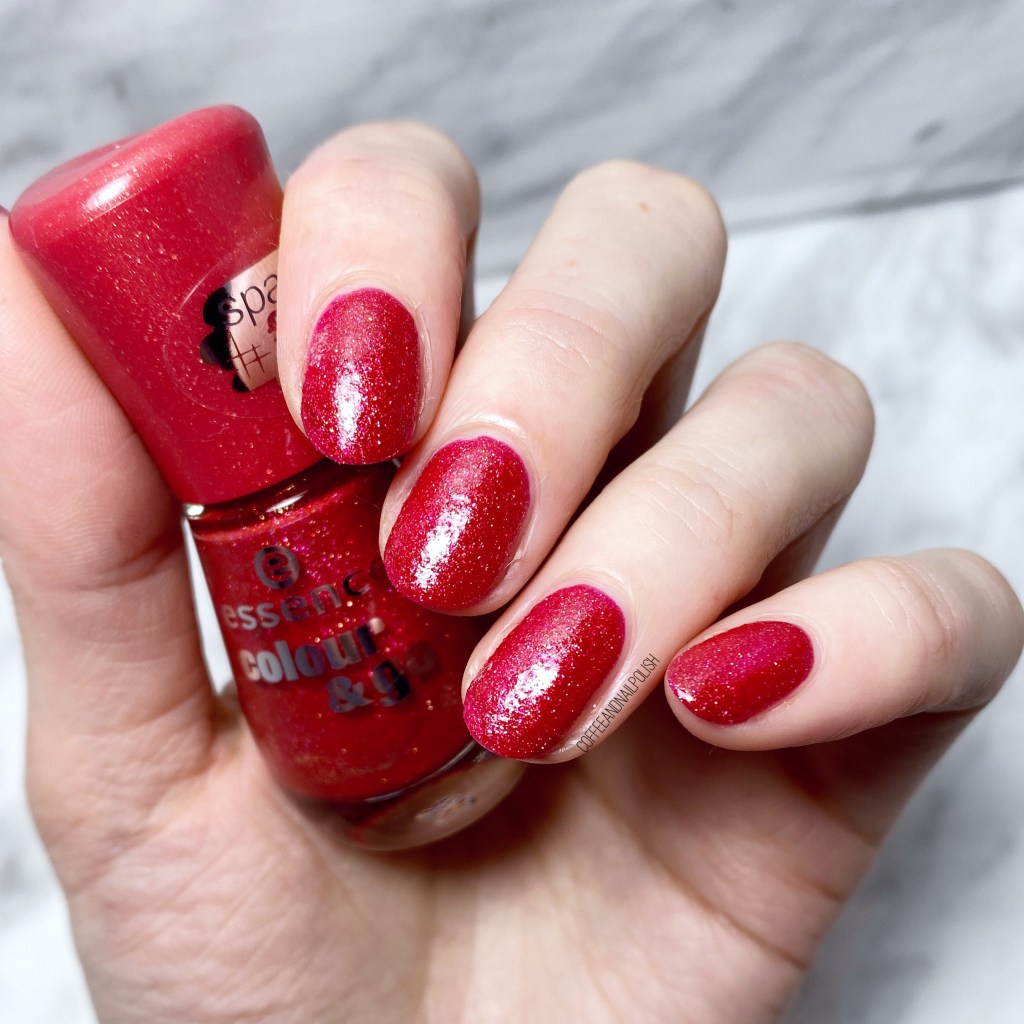
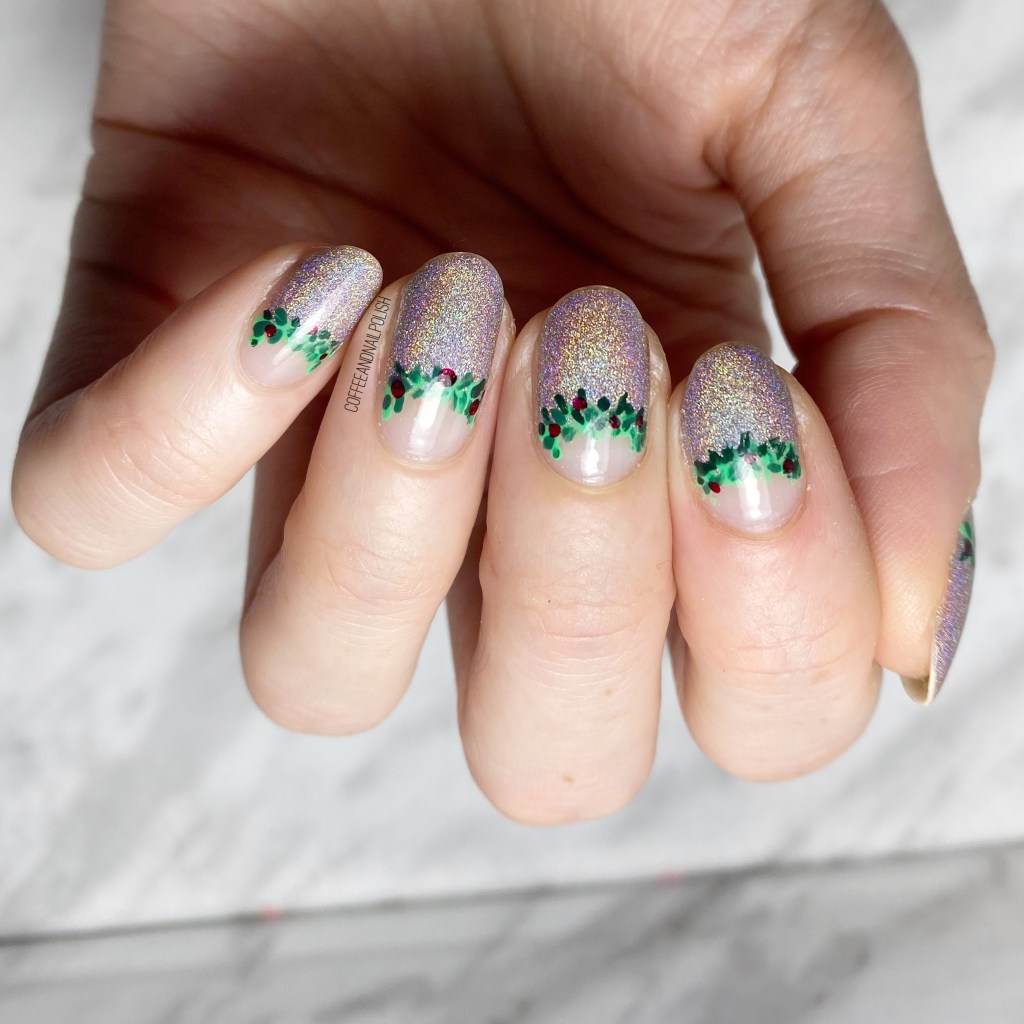
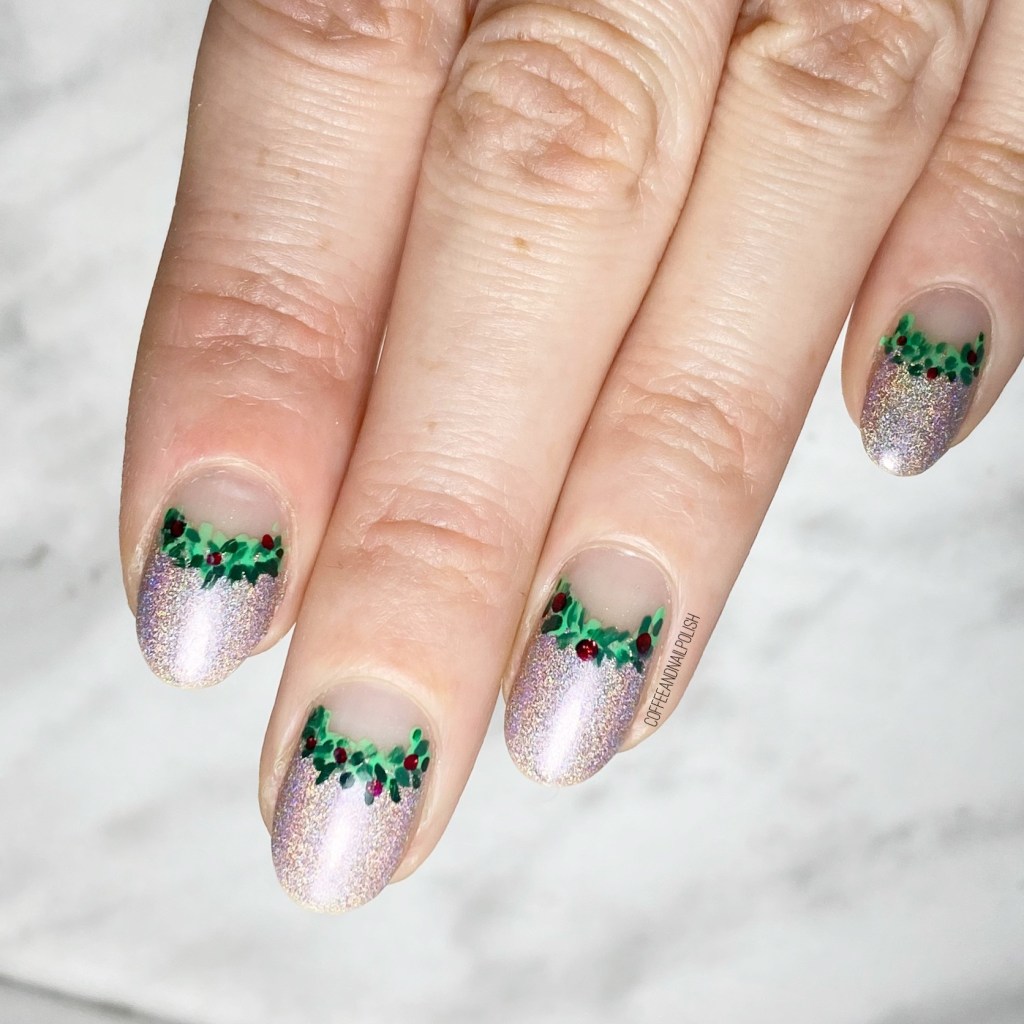
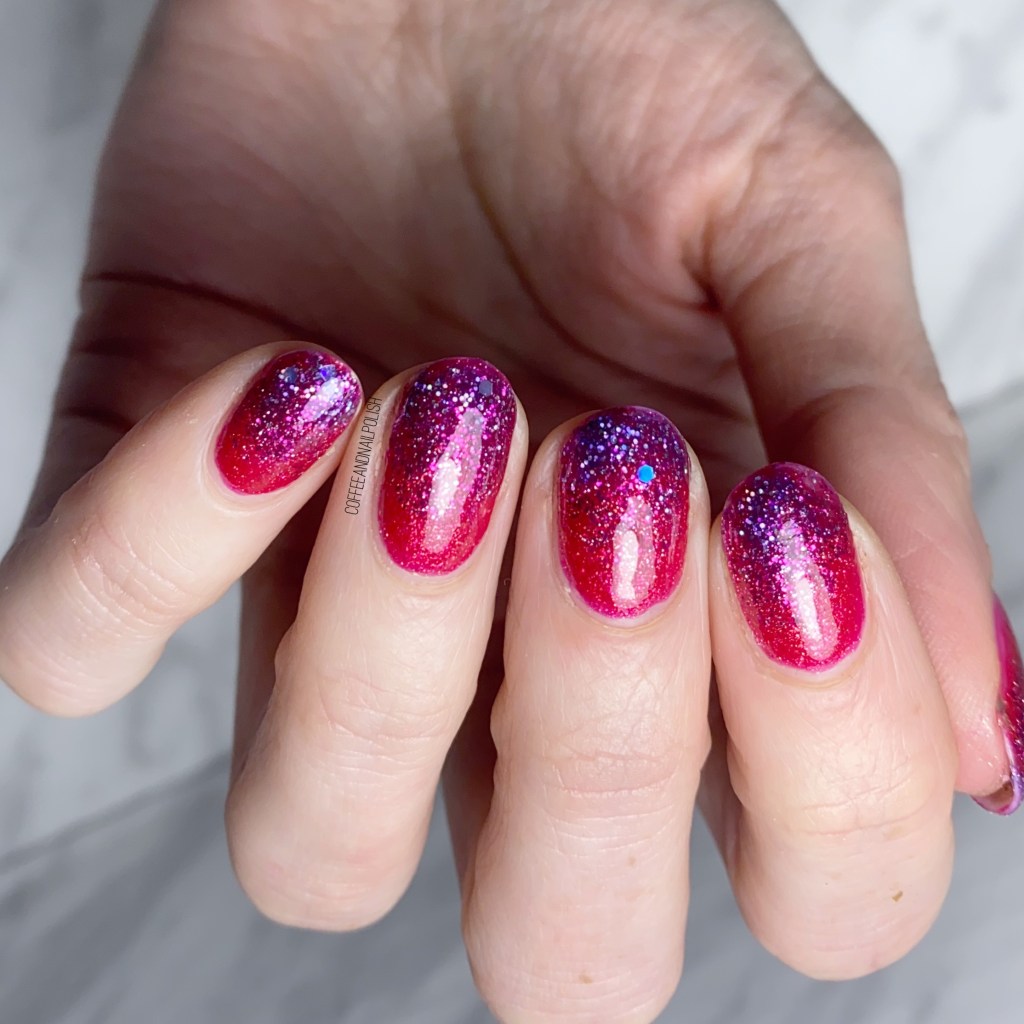
It’s been a long while since I did a gradient on my nails that wasn’t just some glitter. Honestly, I find the clean up–even with liquid latex!–a pain, & I don’t have time for it. But I was really, really feeling a sparkly gradient after putting on my Swatch Sunday pick Essence Me & My Lover, so I decided to give it a try.

The polishes I used for this manicure are: 

  • Base Coat: Essie Millionails
  • Top Coat: Seche Vive
  • Essence Me & My Lover
  • Aco by Ardene Boudoir
  • Aco by Ardene Wish
  • Latex free make up sponge

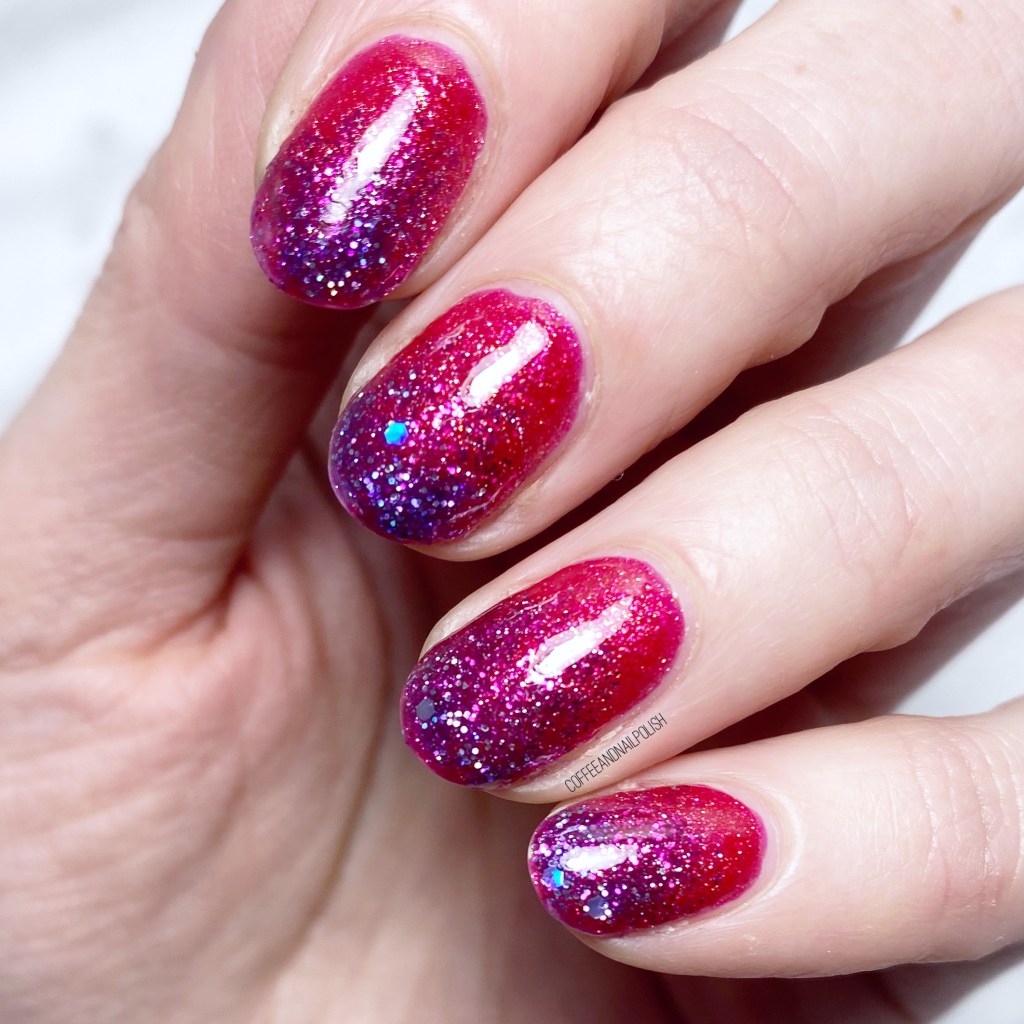
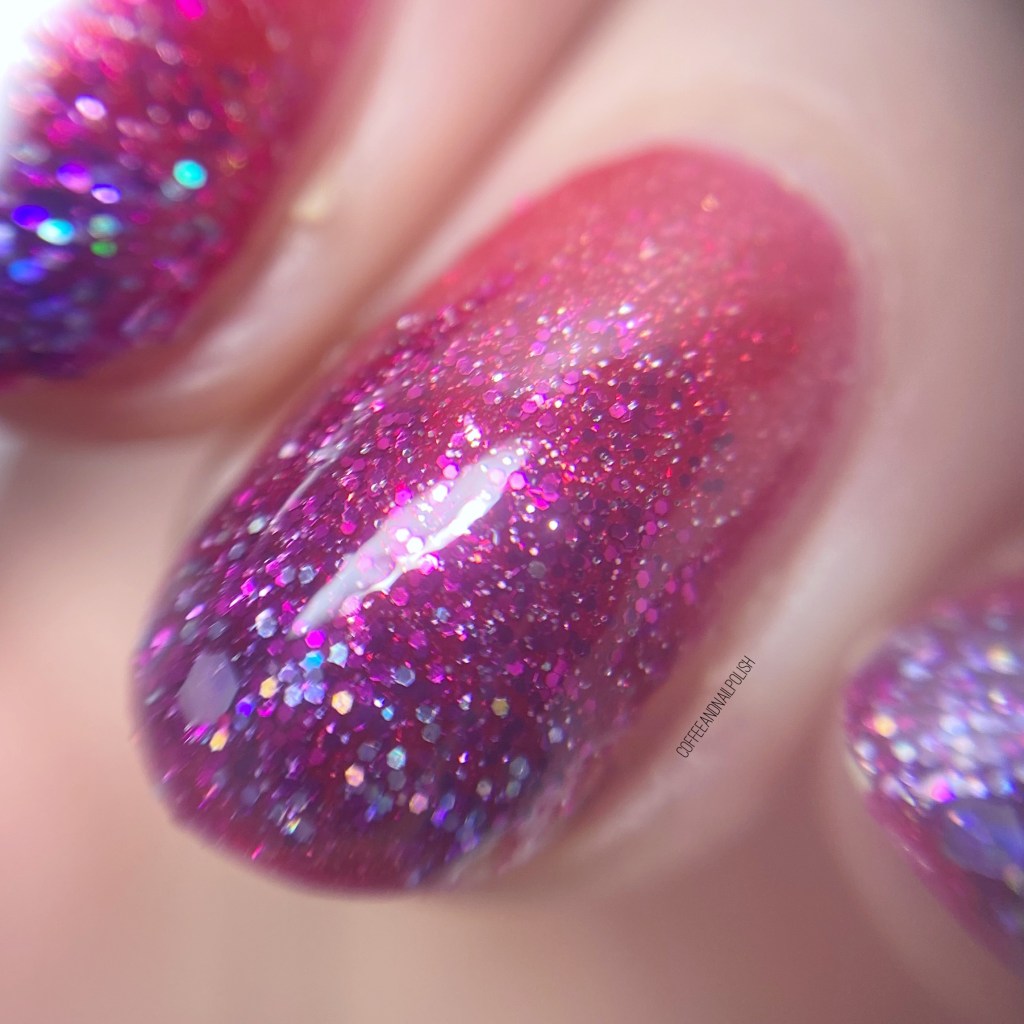
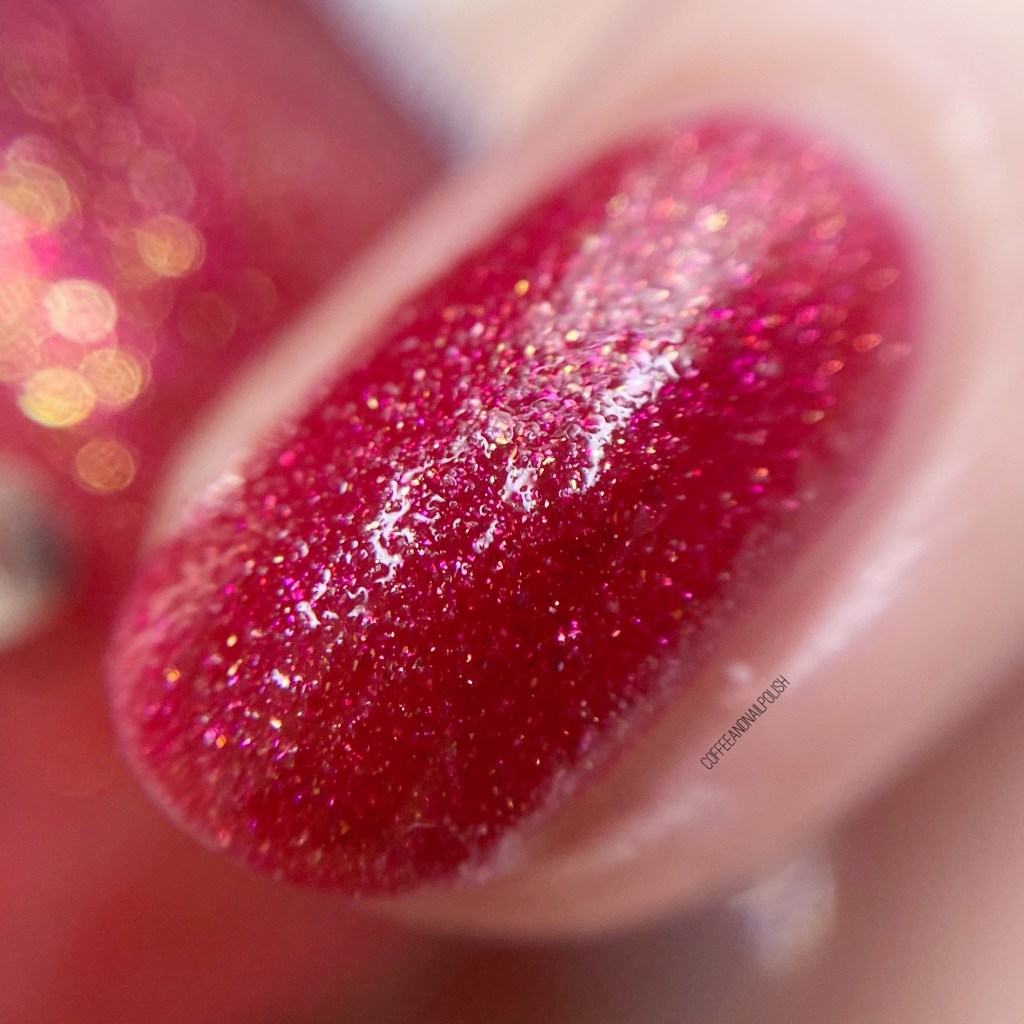
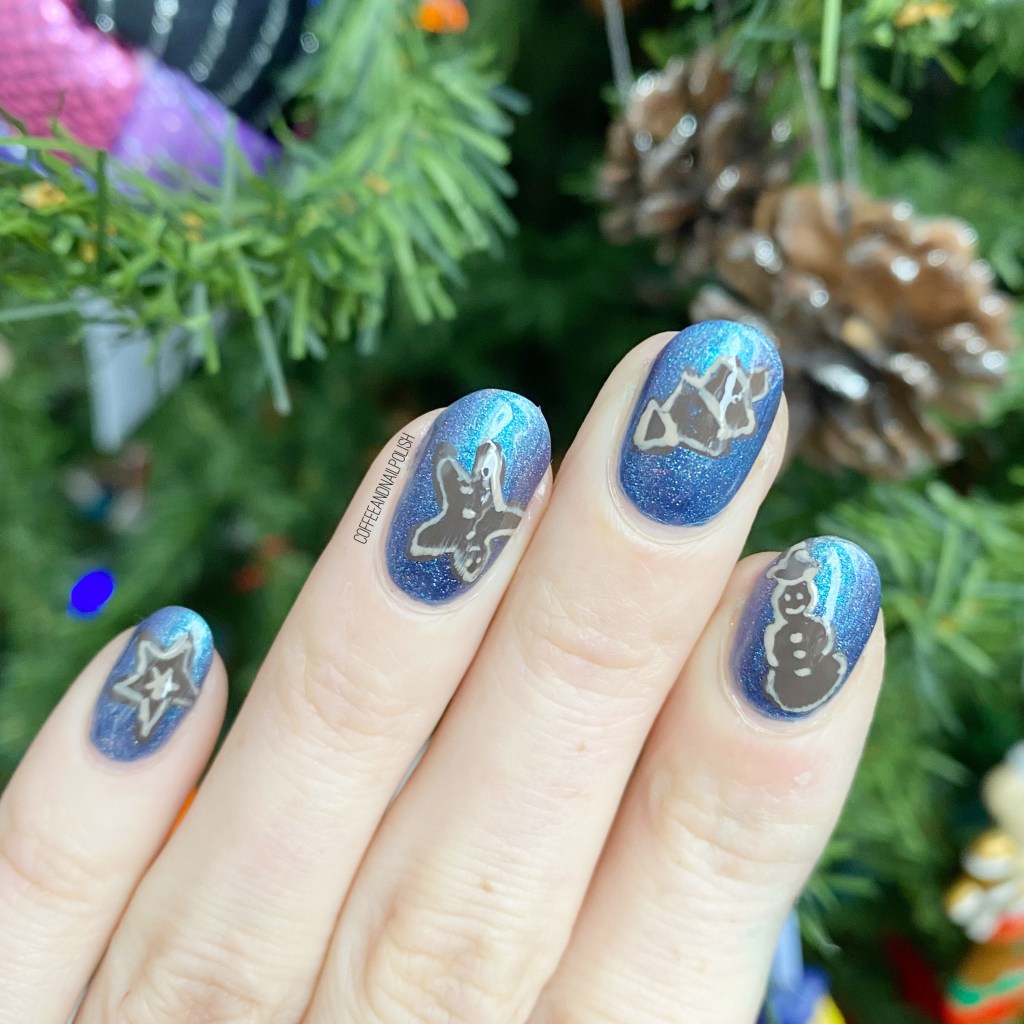
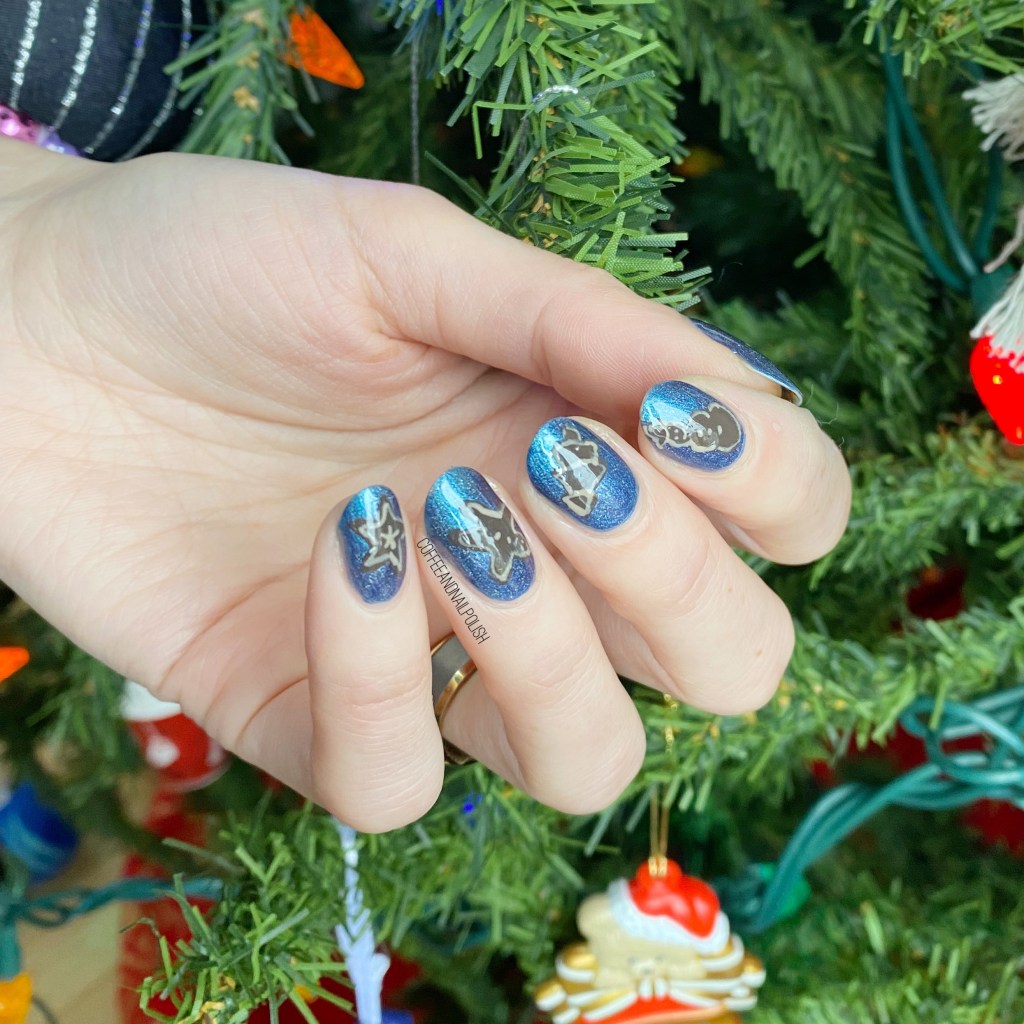
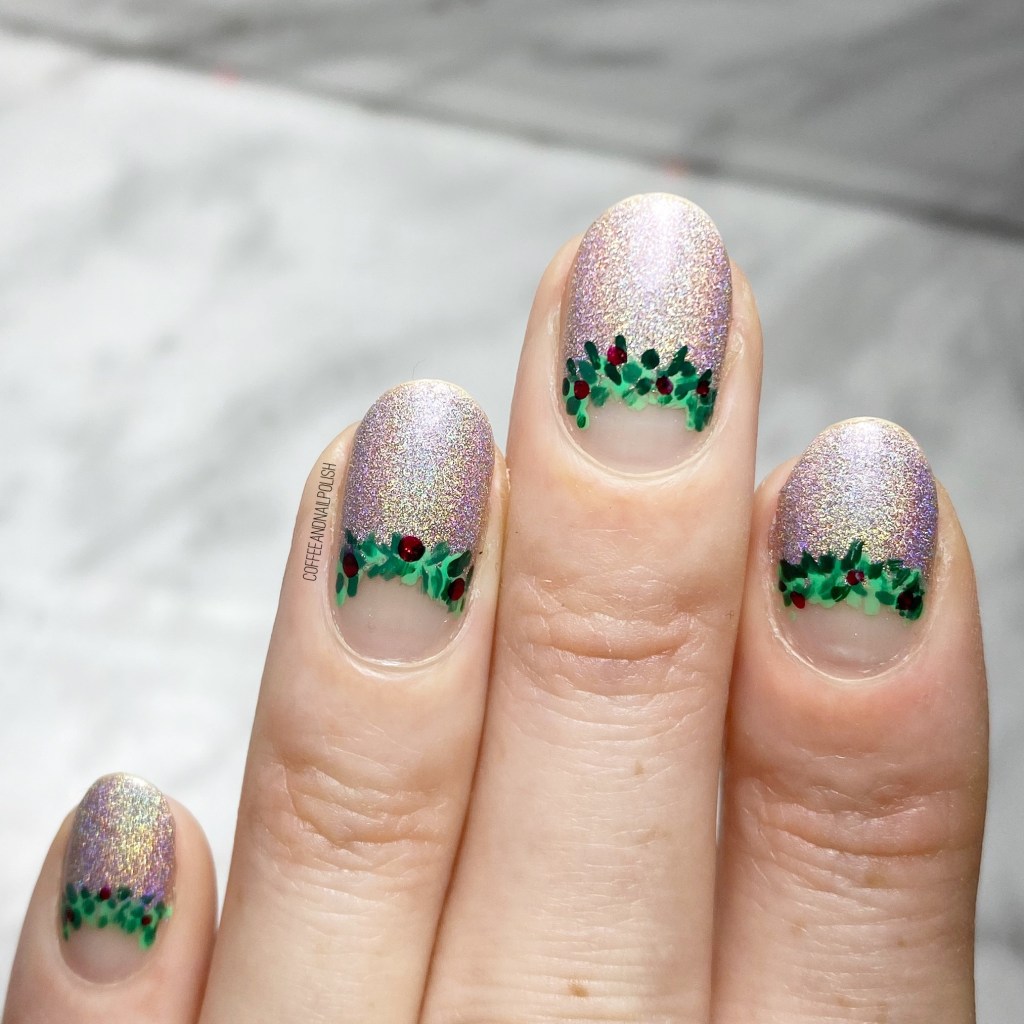
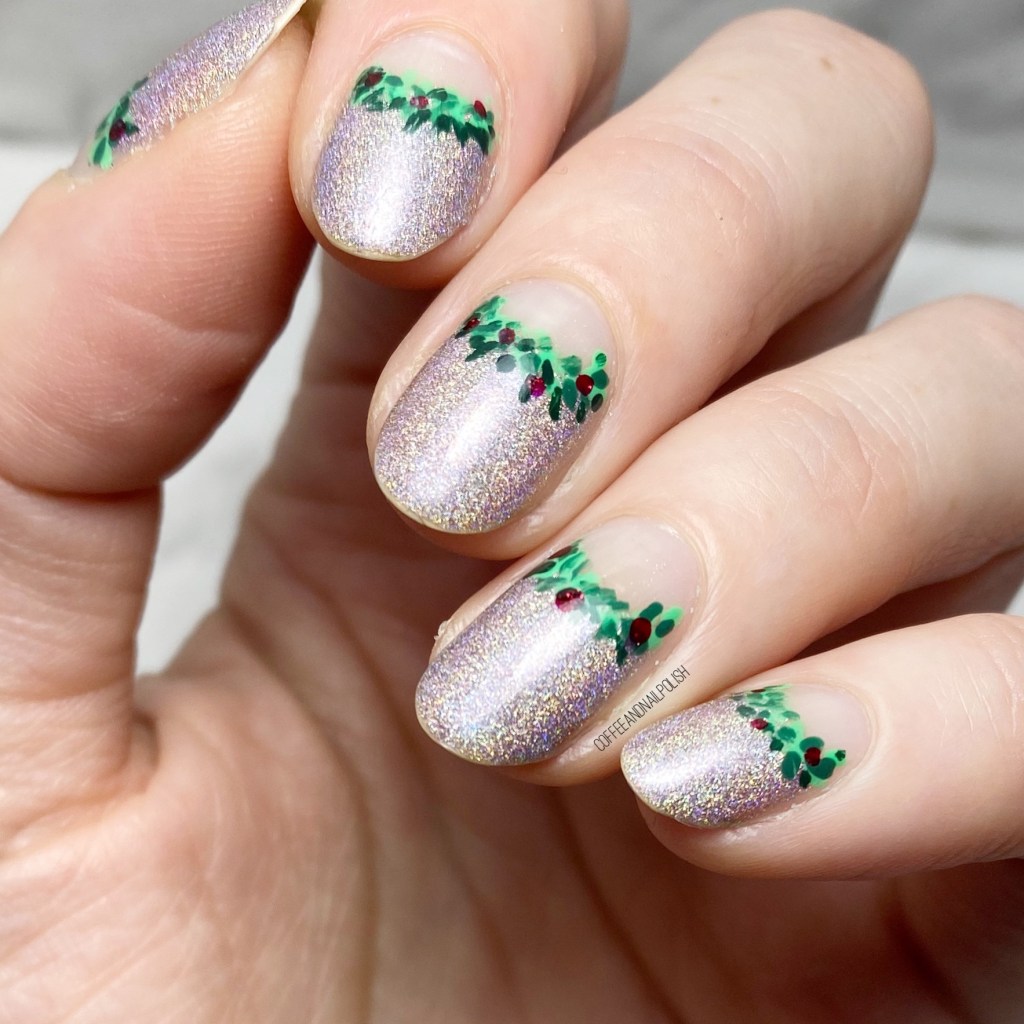
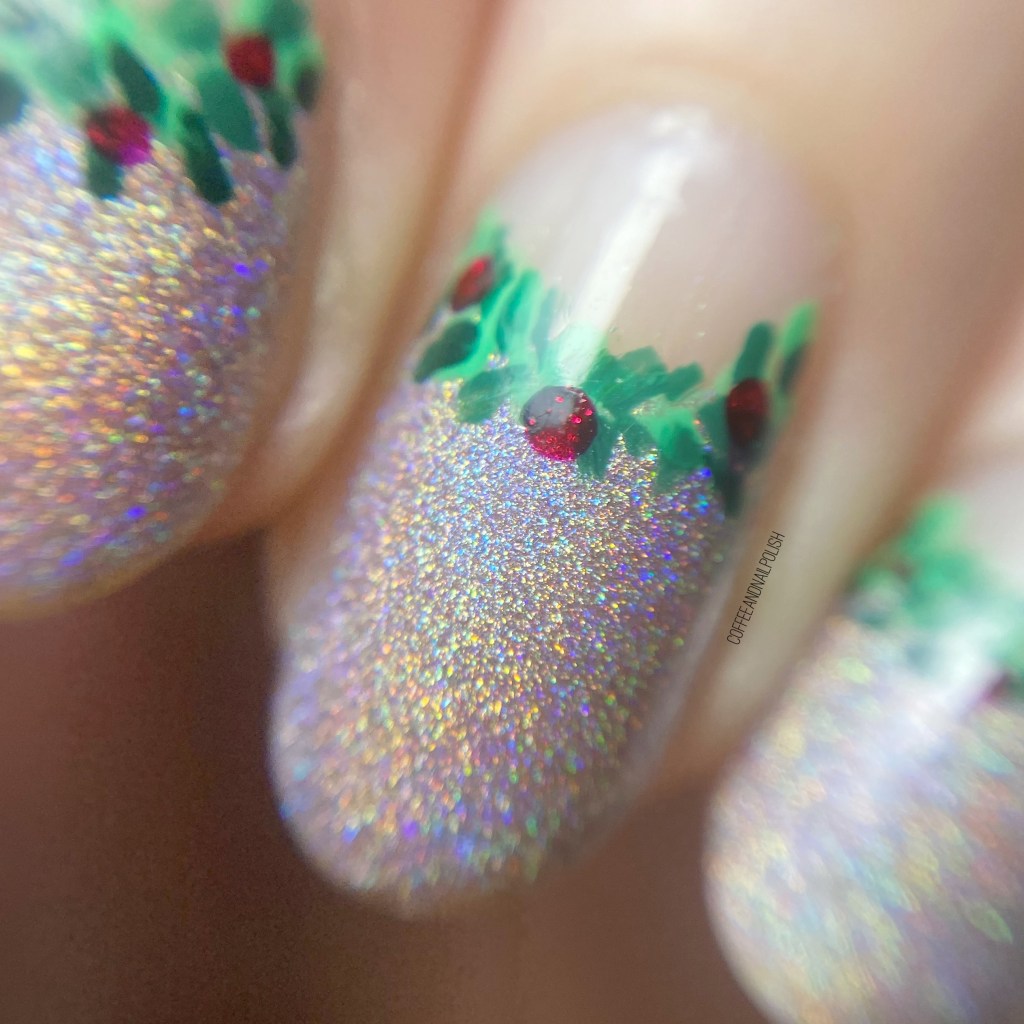
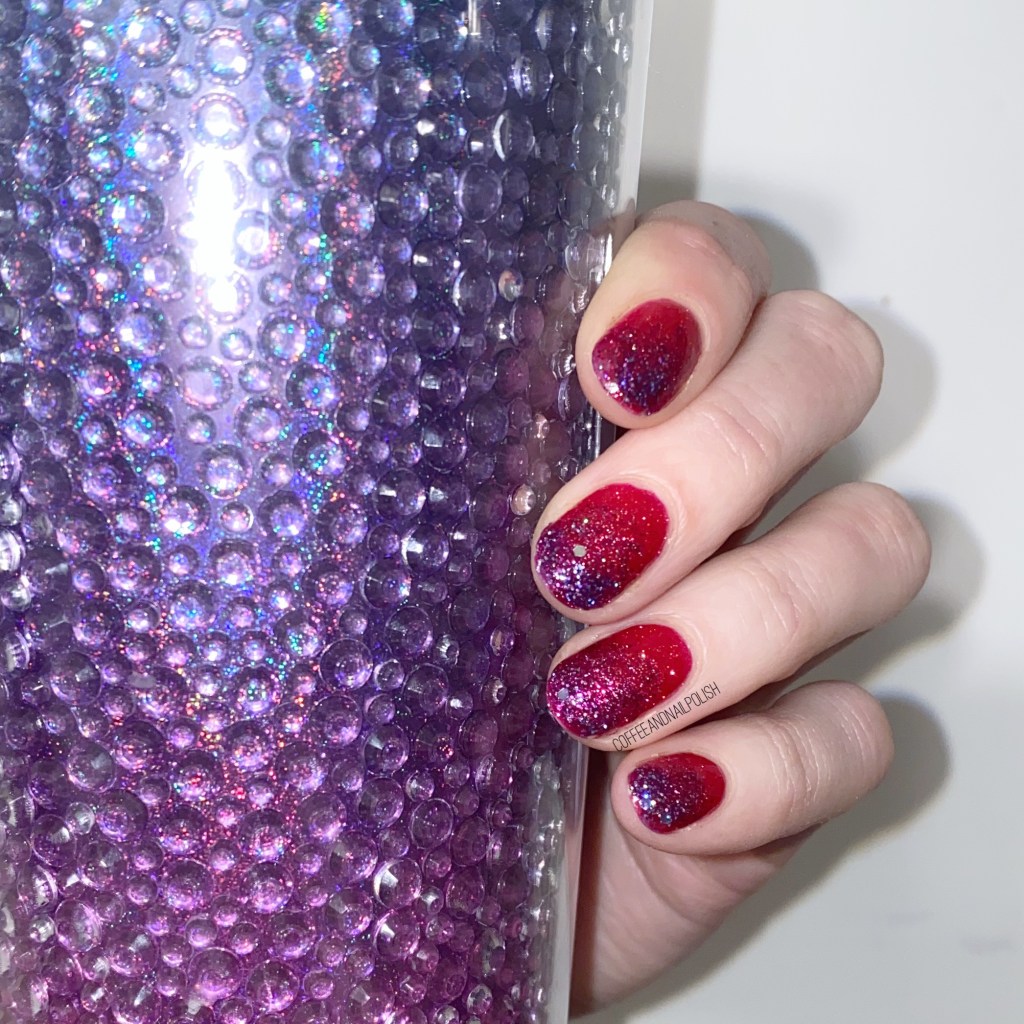
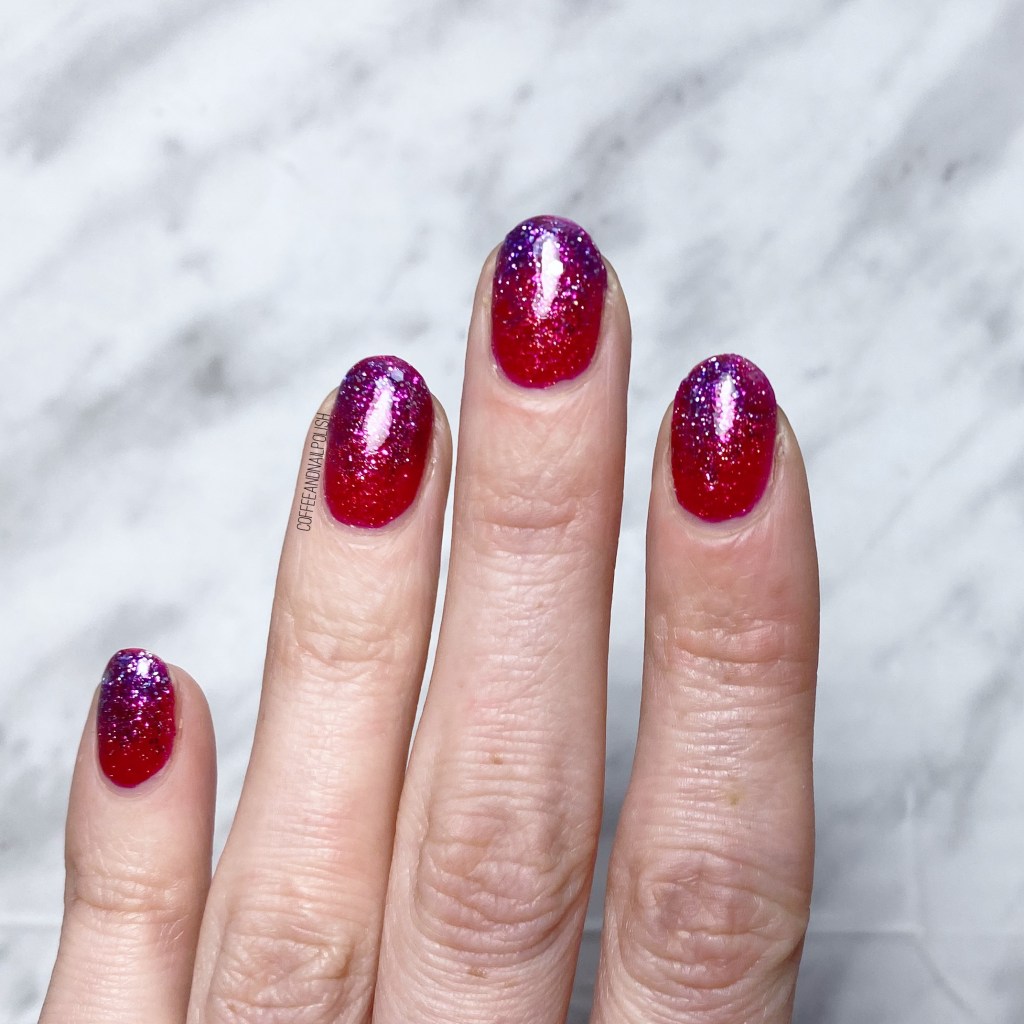
Check out those layers of glitter! It’s been a long time since my last gradient like this with lots of glittery shades, but I’m obsessed with how it turned out.

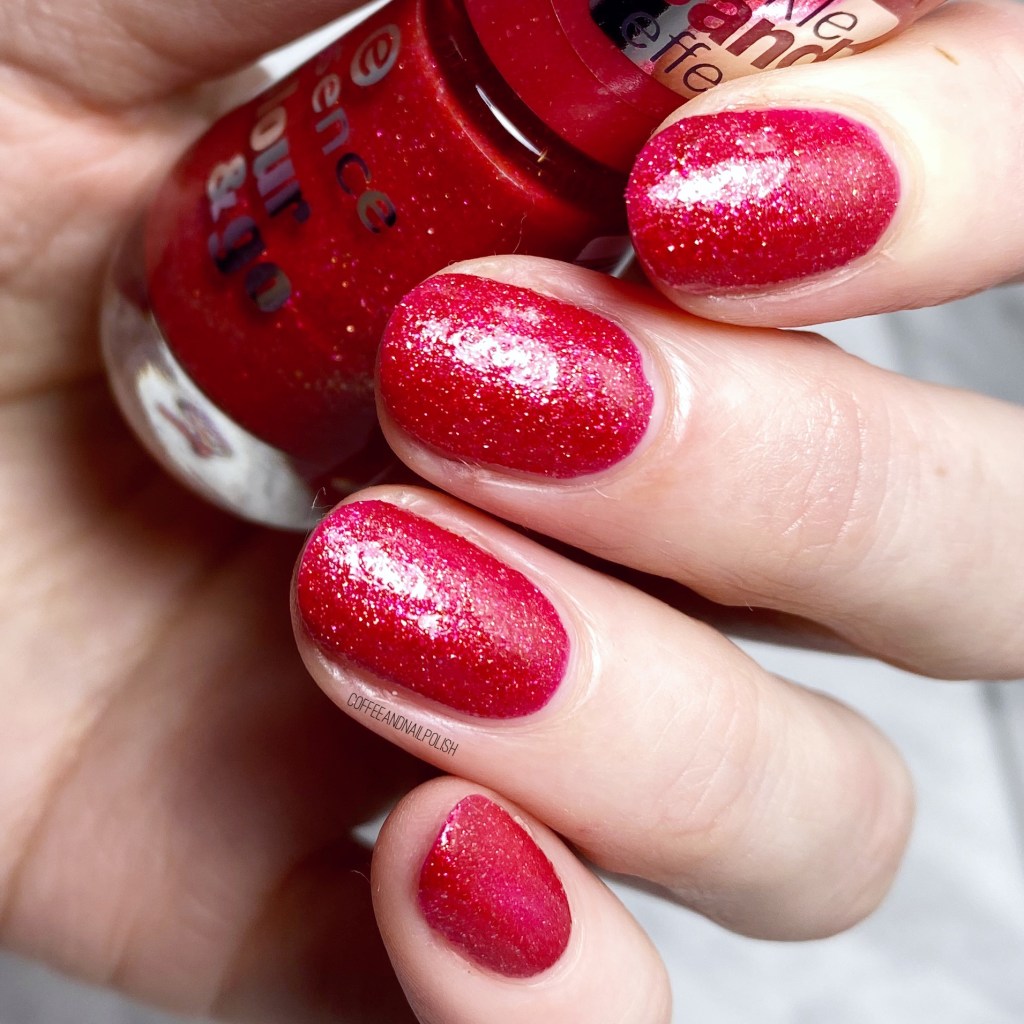
Instead of doing the classic gradient sponging where you apply all three colours onto the sponge & then apply it to the nail, I sponged each layer of glitter on the nail instead… which still gave me the same effect without having to worry about the clean up! I find it’s easier to do that with glittery shades like these, because they blend into each other easier, & you don’t have those unblended lines you might get with a cream polish. & of course, sealing it all in with top coat also helps blend things.

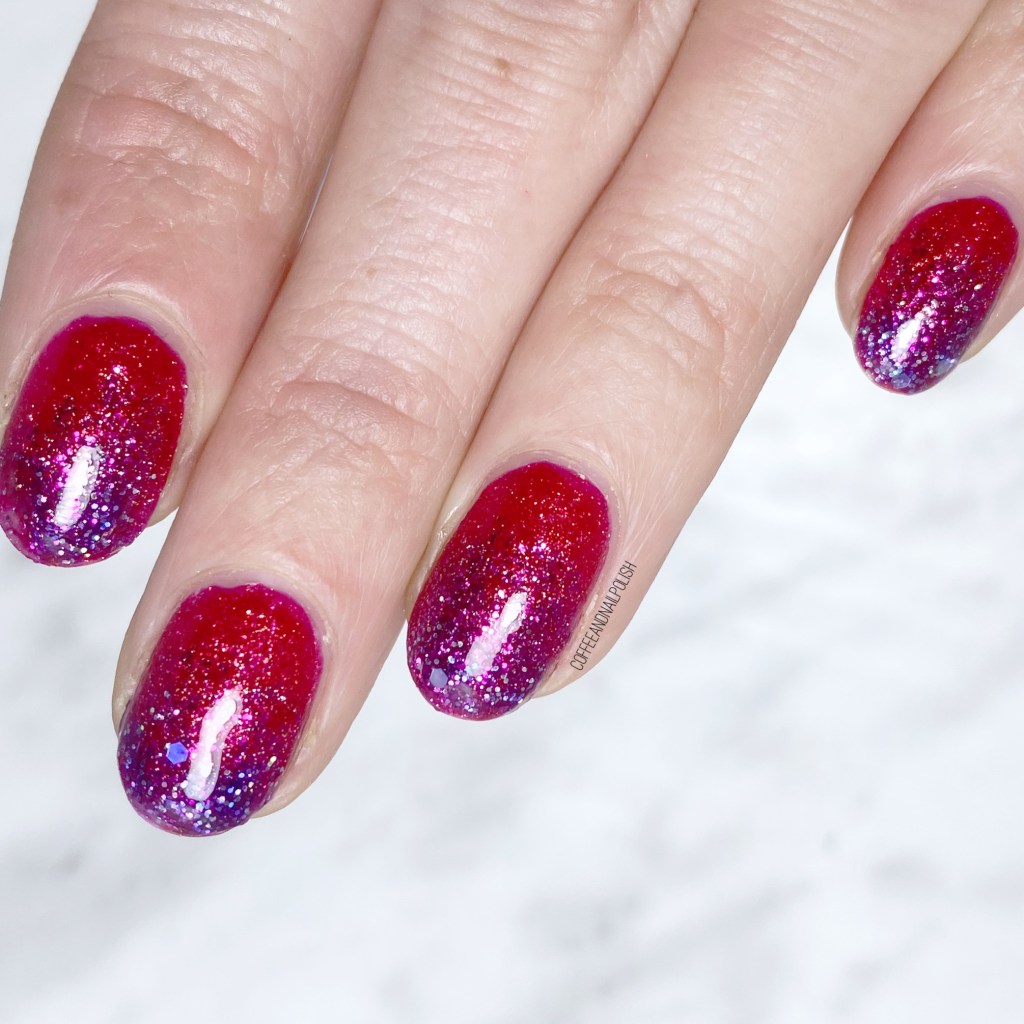
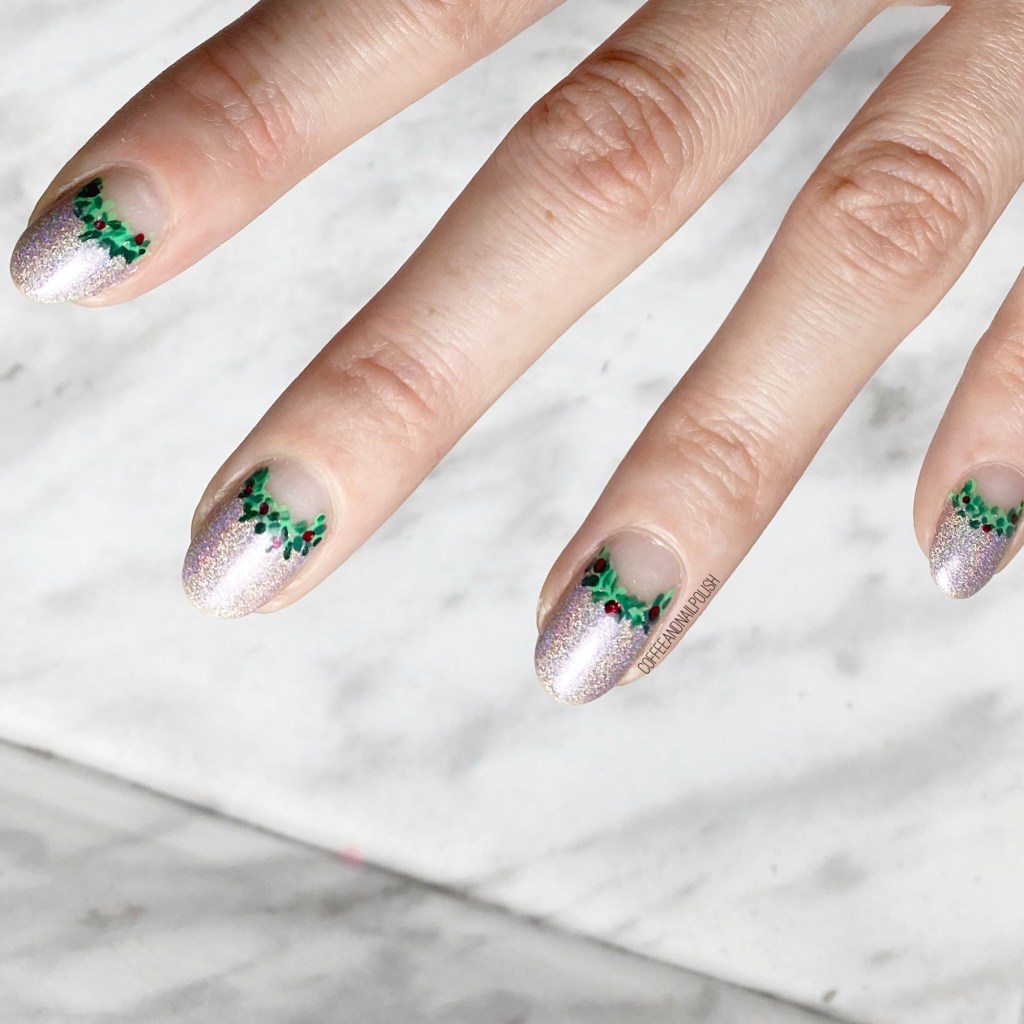
What do you think of these glittery gradient nails? Would you wear a super glittery gradient like this on your nails? Let me know what you think down in the comments below, & what colour combination you would wear!

SWATCH SUNDAY — Essence Me & My Lover (Sparkle Sand Effect)

Hello lovelies & happy Sunday. ❤️

I thought since tomorrow is Valentine’s Day, I should pick out something sorta Valentine-y for my nails. After digging through my stash, & through a lot of red nail polishes, I decided on this oldie from Essence: Me & My Lover.

2 coats, no top coat.

This shade was originally released in 2014/2015, which is when I picked it up at my local Shoppers Drug Mart. It is a sparkle sand effect shade, which means that it dries down to a textured finish.

Unlike some other sand effect polishes I’ve used, Me & My Lover has a finer grit, so the textured finish is a bit more subtle. It’s there, but it’s also easy to smooth out with a coat of glossy thick top coat.

The red is a beautiful pink leaning red — there seems to be some gold glitters & magenta glitters mixed in. It makes for a very, very beautiful polish. It also dries fairly quickly, which is an important thing when it comes to textured polishes. No body has time to be waiting around for their polishes to dry for hours.

The formula is also really easy to work with, which I always get excited about when it comes to extra old polishes in my stash. I’m definitely glad I decided to pull it out, because it was just the red I was looking for!

What do you think of this Essence shade? Do you remember the textured polish craze? Do you still have any of your old textured shades—which ones were your favourites?

Let me know in the comments below!

& have a happy Valentine’s Day tomorrow!

Glam Nails Challenge December— Cookies

Hello lovelies & happy Monday!

I’ve got 3 more (long) days of work & then I’m excited for 4 whole days of Christmas vacation. & my plan for this week is to (hopefully) post a Christmas design every single day leading up to Christmas Day! 🎄

& today we’re starting off with the next prompt for GlamNailsChallengeDecember: Cookies! & I decided to go with some Gingerbread inspired nail art.

The polishes I used for this manicure are: 

  • Base Coat: Essie First Base
  • Top Coat: Seche Vive
  • Essence Intergalactic Adventure
  • Starrily Eclipse
  • OPI How Great Is Your Dane?
  • Quo by Orly Breathable Bare Necessities
  • NailStuff.ca 7mm detail brush

I’m super impressed with how these turned out –they came together exactly like how I pictured in my head. Right down to my lack of decorating skills on my cookies (you should see my real life cookies! Haha)

Originally I had thought about doing everything over a holographic pink base, but when I saw this shifty base sitting in my stash. I just had such an urge to use it! I added some holo over top to give off a little extra sparkle. The cookies were completely freehanded using my NailStuff 7mm brush, which made things easy & I’m really happy with how they turned out. I even managed to freehand not one, but two stars on my nails–for the first time ever–so even though my “decorating” looks as bad as my real life decorating, my actual cookies made me feel pretty proud.

What do you think about this design for GlamNailsChallenge? Would you ever attempt a design like this? How are your cookie decorating skills?

Let me know down in the comments below.

Glam Nails Challenge December — Wreaths

Hello lovelies & happy Monday! It’s a beautiful—but chilly—day here. Almost all our snow melted away this weekend due to crazy rain, so it’s feeling very un-Christmas like outside. More like April than December.

But that’s okay because I have another cute Christmas look to share for Glam Nails Challenge December: wreath nails. & I think this is my most favourite Christmas look so far!

The polishes I used for this manicure are: 

  • Base Coat: Essie First Base
  • Top Coat: Seche Vive
  • Wrenn Polish Happy Thoughts
  • Essie Off Tropic
  • Ardene Jungle Green
  • Essence The Green & The Grunge
  • Sally Hansen Miracle Gel Red It Twice
  • NailStuff.ca 7mm detail brush
  • Small dotting tool (NailStuff.ca Dotting Tool Trio)
  • Paper Hole Reinforcements

I’m not going to lie—I’m absolutely obsessed with how pretty these turned out. I’ve done some wreath nails before, but I wanted to do something completely new & I think I succeeded! So much so, I’ve been wearing these nails for going on 3 days now, & they’re still more or less holding up (with a few chips at the tip that are easy to fix).

Also I forgot how absolutely stunning Happy Thoughts by Wrenn polish is. There is a reason why her holos are some of my favourites—they are absolutely eye catching! I’m going to be so, so sad when I finally take these off.

What do you think about these half moon wreath nails? Are you obsessed with them as much as I am? Would you wear this look on your nails?

Let me know all your thoughts down the comments below! & have a lovely Monday!

Glam Nails Challenge October— Zombies/Monsters

Hello Lovelies & Happy Monday! & happy day after Halloween. If you’re surviving the post Halloween sugar craze! I know technically it’s November 1st (how crazy is that) but I have one more prompt for Glam Nails Challenge October to share with you: Monster/Zombie. & I decided to go the Frankenstein’s monster route with some patch work monster nails.

The polishes I used for this manicure are: 

  • Base Coat: Essie First Base
  • Top Coat: Seche Vive
  • Essence L.O.L
  • Sally Hansen InstaDri Glow in the Dark Fab-BOO-lous (gifted)
  • Starrily Vantablack
  • NailStuff.ca 7mm detail brush

How fun did this manicure turn out? This is another look that I’ve repeated over the years for Halloween, & I love how it looks. It’s also a relatively easy manicure to do, all things considered. I decided this time, though, to spruce things up with some glow in the dark action, & I’m very glad I did because you can see how cool it looks! I added it over my base colour of Essence L.o.L, then drew my black lines over top, so you could still see the monster pattern in the dark! & I think it turned out perfectly. My kids were actually obsessed with me turning off the lights, & showing them how they glowed.

The perfect Halloween look!

What do you think of this final GlamNailsChallengeOctober look? Are you as shocked as I am that October is already over? Where is the time going! & now… the countdown to Christmas officially begins!