Mermaid Inspired Glitter Gradient using NailStuff.ca Flakies

Guess what! I have anothe review of one of the items sent to me from Nailstuff.ca. This time I’m sharing these beautiful irredentist flakies. 

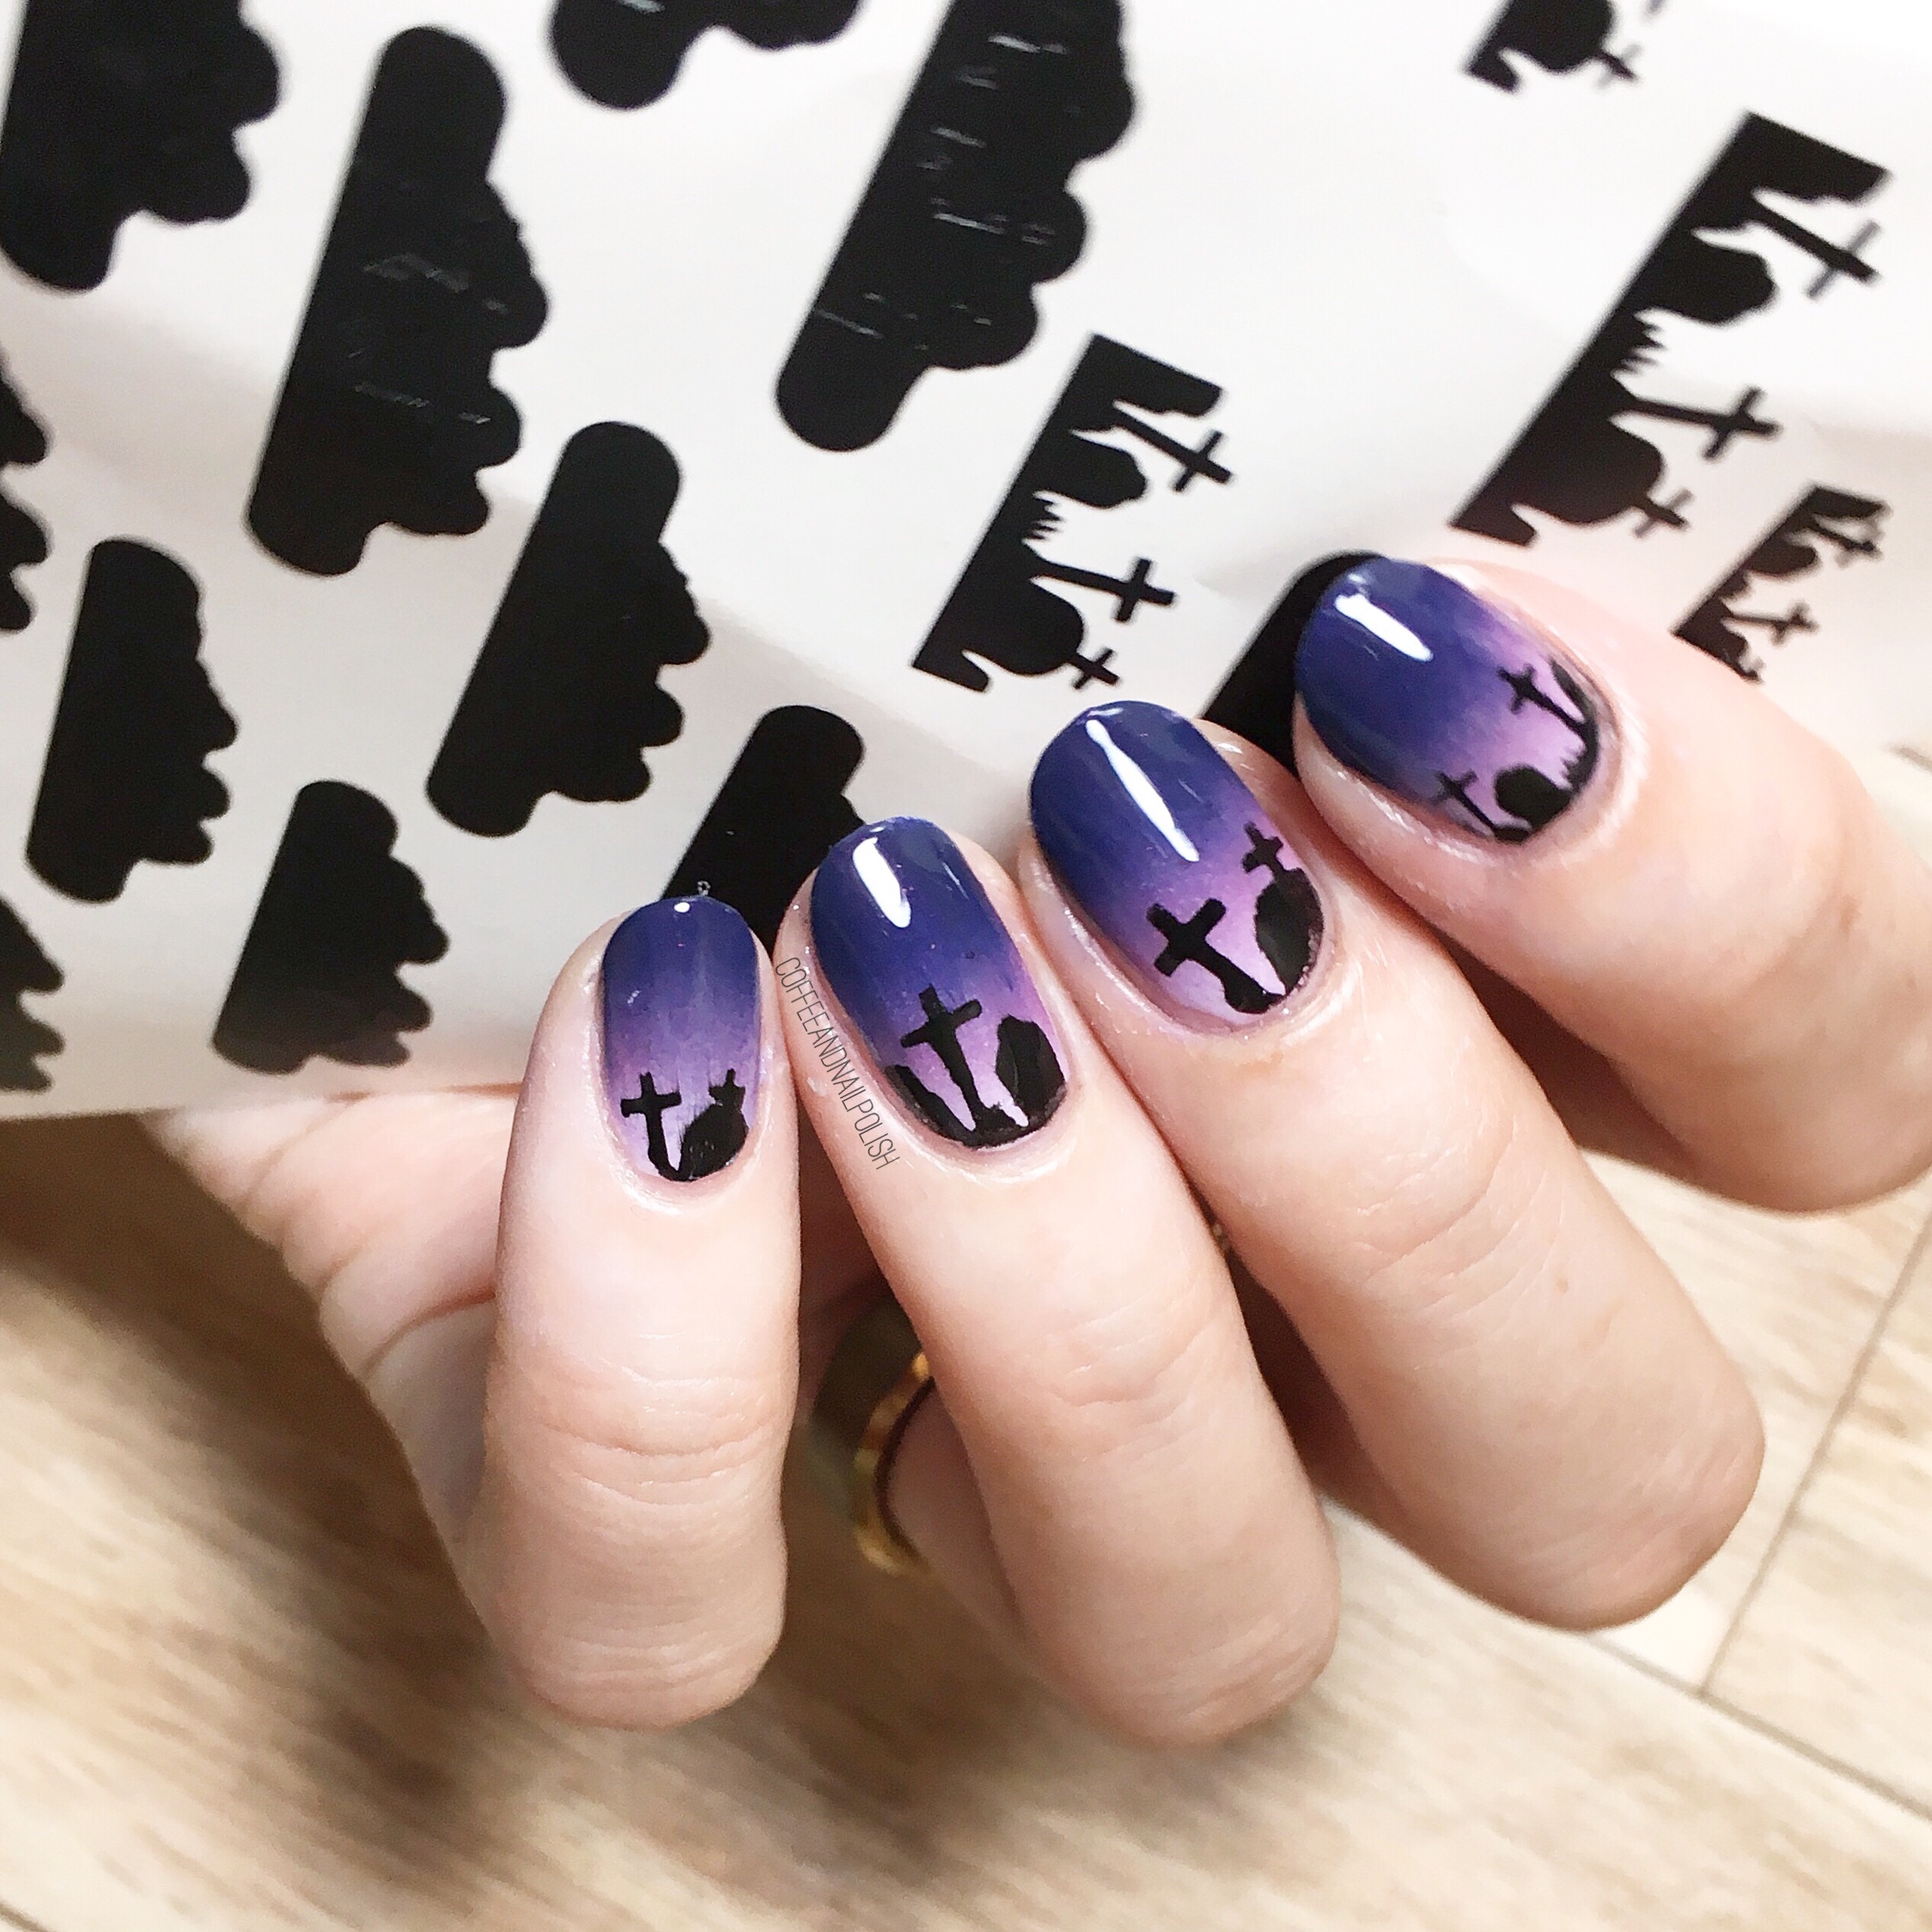
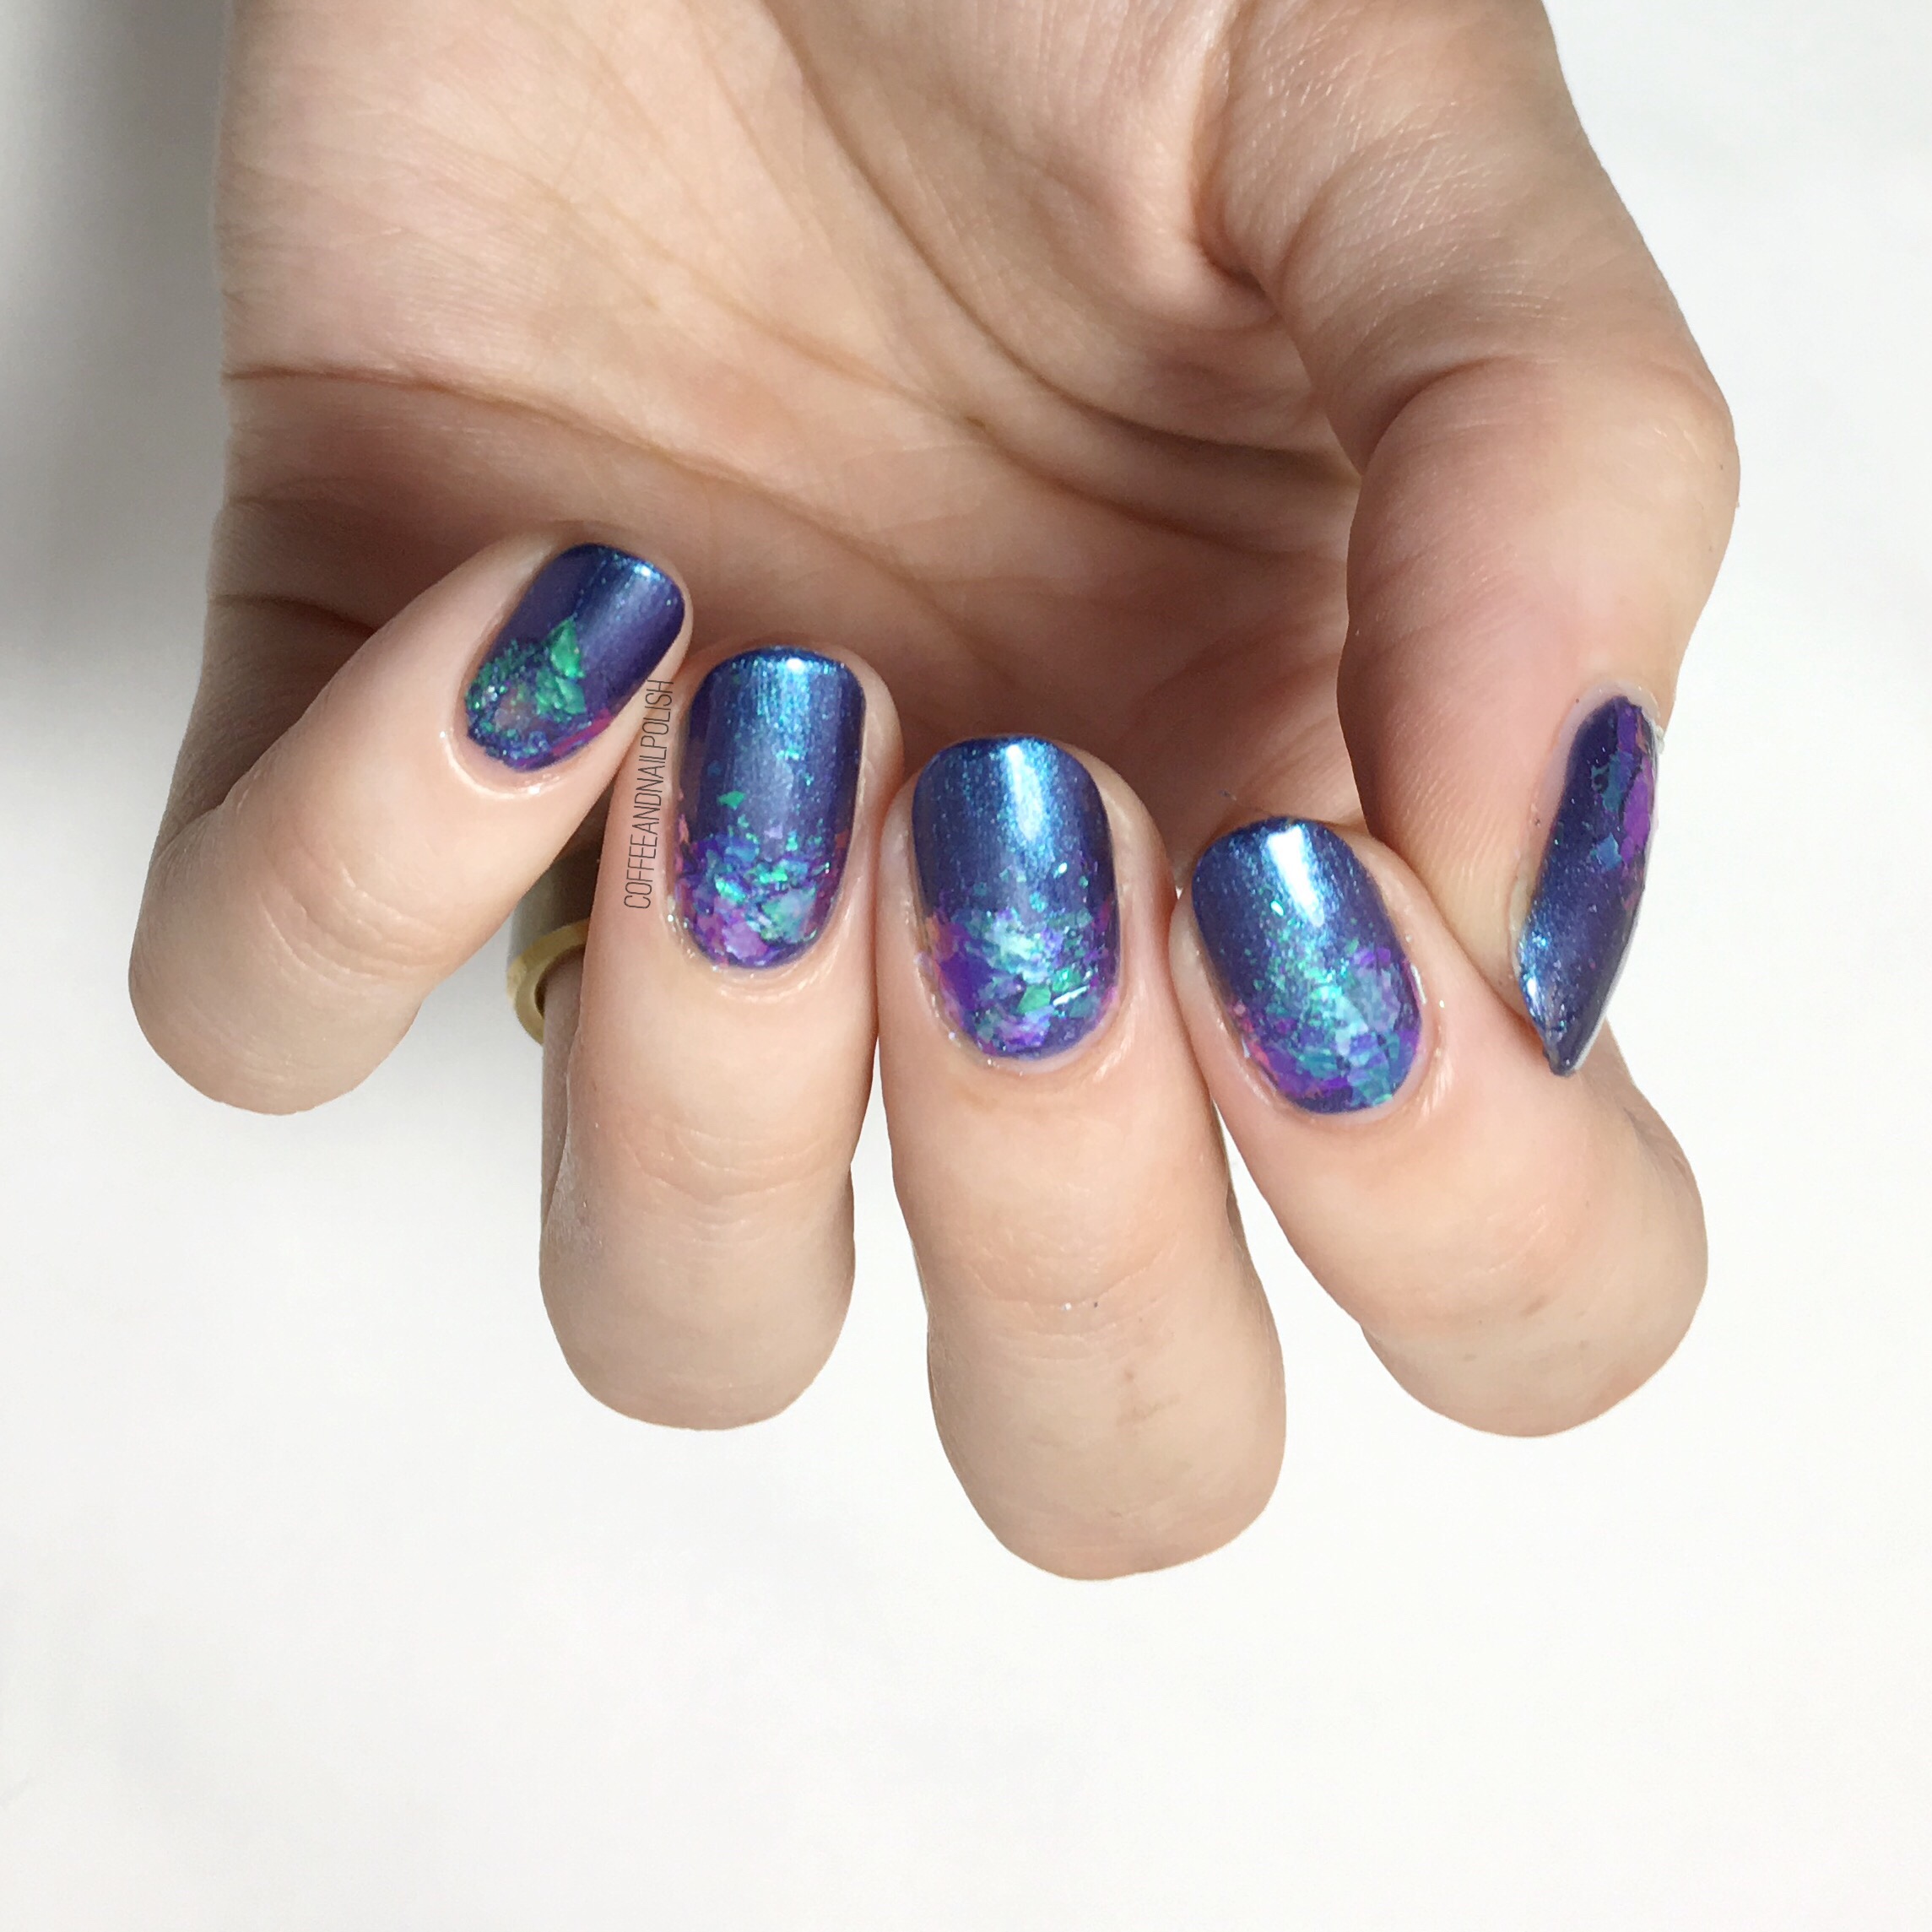
Now I know I said I would share more Halloween looks & these aren’t spooky, but I thought this would be an awesome look for anyone going with a unicorn or mermaid look for Halloween! I know I can’t be the only one whose costume (or outfit in general) isn’t complete until her nails are done!

Okay, I’ll be honest—I’ve never used loose flakies before so I was going into this as a newbie. I knew I wanted to create a glitter gradient with them, so I glanced around at a few posts on Pinterest & Instagram until I felt confident enough I could achieve the look I wanted.

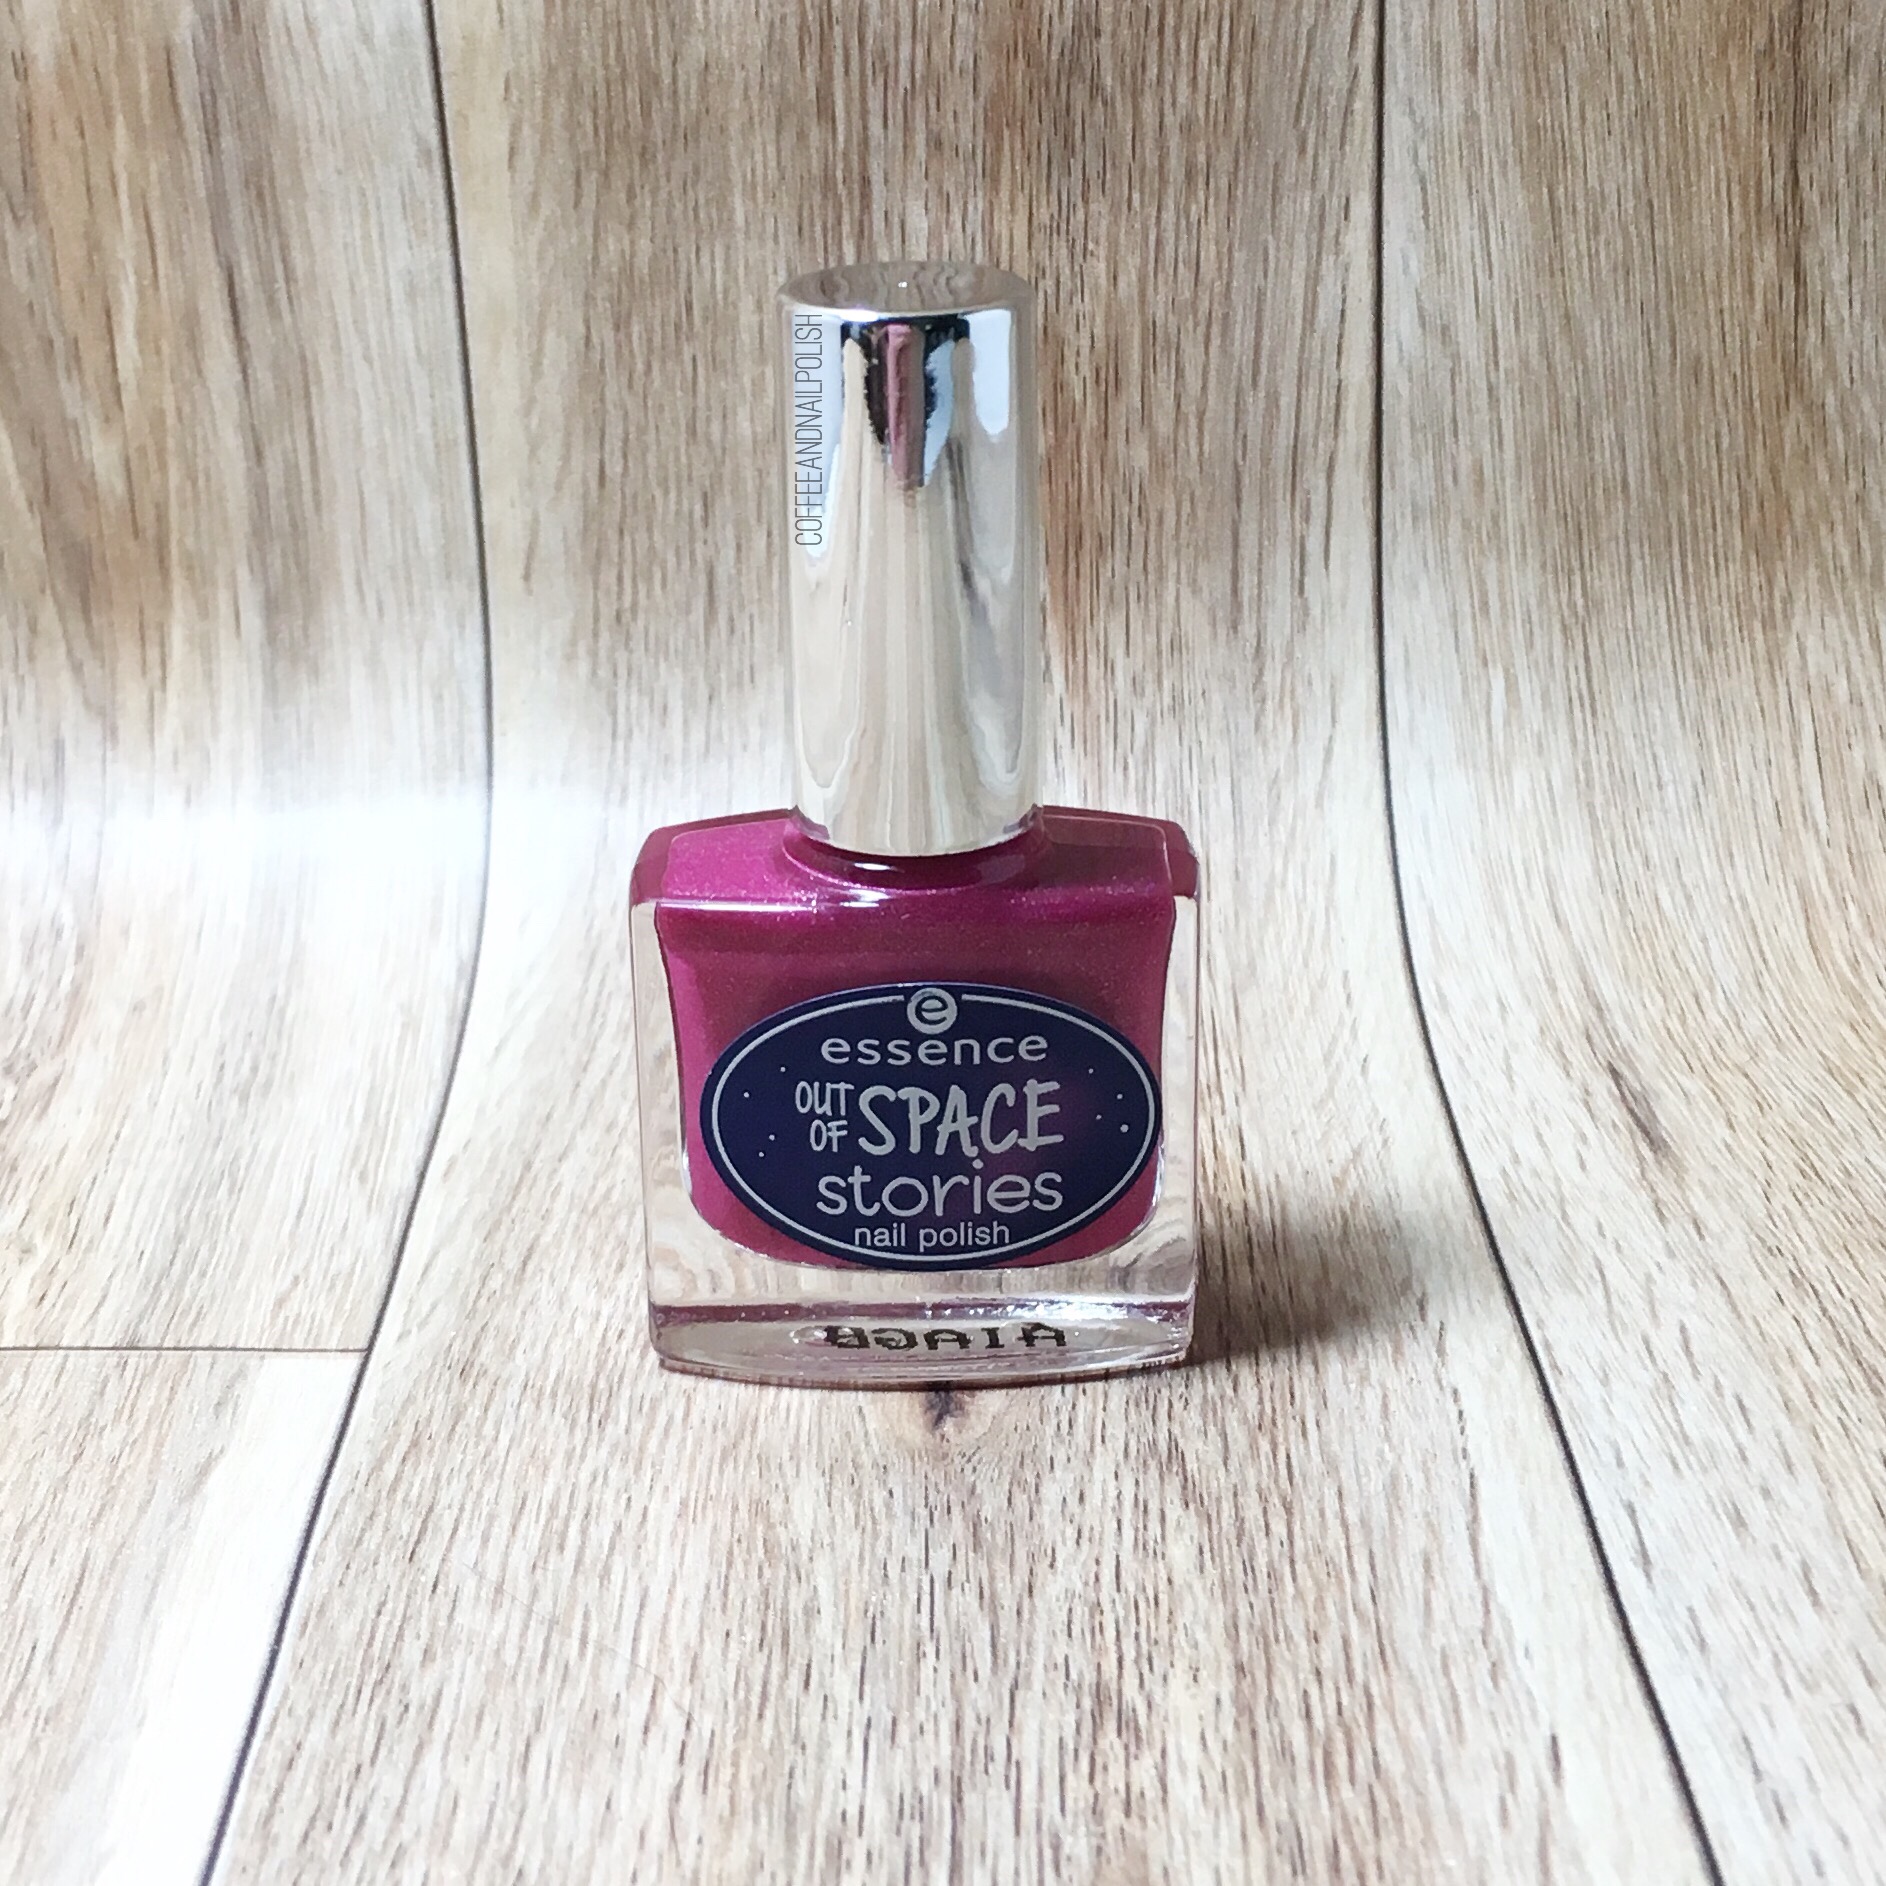
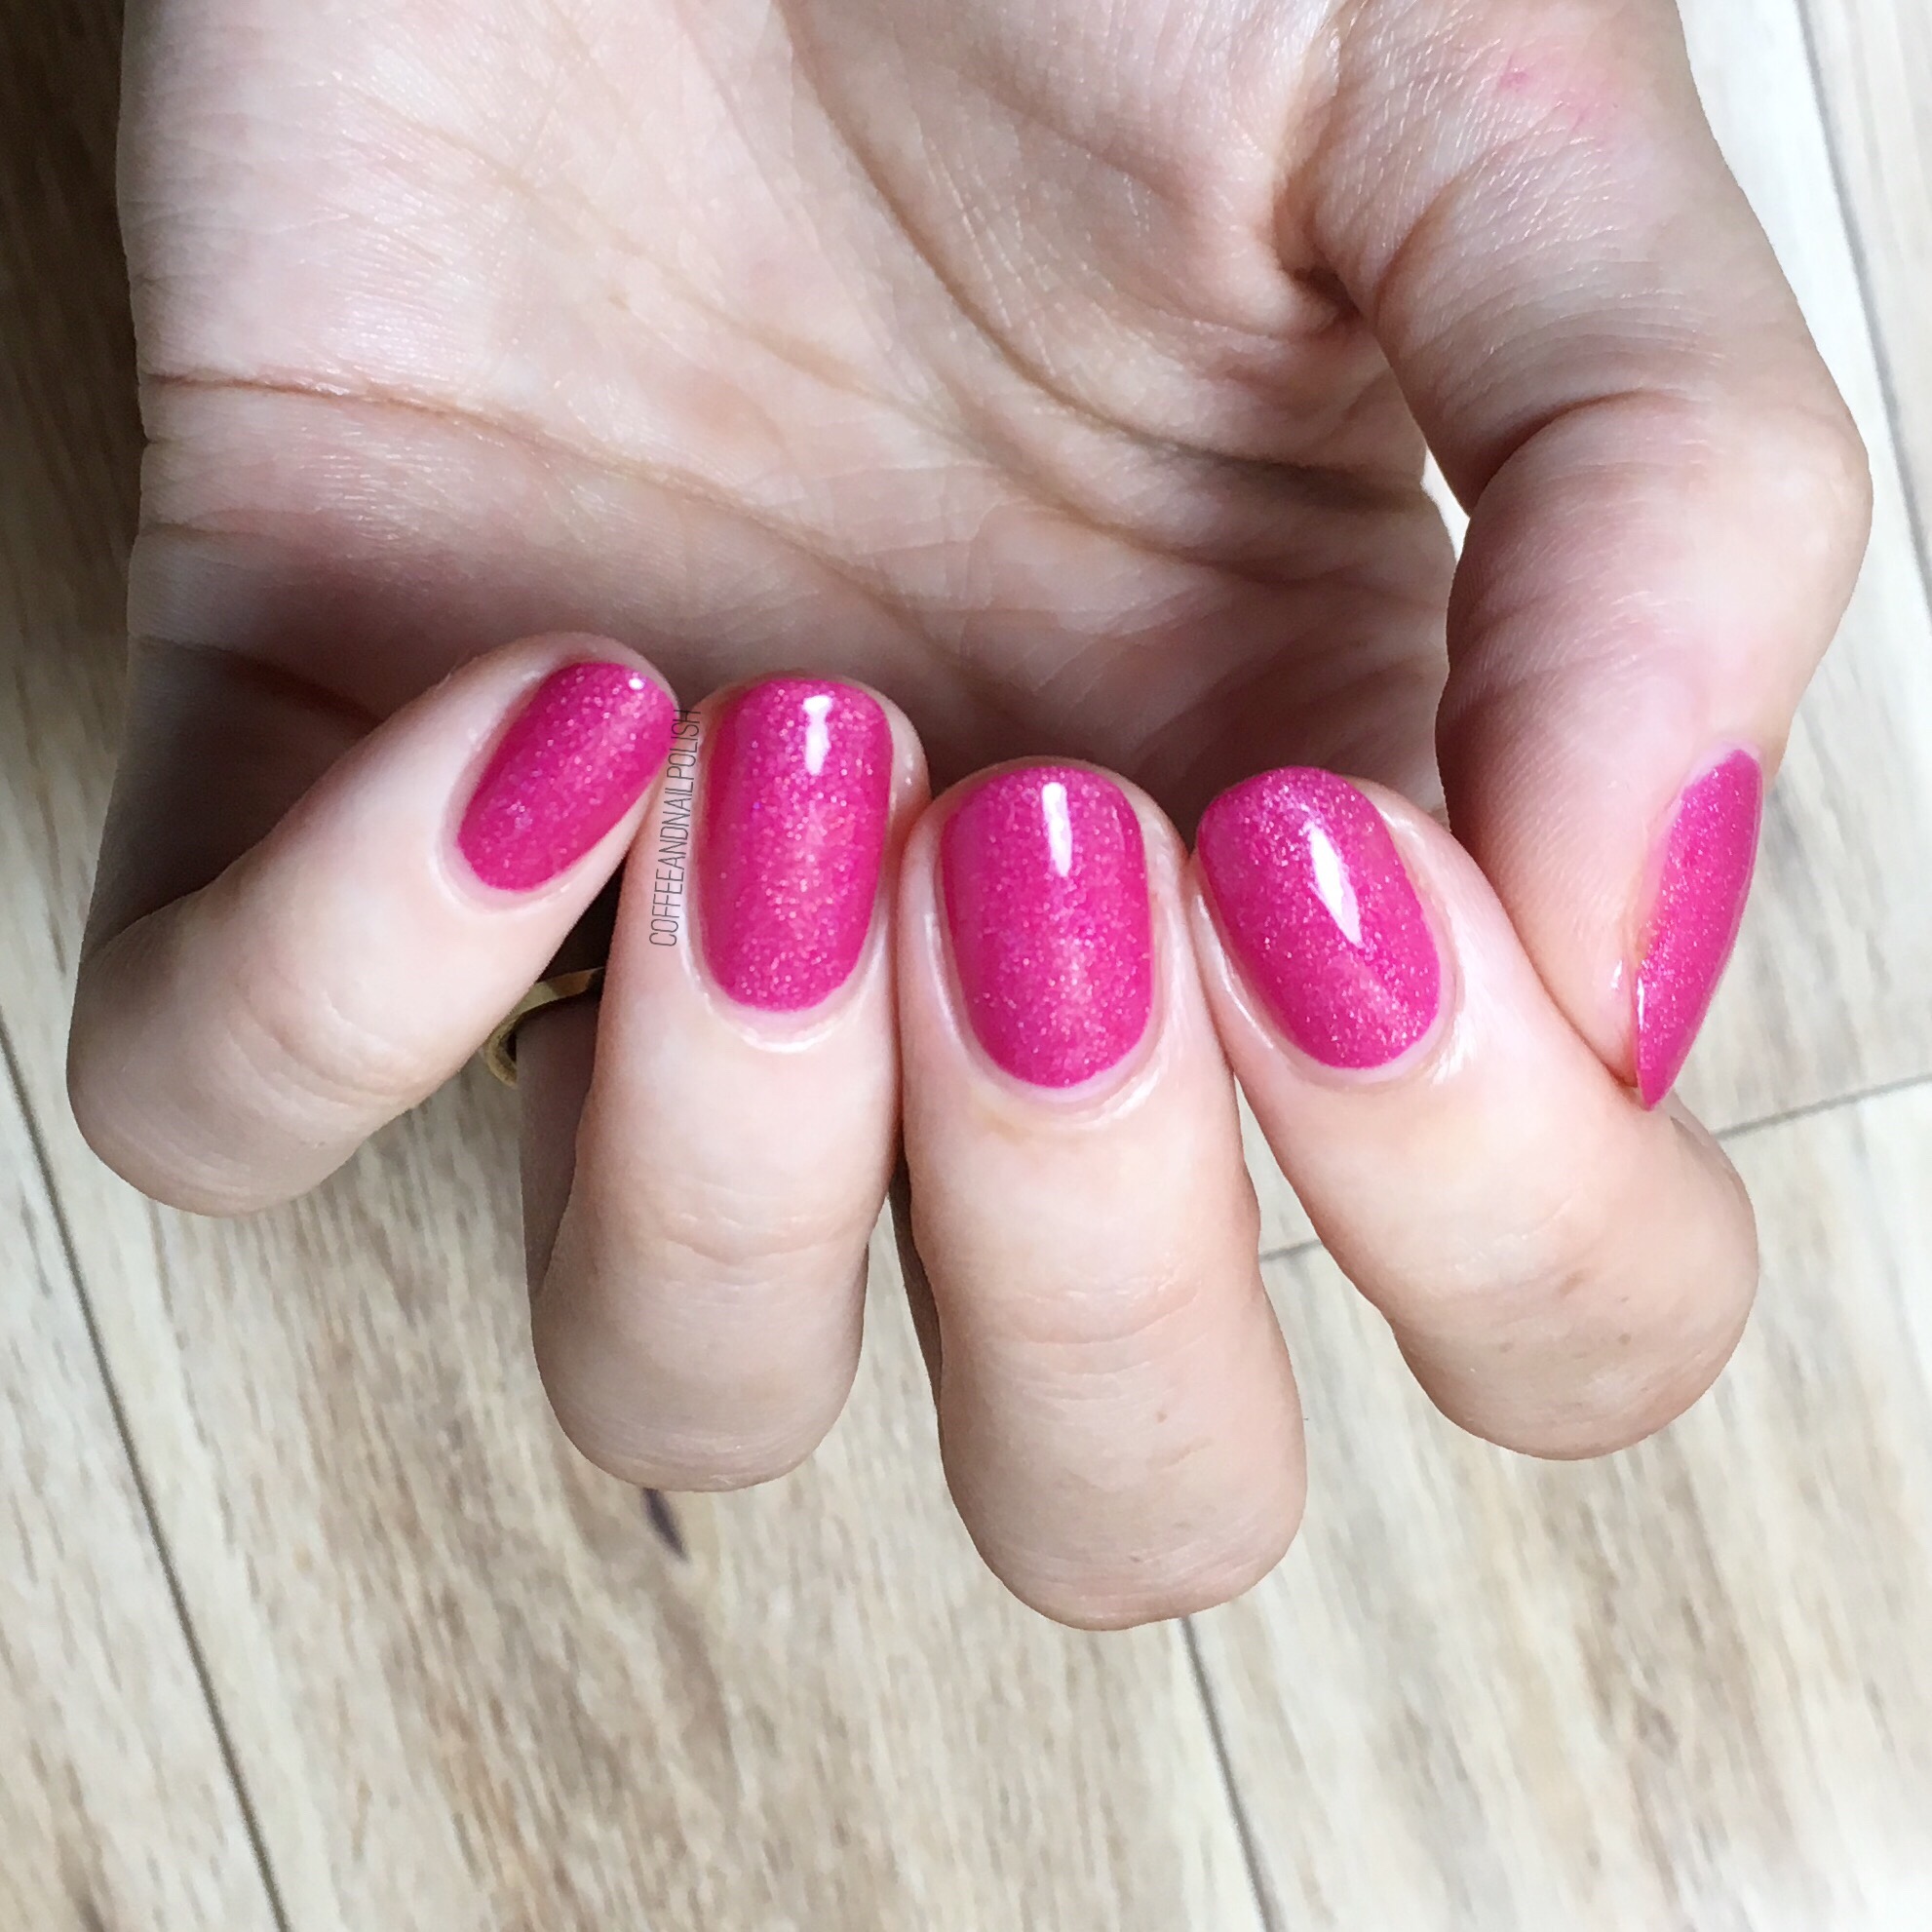
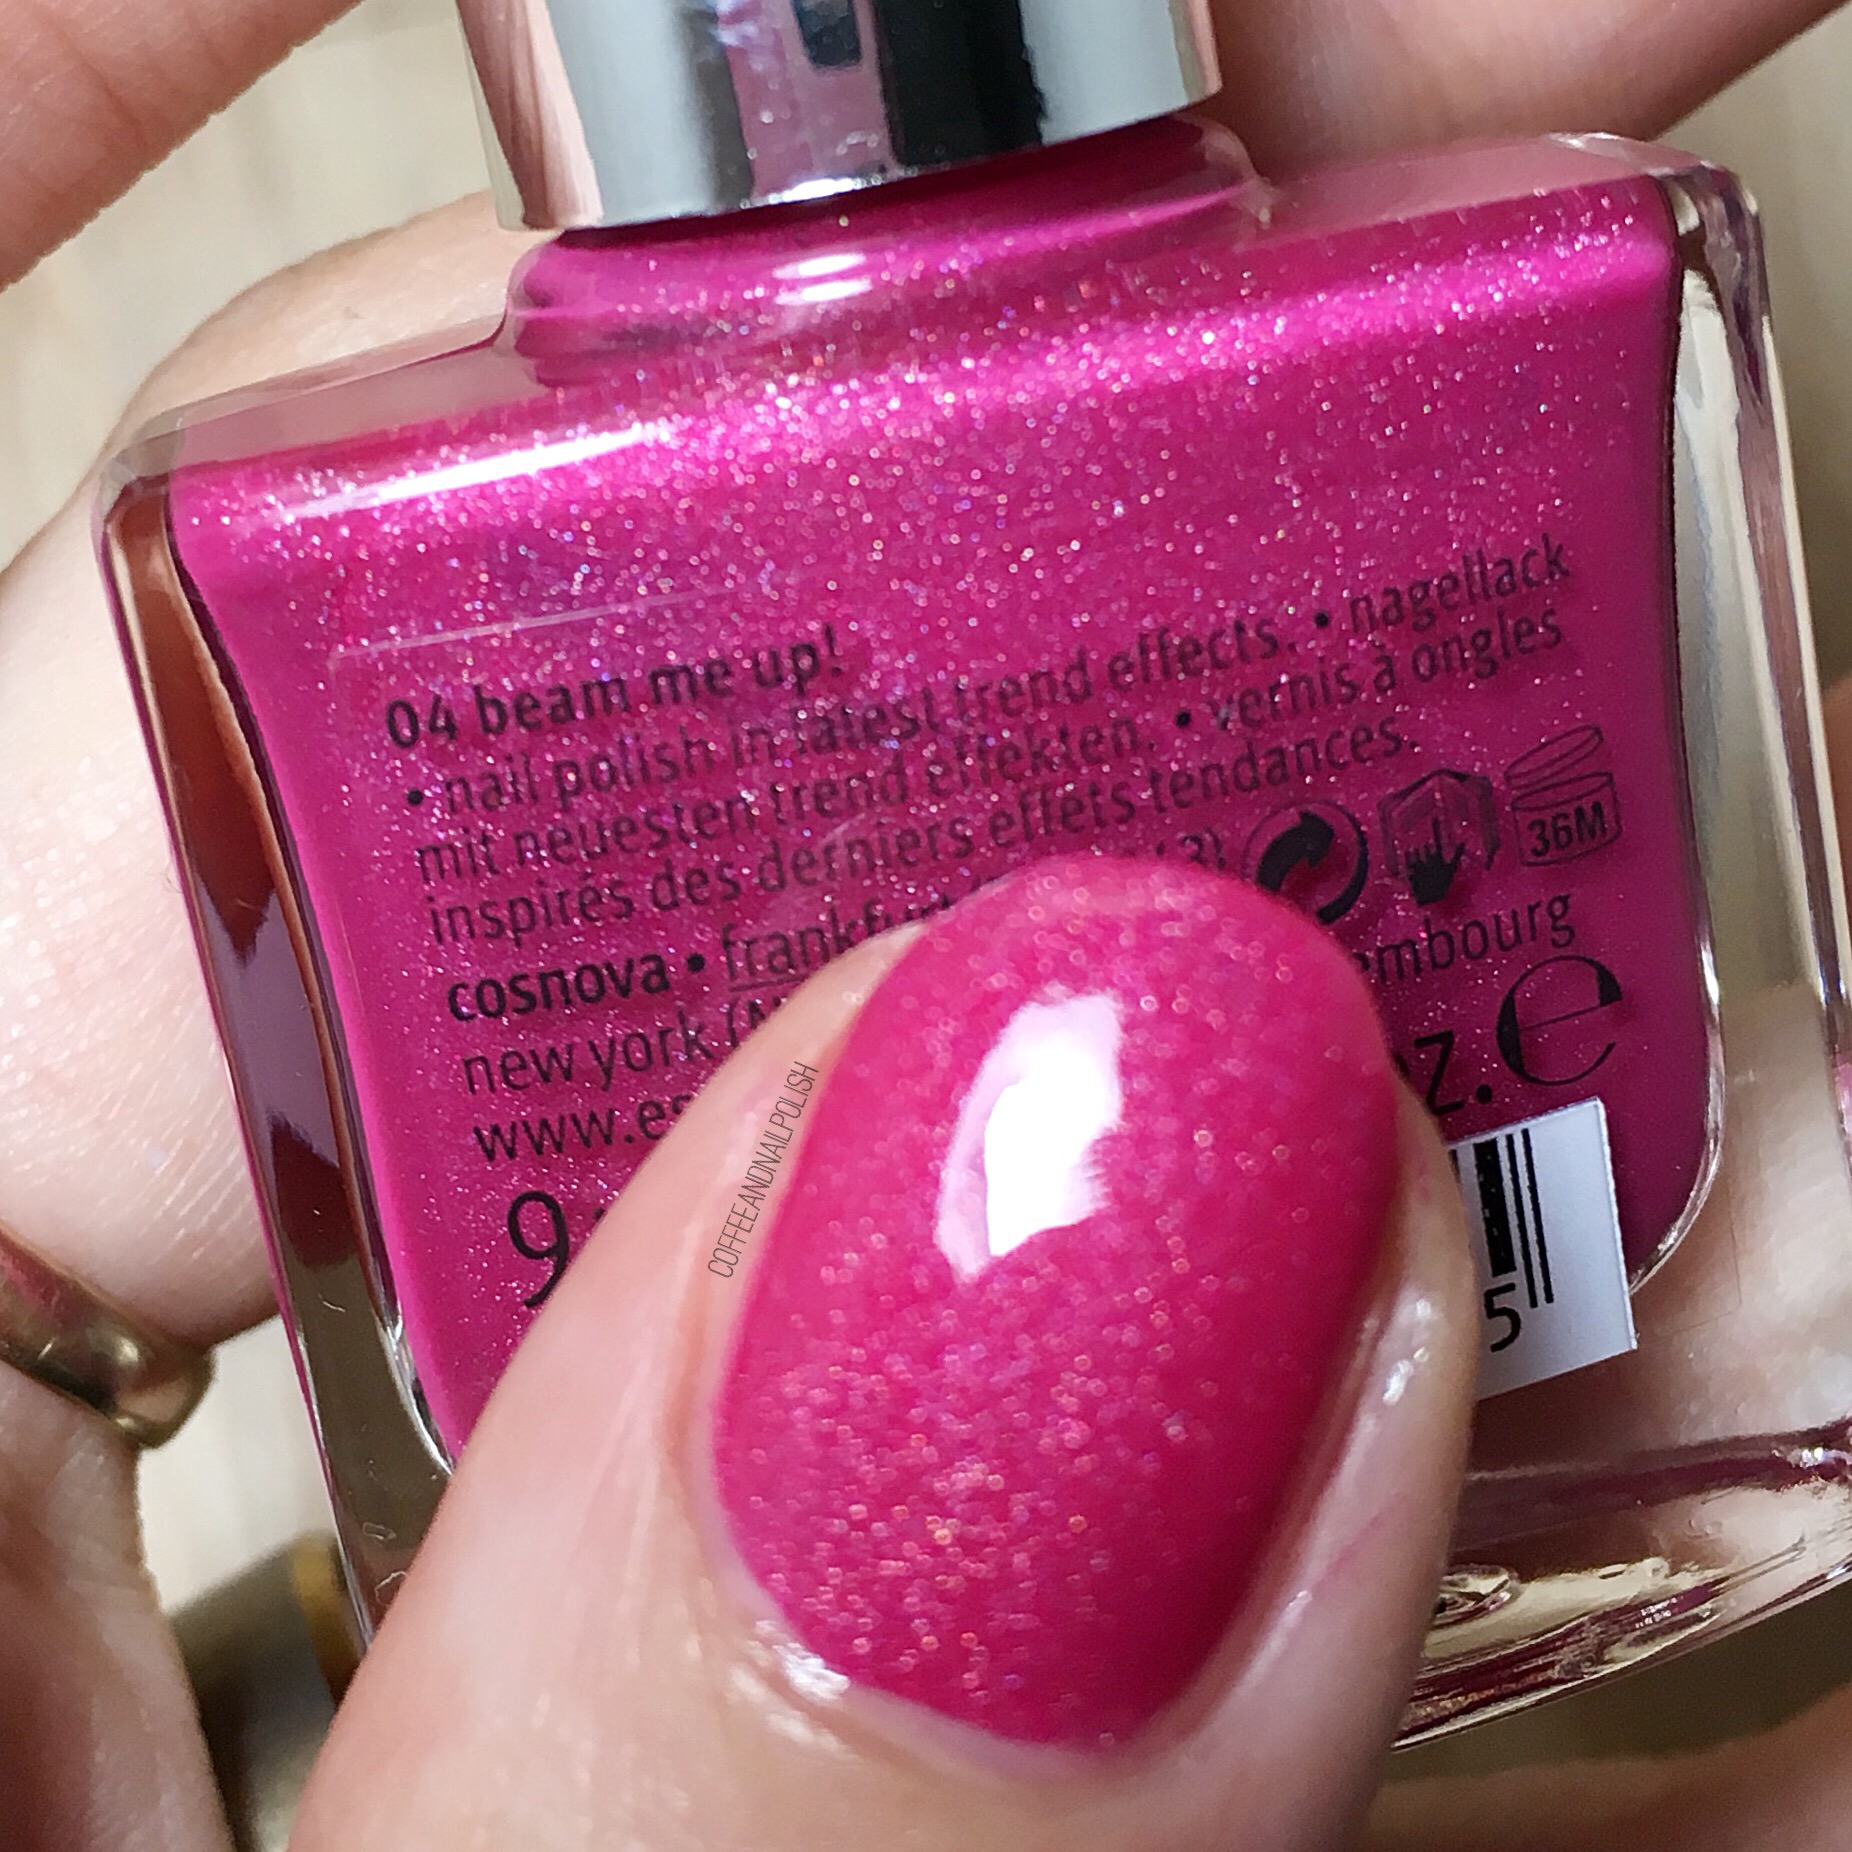
  1.  I started off by painting my nails with a base of Essence Out of Space Stories Intergalactic Adventure & let it dry. I chose this shade because I thought it would compliment the shift in these gorgeous flakies. 
  2. Apply liquid latex around cuticles. I used Edge Perfection to keep the flakies from spreading to my skin during application. 
  3. After about 10ish minutes, I took a little bit of clear polish & applied it at the base of my nails so they would be a bit “sticky”. Like I said I’ve never used these before so I wasn’t sure if this was a necessary step. 
  4. Next I opened up my little pot of flakies & using the little eyeshadow sponge provided, pressed the flakies down at the base of my nail. I also brushed lightly up the nail to create the gradient effect.
  5. Peel off your liquid latex & seal in your whole nail with top coat—I used Cutex Quick Dry Top Coat. I think using Matte top coat would also look beautiful! 
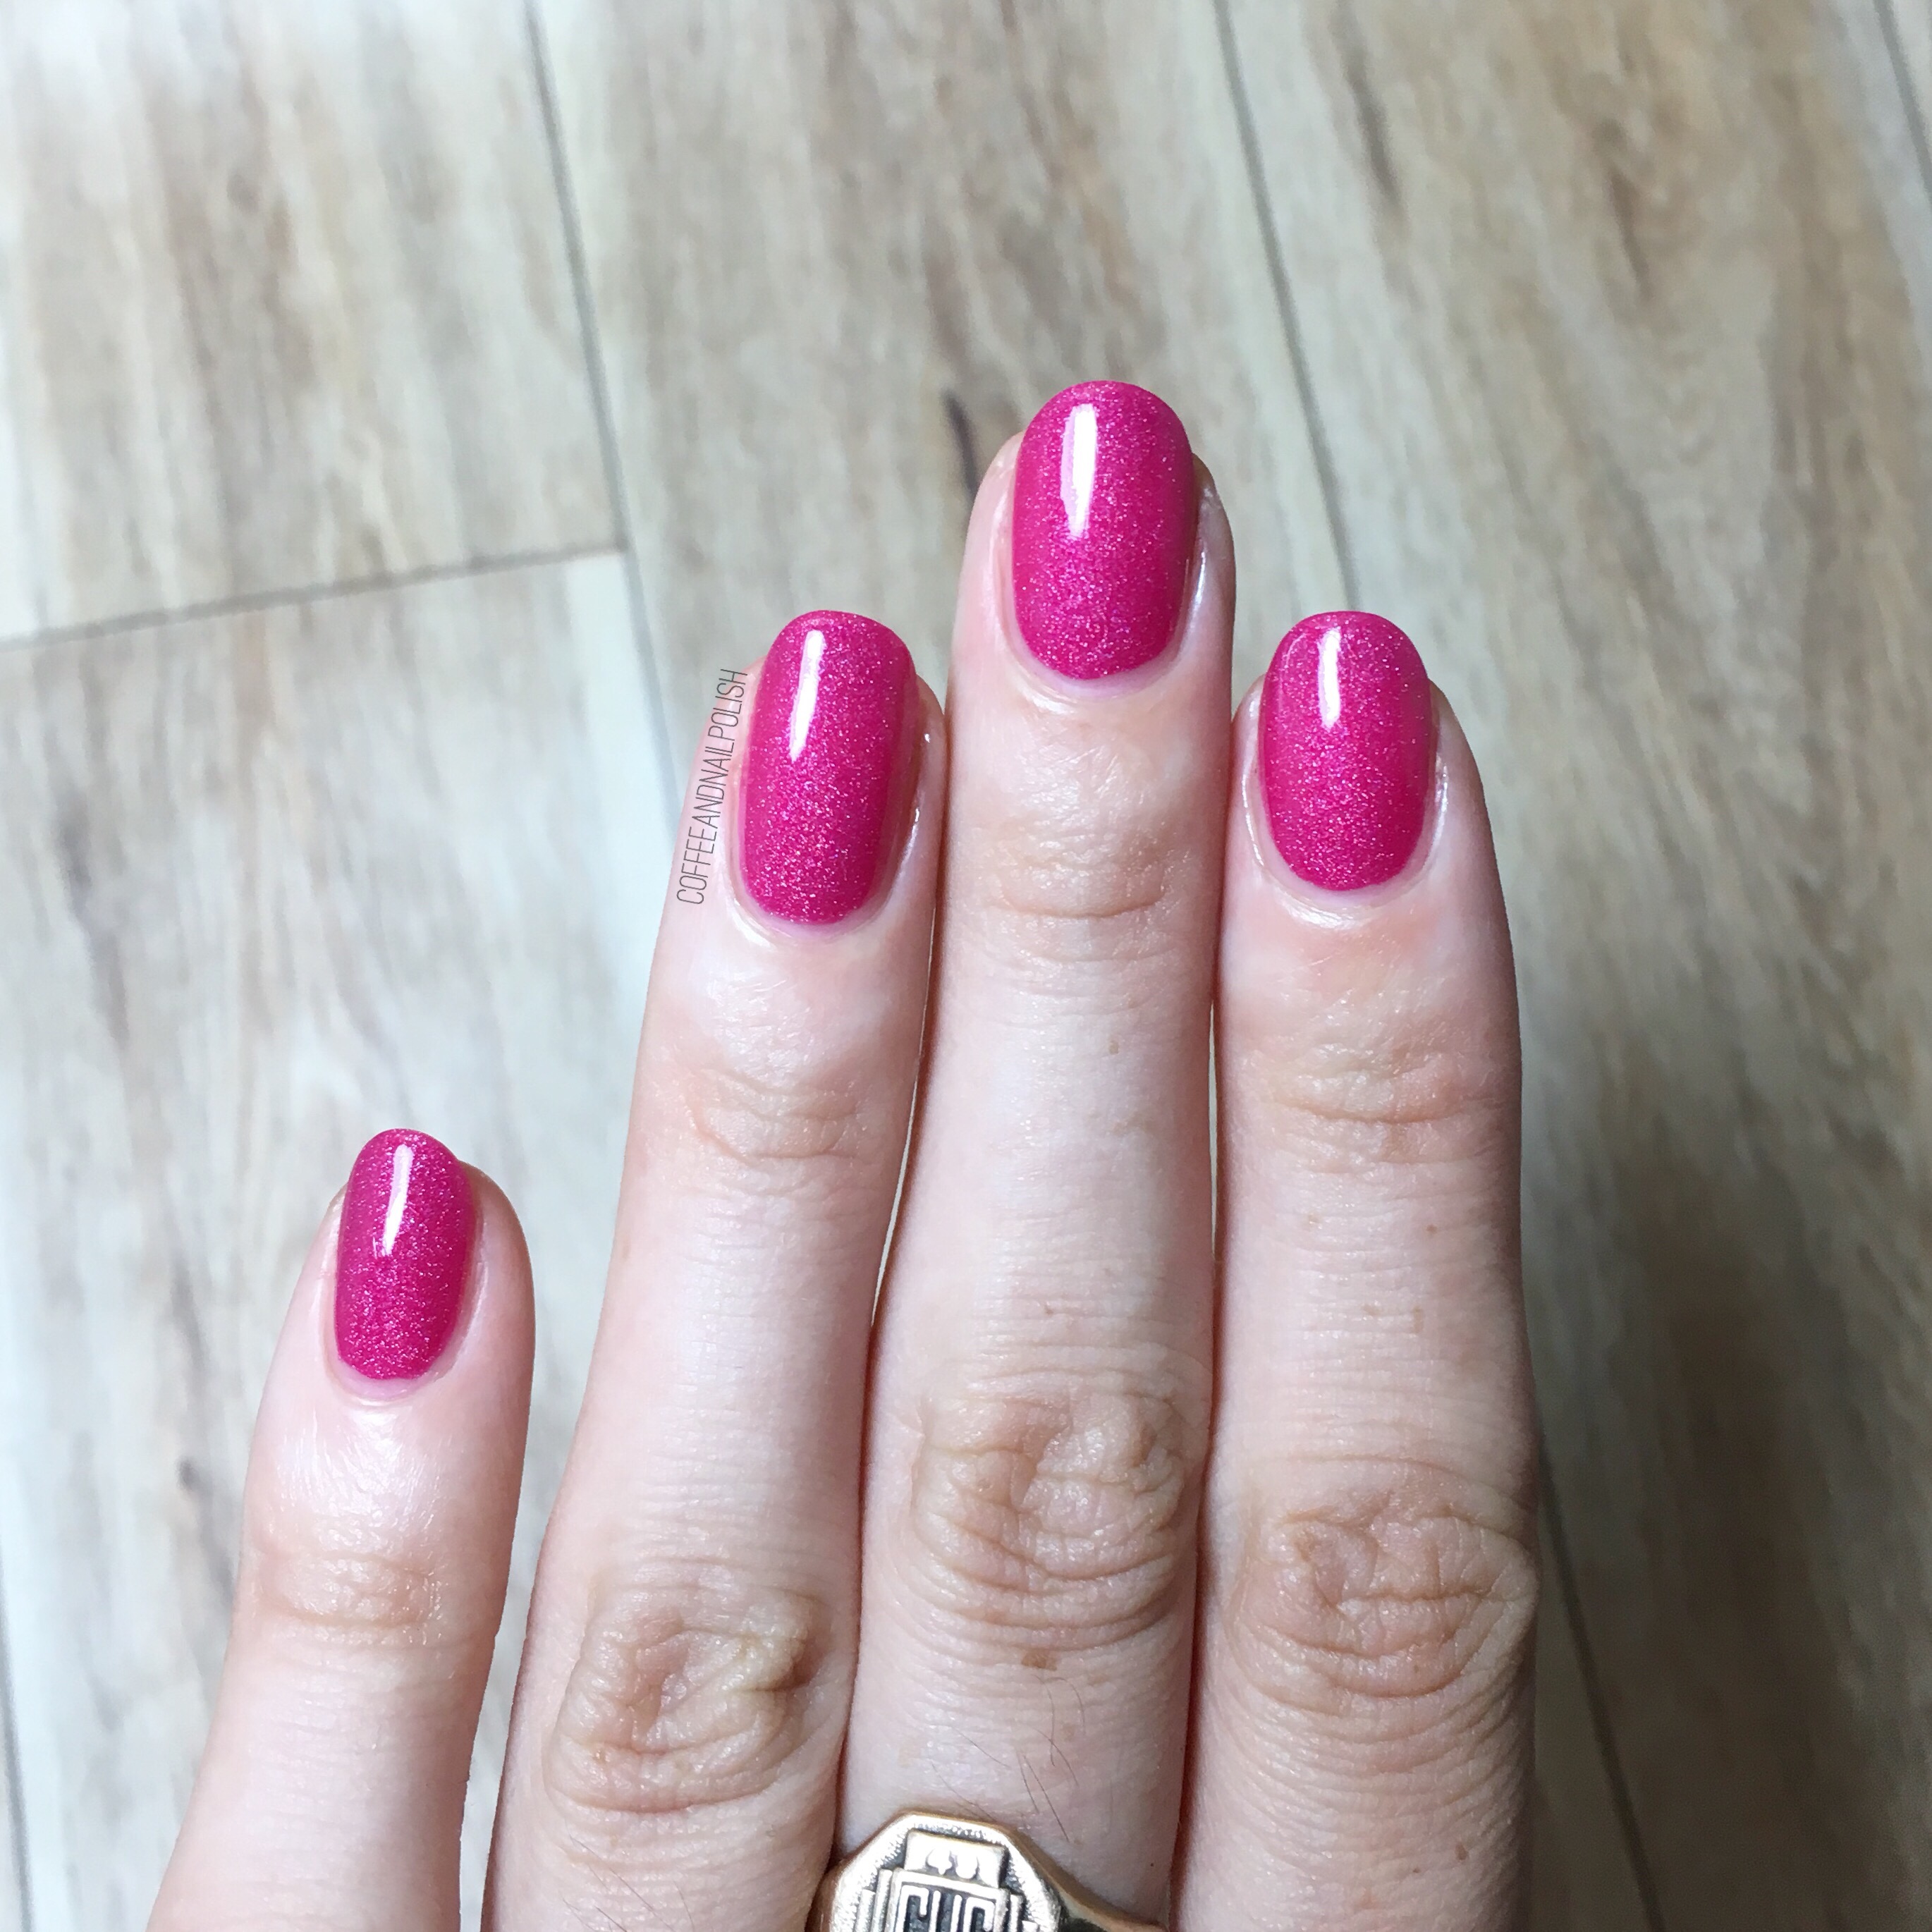
  6. Time to get distracted by your pretty shifty mermaid-esque nails. 

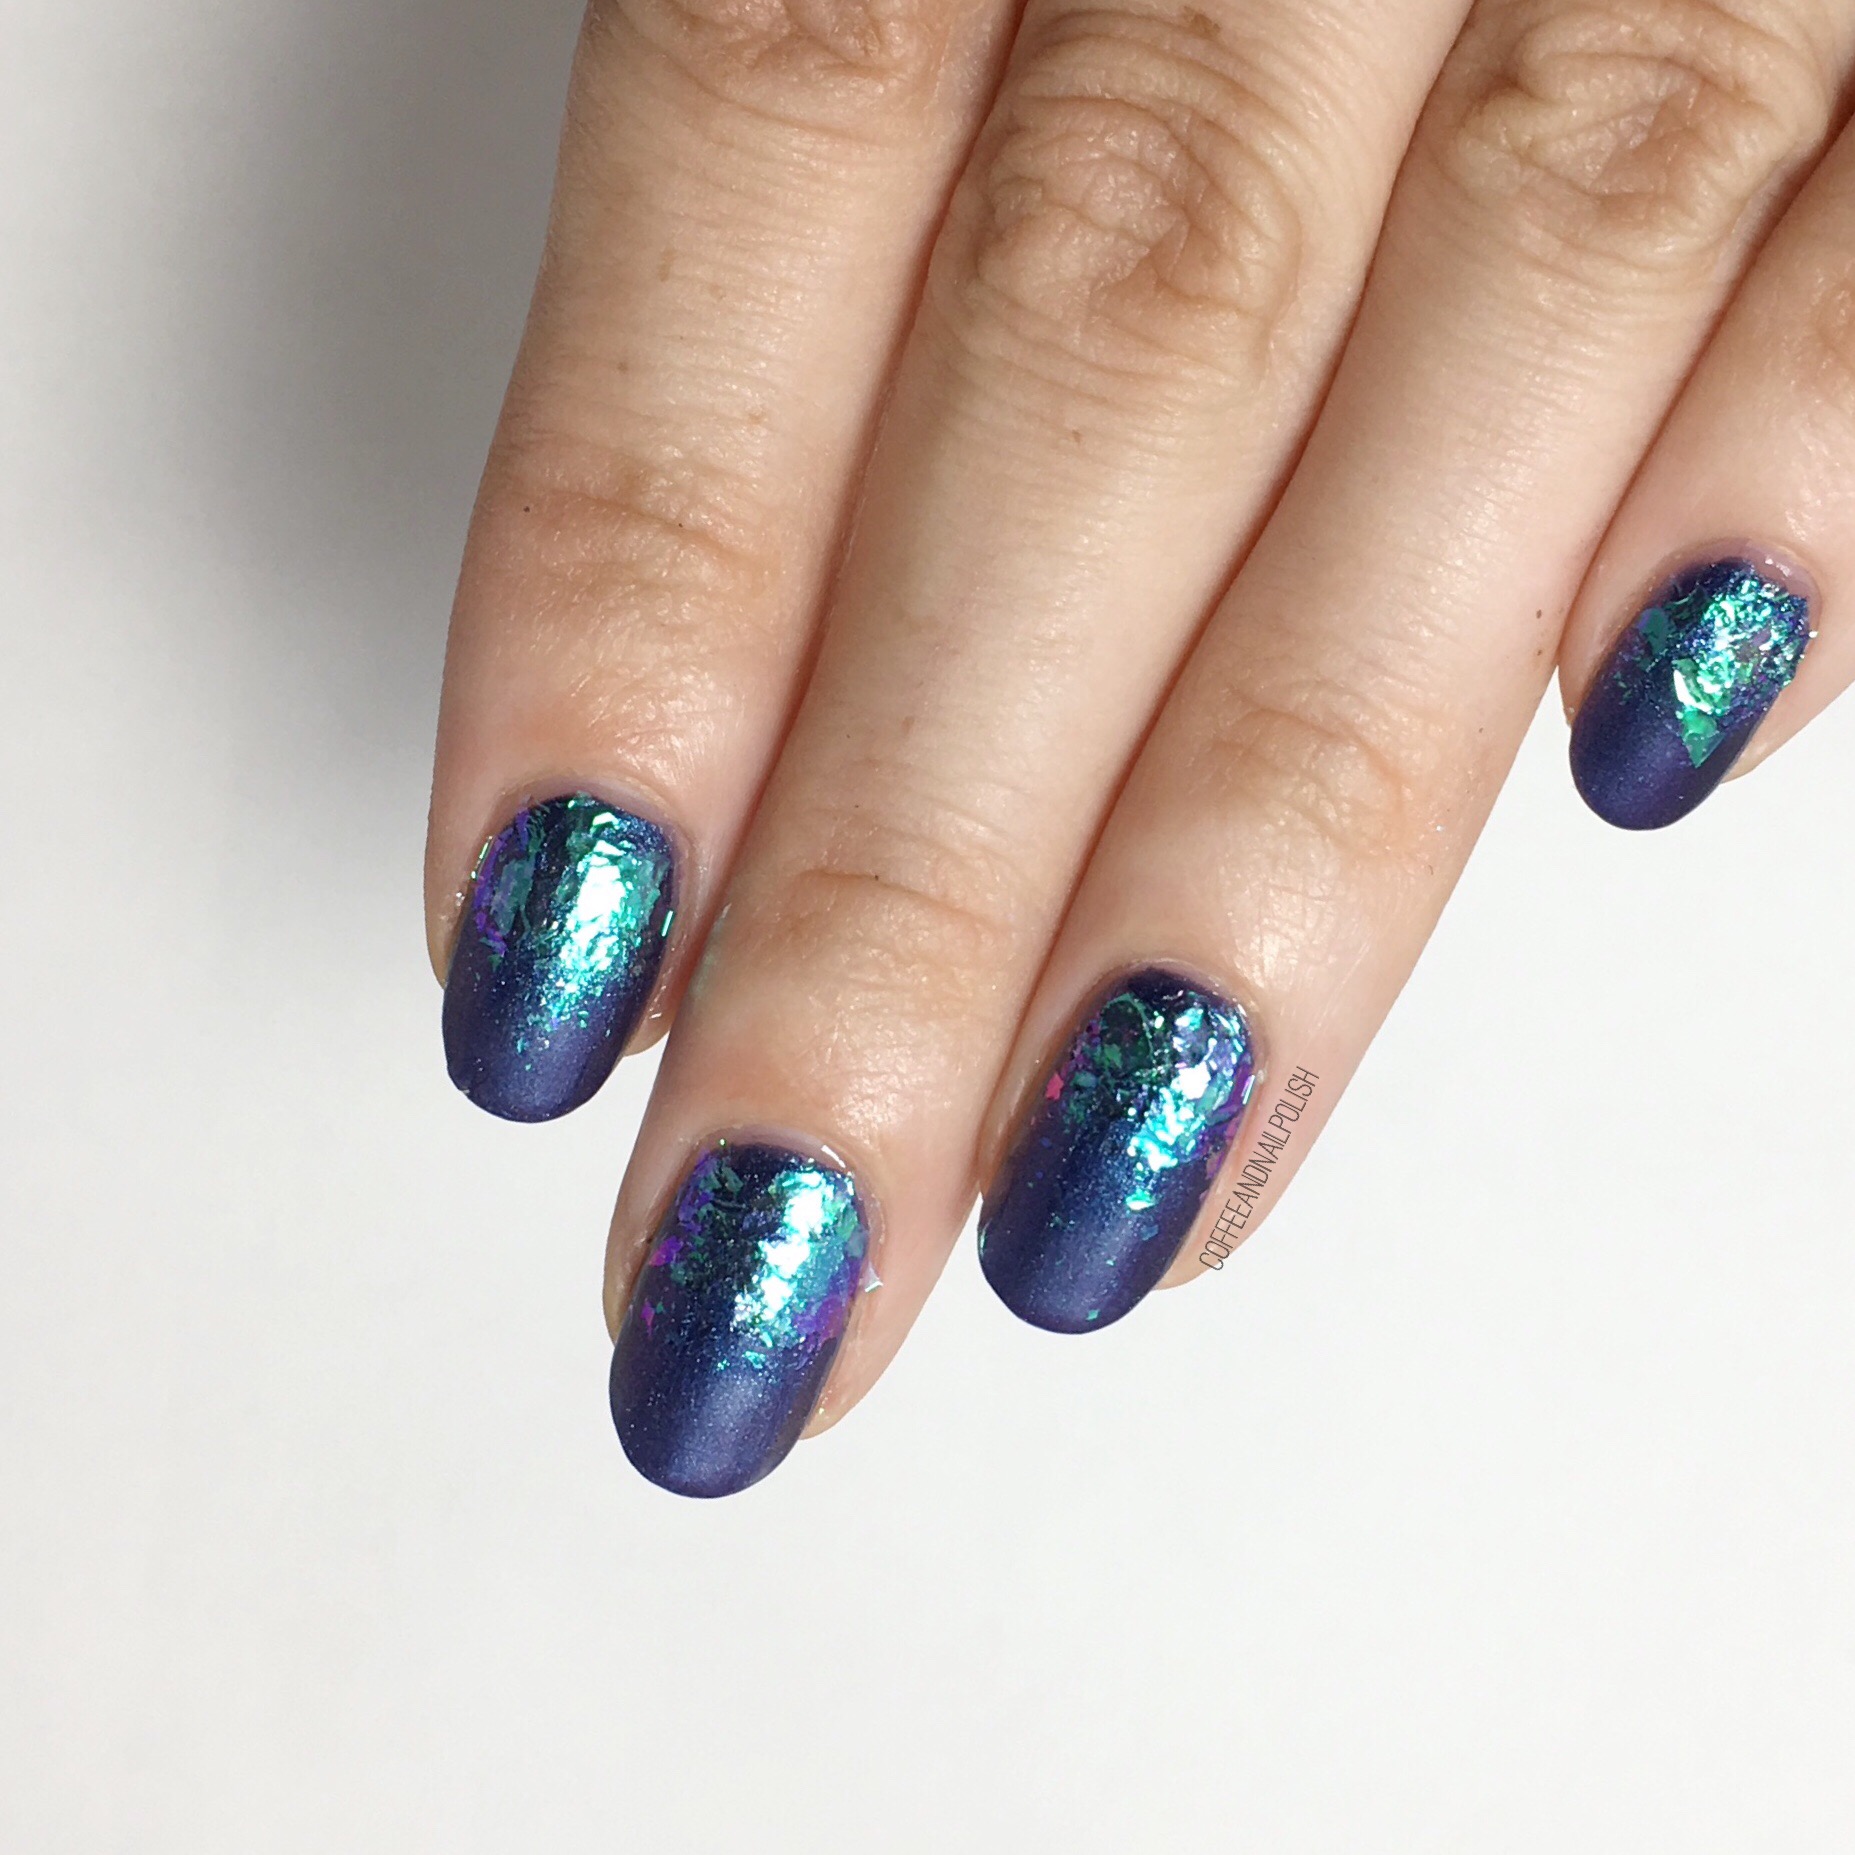
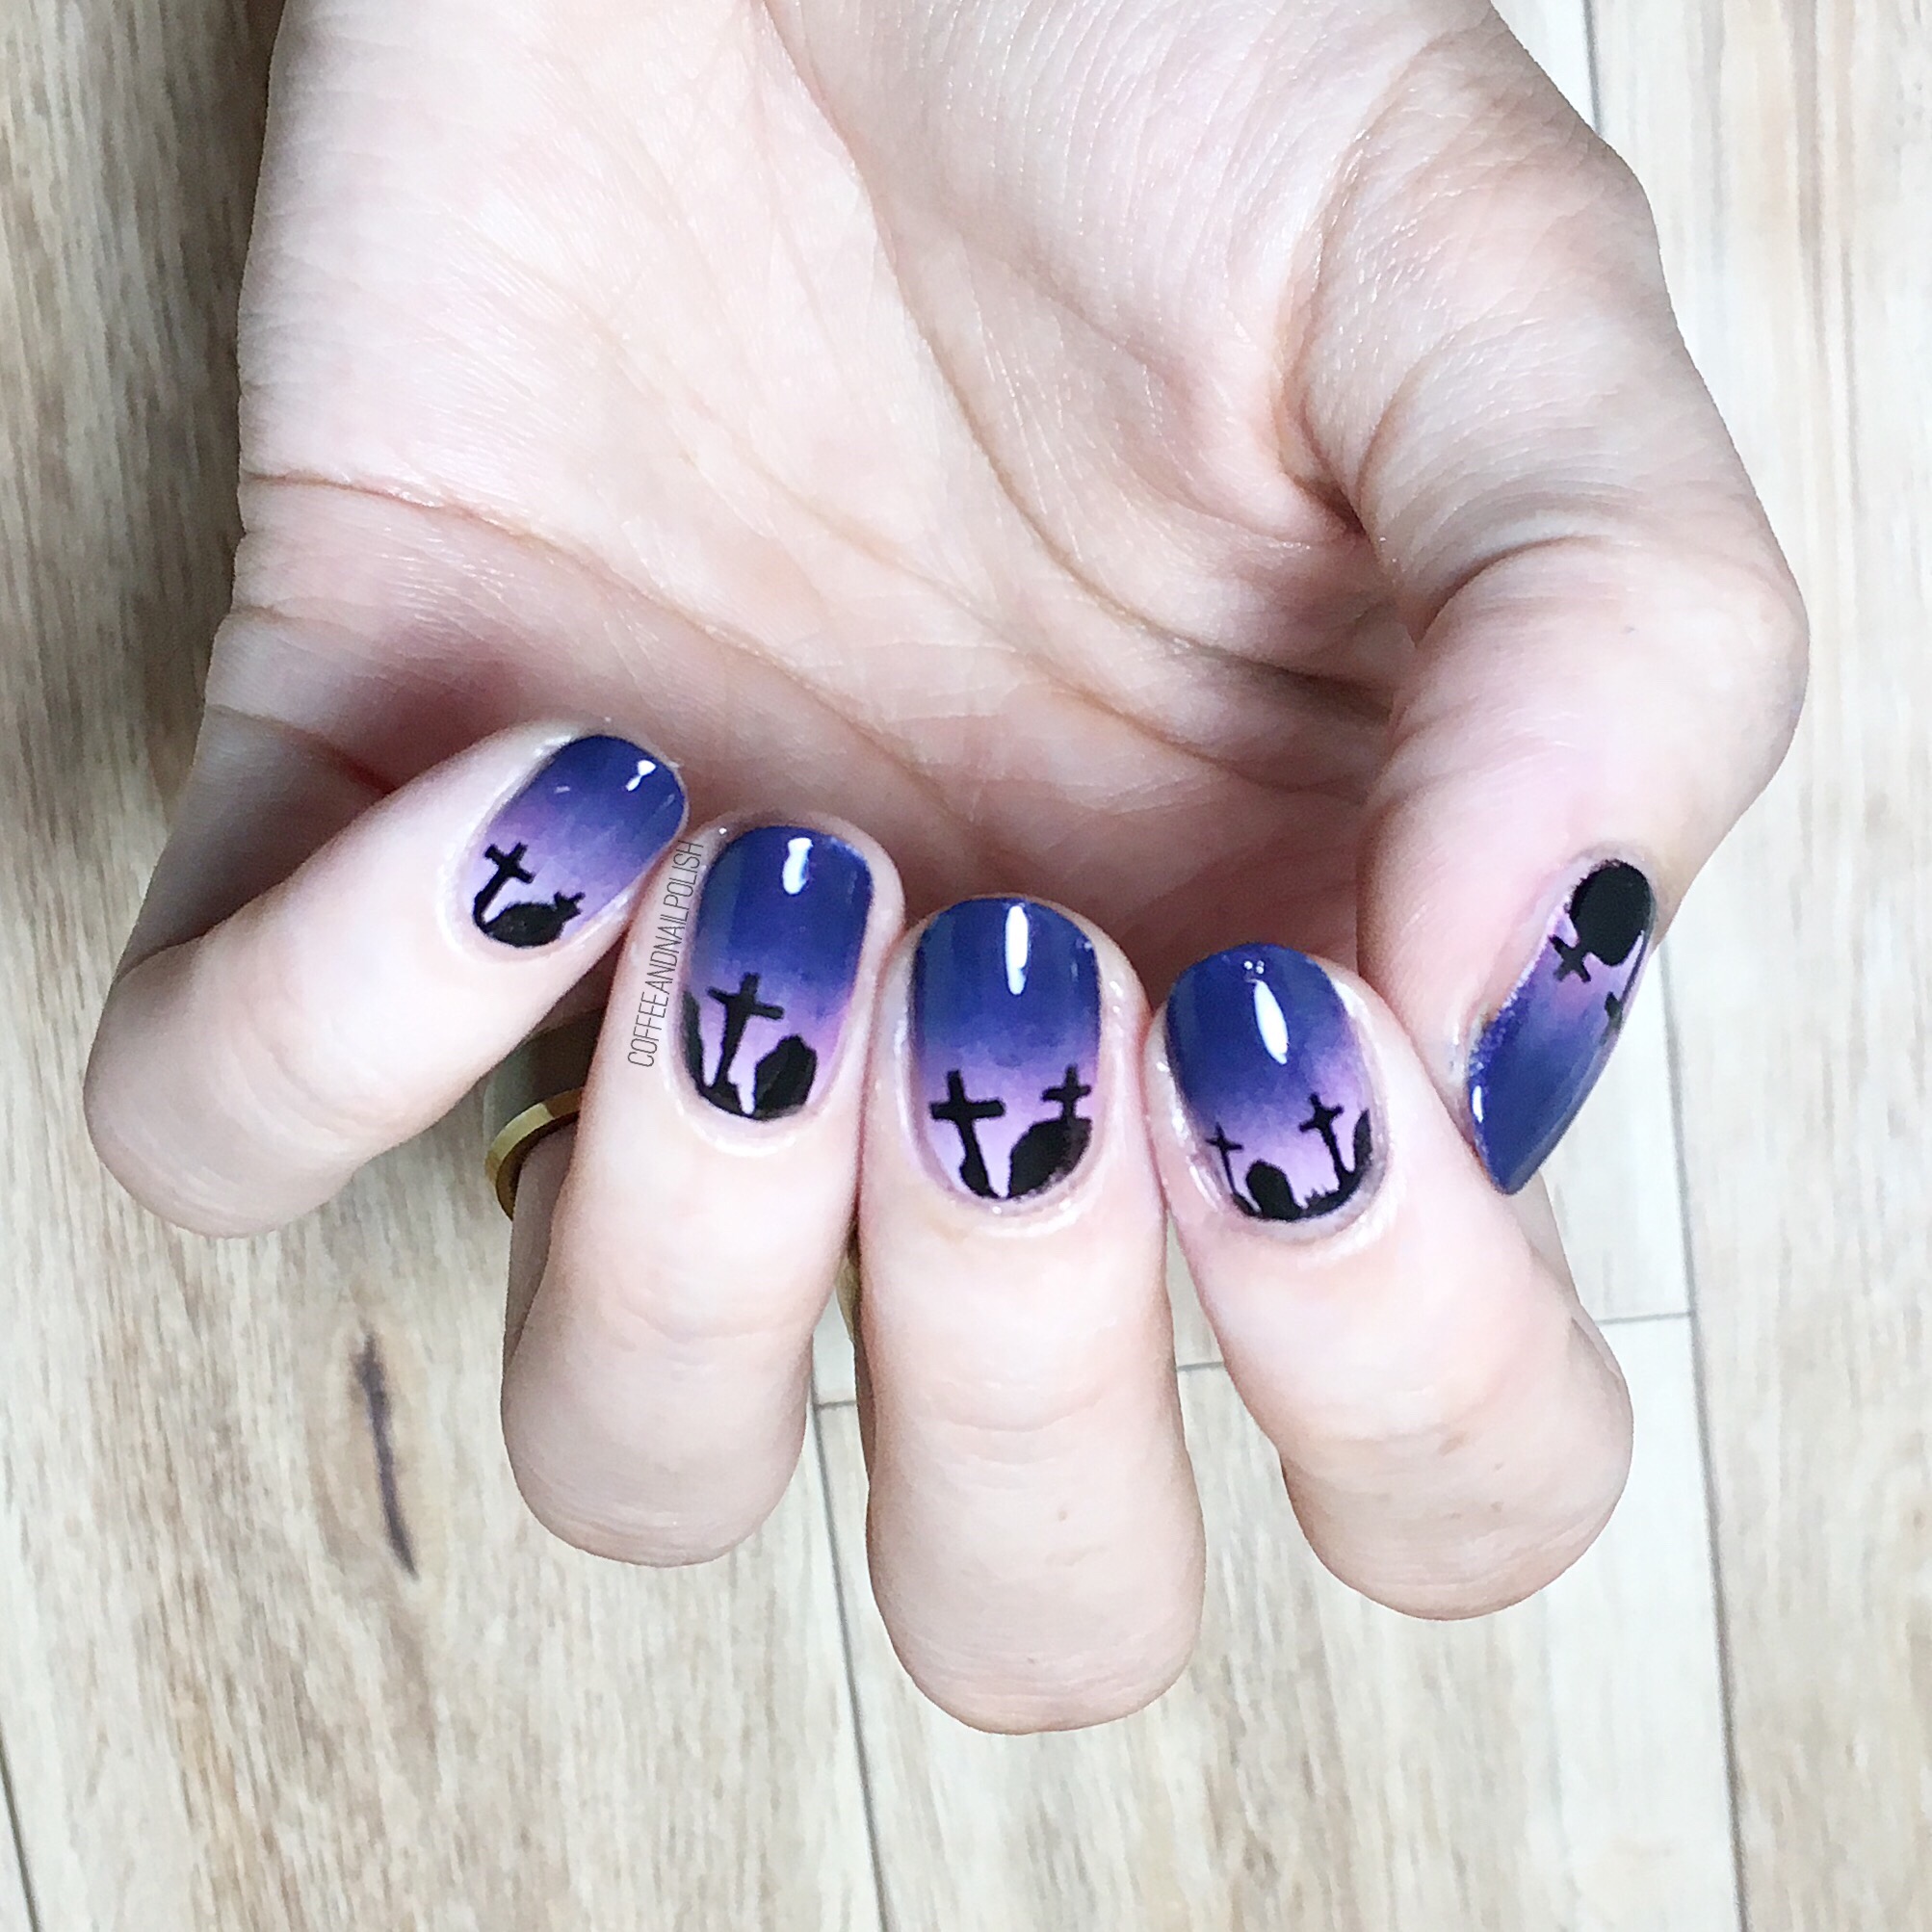
These flakies were a lot easier to apply than I thought they would be! You can see I got the hang of things are I went along with my pinky being my first nail & working towards my thumb. I think using a light touch really makes a huge difference on how they turn out. Also, I’m definitely going to try not applying the clear polish this time to see how well they go on. I feel like it made an extra step that wasn’t necessarily needed, so I’ll keep you updated!


Check out that shift! 😍 Had to include a shot of these nails in action because you really see how gorgeous they are in motion. & this mani totally matches my Starbucks multichrome “nail blogger” cup from a couple of years ago. Which is obviously the perfect excuse to fill up on iced lattes! 

If you’re curious about checking out these flakies for yourself, you can order these (& many more) straight from the NailStuff.ca website! Don’t forget that all Canadian orders over $29 have free shipping, & all US & International orders over $49 are free shipping. 

*PR SAMPLE* Some of these items were sent to me for review. However, all opinions are my own

Vacation Nails! 

This week, I took a mini vacation with our Lil Bubs to visit my parents up in Northern New Brunswick. Usually when I travel I tend to bring an assorted variety of nail goodies with me, because I know I will need to change up my manicure. However, because I know my Mum has quite the stash of polish on hand (she’s started painting sea glass jewellery peices with it—I’ll share a picture at the end!) I decided to leave my polishes behind for the opportunity to play around with the many shades she owns. 

For this manicure, the polishes I used were:

  • Base Coat: OPI Nail Envy
  • Top Coat: Seche Vive 
  • My Beauty Spot unnamed dark purple
  • L’Oréal Because I’m Worth It
  • L’Oréal The True Gold Transforming Top Coat
  • Essence Metal Glam Steel-ing the Scene 
  • Kiss Products zig zag Nail Vinyls 

These are definitely Fall nails. I’ve been really feeling gold & purple lately (especially together). I also totally forgot how good Steel-ing the Scene looks over dark colours (I also have a bottle in my stash at home.) This is a great combination which sadly I couldn’t capture as well as I would have liked thanks to some fairly dull bathroom lighting. Even still, I really dig how this mani turned out. At first I wasn’t quite sure but the more I stared at it, the more I like how everything came together. 

& just for fun, here is one of the beautiful pieces of sea glass my mum painted (using nail polish!) for the jewelry she’s been making. I have a couple pieces she’s made & they’re such pretty statement pieces. 


What do you think of this vacation design? Do you do your nails while on vacation or stick with what you leave with? What are your vacation nail essentials? Let me know in the comments below! 

Graveyard Nail Stencils with NailPolishCanada (& how to score your own set of vinyls for free!)

We’re over halfway to Halloween, which it’s time to get serious about Halloween nail designs! & what is more Halloween than spooky graveyard nails! Thanks to What’s Up Nails & Nail Polish Canada, I had a quick & easy time creating the spookiest of nails! 🎃 

The polishes used for this manicure were:

  • Base Coat: OPI Natural Nail Base Coat
  • Top Coat: Cutex Quick Dry Top Coat
  • Essie Go Ginza
  • OPI Auroa Berry-alis 
  • China Glaze Sleeping Under the Stars
  • Essence Back to Black 
  • What’s Up Nails Graveyard Stencils c/o: Nail Polish Canada 

These graveyard vinyls are great because they have multiple ways you can use them—my favourite is to use them as a stencil & paint in the design. I found it worked best by sponging on the black using a tiny piece of make up sponge. You could also apply the stencil to your nail & paint over top or you could use the vinyl itself & seal it all in with top coat. Each sheet of Graveyard vinyls comes with 20 vinyls (inner & outer) in small & large size which means you have a ton of graveyard nails to do in the lead up to Halloween. 

I’ve been lucky enough to team up with Nail Polish Canada to share a code for TEN of my readers to score their very own graveyard vinyls just in time for Halloween! You can click here & enter the code E75337KJX9A1B in order to claim your own set of vinyls. 

What do you think of these graveyard nails? What Halloween design are you most excited to wear this year? Let me know in the comments below. 🖤

SWATCH SUNDAY—Essence Out Of Space Stories in Beam Me Up!

Happy Swatch Sunday! Hope you’re having an exciting weekend. I’m excited because I was at my local Shoppers Drug Mart & found they’ve recently put out the Essence Out Of Space Stories collection. I actually squealed when I saw them, which lead to awkward stares from those around me. Haha. 

I first saw these shades when Mani Geek posted about them, but was disappointed they were only available on the website. Well surprise… not anymore! I decided to only pick one (for now) which turned out to be a hard decision. I must have picked up each shade & put it down again about 3 times before I finally decided on Beam Me Up! 

Beam Me Up! is a vibrant pink with golden shimmer with a slight scattered holo. This was two coats, plus top coat. I’ve been a fan of Essence shades for a long, long time & I always get so excited when new collections are released & this shade definitely lives in to the inner excitement I had brewing for these shades! This pink is just perfect & it manages to stand out from the other pink scattered holos in my stash. 

This pink is seriously everything. That little bit of scattered holo takes a pretty polish & makes it a gimme gimme gimme polish. Also I have to mention how much I love the Star Trek inspired names! I grew up in a totally Trekky house so it’s a nice bit of added geekiness. 

Have you found any of the Essence Out Space Stories shades in stores yet? These polishes had definitely only been recently added at this location (I usually go there every couple days) so if you haven’t found them yet, keep checking. I plan on checking my local Superstore (Loblaws) to see if they’ve added them to that display as well. 

Have a great Sunday everyone! 💅🏻

Sparkly Red Stamping 

I’ve been seriously digging red nails lately. They’ve been a favourite of mine for a long, long time—I almost used to exclusively wear red nails during my late teens, early twenties—so I’ve accumulated quite the stash of crimson polish. & even though my days of just wearing red are a bit behind me, that doesn’t stop me from buying good red polishes when I see them so my stash has continued to grow.

 I recently found a beautiful red at my local Lawtons (one of my favourite stores for polish steals) & I found a red shade from L’Oréal (Carmin Parisien) that seemed to me to be more opaque than most reds, so I had to buy it! Even though I love red nails, I find that a lot of red shades are not opaque & usually show some degree of visible nail line. Lucky for me, L’Oréal Carmin Parisien is completely opaque in 2 coats! This pretty much cements it as my new go to red. 

The polishes I used for this manicure were:

  • Base Coat: OPI Natural Nail Base Coat
  • Top Coat: Sally Hansen Diamond Flash Top Coat
  • L’Oréal Carmin Parisien 
  • CND World Crimson Sparkle
  • Sally Hansen Hard As Nails Black Heart
  • Born Pretty Store Clear Jelly Stamper (item #38611)
  • Essence Cosmetics Stampy Set stamping plate. 

I’ve actually been thinking about buying this stampy set from Essence for a while, but I had some Optimum Points to spend so I decided to pick it up. The very first stamping set I ever bought was from Essence, & they’ve definitely upped their game since I bought that one—the images actually fit my whole nail now! For a beginner curious about the whole stamping business, this is a great little set to try it out & see if you like it (especially for under $5). 

What do you think of these sparkly red nails? What colour do you love the most on your nails? Let me know in the comments below!