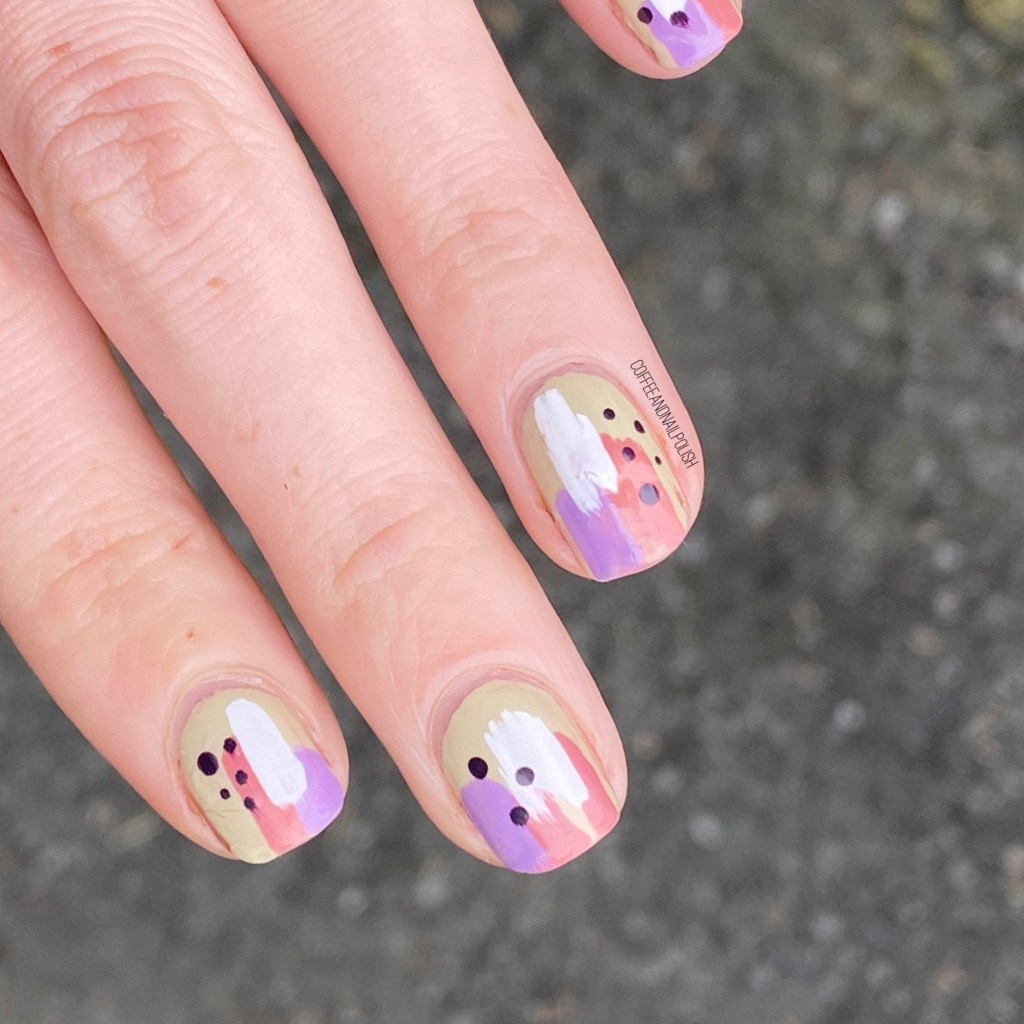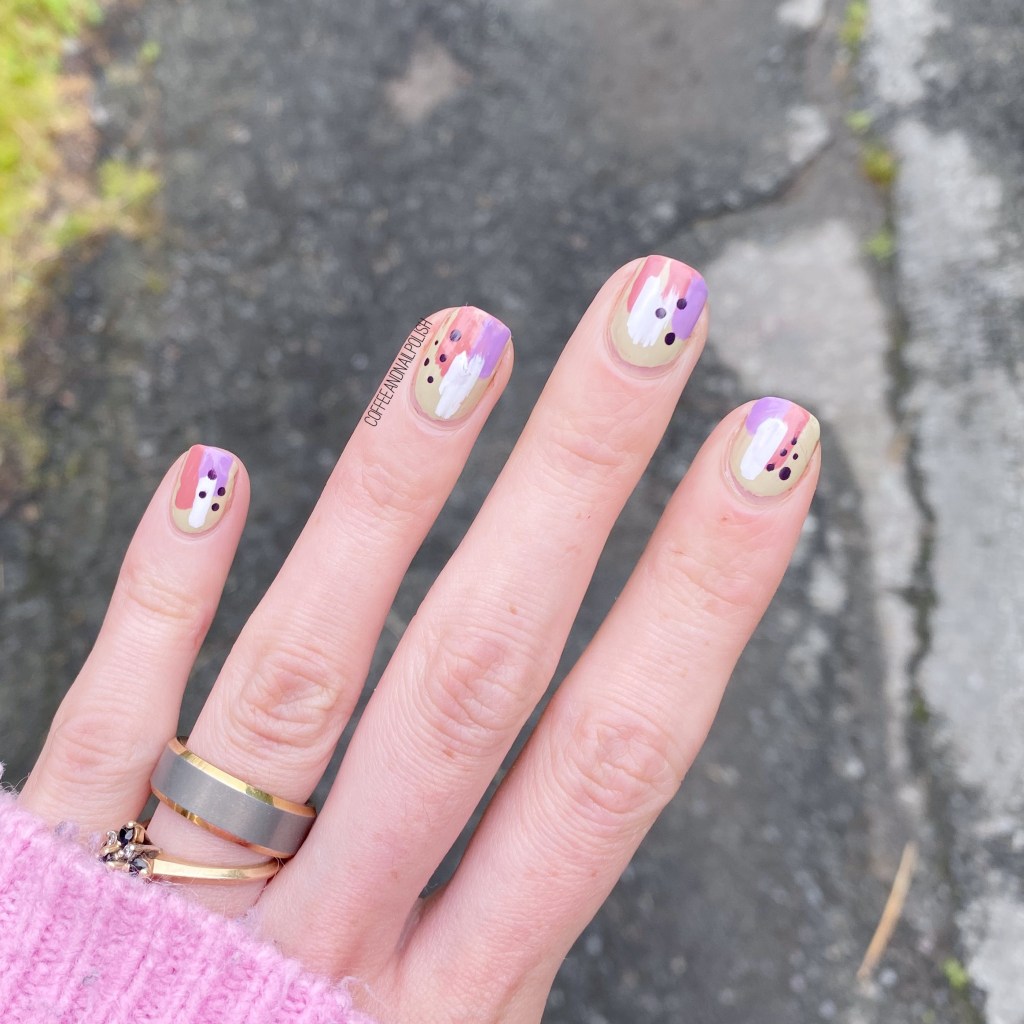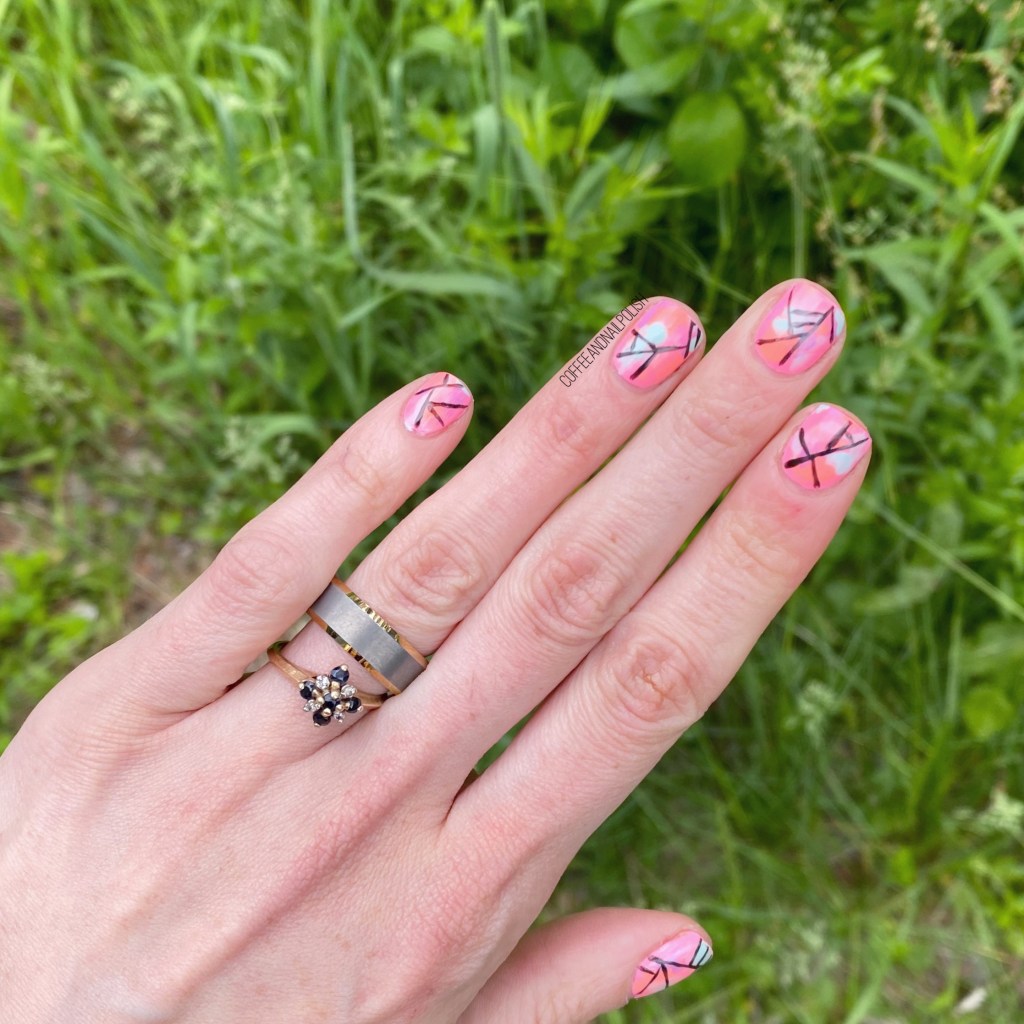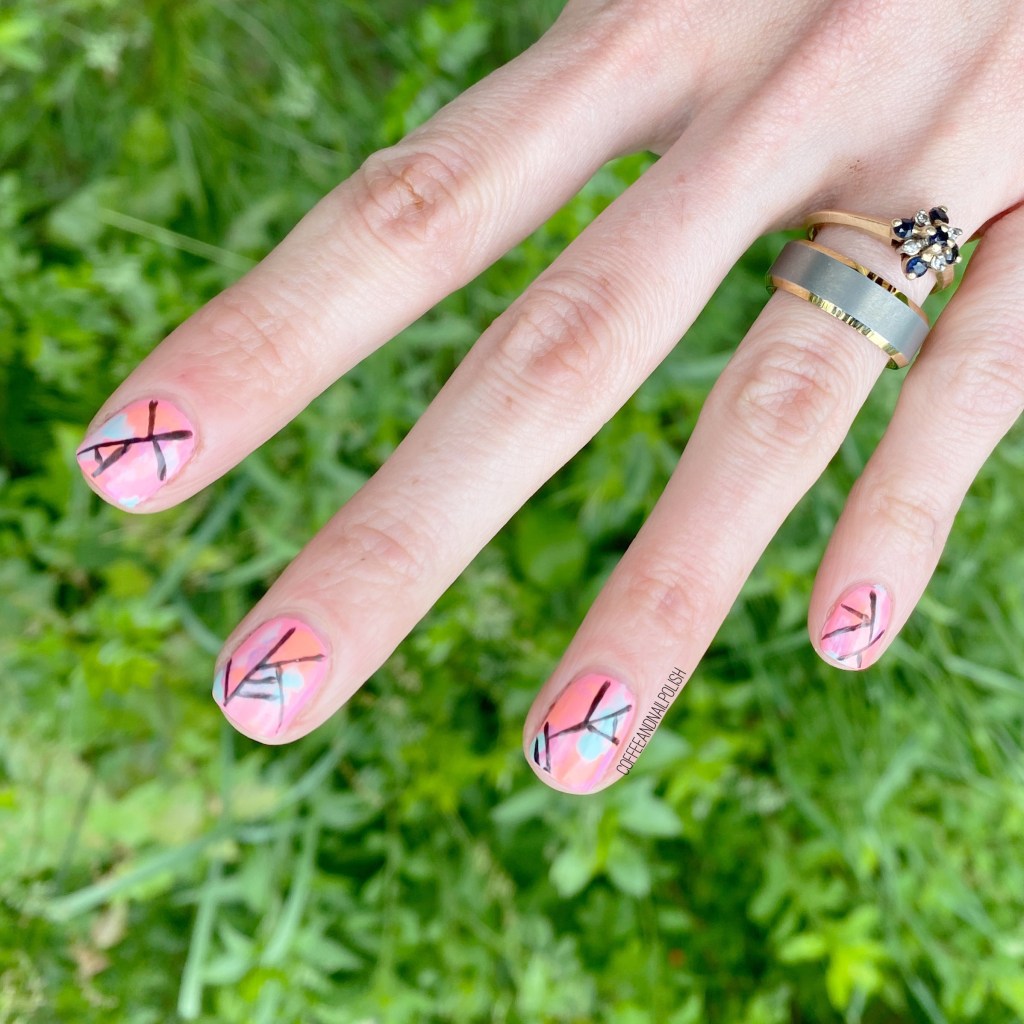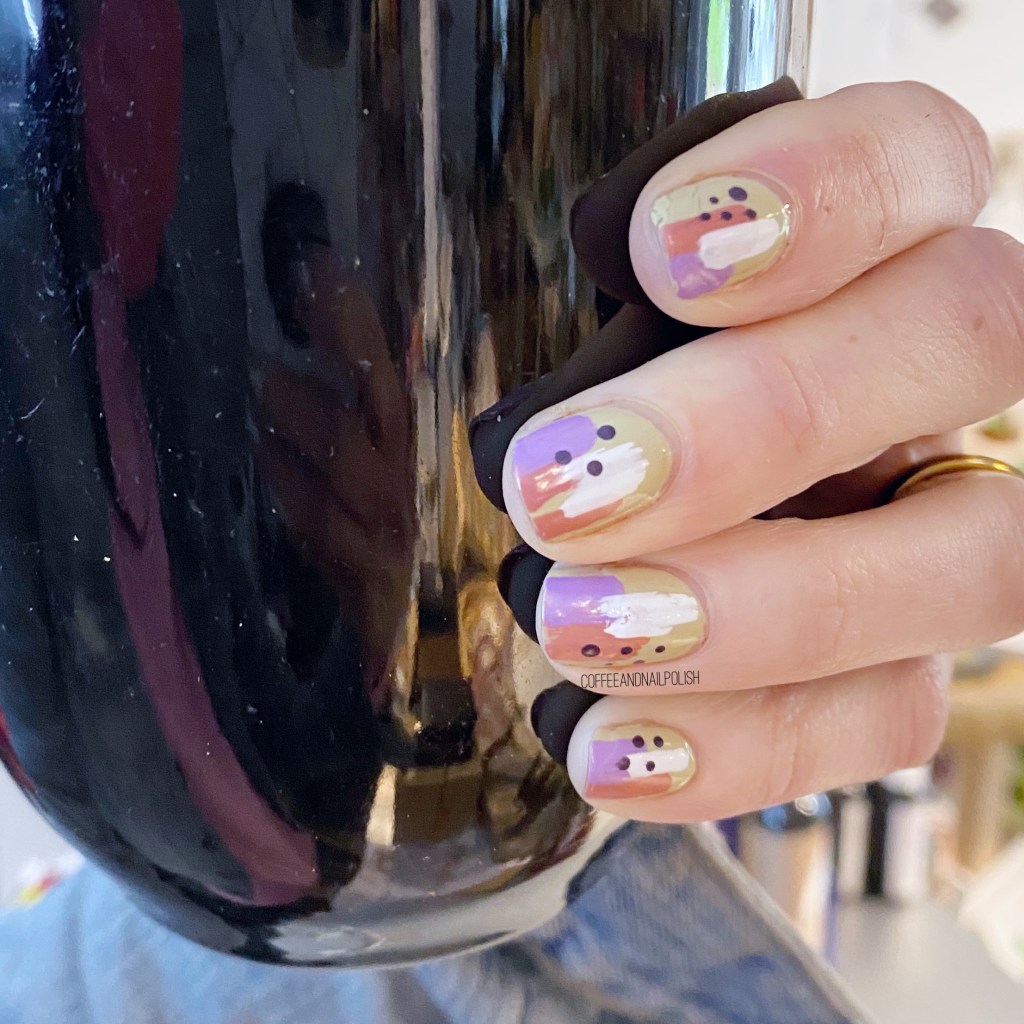
Muted Dry Brush

Hello lovelies & happy Thursday! Whoa… how is it Thursday already?! The weekend is almost here. I wish it was beautiful & sunny day but nope… 80% chance of Thundershowers haha.

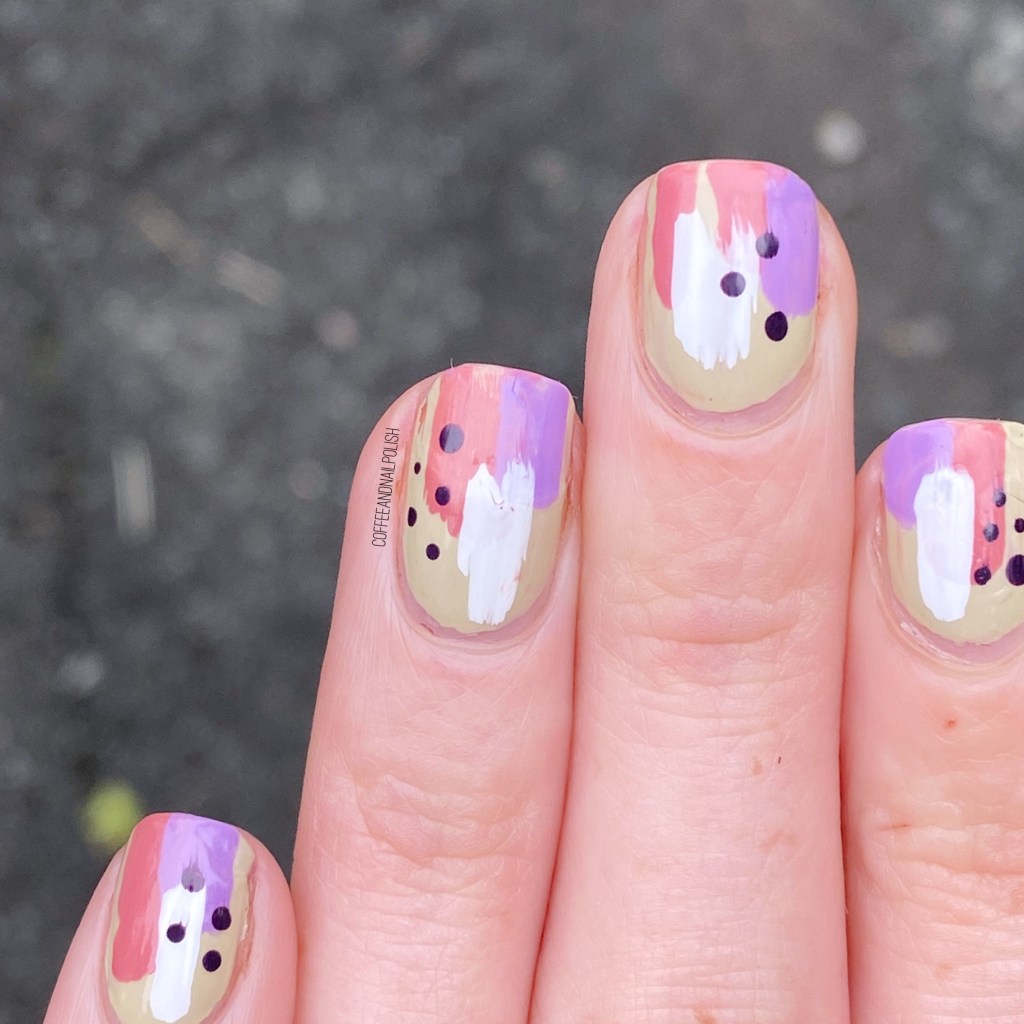
Today I’m keeping up with the nail art, & sharing this brush stroke look. I haven’t done one of these in forever, but it was another case my previous mani had started to chip, & I needed something to cover it up, but didn’t have time to repaint my full nail. So bring on the sneaky nail art!
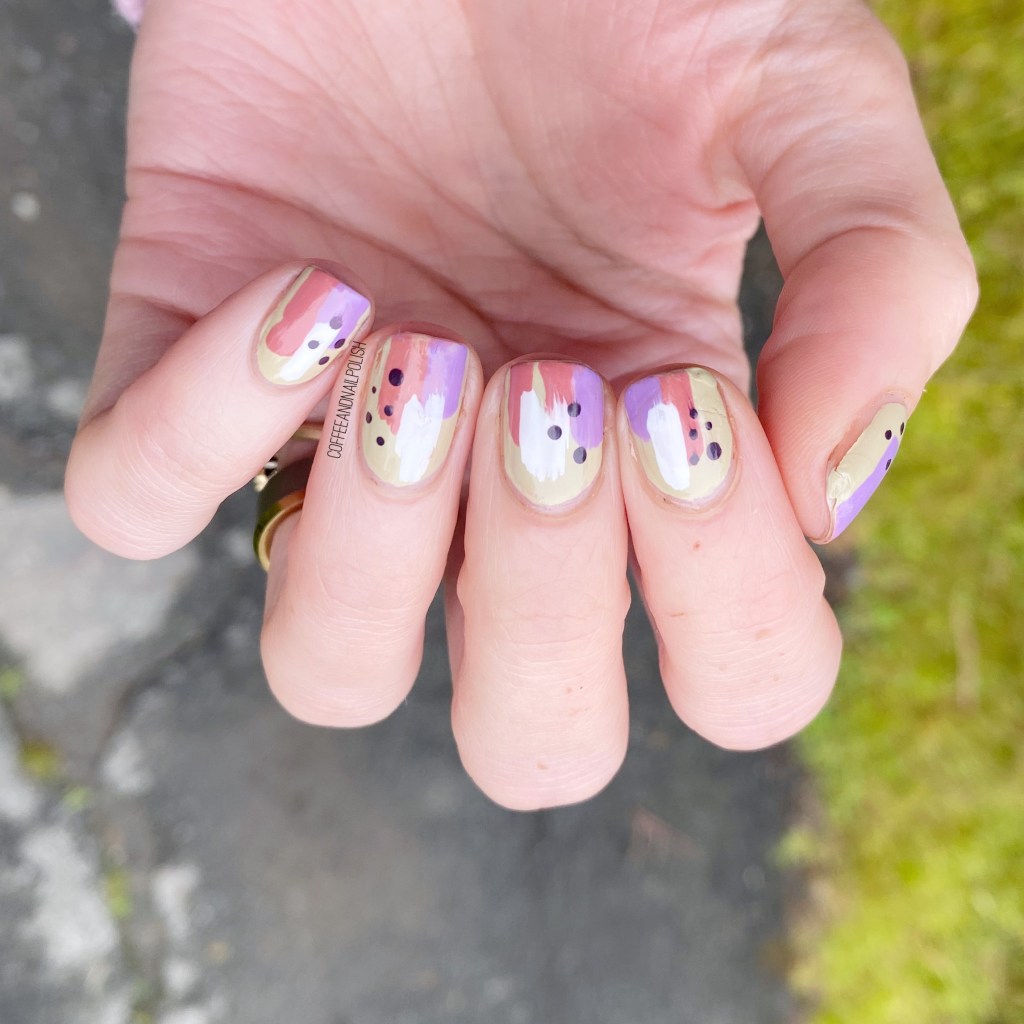
For this manicure, the polishes I used were:

  • Base Coat: Sally Hansen Nailgrowth Miracle
  • Top Coat: Essie Speed Setter
  • Essie Cacti on the Prize
  • Essie Shop Til You Drop
  • Essie Worth the Tassel
  • Essie Blanc
  • Essie Kimono Over
  • NailStuff.ca Dotting Tool Trio

This is such a simple & easy to do look! Literally anyone can do it, & it looks way more fancy than it actually is. I thought about adding a little gold flakies, but decided to just keep it more simple & muted, & I’m really glad that I did! I even ended up wearing this design for 2 whole days, which I feel like I never, ever do anymore. But it was just too pretty.

How are we feeling about this muted dry brush? Have you ever done a dry brush look like this before?

I’ve been (sort of) thinking about getting back into making short tutorial videos again — would that be something you’d be interested in seeing? Let me know in the comments below!

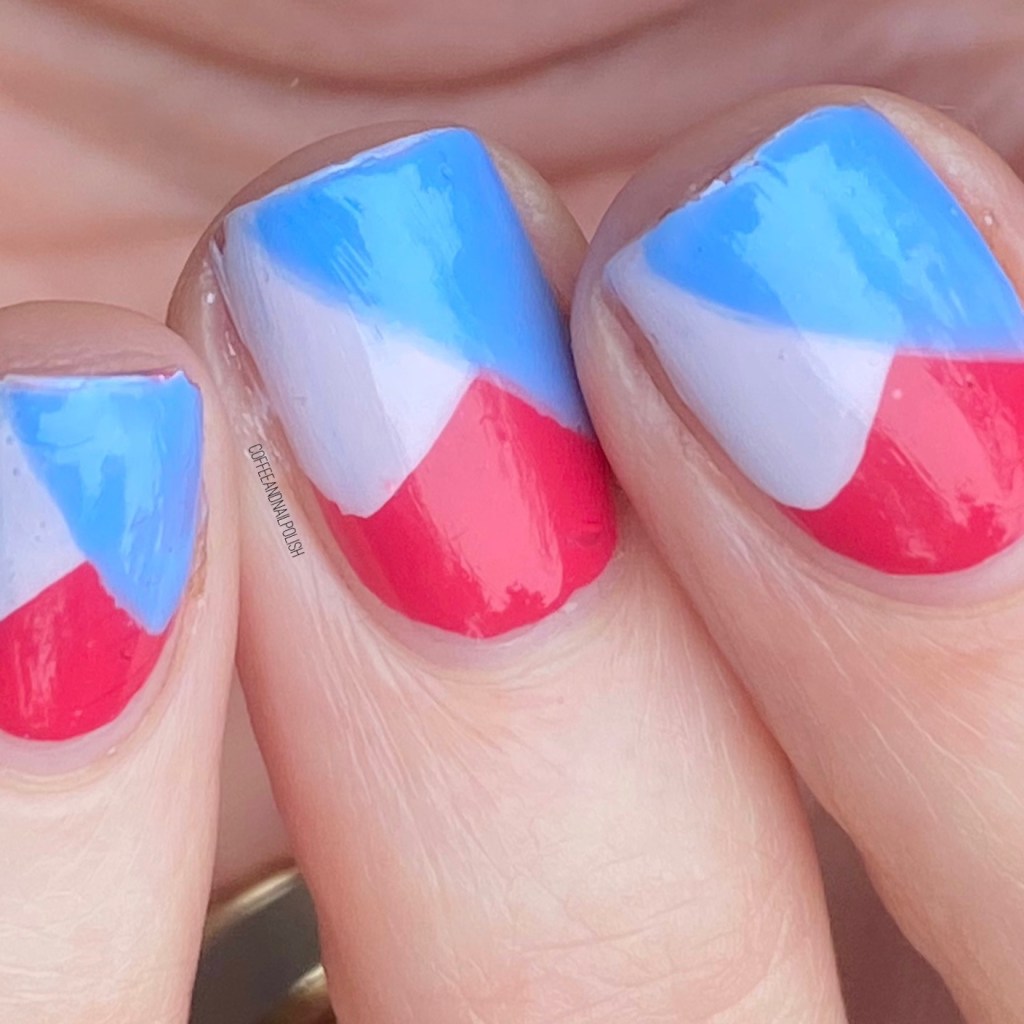
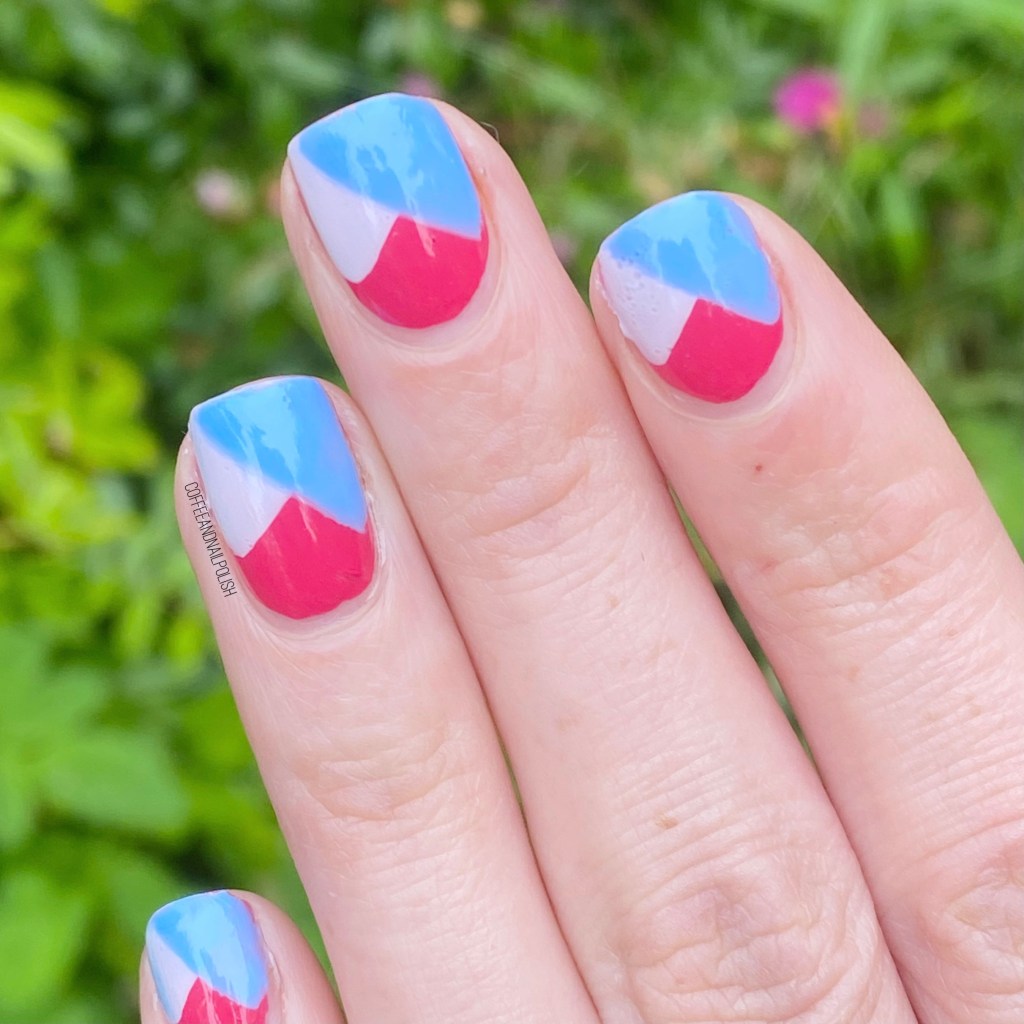
Summer Colour Block

Morning lovelies & happy Tuesday! Time for some more nail art!

I was feeling a bit uninspired for a while, but I think I might be breaking out of my funky fully now! Today it’s all about these funky freehand colour block nails. I love these colour combo nails, mostly because the colour combinations are endless, & they can be worn in any season.

For this manicure, the polishes I used were:

  • Base Coat: Sally Hansen Nailgrowth Miracle
  • Top Coat: Essie Speed Setter
  • Sensationail Nailtural Cactus Me Outside
  • Sensationail Nailtural Born to Explore
  • Sinful Colors Hip To Be Square

This look is super simple — no tools needed. Just three fun nail polish shades & a steady hand. I had actually been wearing Sensationail Nailtural Cactus Me Outside (how fun is that name?) the previous day, with some chipping, so I decided to add some nail art on top to hide the chipping & it turned into such a cute look! Like I said, I love love love a good colour block!

What do you think of these nails? What three colours would you combine in a colour block design? Let me know in the comments below!

Neon Green & Floral

Hello lovelies & happy Tuesday! A beautiful, sunny Tuesday at that. Today I’m going back to my comfort zone with some floral nails — but jazzing things up with a neon base!

Lately I’ve been seeing all this neon green manicures, & I really really needed to paint some neon green on my nails. But obviously I couldn’t leave them plain, so I added some floral overtop!

For this manicure, the polishes I used were:

  • Base Coat: Sally Hansen Nailgrowth Miracle
  • Top Coat: Essie Speed Setter
  • China Glaze Be More Pacific
  • Sally Hansen Good.Kind.Pure Peony Origins
  • Sally Hansen Miracle Gel Fuchsia Fever
  • Sally Hansen CSM So Much Fawn
  • Sally Hansen Insta-Dri VaVa Violet
  • Sally Hansen I ❤️ Nail Art in purple
  • Sally Hansen I ❤️ Nail Art in green
  • Essie Off Tropic
  • NailStuff.ca 7mm detail brush
  • NailStuff.ca Dotting Tool Trio

Lately I haven’t felt super inspired, nail art wise, which kind of sucks. Trying my best to get out of my funk with simple looks, but sometimes it’s hard. I’m working particularly long hours right now (like 10 hour days) so when I get home from work, I’m feeling pretty tired, so there is not always enough time for fun nail art looks. Trying my best to inspire myself, but it’s not always easy. Guess I’m going to have to spend a little more time perusing Pinterest for inspo.

What do you think about this floral over neon green? It’s so funny because I’ve just featured 2 neon green manicures back to back, which isn’t a colour I usually reach for. Guess the sunny days are inspiring me… now if only they could shake me out of my nail art funk!

Have a lovely day!

Neon with Freehand Lines

Hello Summer, how you doing?

Hello lovelies & happy Tuesday. I hope everyone had a wonderful weekend. We celebrated my little girls 2nd birthday this weekend with lots of cake, a fun play date, more cake, & some actual sunshine. It was very exciting!

Now we’re set for a rainy, muggy, thunder-y week. At least I get a little bit of brightness through my nails! This neon look is a throwback to some nails I did (more than) a few years back. Something about short nails just makes me want to rock neons & graphic lines. & my nails have been pretty short lately.

For this manicure, the polishes I used were:

  • Base Coat: Sally Hansen Nailgrowth Miracle
  • Top Coat: Essie Speed Setter
  • China Glaze Flip Flop Fantasy
  • China Glaze Shocking Pink
  • Essie Mint Candy Apple
  • Essie Worth The Tassel
  • Sally Hansen Miracle Gel Blacky-O
  • NailStuff.ca 16mm Striper Brush

So bright!

So this base was an attempt to cover up a chipped manicure, & then a saw how pretty it was & thought it would be perfect for some graphic black line work. I find these kind of designs much easier to freehand over the straight horizontal lines. Which sucks, because I have a few looks in my head I’m itching to try, but scared of mucking up with uneven lines.

What do you think of this design? What nail art looks are you planning for this week? Let me know in the comments!

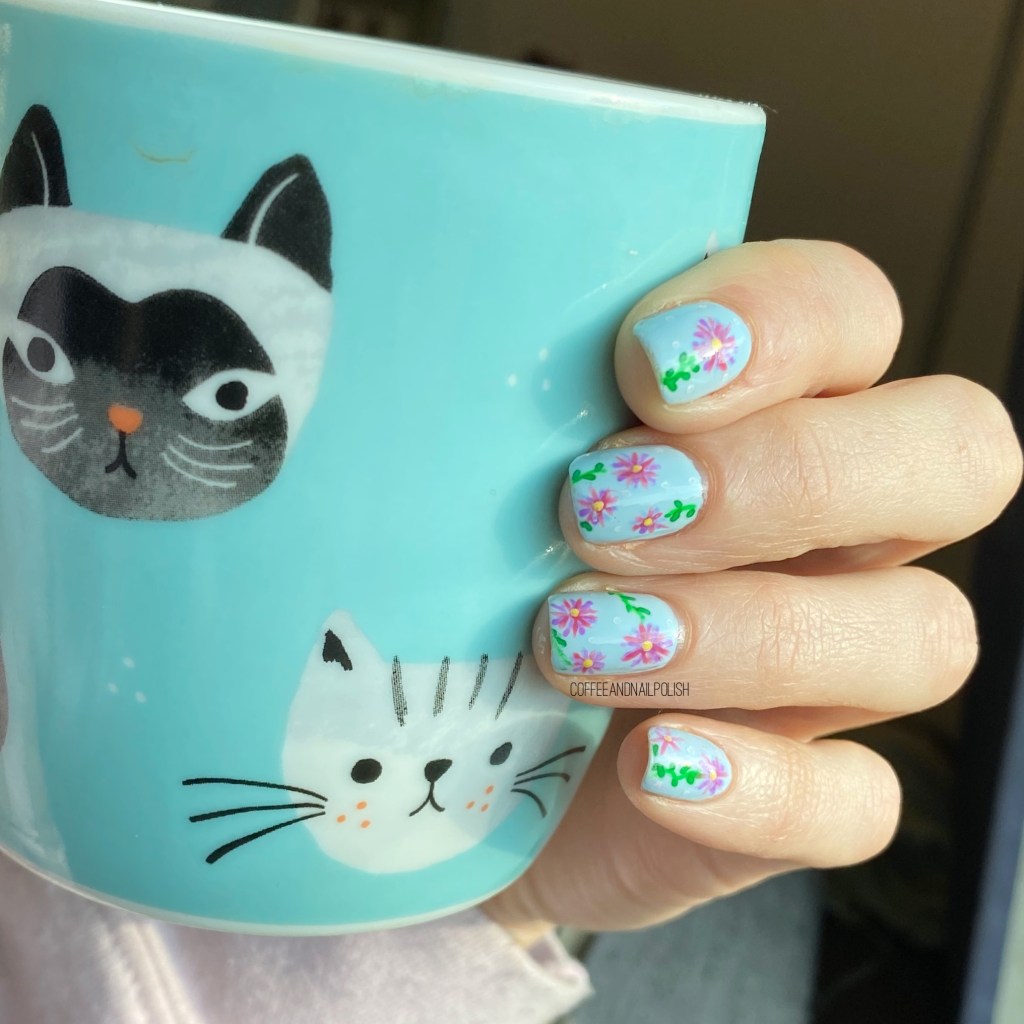
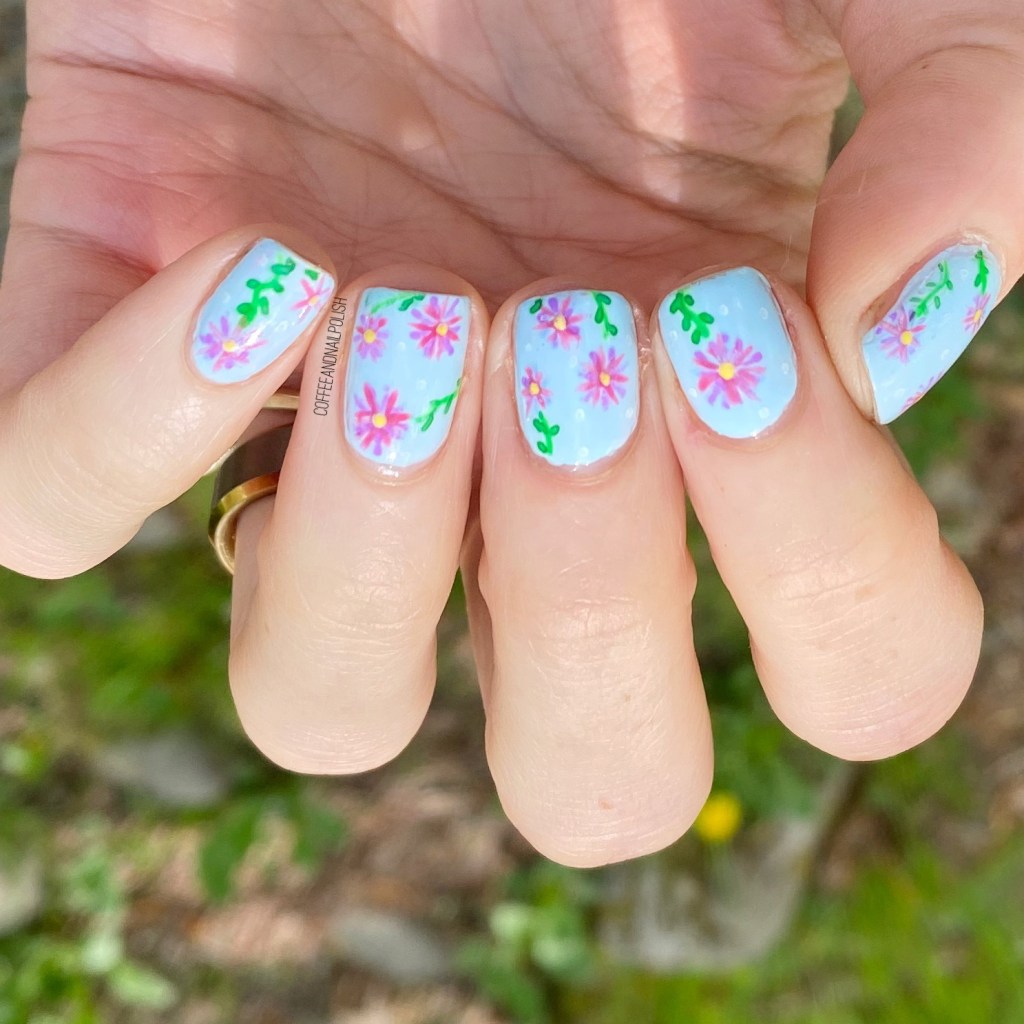
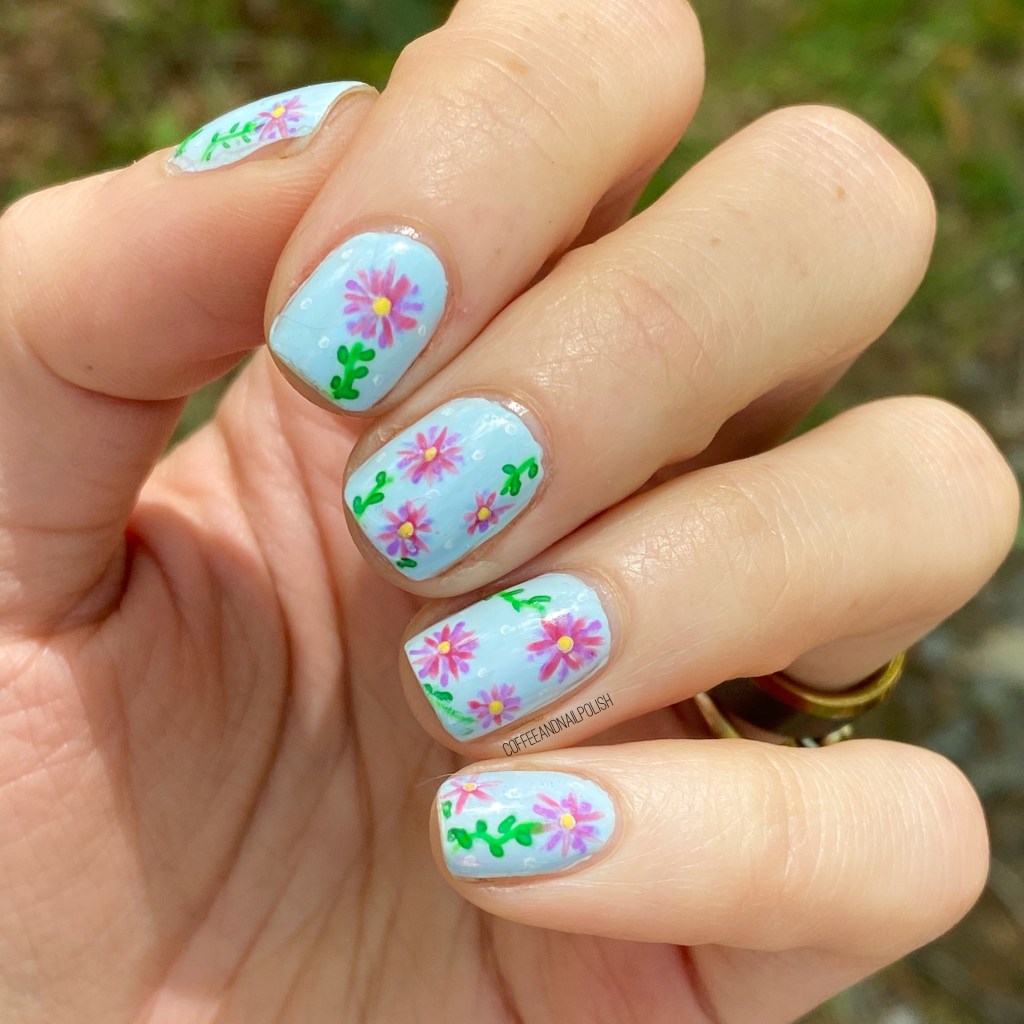
Simple pink & blue floral.

Hello lovelies & happy Tuesday.

Can you believe it? we’re midway through June! Which means I’m in full all-floral-all-the-time mode. I’m sure you’re not surprised. Today’s nail art look was actually a quick nail art design. I had painted my nails, & wanted to add a little something using my nail art pens, which turned into a full floral mani. Sometimes, I just can’t be stopped haha. But I actually really like how these turned out; usually I go for a more rose centric floral design, but I wanted to create these almost daisies, & I think they turned out really beautiful. & I did them completely without any true nail art brushes.

For this manicure, the polishes I used were:

  • Base Coat: Sally Hansen Nailgrowth Miracle
  • Top Coat: Essie Gel Setter
  • Zoya Blu
  • Sally Hansen I ♥️ Nail Art pen Fuchsia
  • Sally Hansen I ♥️ Nail Art pen Purple
  • Sally Hansen I ♥️ Nail Art pen Green
  • Sally Hansen I ♥️ Nail Art pen White
  • Art Club Nail Art Duo Neon Green
  • OPI Where Did Suzi’s Man-go

First off, I know these are not my most perfect floral, but I’m really kind of digging them. My little daisies turned out so colourful & cute. I would totally wear this pattern as a full sundress too. It’s all floral, all the time over here. Also, I feel like these nail art pens are so underrated & deserve a comeback. While my nail art brushes will always be the best for nail art, using these pens can still create an awesome pattern! Also they are still number one for dotticures.

What do you think about this cute little floral design? Is there anyone else who loves these nail art pens like I do? The Sally Hansen ones were always my go-to (I have so many), but I haven’t found them for sale in a very long time. Does anyone know of any else nail art pens you can buy? I’d totally be down for adding more to my collection for quick designs like this! Let me know down in the comments below.