Hello beauties & happy Tuesday! A very, very snowy Tuesday here. The weather definitely cannot make up its mind lately.
Today I have a pretty design to share that I actually did a little while ago, but didn’t get a chance to share. I thought that it would be gorgeous for a pre-Valentine’s Day design, so I wanted to share.


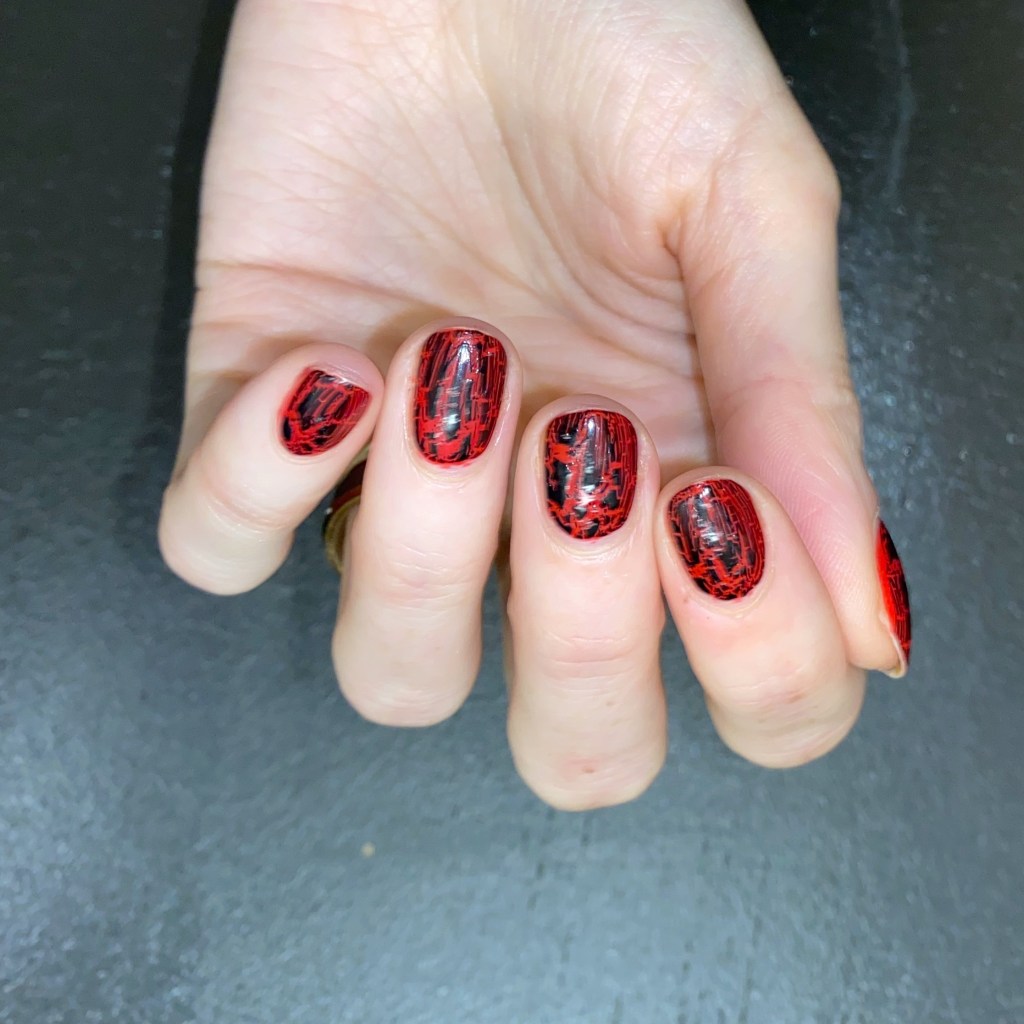
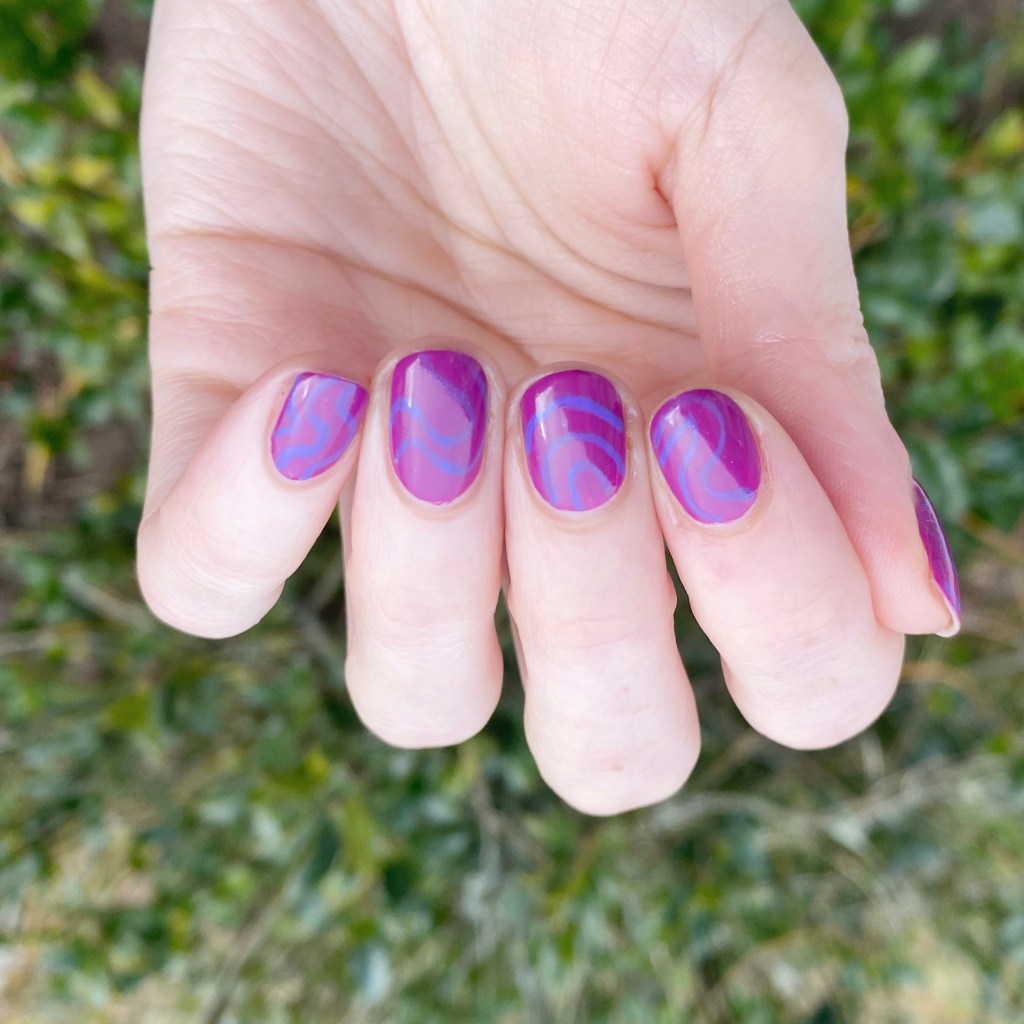
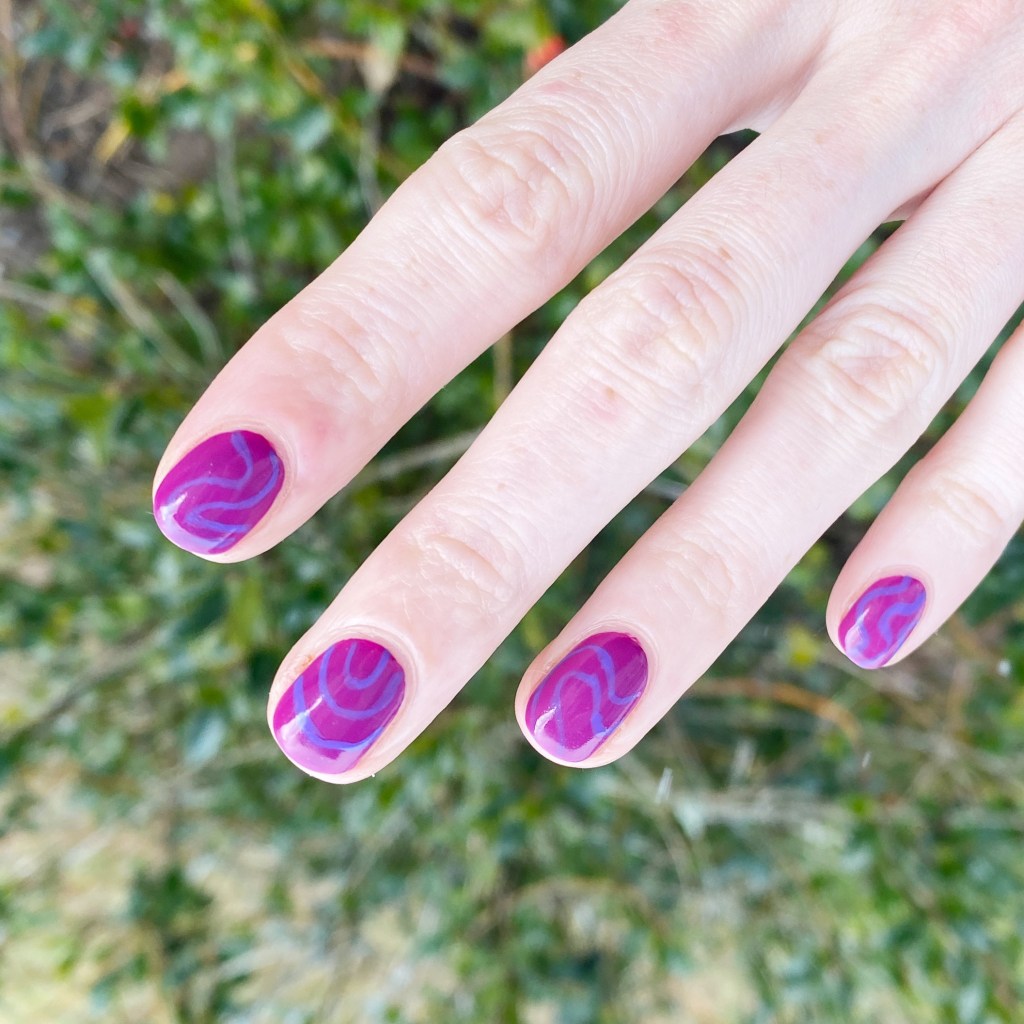
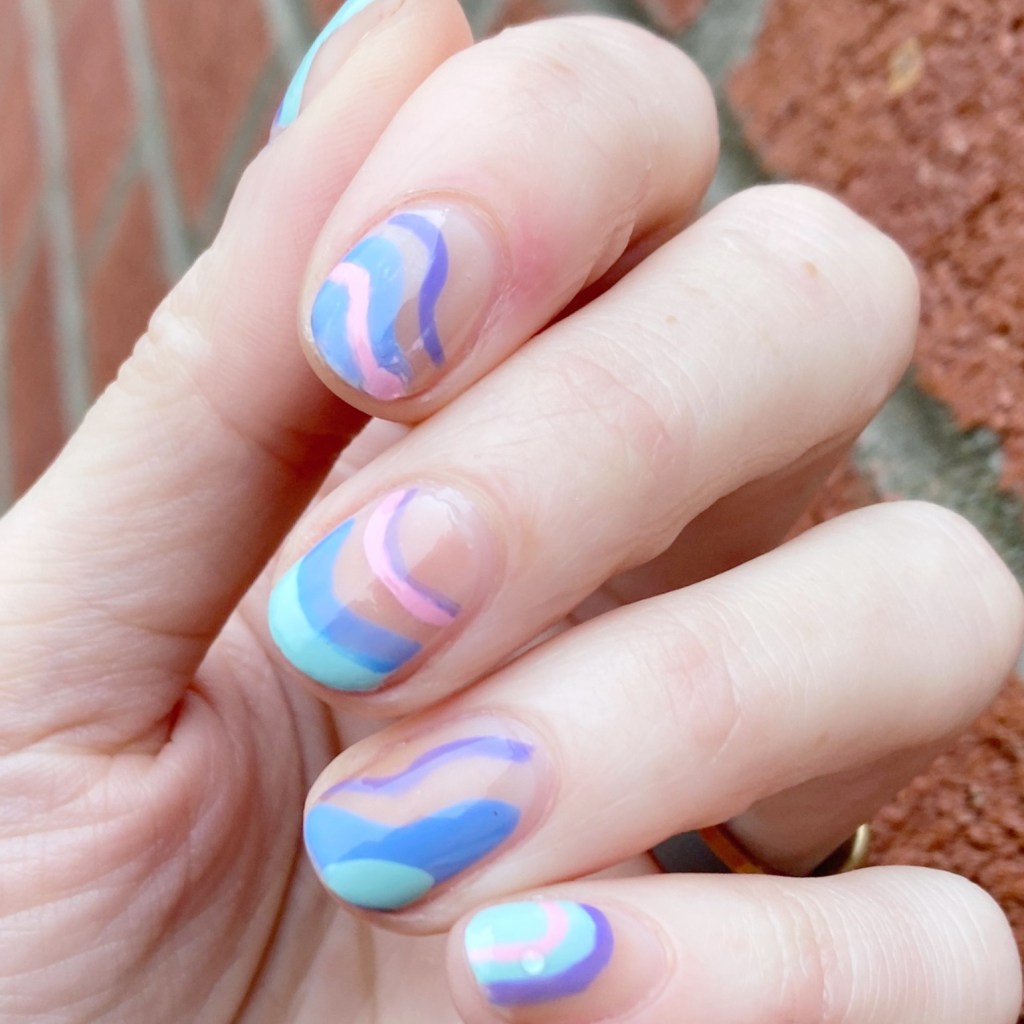
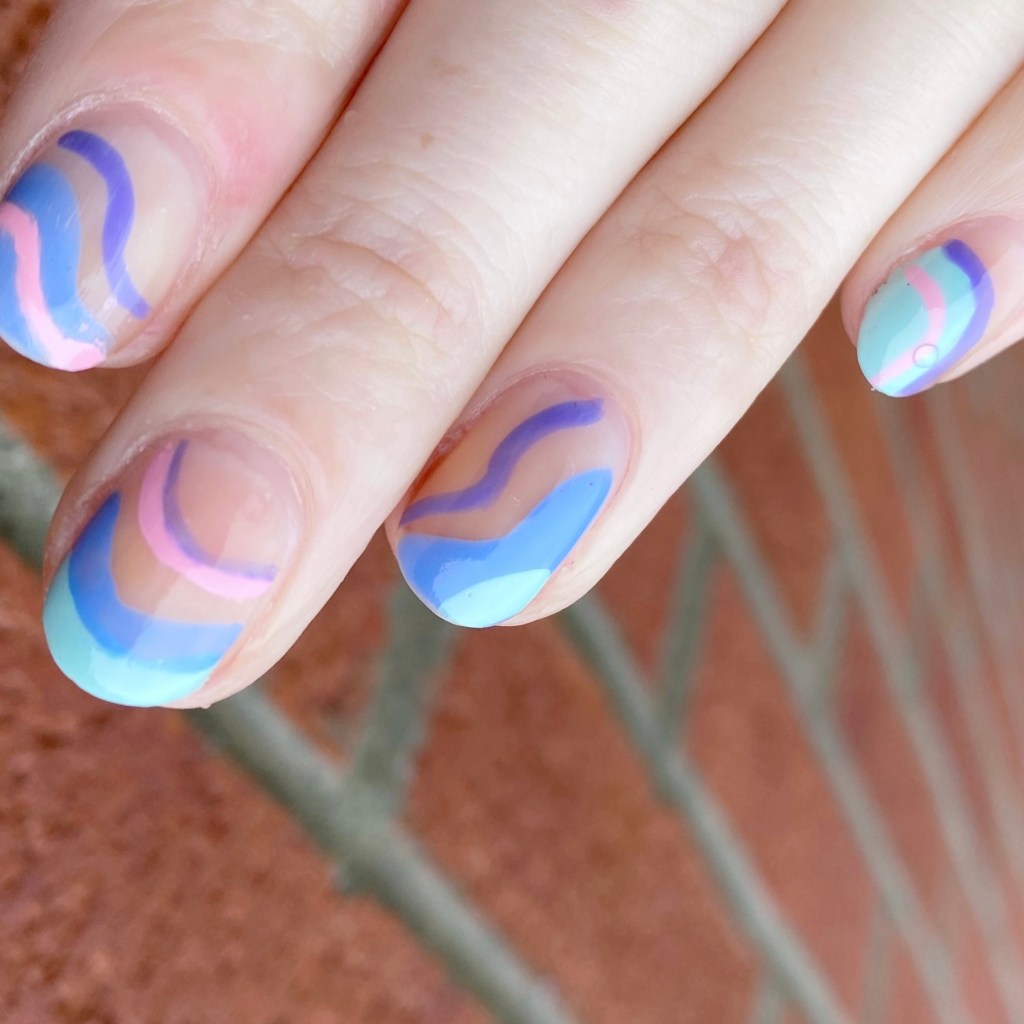
The polishes I used for this manicure are:
- Base Coat: Essie Hard To Resist Glow & Shine
- Top Coat: Seche Vite Fast Dry Top Coat
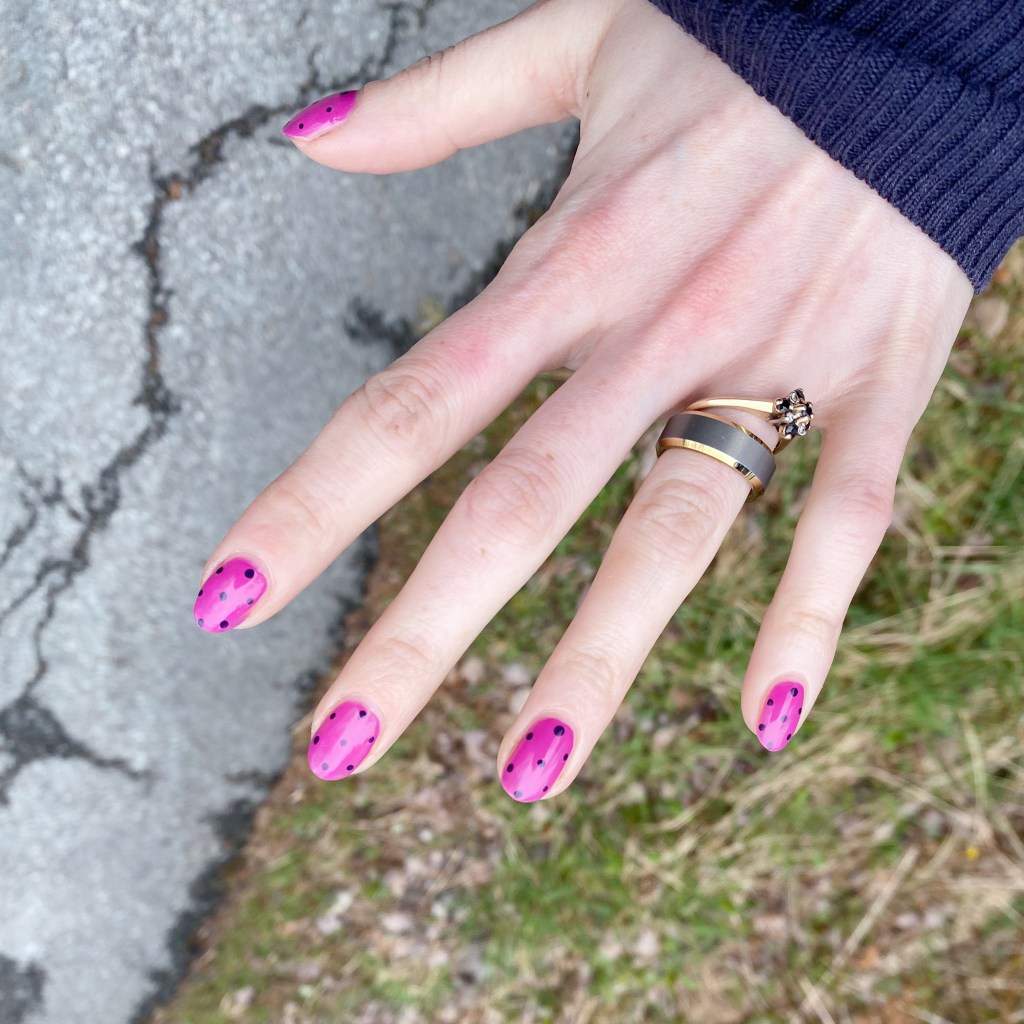
- Essie Swoon in the Lagoon
- Sally Hansen Miracle Gel Blacky-O
- Dotting tool (I always use mine from NailStuff.ca — Dotting Tool Trio)


Gosh I love a good polka dot design. It’s literally the easiest & quickest nail art I think you can do — & it always looks so put together. This is definitely a great nail art look for anyone wanting fun nails, without wanting to put an hour+ into painting something.
What do you think about this nail art look? Is this a nice prelude to February & the Valentine’s Day looks to come? Let me know all your thoughts down below!